
Hello everyone at NeedleWorkMonday! A big hello to everyone at the start of this week. Today I am pleased to share with you the process of making a two-piece outfit I have been working on: a blouse with shorts. This project has allowed me to put my sewing and design skills to work, and I am excited to show you the final result. It is a pleasure to be part of this community and to present my work this week.
Before going into the details of the outfit's construction, I would like to highlight the fabric I have selected for this project: micro-durable fabric. This fabric is known for its excellent breathability and lightness, making it an ideal choice for summer garments. By choosing this type of fabric for my outfit, I have sought to provide the wearer with a feeling of freshness and comfort during the summer months. The lightness and breathability of micro-durable fabric will make this outfit ideal for enjoying outdoor activities or simply for feeling comfortable and cool on a daily basis.
(Materiales:)||(Materials:)
- Tela microdurasno estampada para el blusón
- Tela microdurasno negra para el blusón y el short
- Tijeras
- Máquina de coser
- Hilo
- Alfileres
- Printed microdurano fabric for the blouse
- Black microdurano fabric for the blouse and shorts
- Scissors
- Sewing machine
- Thread
- Pins

(Procedimiento:)||(Procedure:)
Paso nro 1
Paso nro 1
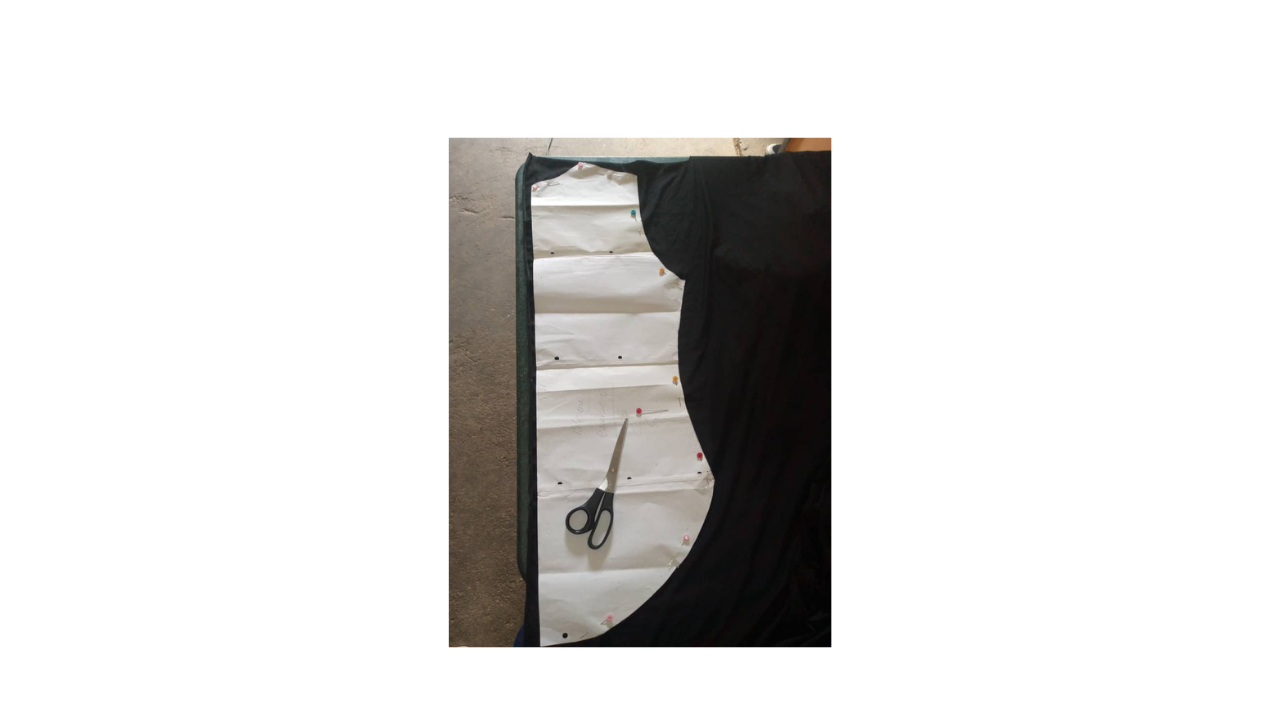
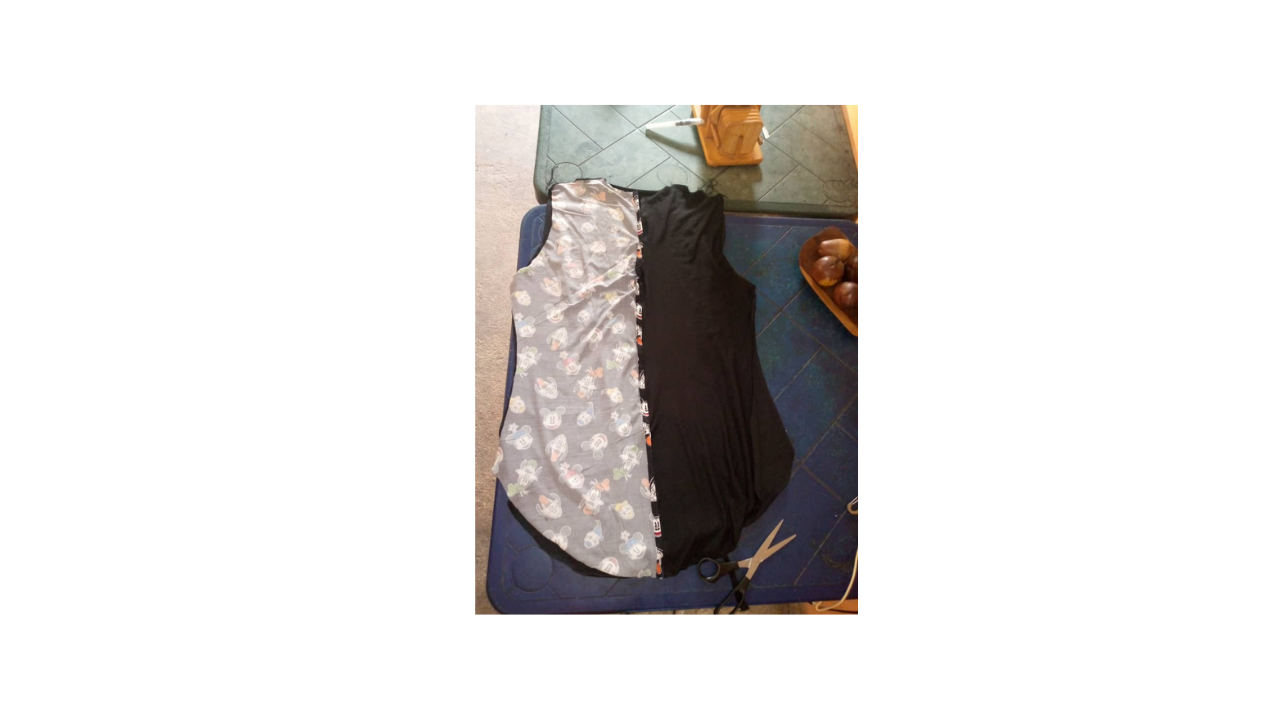
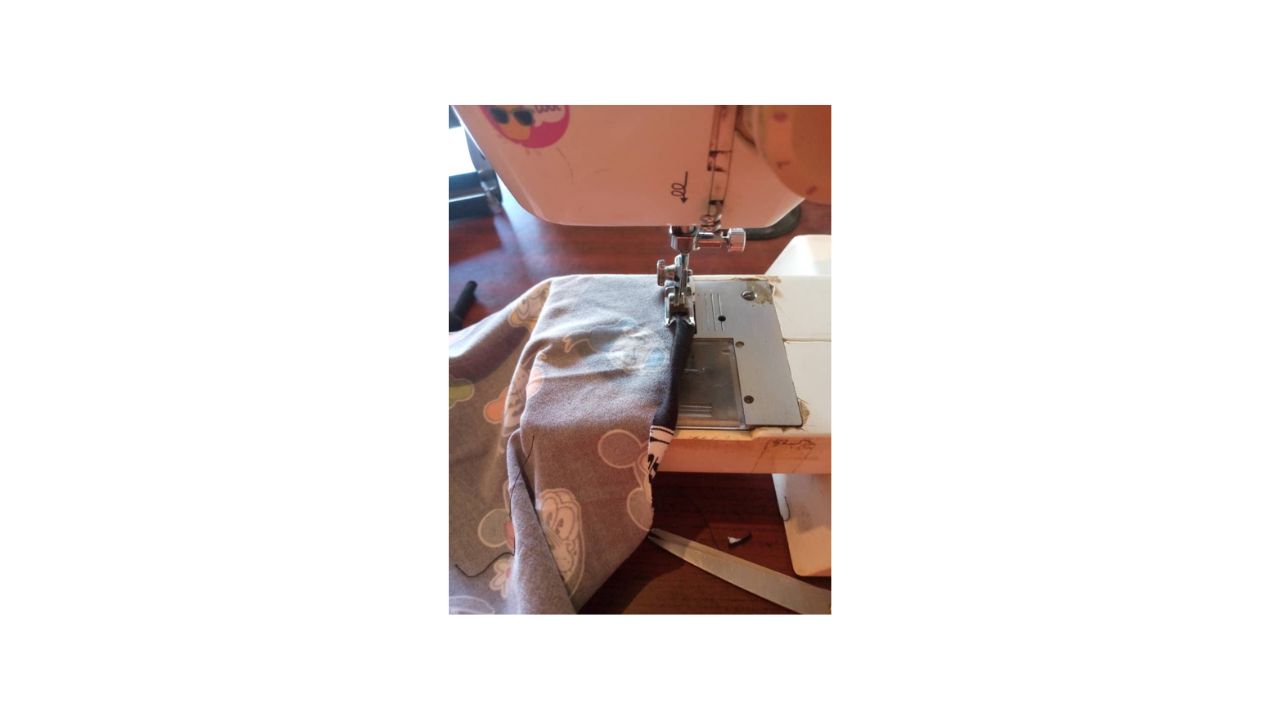
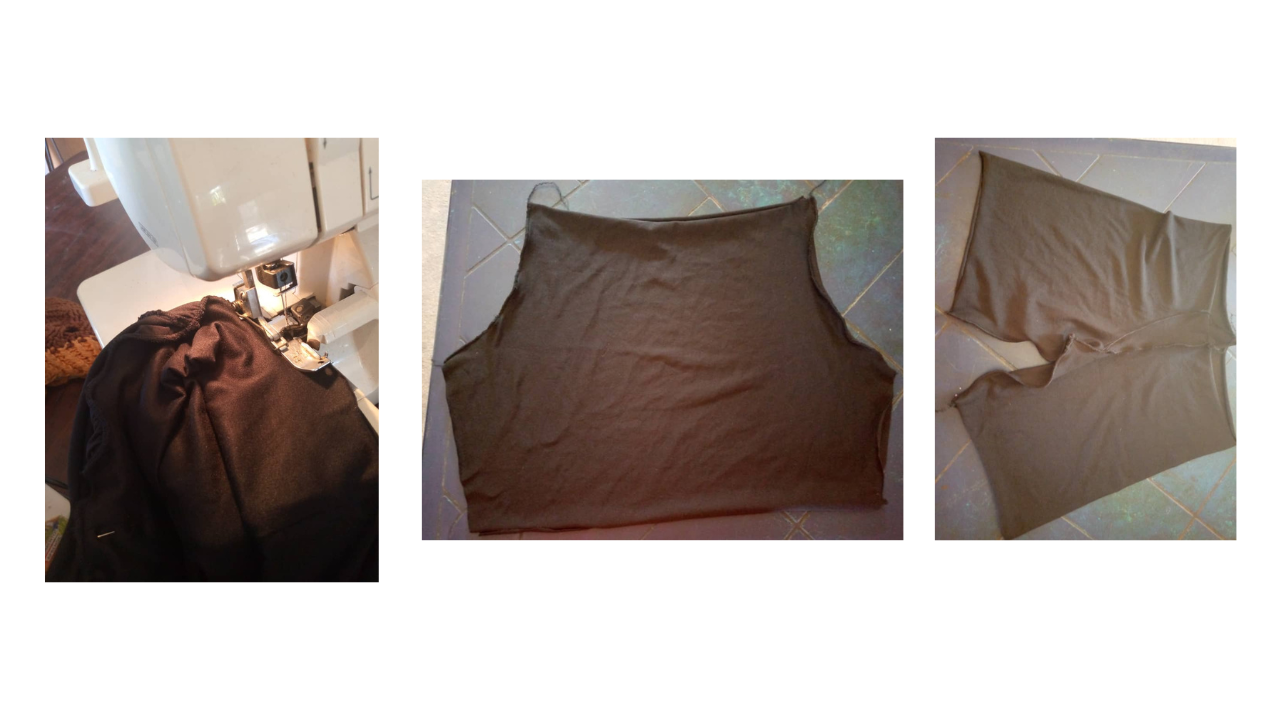
For the blouse, I used a combination of two fabrics: half in a printed micro-durable fabric and the other half in a black micro-durable fabric. I started by tracing the pattern of the blouse, taking into account the desired measurements. Then, I cut out the front and back pieces, using the printed fabric and the black fabric. I also cut out the sleeves from the black fabric. Once I had all the pieces ready, I started the sewing process. First, I joined the shoulders of the front and back of the blouse, using a straight stitch to ensure a firm join. Then, I sewed the sides of the blouse, joining the side pieces precisely.
Paso nro 2
Paso nro 2
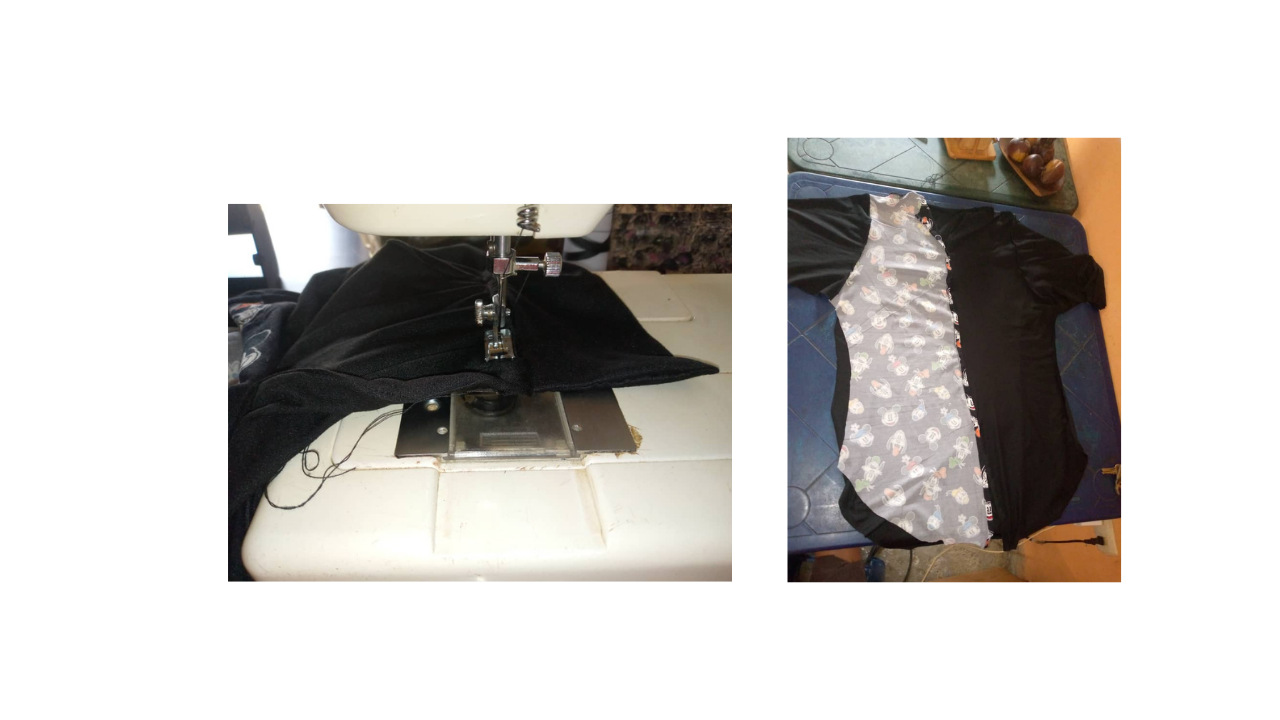
The next step was to sew the sleeves and attach them to the blouse, making sure they fit perfectly. I made a shirt collar for this blouse to give it a different touch. Finally, I folded and sewed the hem of the blouse, giving it an elegant and professional finish. I made the last adjustments and finishing touches necessary to obtain an impeccable result.
Paso nro 3
Paso nro 3
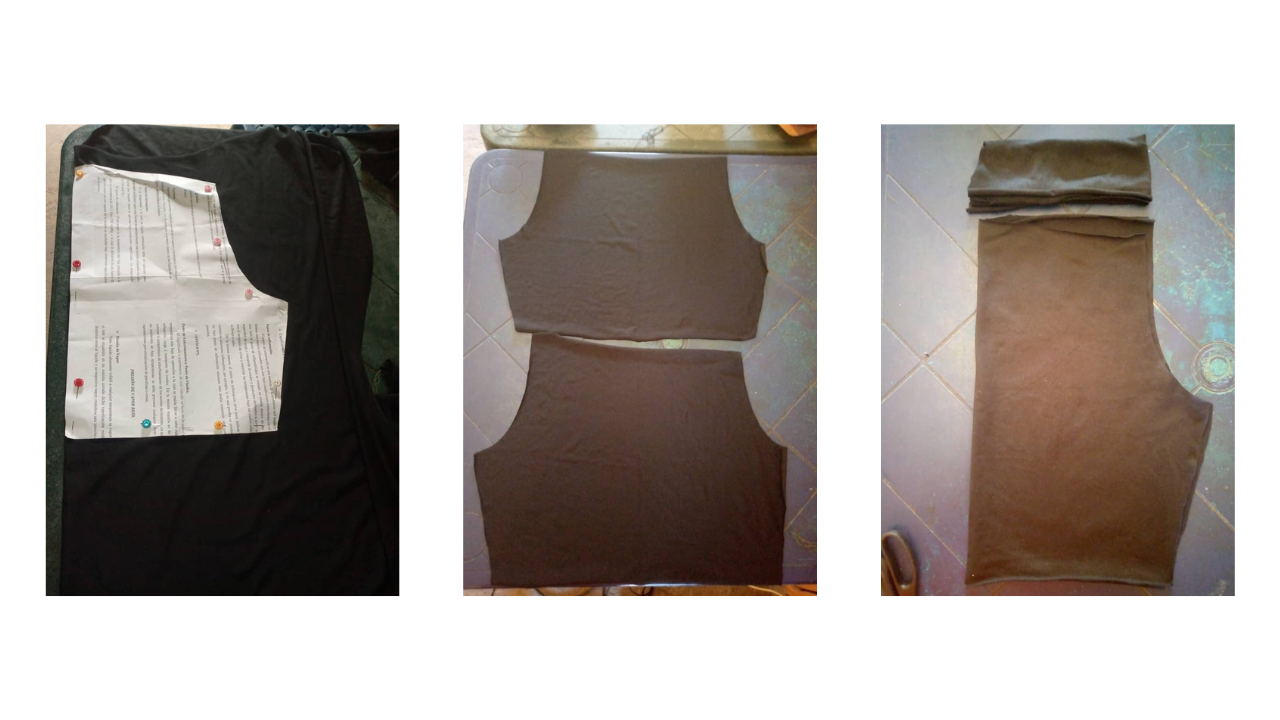
Now that I have the blouse ready, I'm going to continue with the shorts. In this case, I also have a pattern for shorts. What I did was place them on the fabric, tracing the shape, and cut out the front and back parts. I also cut out the waistband.
Paso nro 4
Paso nro 4
Since I already have the shorts pieces cut, now I start sewing first at the crotch and then the sides, I also sewed the waistband and finished by sewing the hem of each leg and the shorts would be ready.
(Resultado final:)||(Bottom line:)
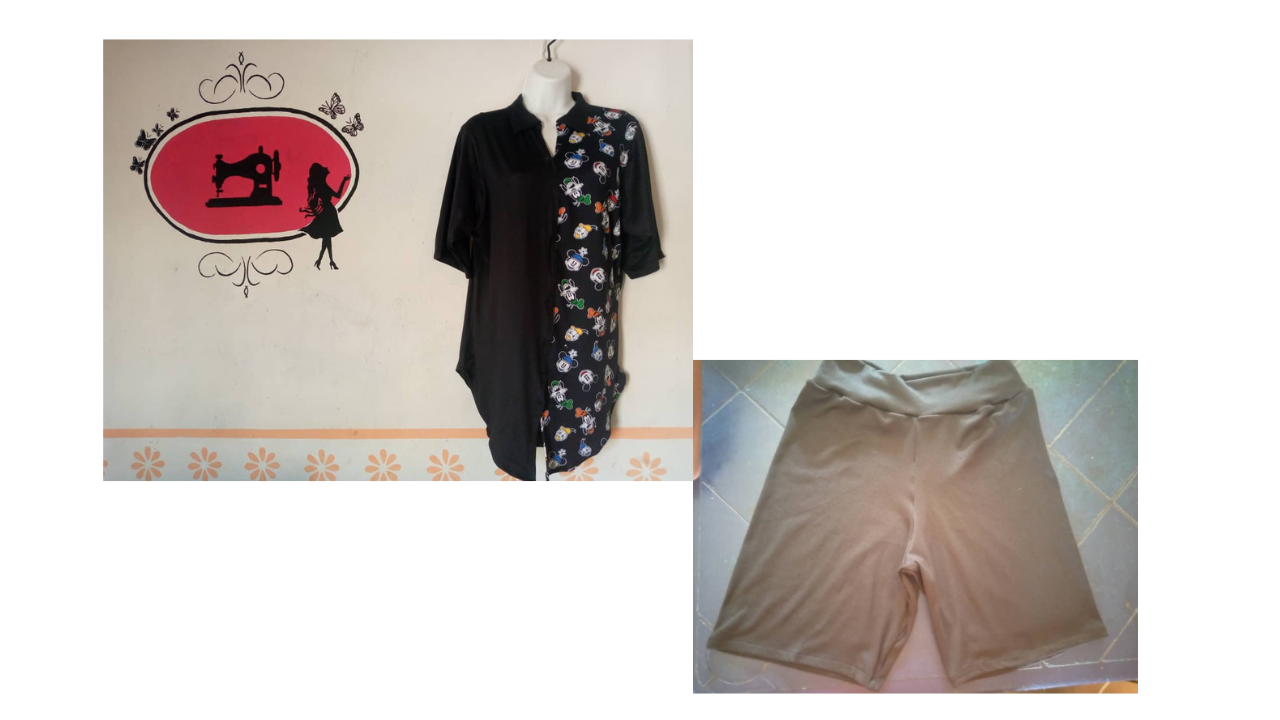
And this is how the blouse and shorts look. I hope you like this design as much as I do. I also hope to continue sharing with you more of the seams that I make in my work. See you another time.
The photos in this blog are my own|The images are edited in canva|Photographs taken on my infinix hot 10 cell phone|The content is translated in Google Translate.