¡Bienvenidos a mi blog!
Welcome to my blog!
Buenas noches queridos amigos de esta linda comunidad #diyhub, un grato placer seguir con mis post , es algo que me desestresa , me gusta y le pido a Dios que me ayude a seguir.El dia de hoy ha sido lluvioso y la tarde noche muy fresca.Muchas bendiciones
Good evening dear friends of this beautiful community #diyhub, a pleasure to continue with my posts, it is something that de-stresses me, I like it and I ask God to help me to continue.Today has been rainy and the evening very cool.Many blessings
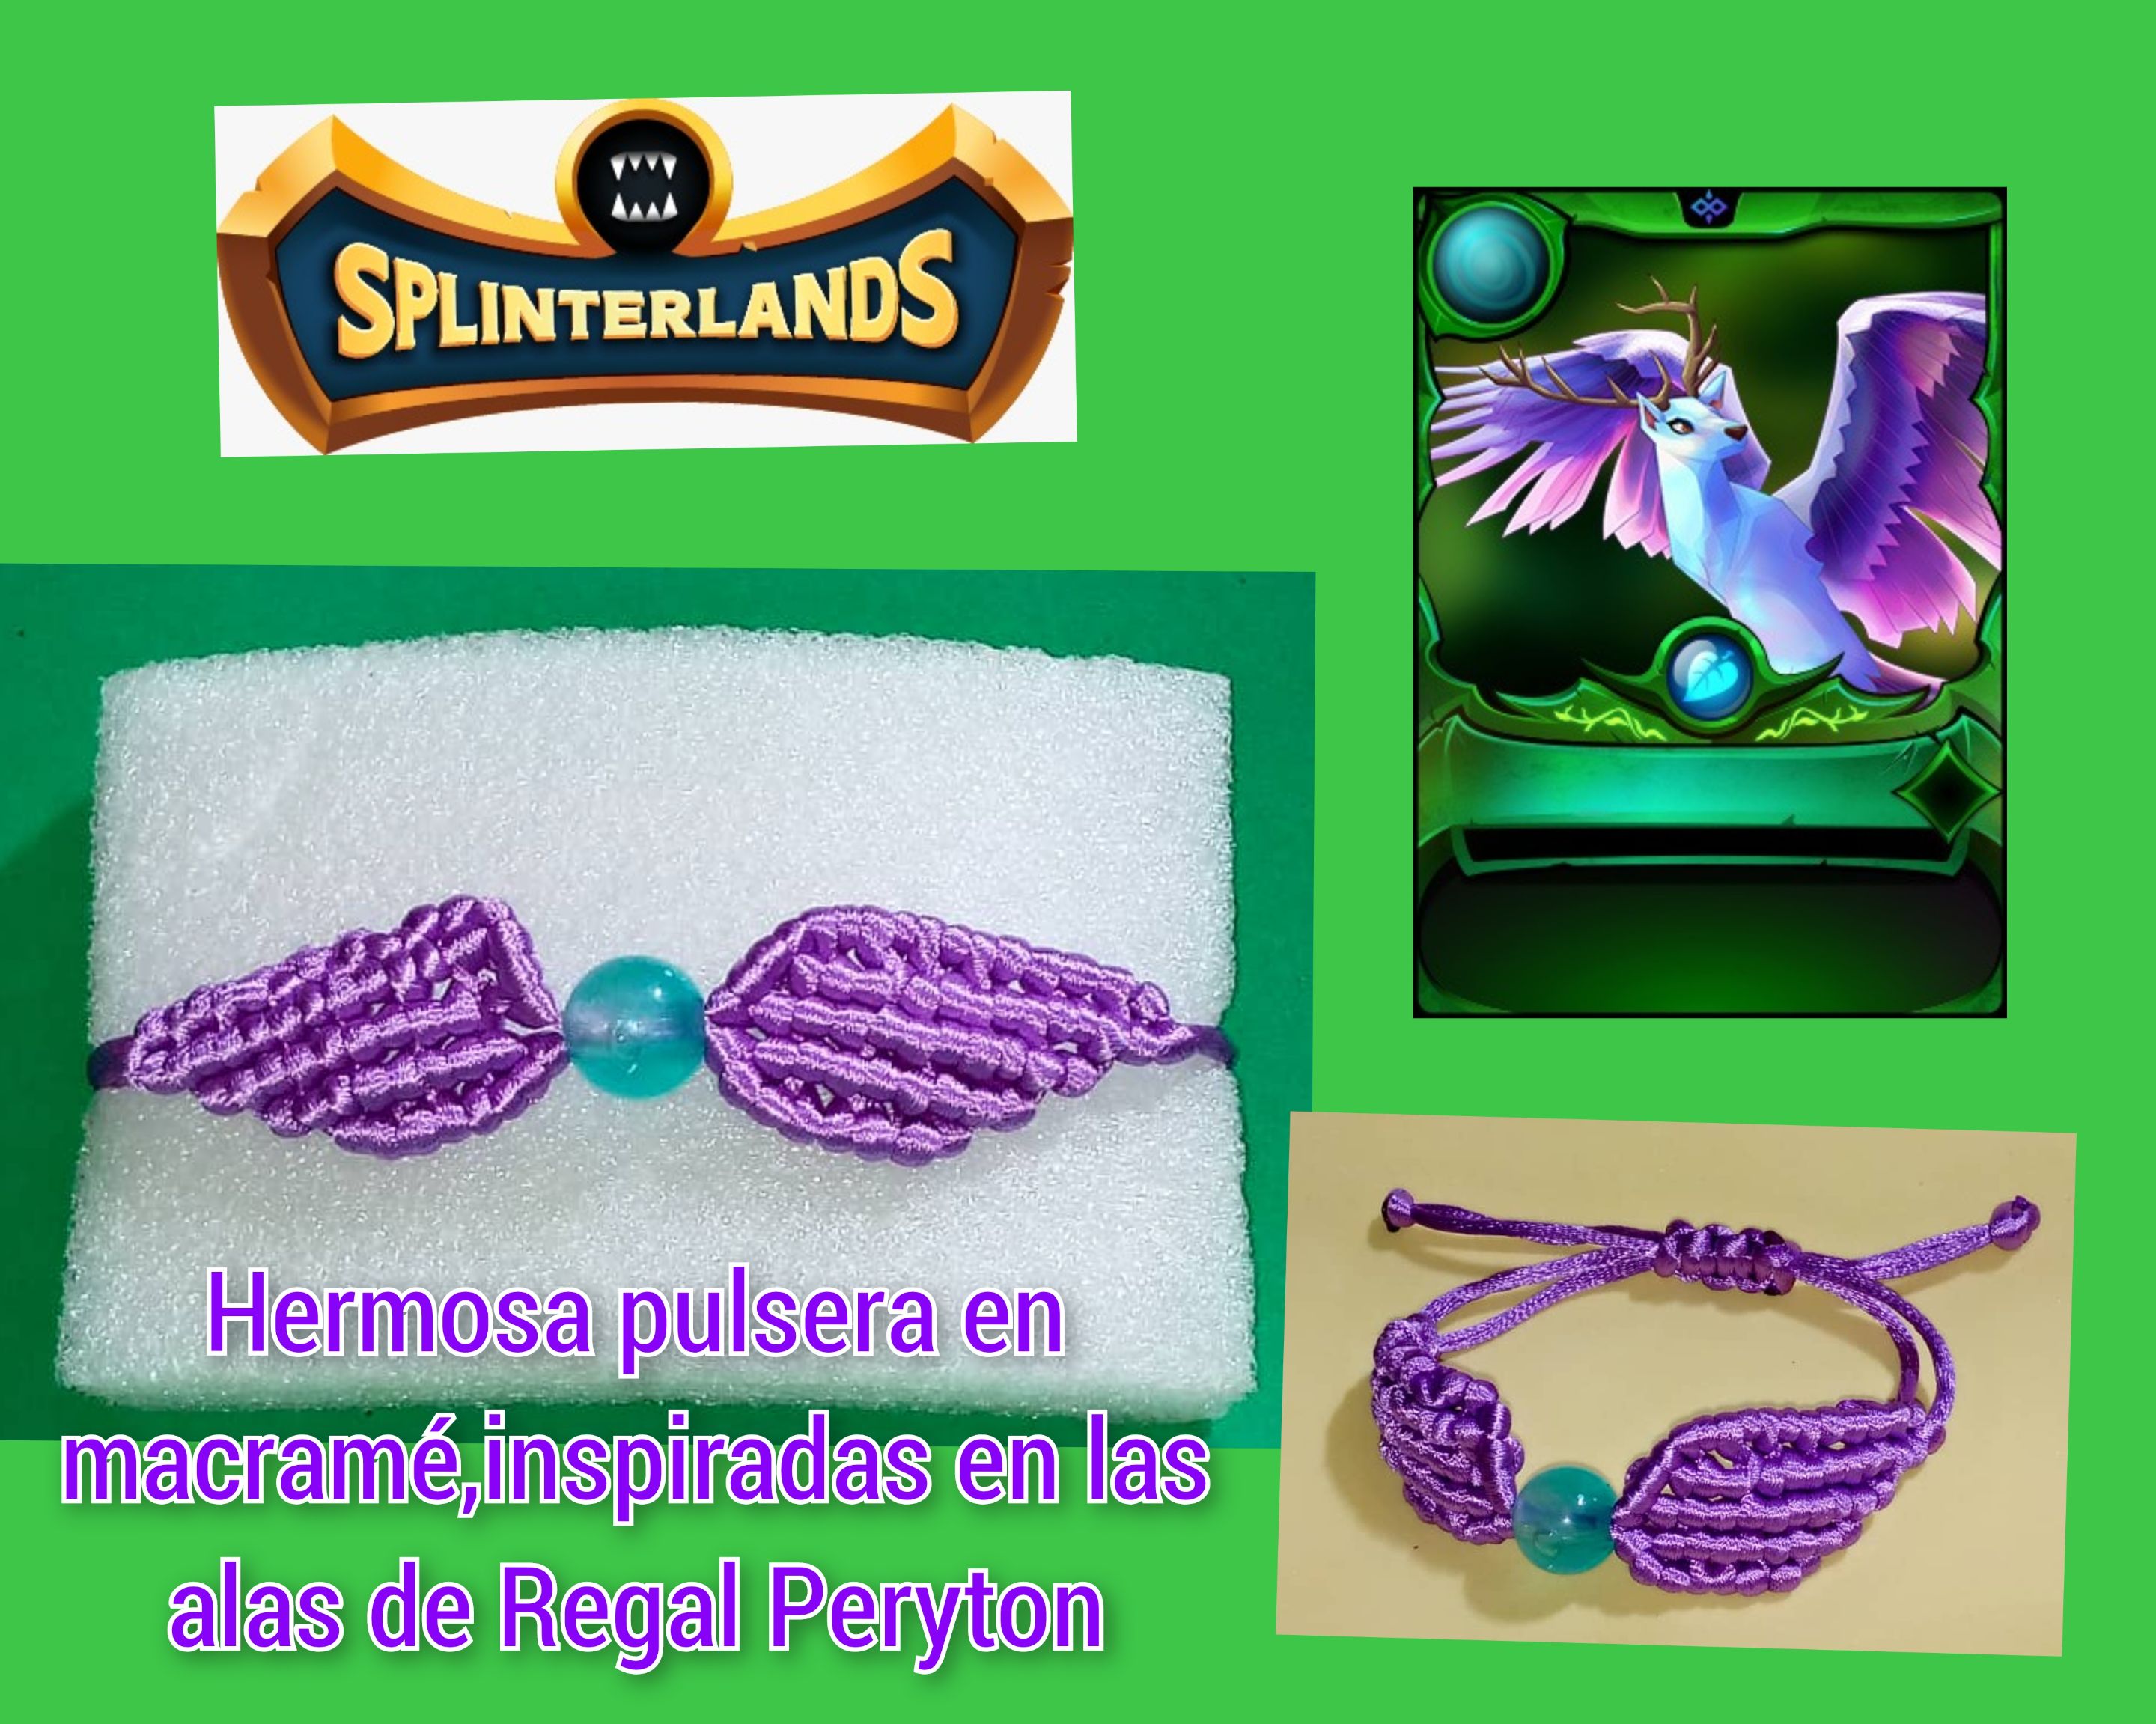
Quiero mostrar a través de un tutorial como realizar una linda pulsera en macramé inspirada en las alas de Regal Peryton, este personaje es muy lindo, vive en las montañas de splinderlands, es muy inteligente, son guardianes nobles del mundo natural, sus alas son grandes.
Hoy participo en el concurso de arte semanal de @Splinterlands, número 296, espero que le guste esta hermosa pulsera, puede regalarla un ser querido.
I want to show through a tutorial how to make a nice macrame bracelet inspired by the wings of Regal Peryton, this character is very cute, he lives in the mountains of splinderlands, he is very intelligent, they are noble guardians of the natural world, their wings are large.
Today I participate in @Splinterlands weekly art contest, number 296, I hope you like this beautiful bracelet, you can give it as a gift to a loved one.
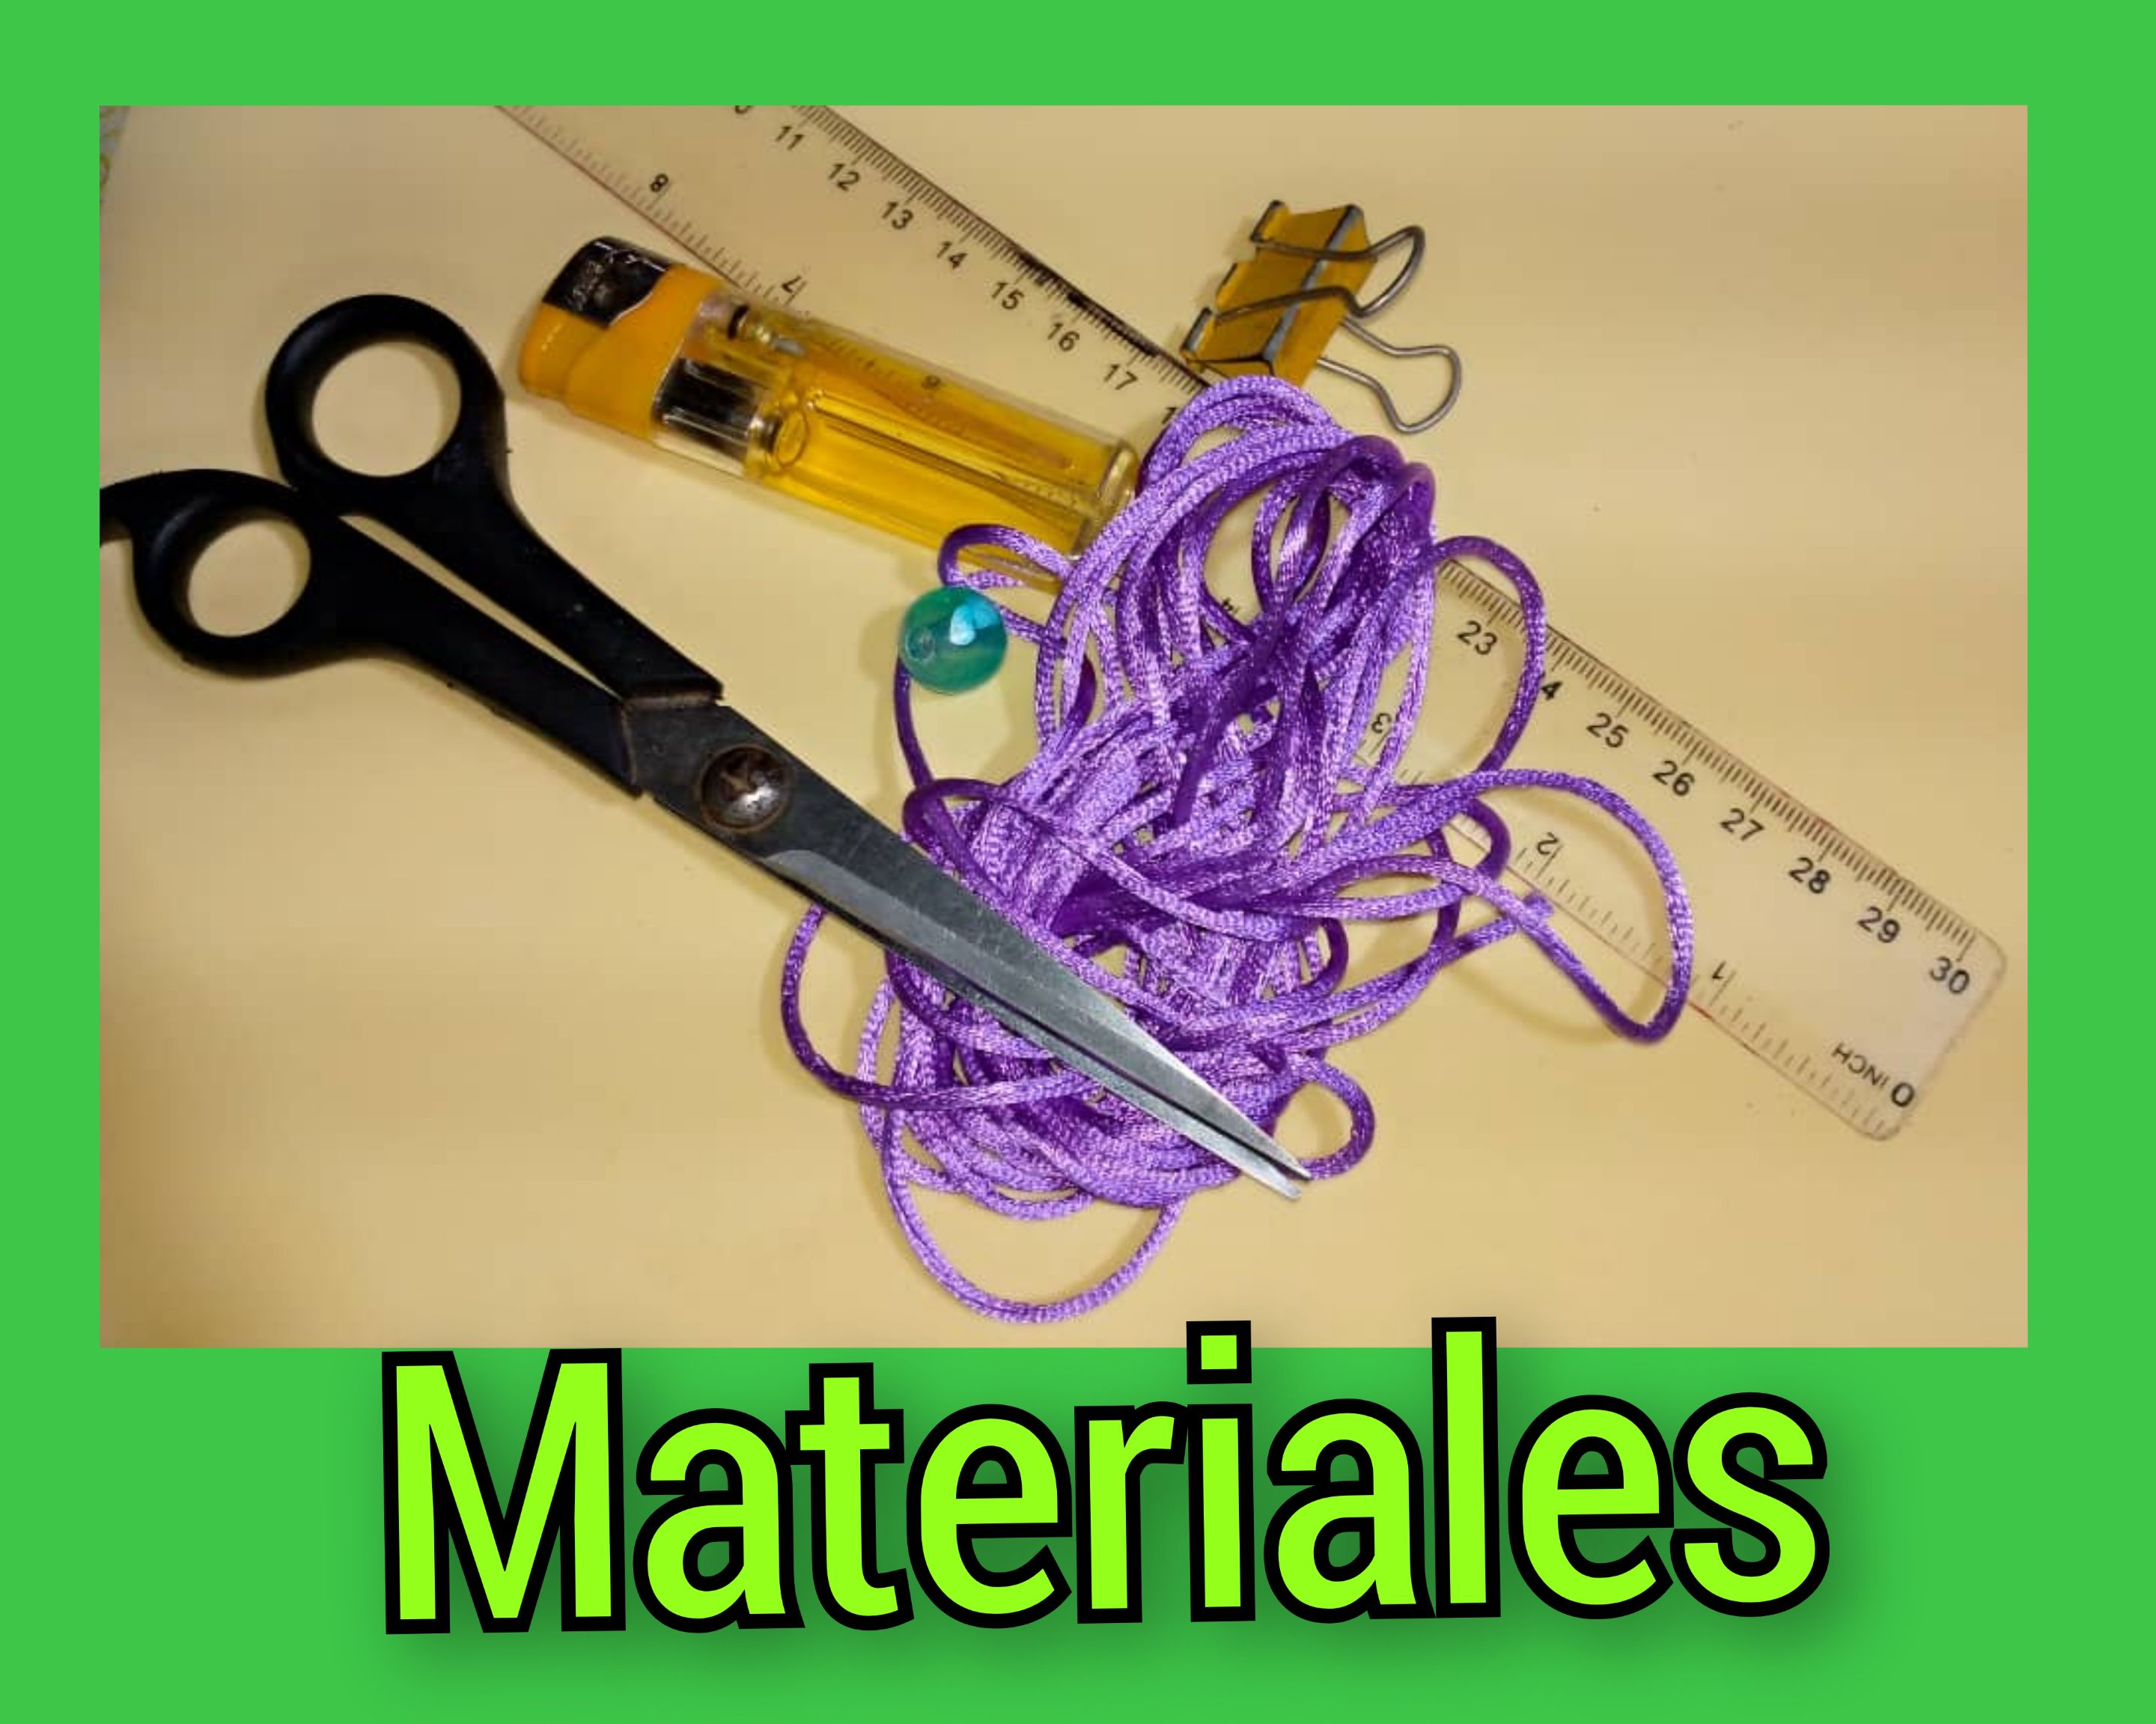
Materiales que se utiliza para su realización:
- 4 metros de hilo chino , color morado
- 1 perla color azul.
- 1 regla.
- 1 yesquero.
- 1 tijera.
Materials used for its realization:
- 4 meters of Chinese thread, purple color
- 1 blue pearl.
- 1 ruler.
- 1 tinder.
- 1 scissors.
Pasos para la realización de la hermosa pulsera tejida en macramé:
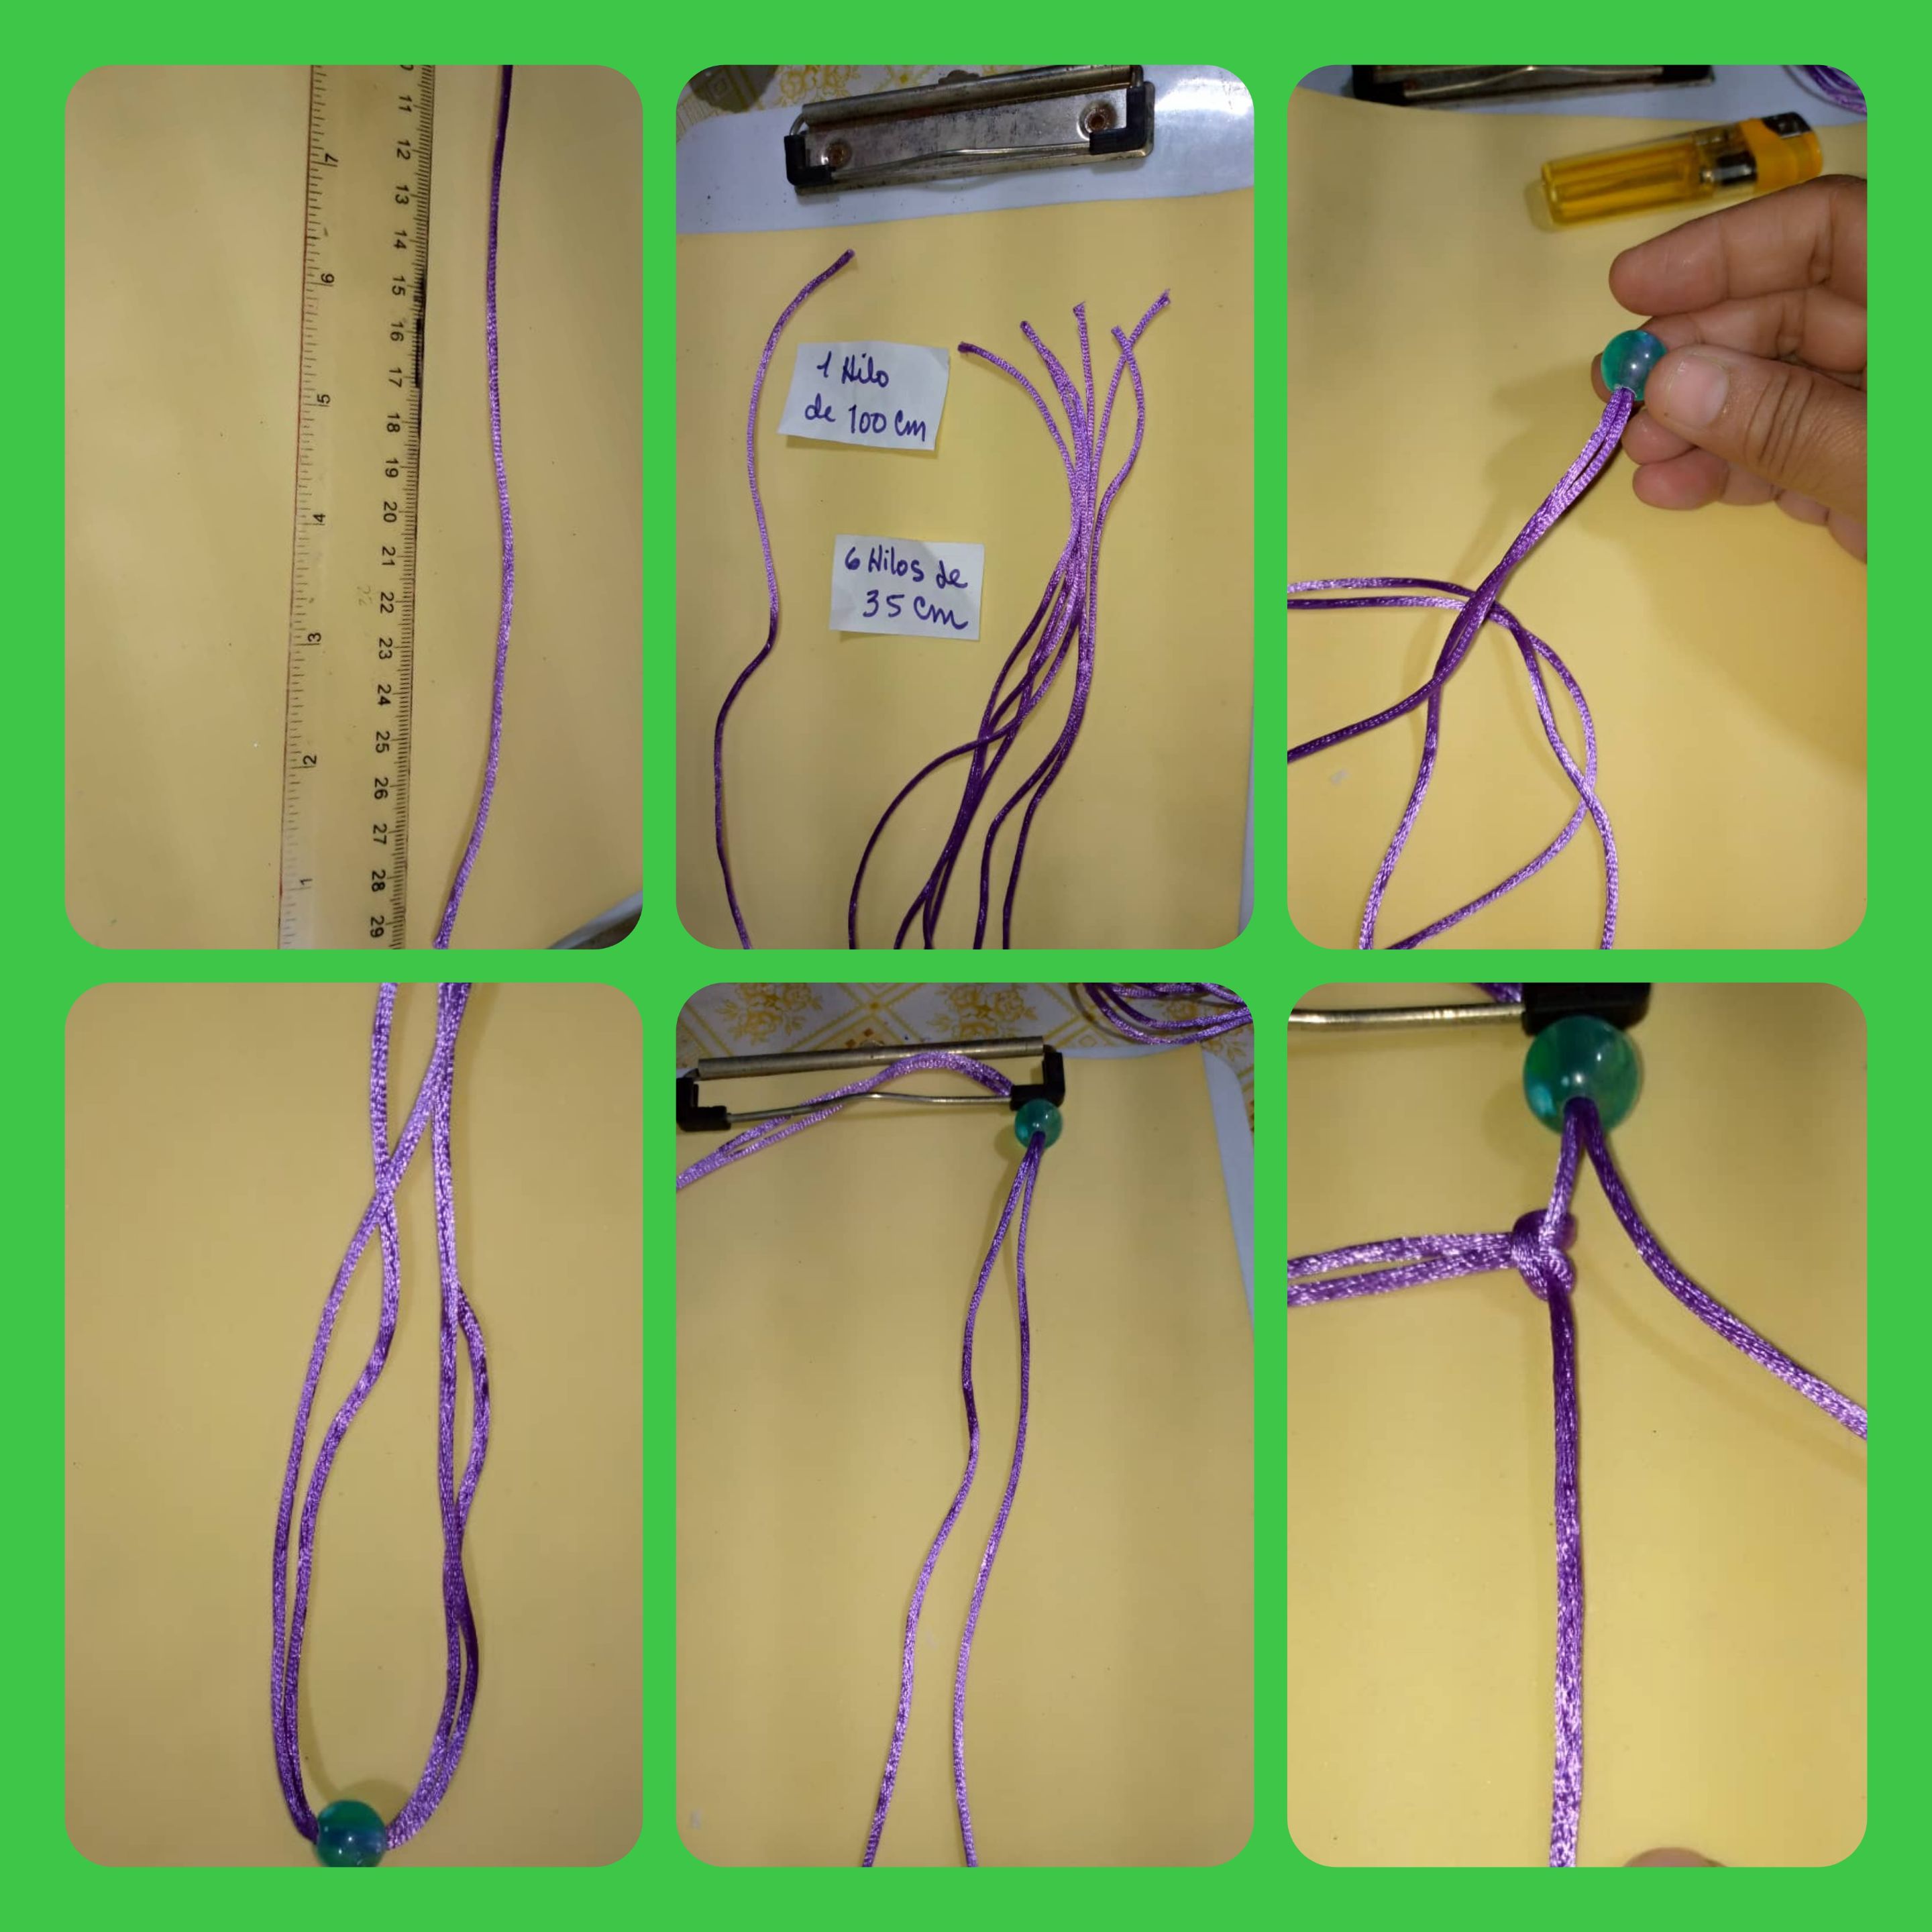
- Lo primero que haremos es tomar el hilo chino color morado y la regla para medir , el primer hilo lo recortamos de 100 cm.
- Ahora medimos y recortamos 6 hilos de 35 cm cada uno, este sería el primer paso.
- Tomamos la perla azul la introducimos dentro del hilo de 100 cm, ponemos por la mitad y allí introducimos la perla, luego en la carpeta con pinza la pondremos por la mitad del hilo , que la perla divida la mitad del hilo.Pueden guiarse por la imagen.
Steps for the realization of the beautiful macrame bracelet:
- The first thing we will do is to take the purple Chinese thread and the ruler to measure , the first thread we cut it of 100 cm.
- Now we measure and cut 6 threads of 35 cm each, this would be the first step.
- We take the blue pearl and we introduce it inside the 100 cm thread, we put it in the middle and there we introduce the pearl, then in the folder with the clamp we will put it in the middle of the thread, that the pearl divides the half of the thread, you can be guided by the image.
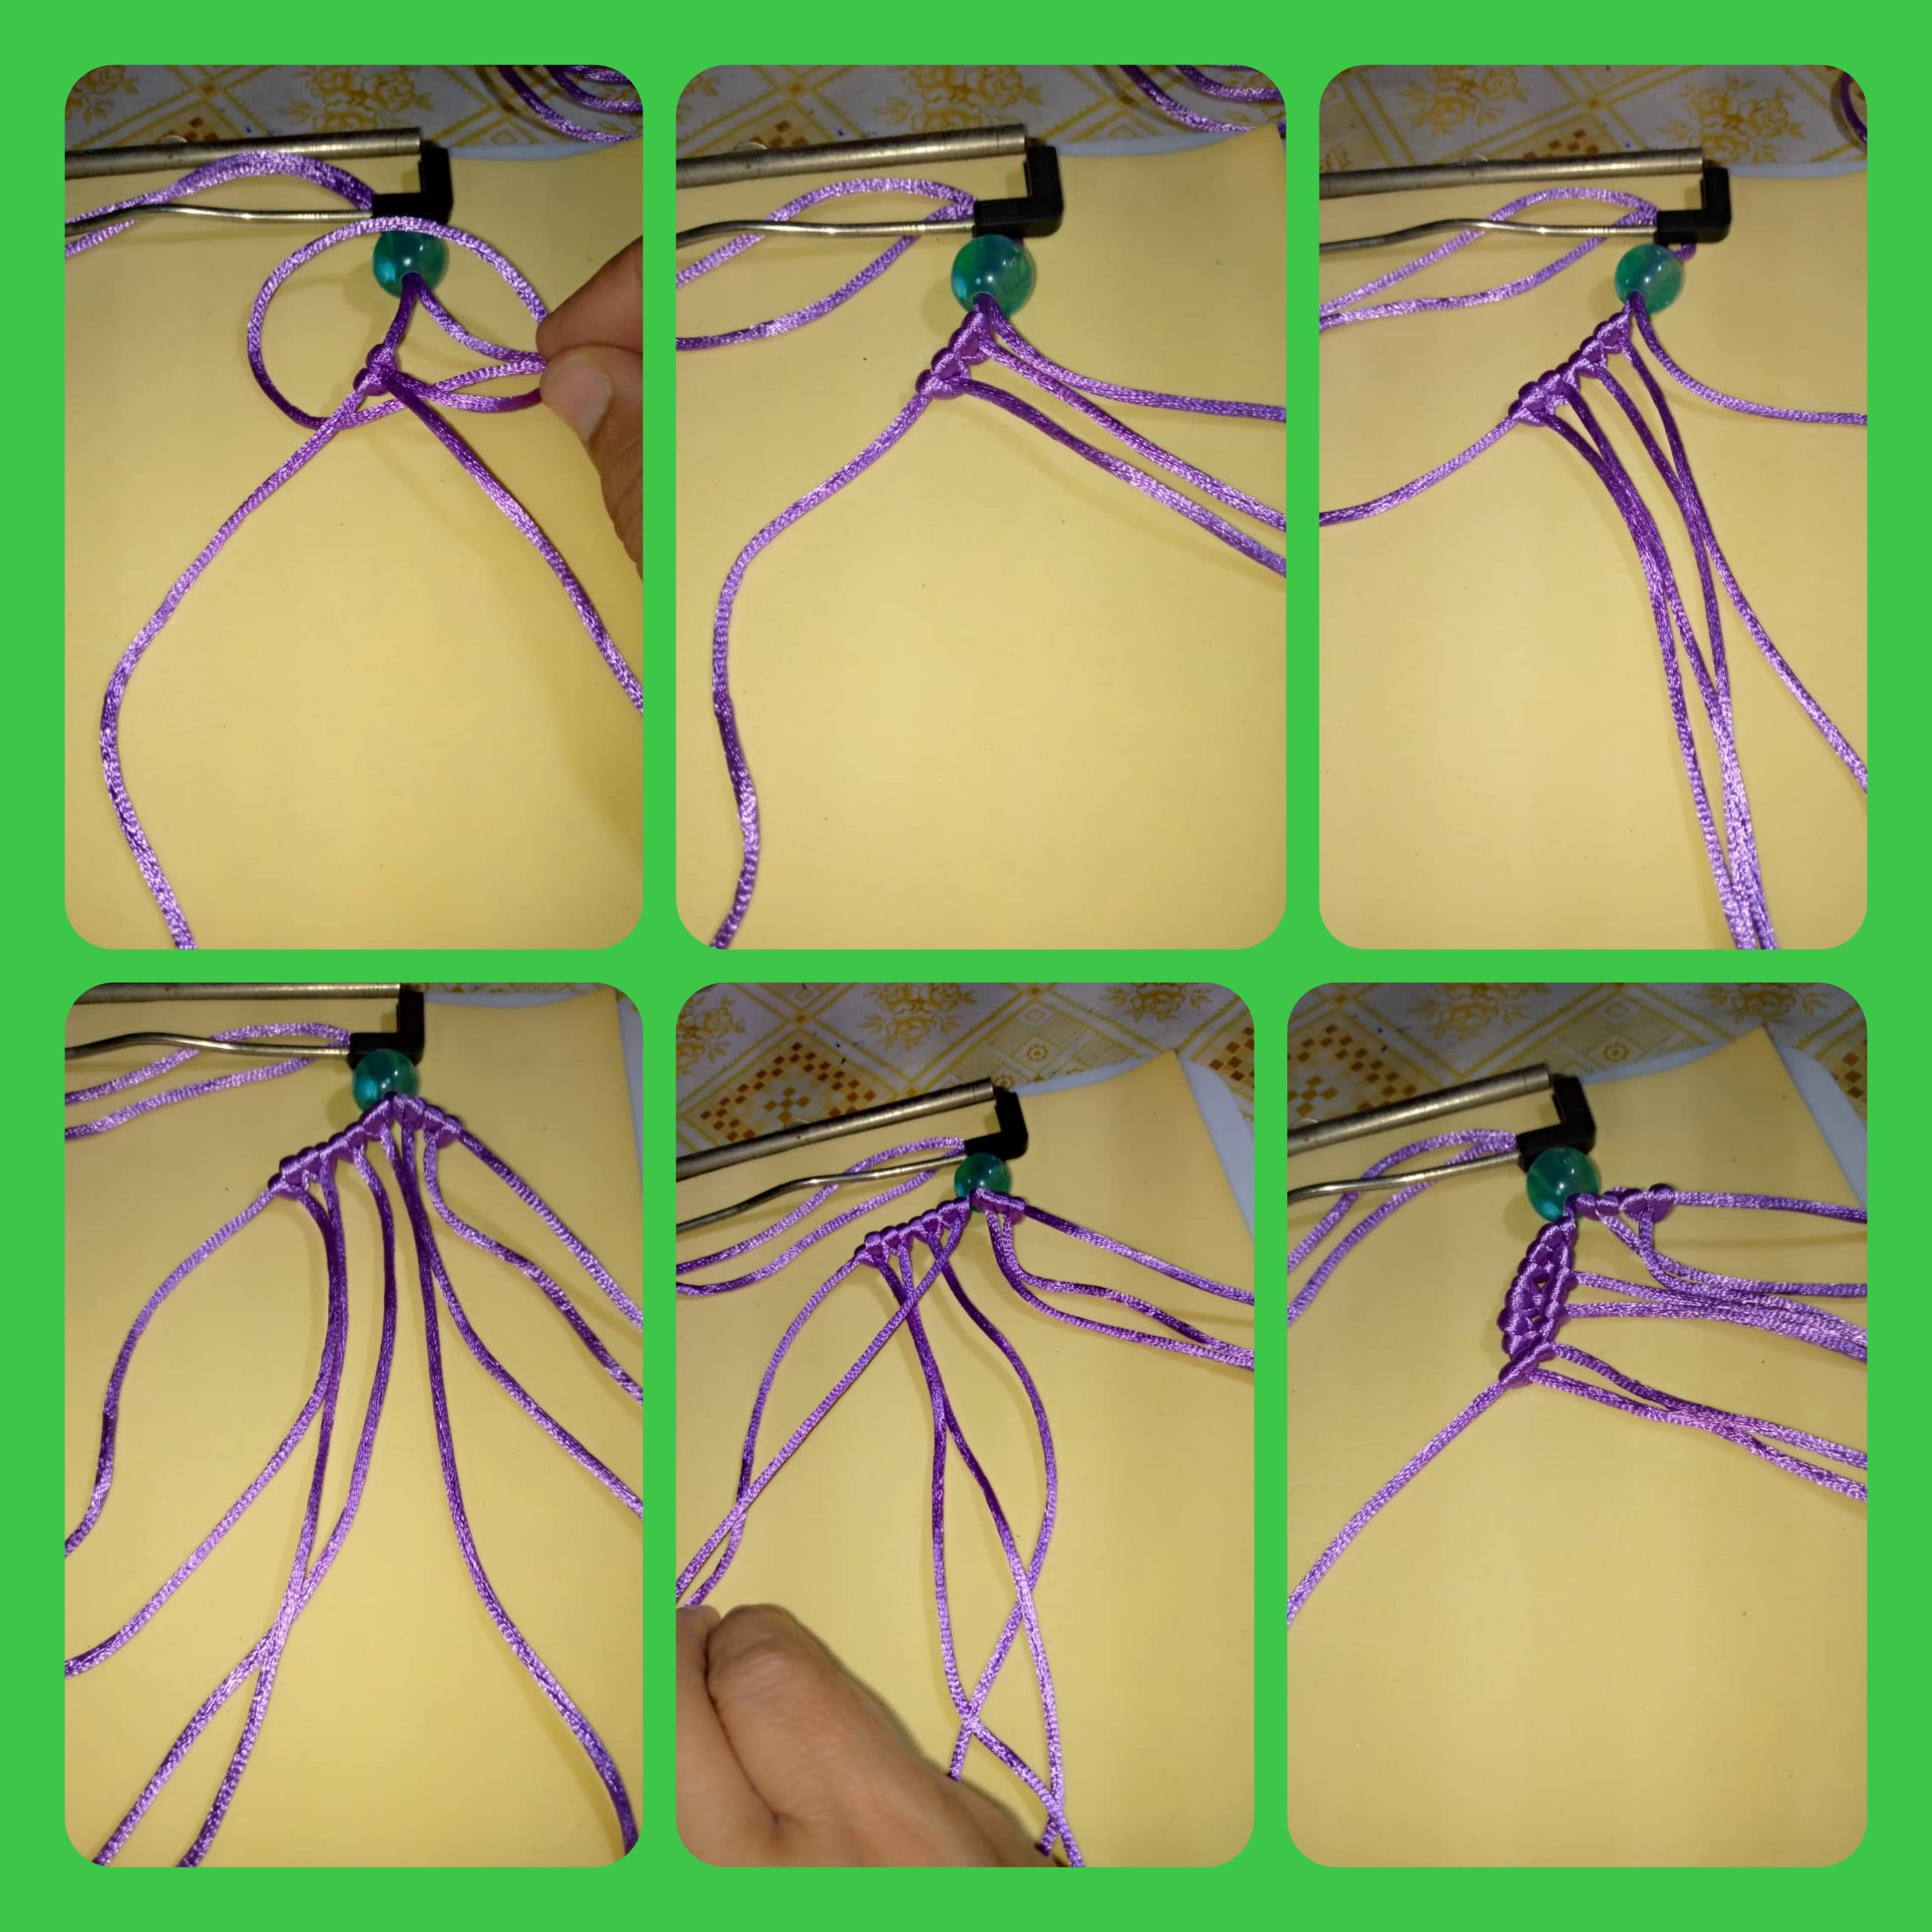
- Tomamos un hilo de 35 cm, vamos a realizar un nudo alondra
- Agarramos el hilo , abrazamos al hilo central lo doblo e introduzco los dos hilo y saco por el agujero, apretar bastante, luego uno de los hilos o el de arriba, rodeamos al hilo por arriba y metemos por el agujero, igualmente el de abajo hacemos lo mismo.
- Colocamos otro hilo de 35 cm y hacemos lo mismo. Ahora el hilo del otro lado o central, colocamos de la misma manera otro hilo de 35 cm.
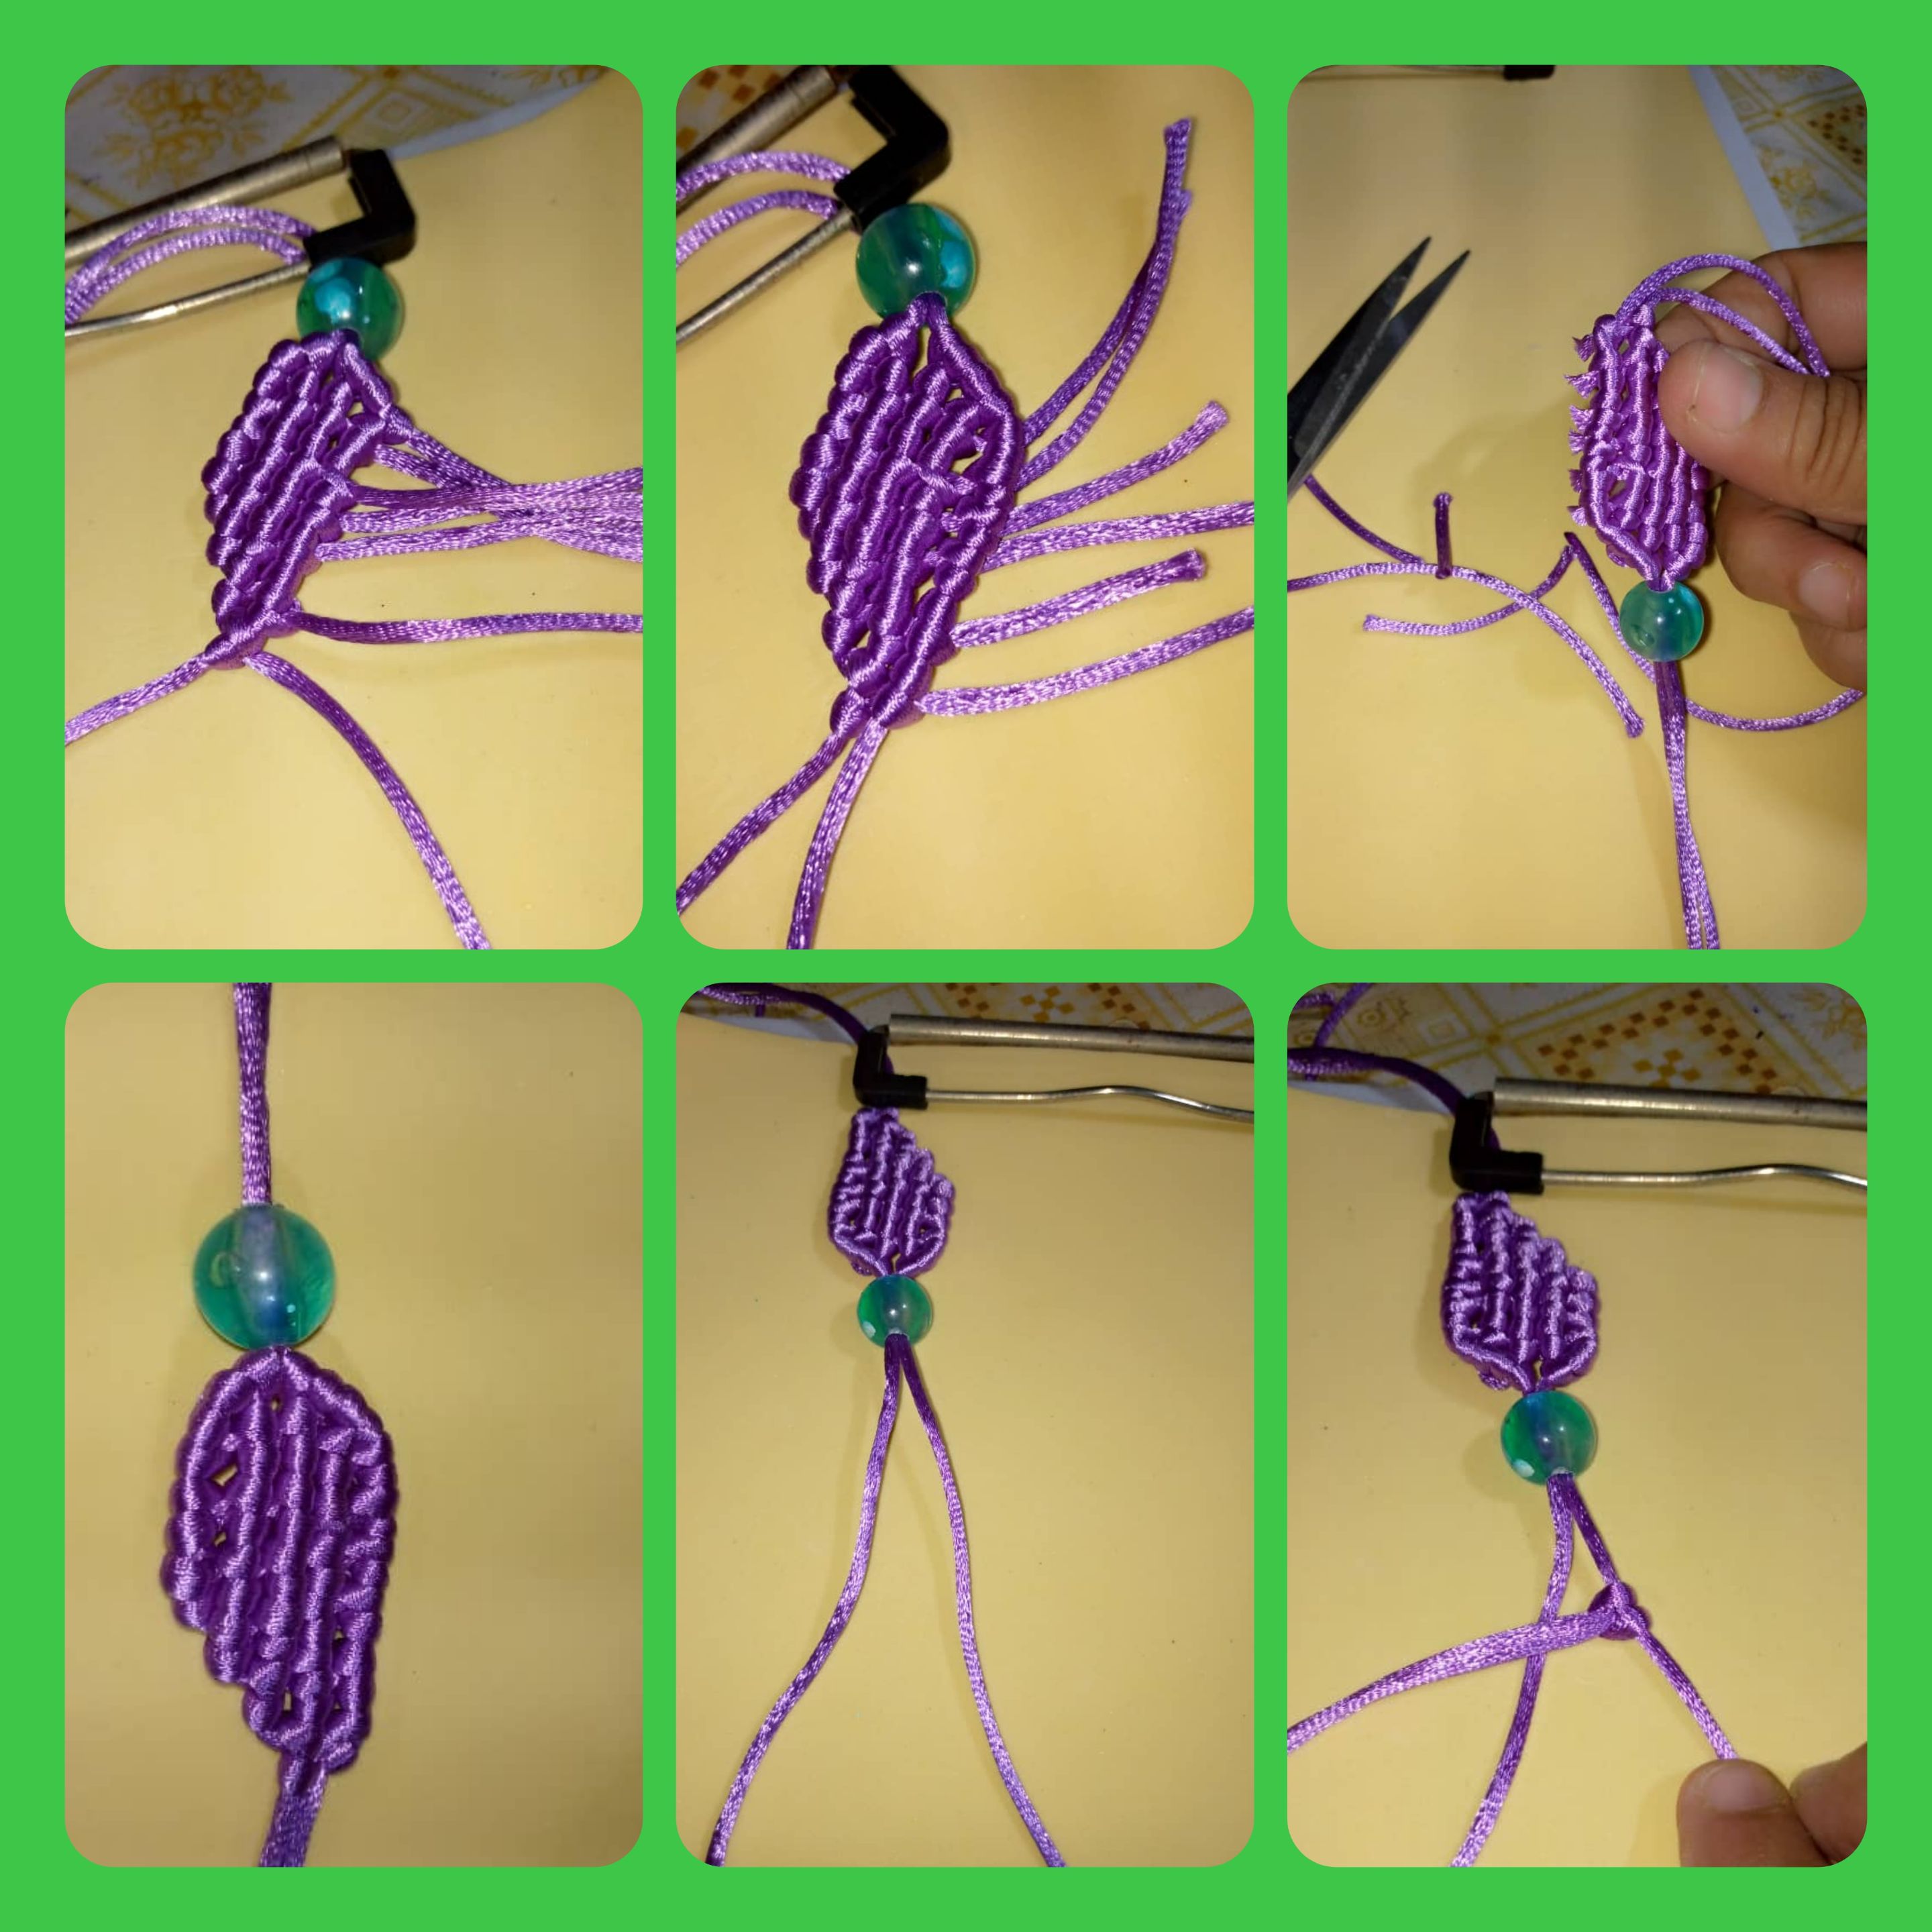
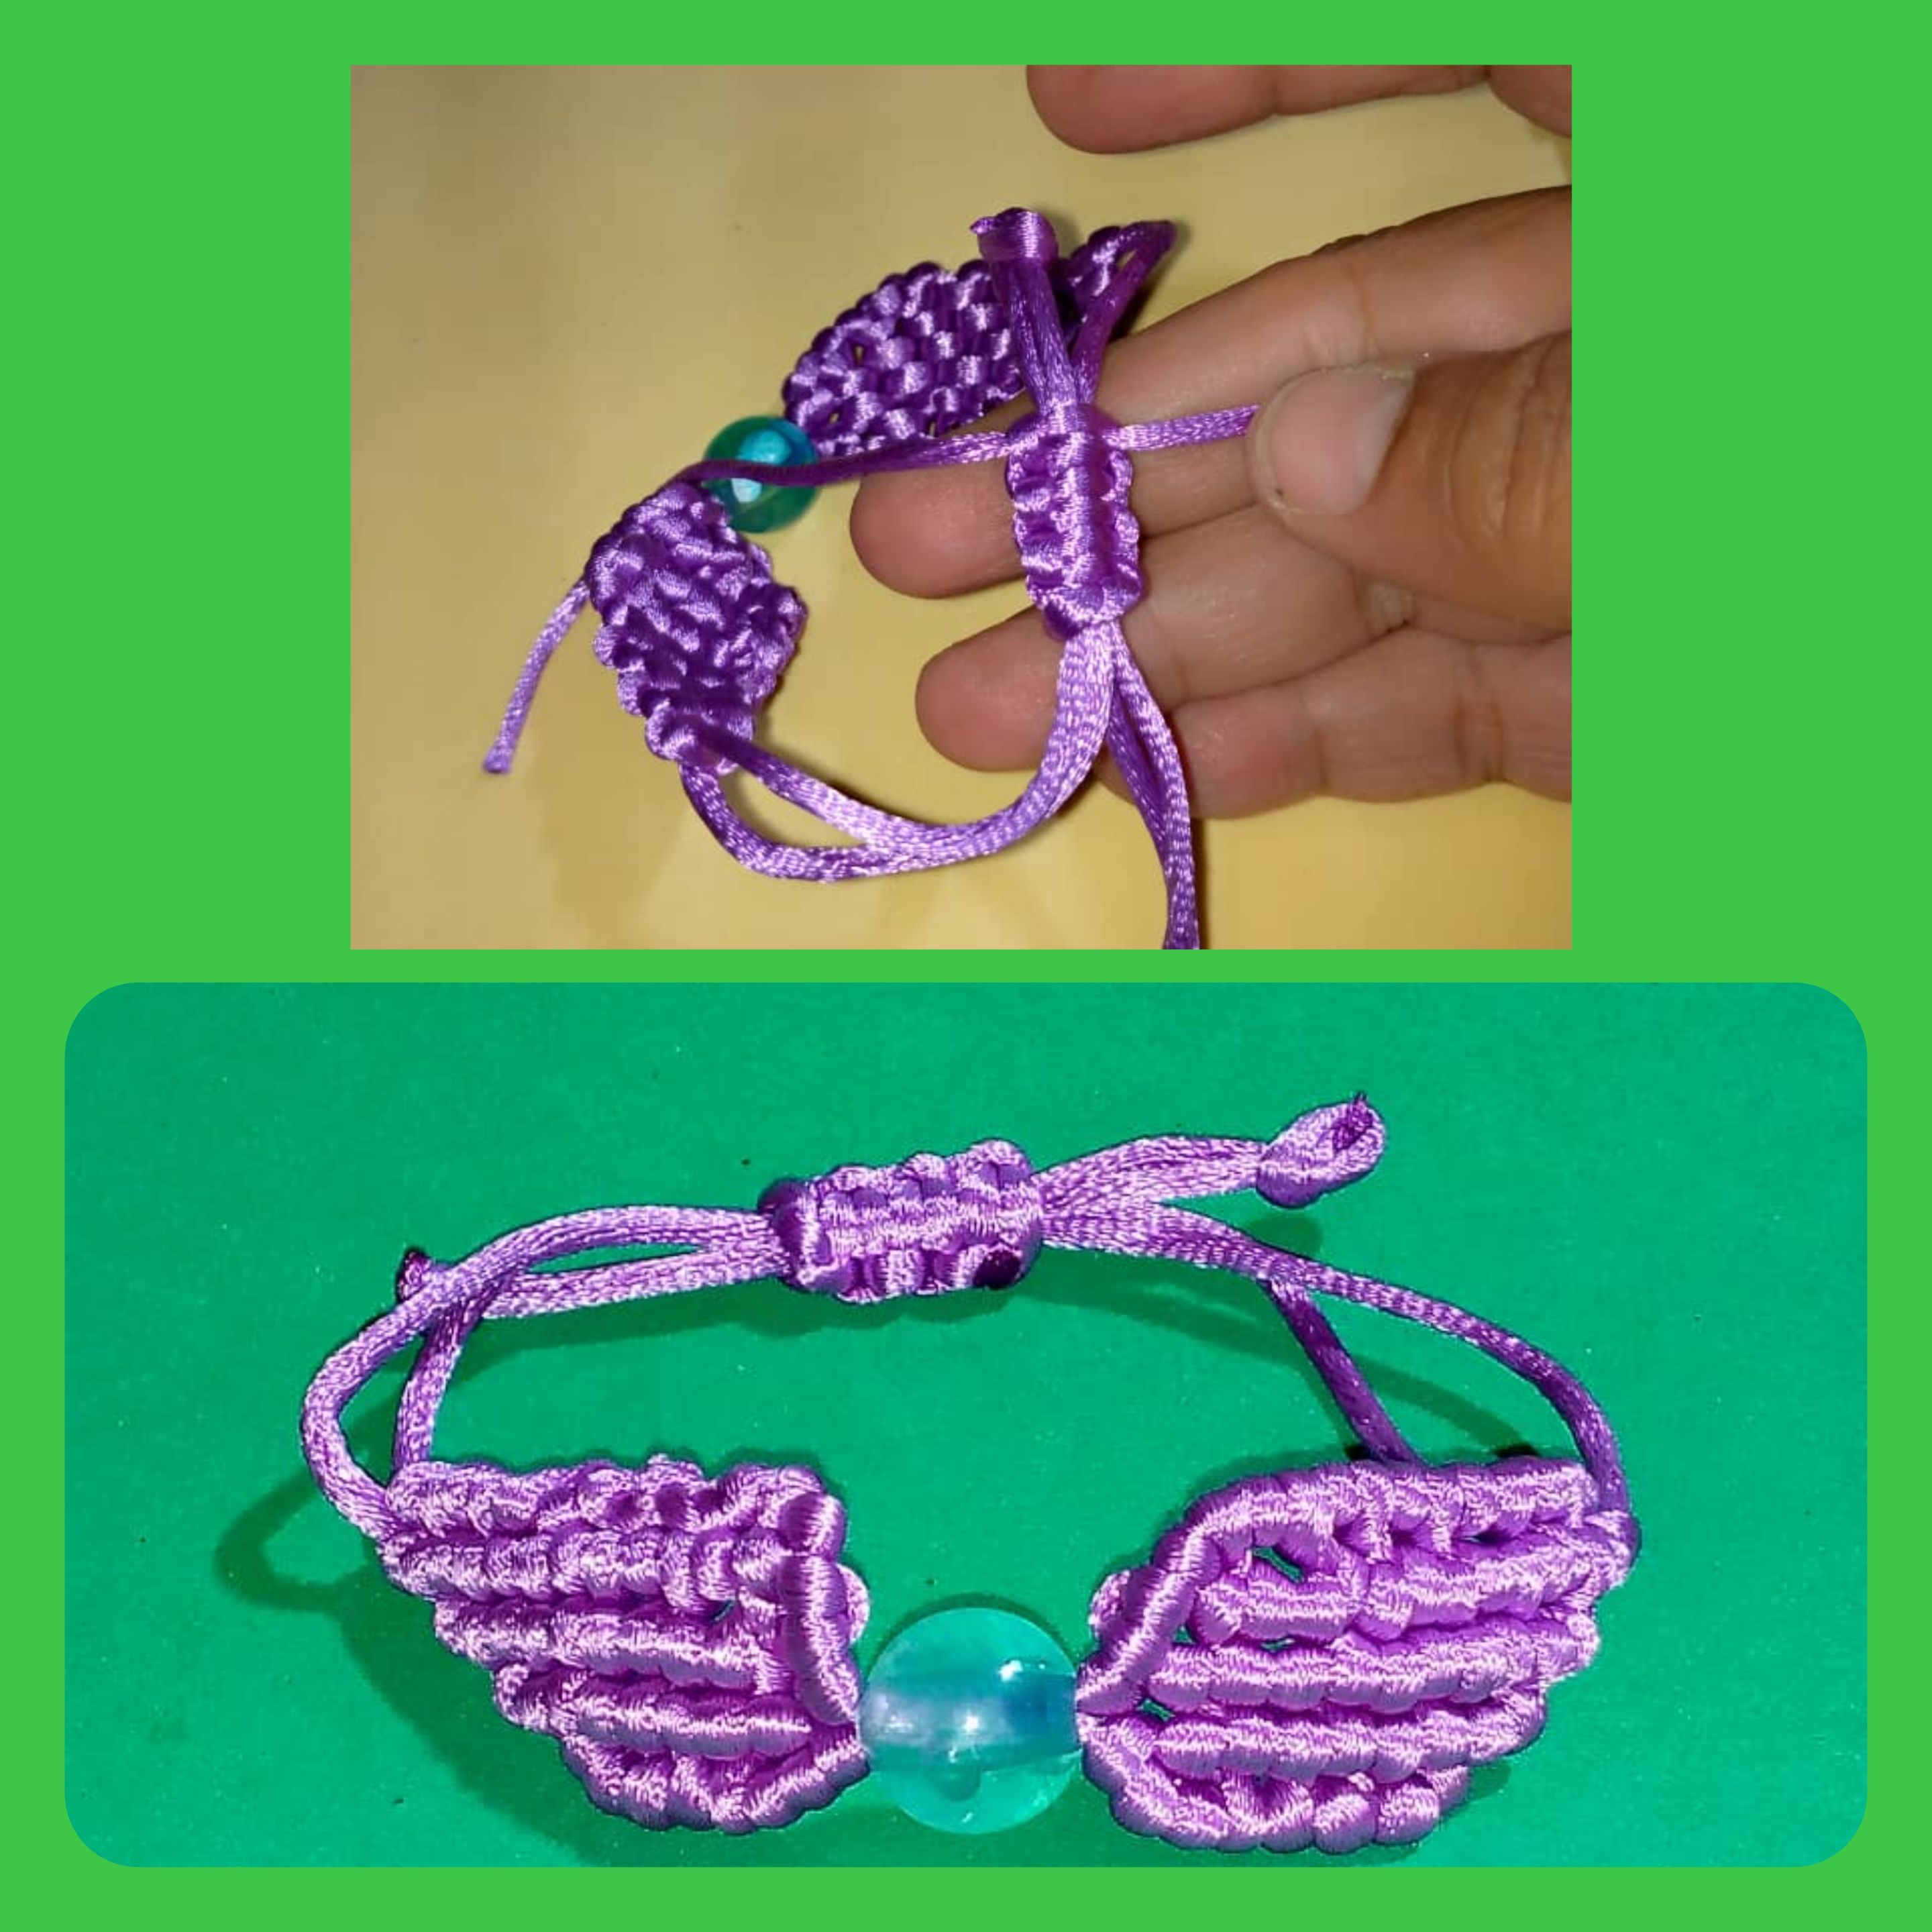
- Comenzamos tomando el primer hilo del lado izquierdo lo pasamos como hilo guía y vamos a realizar el nudo festón, pasamos el hilo por arriba y lo sacamos por el medio, así vamos a realizar dos veces, hasta llegar al último hilo, tendríamos la primera y la segunda hilera, debemos apretar los hilos.Ahora el hilo de arriba pero del otro lado o del lado derecho lo pasamos como hilo guía y hacemos lo mismo nudo festón. Con esto tenemos 3 hileras , continuamos con la siguiente del lado derecho , hacemos nudo festón, así vamos a seguir hasta tener 5 hileras, cortar los hilos con la tijera y quemar con el yesquero.
- We take a 35 cm thread, we are going to make a lark's knot.
- We take the thread, embrace the central thread, fold it and introduce the two threads and pull through the hole, tighten enough, then one of the threads or the top one, surround the thread at the top and put it through the hole, also the bottom one we do the same.
- We place another thread of 35 cm and do the same. Now the thread of the other side or central, we place in the same way another thread of 35 cm.
- We start taking the first thread from the left side we pass it as a guide thread and we are going to make the festoon knot, we pass the thread through the top and take it out through the middle, so we are going to do it twice, until we reach the last thread, we would have the first and second row, we must tighten the threads, now the thread from above but from the other side or from the right side we pass it as a guide thread and we do the same festoon knot. With this we have 3 rows, we continue with the next one on the right side, we make festoon knot, so we will continue until we have 5 rows, cut the threads with the scissors and burn with the tinder.
- Ya tenemos lista la primera ala de un lado . Continuamos con la otra ala. Si del otro lado colocamos los dos hilos en el izquierdo, en esta parte colocamos los dos hilo del lado derecho y hacemos lo mismos pasos con nudos alondra y festón.
- Por último hacemos un nudo en cada punta, recortamos el excedente y quemamos con el yesquero, para realizar la tranca haremos nudos planos , cortamos un pedazo de hilo de
20 cm .Y ya está lista la hermosa pulsera.
- The first wing on one side is ready. We continue with the other wing. If on the other side we placed the two threads on the left side, in this part we place the two threads on the right side and do the same steps with lark's and scallop knots.
- Finally we make a knot in each end, we cut the excess and burn with the tinder, to make the lock we will make flat knots, we cut a piece of thread of 20 cm.
20 cm. and the beautiful bracelet is ready.
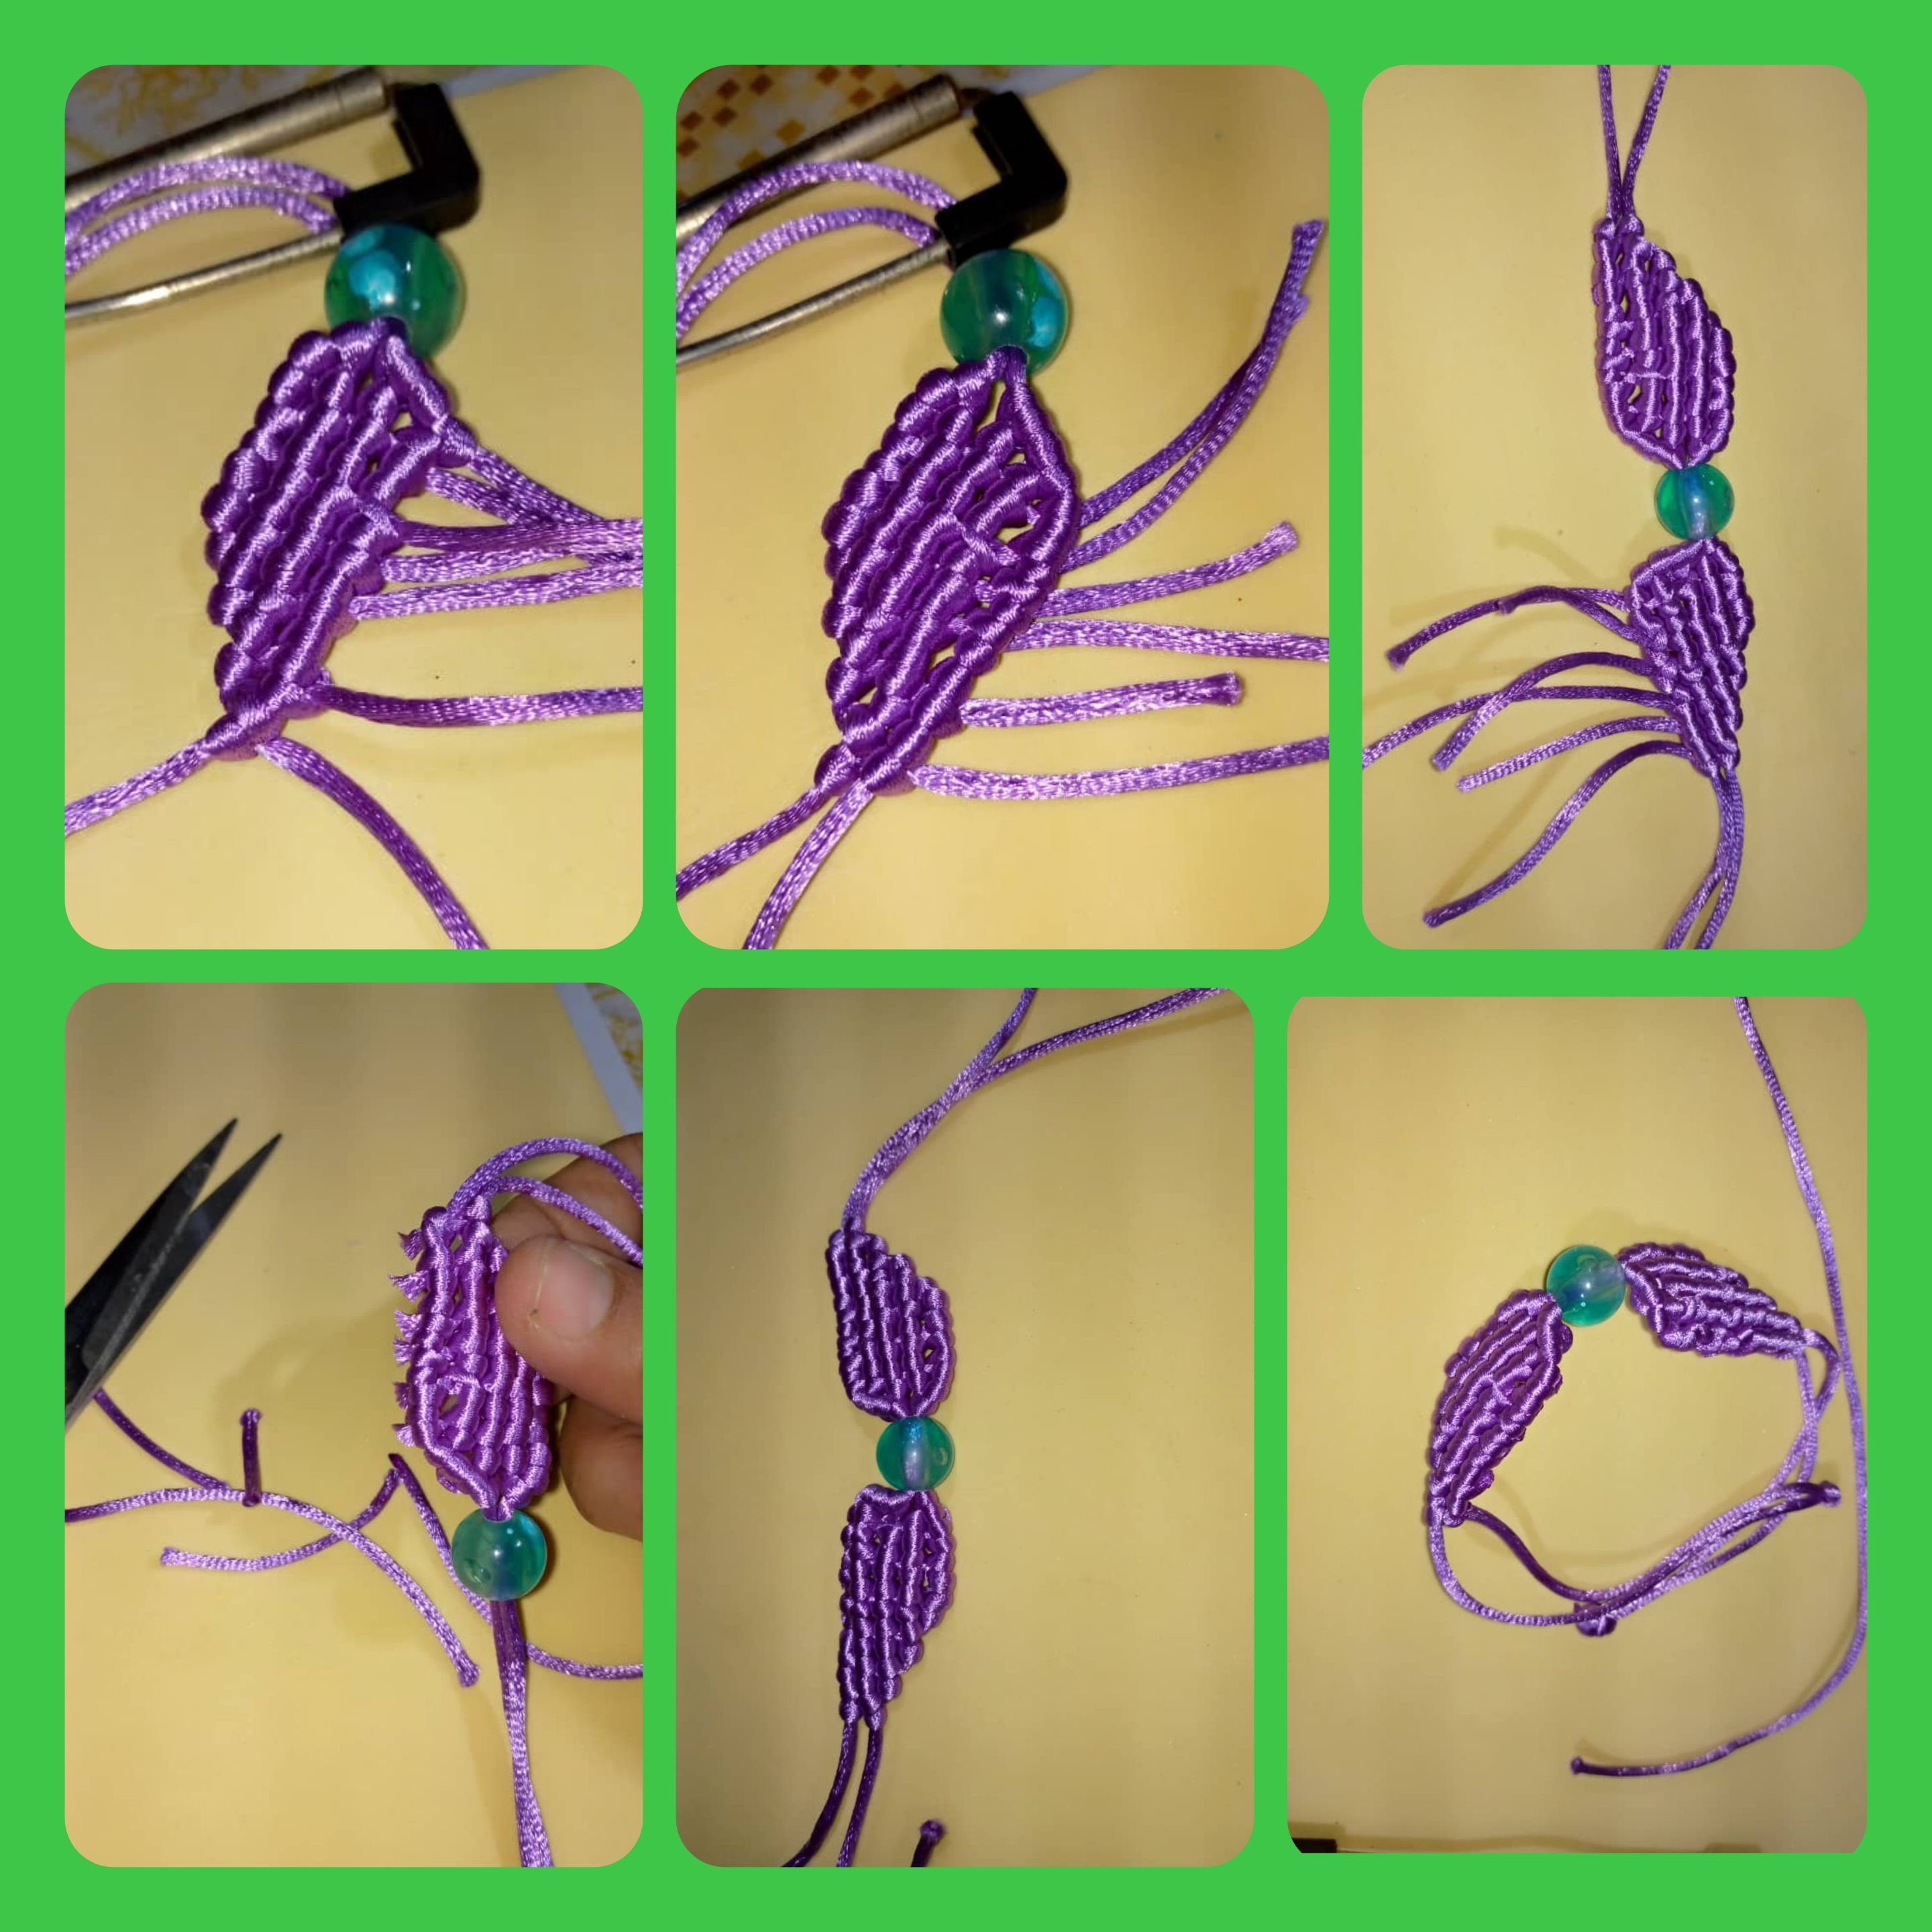
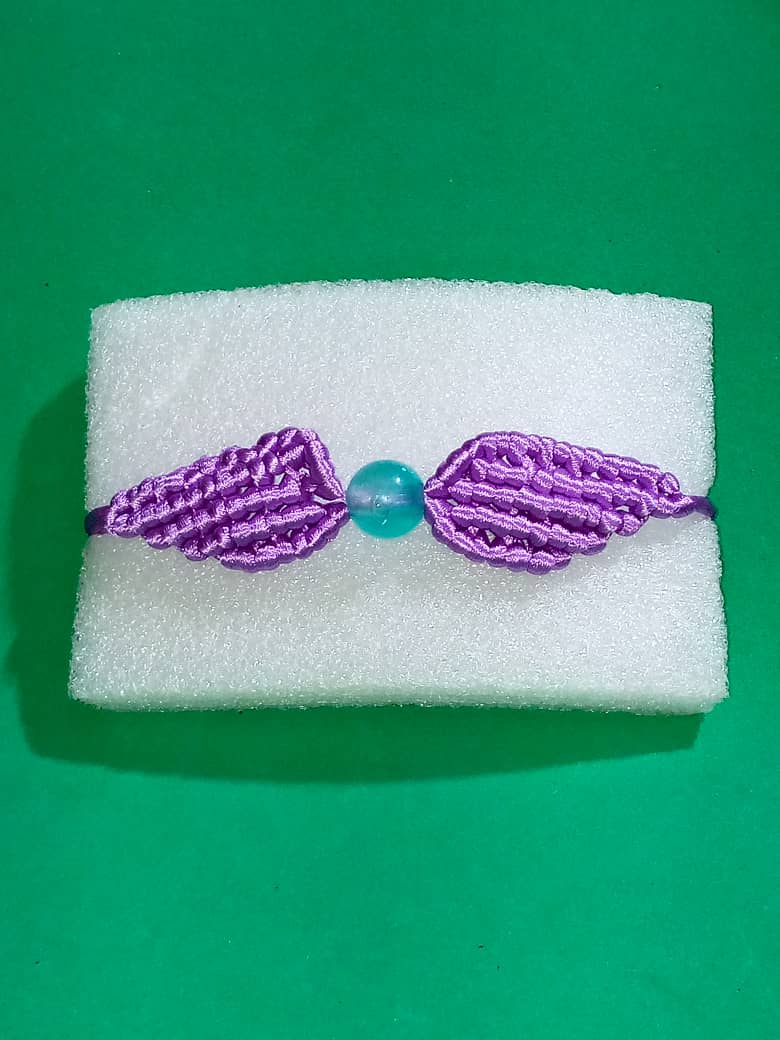
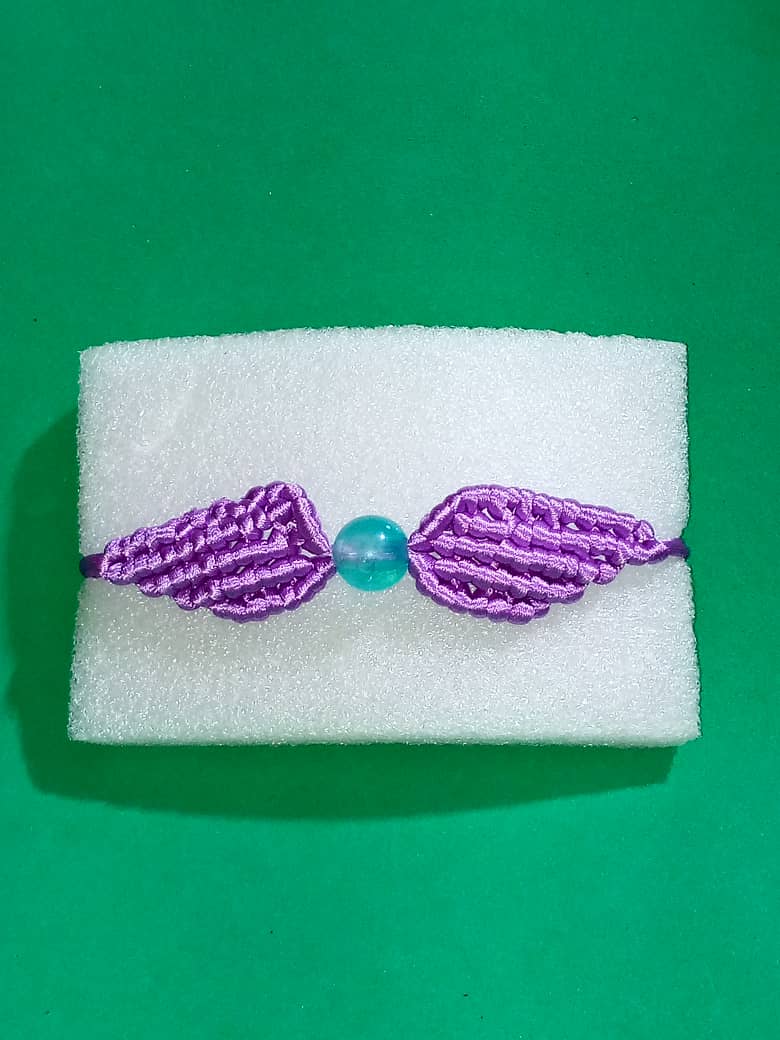
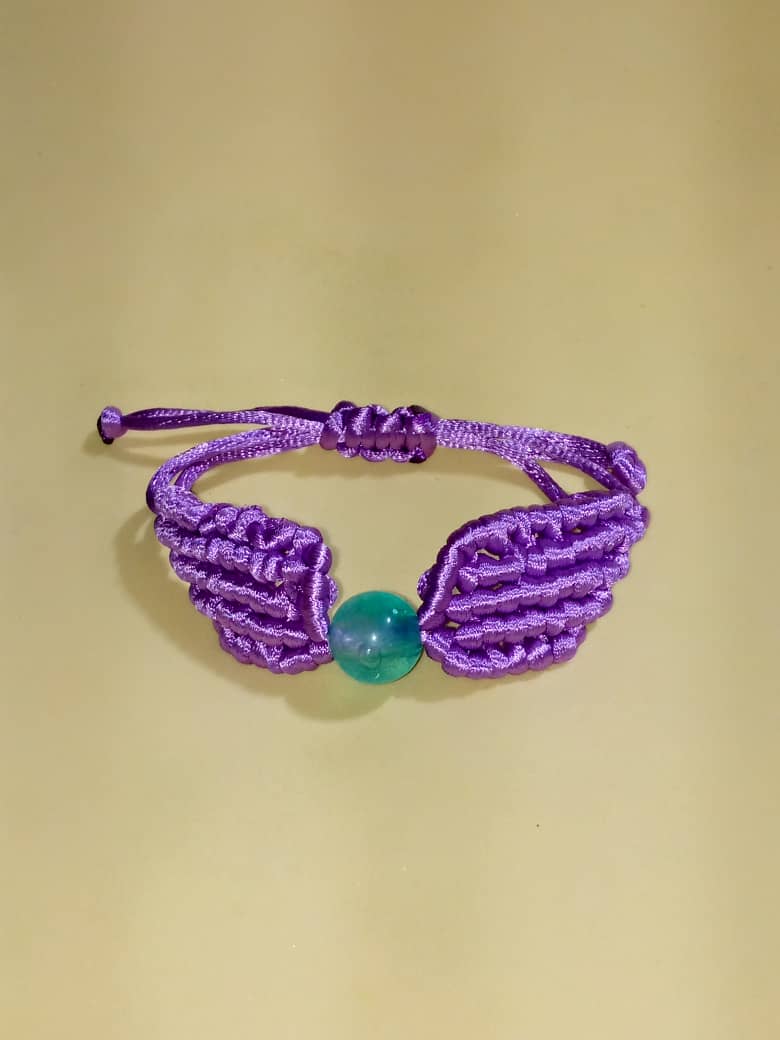
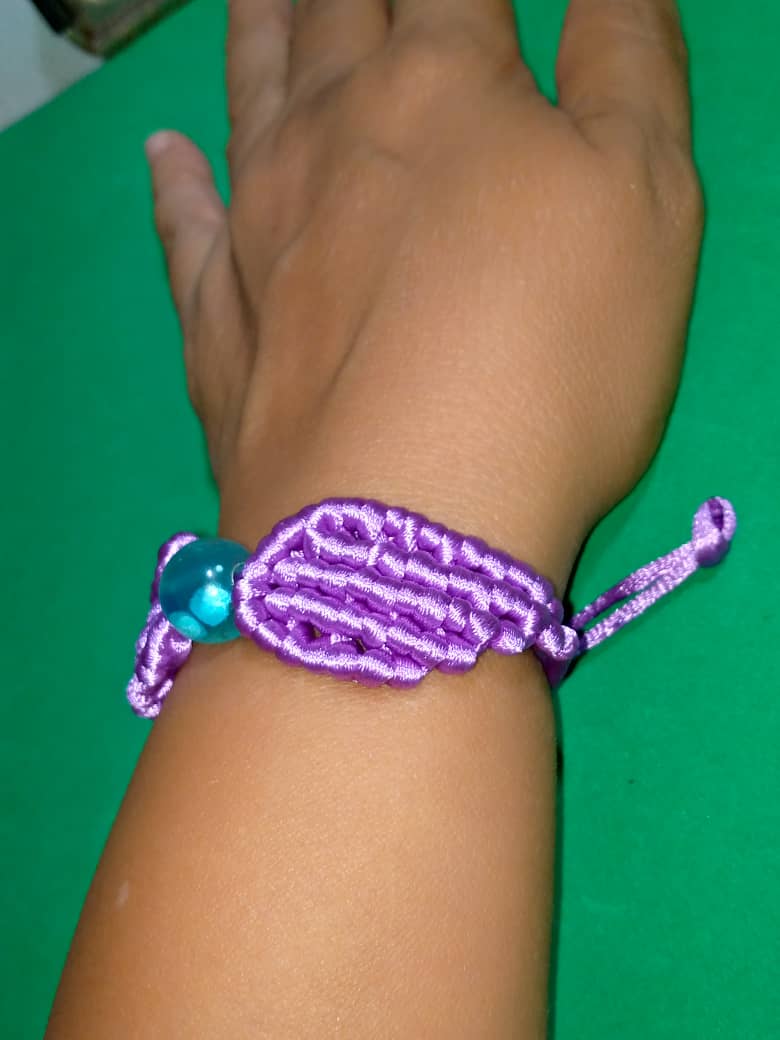
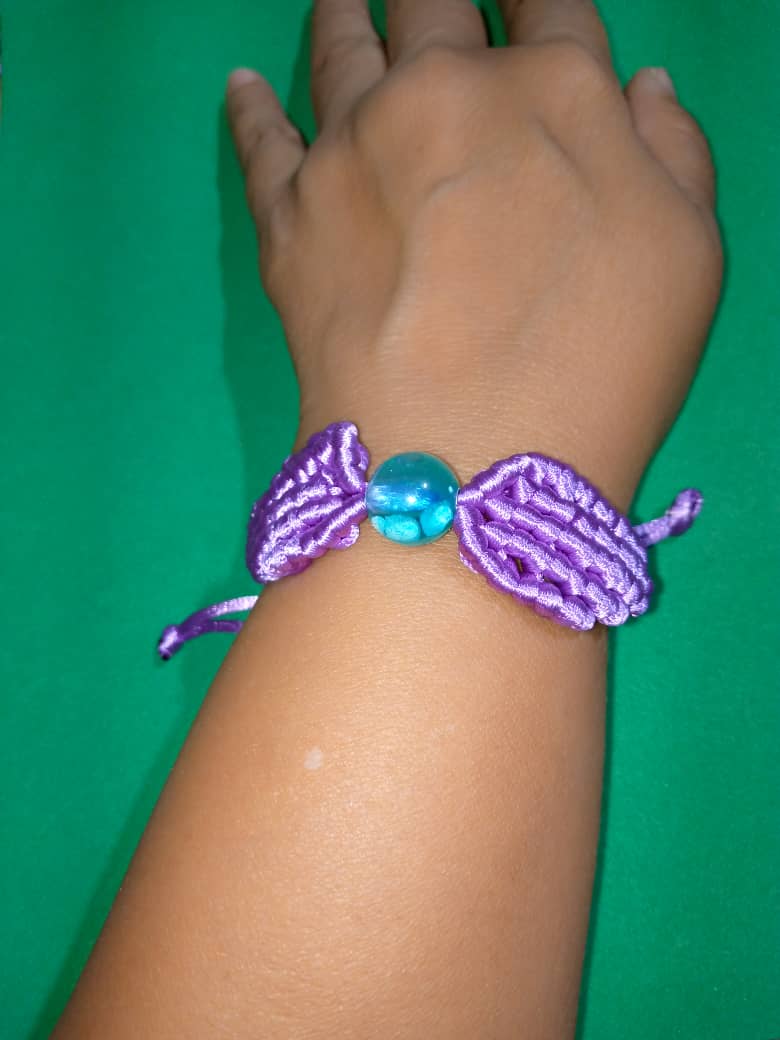
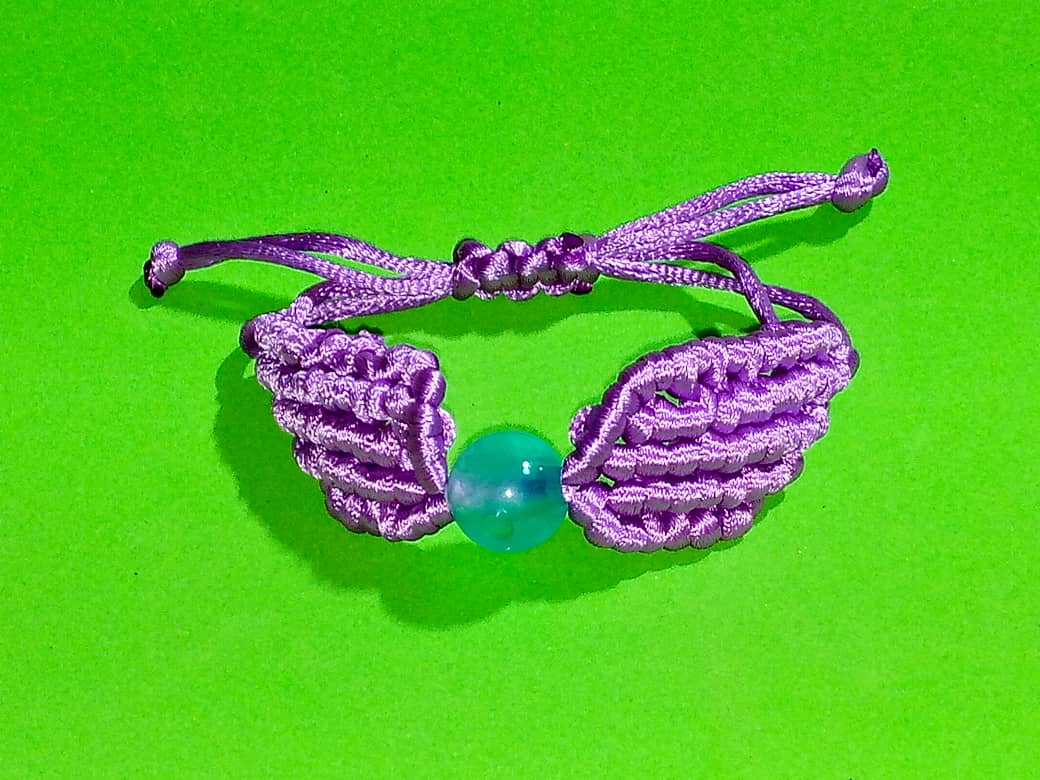
Aquí el resultado final de la hermosa pulsera en Macrame inspirado en las alas de Regal Peryton.
Here is the final result of the beautiful bracelet in Macrame inspired by the wings of Regal Peryton.
Gracias por leer mi post, espero sea de su agrado.
Las fotos son mías , tomadas con teléfono Infinix , editado con Incollage y traducidos con DEEPL.
Thank you for reading my post, I hope you like it.
The photos are mine, taken with Infinix phone, edited with Incollage and translated with DEEPL.