Electric Rabbit!
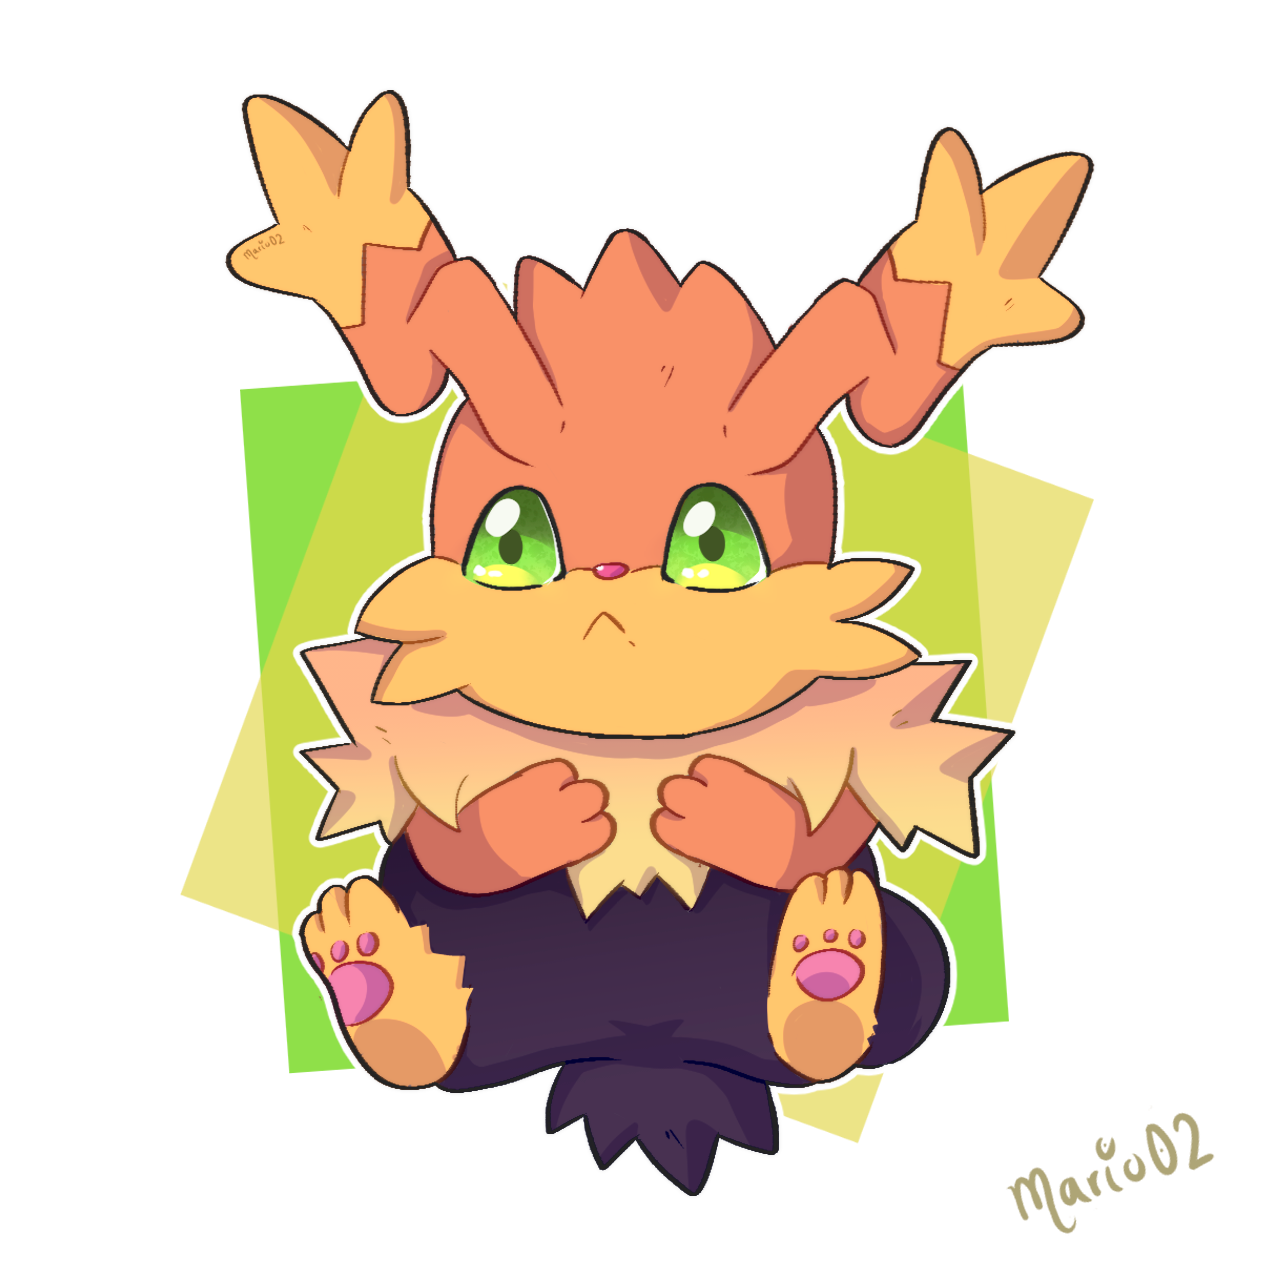
Hello again Holozing friends! 😁
Taking advantage of the night I started drawing one of my favorite Holozing characters, I'm talking about Electric Rabbit, but I wanted to go back to my roots and went back to my more chibi and kawaii style, trying to simplify the details as much as possible and taking the character to his most adorable form. I had a lot of fun making this version of the character and I'm very satisfied with the final result, I hope you like it!
Hola de nuevo amigos de Holozing! 😁
Aprovechando la noche me puse a dibujar a uno de mis personajes favoritos de Holozing, hablo de Electric Rabbit, pero quise volver a mis raíces y volví a mi estilo mas chibi y kawaii, tratando de simplificar los detalles lo máximo posible y llevando al personaje a su forma mas adorable. Me divertí mucho haciendo esta versión del personaje y estoy muy satisfecho con el resultado final, ¡Espero les guste!

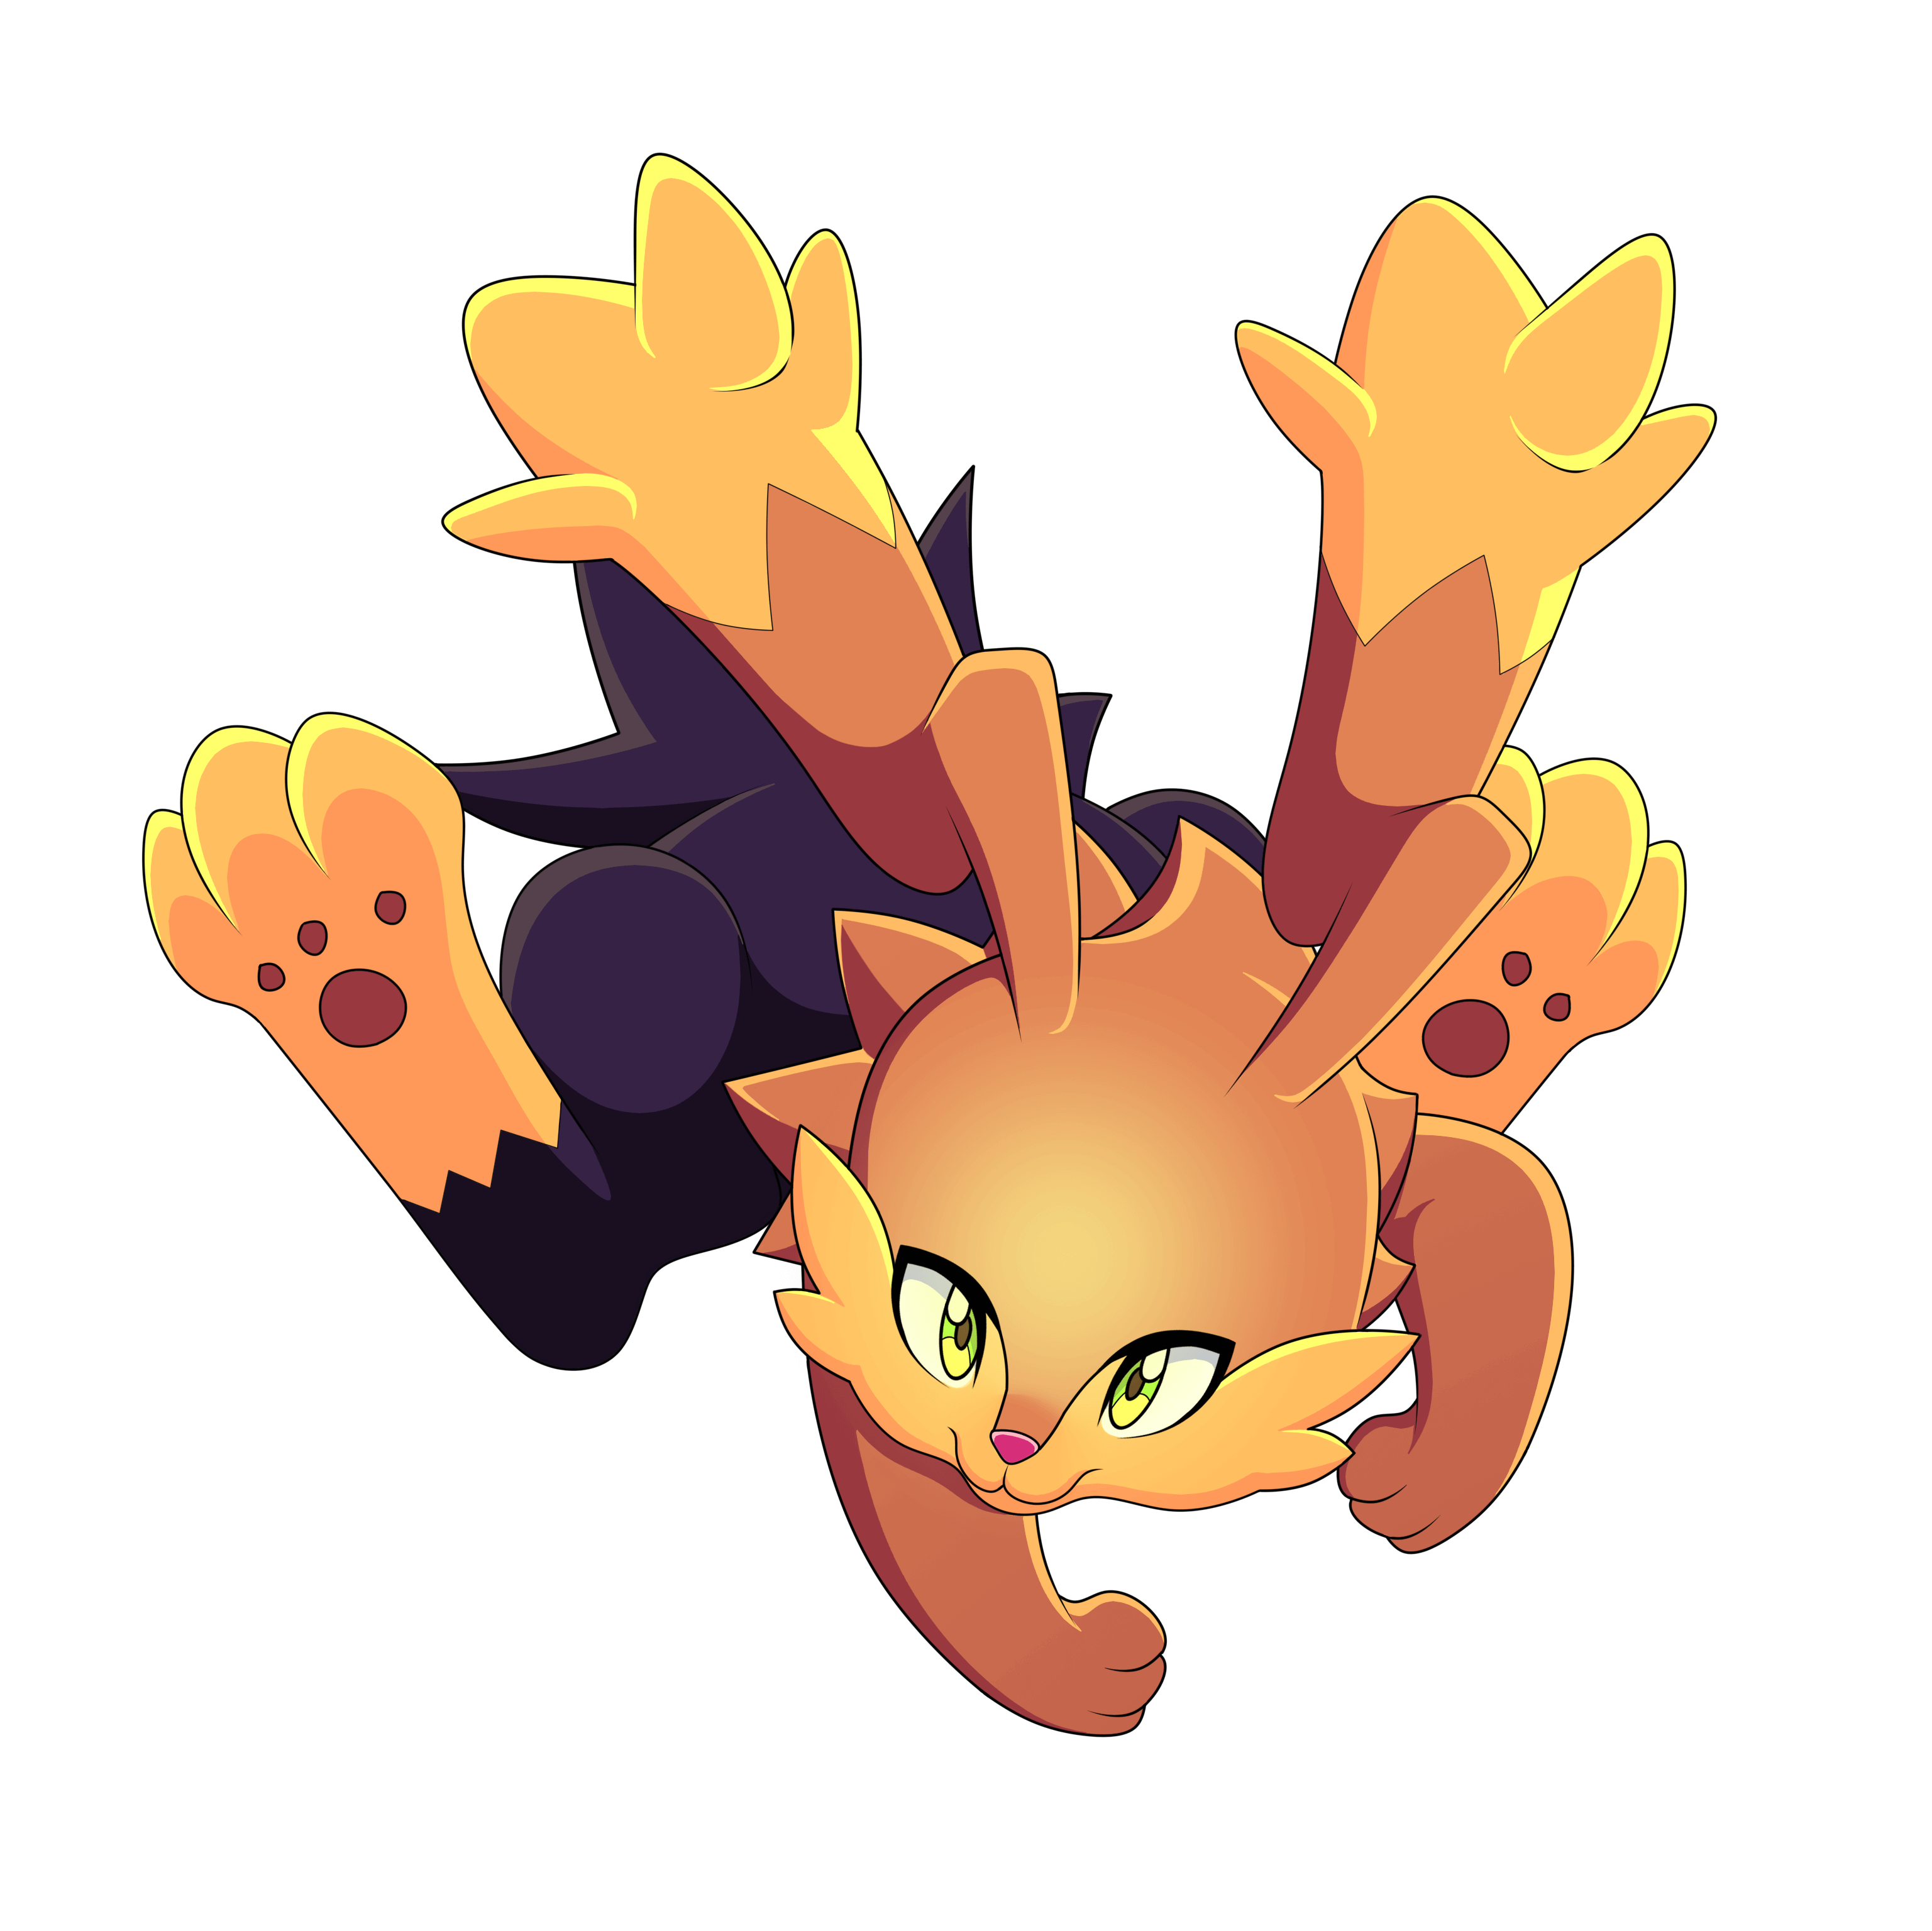
REFERENCE
Creative Process | Proceso Creativo📘✏️
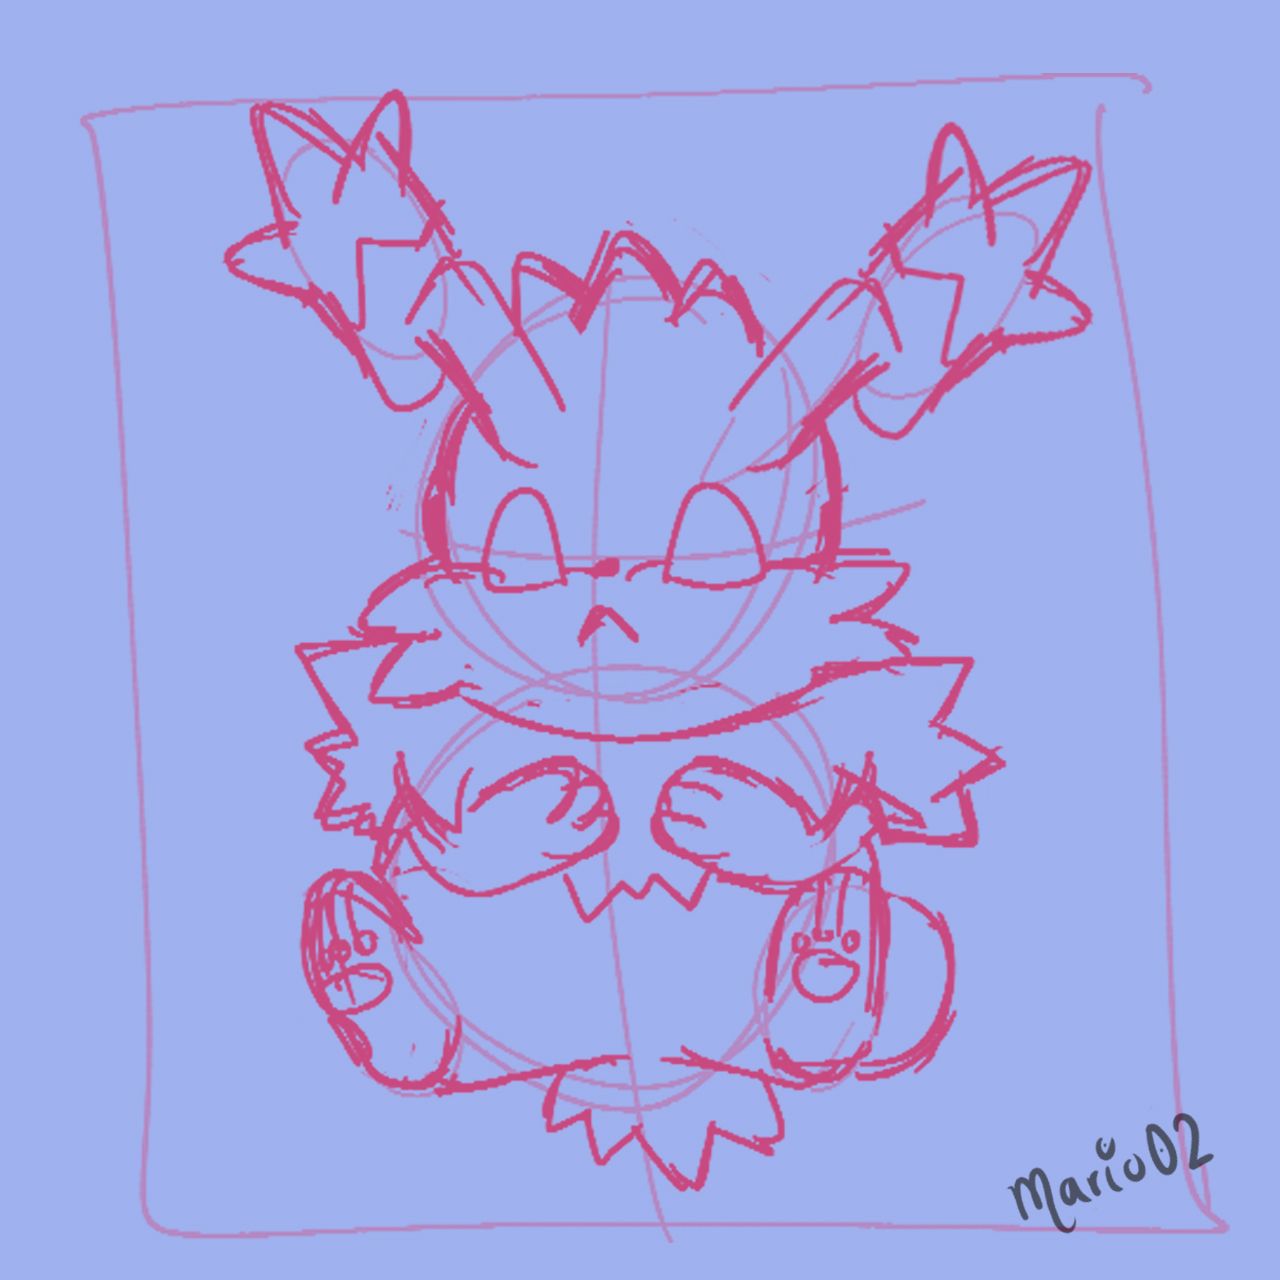
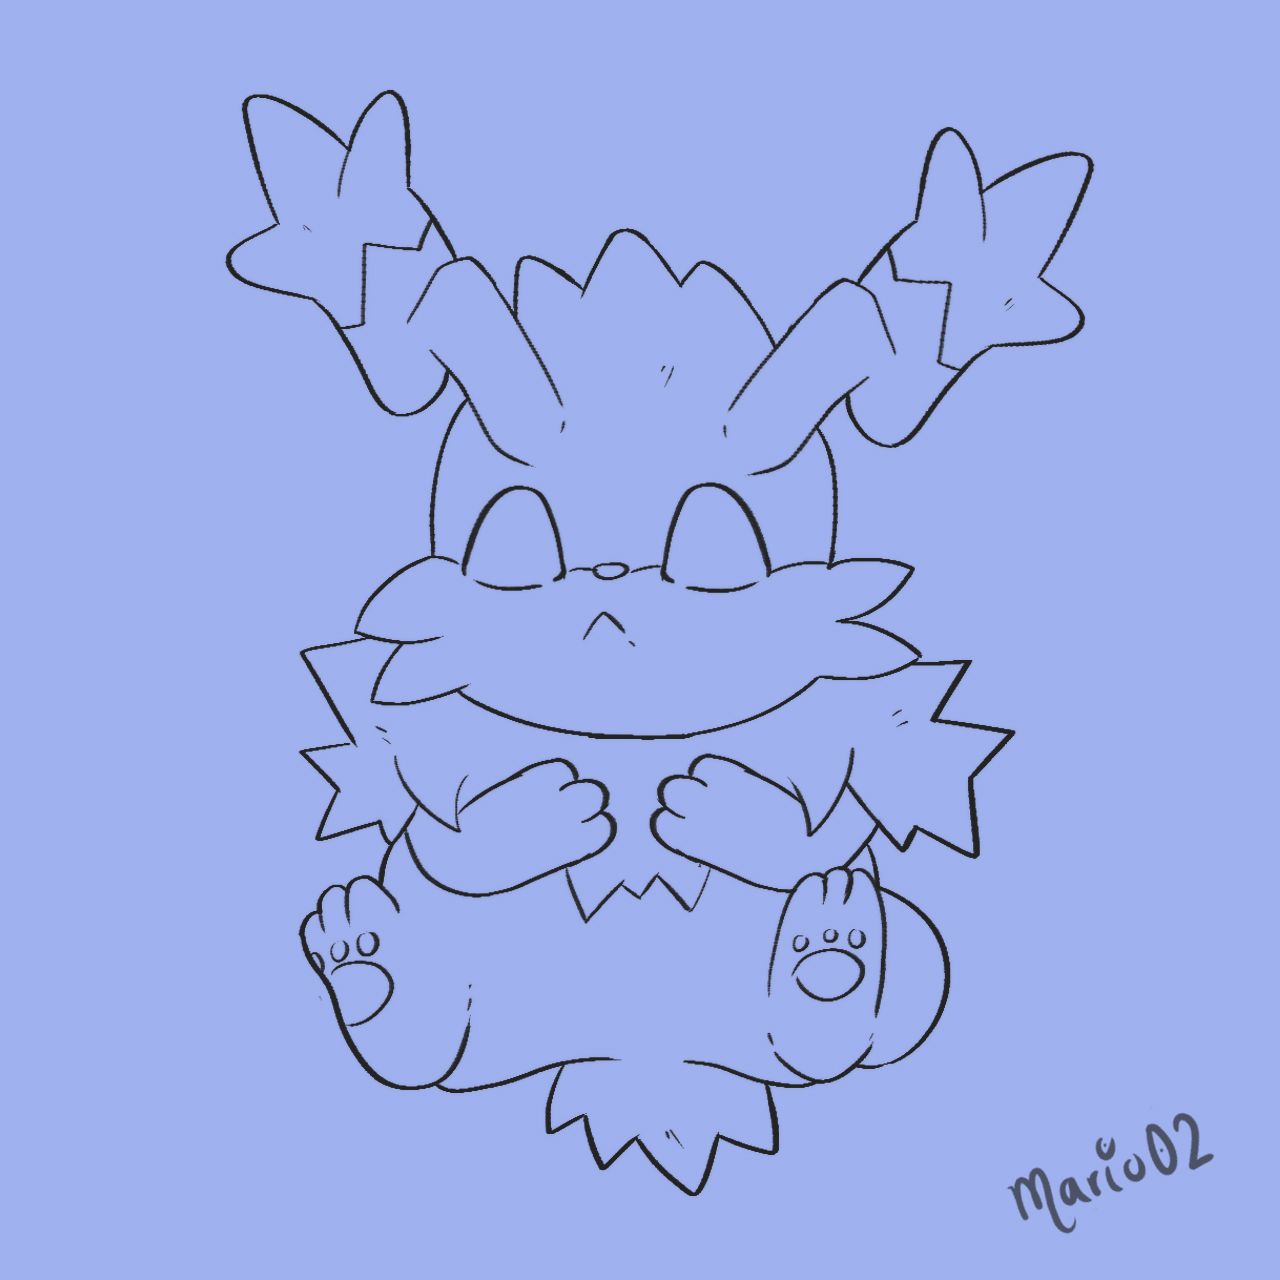
I started by making a thumbnail sketch of the character, in this step I didn't give importance to the details, I was just building the character with a brush without pressure which served me to give loose strokes, once the sketch took shape, I proceeded to clean the lines and define the character.
Comencé realizando un boceto tipo thumbnail del personaje, en este paso no le di importancia a los detalles, solo fui armando al personaje con un pincel sin presión el cual me sirvió para dar trazos sueltos, una vez el boceto agarro forma, procedí a limpiar las líneas y a definir al personaje.
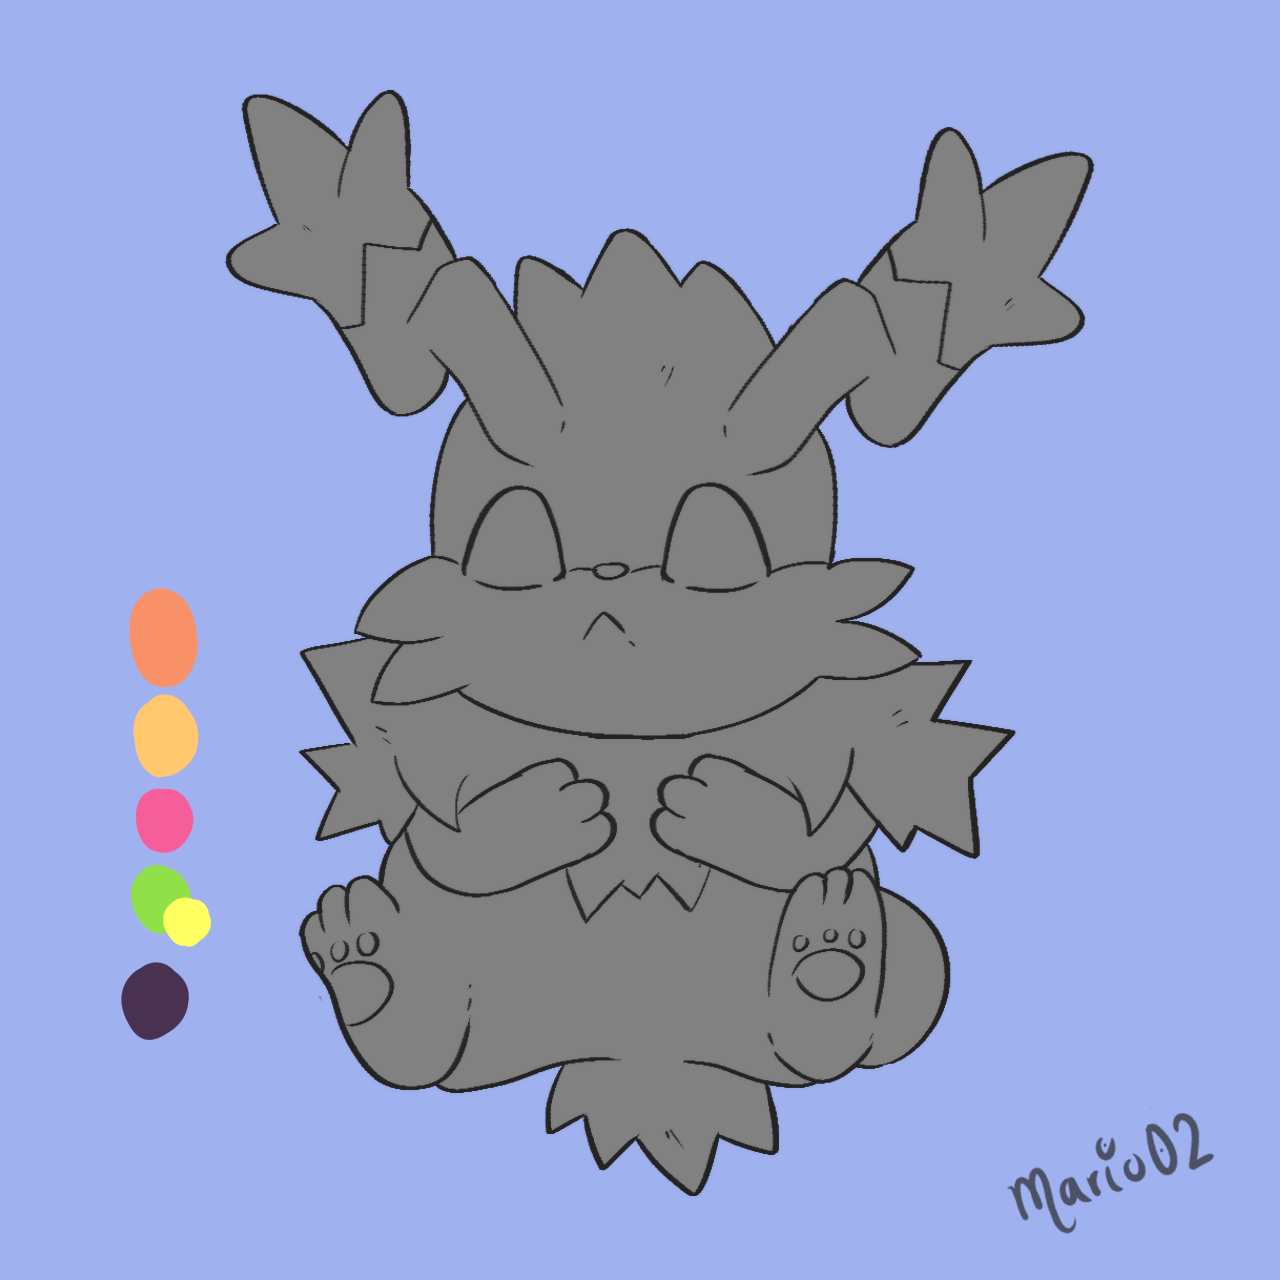
Then I created a small color palette with less saturated tones than the reference, this to give a "softer" look to the character. With a gray color I painted the whole character and started to apply the base colors in several layers separately.
Después arme una pequeña paleta de color con tonos menos saturados que el de la referencia, esto para darle un aspecto mas "suave" al personaje. Con un color gris pinte todo el personaje y comencé a aplicar los colores base en varias capas por separado.
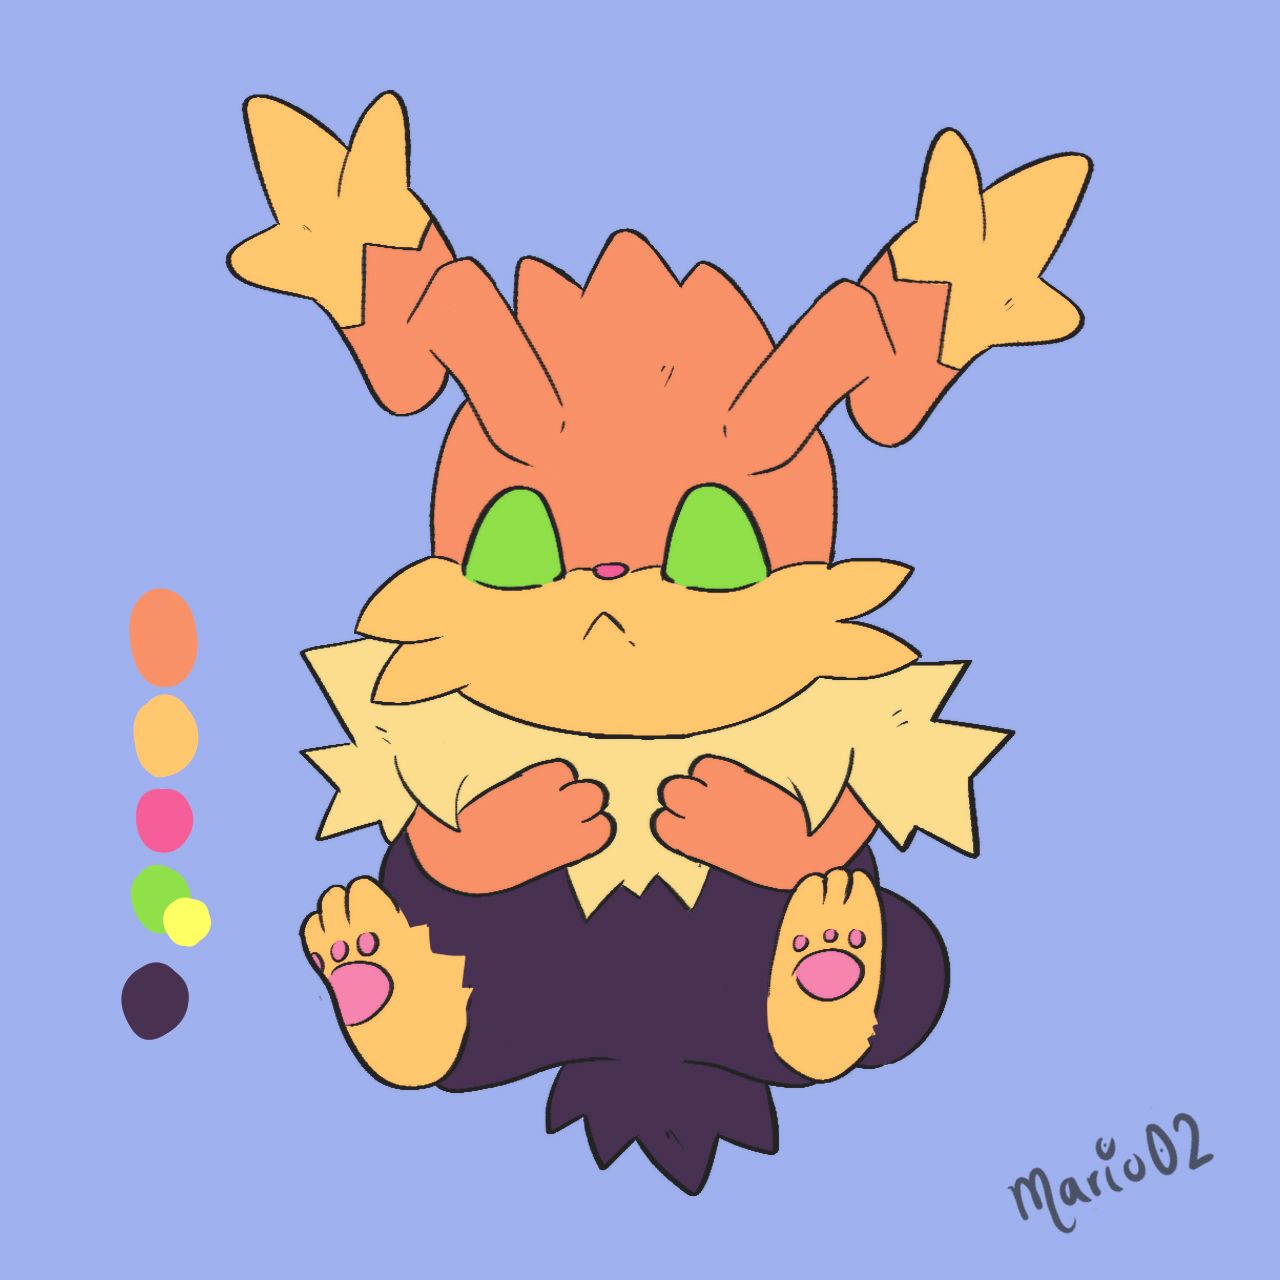
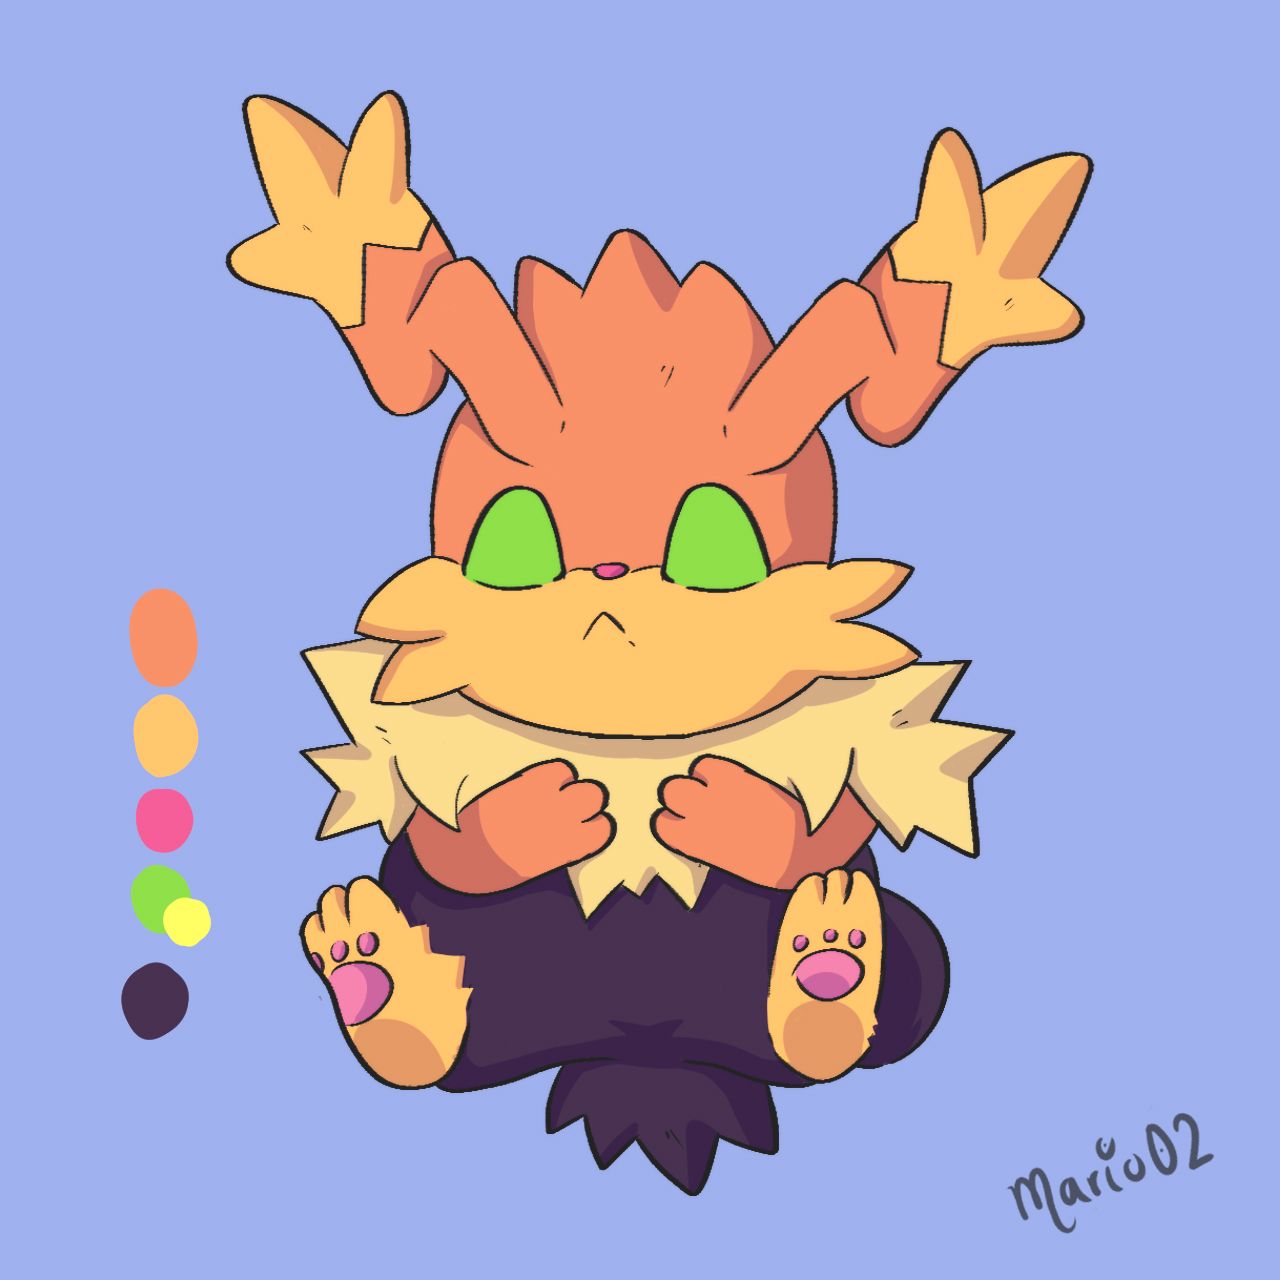
Once I had the character with the base colors I had thought of finishing the drawing and working on his eyes and that's it, but in the end I felt that something was missing, so I made a small shadow to give volume to the character but without detailing so much.
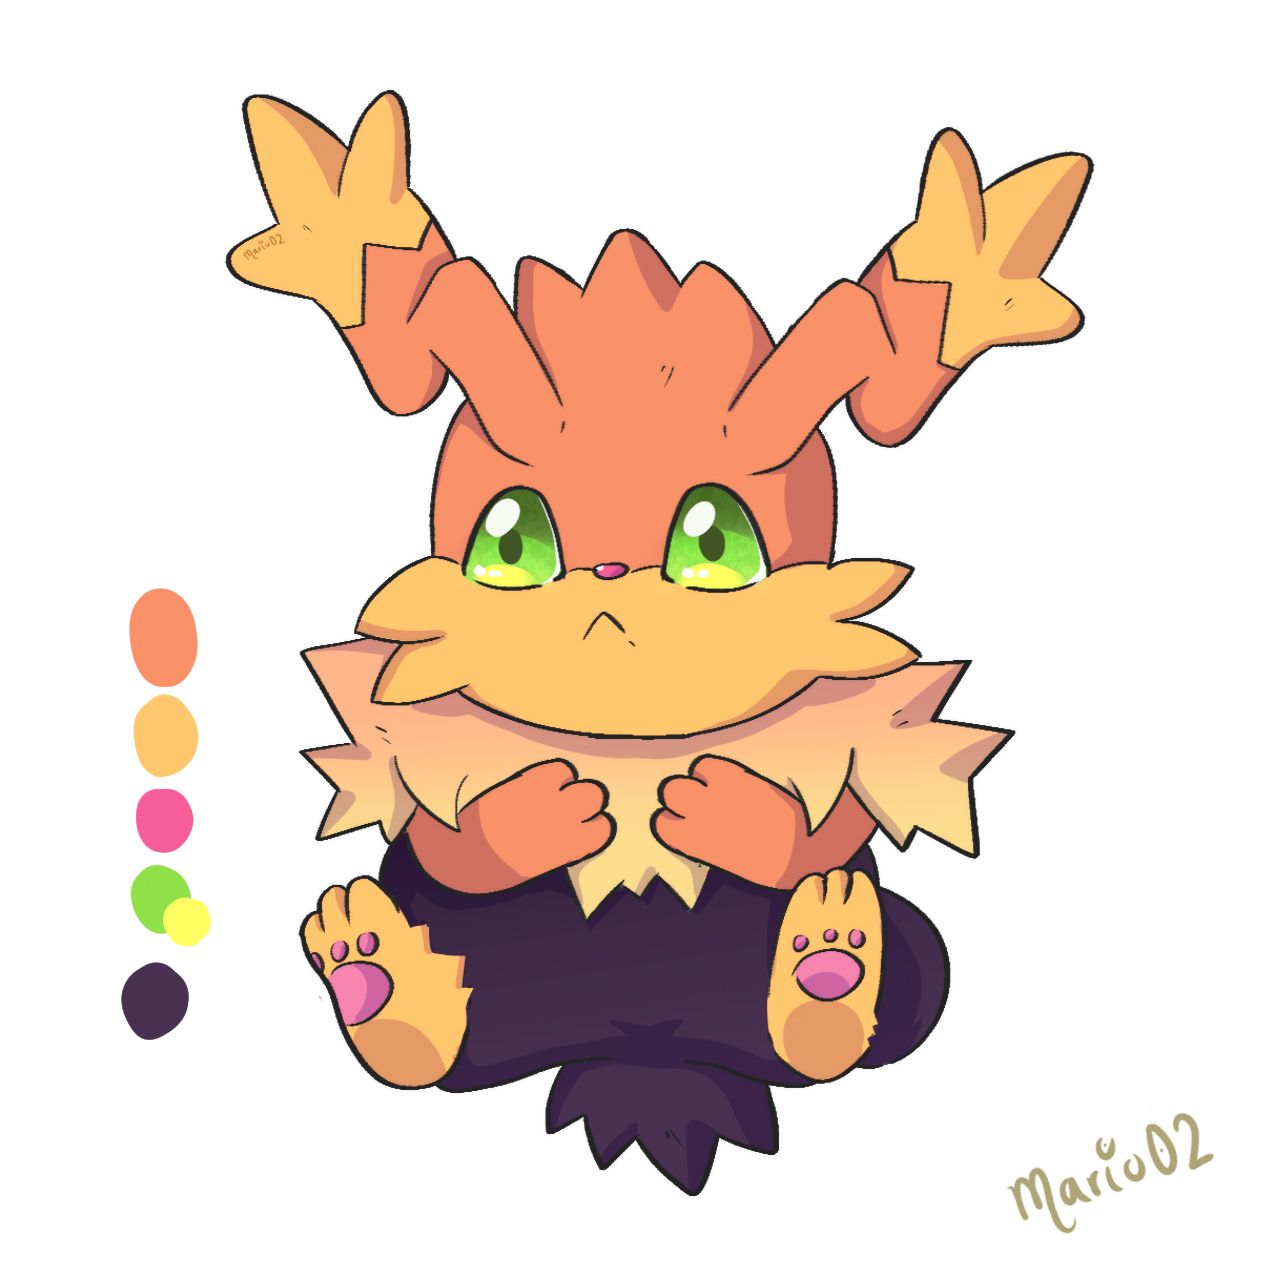
I then applied white to the background and went on to give a little more detail to the eyes, adding a shadow and some lighting to make them stand out a little more.
Una vez tenia al personaje con los colores base había pensado en culminar el dibujo y trabajar en sus ojos y ya, pero al final sentí que le faltaba algo, por lo que realice una pequeña sombra para darle volumen al personaje pero sin detallar tanto.
Luego aplique color blanco al fondo y pase a dar un poco mas de detalle a los ojos, agregando una sombra y un poco de iluminación para que destacaran un poco mas.
Final Art | Arte Final
Finally I worked on the final details, here I made some corrections in the tones of the character and also made a small background using some of Clip Studio's free resources.
Thank you very much for all the support and see you next time! 🙏
Como último paso agregue unos rectángulos superpuesto al fondo de la ilustración y también aplique color a las líneas del personaje, lo que le dio un acabado suave y agradable a la ilustración.
¡Muchas gracias por todo el apoyo y hasta la próxima! 🙏


Join Here!
Tools Used | Herramientas Utilizadas:
- Photoshop CC versión 64 bits
- Clip Studio Paint
- Tablet Huion H610 PRO V2

The illustration and separators used in the post are my property.
Translated with DeepL (free versión)