Moist choco peanut cake / Pastel húmedo de choco maní
Good evening friends of the @foodiesbeehive community, I hope you had a nice day full of blessings for each of you who read and write to me. Thank God I am in good health and in good spirits.
Once again I meet with you in this beautiful community of lovers of good taste to share with you a recipe for a delicious moist choco peanut cake. It is a type of cake that the vast majority of people like very much, they request it for different meetings and sharing of high category, for the moist, the flavor and aroma that it presents.
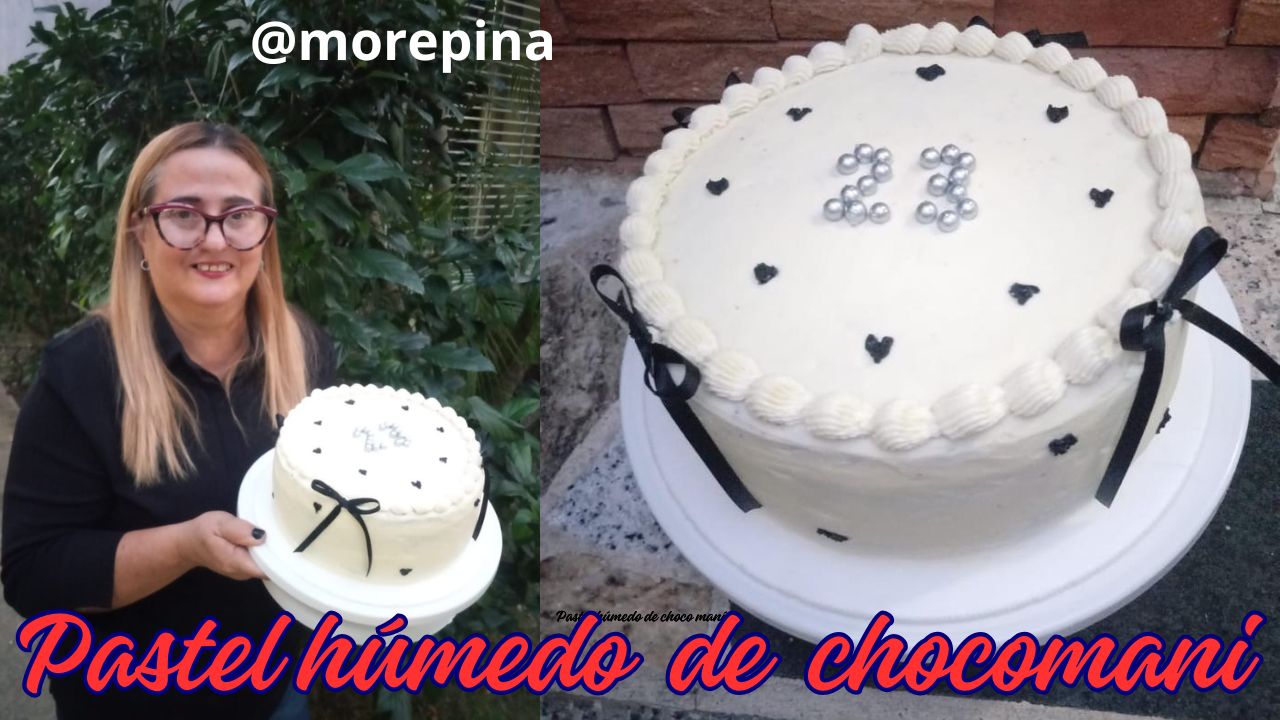
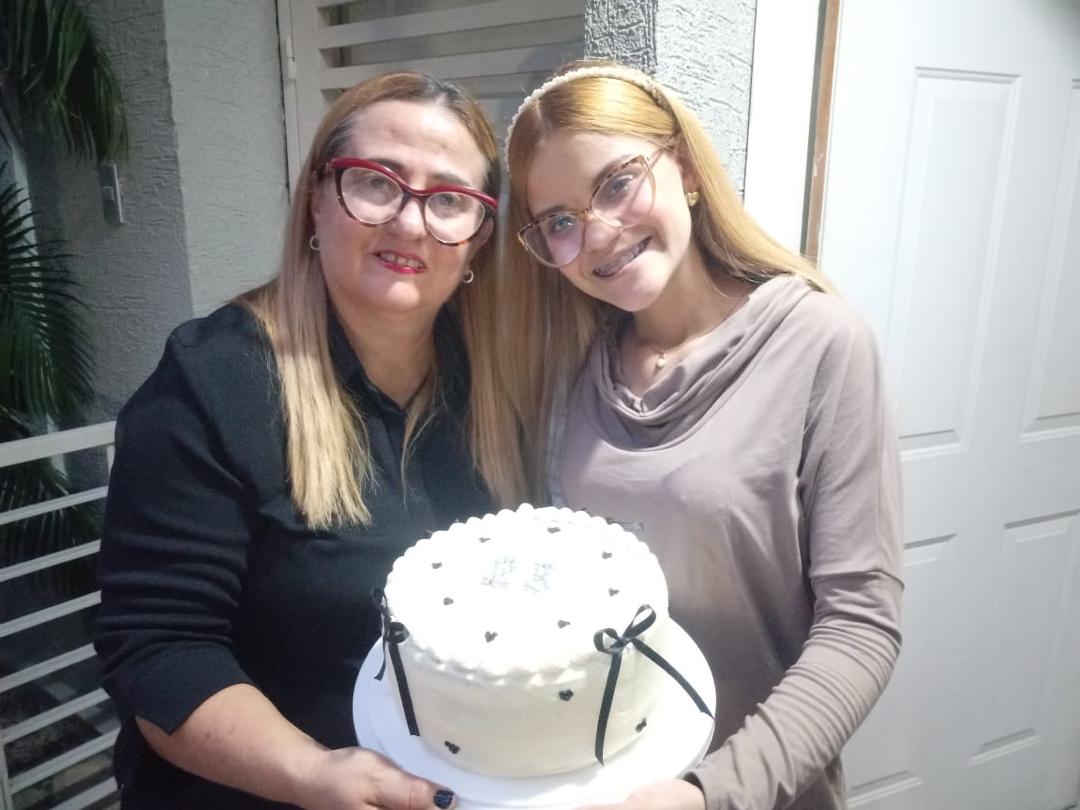
This time the one I am going to present to you I made it for my daughter's birthday, she requested it just as I am going to present it to you and I prepared it according to her request.
I want to offer you my recipe, when I say my recipe is because it is a recipe of my own, the one I learned in the baking courses I have been adapting it to my own taste. It is a type of cake that can be enjoyed on any occasion, even for a snack with a cup of coffee is perfect, using inexpensive ingredients and easy to get.
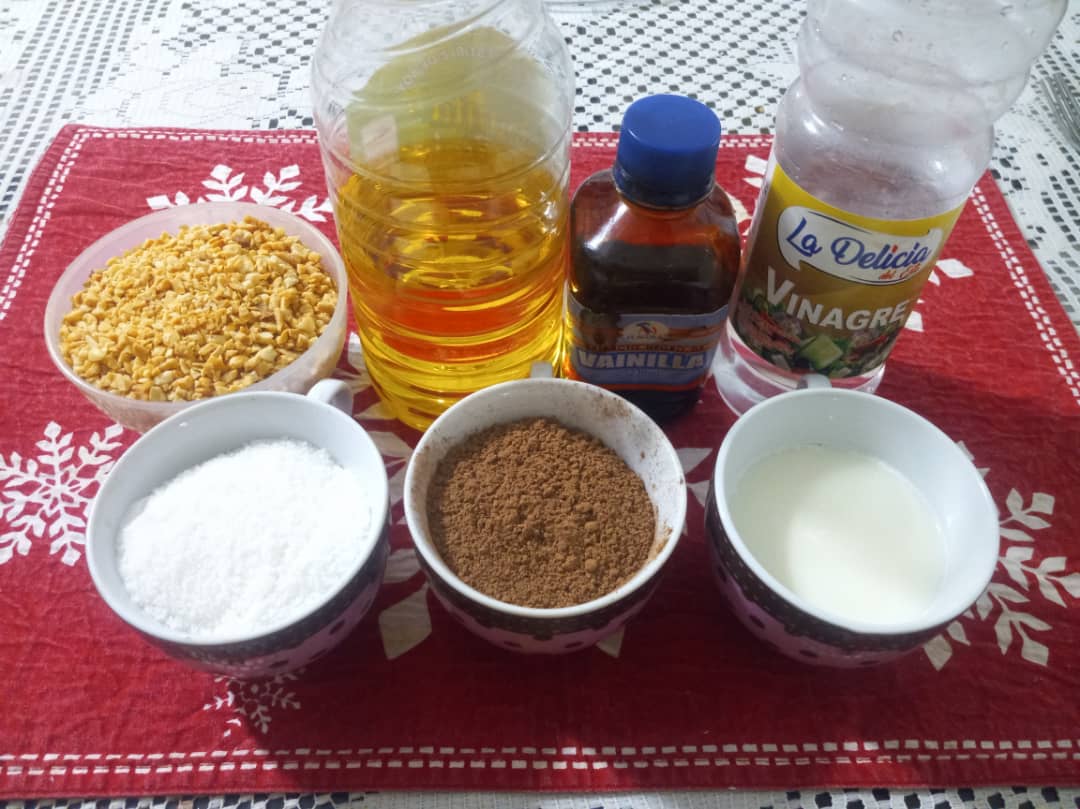
Here are the recipes for the Cake, the [Butter cream](https://peakd. com/hive-120586/@morepina/join-me-i-teach-you-how-to-make-heat-resistant-buttercream-eng-esp) and the recipe for the Cocoa cream that I have published in previous posts and you can refer to it to complete your recipe.
Here is the recipe. I used a mold of 20 centimeters by 10 centimeters high, it yields for 20 diners.
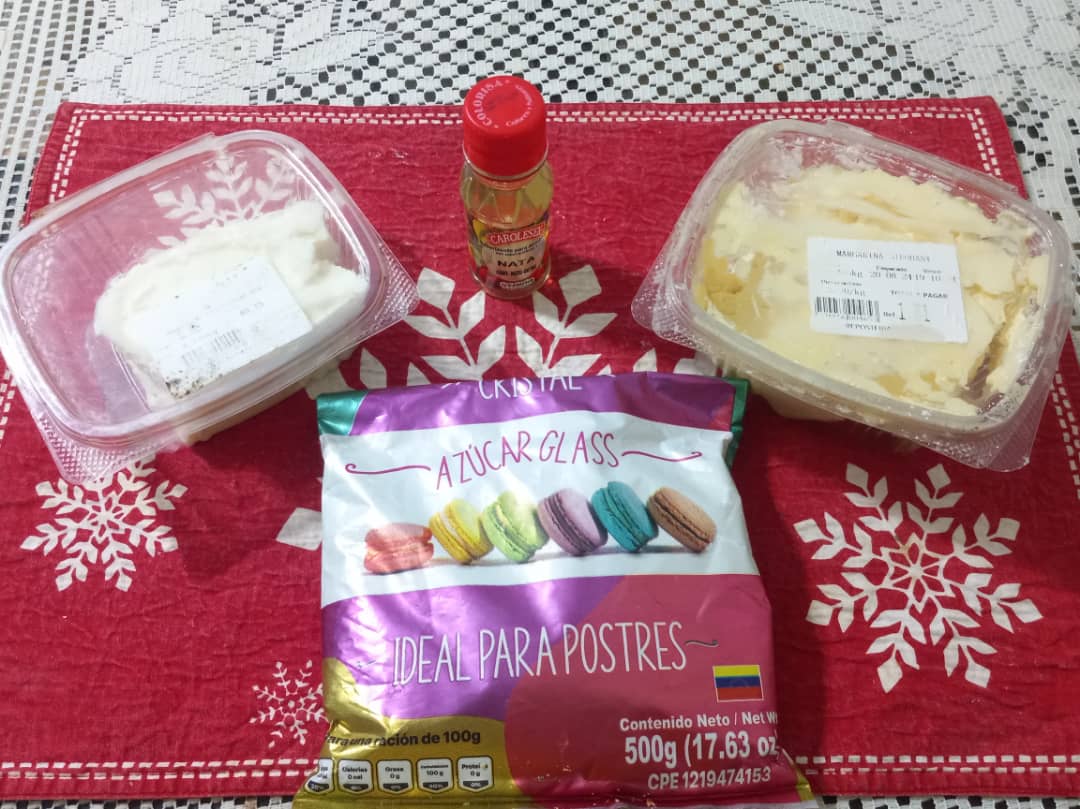
Ingredients
- A chocolate sponge cake of approximately 1,700 grams
- 400 grams of chocolate cream
- 250 ml of syrup for moistening
- 600 grams of buttercream
- Artificial coloring
- 2 meters of ½ centimeter wide fabric ribbon to make the bows
- 1 tall stick to poke all around it
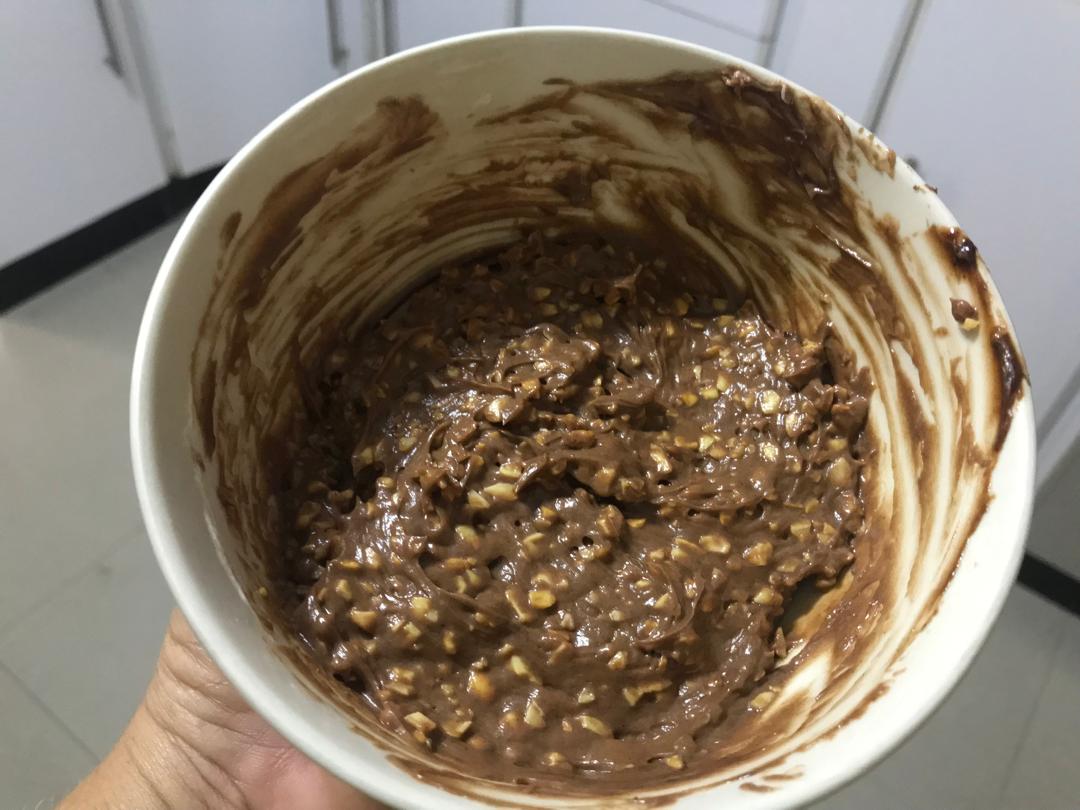
Ingredients and preparation of the choco peanut buttercream:
- 200 grams of unsalted peanut rain
- 400 grams of chocolate cream
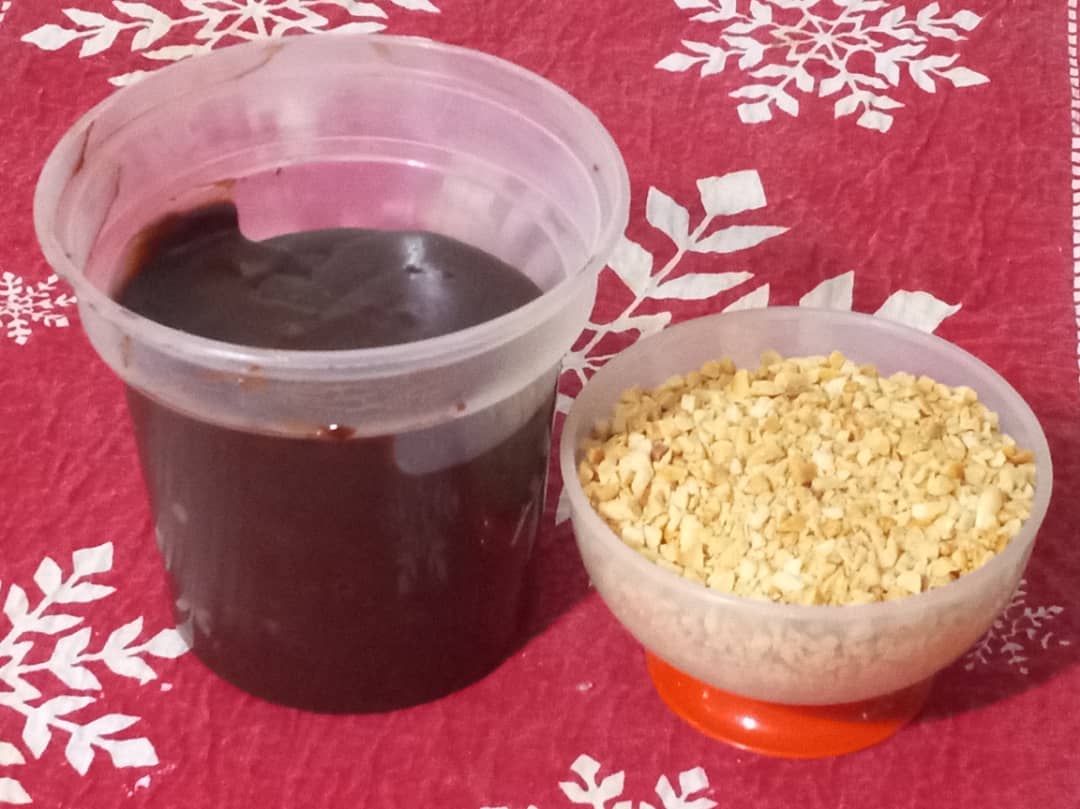
Join the chocolate cream with the peanuts and beat well with enveloping movements until a doughy cream with a good consistency (peanut chocolate cream) is formed.
Preparation
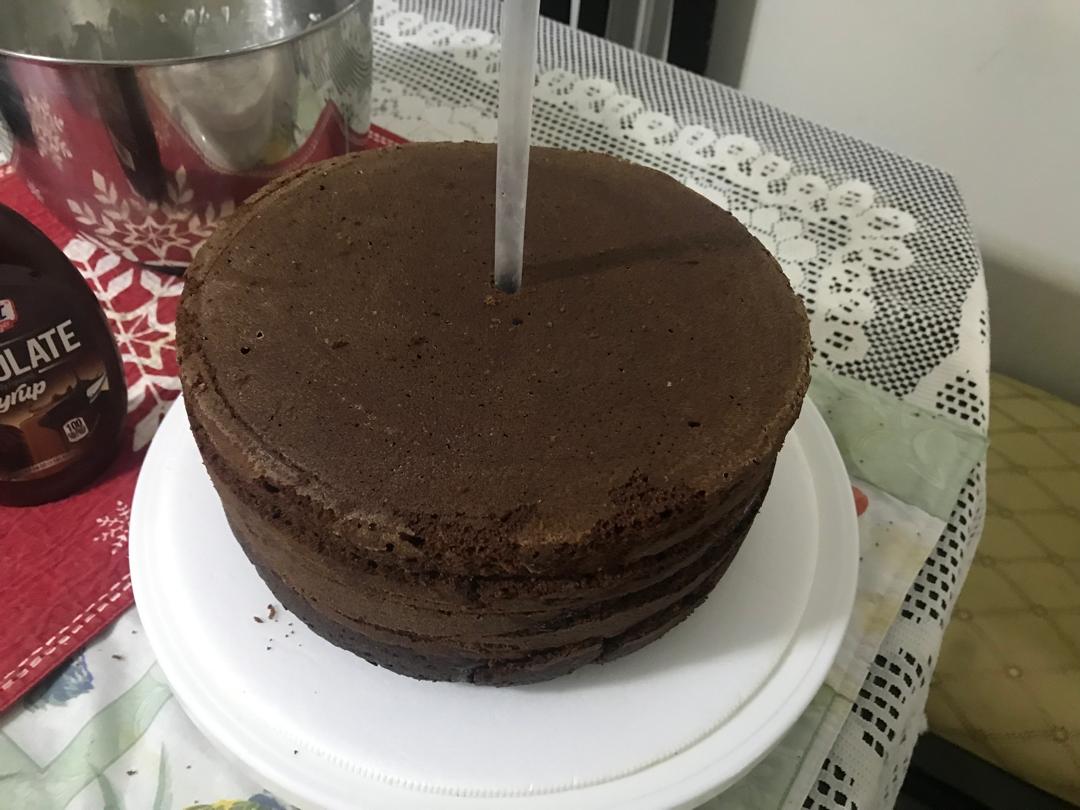
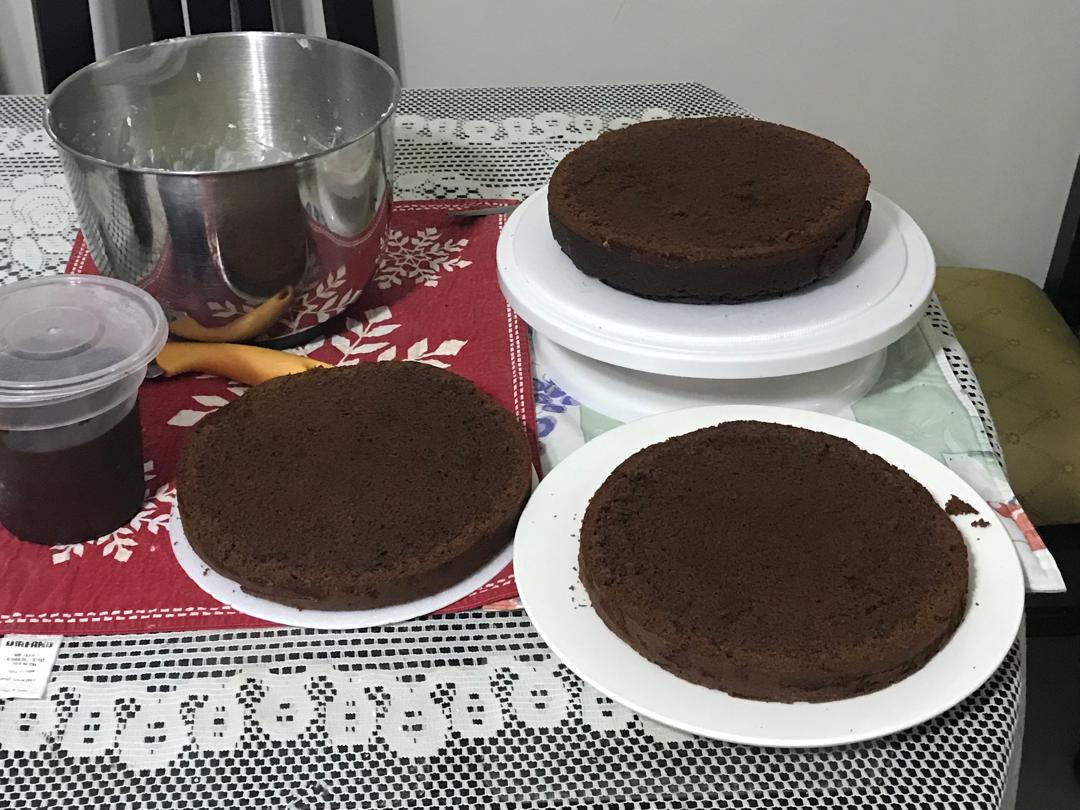
- I took a chocolate cake of approximately 1,700 grams, I made a transverse cut to get three layers, placed them in a disk of 24 centimeters, I pricked them with a high stick and moistened it with sweet syrup, let stand for an hour or until it absorbs all the syrup.
 |  |
|---|
 | ! |  |
|---|
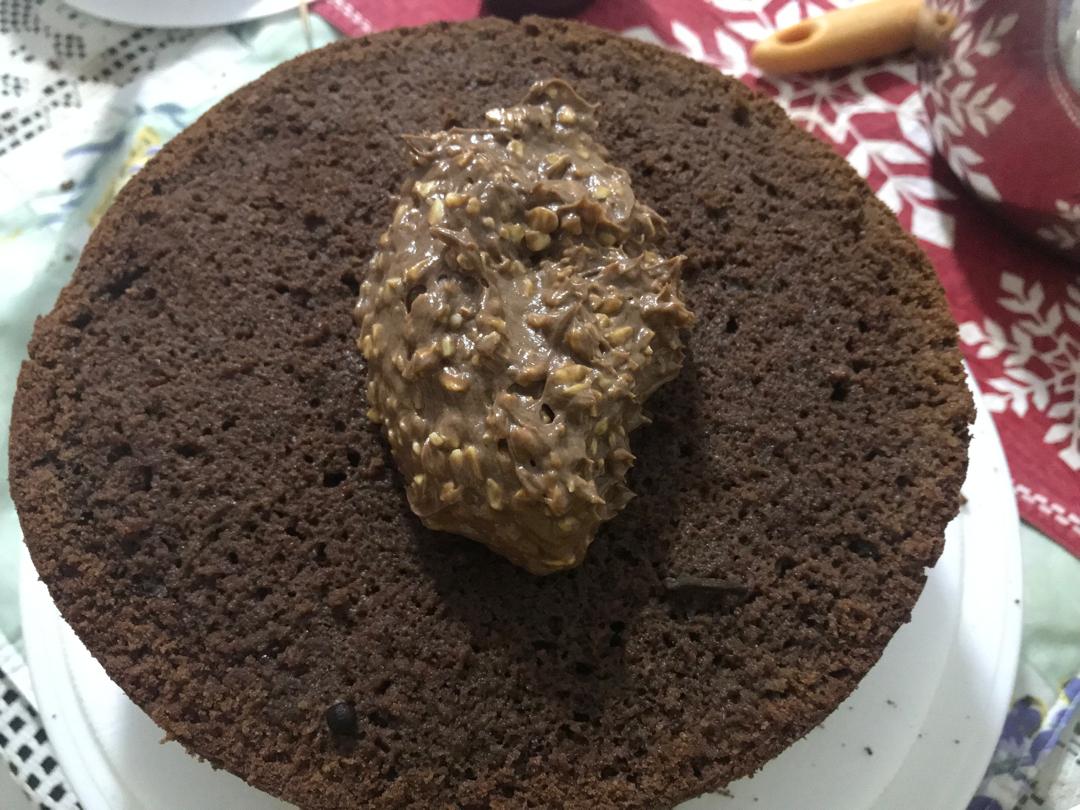
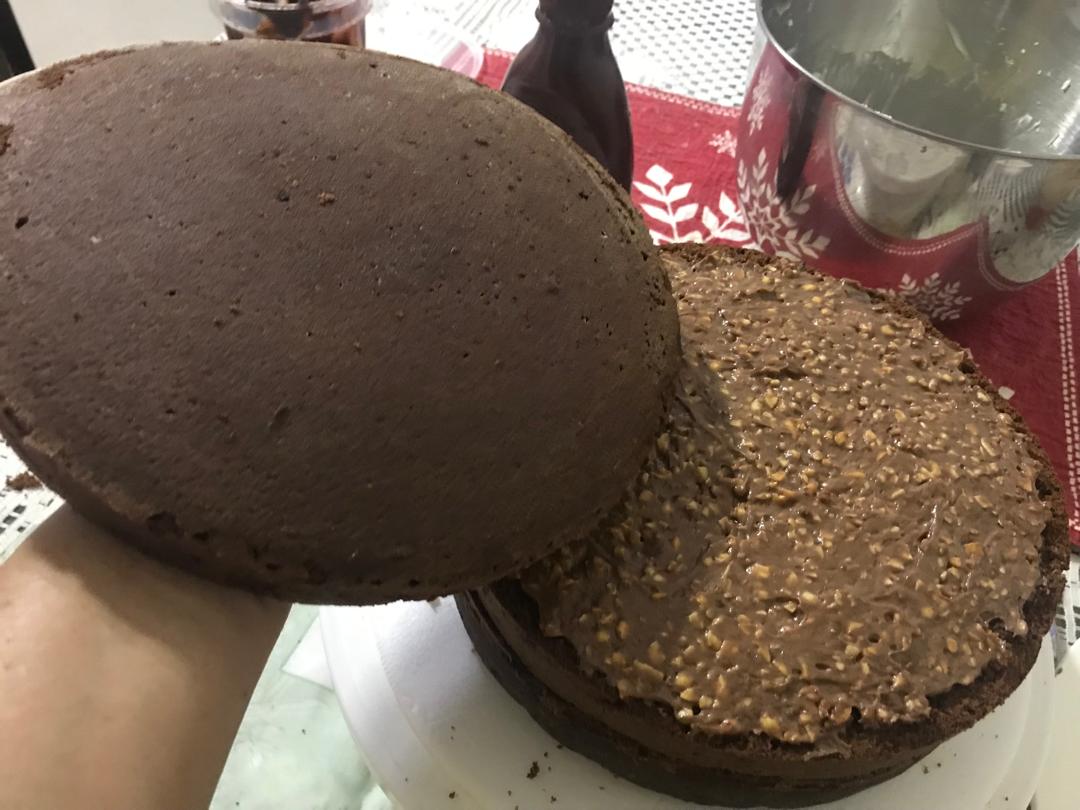
- Once moistened, I proceeded to fill each layer with choco peanuts, covered and obtained a cake with two fillings.
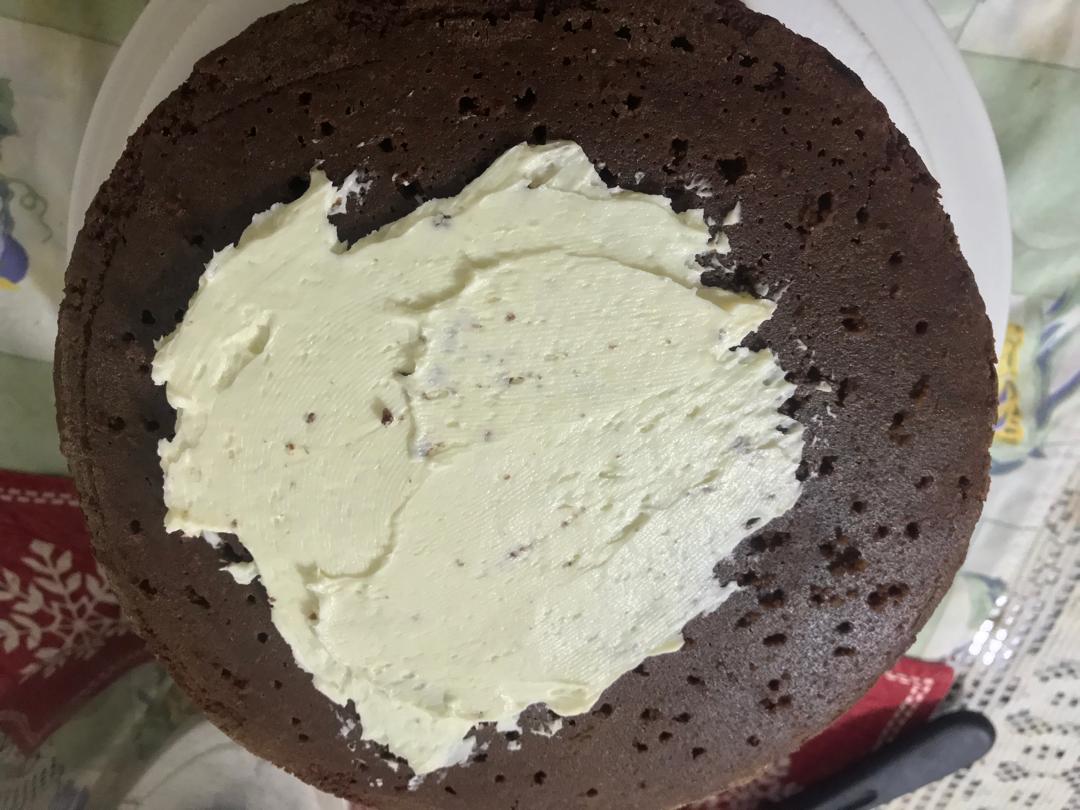
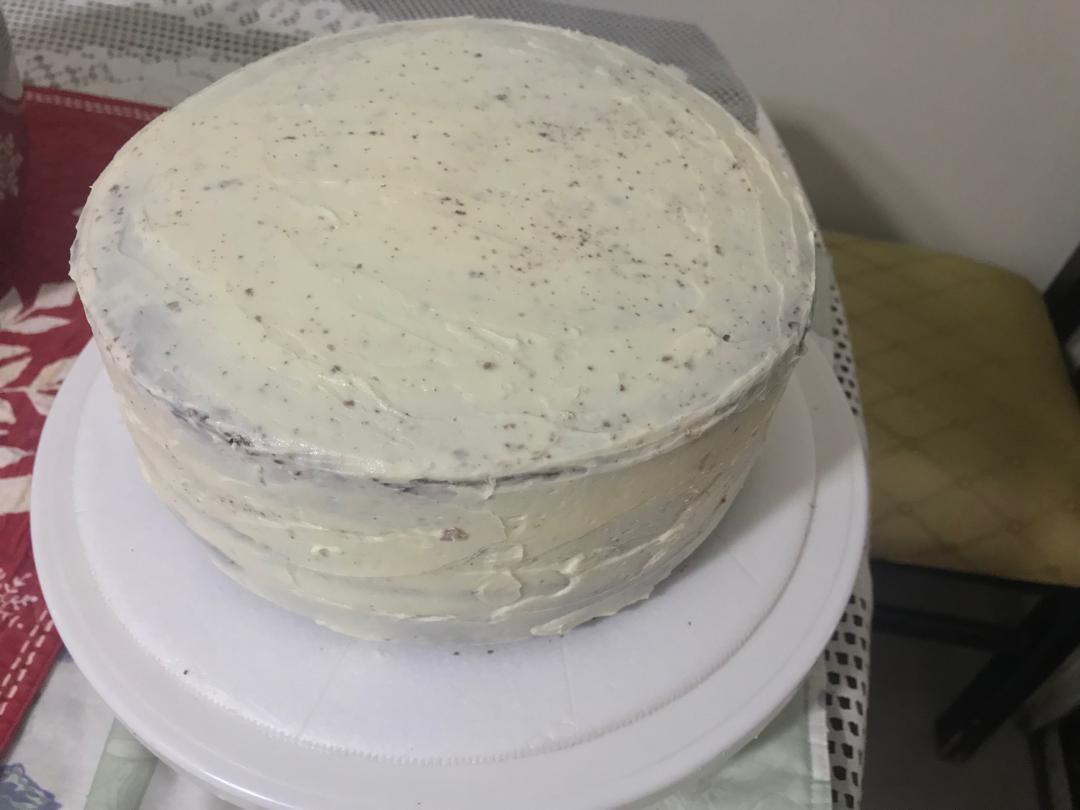
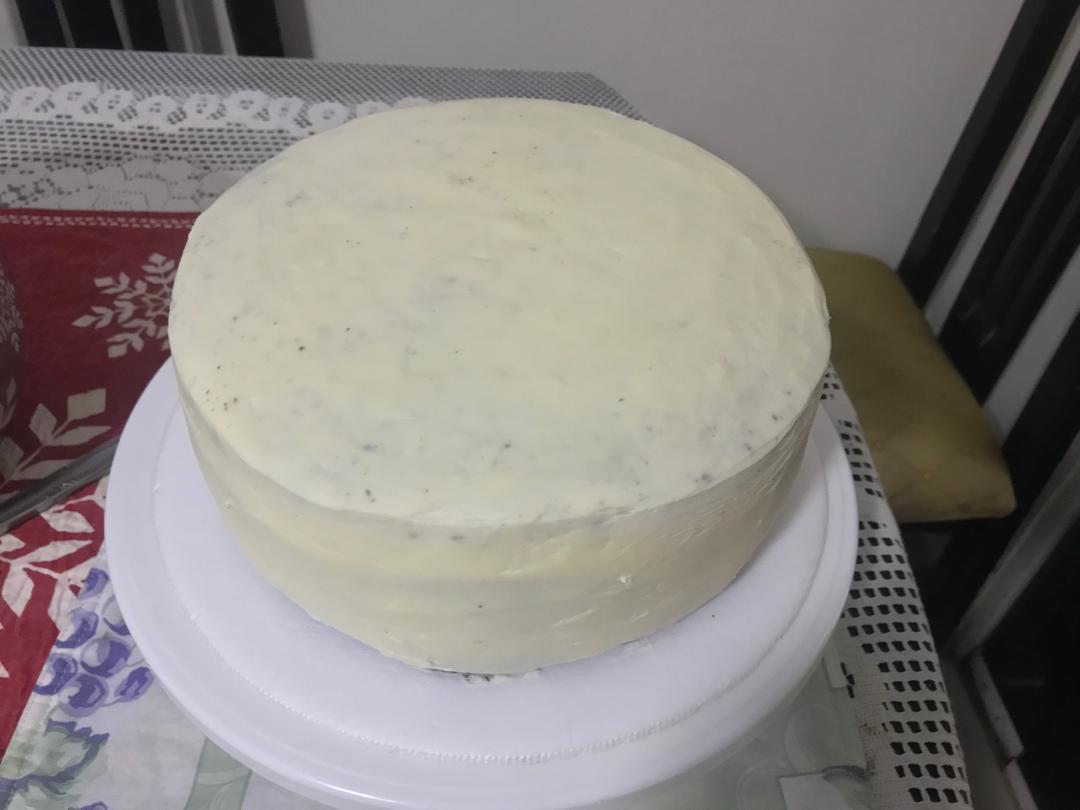
- Now I start with the decoration using the buttercream, first I made the crumb layer, I put it in the fridge for 5 minutes, took it out, smoothed it until it is smooth without lumps, if necessary I put it back in the fridge to smooth it again with the spatula.
 |  |  |
|---|
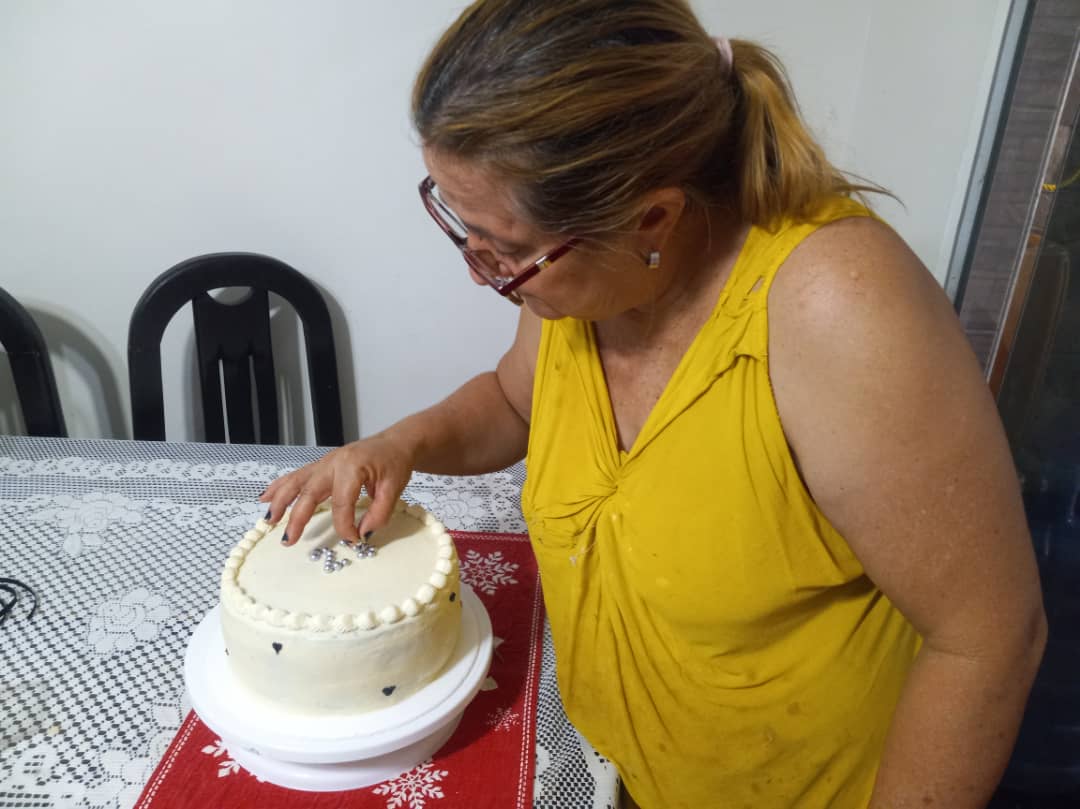
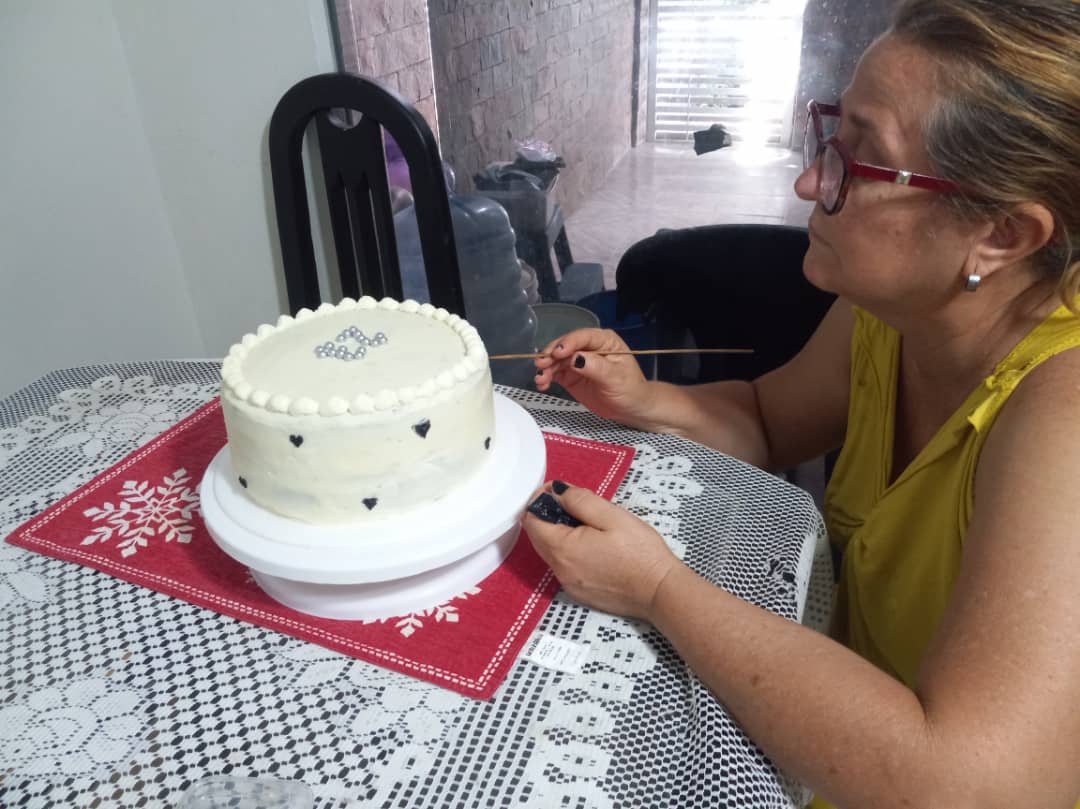
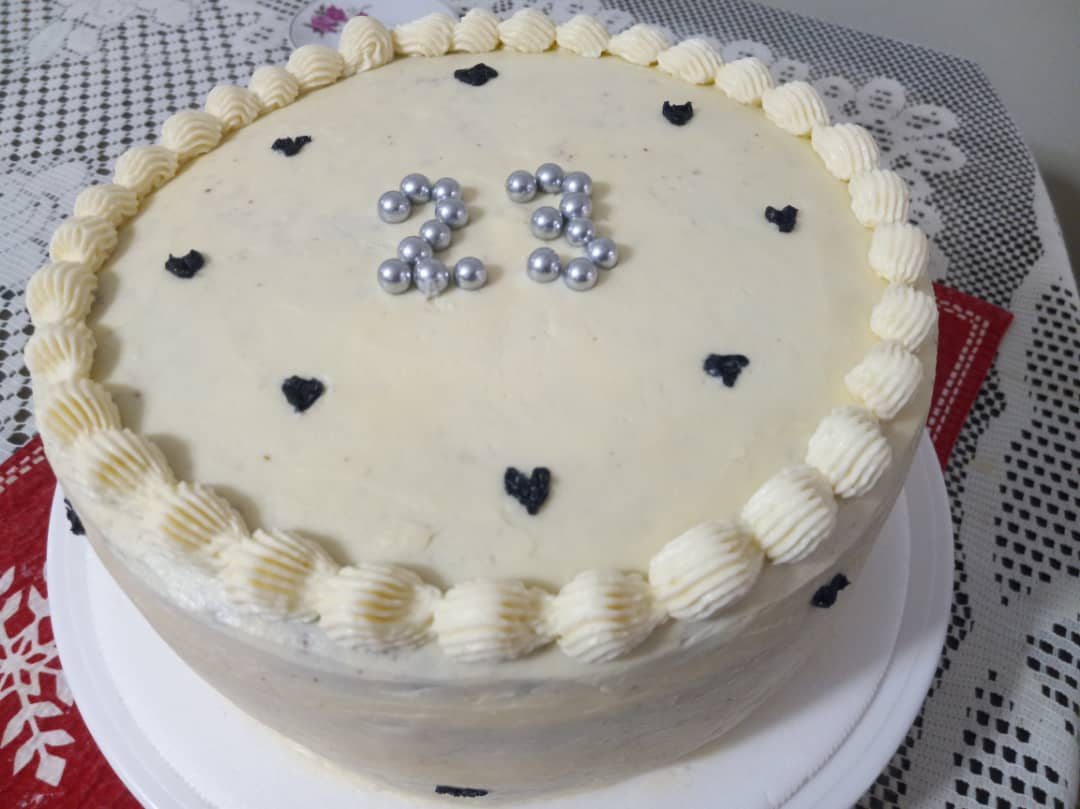
- At this point I started the decorating with the 2B duya to make small oysters on the top, marked the number 23 with a tall stick and formed it with silver colored sprinkles.
 |  |
|---|
 |  |
|---|
So far my post, I leave you some pictures of the ingredients and the whole procedure of decorating the cake, I hope you like it, I thank those who have been able to reach the end of my content. We will keep reading and writing, see you in the next post.

- Photos taken with Iphone 8 plus
- Cover designed with Canva
- Text translated with Deepl
Versión en Español
Buenas noches amigos de la comunidad de @foodiesbeehive, espero que hayan tenido un bonito día lleno de bendiciones para cada uno de los que me leen y me escriben. Yo por acá gracias a Dios me encuentro bien salud y de ánimo.
Una vez más me encuentro con ustedes en esta hermosa comunidad de los amantes del buen paladar para compartirles una receta de un delicioso pastel húmedo de choco maní. Es un tipo de pastel que gusta mucho a la gran mayoría de las personas, lo solicitan para diferentes reuniones y compartir de alta categoría, por lo húmedo, el sabor y aroma que presenta.

En esta ocasión el que les voy a presentar lo hice para el cumpleaños de mi hija, ella lo solicitó tal cual como se los voy a presentar y atendiendo su solicitud lo preparé.
Quiero ofrecerles mi receta, cuando digo mi receta es porque es una receta de mi propiedad, la que aprendí en los cursos de repostería las he venido adaptando a mi parecer y gusto. Es un tipo de pastel que se puede degustar en cualquier ocasión, inclusive para una merienda acompañarla con una taza de café es perfecta, se utilizan ingredientes económicos y fáciles de conseguir.
 |
|
Aqúi pueden ver las recetas para preparar el Bizcocho, la crema Butter cream y la receta para la Crema de cacao que he publicado en post anteriores y que puedes consultar para completar tu receta.
A continuación les comparto la receta. Utilicé un molde de 20 centímetros por 10 centímetros de alto, rinde para 20 comensales.

Ingredientes
• Un bizcocho de chocolate de aproximadamente 1,700gramos
• 400 gramos de crema de chocolate
• 250 ml de jarabe para humedecer
• 600 gramos de buttercream
• Colorante artificial
• 2 metros de cinta de tela de ½ centímetro de ancho para hacer los lazos
• 1 palito de altura para pincharlo por todo el alrededor
Ingredientes y preparación de la crema choco maní:
• 200 gramos de lluvia de maní sin sal
• 400 gramos de crema de chocolate

Unir la crema de chocolate con el maní y batir bien con movimientos envolventes hasta formar una crema pastosa con una buena consistencia (crema de choco maní).
Preparación
• Tomé un pastel de chocolate de aproximadamente 1.700 gramos, le hice un corte trasversal para sacar tres capas, las coloqué en un disco de 24 centímetros, las pinché con un palito de altura y lo humedecí con jarabe dulce, dejé reposar una hora o hasta que absorba todo el jarabe.
 |  |
|---|
 |  |  |
|---|
• Una vez humedecido, procedí a rellenar cada capa con choco maní, tapé y obtuve una torta con dos rellenos.
• Ahora Inicio con el decorado utilizando la crema de buttercrean, primero hice la capa recoge miga, la introduje durante 5 minutos en la nevera, saqué, alisé hasta quedar bien lisa sin protuberancias, si es necesario se introduce nuevamente en la nevera para pasarle otro alisado con la espátula.
 |  |  |
|---|
• En este momento inicié el decorado con las duya 2B para hacer pequeñas ostras en la parte superior, marqué el número 23 con un palito de altura y lo formé con grajeas de color plateado.
 |  |
|---|
 |  |
|---|
Hasta aquí mi post, les dejo algunas fotos de los ingredientes y todo el procedimiento de decoración del pastel, espero que sea de su agrado, les doy las gracias a quienes han podido llegar hasta el final de mi contenido. Nos seguimos leyendo y escribiendo, hasta un próximo post.

- Fotos tomadas con Iphone 8 plus
- Portada diseñada con Canva
- Texto traducido con Deepl
Posted Using InLeo Alpha