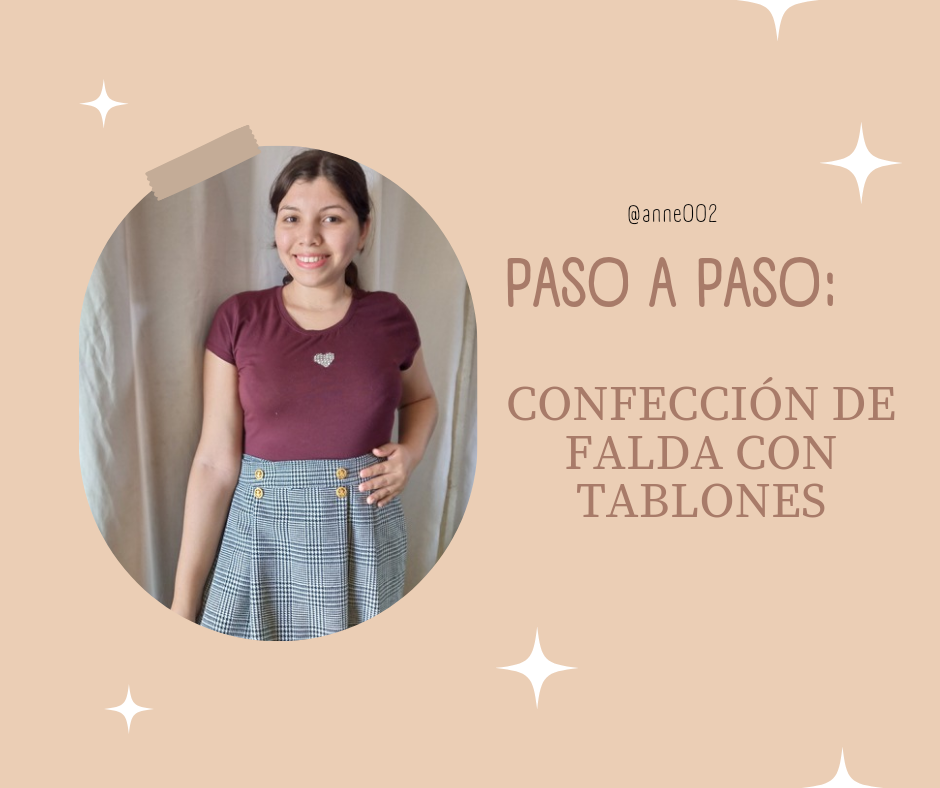
Hello hello lovely noon it is a pleasure to greet you my friends I hope you had a good day, I want to start this year with this beautiful work that I bring to share with you, I hope everything is going well in your homes and that you are enjoying the day and your family is well, I thank you for being here reading this blog and have taken your time to read it, today I want to show you how I made this beautiful and elegant skirt of found planks that I made for myself, I am very fascinated by plank skirts because I feel that they highlight our figure a lot, especially for those of us who do not have a curved or well-defined waist, of course those who have a waist can also wear them but for us who are square-shaped, these styles also suit us well.
.jpg)
I thought about making this type of skirt with a fabric that I saw at the fabric sale that I really loved so much, it is a super thick fabric and perfect for these days when it is cold and it is thick, perfect to wear at night and since I go to meetings at night I love to wear them, here I share with you the simple step by step so that if you ever want to make it, this tutorial could be very useful for you and as my grandmother says, it could fit you like a glove, so let's go with the step by step.

.jpg)
Materiales:// Materials:
- 1 metro de tela de cuadros
- 5 botones
- 1 cierre de falda
- Aguja e hilo
- Tijeras
- Máquina de coser
- Alfileres
- 1 meter of plaid fabric
- 5 buttons
- 1 skirt zipper
- Needle and thread
- Scissors
- Sewing machine
- Pins
.jpg)
Pasos a seguir://Steps to follow:
.jpg)
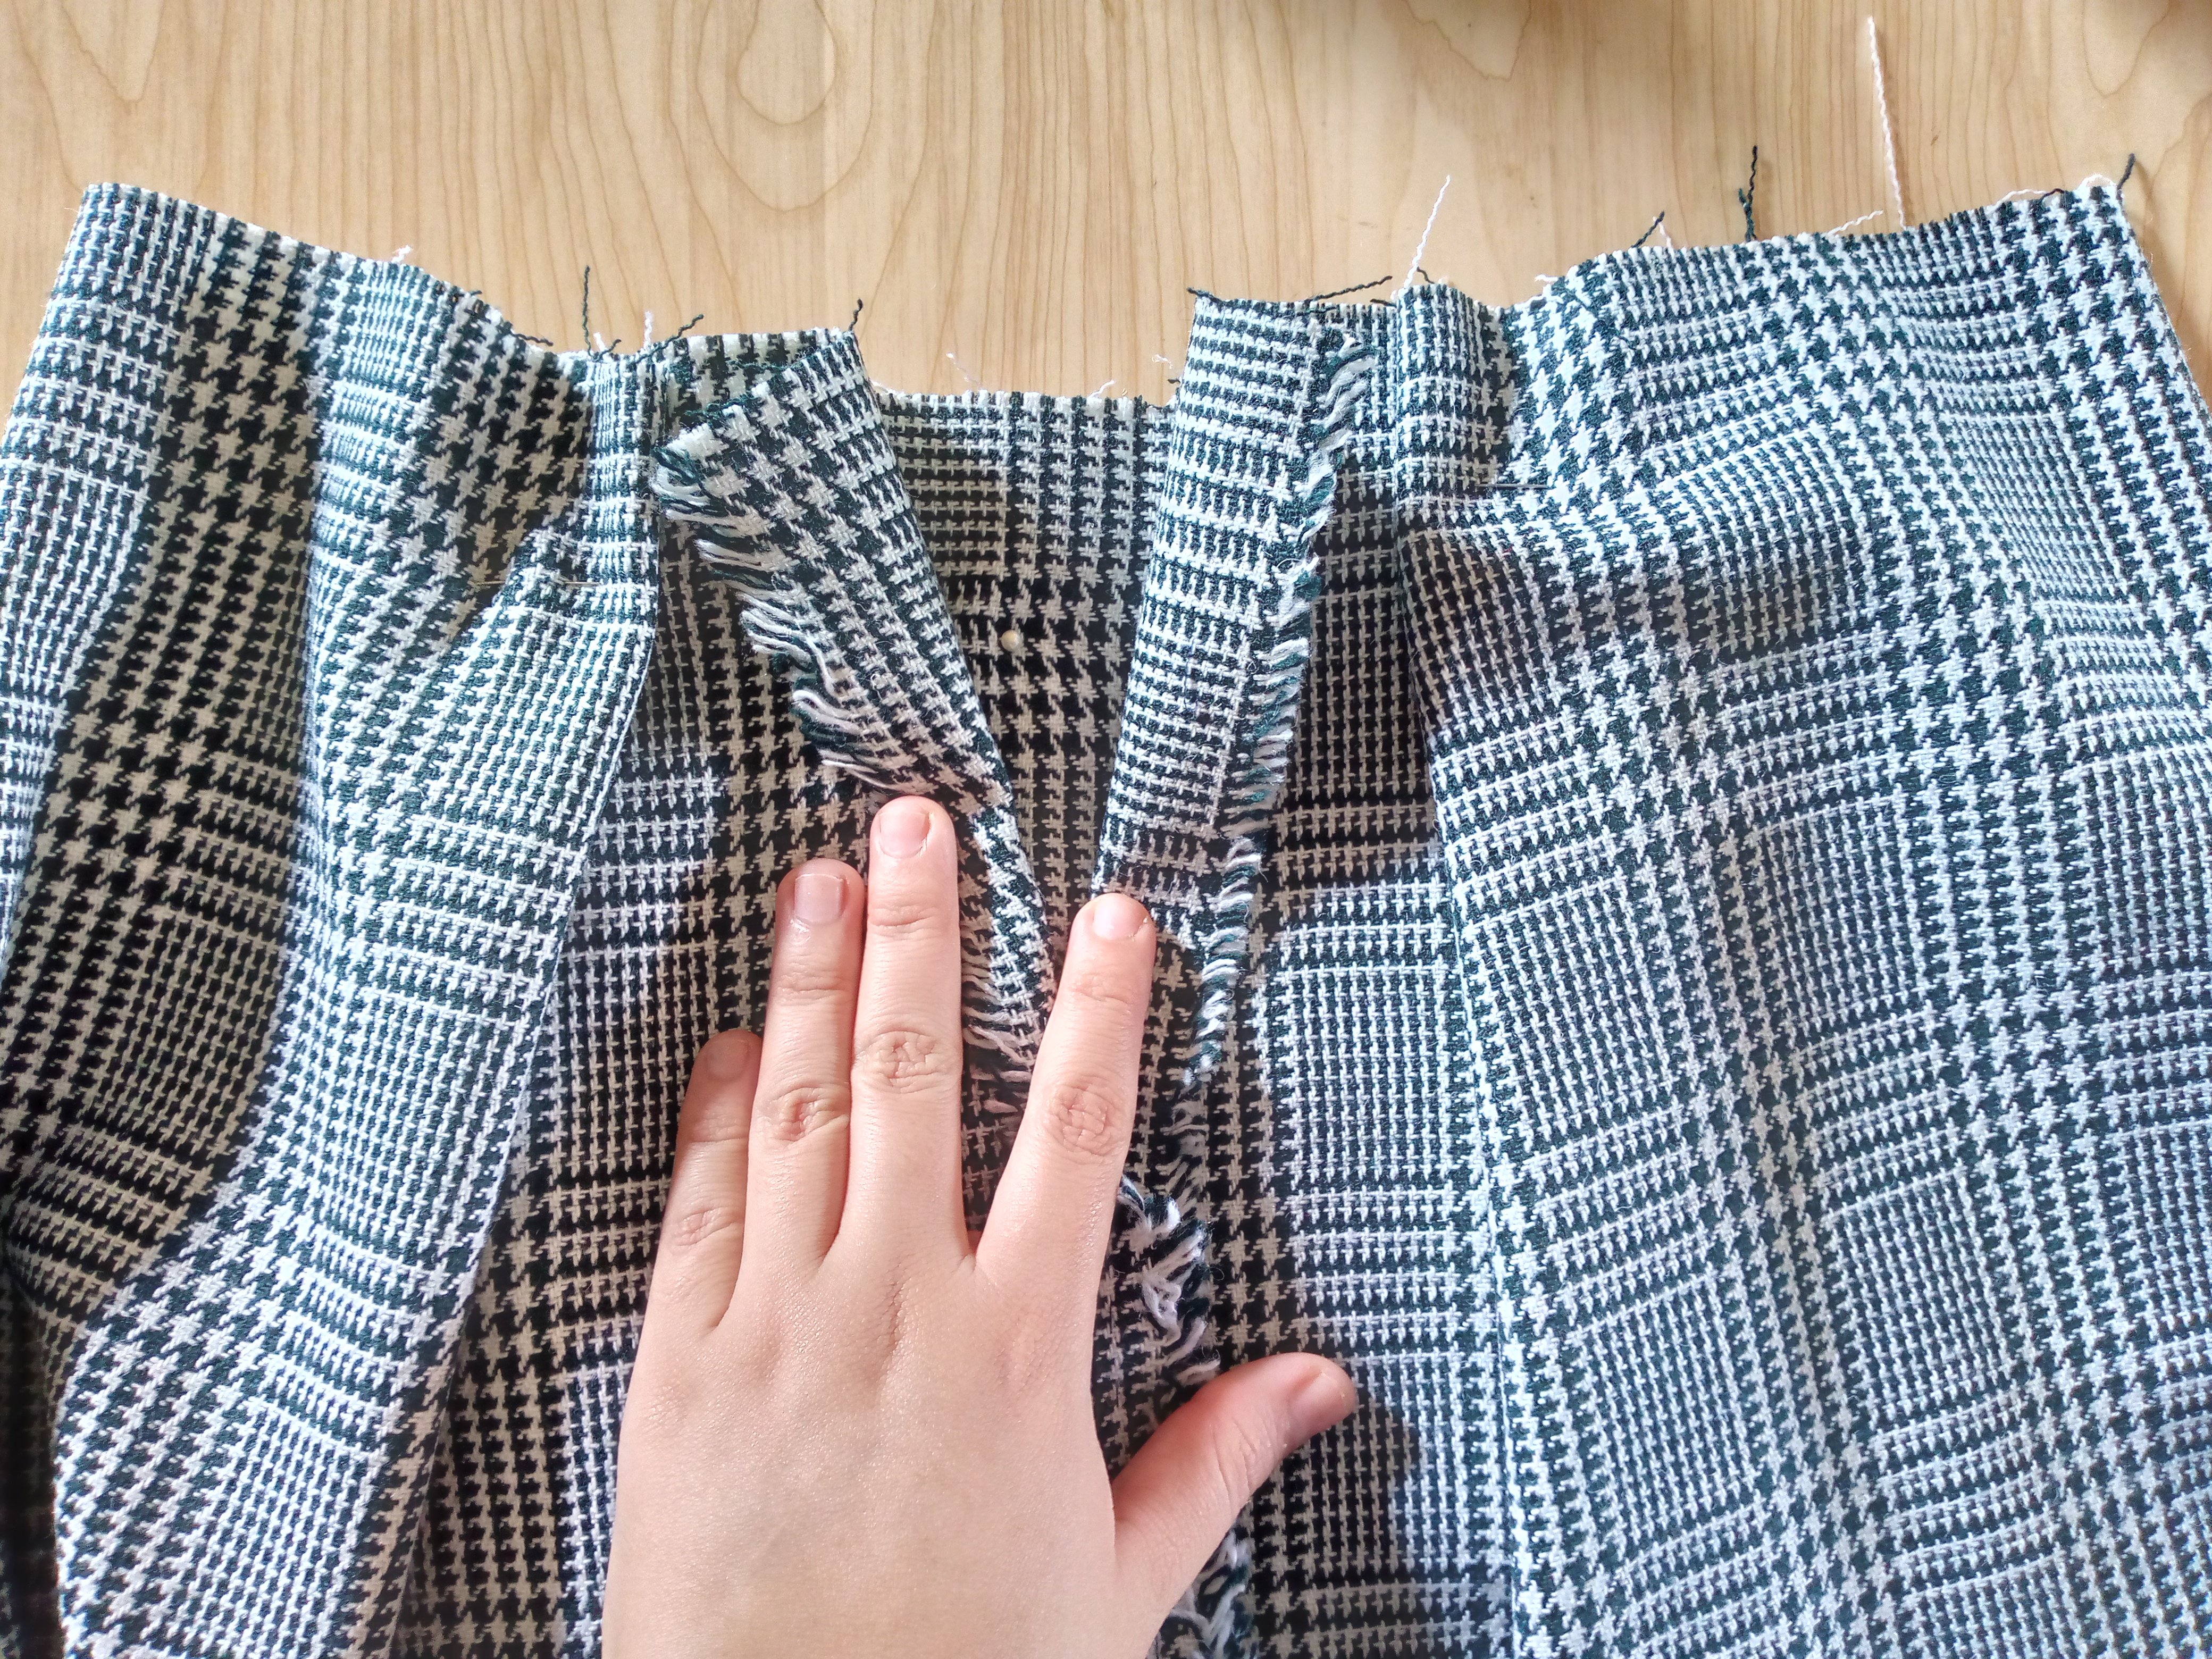
Paso 01
Step 01
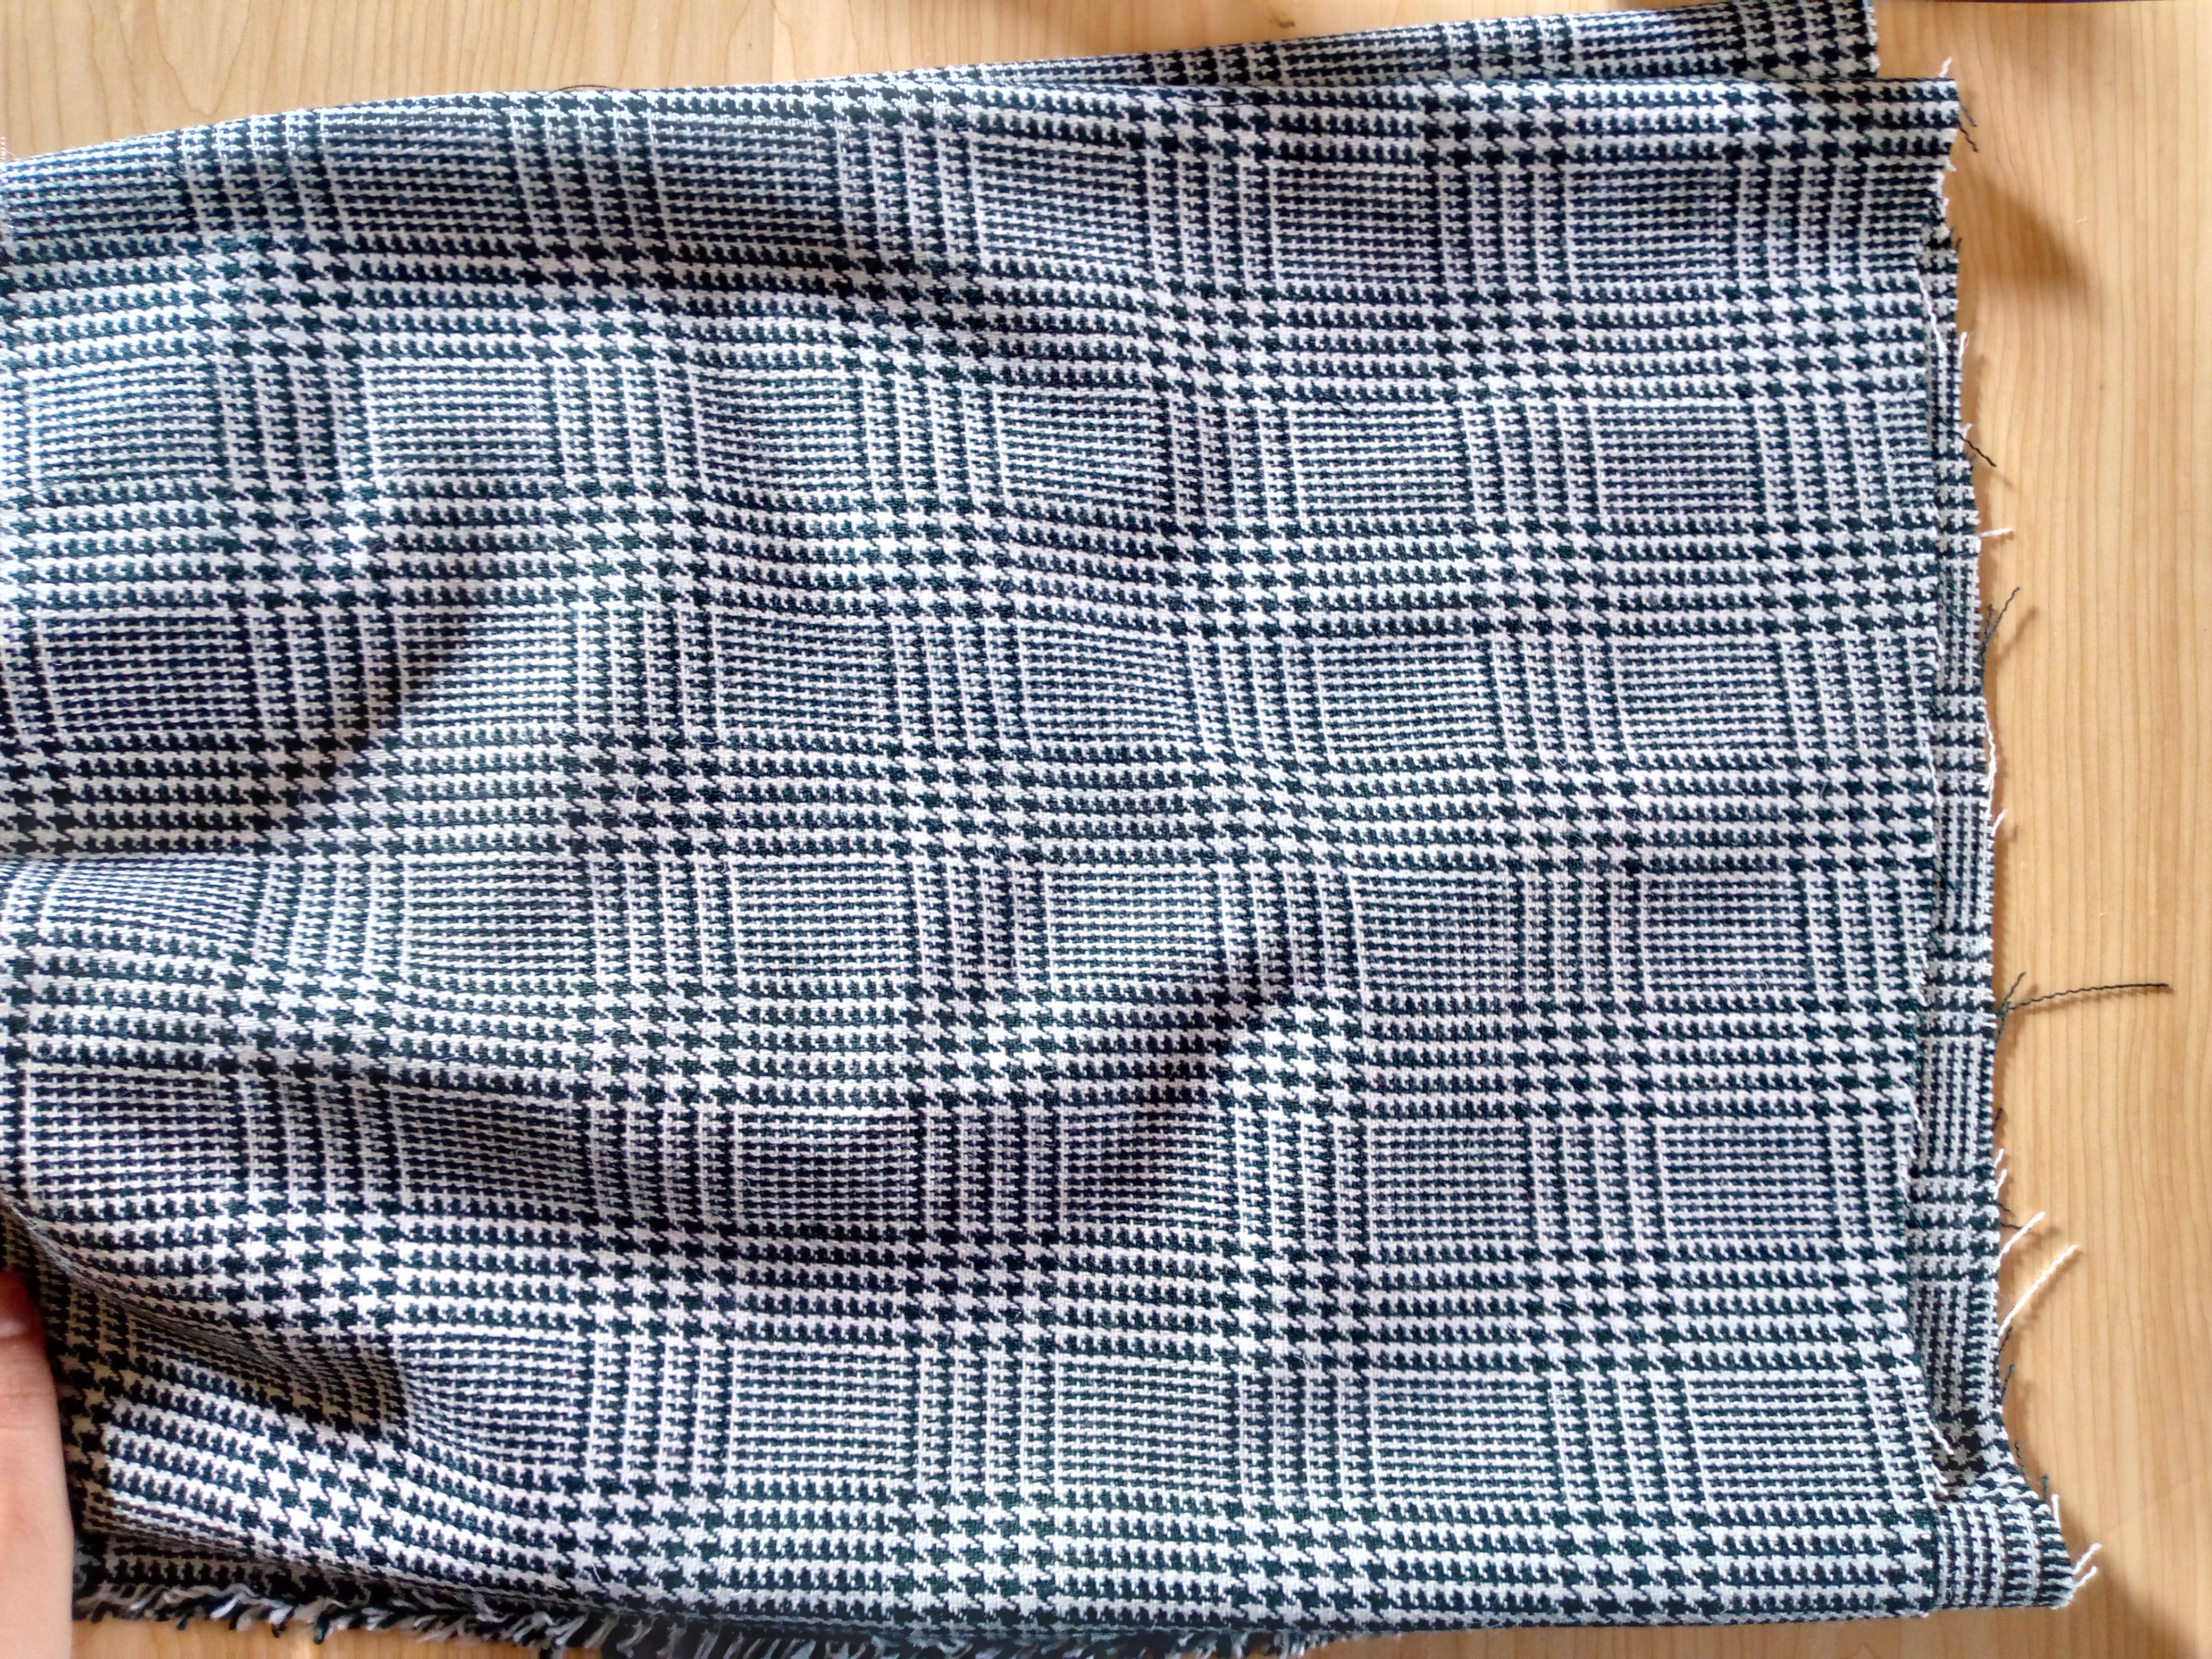
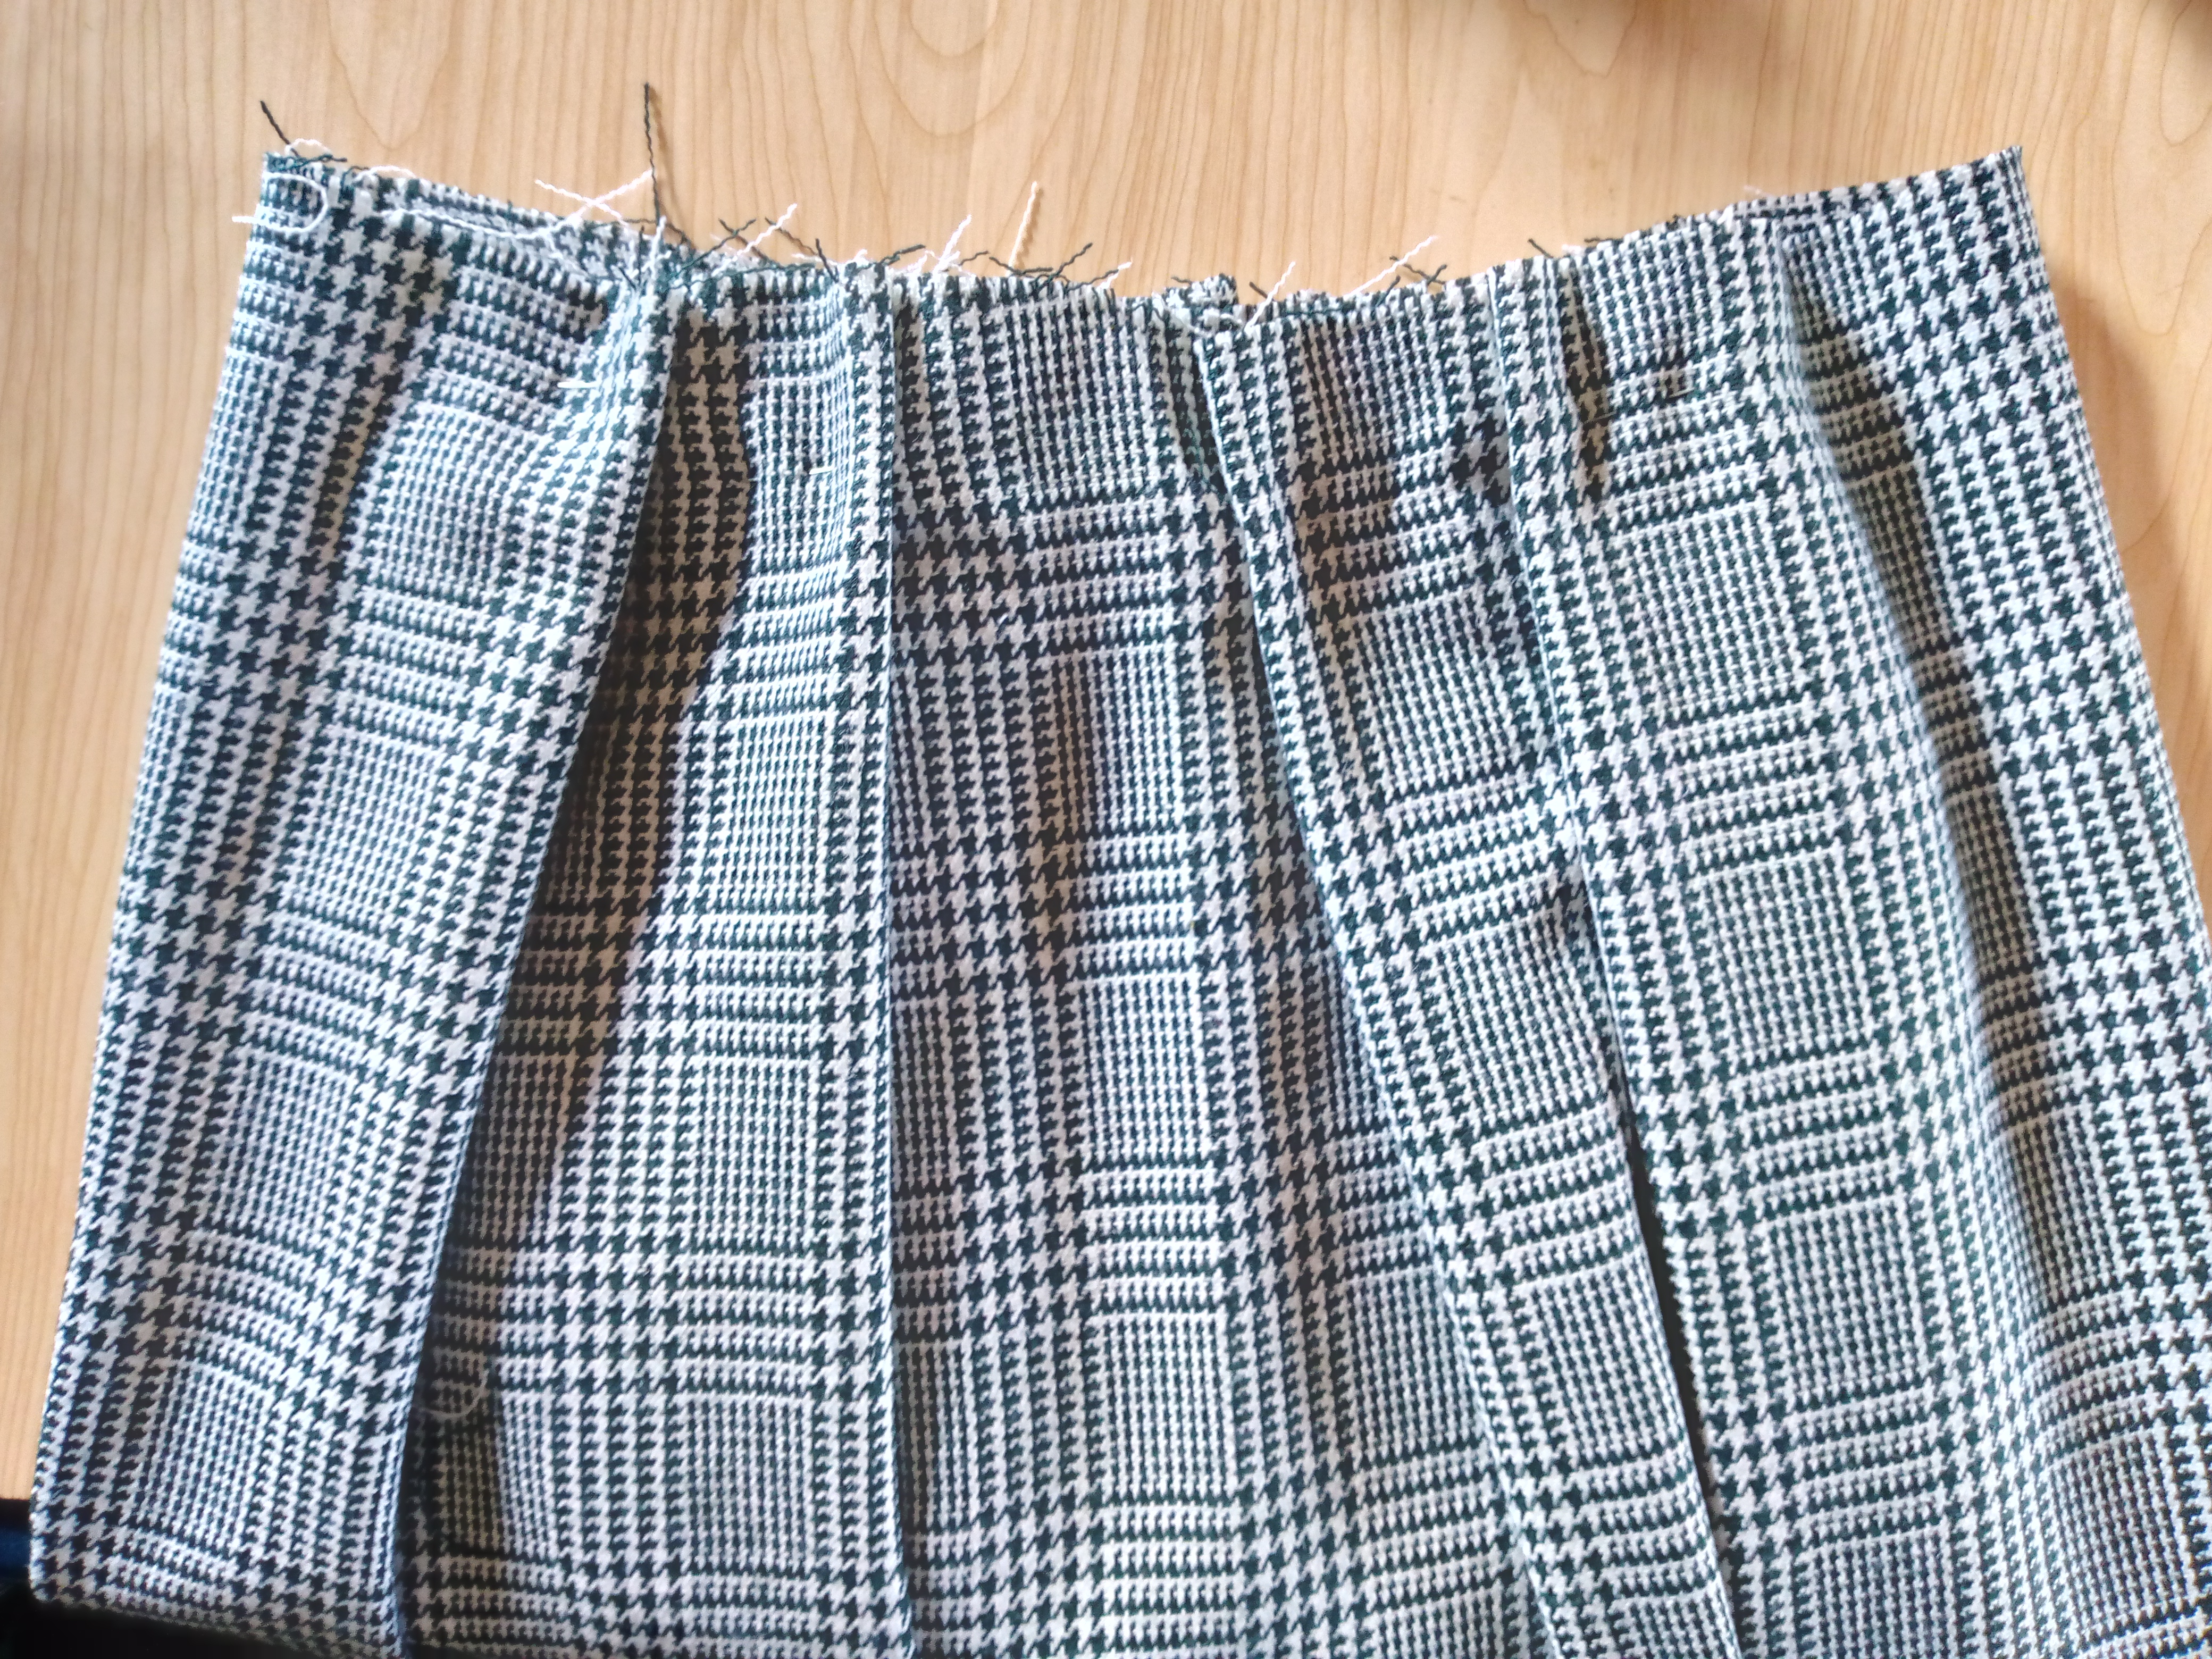
Let's start friends by cutting our pieces and for that I will cut a square of 70 cm long x 170 wide or less, that depends on the width you want to make your skirt, we will cut a waistband the width of our waistline and since it has a button we will leave 2 cm more than the width of the waistband for the buttonhole, and the next thing I did was baste with needle and thread the planks that I wanted to place in this case in the front part I made four found planks, two on each side, I made them 4 cm wide. I also made two found planks in the back only since as the fabric was somewhat thick I did not want to place more, and I basted in the back part the division of my skirt to join it and I left a space without sewing to place the closure.
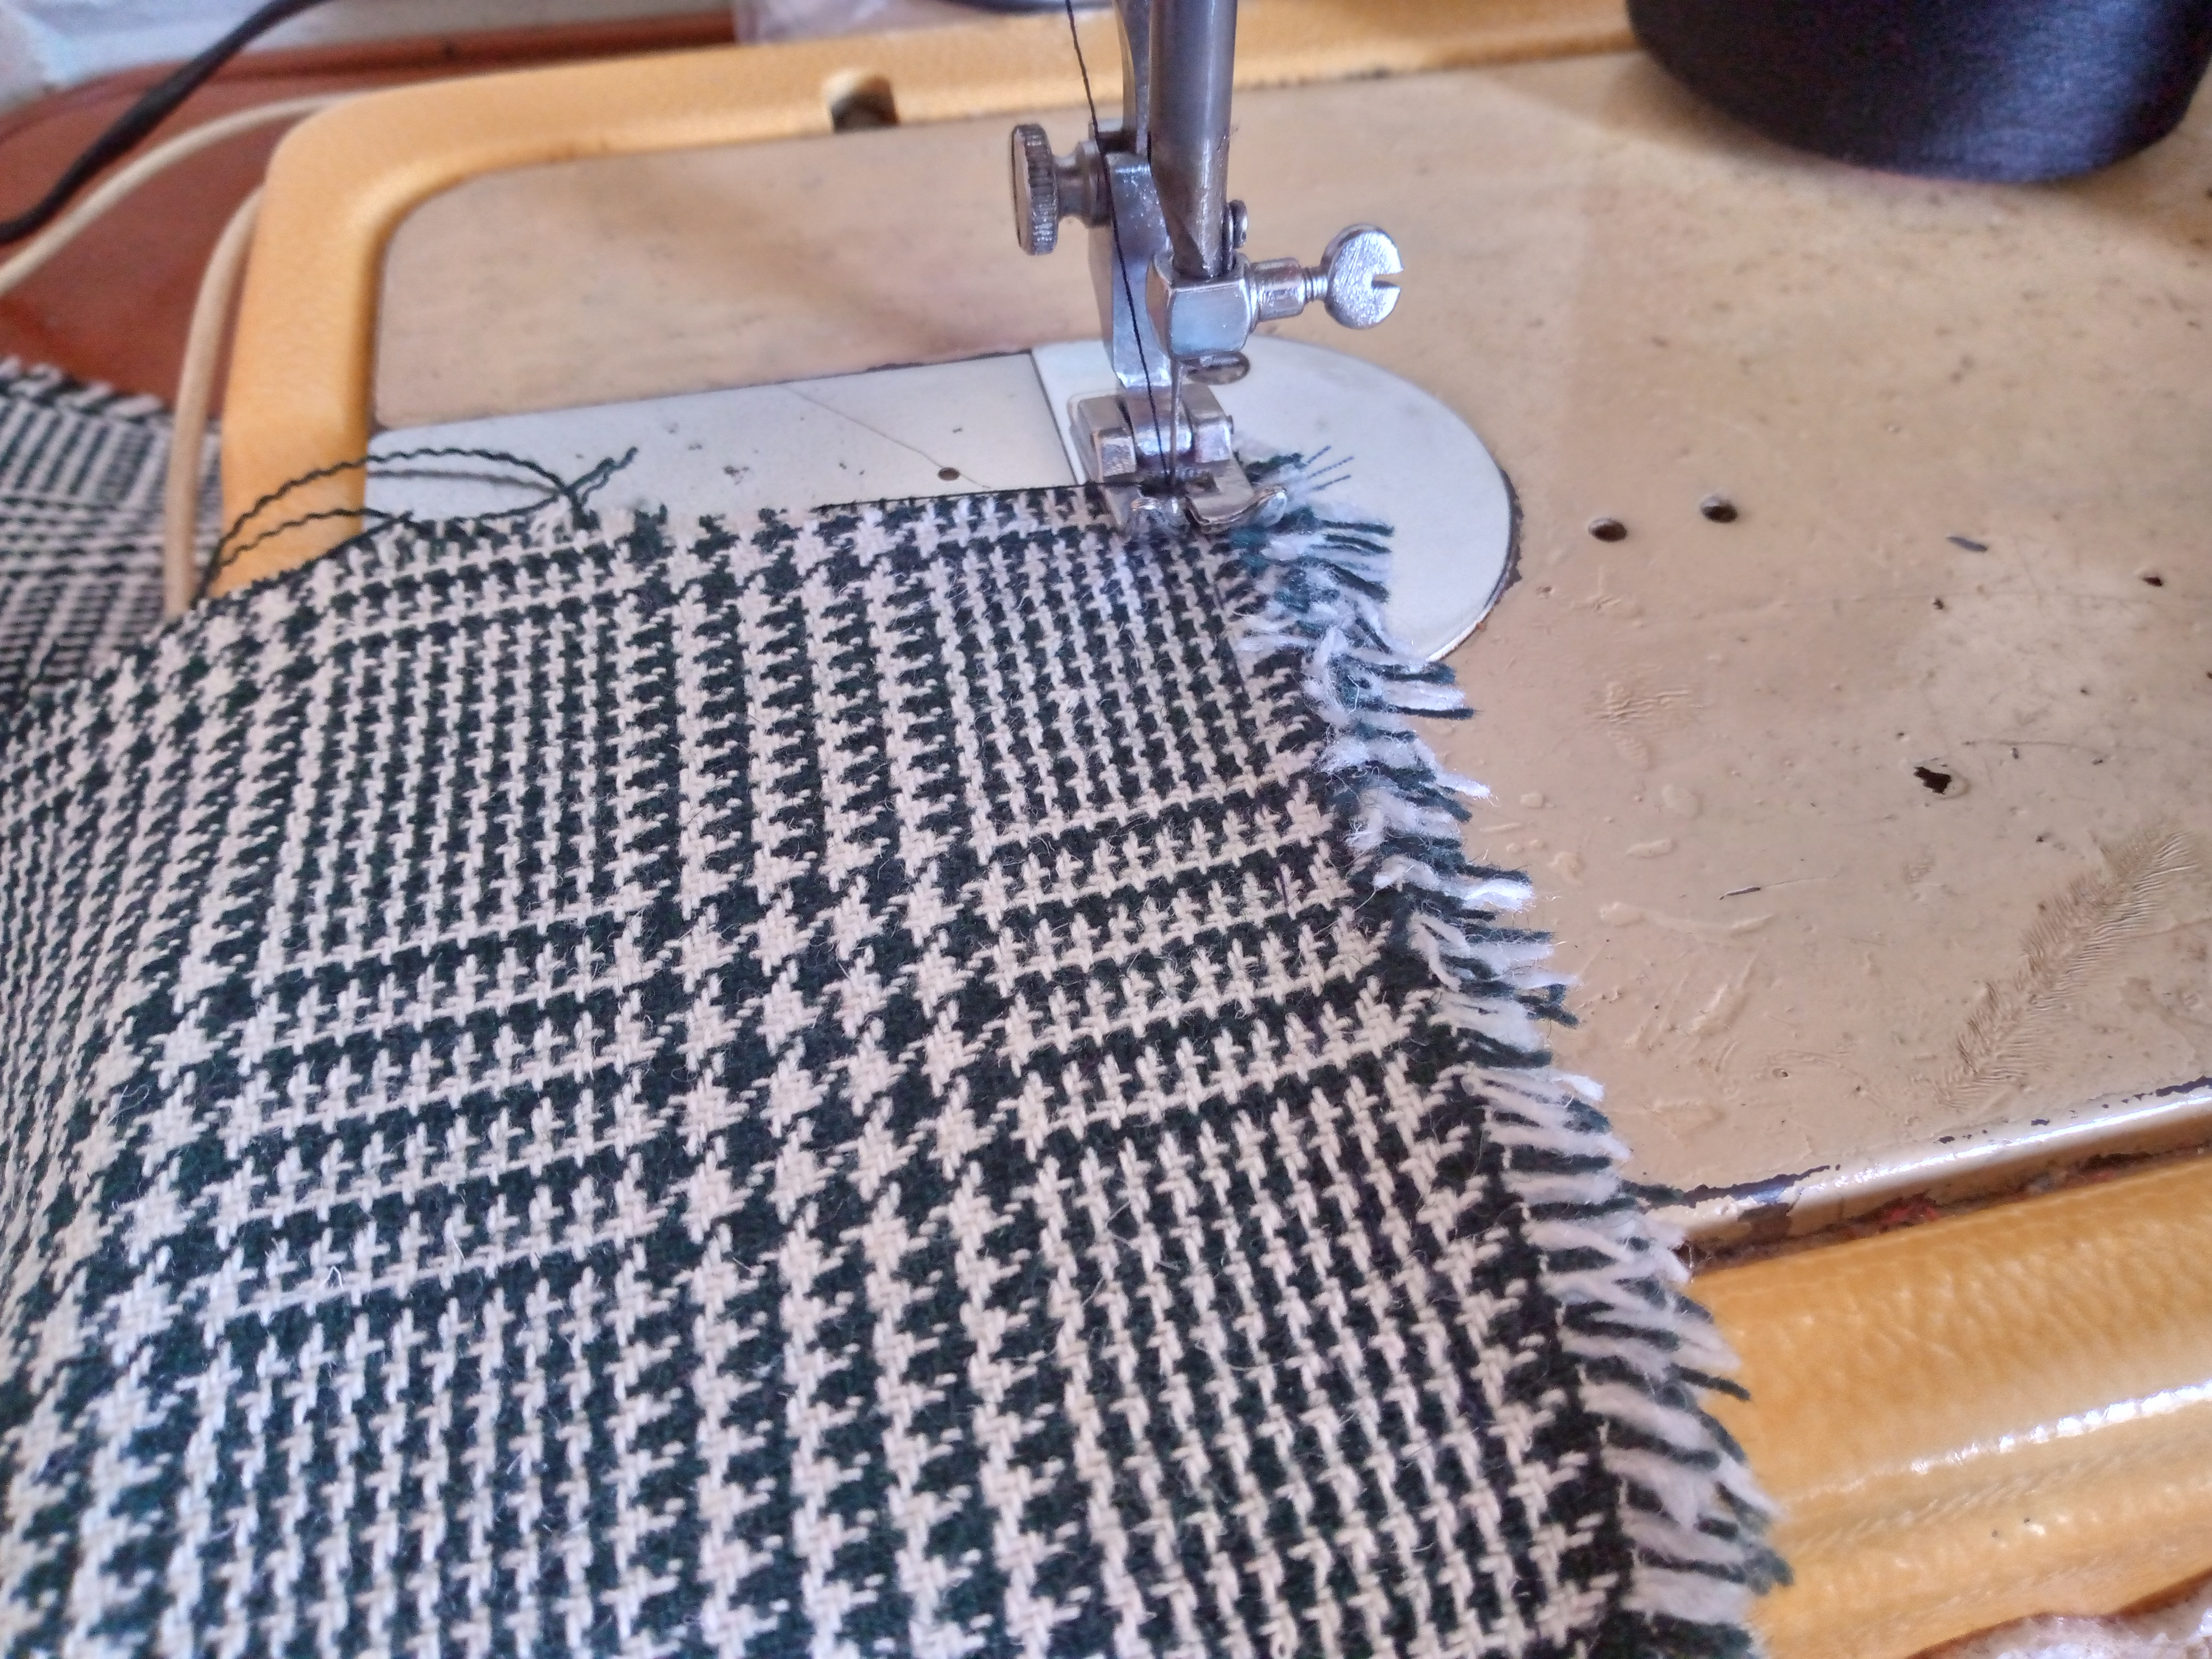
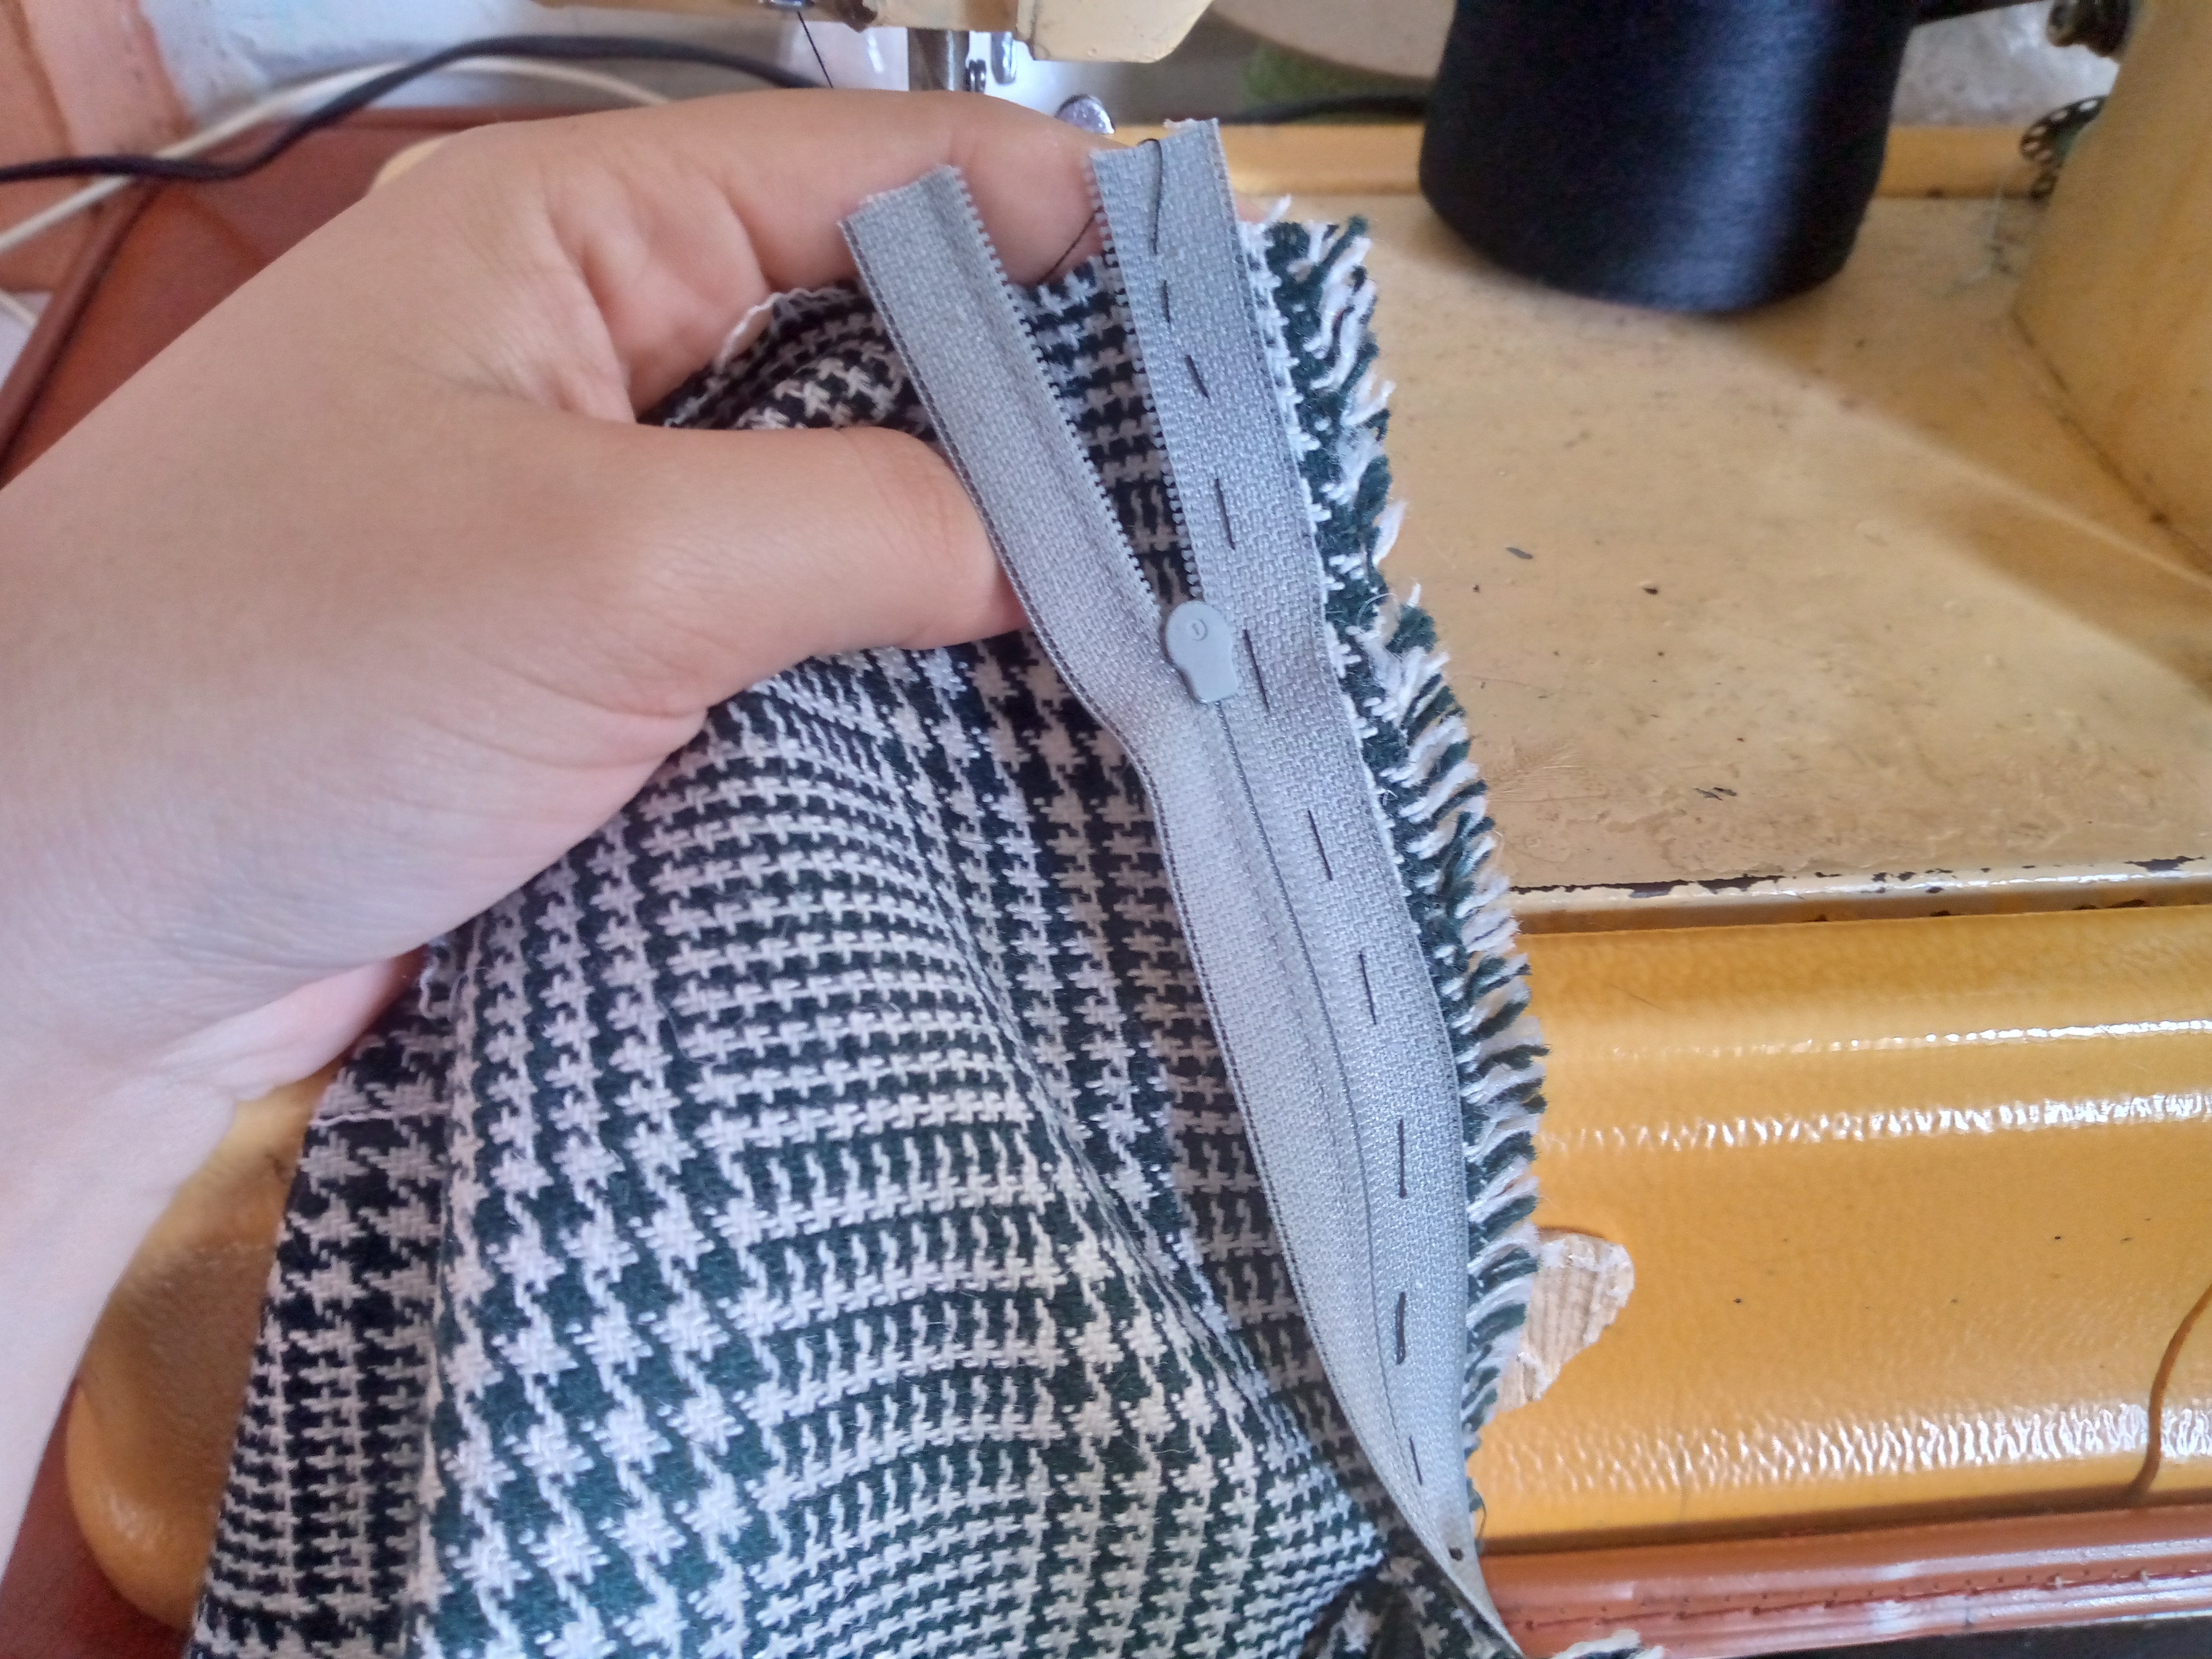
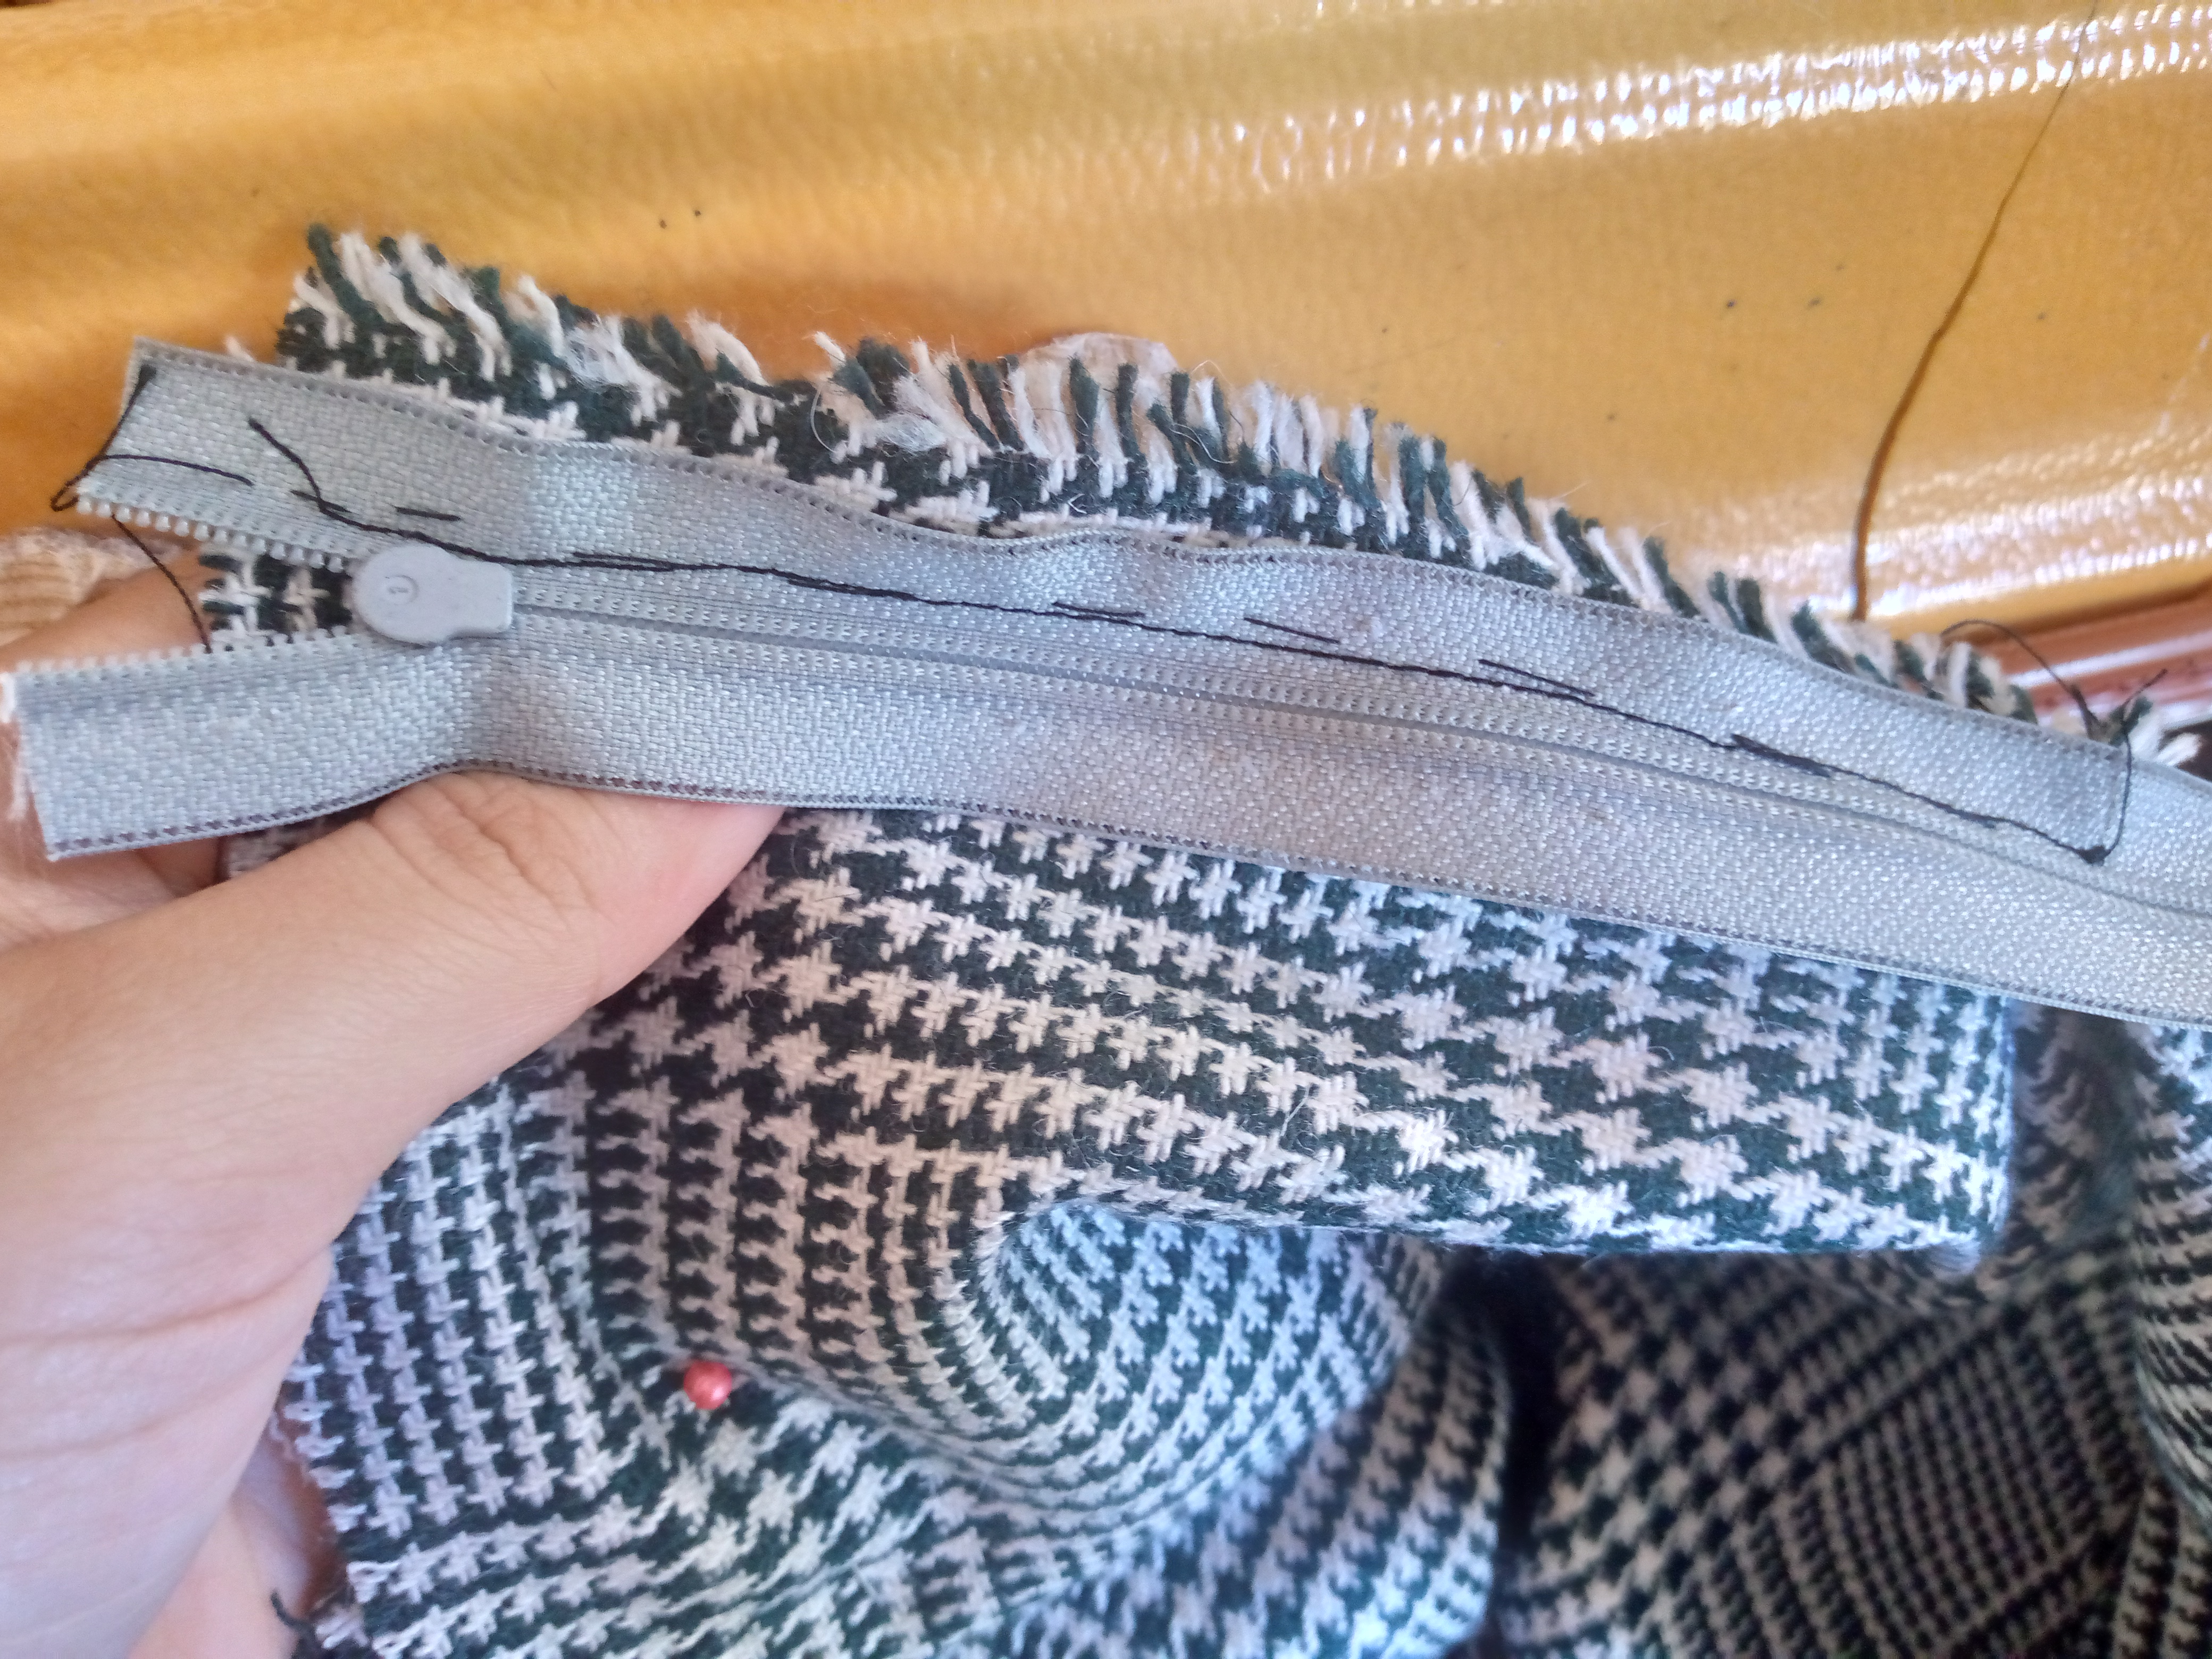

Paso 02
Step 02
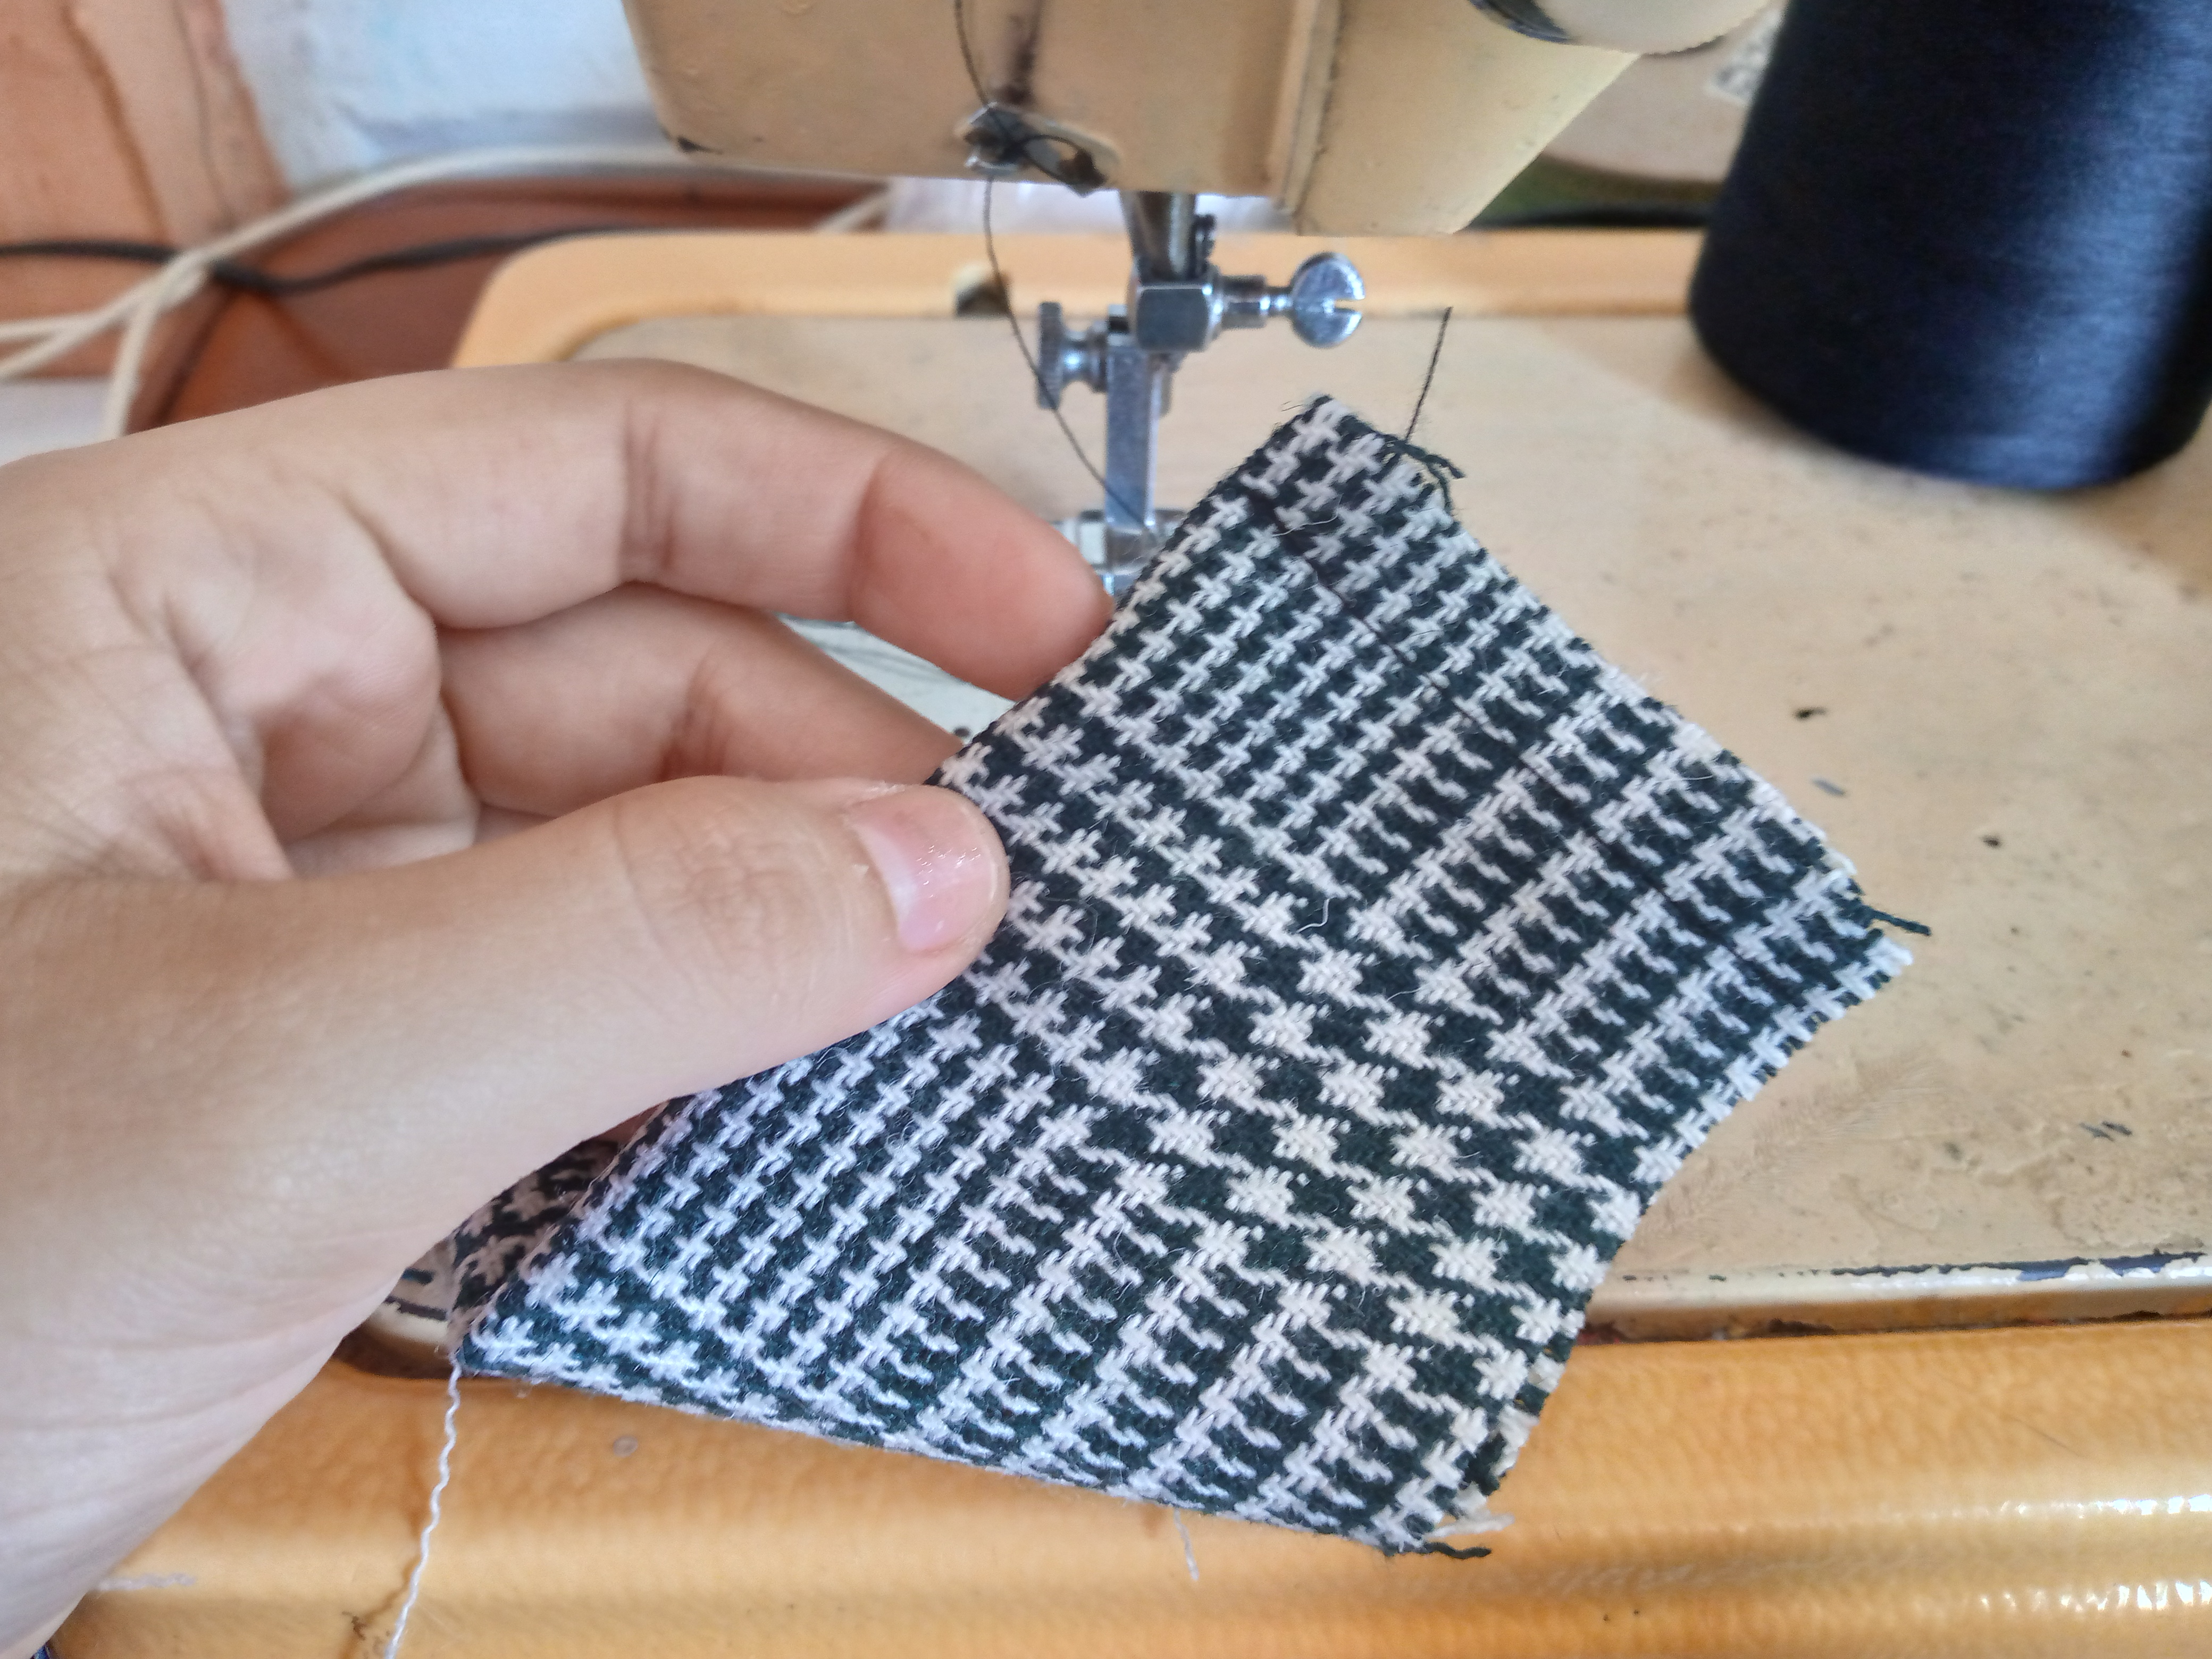
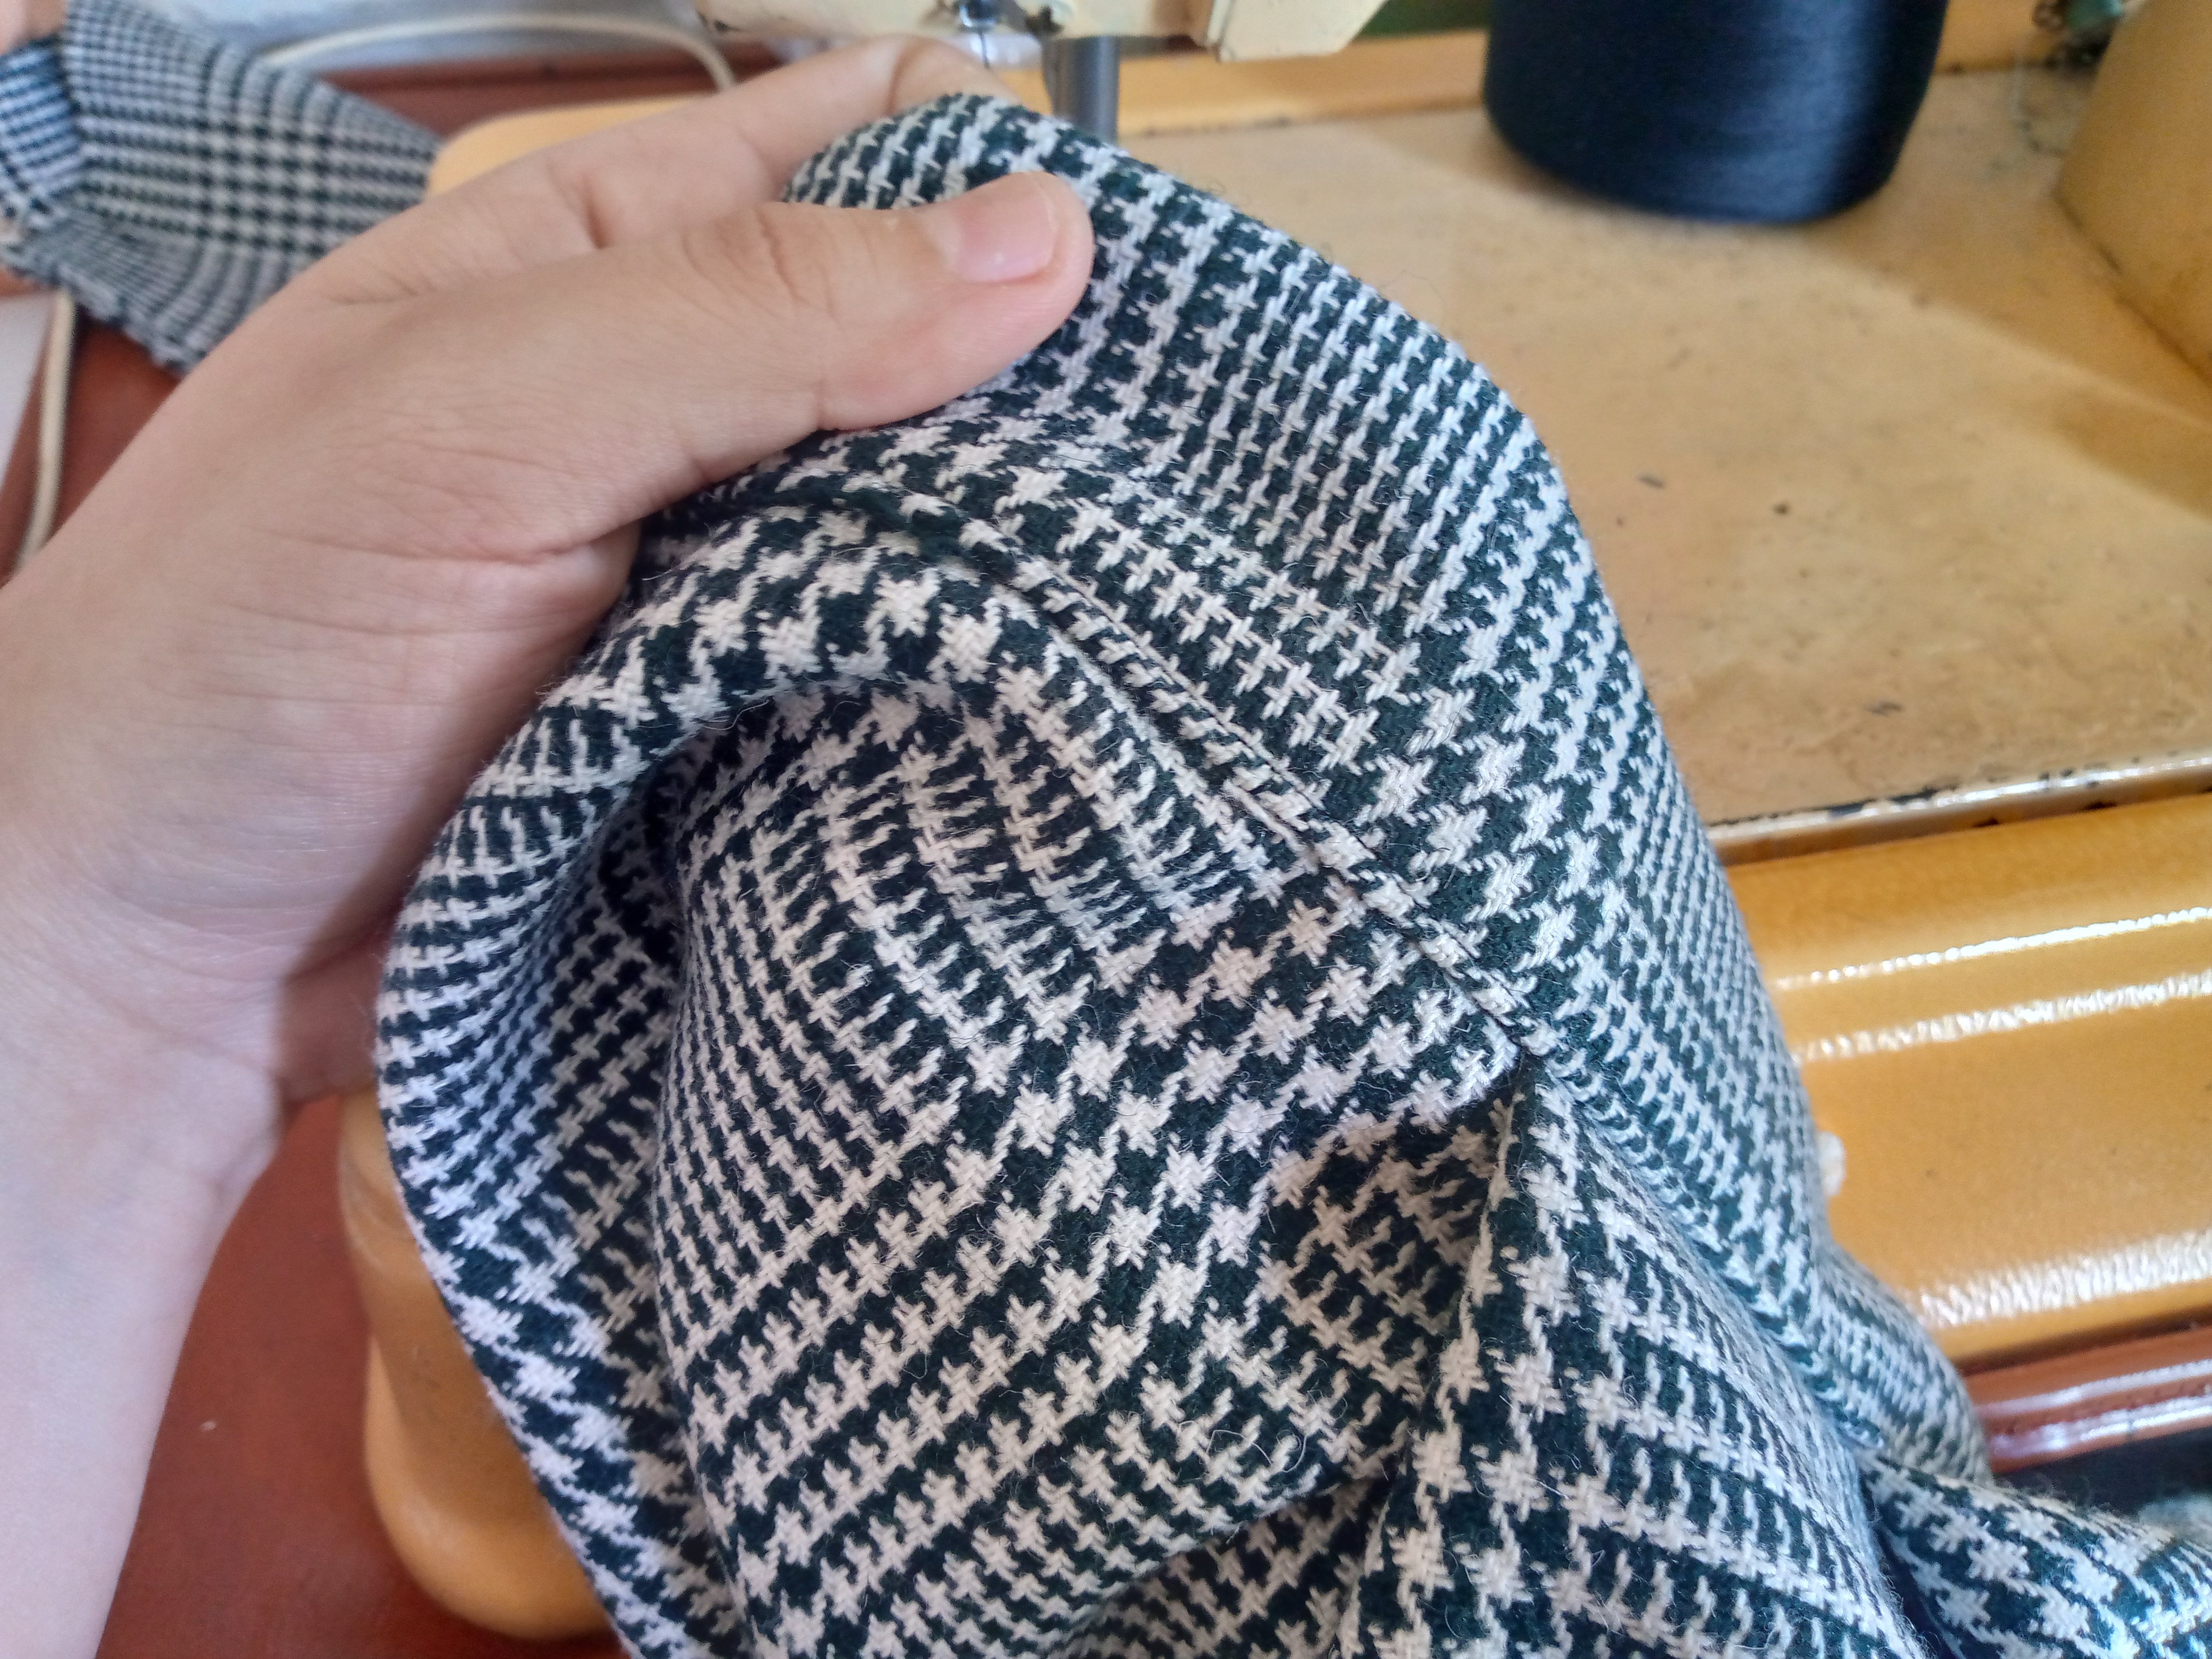
We then sew the pieces that we have hemmed, as in the bottom part we are going to join the skirt and we hem the closure and we sew it with the machine on the right side and on top, we sew the other piece on top leaving a tab that will cover our closure.


Paso 03
Step 03
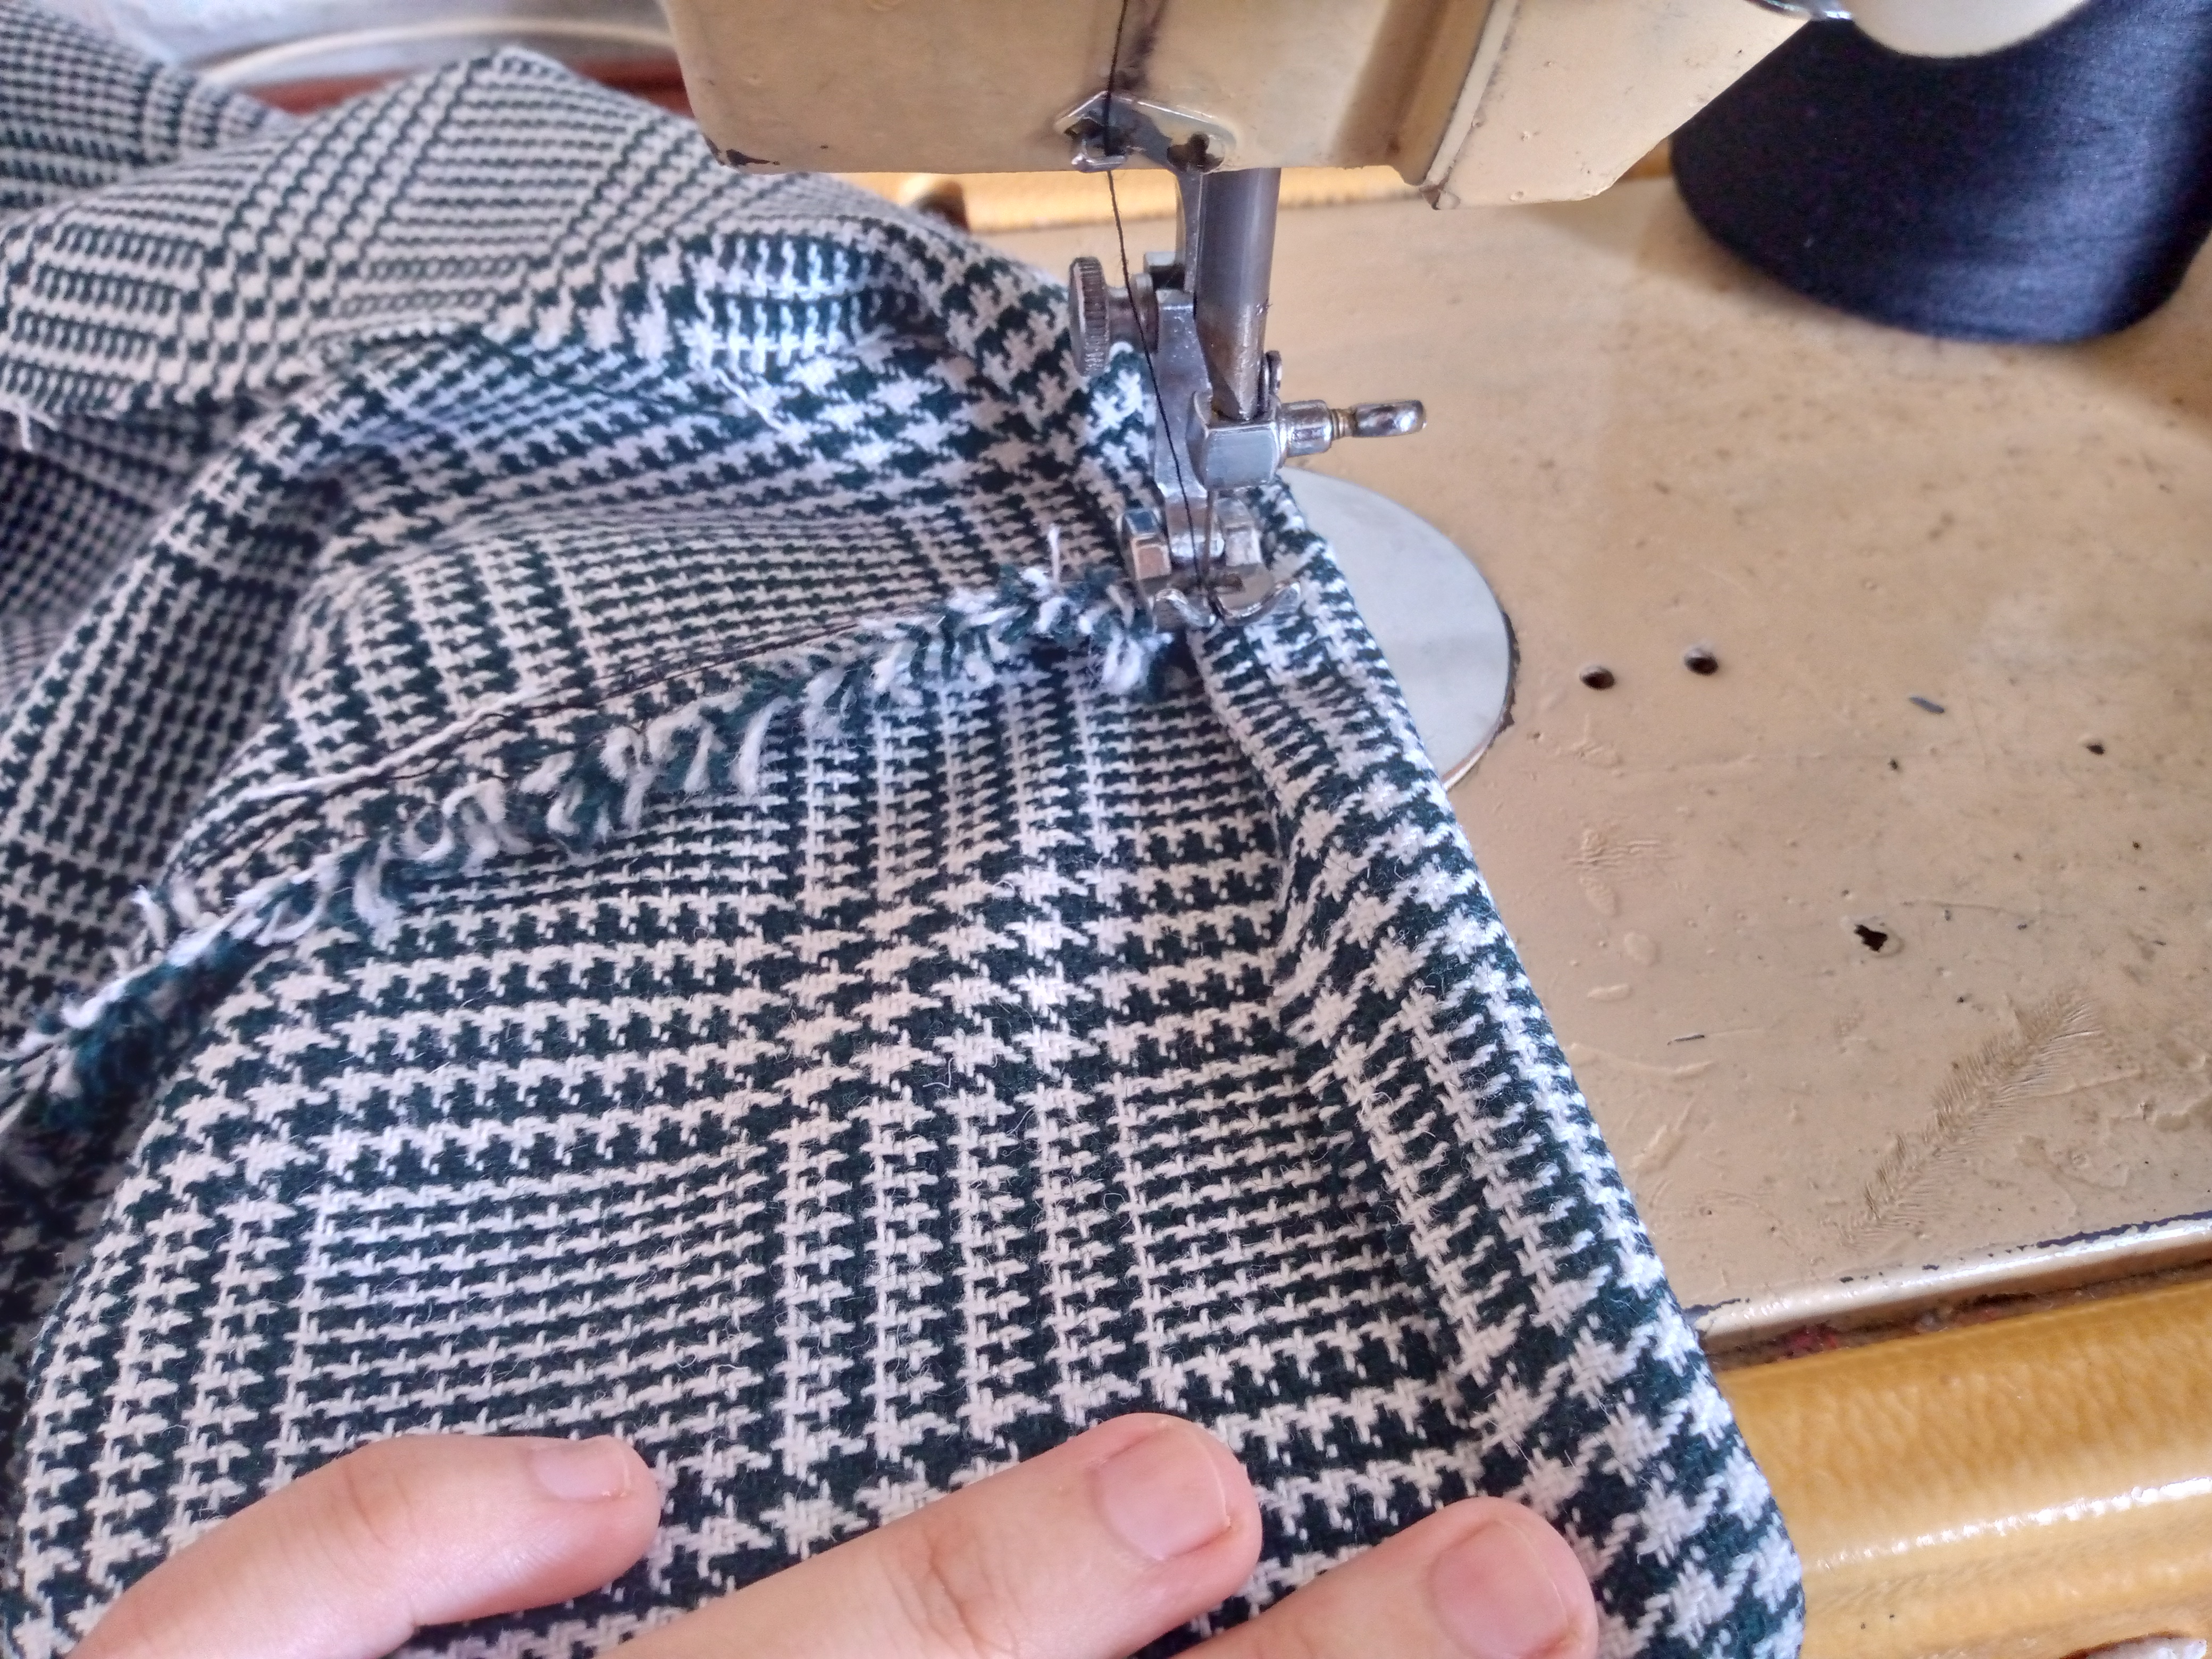
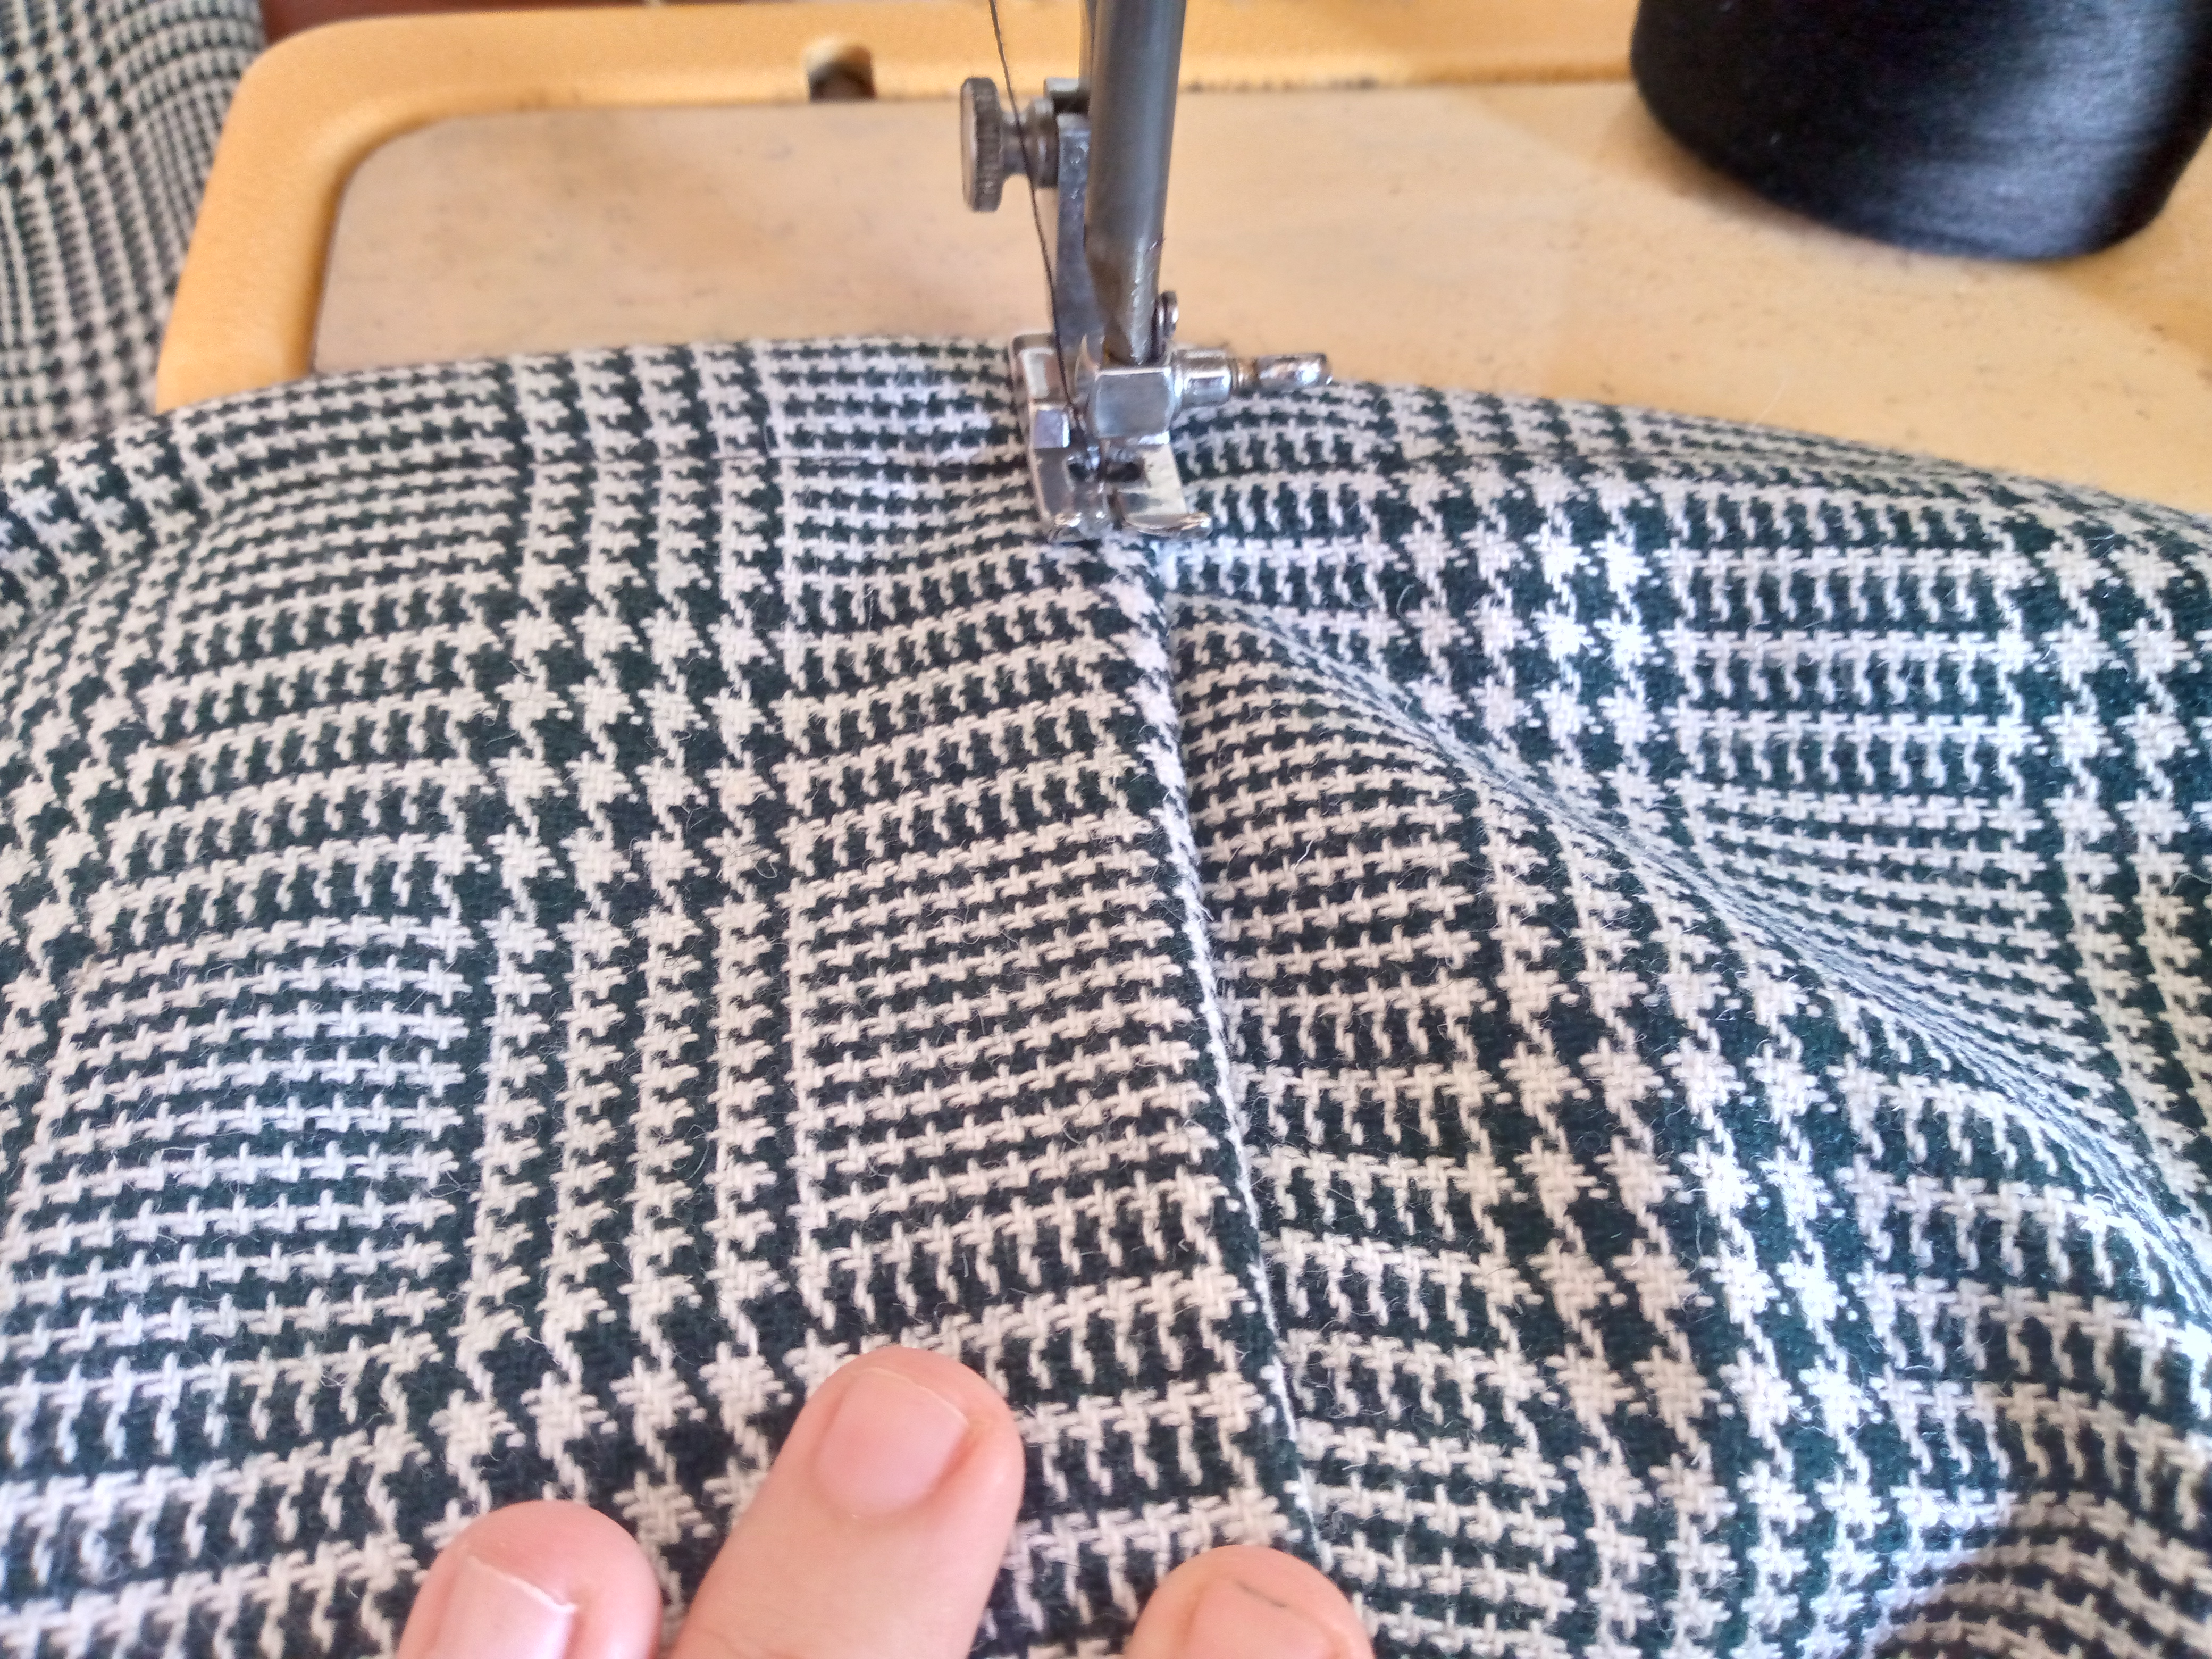
We go over the part of the closure from above with a straight seam and we are going to sew the waistband at each end and we are going to place our waistband on the inside of the skirt facing the front. We sew and then we will sew the waistband from the top making a hem at the top and thus our waistband is ready.
Paso 04
Step 04
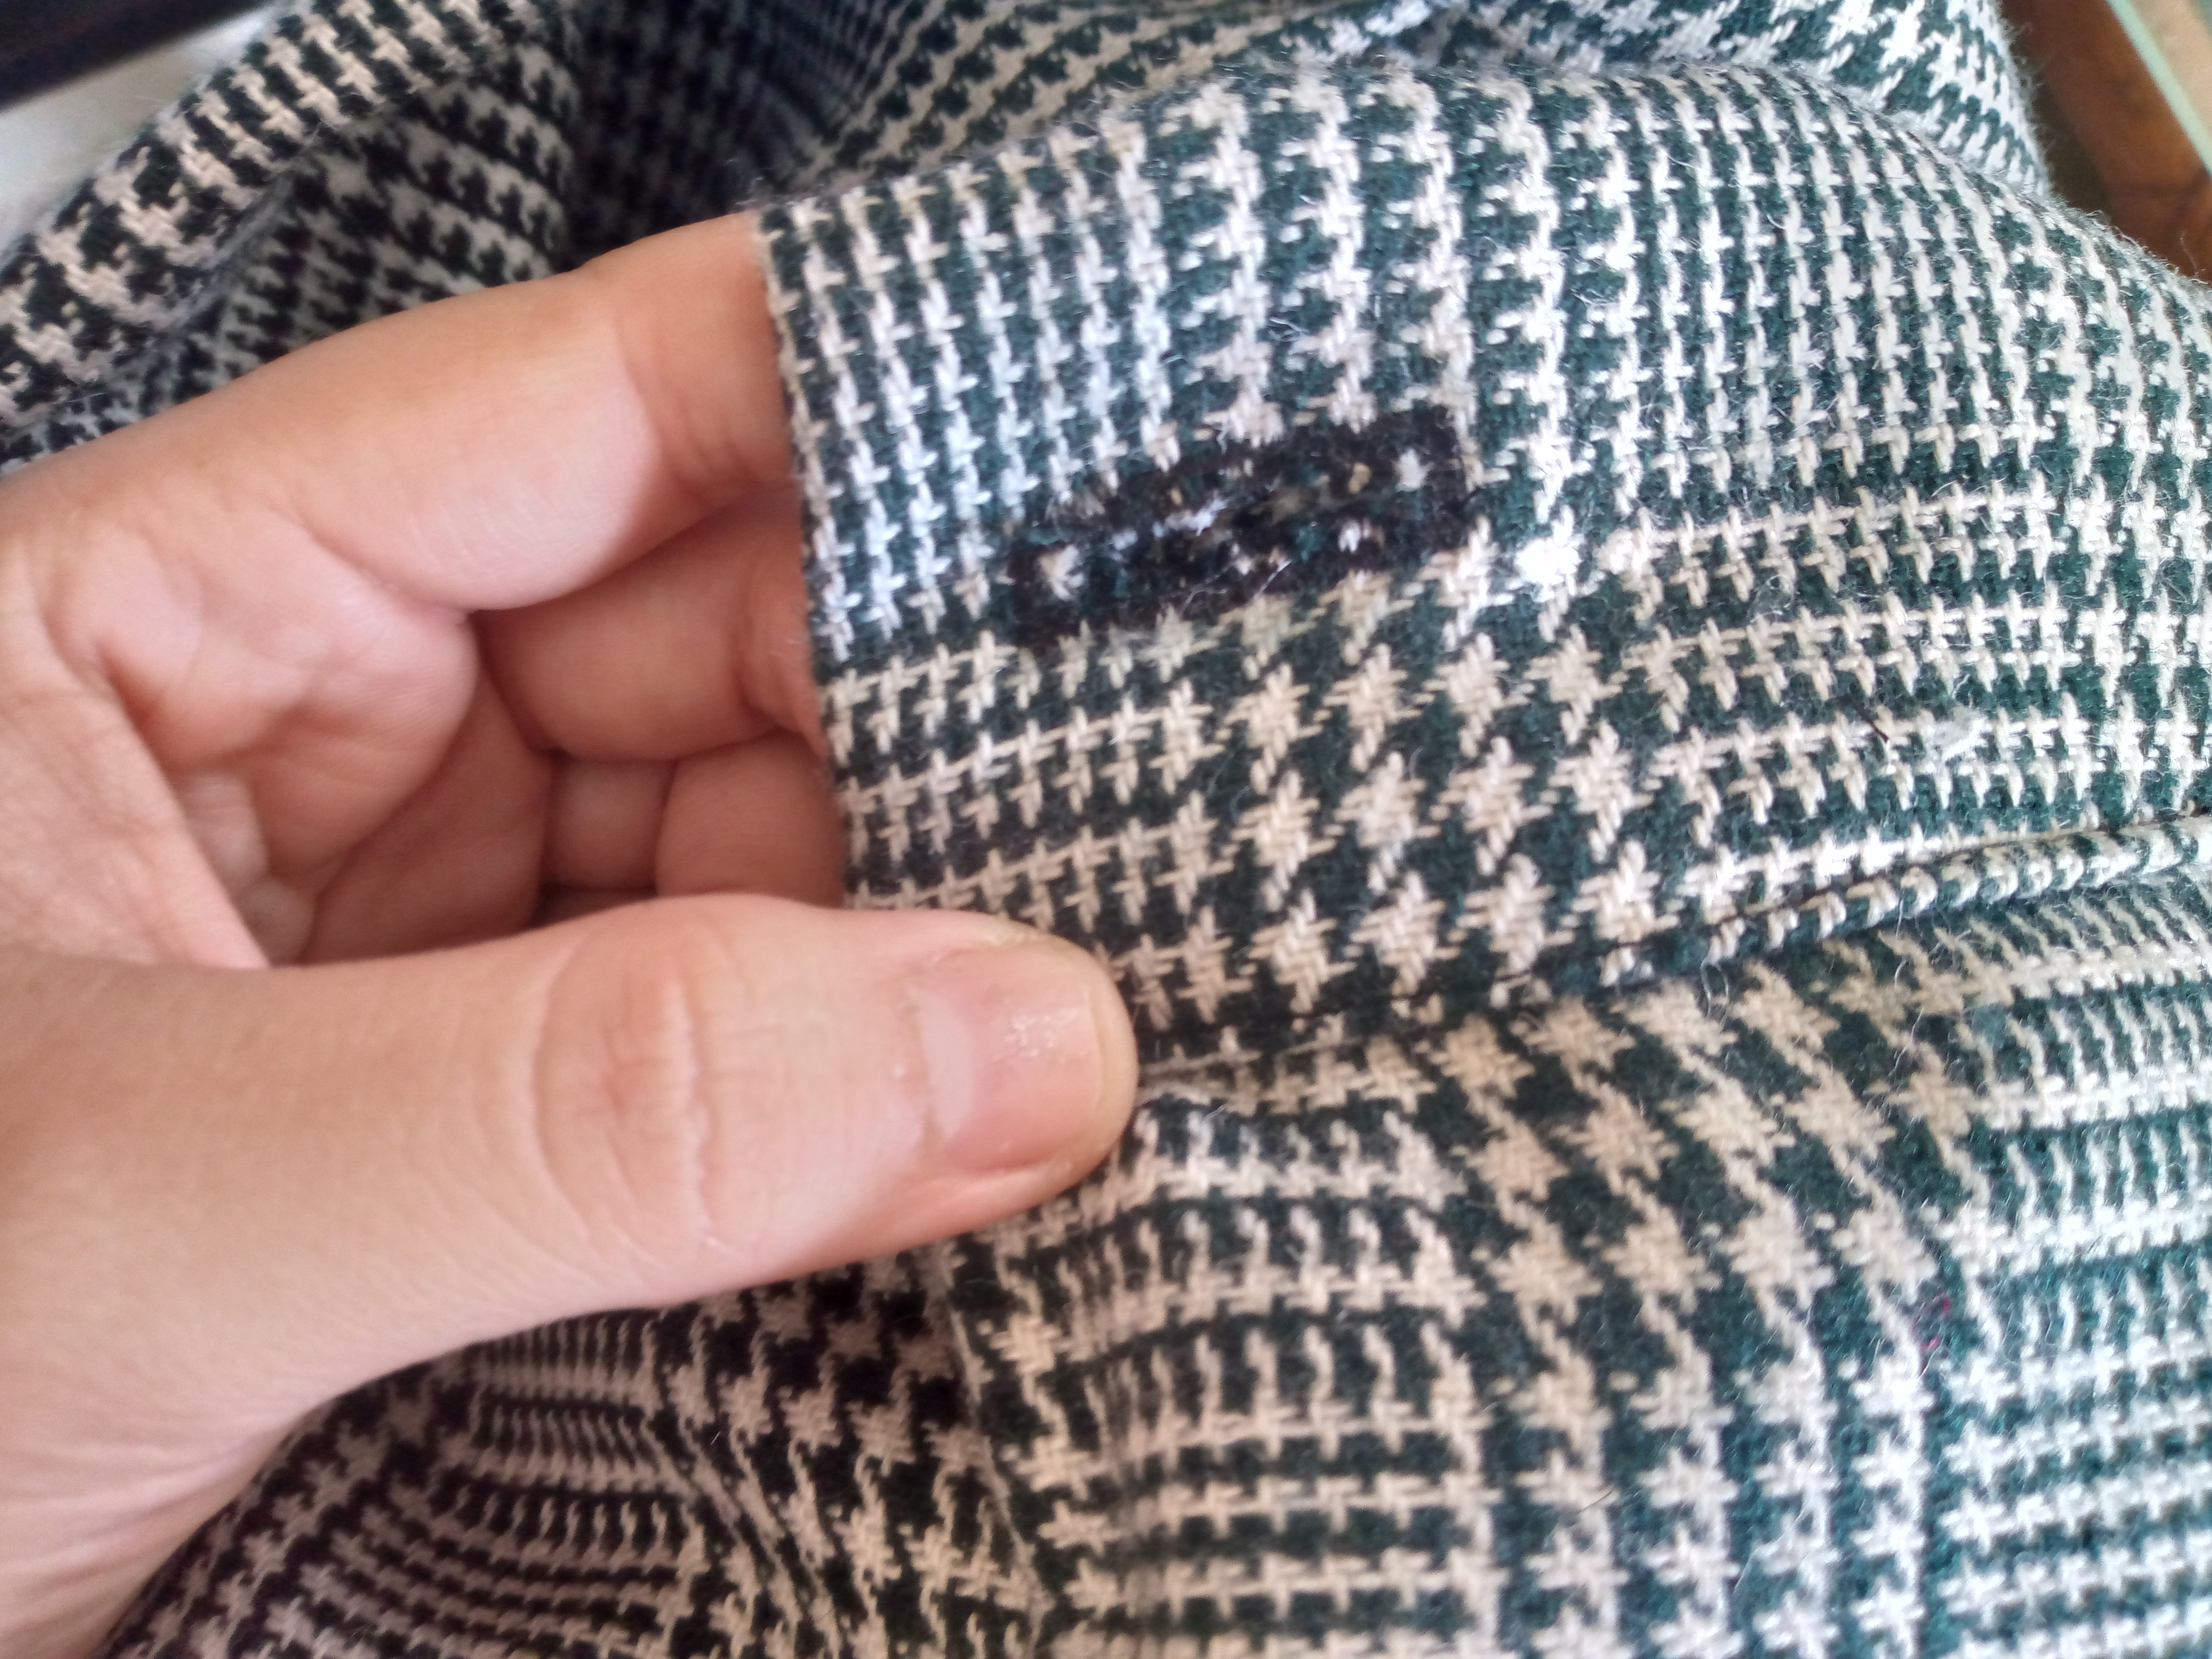
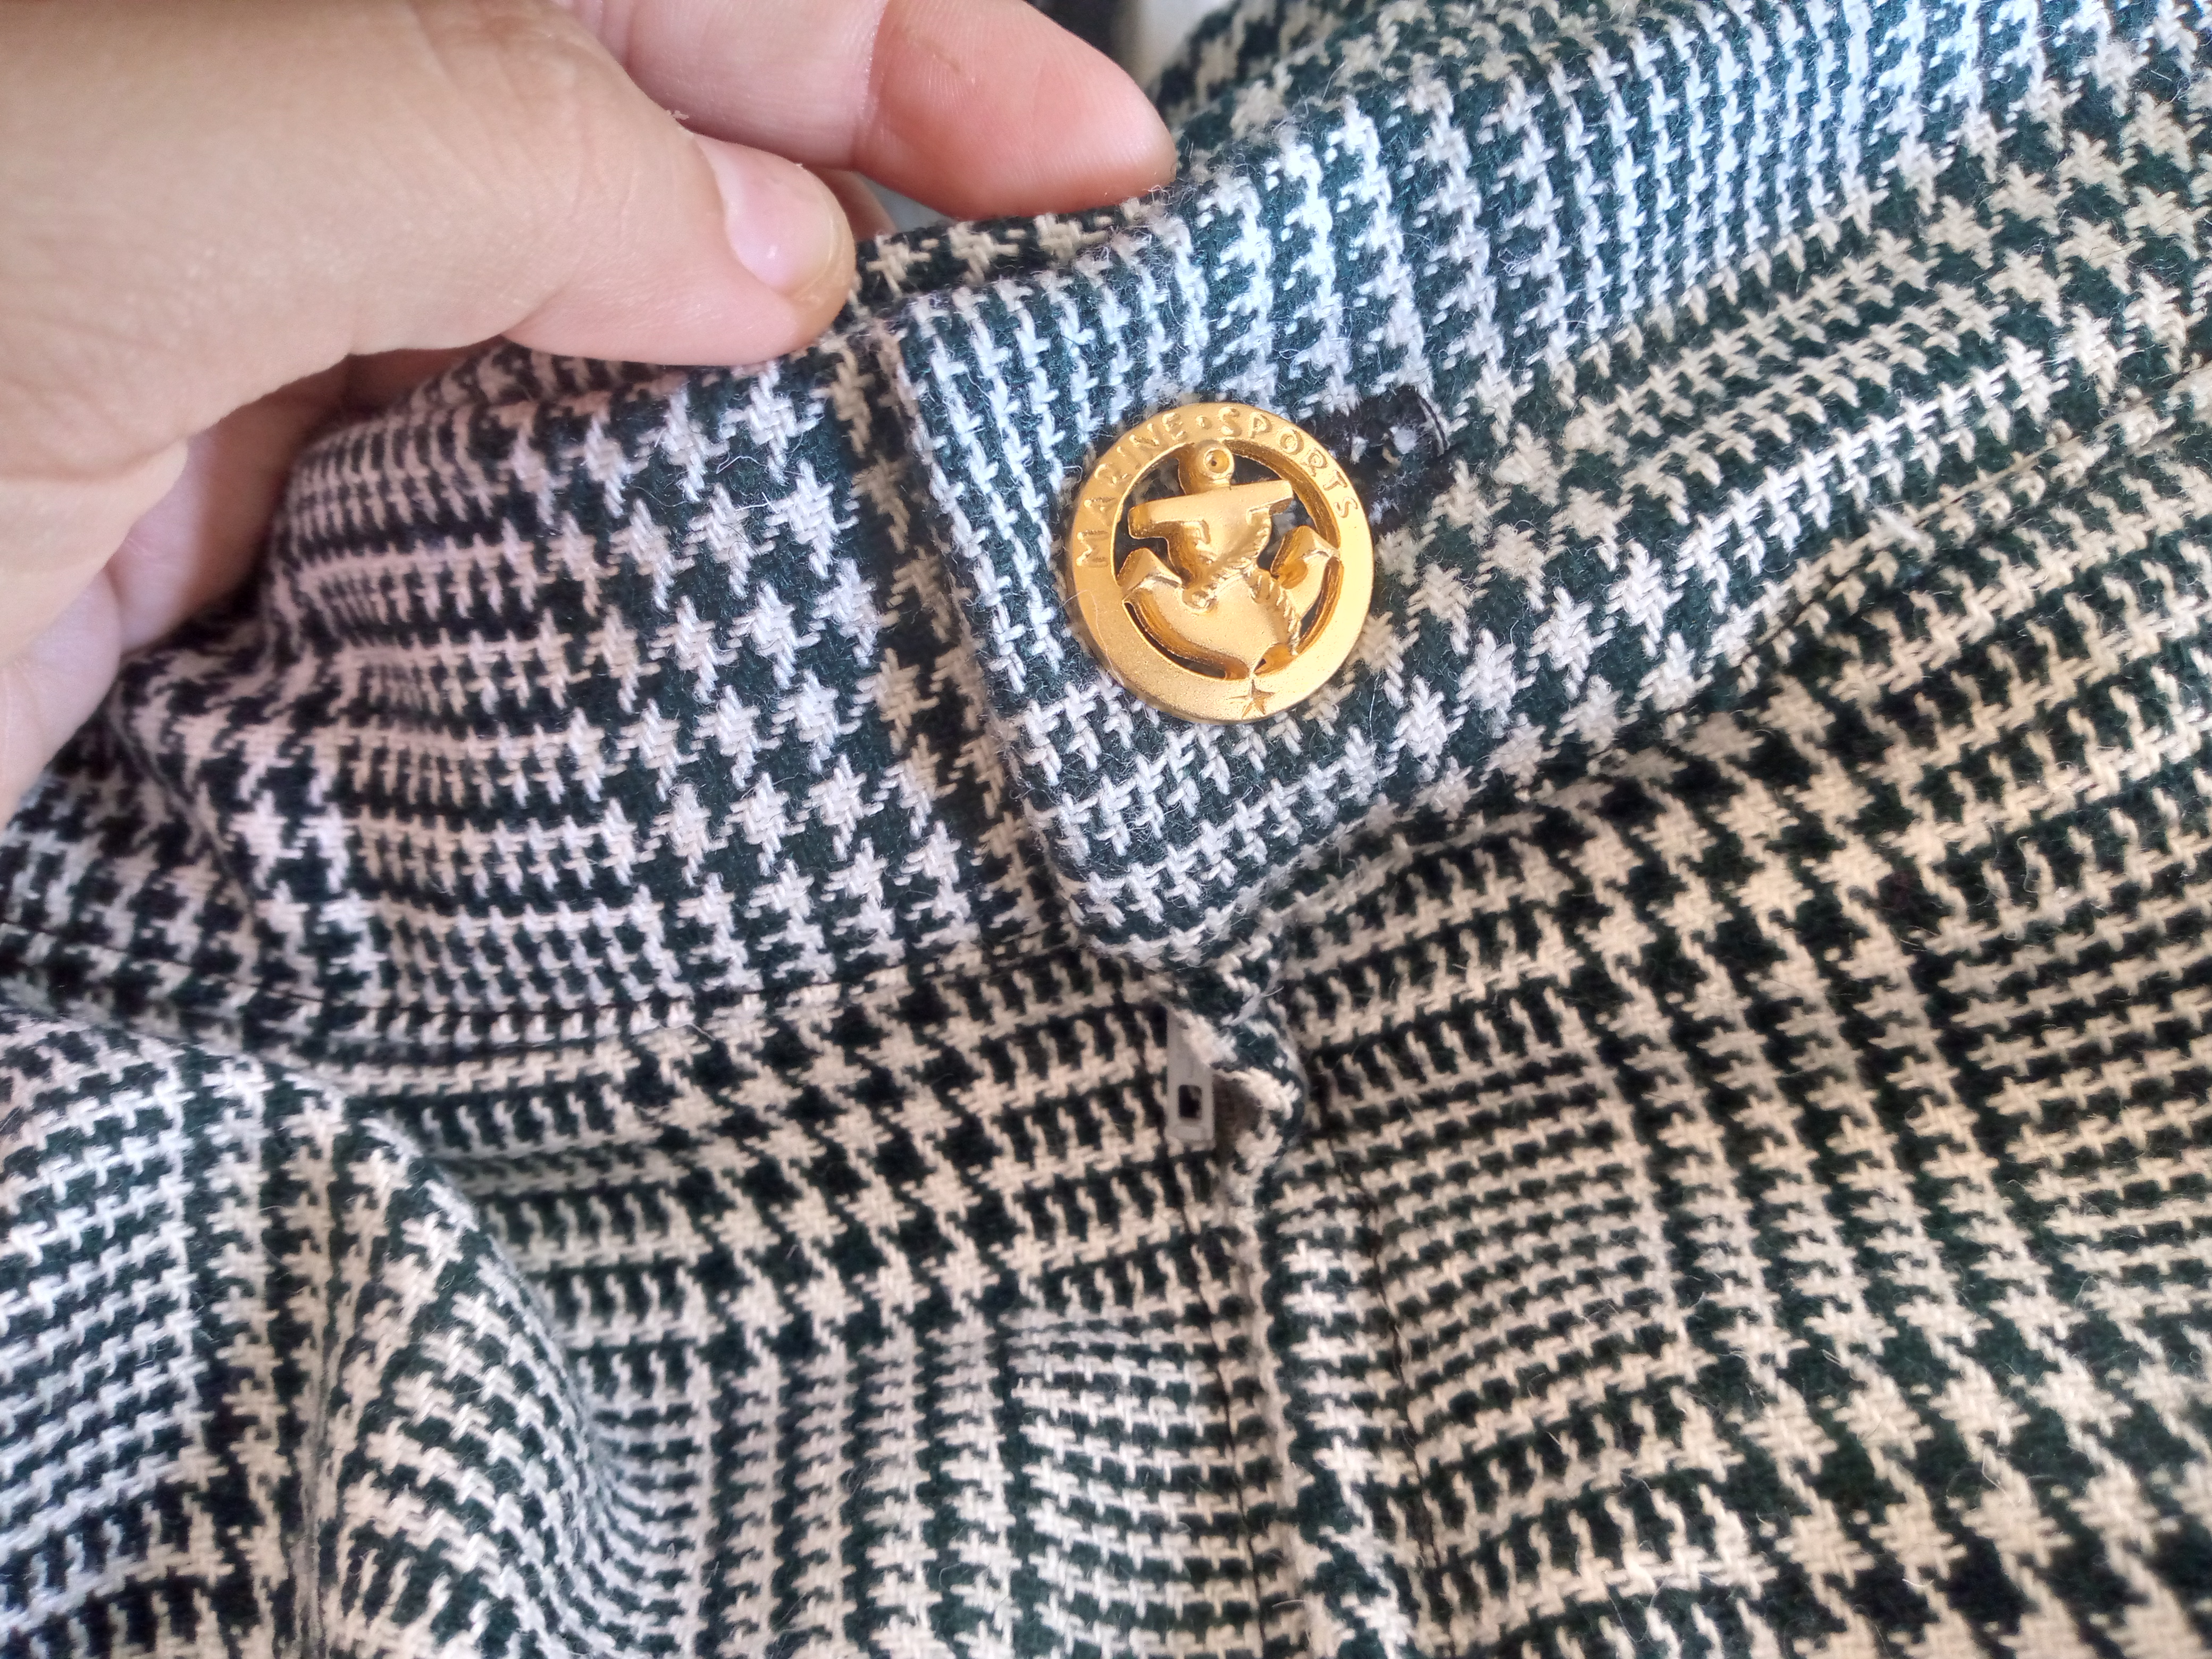
After sewing our waistband, friends, it's time to sew the hem at the bottom of my skirt. I always hem my skirts 1 or 1.5 cm or however you want to sew it. I sewed with a straight stitch along the part where the skirt's joining line is, that's in the back, I overcast the waistband on top and sewed the buttonhole where I will insert the button. I did it with a zig zag stitch and sewed the button. I also sewed the four small buttons on the front of my skirt, so I finished it.
.jpg)
Resultado:// Result:
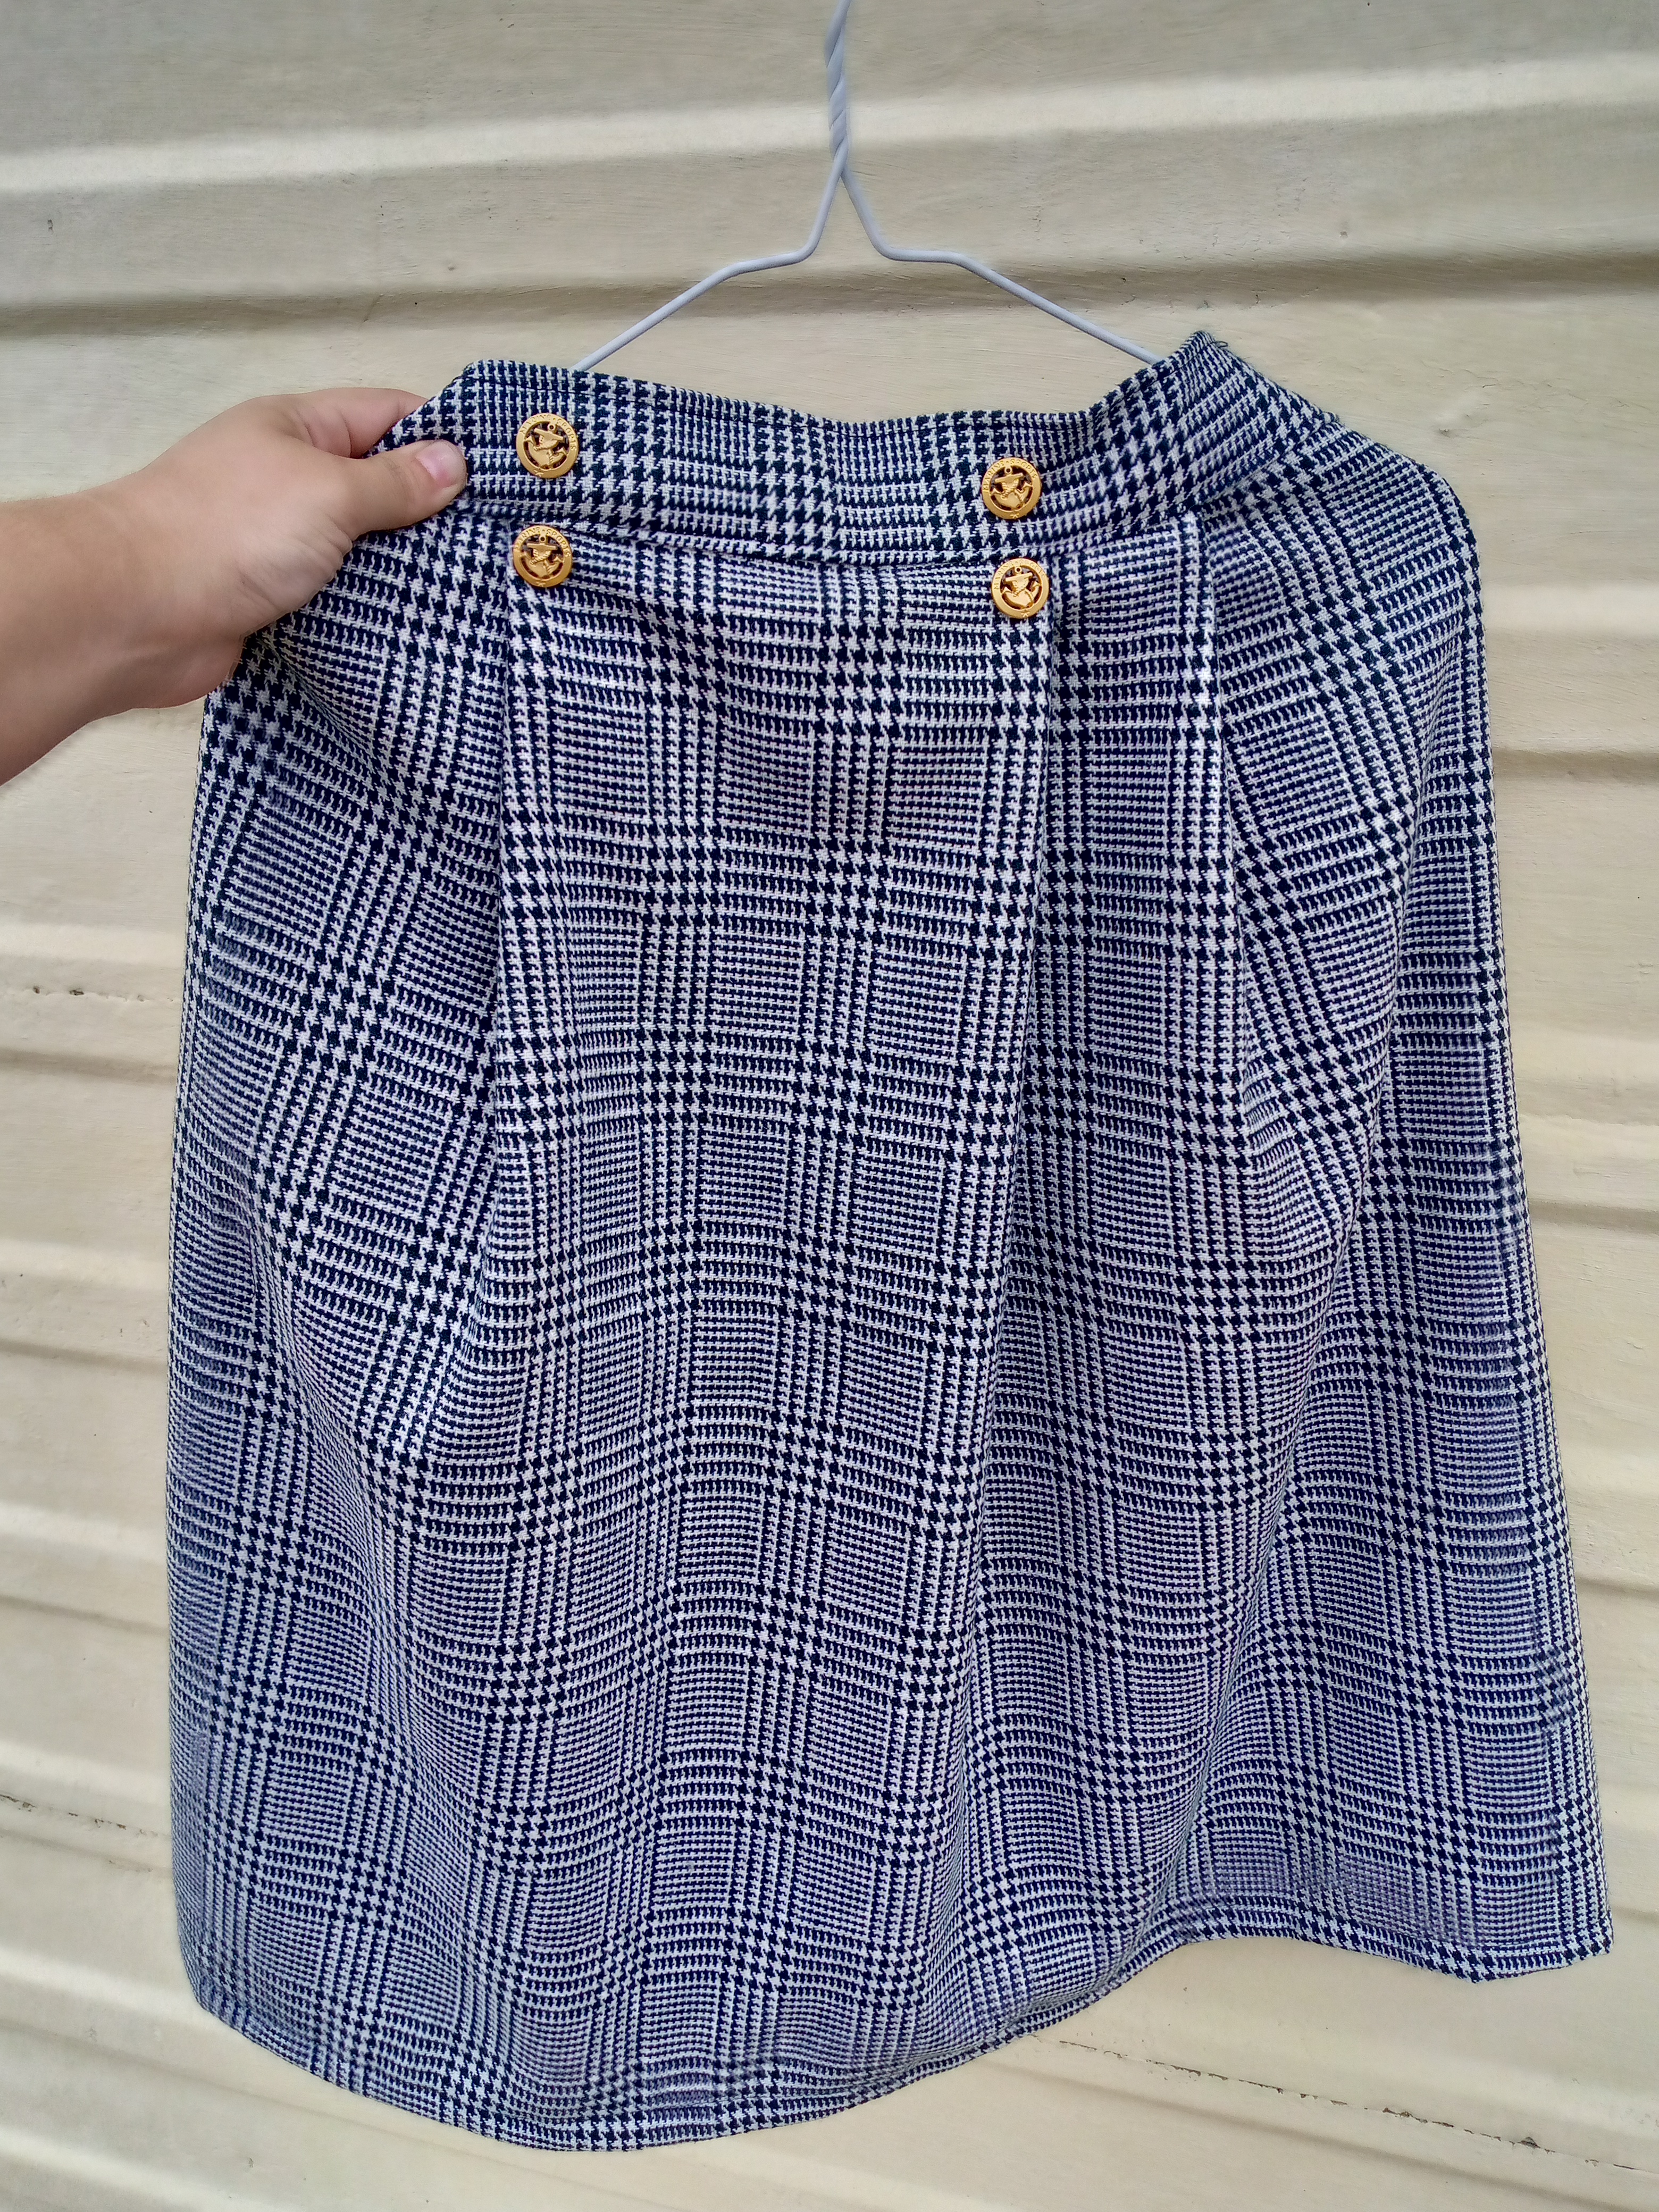
And well, my needle-loving friends, I hope you really liked this elegant skirt that you can combine with any color of clothing or jacket. This is how it looks when finished. It is casual and is a model that you could also make for a short skirt. I really liked the result and I hope you do too. Thank you for getting to the end and I will see you in another blog. I wish you a happy afternoon, friends.

.jpg)
Creating things with love 🌷❤️
🦋✨ All the images in this publication are my author ,📱taken with my TecnoSpark8C cell phone |📸Photos edited in PicsArt and Canva. Text translated in Google Translate.
