Feliz noche mis hivers creativos!! Espero estén muy bien disfrutando de esta linda y alegre semana.... Para mí siempre será muy agradable saludarlos y darles la bienvenida a mi blog.. En está oportunidad me gustaría mostrarte como pude confeccionar un lindo vestido primaveral estilo Jumper para niñas muy cálido y moderno, reciclando una camisa y trozos de telas estampadas en flores de girasol. Un diseño muy bonito que me hizo suspirar por sus alegres y brillantes colores y por lo linda que se veía mi hija. Está noche tengo el placer de mostrarte su creación y facilitarte un paso a paso para también puedas darle uso a tus prendas en desuso y hagas que tu pequeña se vea más hermosa que nunca con esta idea de outfit para que presuma esta temporada..
Happy night my creative hivers!! I hope you are doing very well enjoying this beautiful and happy week.... For me it will always be very pleasant to greet you and welcome you to my blog.. On this occasion I would like to show you how I was able to make a nice Jumper style spring dress for girls, very warm and modern, recycling a shirt and pieces of fabric printed with sunflower flowers. A very pretty design that made me sigh because of its happy and bright colors and because of how cute my daughter looked. Tonight I have the pleasure of showing you her creation and providing you with a step by step so that you can also put your unused clothes to use and make your little one look more beautiful than ever with this outfit idea so that she can show off this season.

Materiales que necesitas:
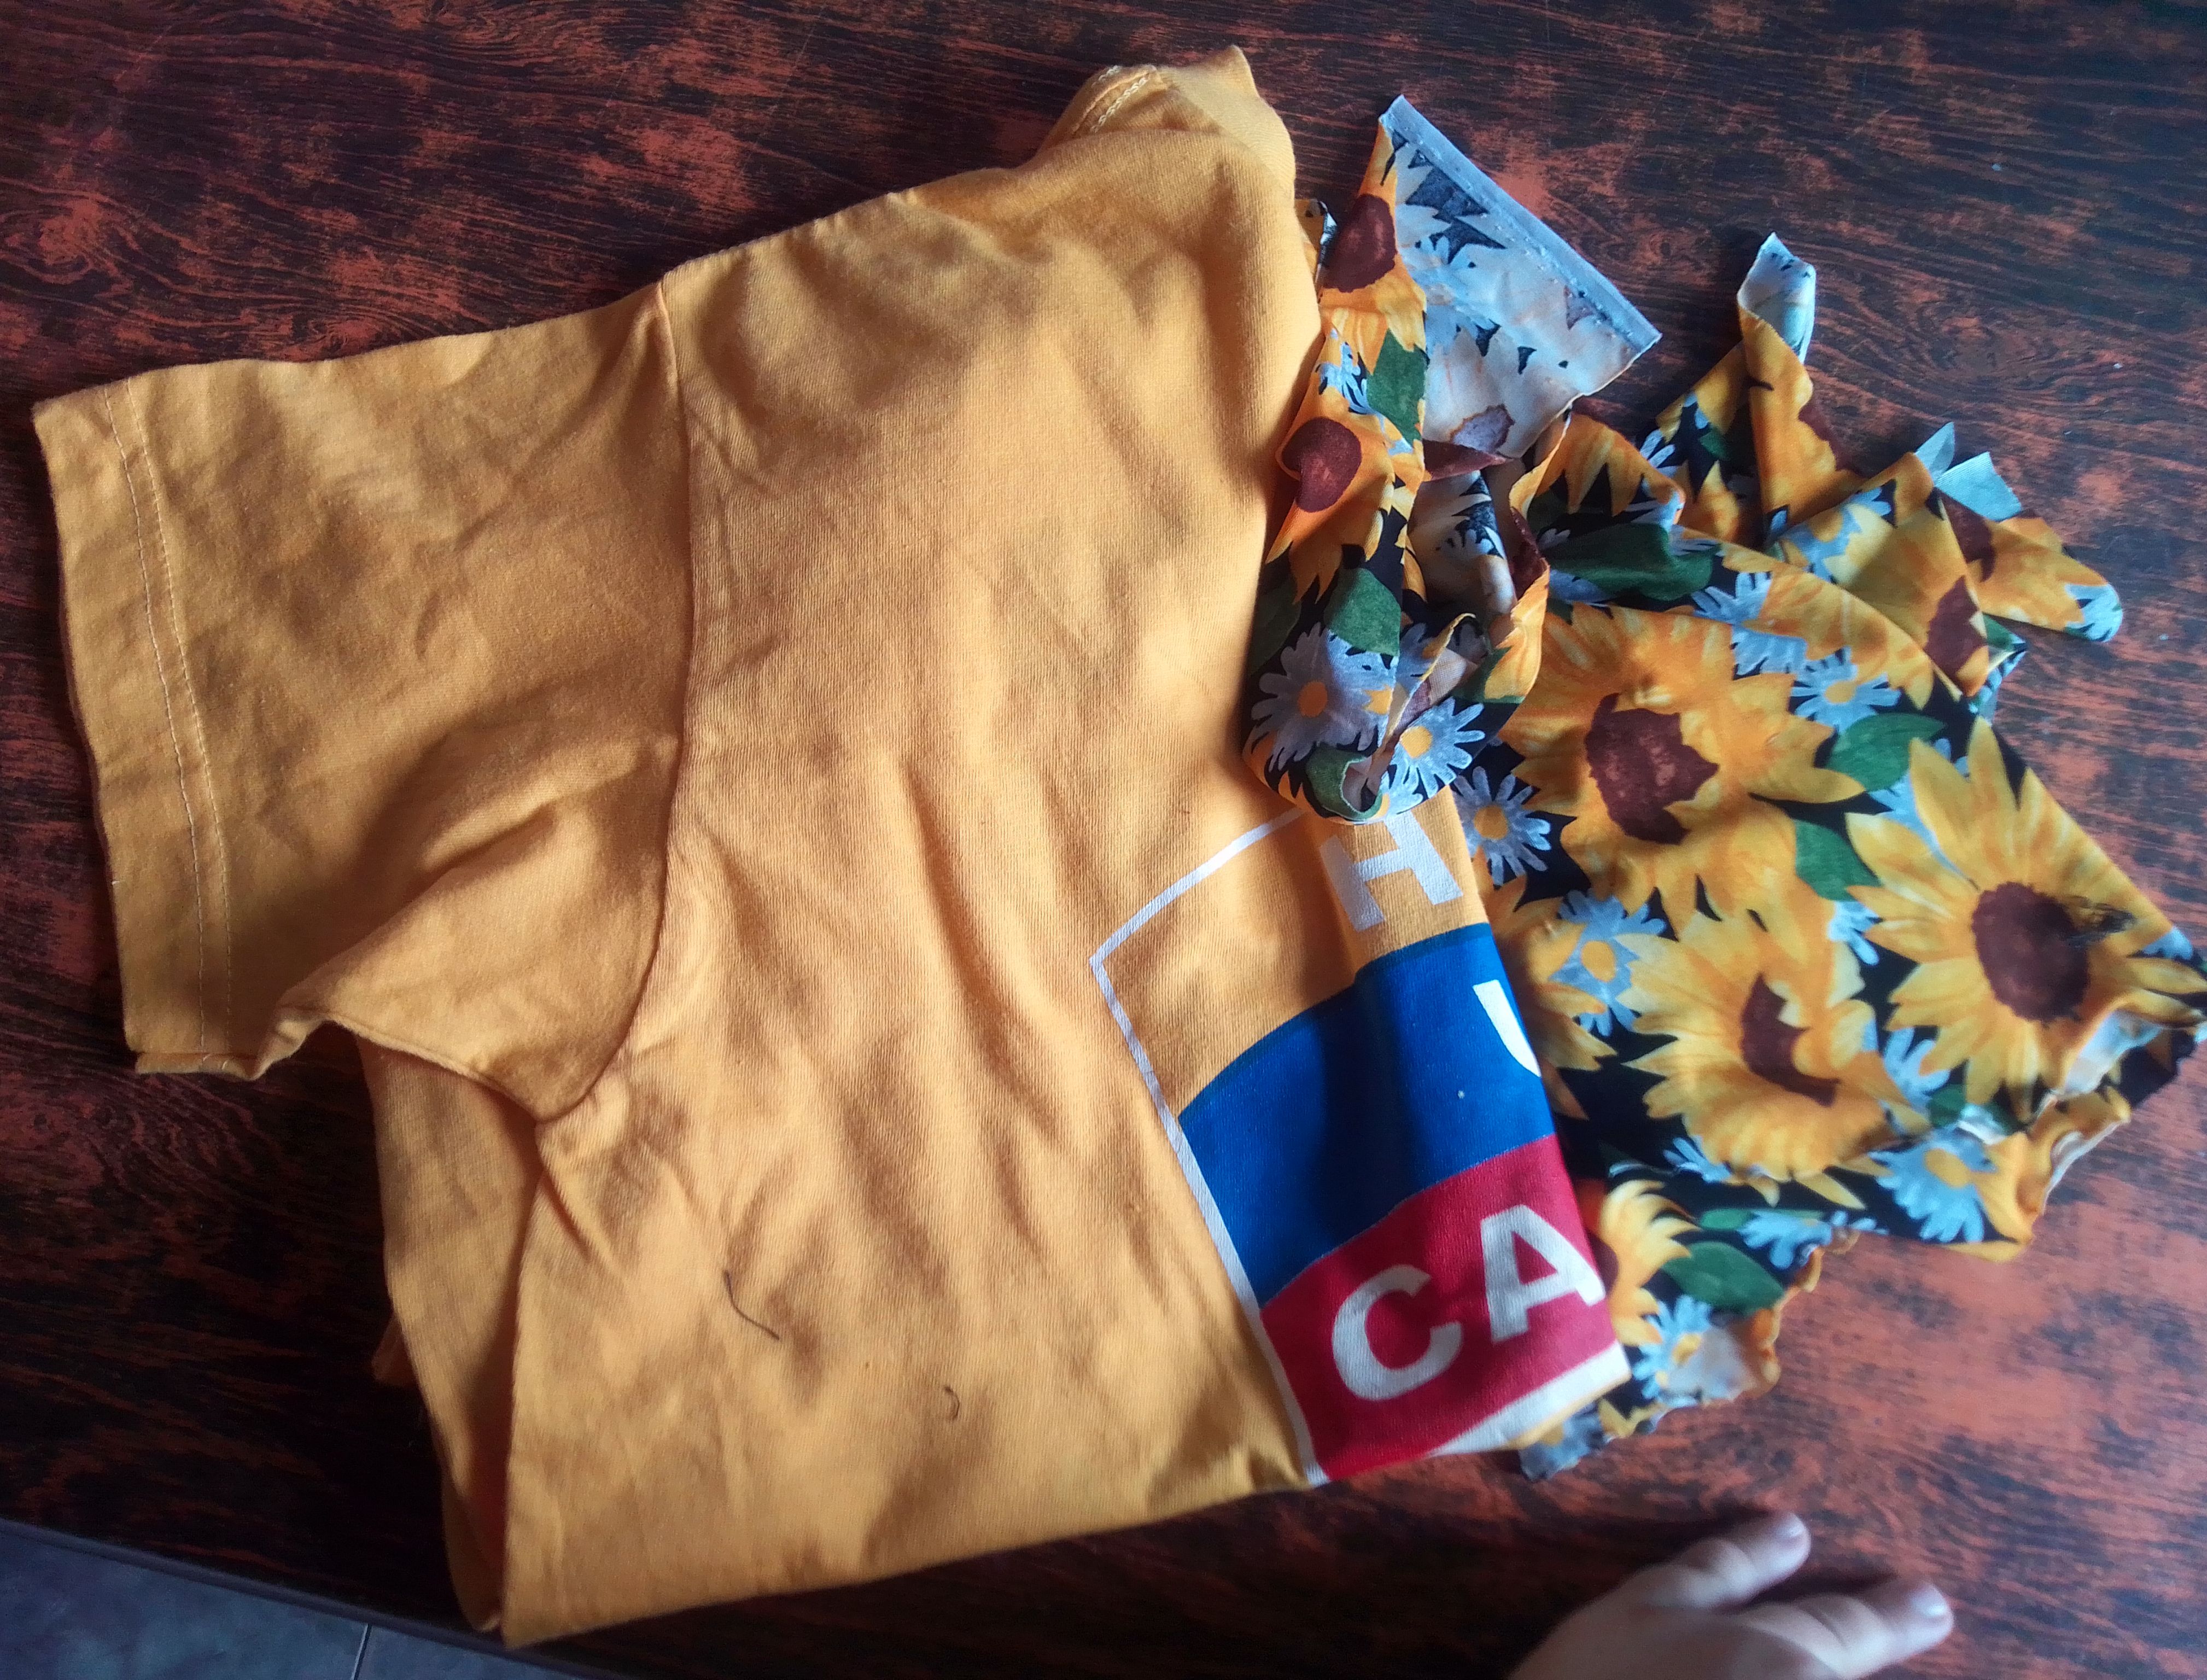
- Camisa de algodón y trozos de tela.
- Tijeras.
- Hilo y aguja.
- Máquina de coser.
- Cotton shirt and pieces of fabric.
- Scissors.
- Thread and needle.
- Sewing machine.
(PROCEDIMIENTO)
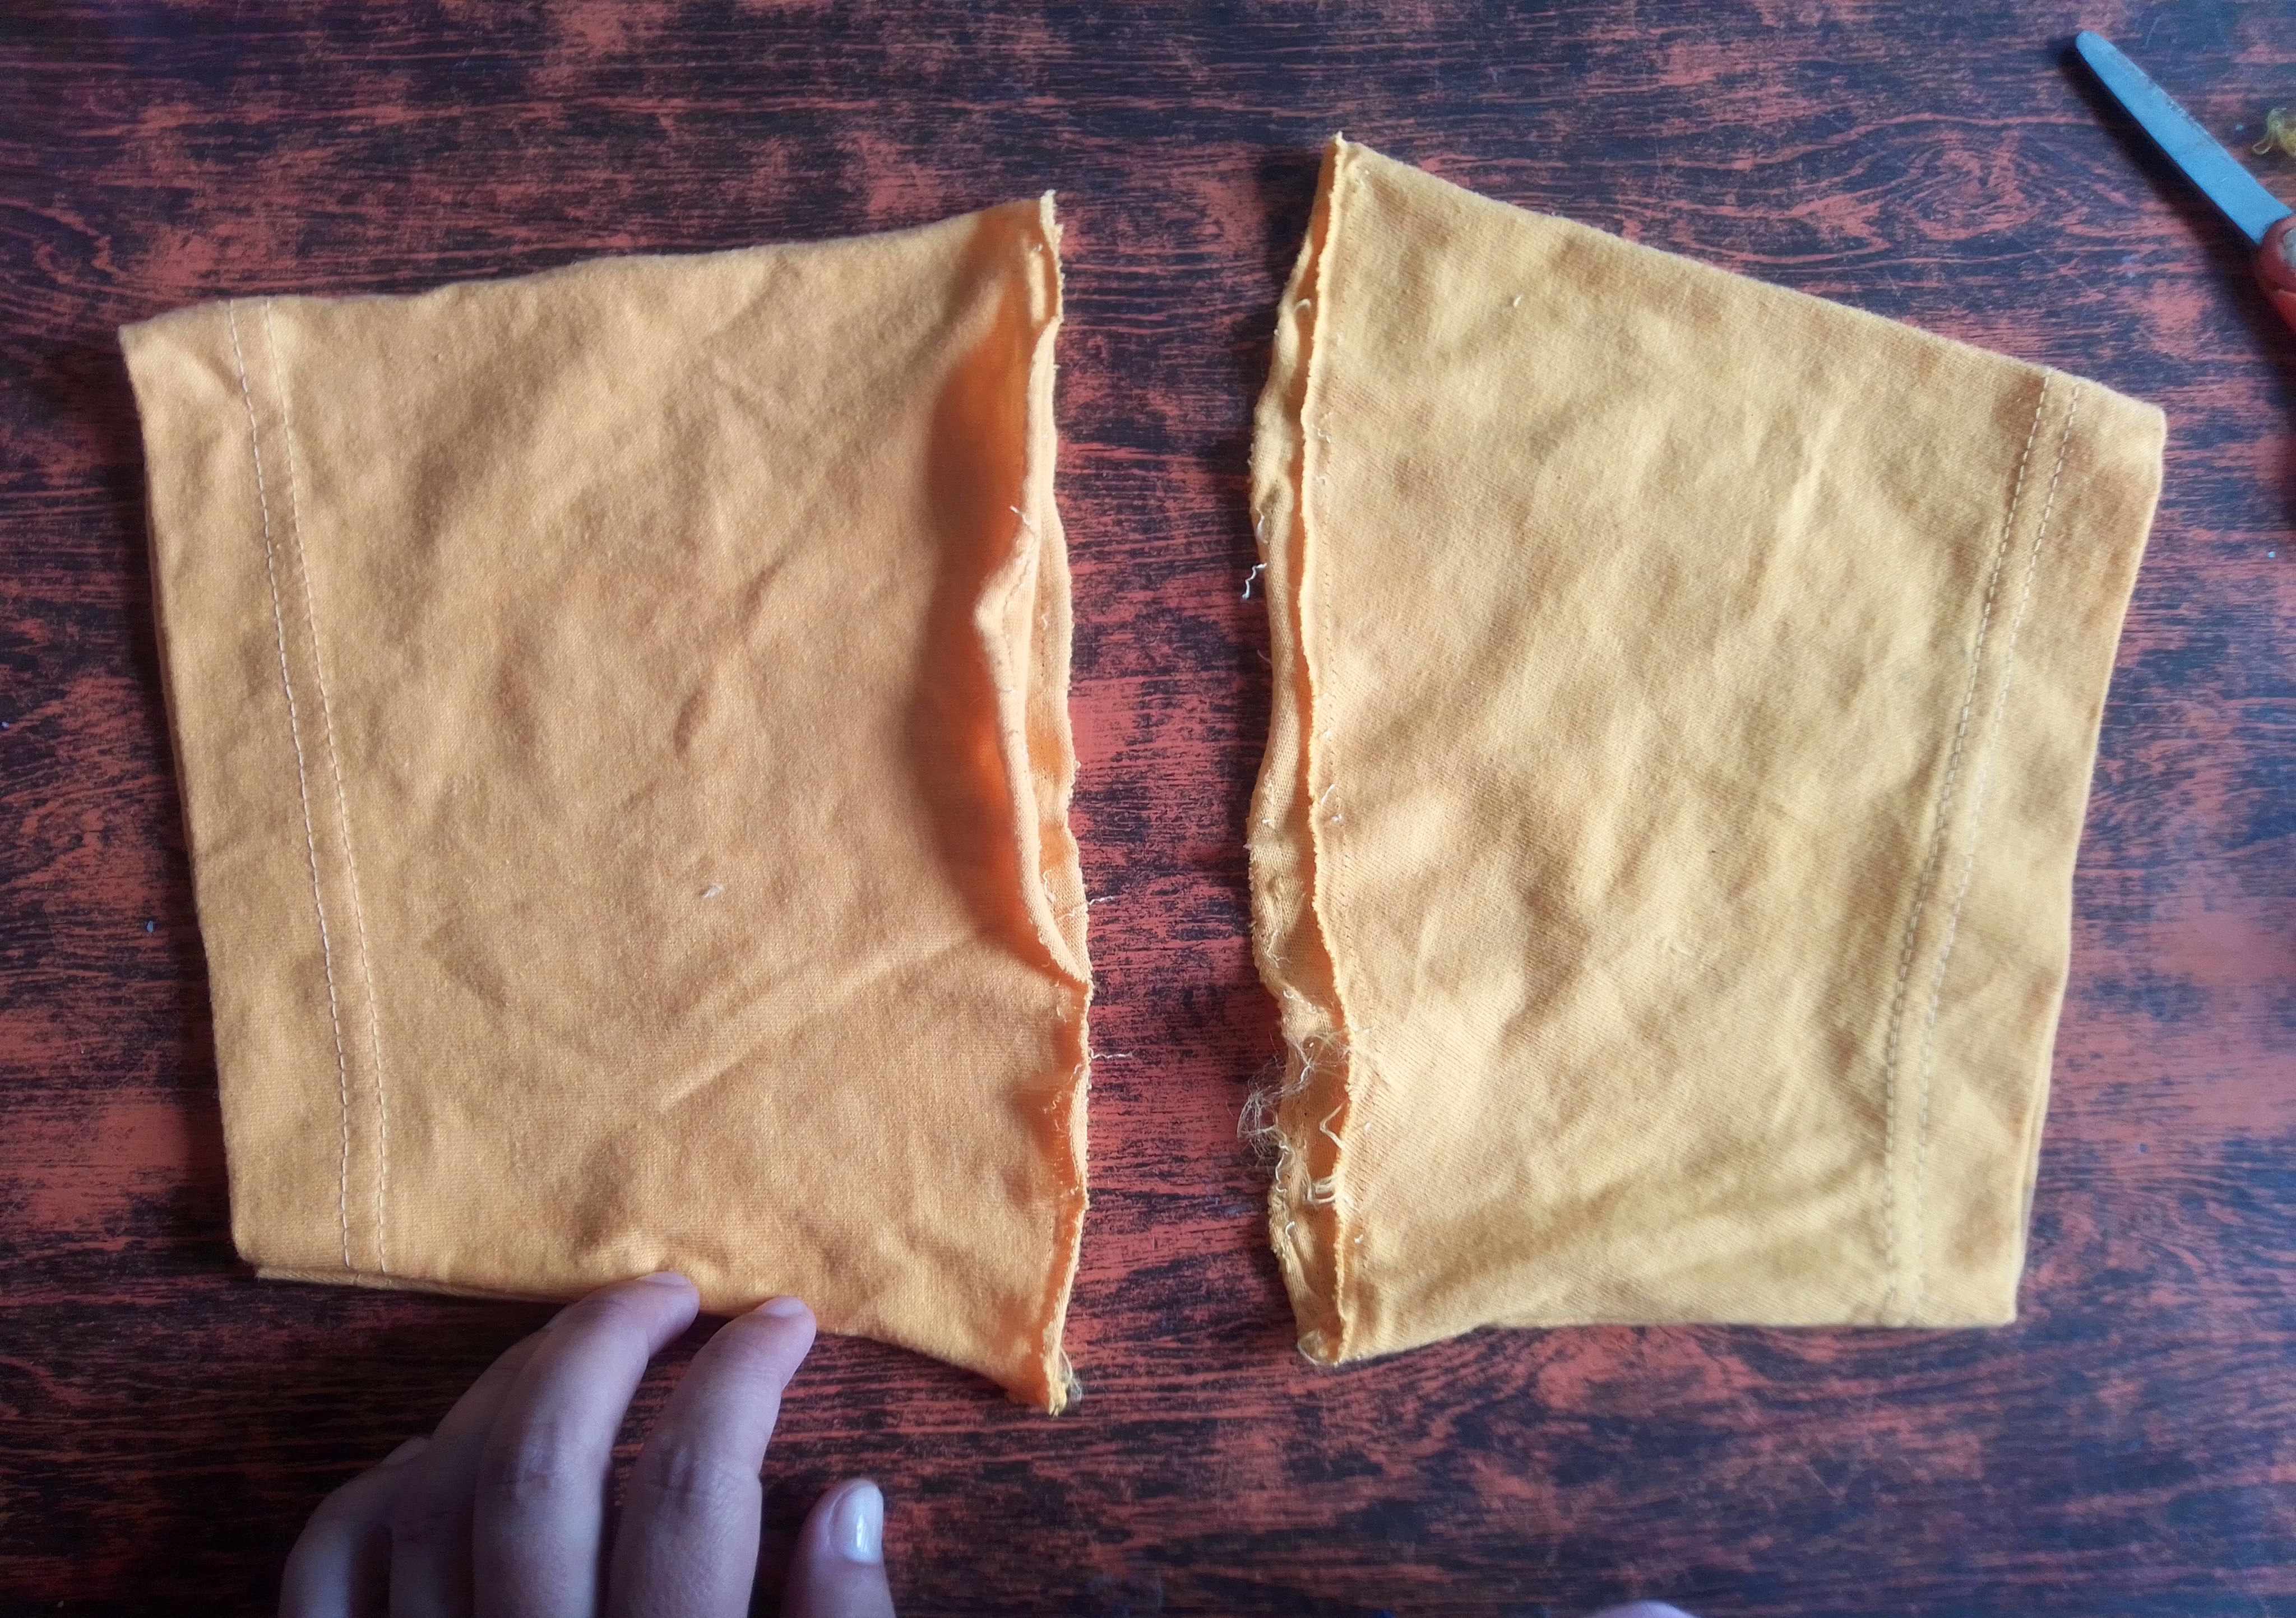
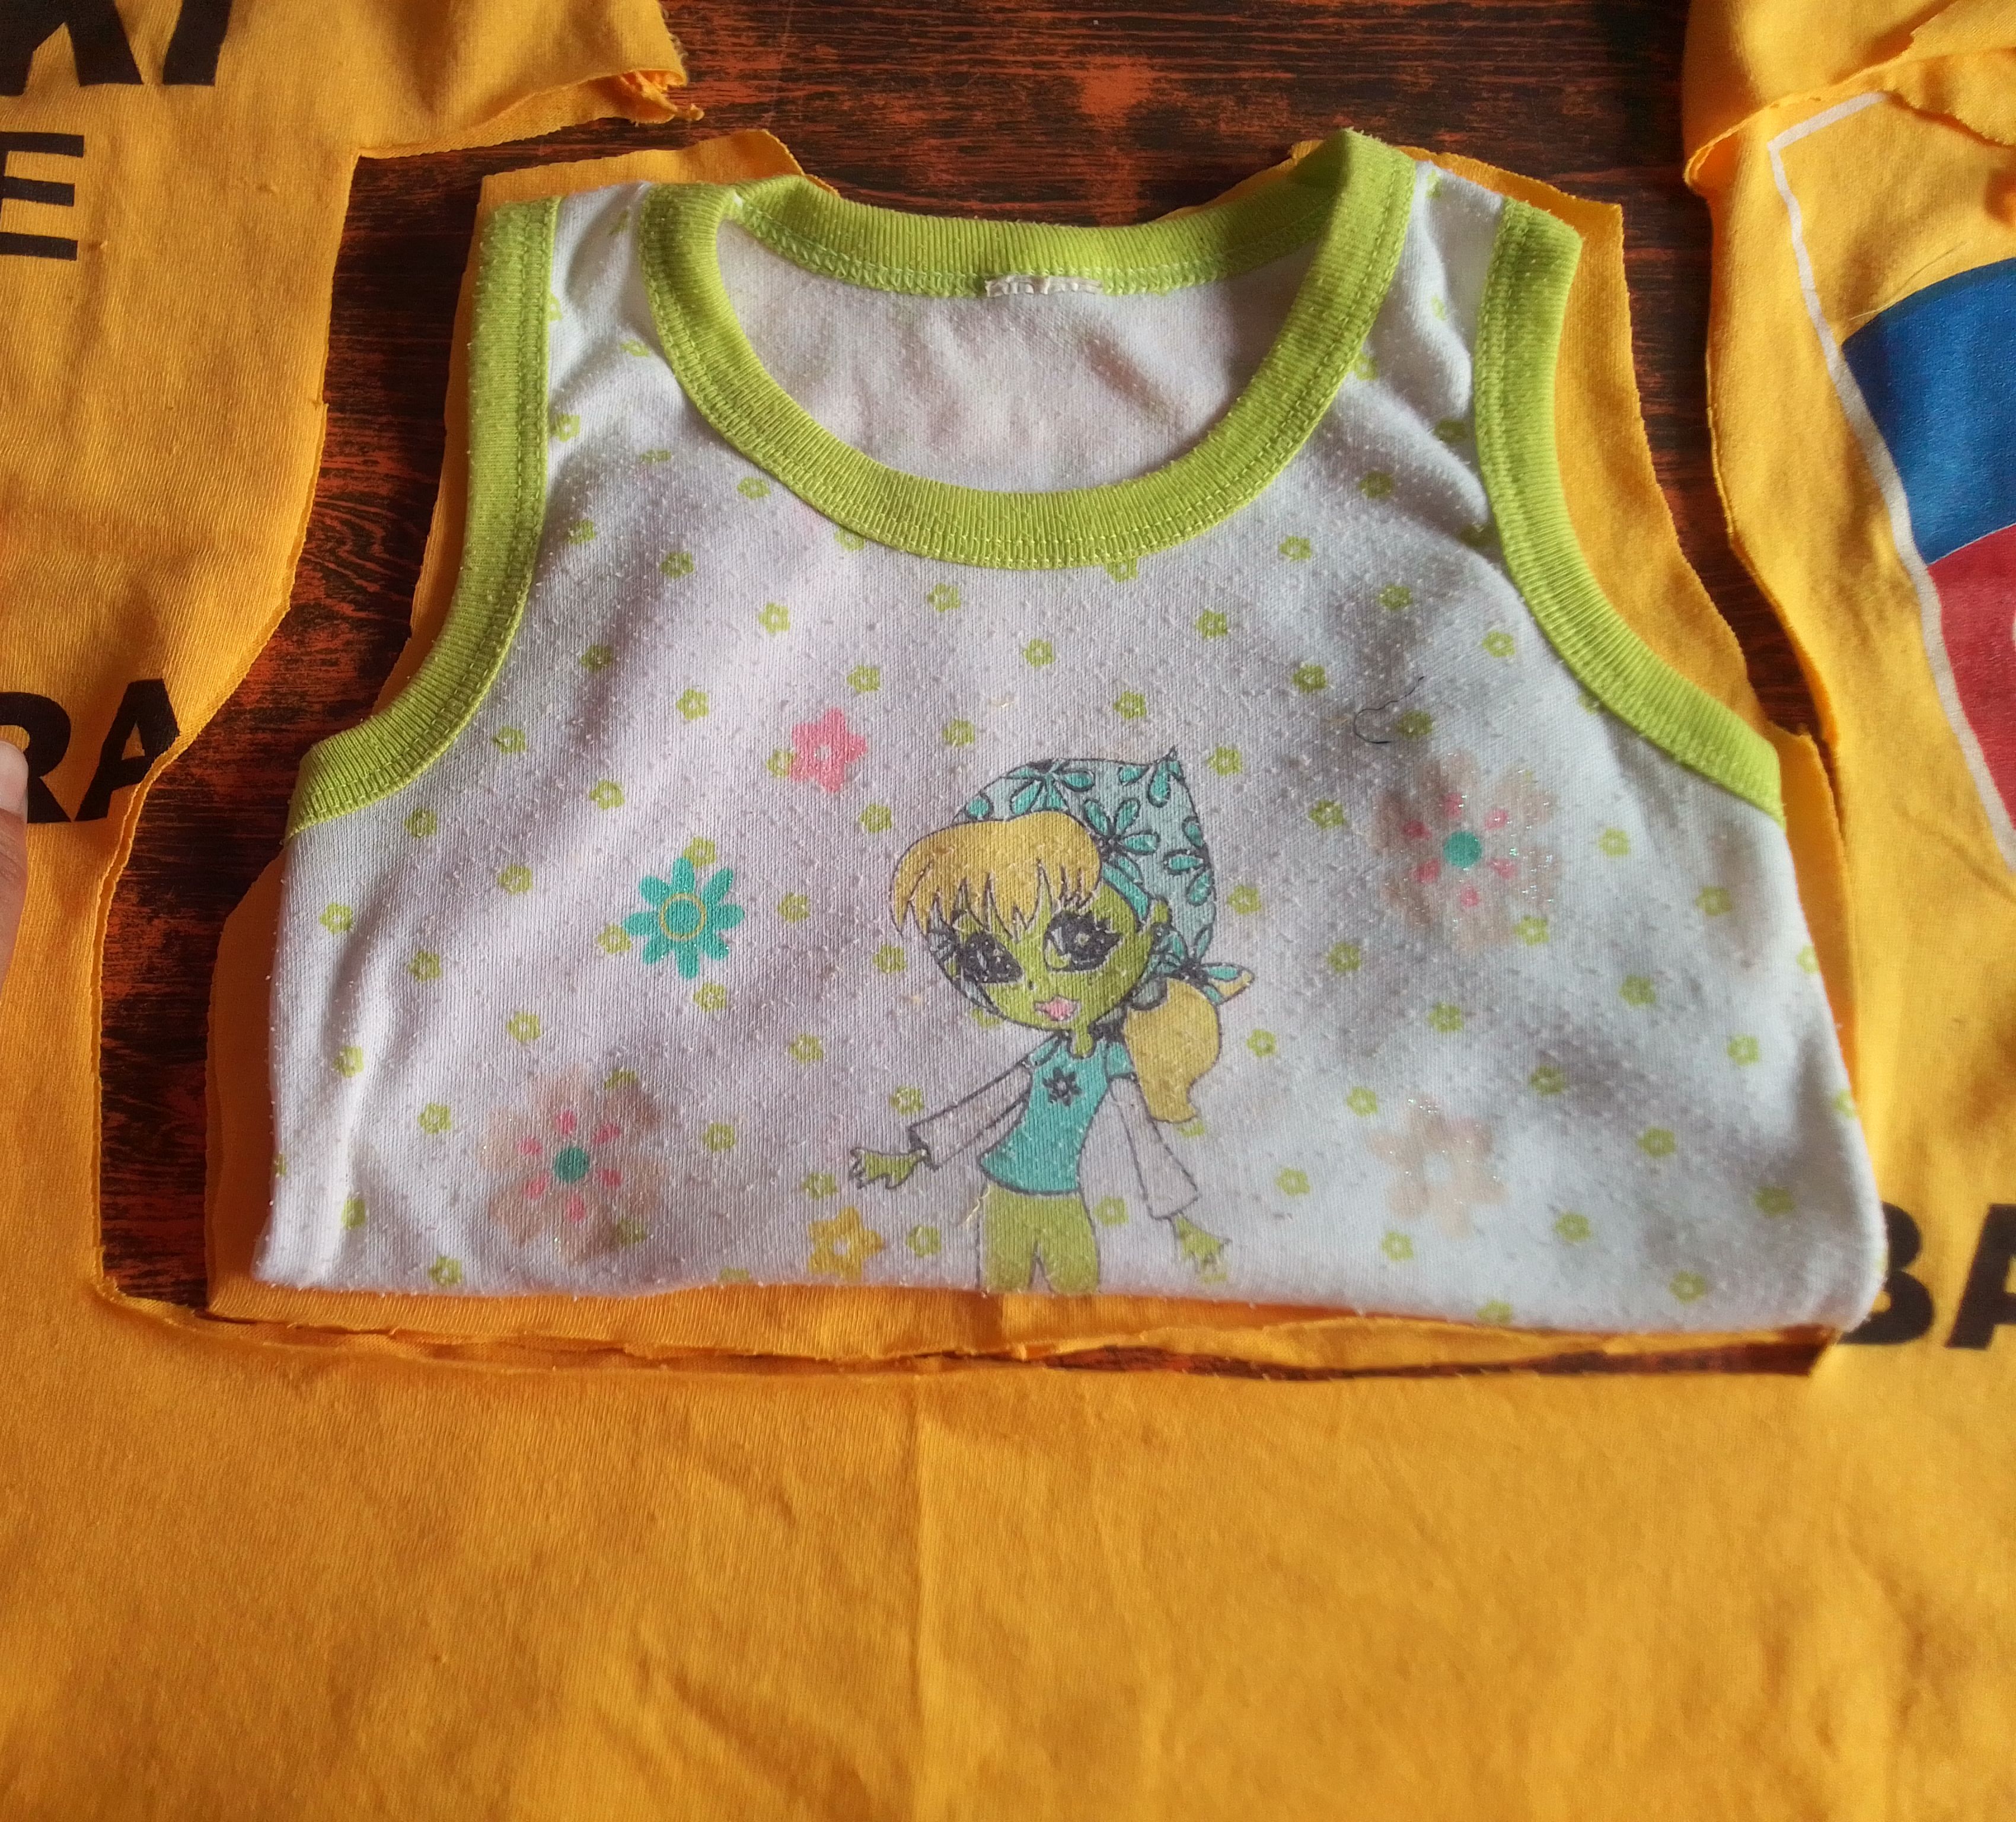
Paso 01
Está prenda que decidí reciclar en este proyecto tenia un estampado en el centro, por lo tomé de ella su mangas, cuello y sus laterales para cortar la parte delantera y trasera del vestido, utilizando como patrón una camisa sin mangas de mi niña. De los trozos de tela corte una pieza circular para la falda, una tira gruesa para la pretina y dos tiras finas oara los tirantes.
Step 01
This garment that I decided to recycle in this project had a print in the center, so I took its sleeves, neck and sides to cut the front and back of the dress, using it as a pattern a sleeveless shirt of my girl. From the pieces of fabric cut a circular piece for the skirt, a thick strip for the waistband and two thin strips for the straps.

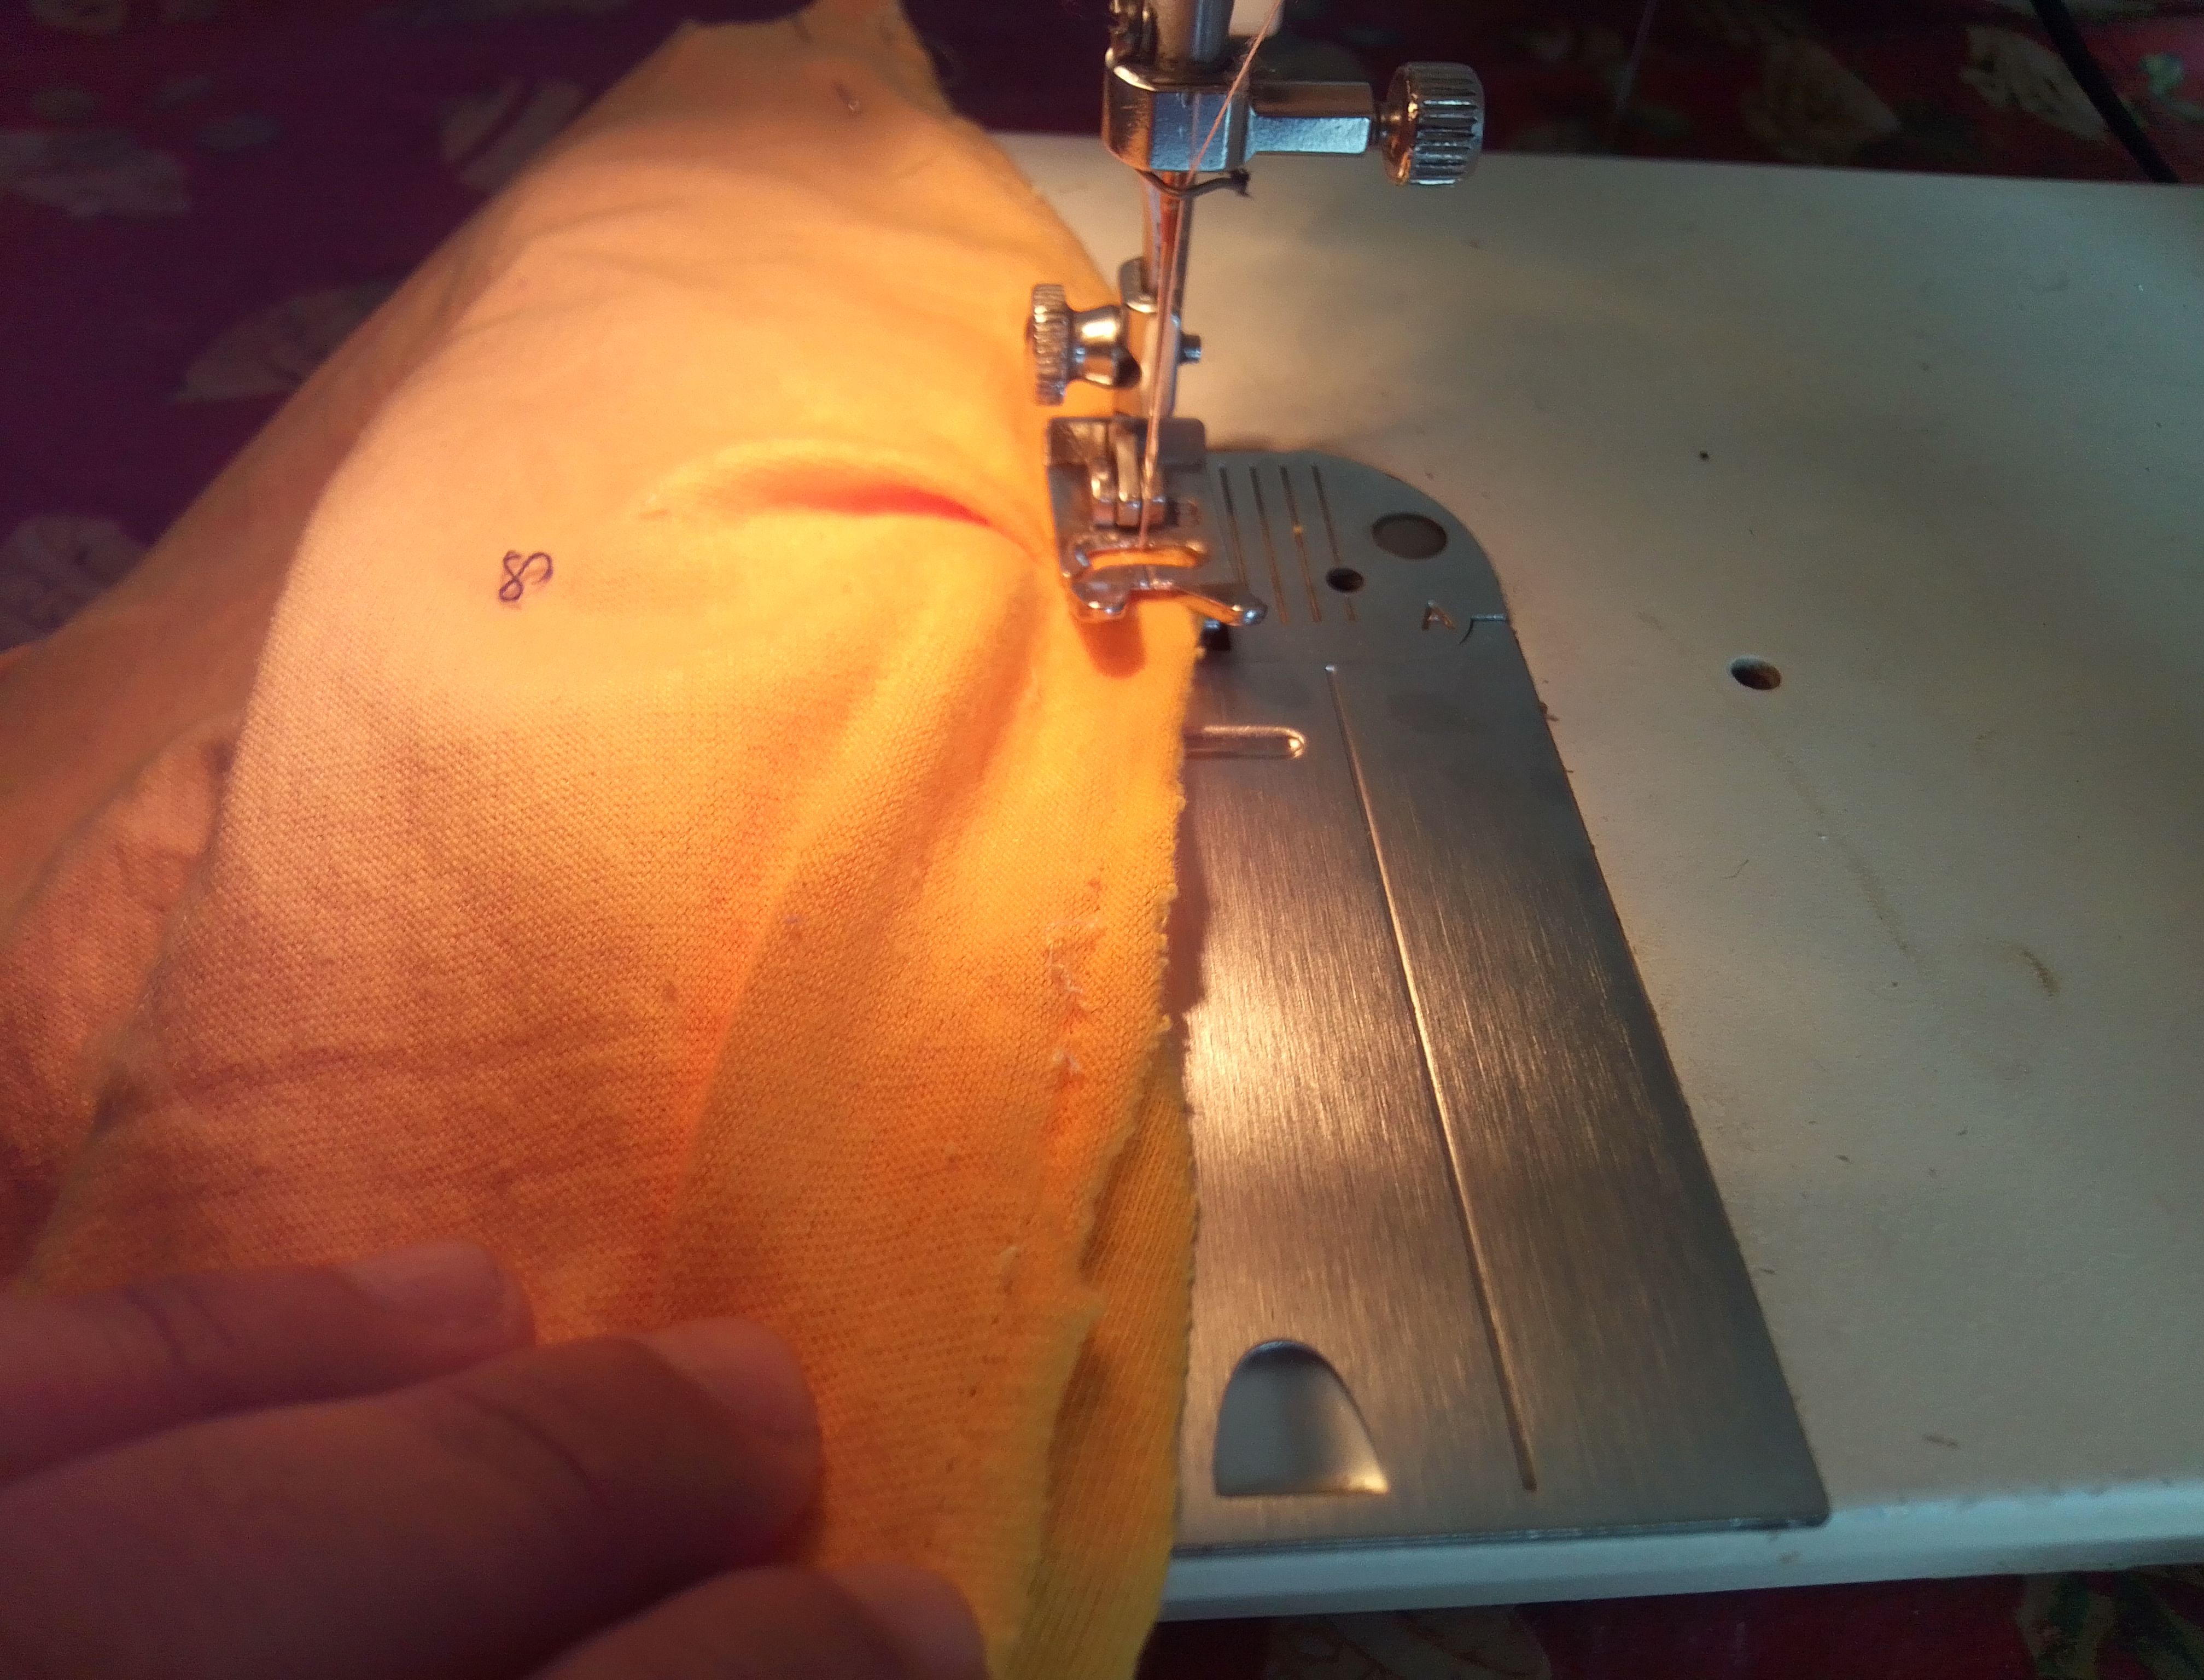
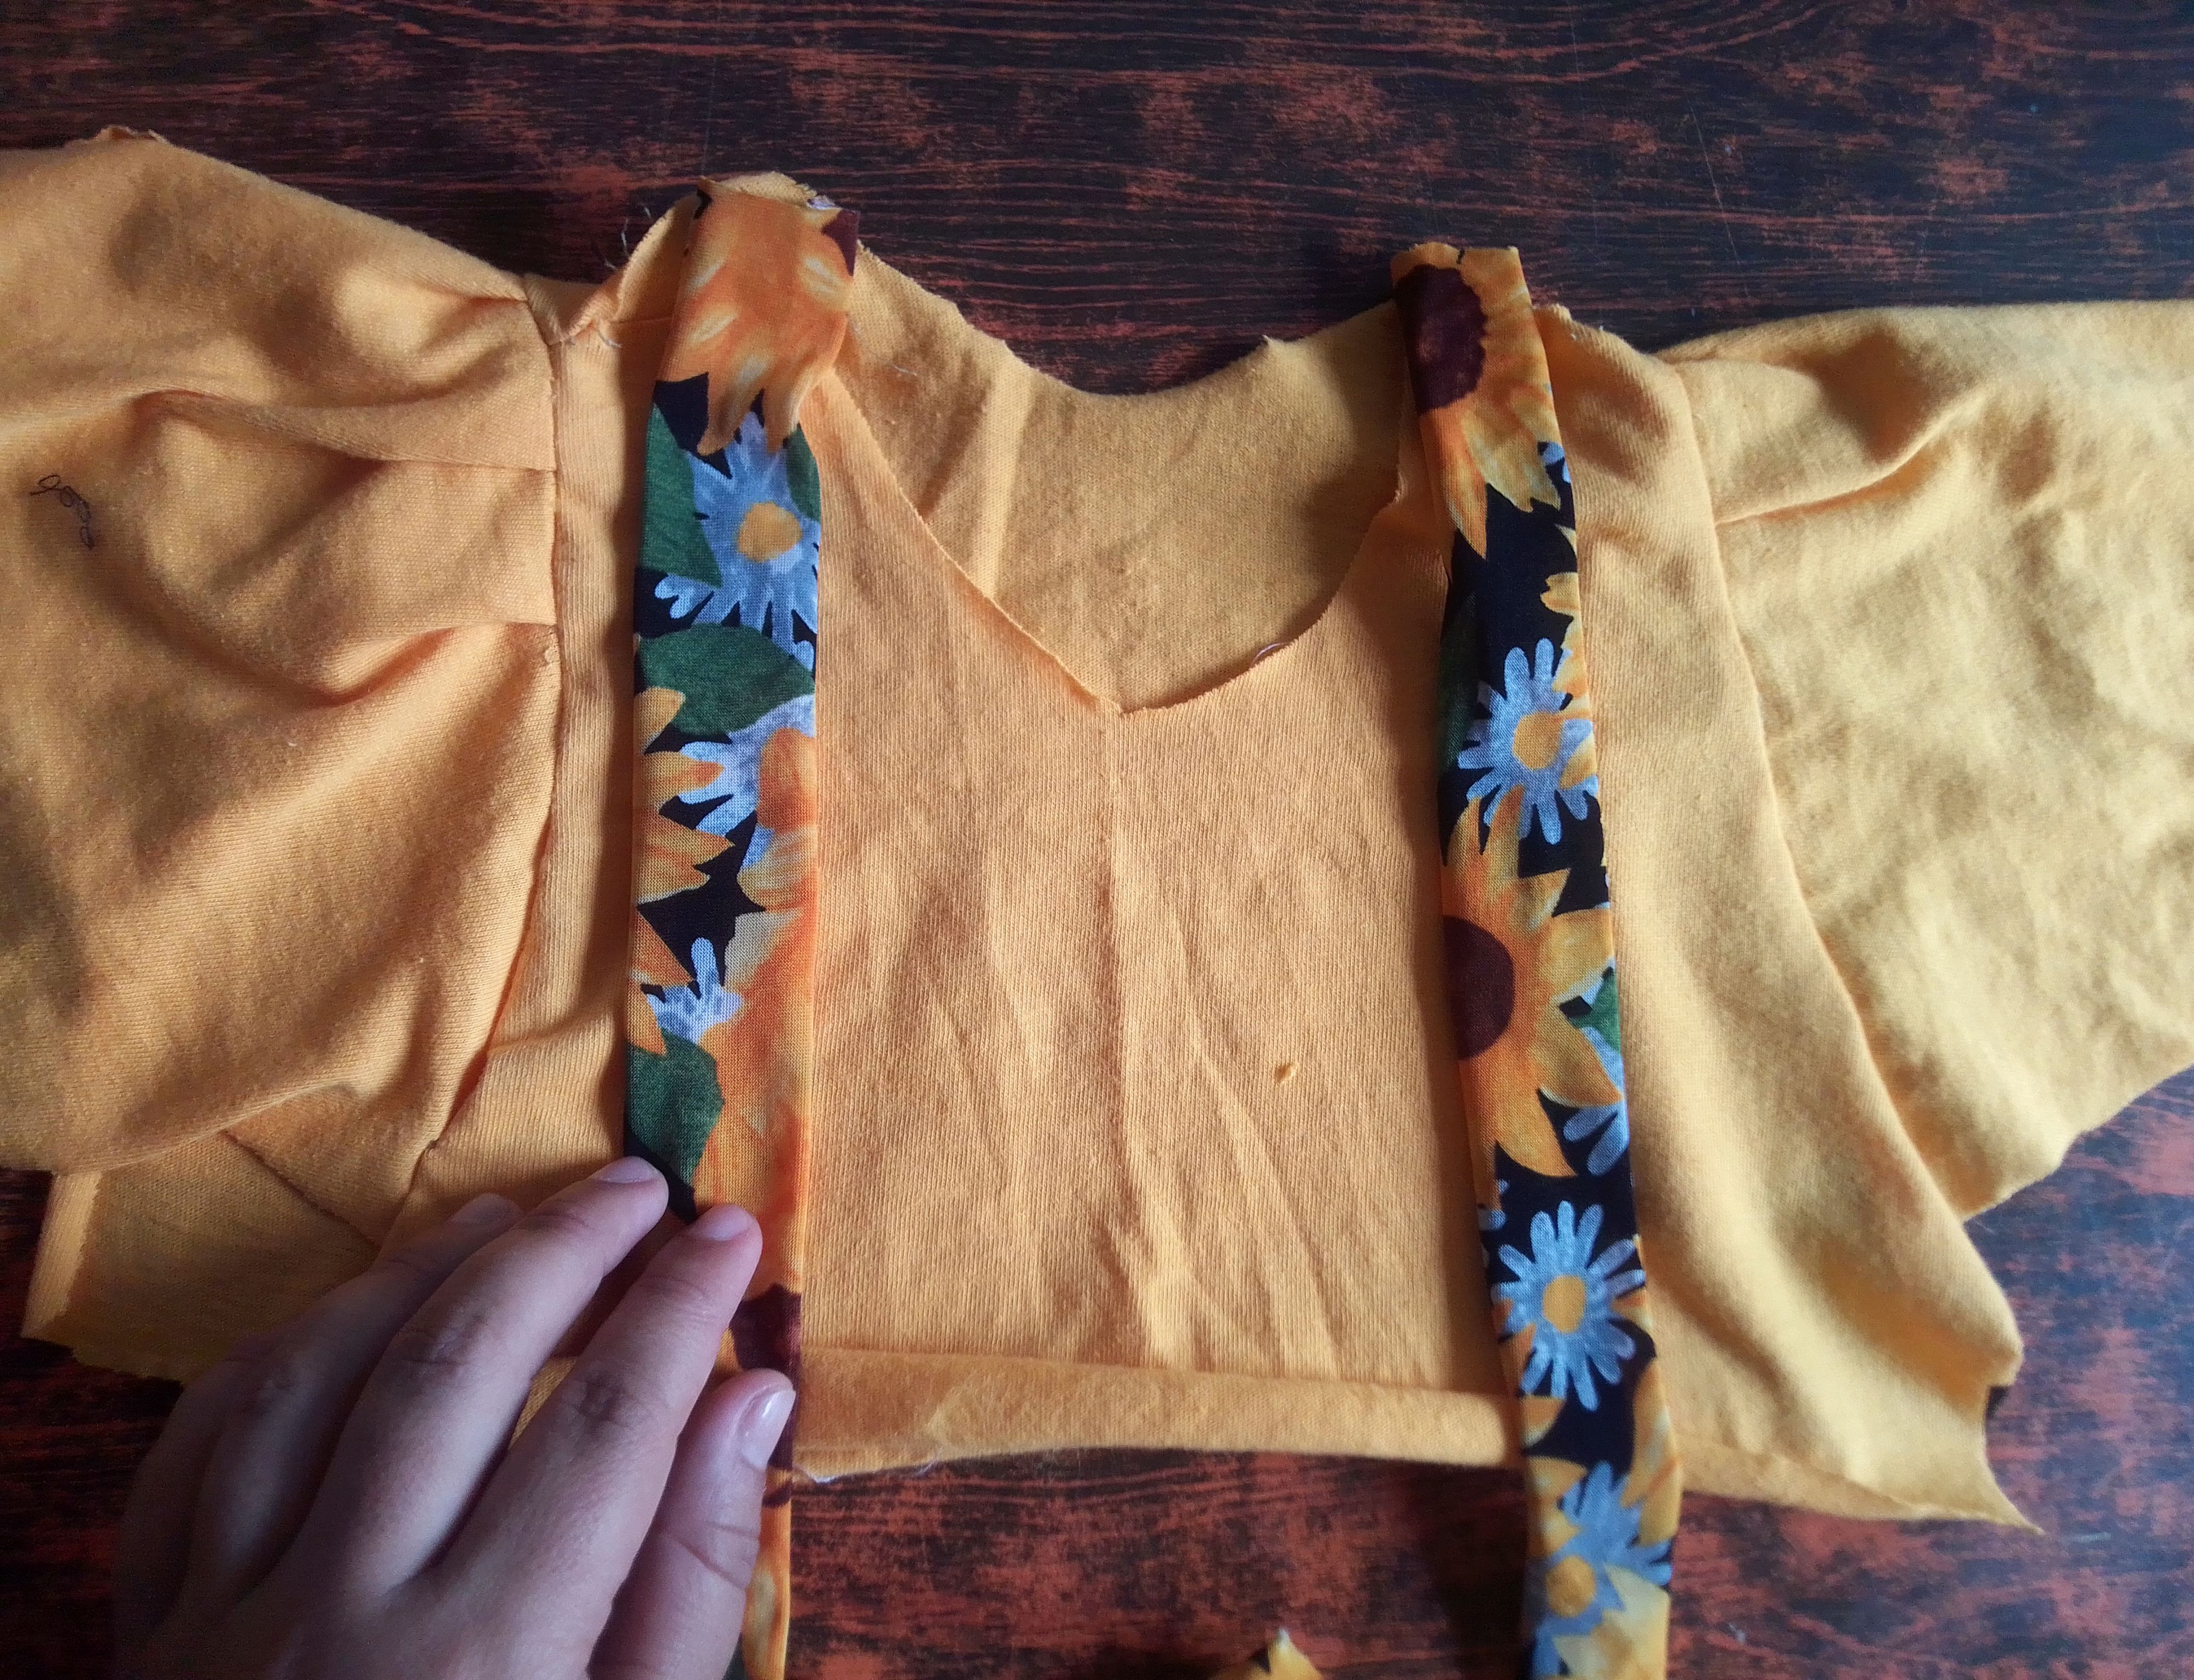
Paso 02
La ventaja de reciclar es que podemos conservar de la pieza sus costuras, cortes y dobladillos. Así que solo le dí forma más pequeña a las mangas, hice una costura en los cortes de los hombros, abrí ambras partes y hago una costura recta haciendo plises a la manga a nivel del hombro. En este mismo nivel ( hombros) hasta la parte inferior ( cintura), colocamos las tiras y cosemos en la parte frontal del vestido haciendo pespuntes para dar firmeza.
Step 02
The advantage of recycling is that we can preserve the seams, cuts and hems of the piece. So I just gave the sleeves a smaller shape, made a seam in the shoulder cuts, opened both parts and made a straight seam making pleats to the sleeve at the shoulder level. At this same level (shoulders) to the bottom (waist), we place the strips and sew on the front of the dress, backstitching to give firmness.
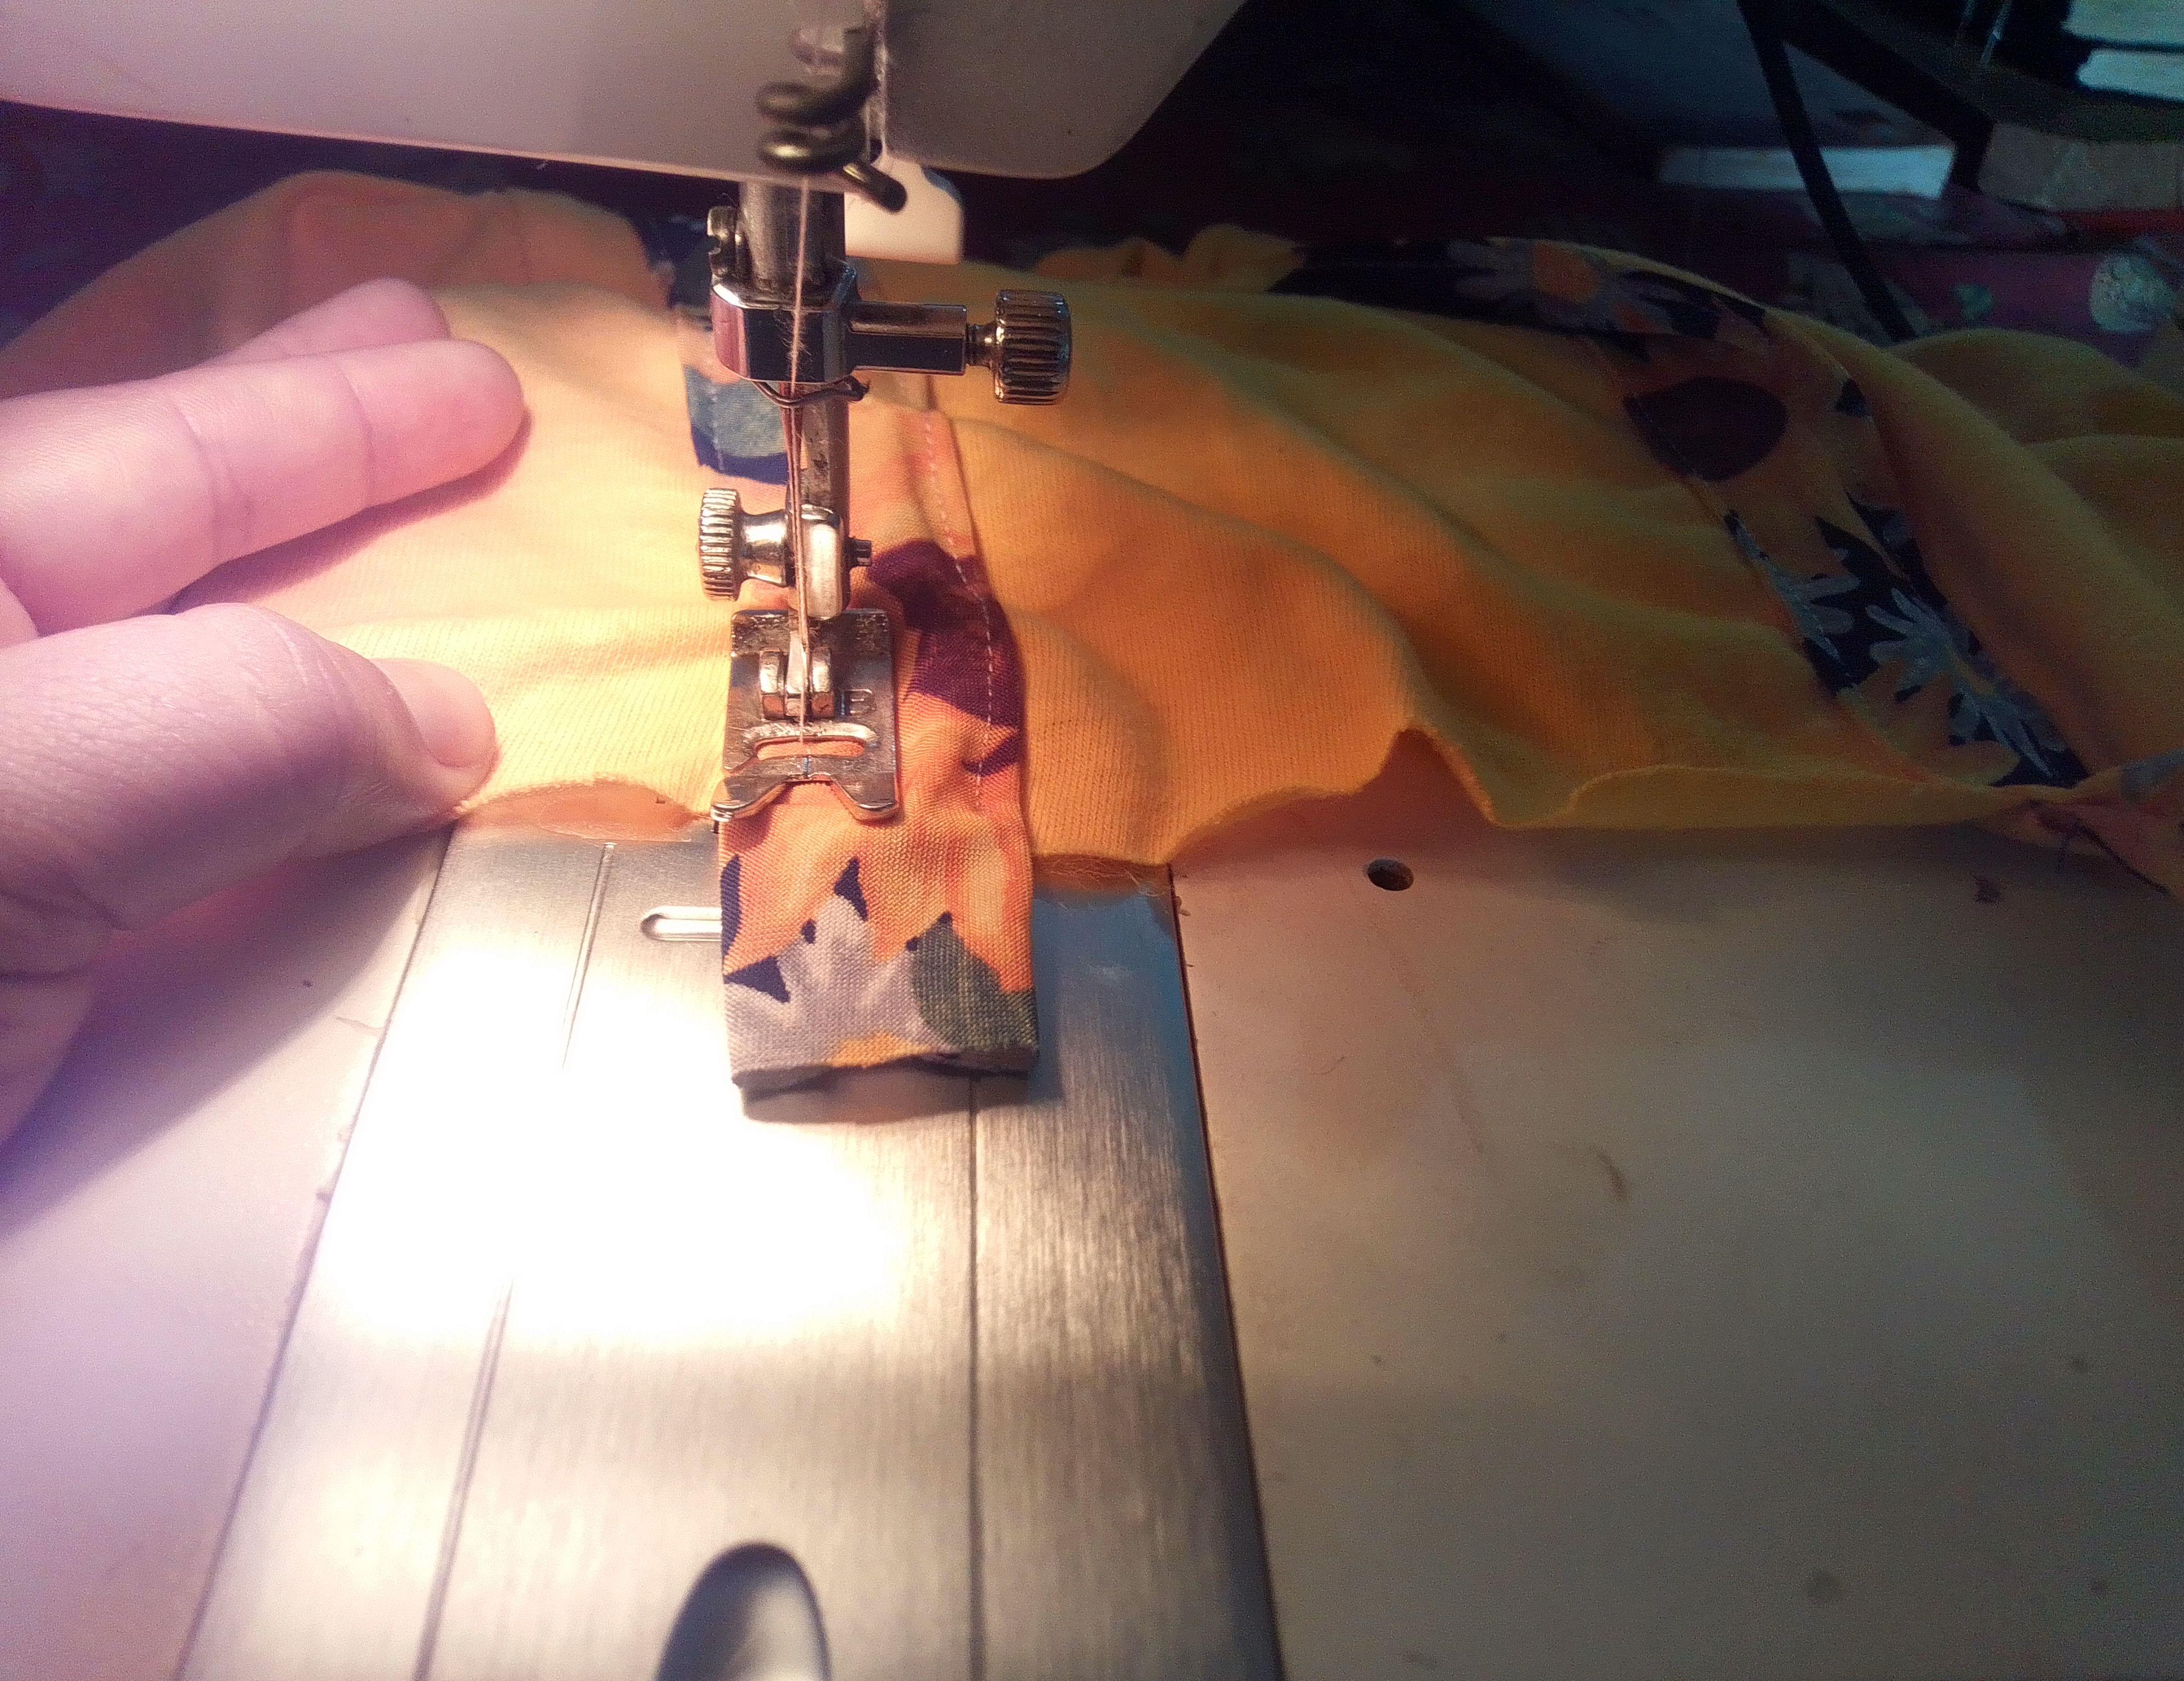
Paso 03
El mismo cuello de la camisa, voy a cortar su anchura, y hago costura alrededor del cuello mas pequeño del vestido. Con esta pieza lista cosemos la pretina un extremo a la parte superior del vestido y otro a la falda en sentido contrario de la tela. Cerramos ambas partes y pasamos costura en los laterales con su zig zag.
Step 03
The same collar of the shirt, I am going to cut its width, and make a seam around the smallest collar of the dress. With this piece ready, we sew the waistband one end to the top of the dress and the other to the skirt in the opposite direction of the fabric. We close both parts and sew a zig zag seam on the sides.


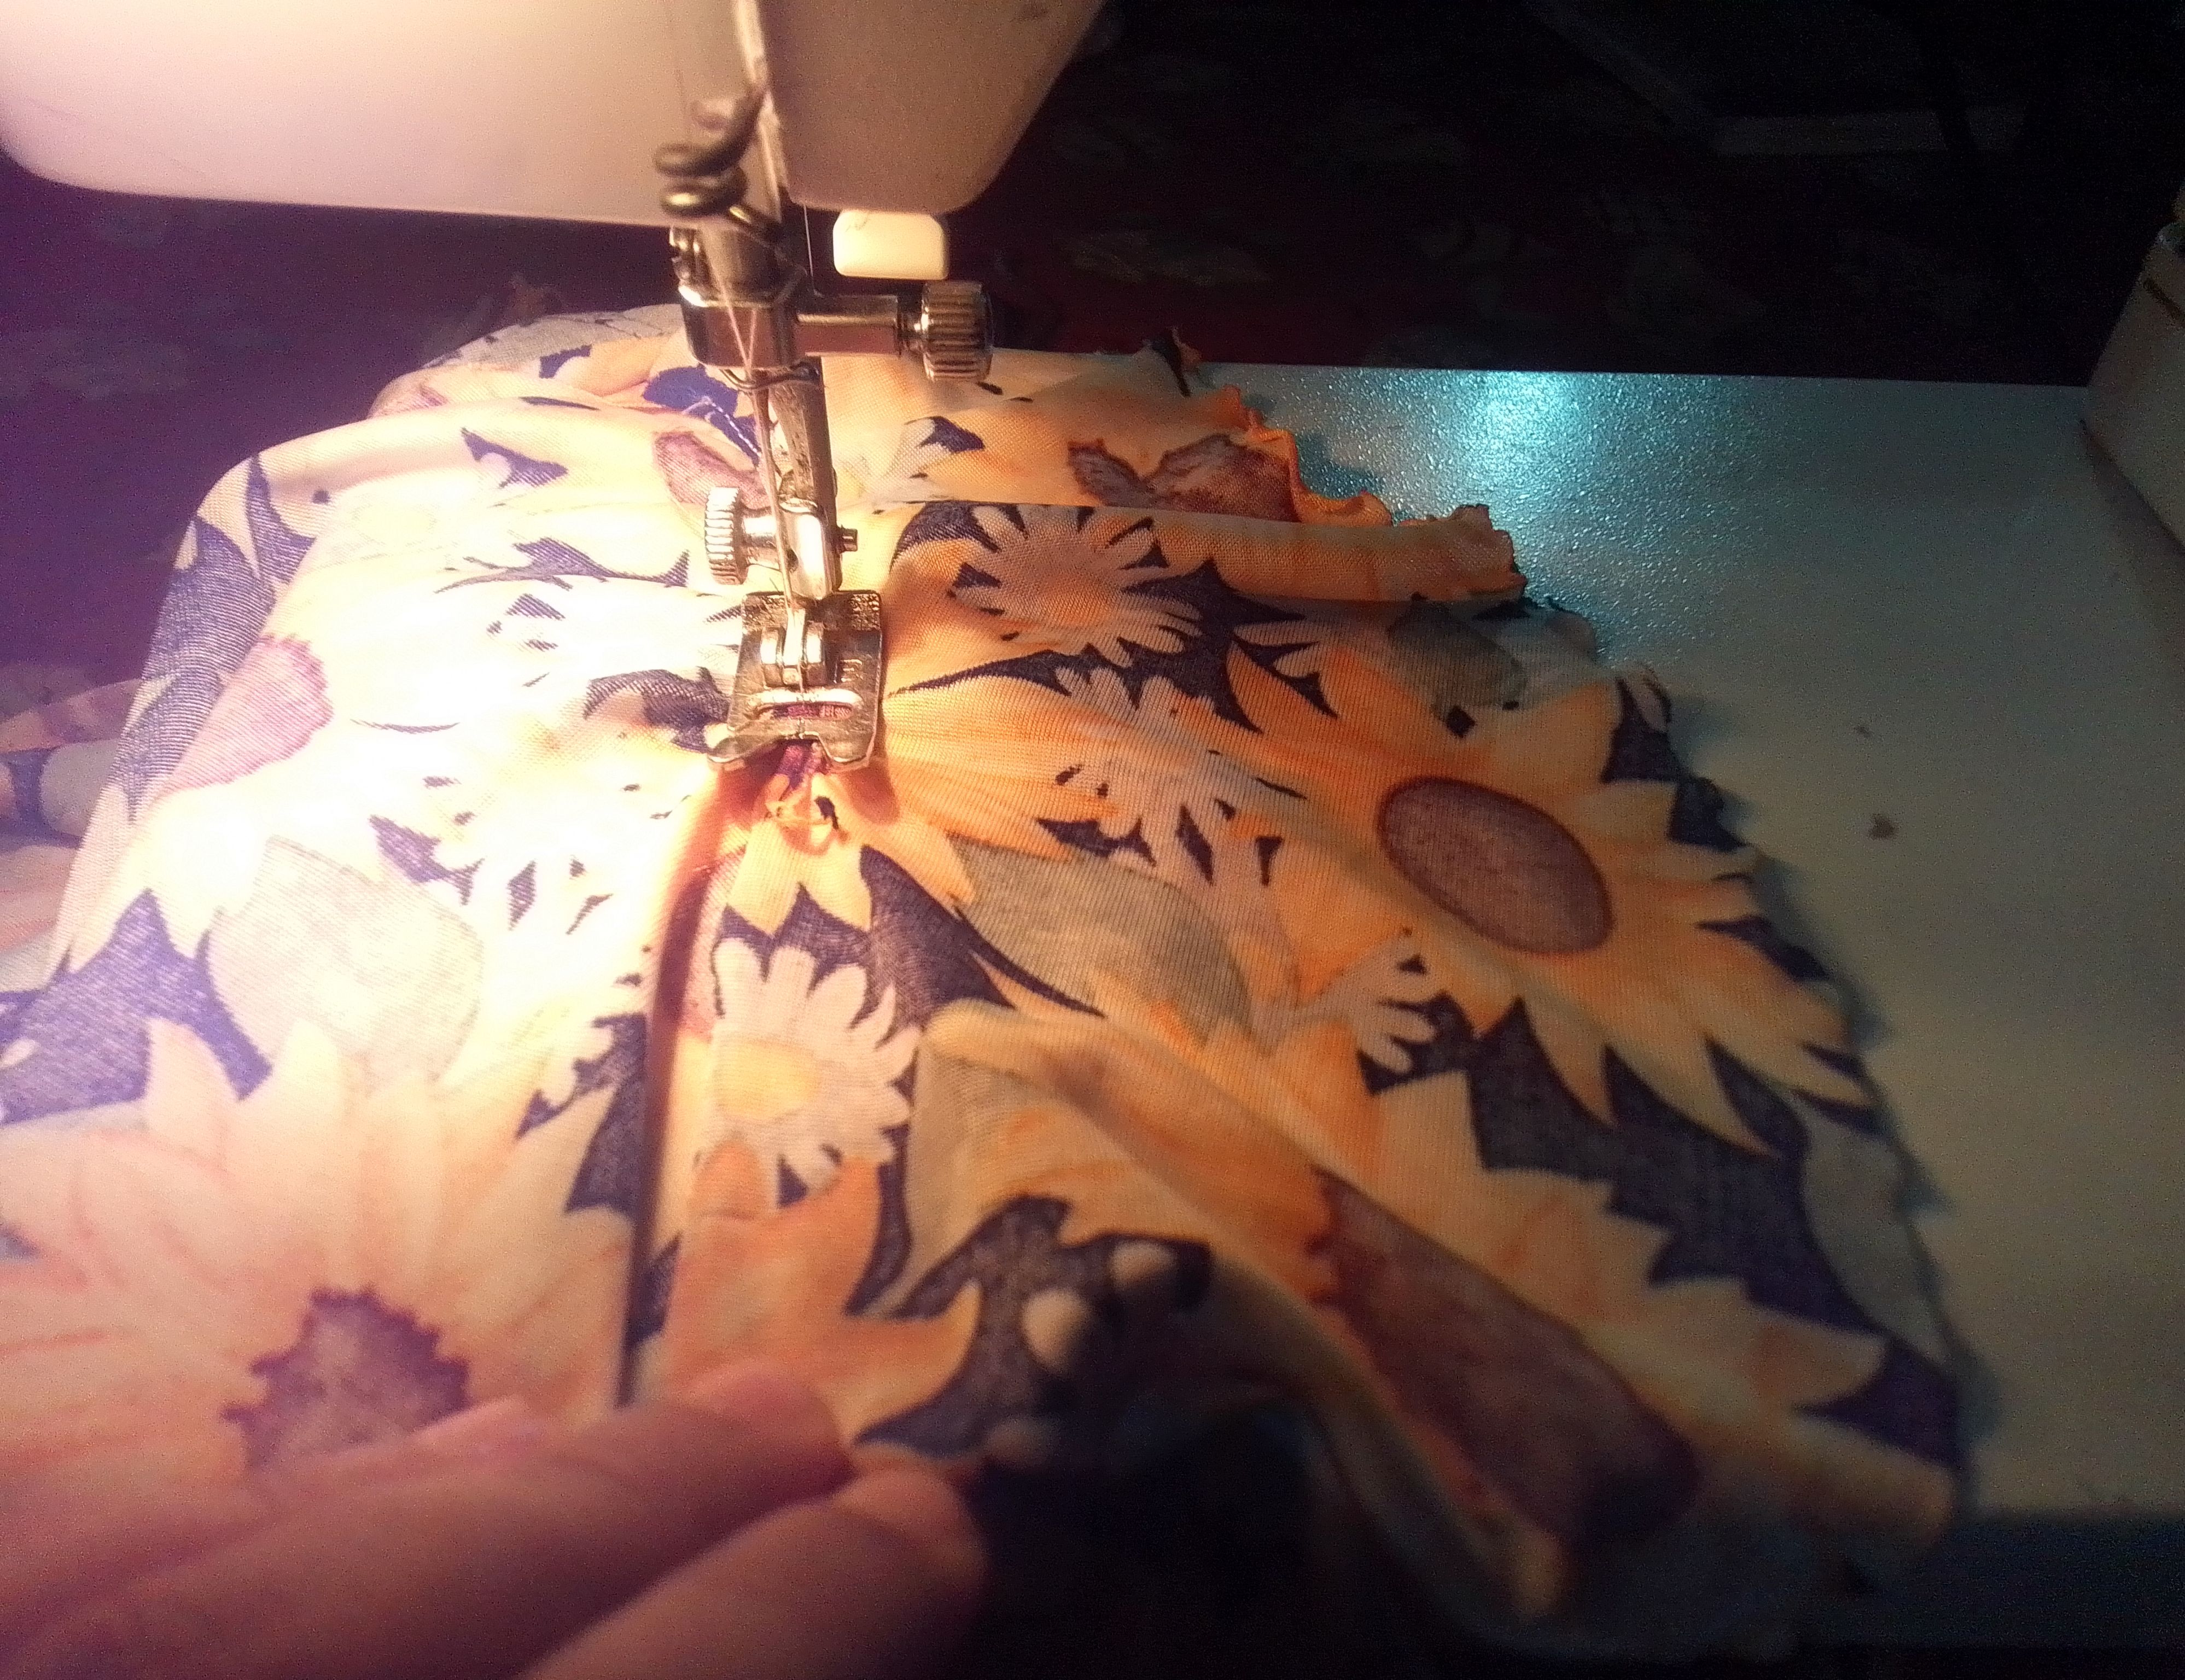
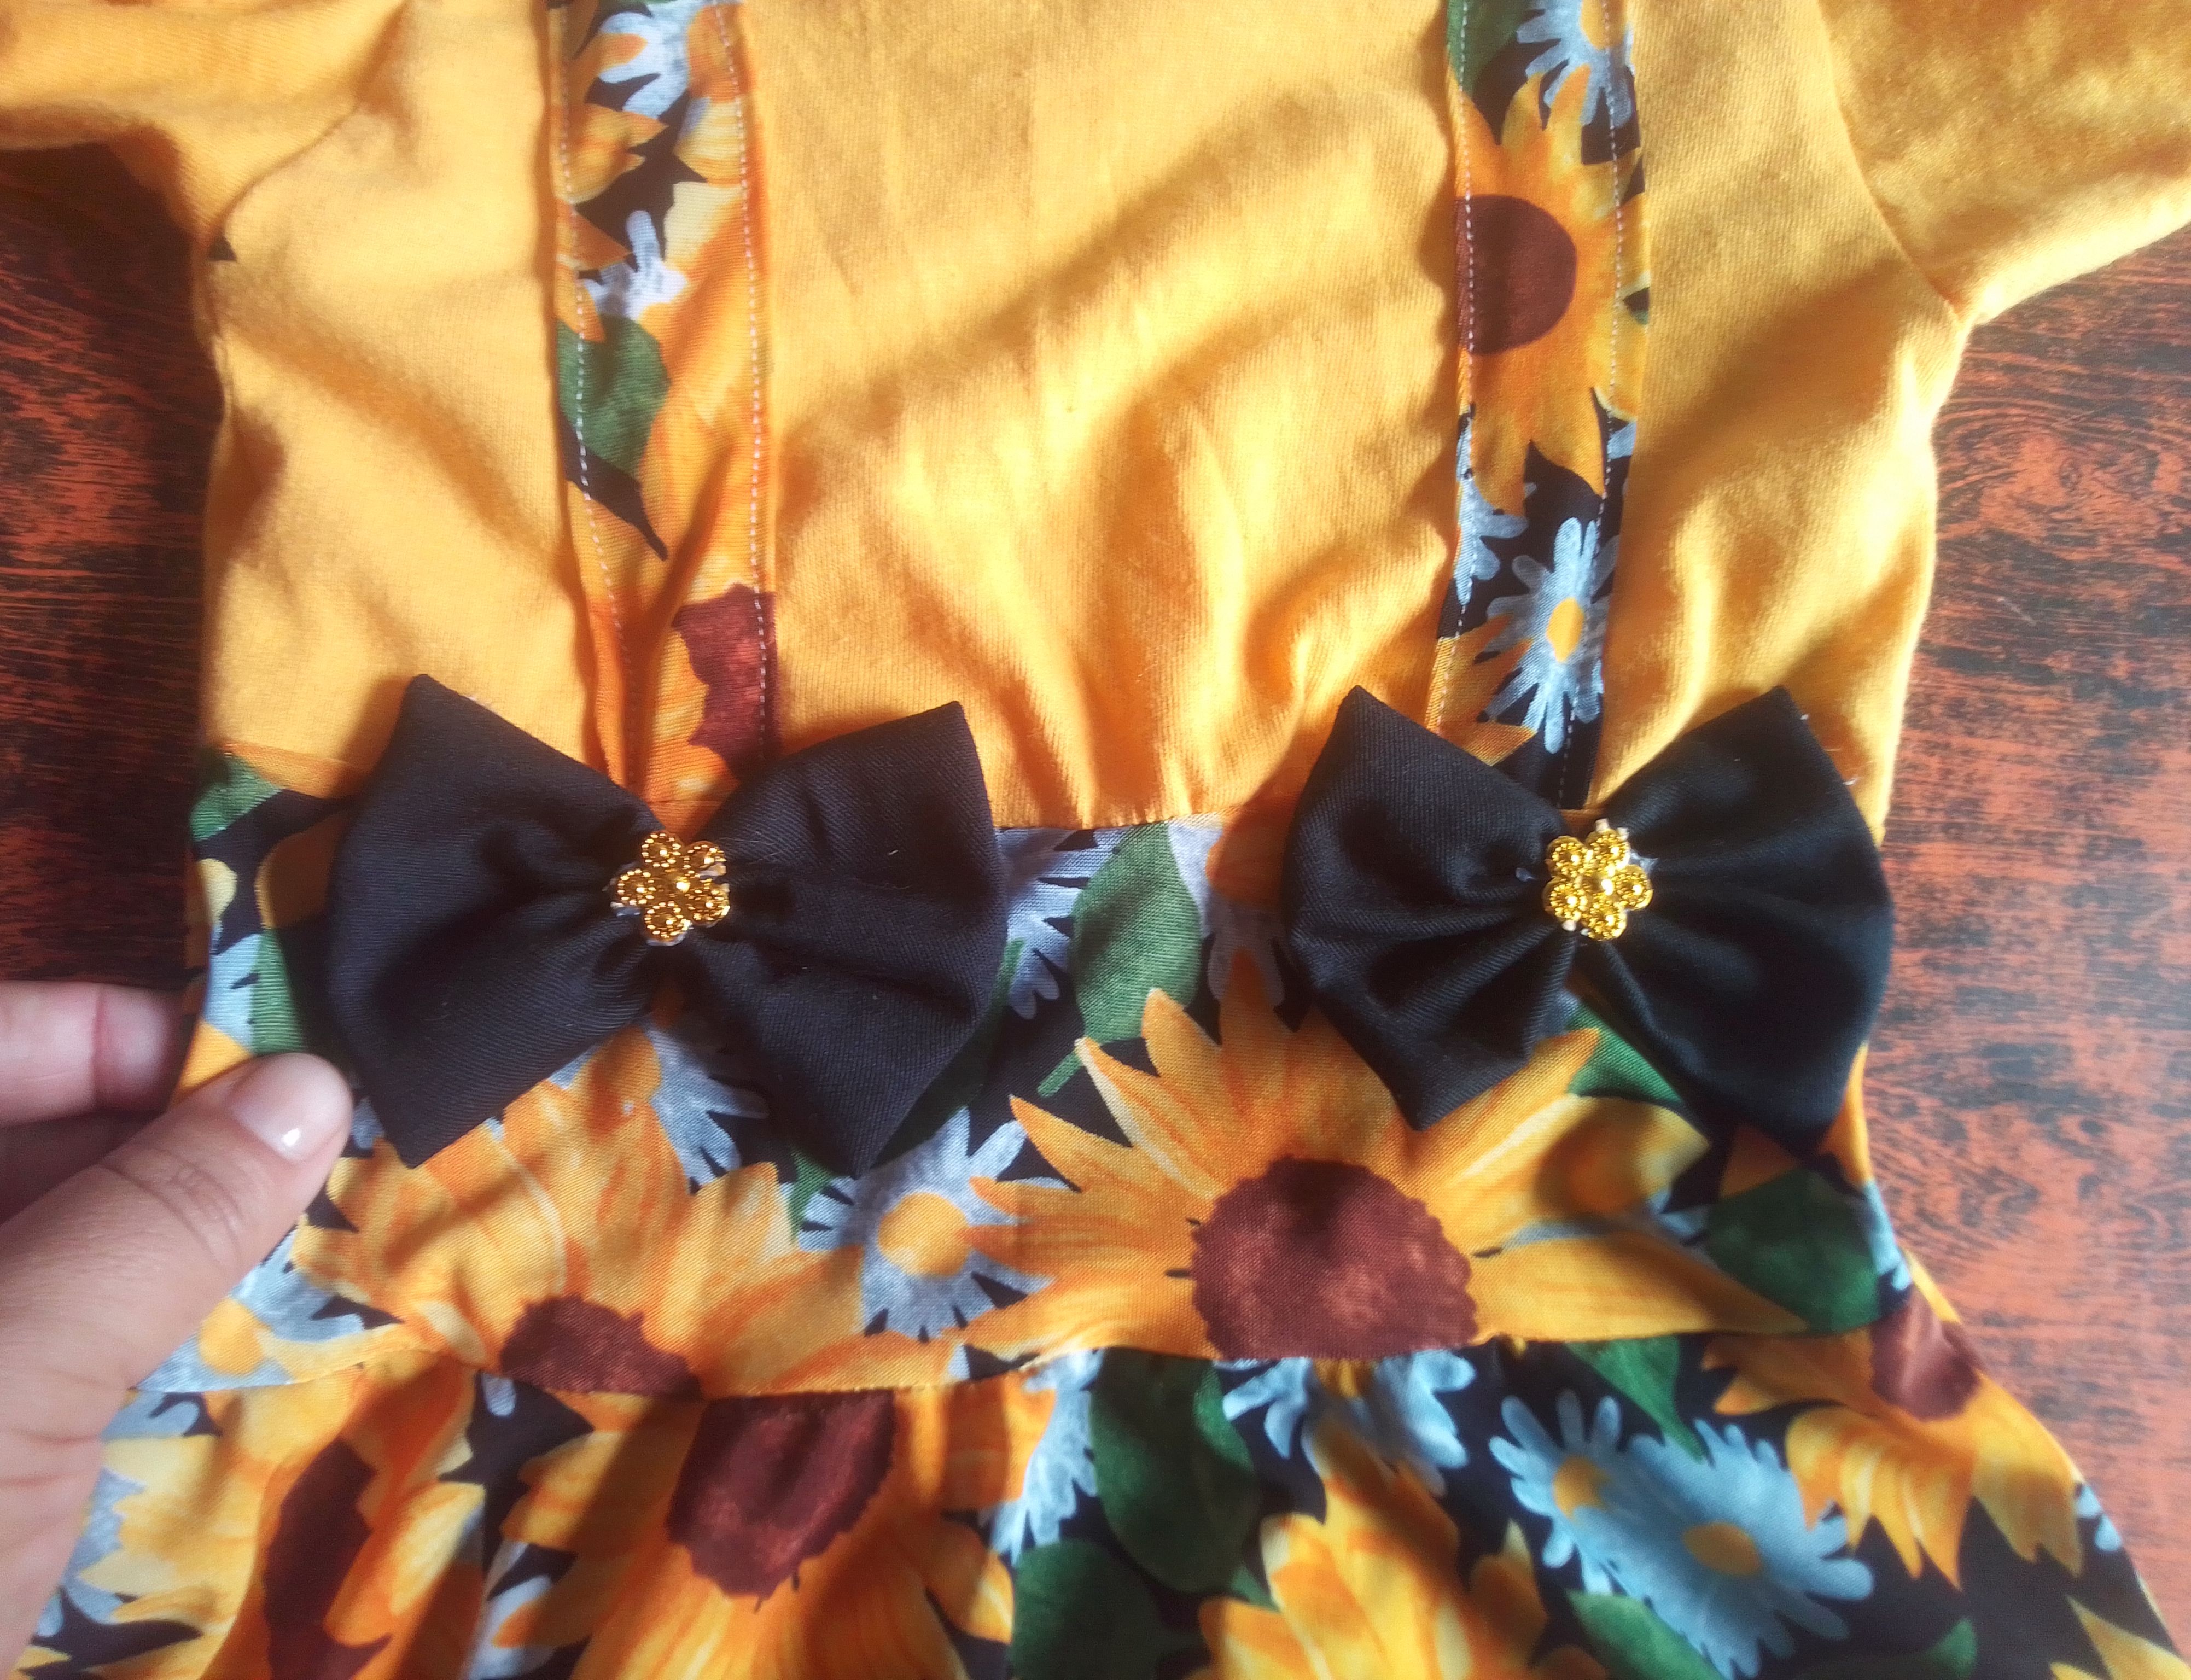
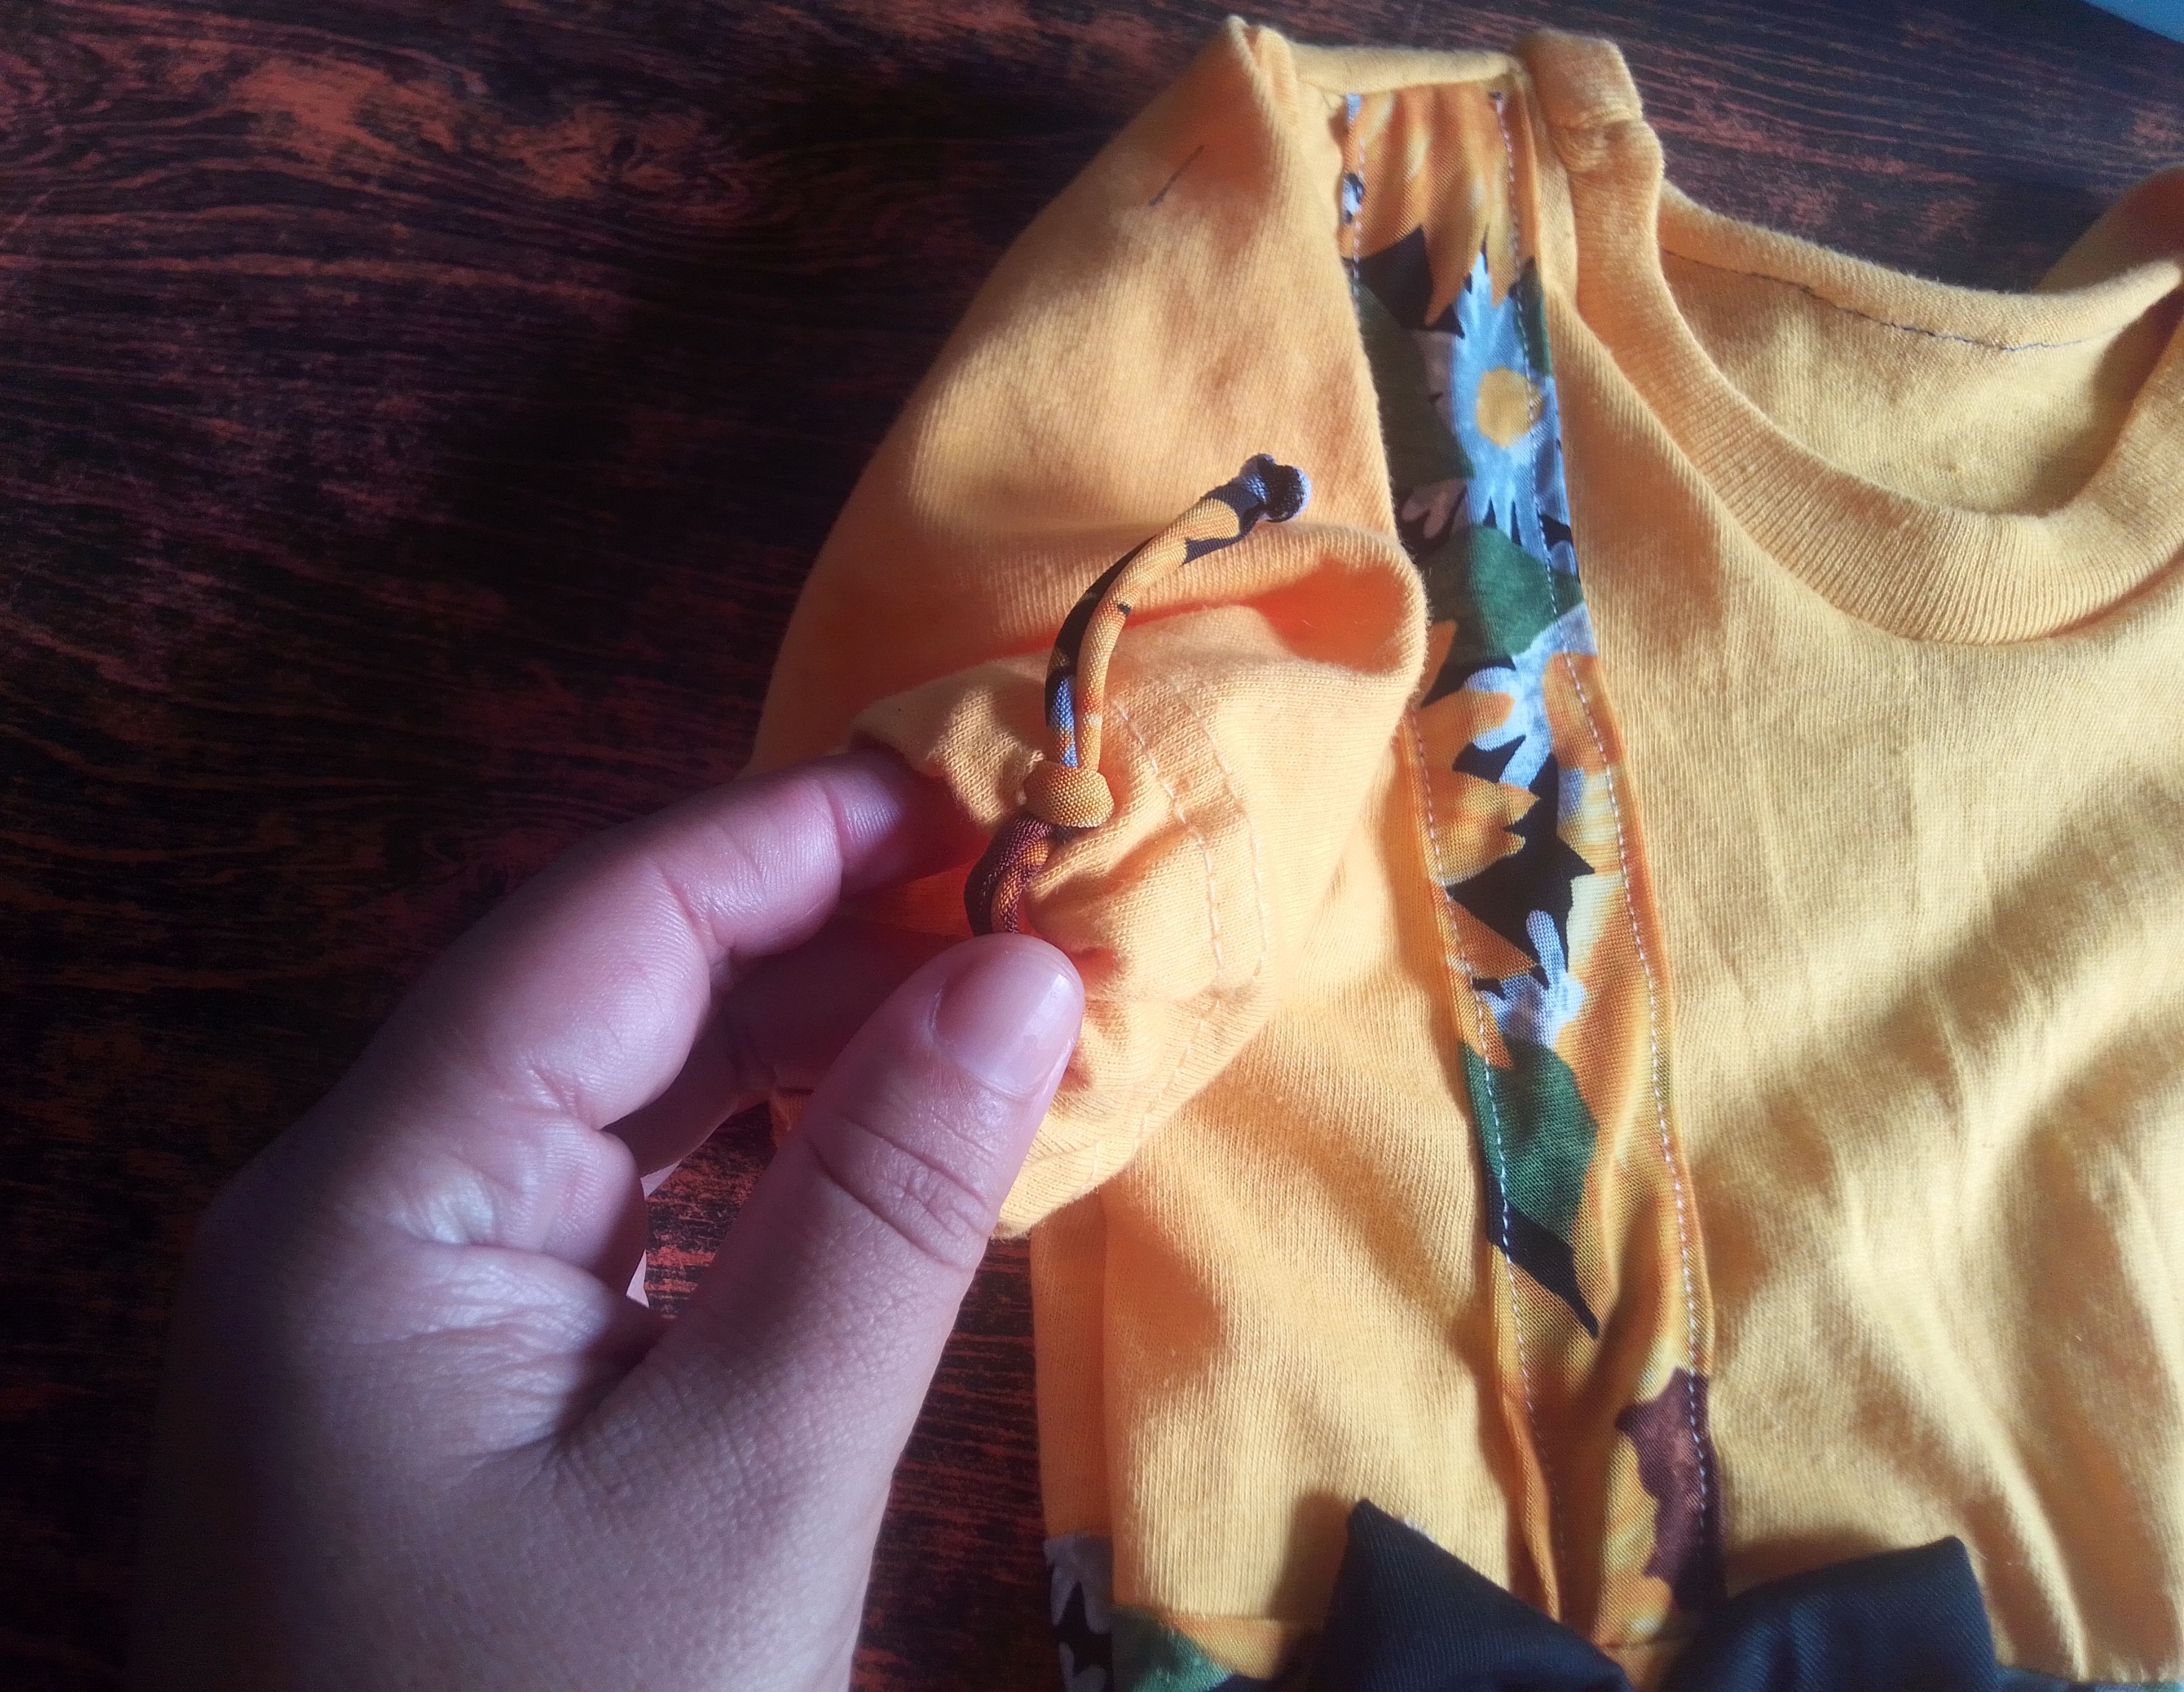
Paso 04
Las ideas para decorar este vestido surgieron mientras lo hacía.. Como me quedó un poco corto, cosi un volante o faralado al final de la falda para hacerlo mas largo. Coloqué dos lazos al final de cada tirante y una tigrillos en los dobladillos de las mangas para ajustarlas y darle un efecto bombache.
Step 04
The ideas to decorate this dress arose while I was making it. Since it was a little short, I sewed a ruffle or ruffle at the end of the skirt to make it longer. I placed two bows at the end of each strap and a tie at the hems of the sleeves to adjust them and give it a baggy effect.
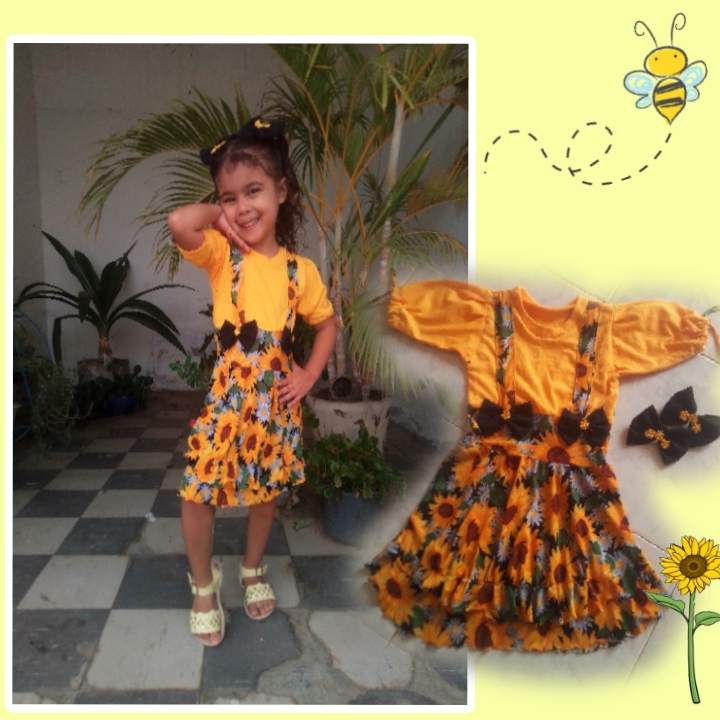
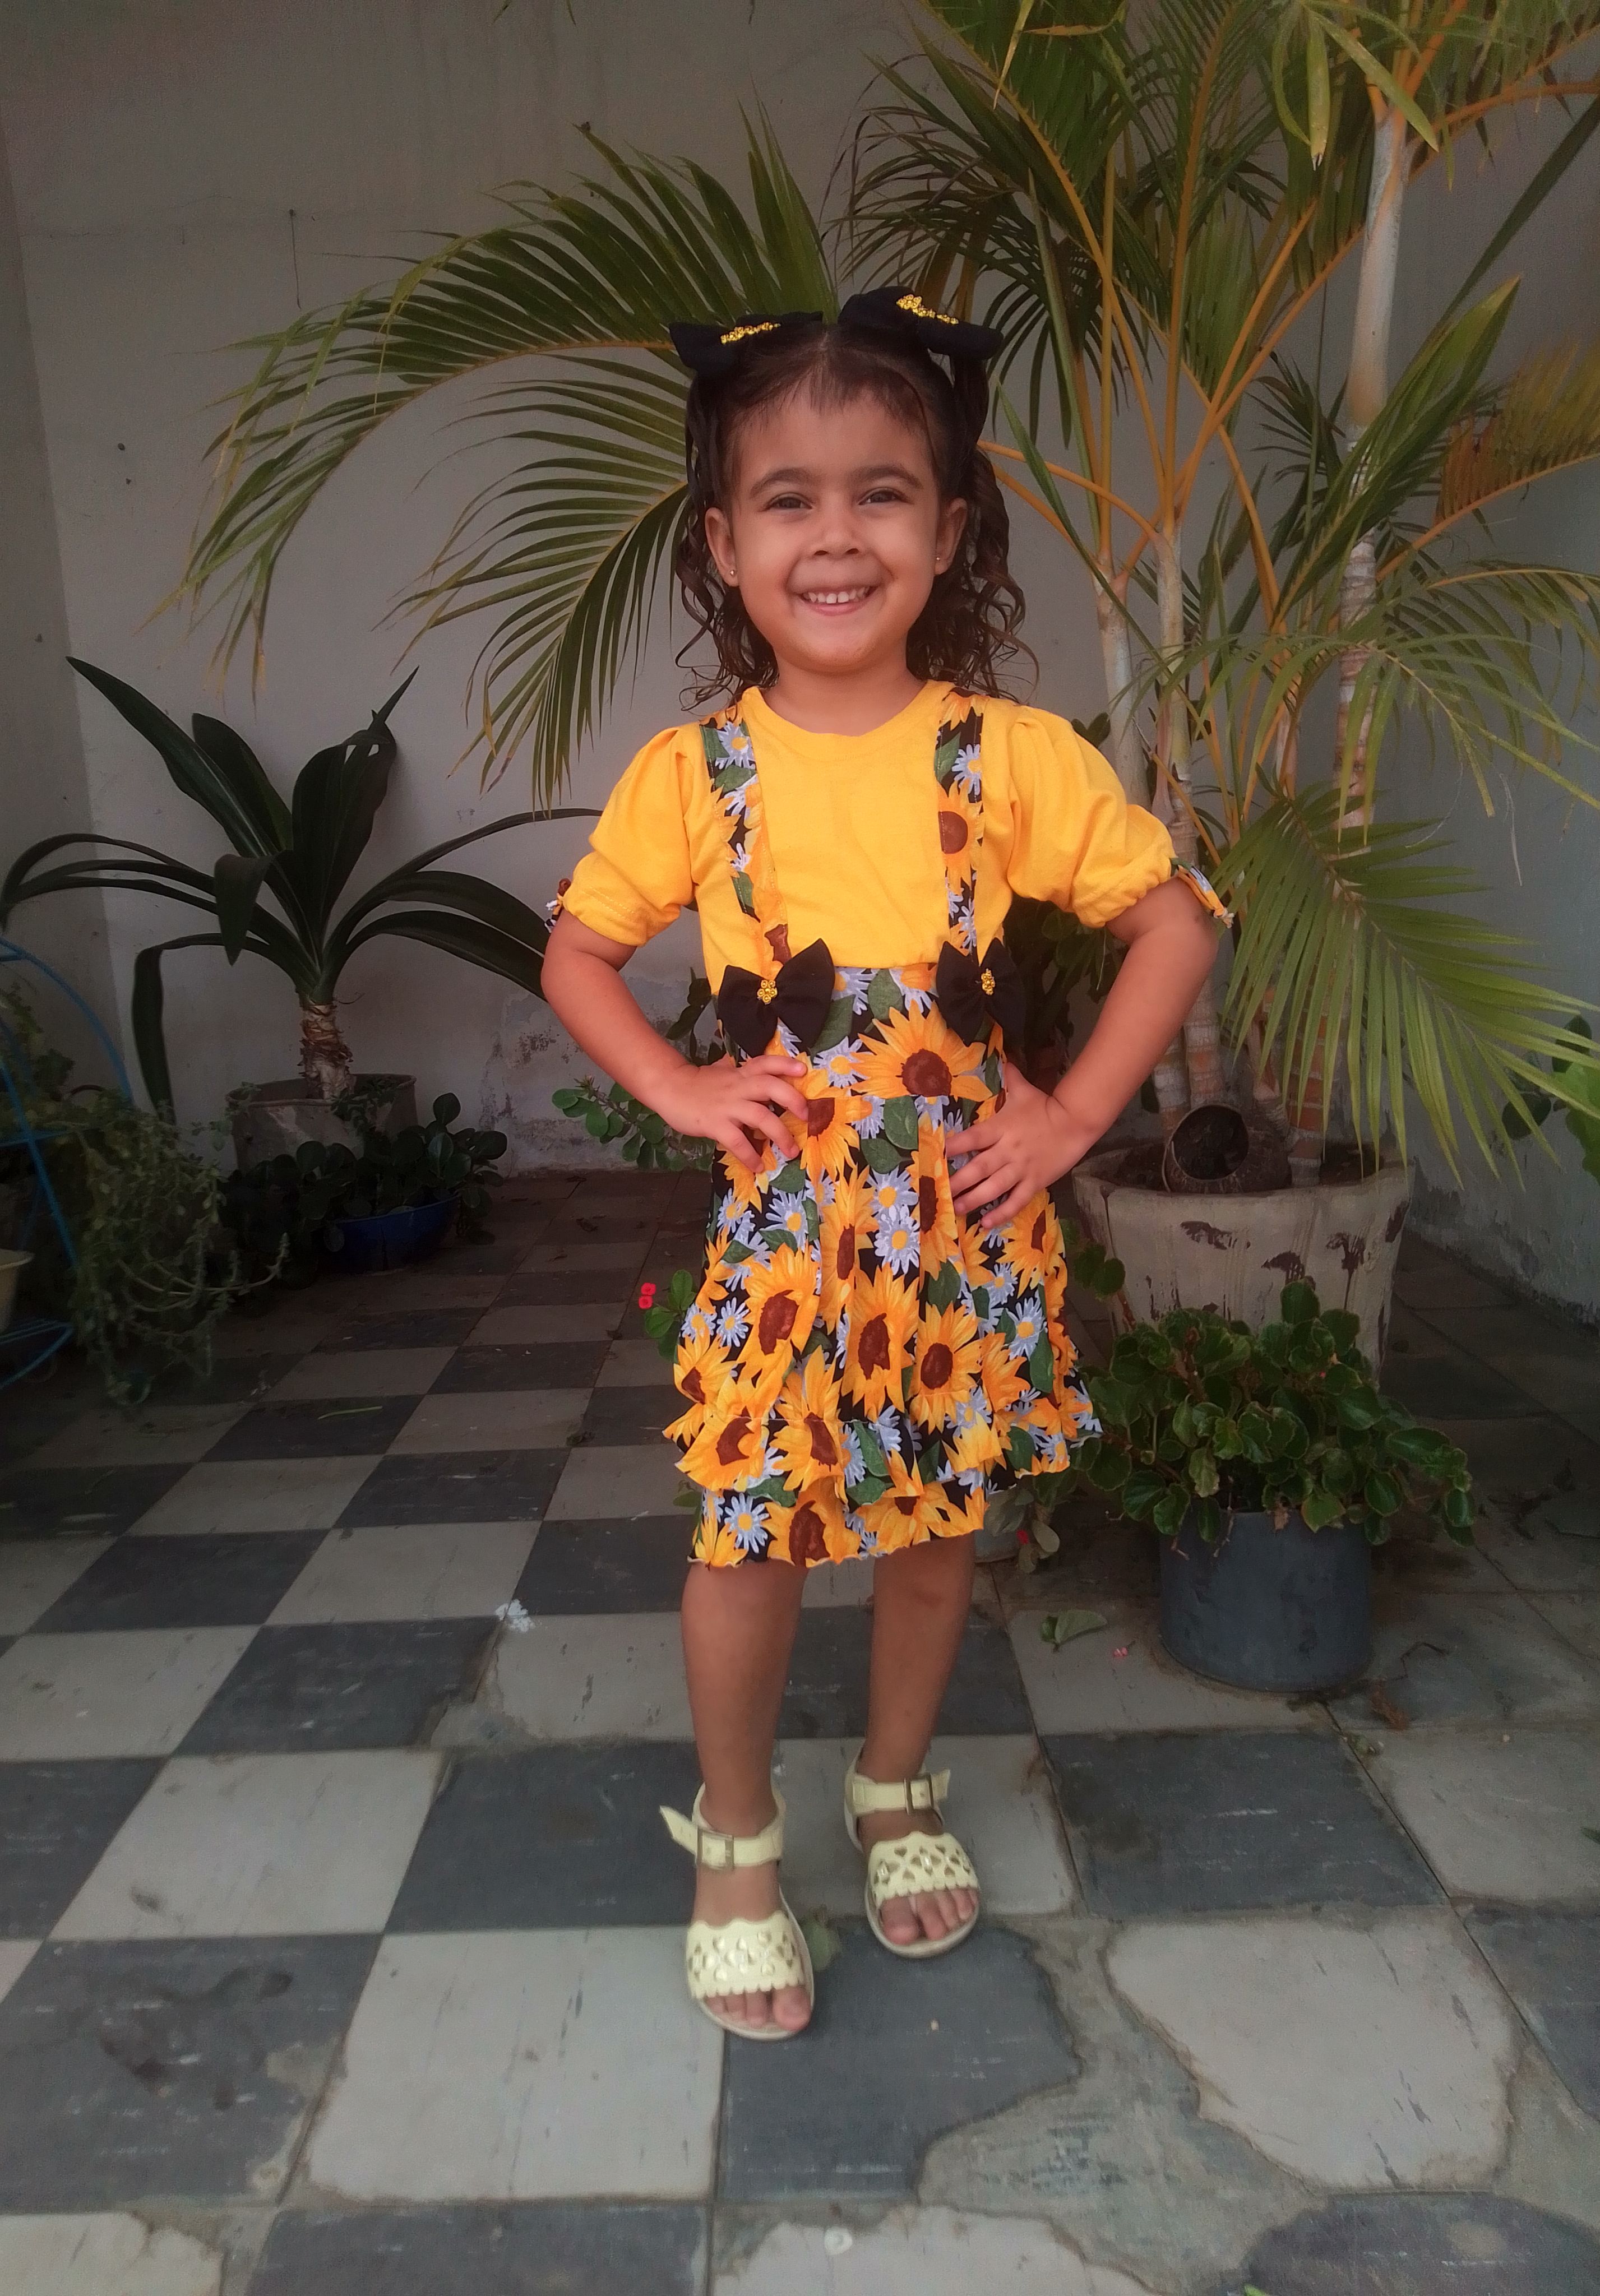
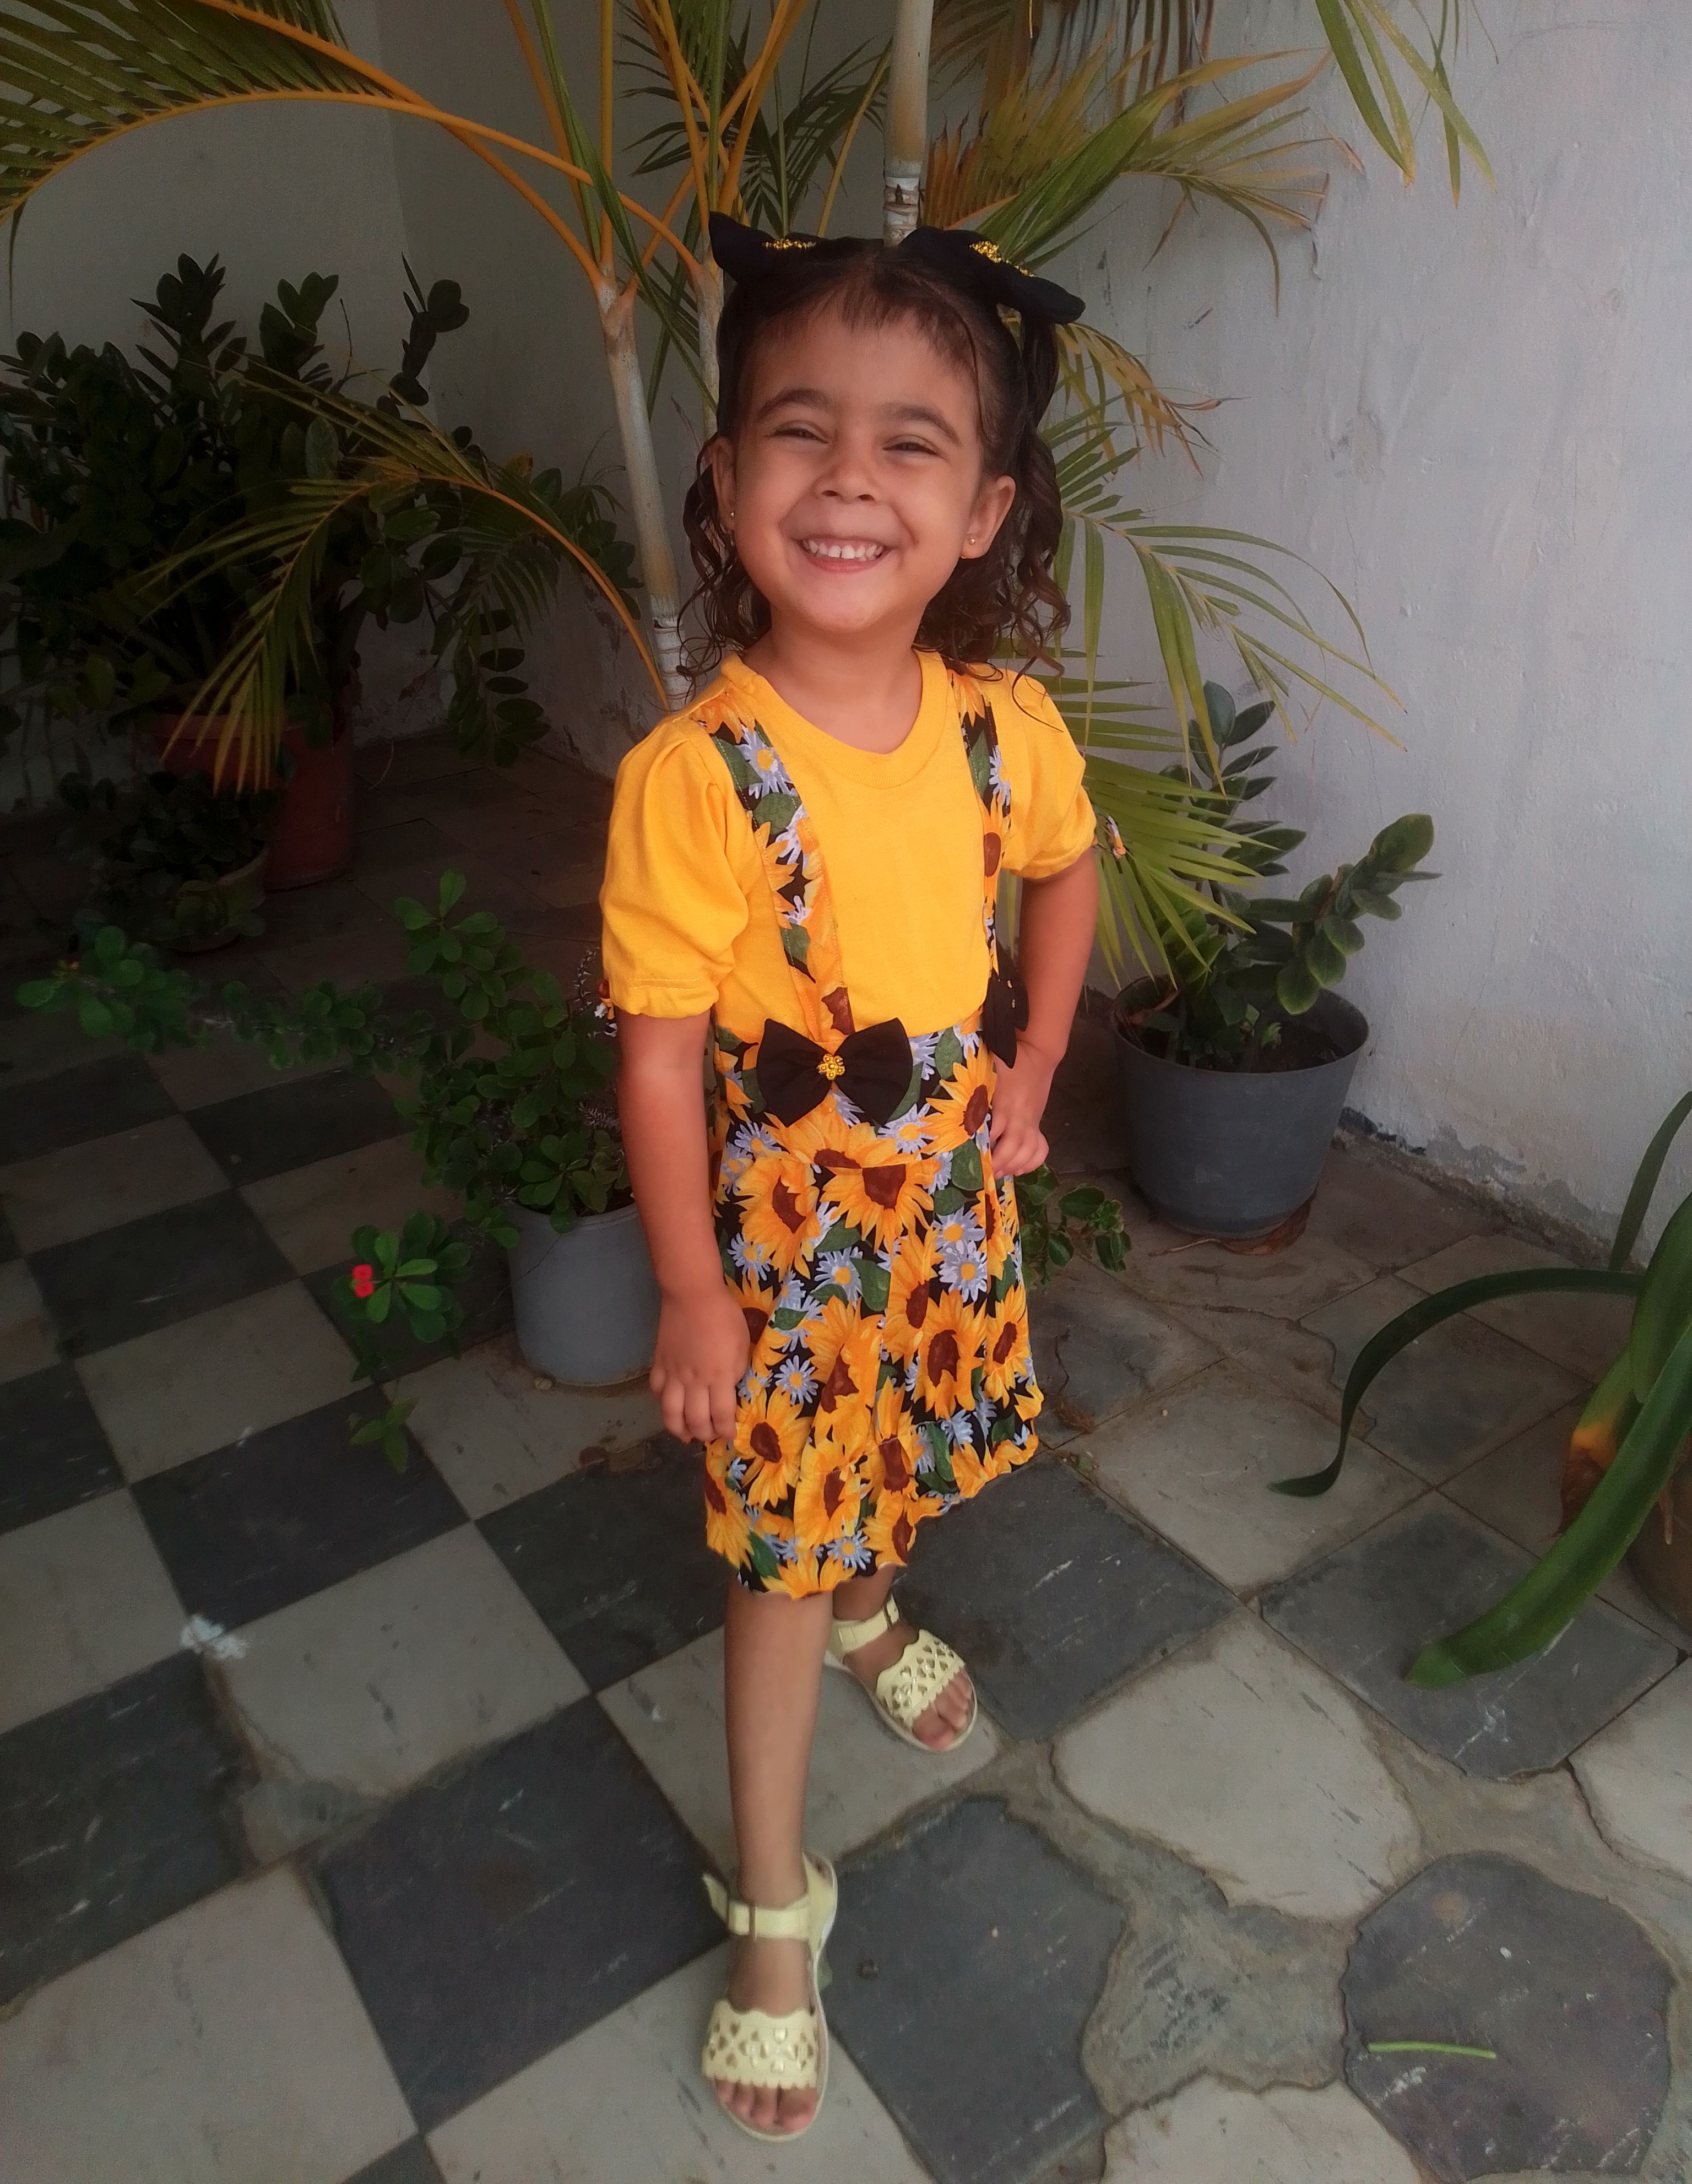
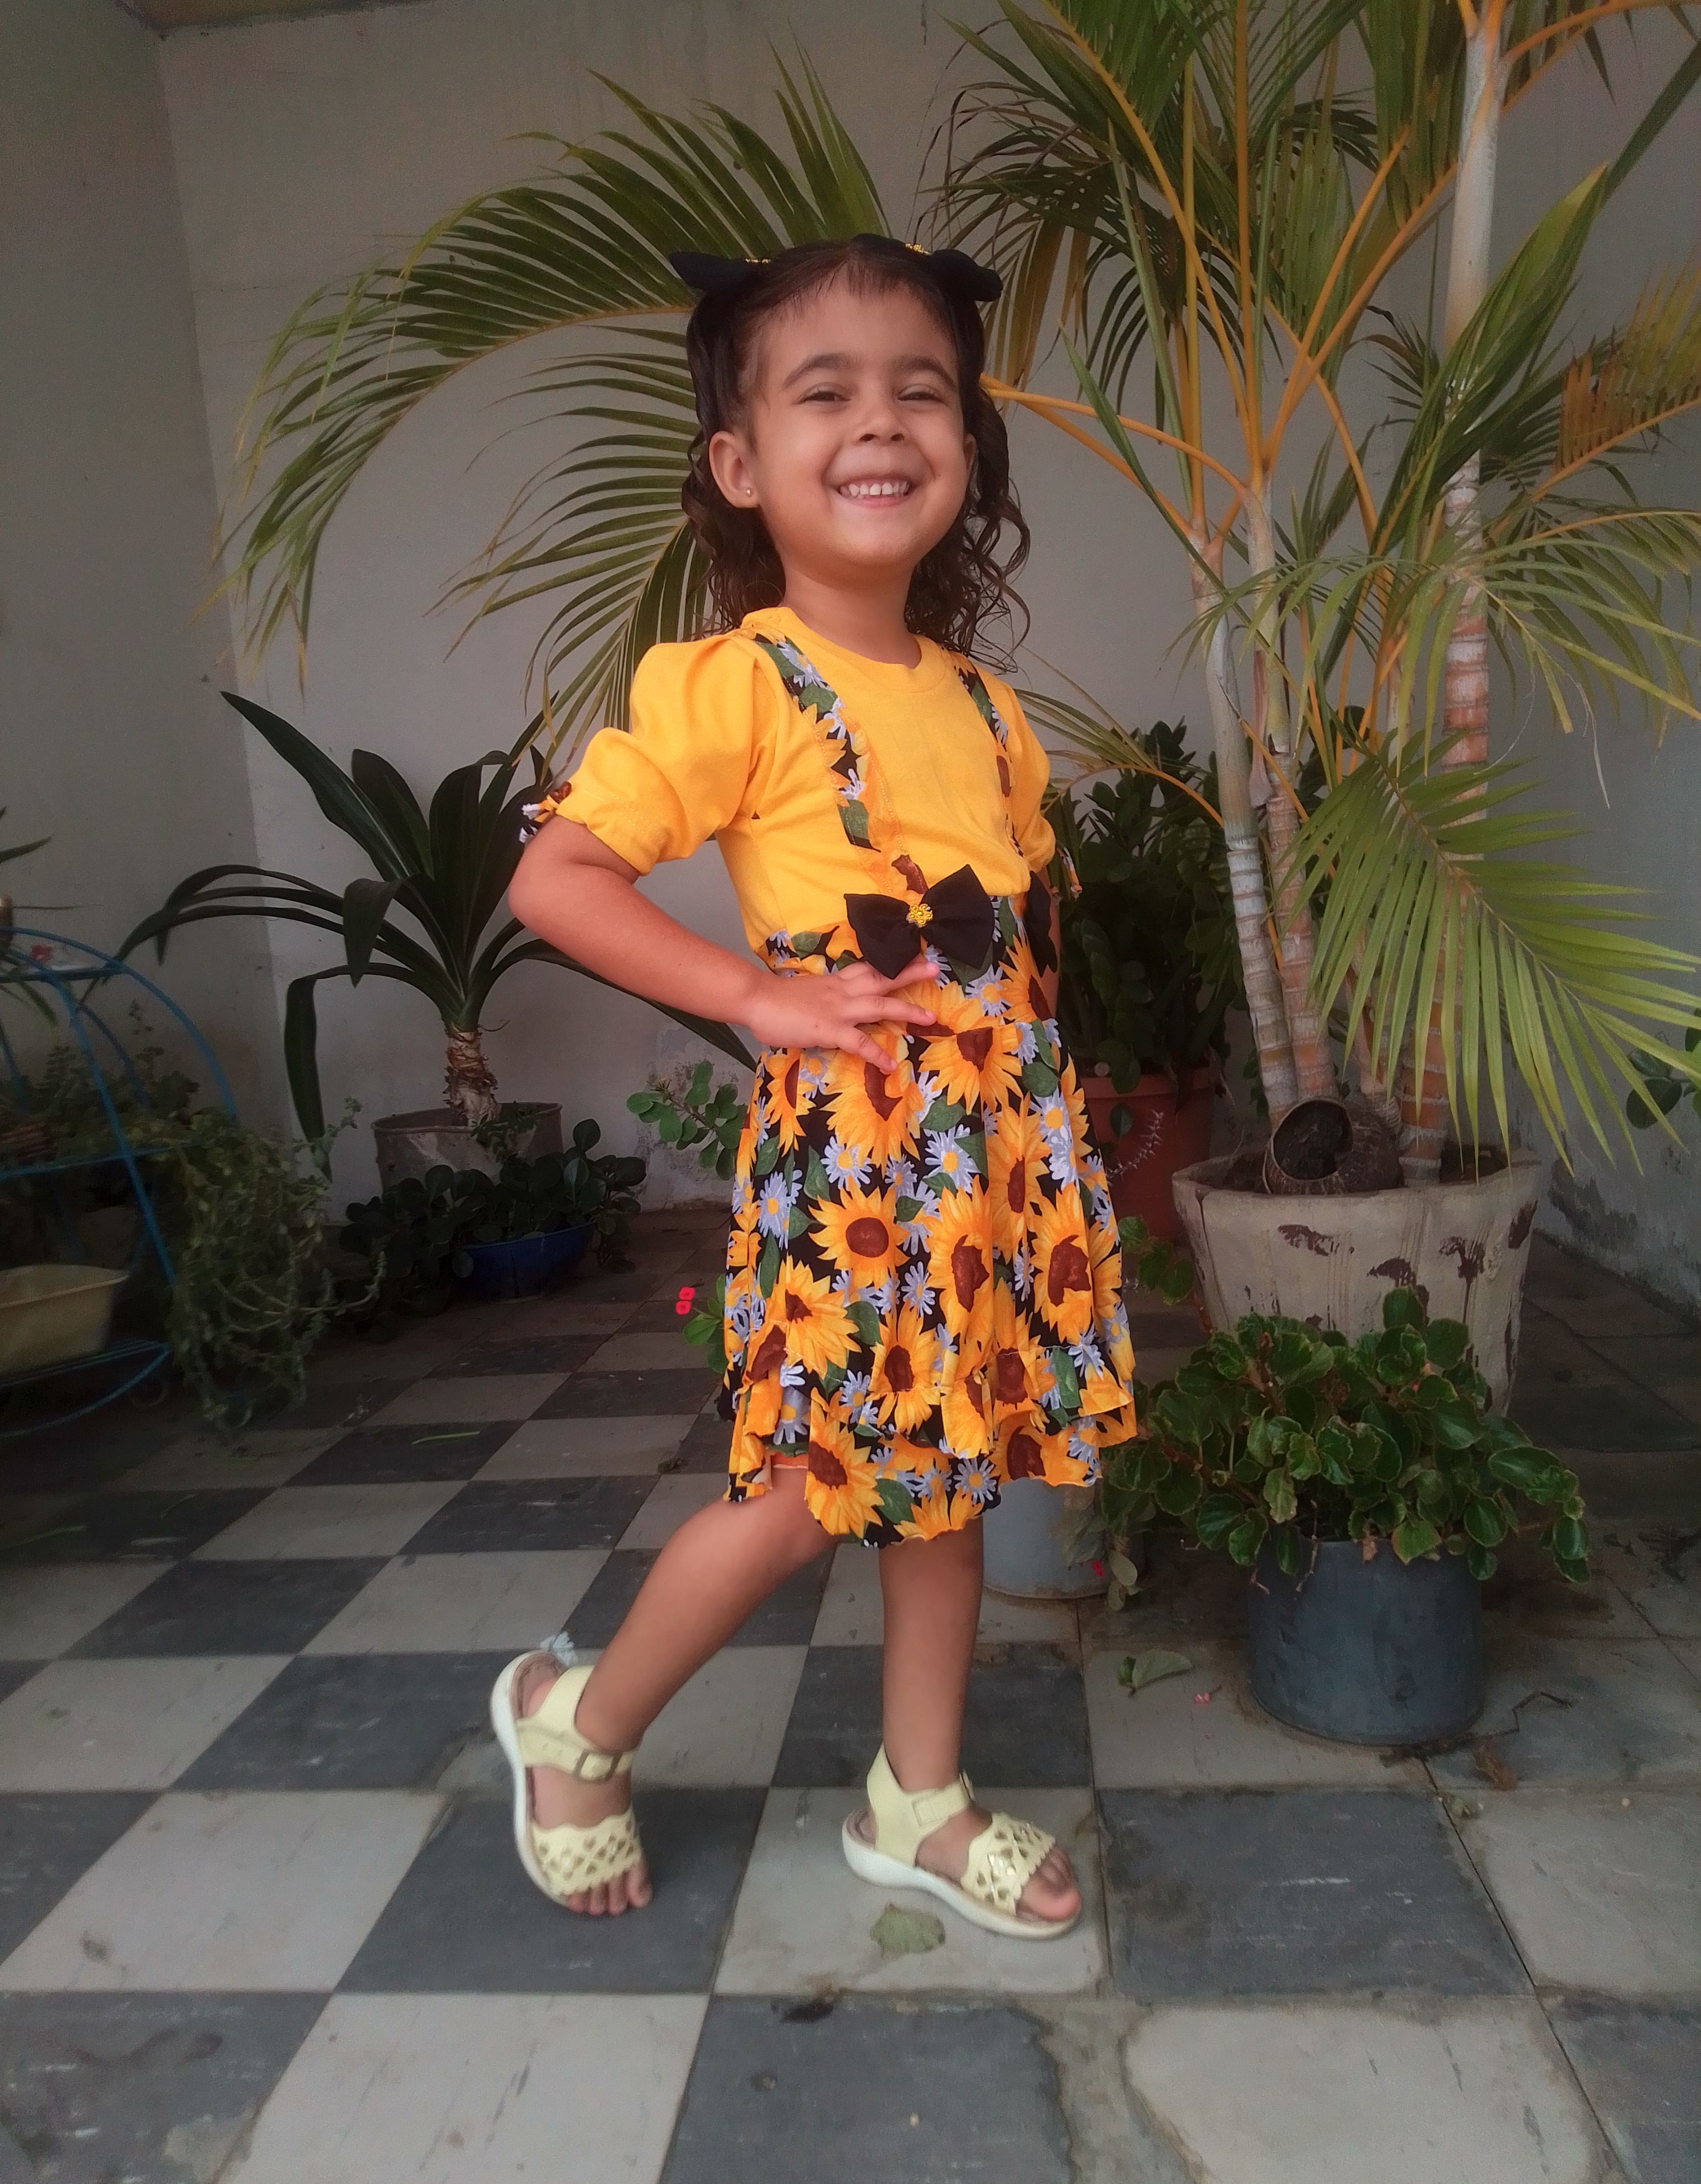
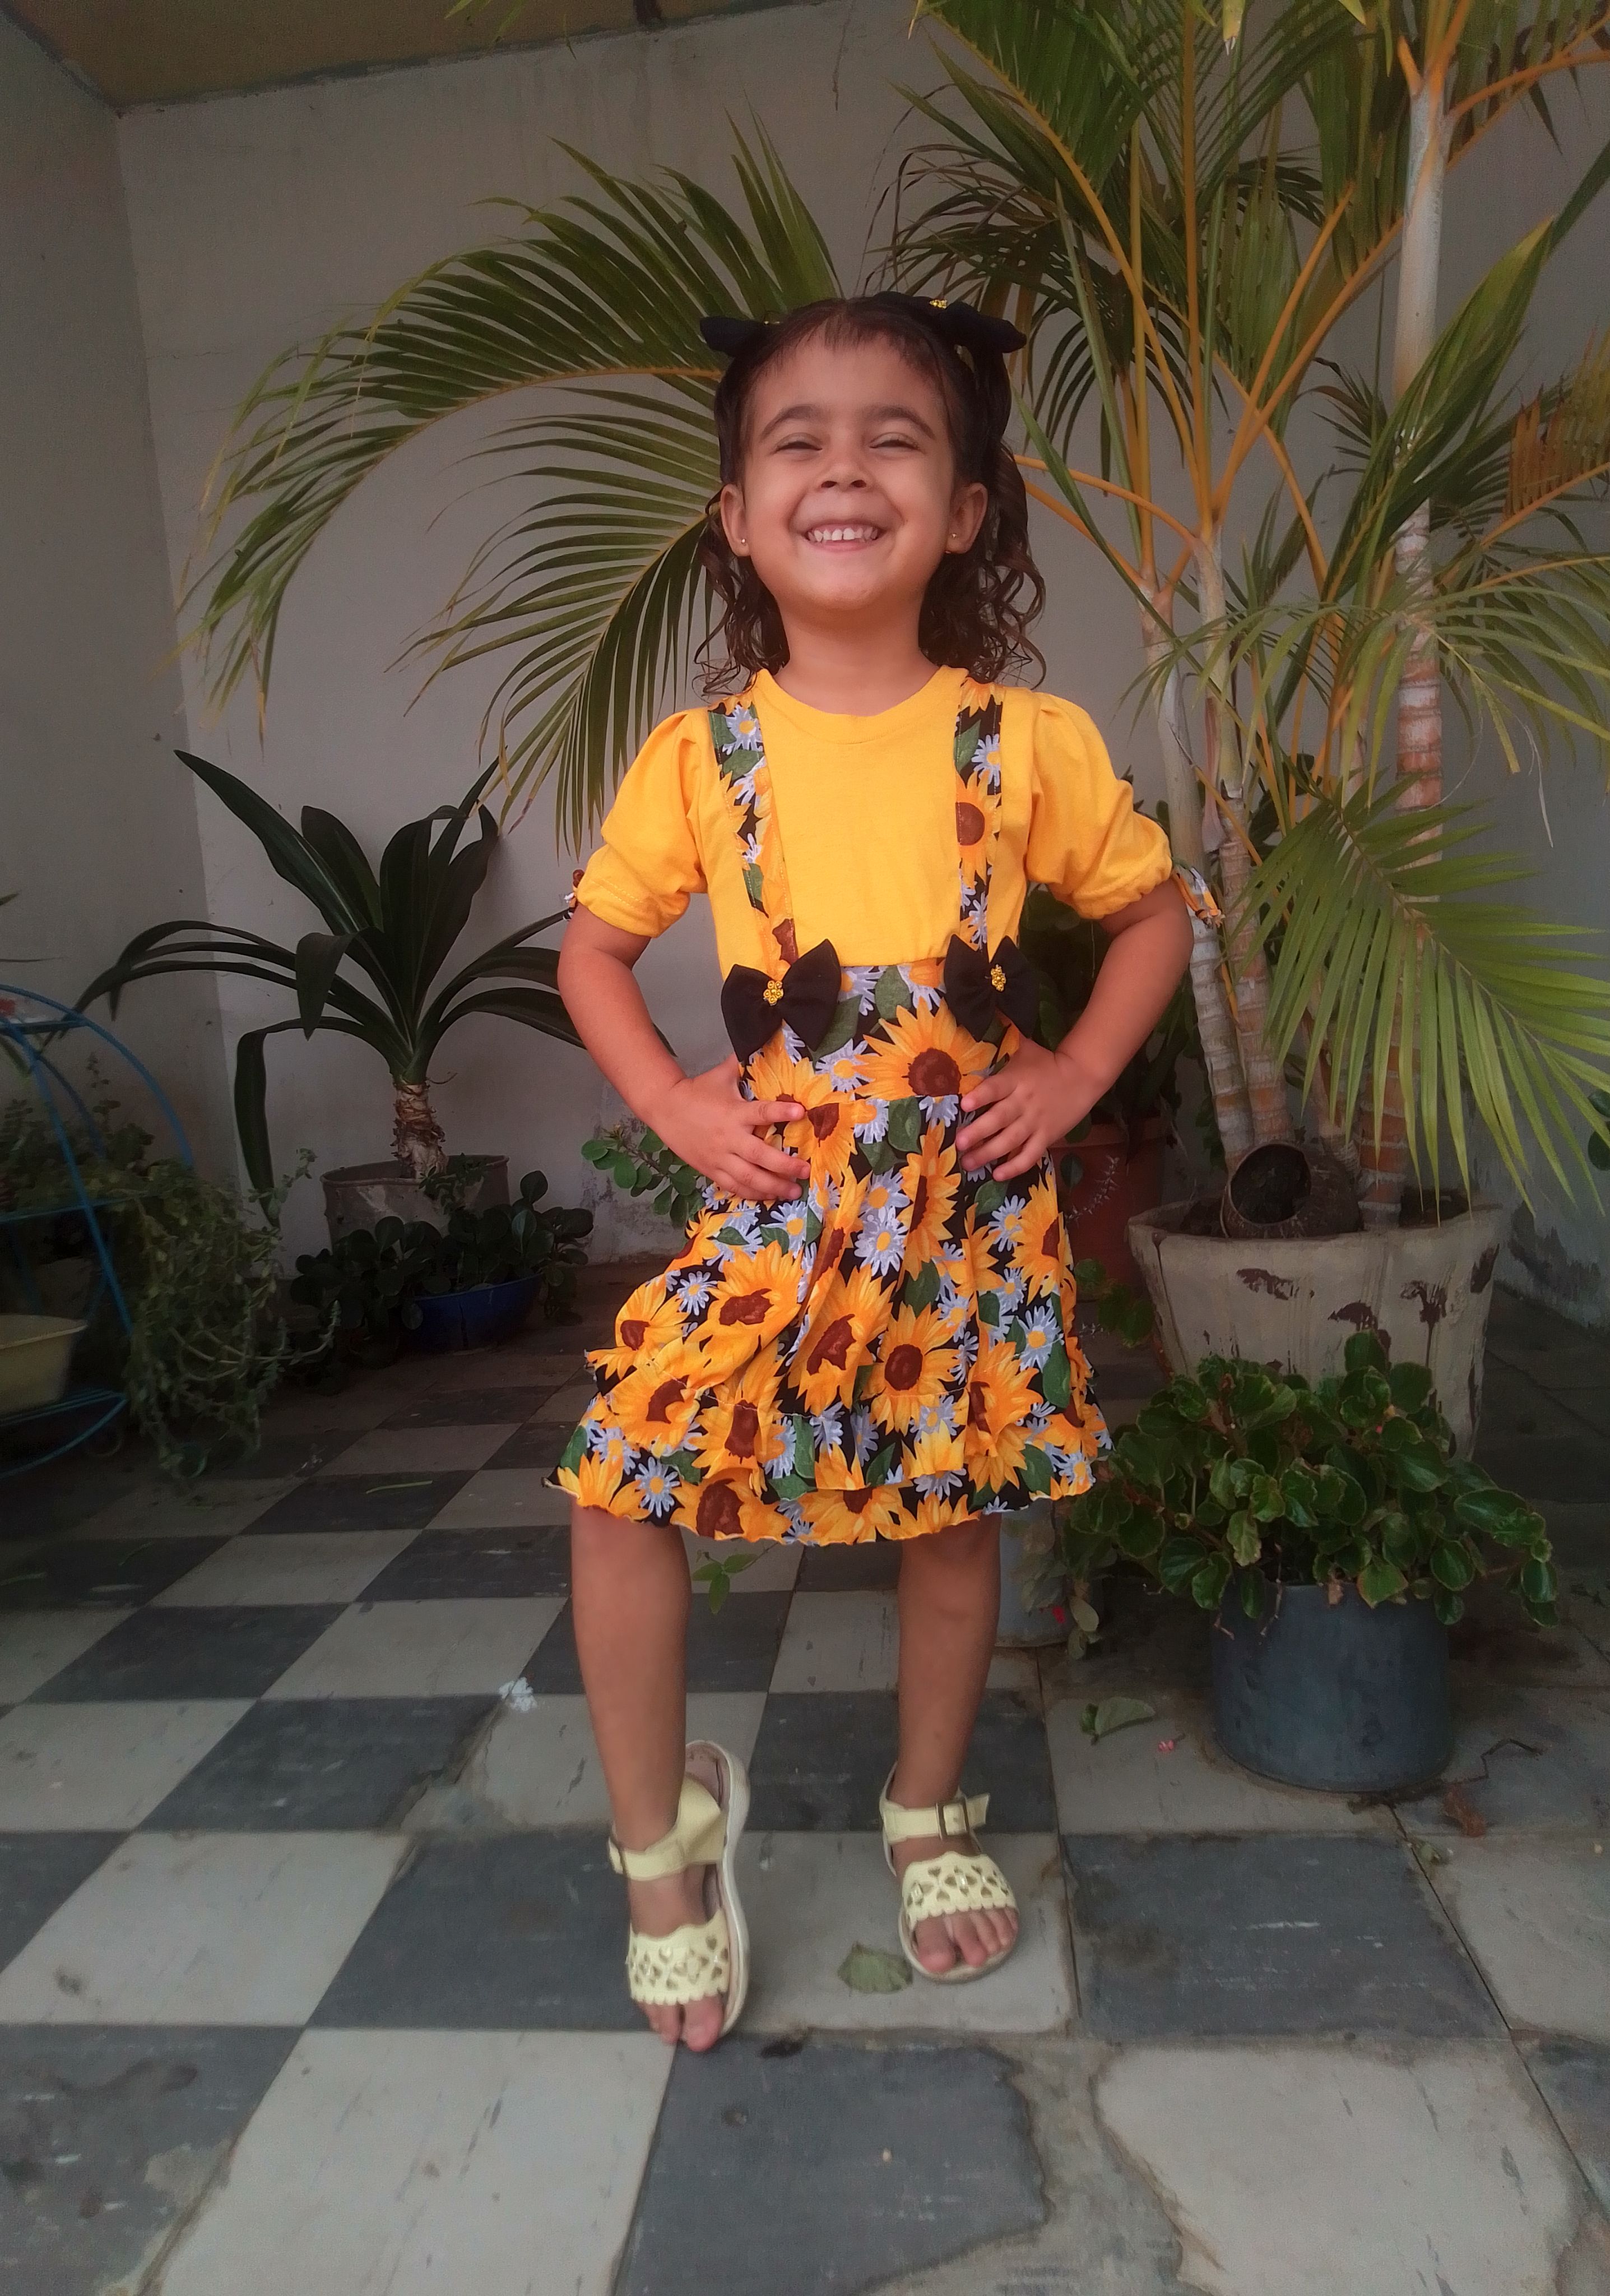
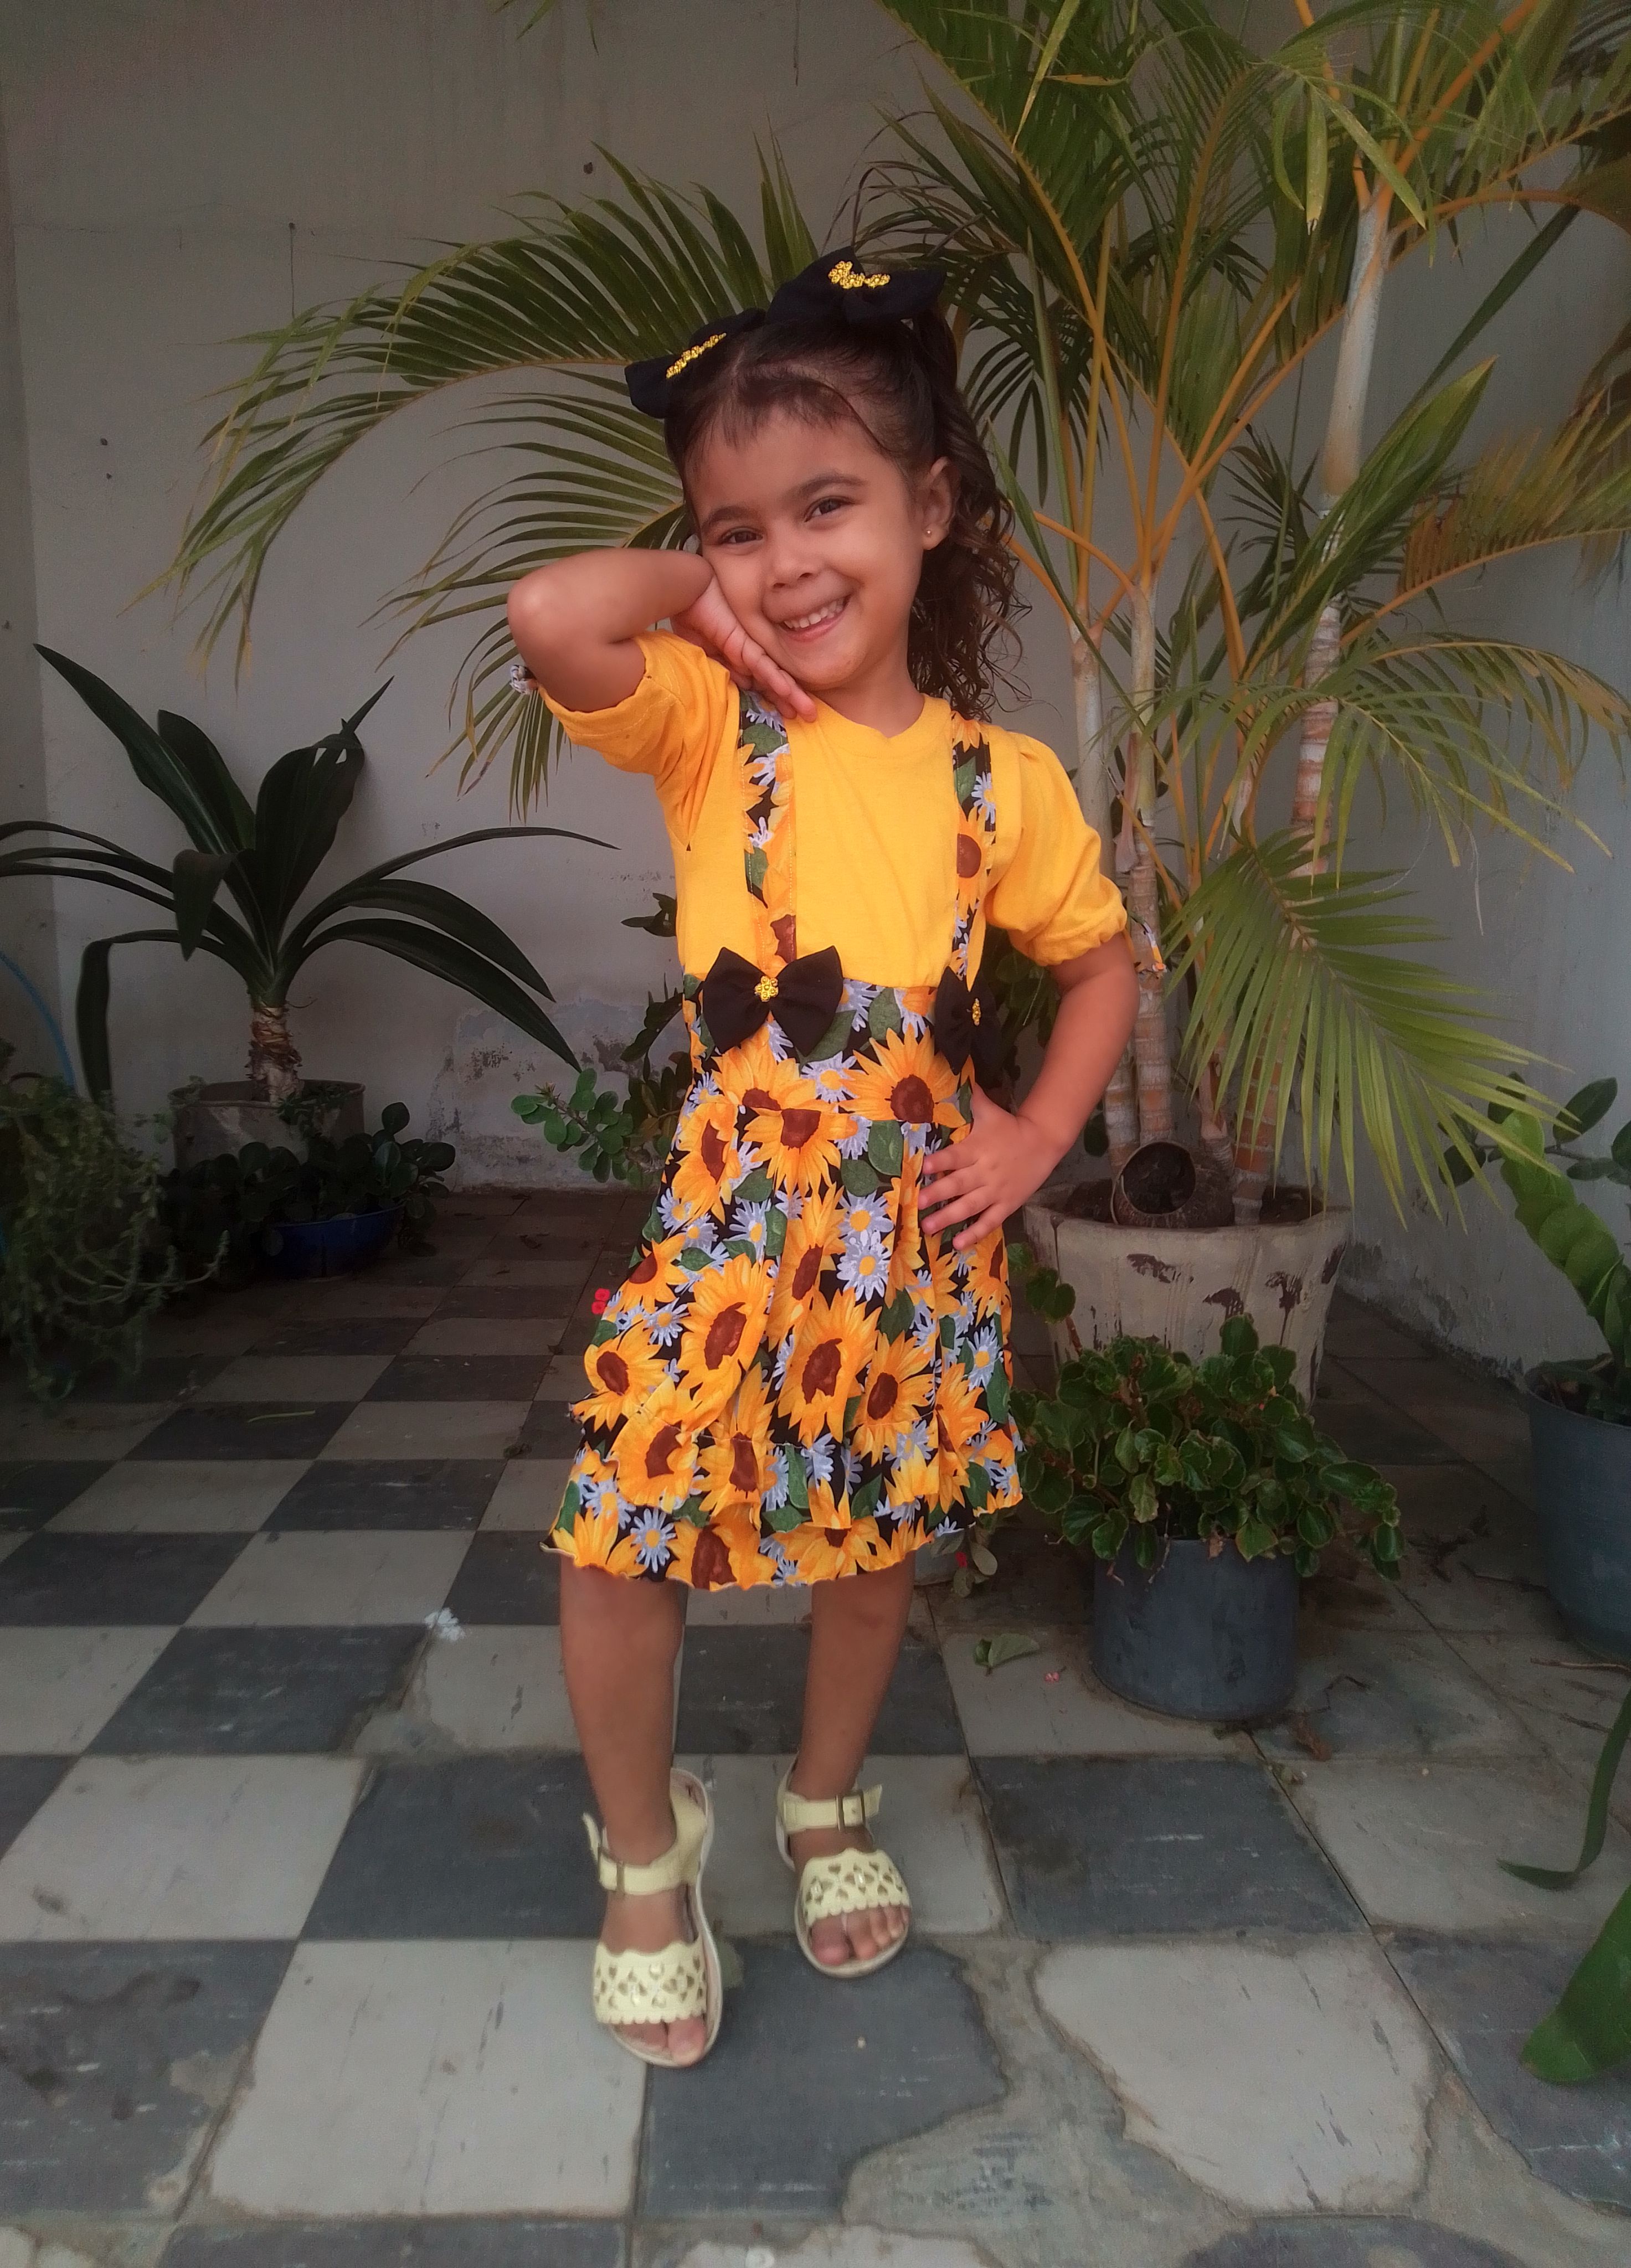
🌻Resultado!🌻
Me encanta hacer vestidos, en general disfruto mucho el momento que estoy creando uno, me gusta como surgen las ideas y los resultados que obtengo.. Coser es un arte que me distrae mucho sobre todo cuando se trata de reciclar tela o prendas como en este caso..El color y diseño combinado con la felicidad de mi nena es lo que mas me enamora. Con cariño te muestro el resultado final.
I love making dresses, in general I really enjoy the moment I am creating one, I like how the ideas arise and the results I get. Sewing is an art that distracts me a lot, especially when It is about recycling fabric or garments like in this case. The color and design combined with my baby's happiness is what I love most. With love I show you the final result.
De esta manera hemos culminado el tutorial de hoy, espero les guste, feliz fin de semana hasta pronto.
This way we have completed today's tutorial, I hope you like it, happy weekend see you soon.