Español
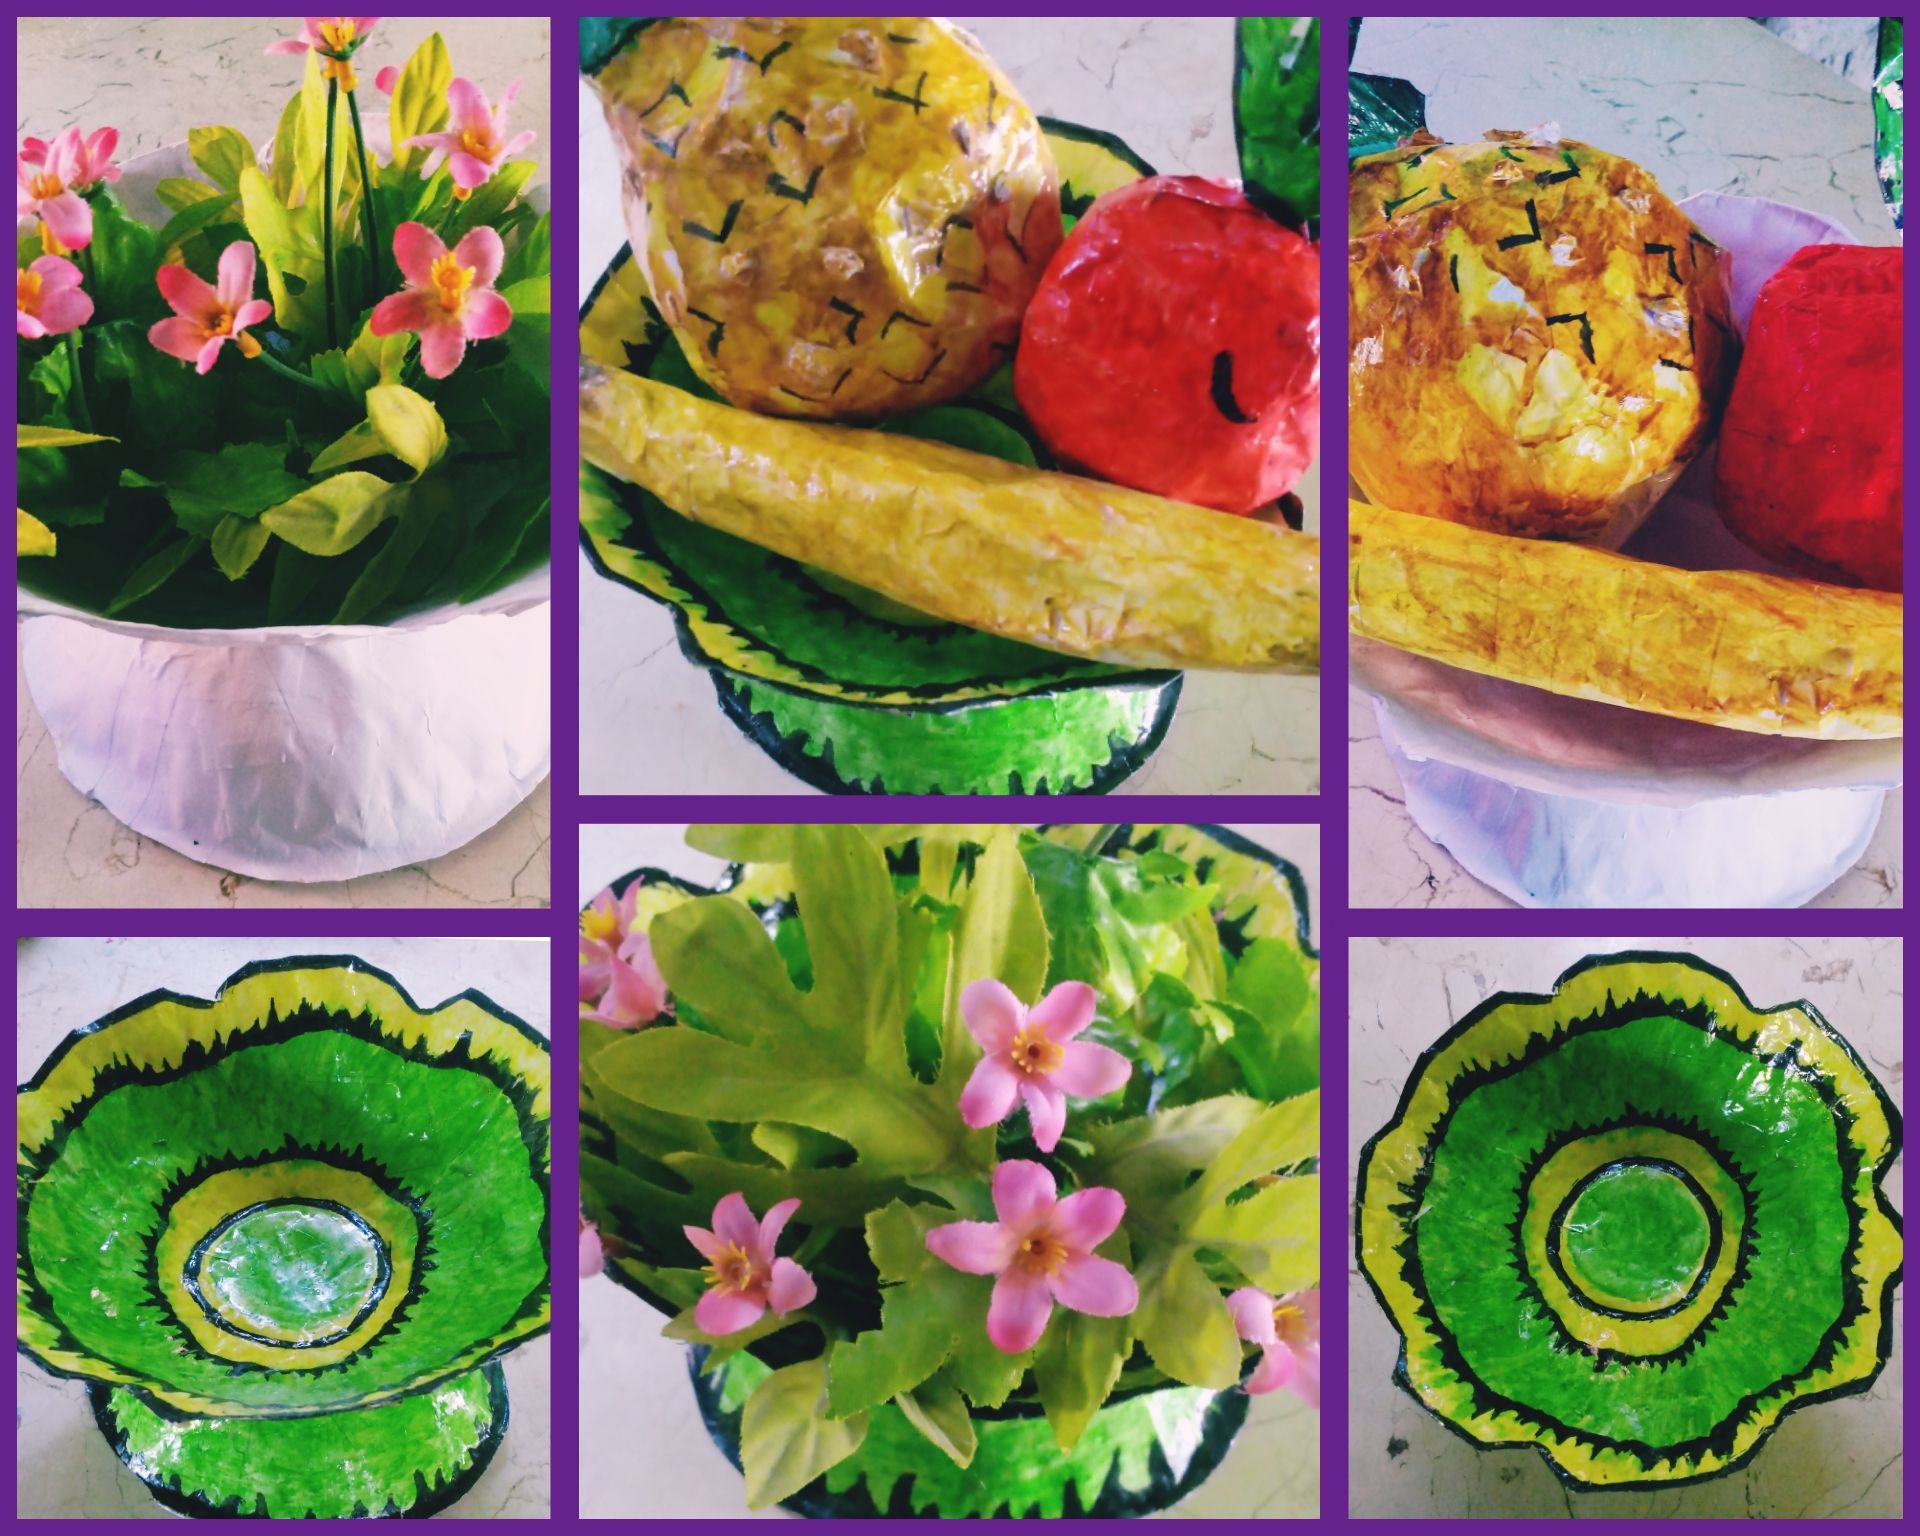
Saludos comunidad de creadores 🙋☀Tener nuestros hogares decorados a nuestro estilo, genera un bienestar tan grande, que influye positivamente en nuestra salud. En ocasiones, no contamos con los recursos para ambientarlos como deseamos, pero sacando al ser creador que llevamos dentro podemos obtener resultados semejantes a los queridos. Hace unos días visité a un restaurante y mientras degustaba del delicioso sabor criollo, mis ojos captaron un hermoso centro de mesa que decoraba y le daba un ambiente confortable al sitio. Inmediatamente, quise que esa sensación tan agradable a la vista estuviera en mi hogar así que poniéndome manos a la obra y apoyándome en la técnica de papel maché, realicé :un centro de mesa floral y frutal personalizado, el que compartiré con ustedes amigos, en forma de tutorial.
Materiales
.Molde:Plato ondo mediano
.Algodón
.Aceite
.Papel variado
.Tiras de papel blanco
.Tijera
.Pega elaborada de harina
.Pegamento
.Cartulina
.Lápiz
.Pincel
.Temperas
.Acuarelas
Modo de confección del centro de mesa.
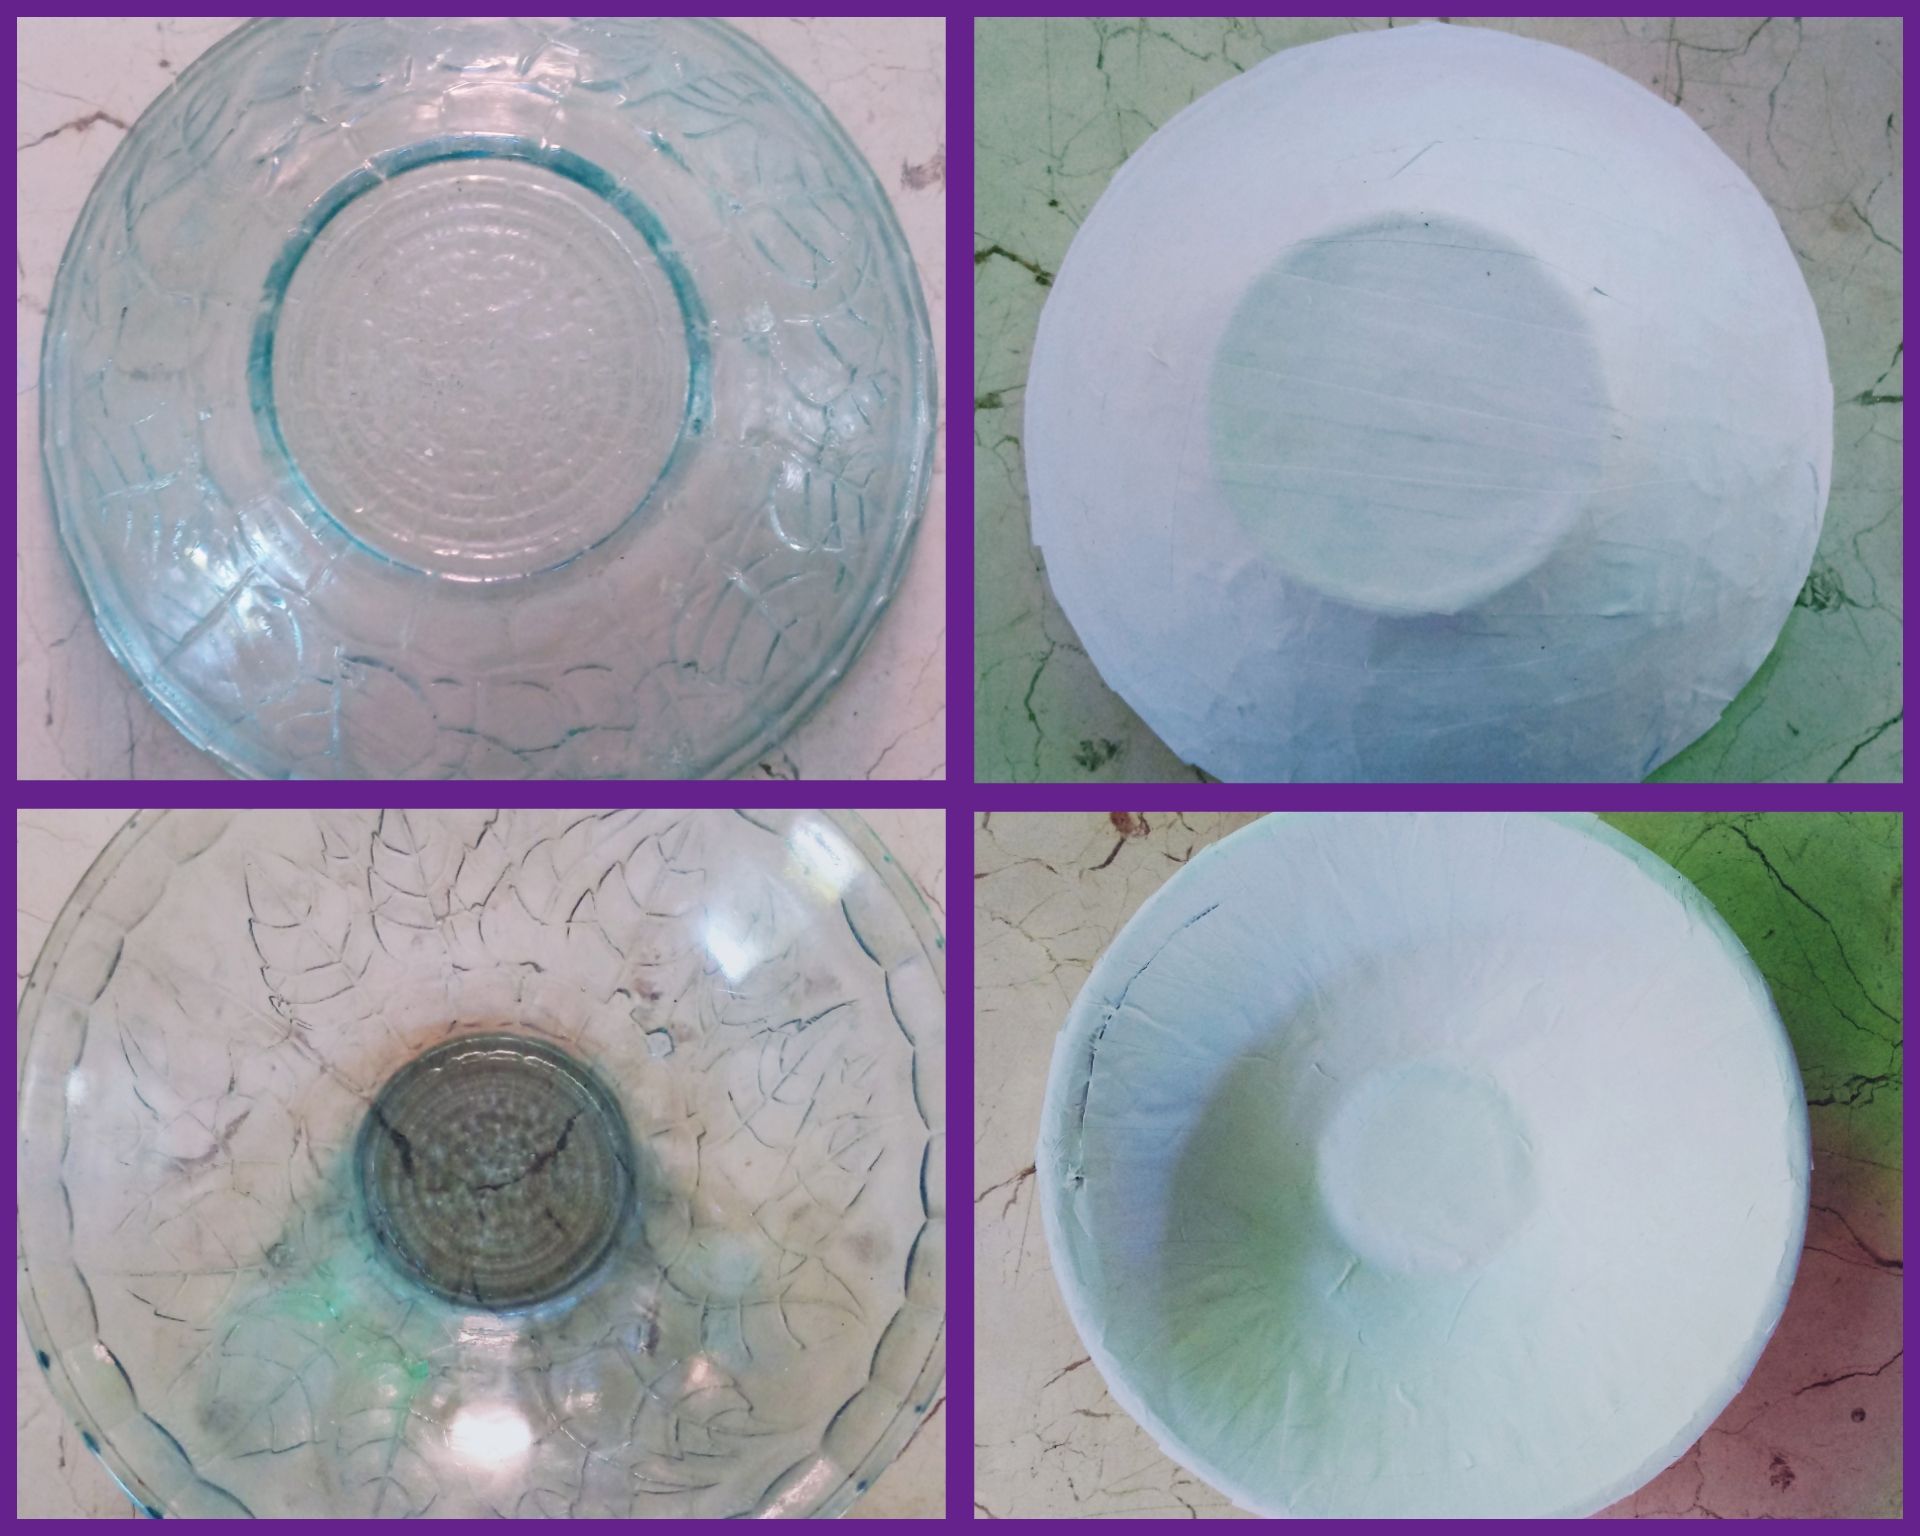
1-Tomar un algodonsito humedecido en aceite, e impregnar toda la superficie del molde por ambas caras.
2-Con las tiras blancas y la pega elaborada de harina, realizar la técnica de papel maché dándole tres vueltas de empapelado completamente. Dejarlo secar por ocho horas.
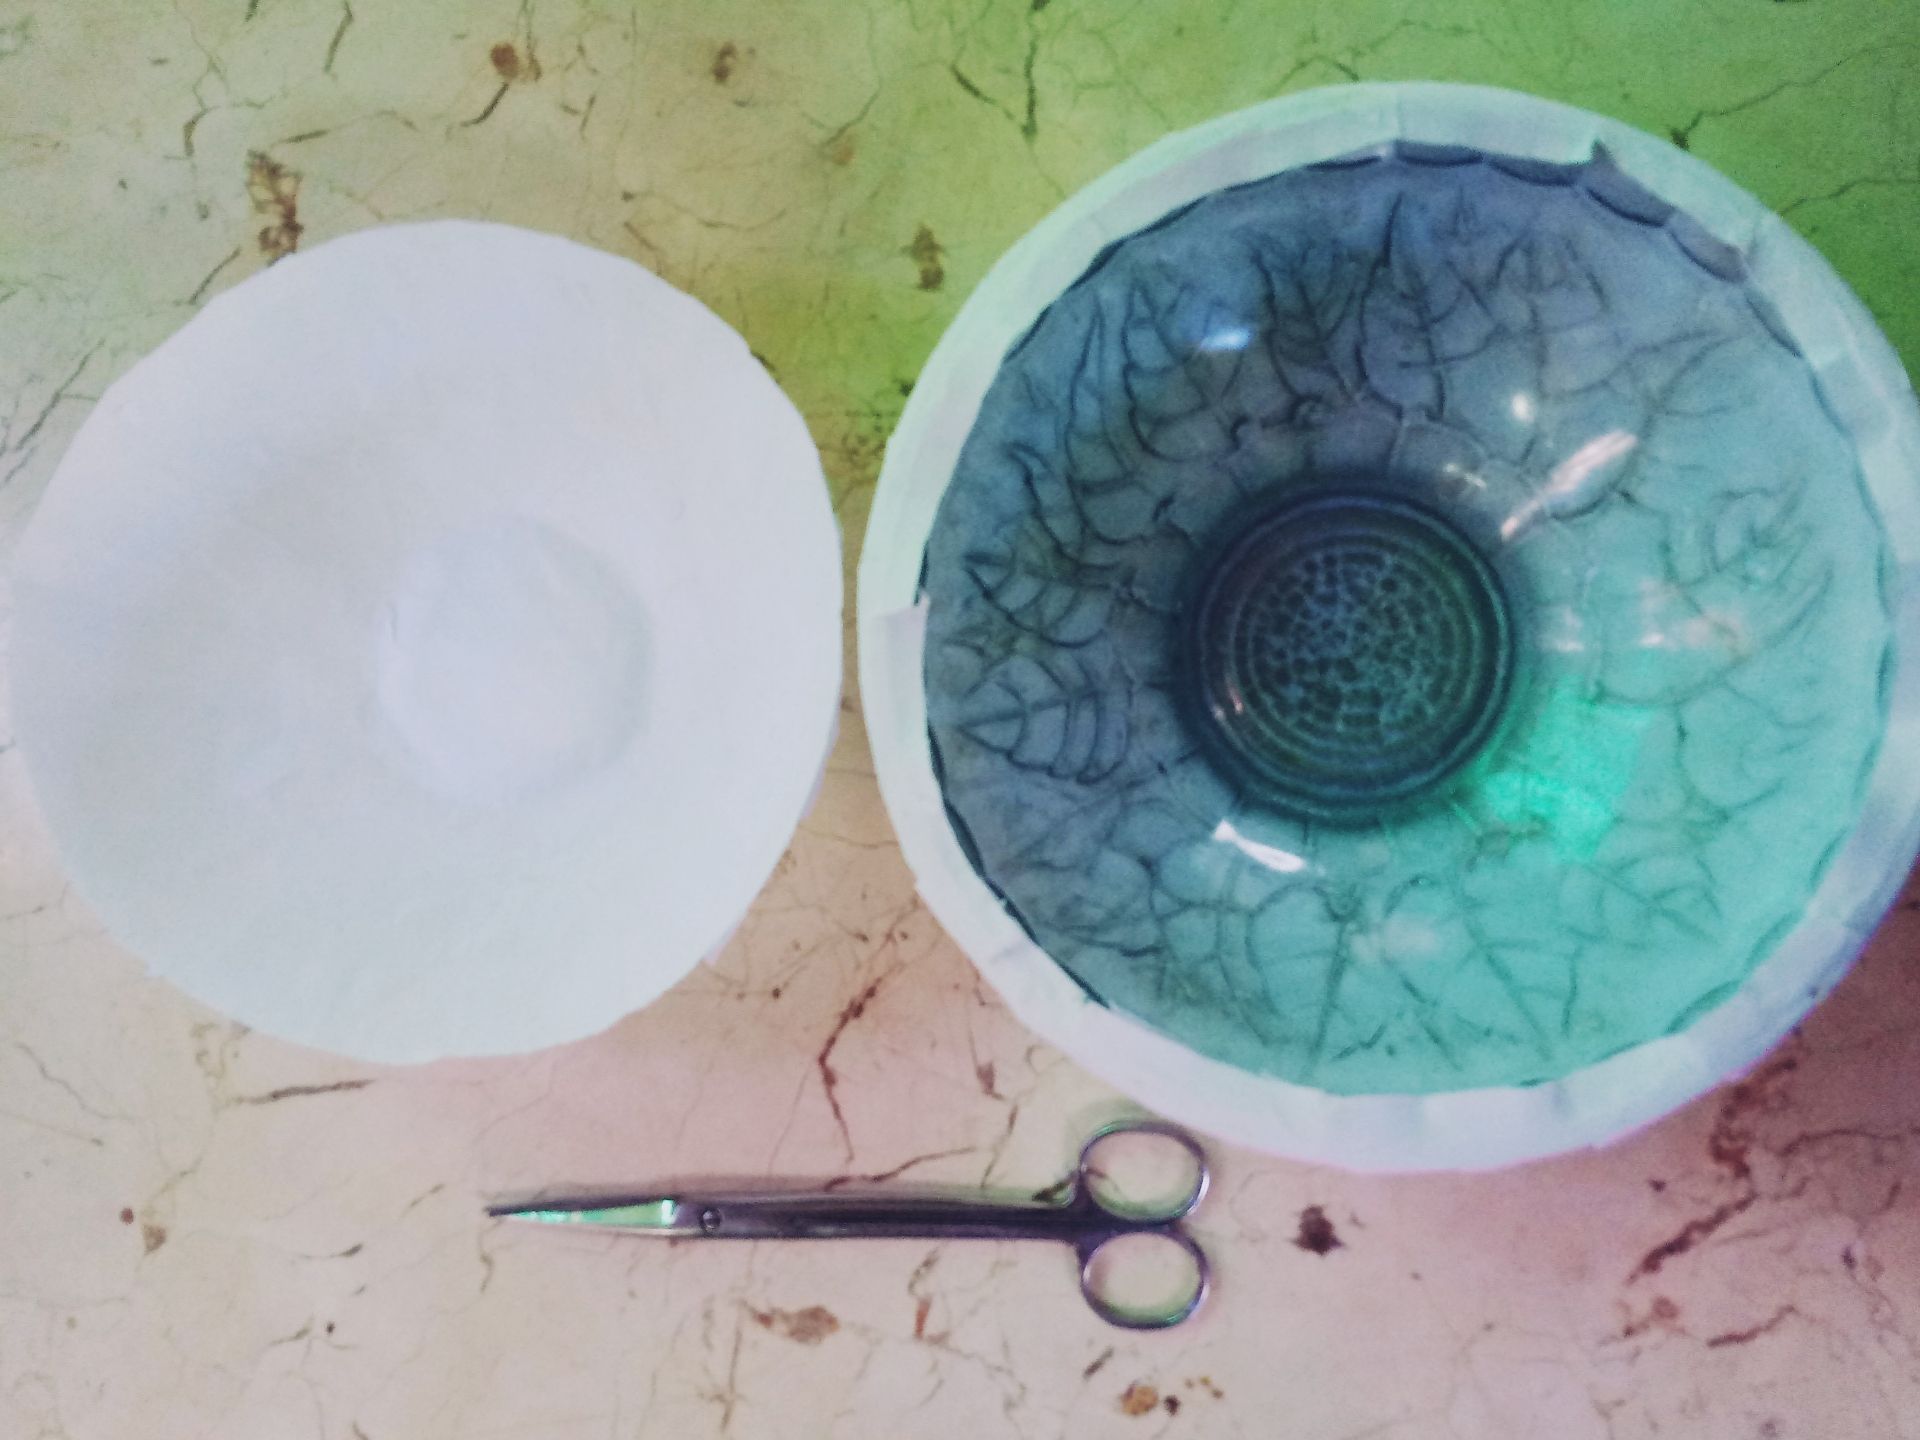
3-Utilizando la tijera, cortamos cuidadosamente aproximándonos al borde en una de las caras.
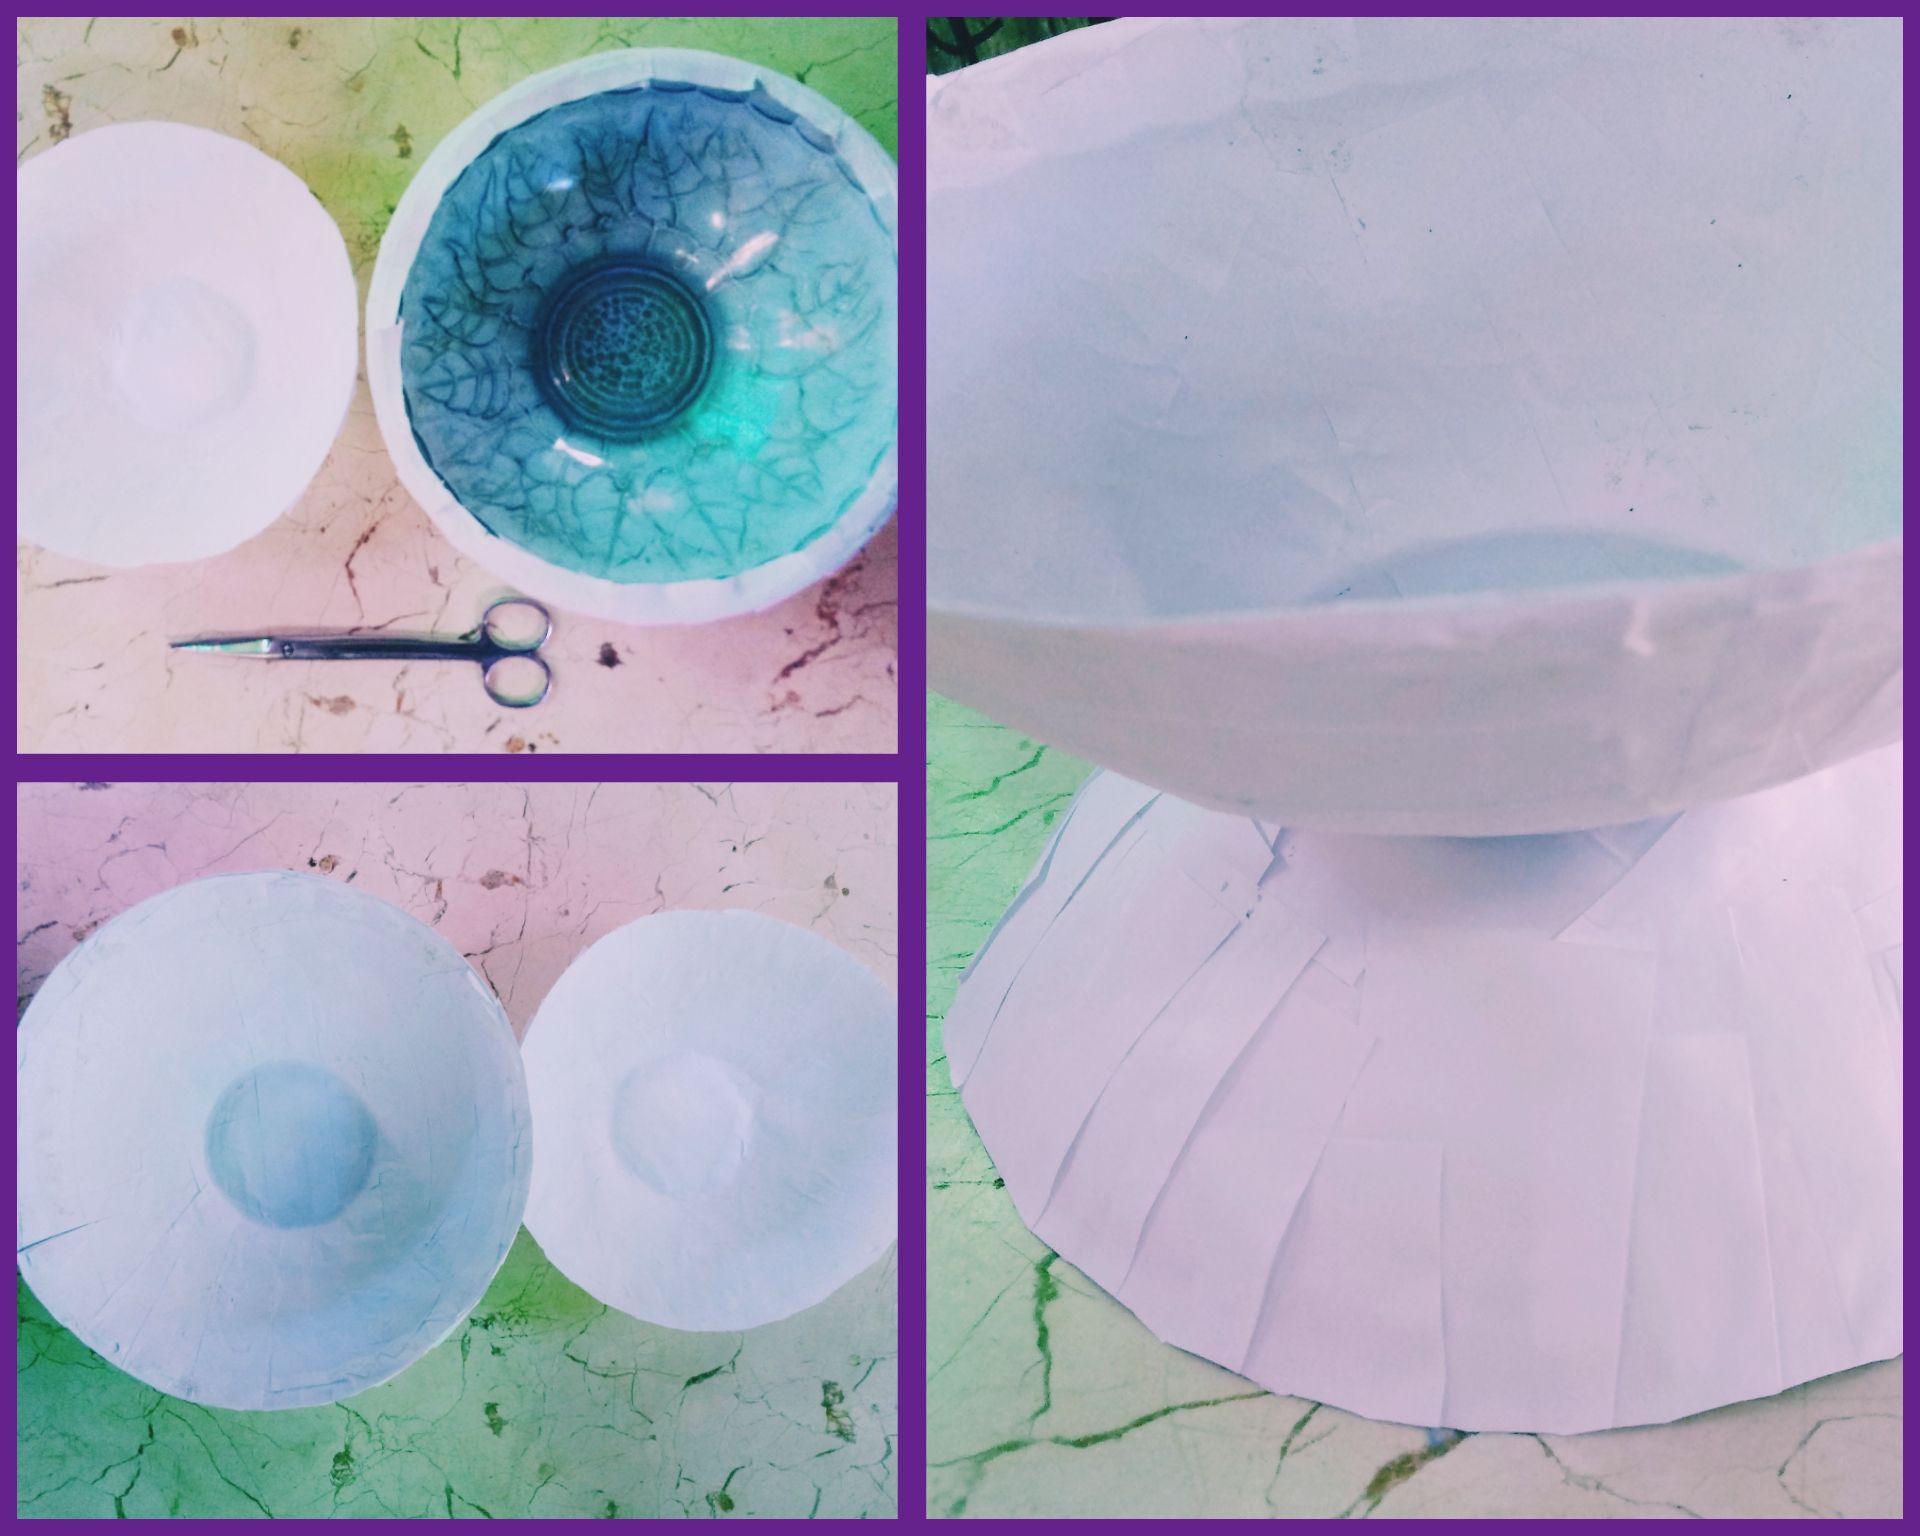
4-Desmontamos del molde y con el pegamento, unimos ambos fondos.
5-Dar una cuarta capa de empapelado a la estructura resultante completa, para generarle mayor firmeza.
Modo de confección de las frutas
Piña🍍
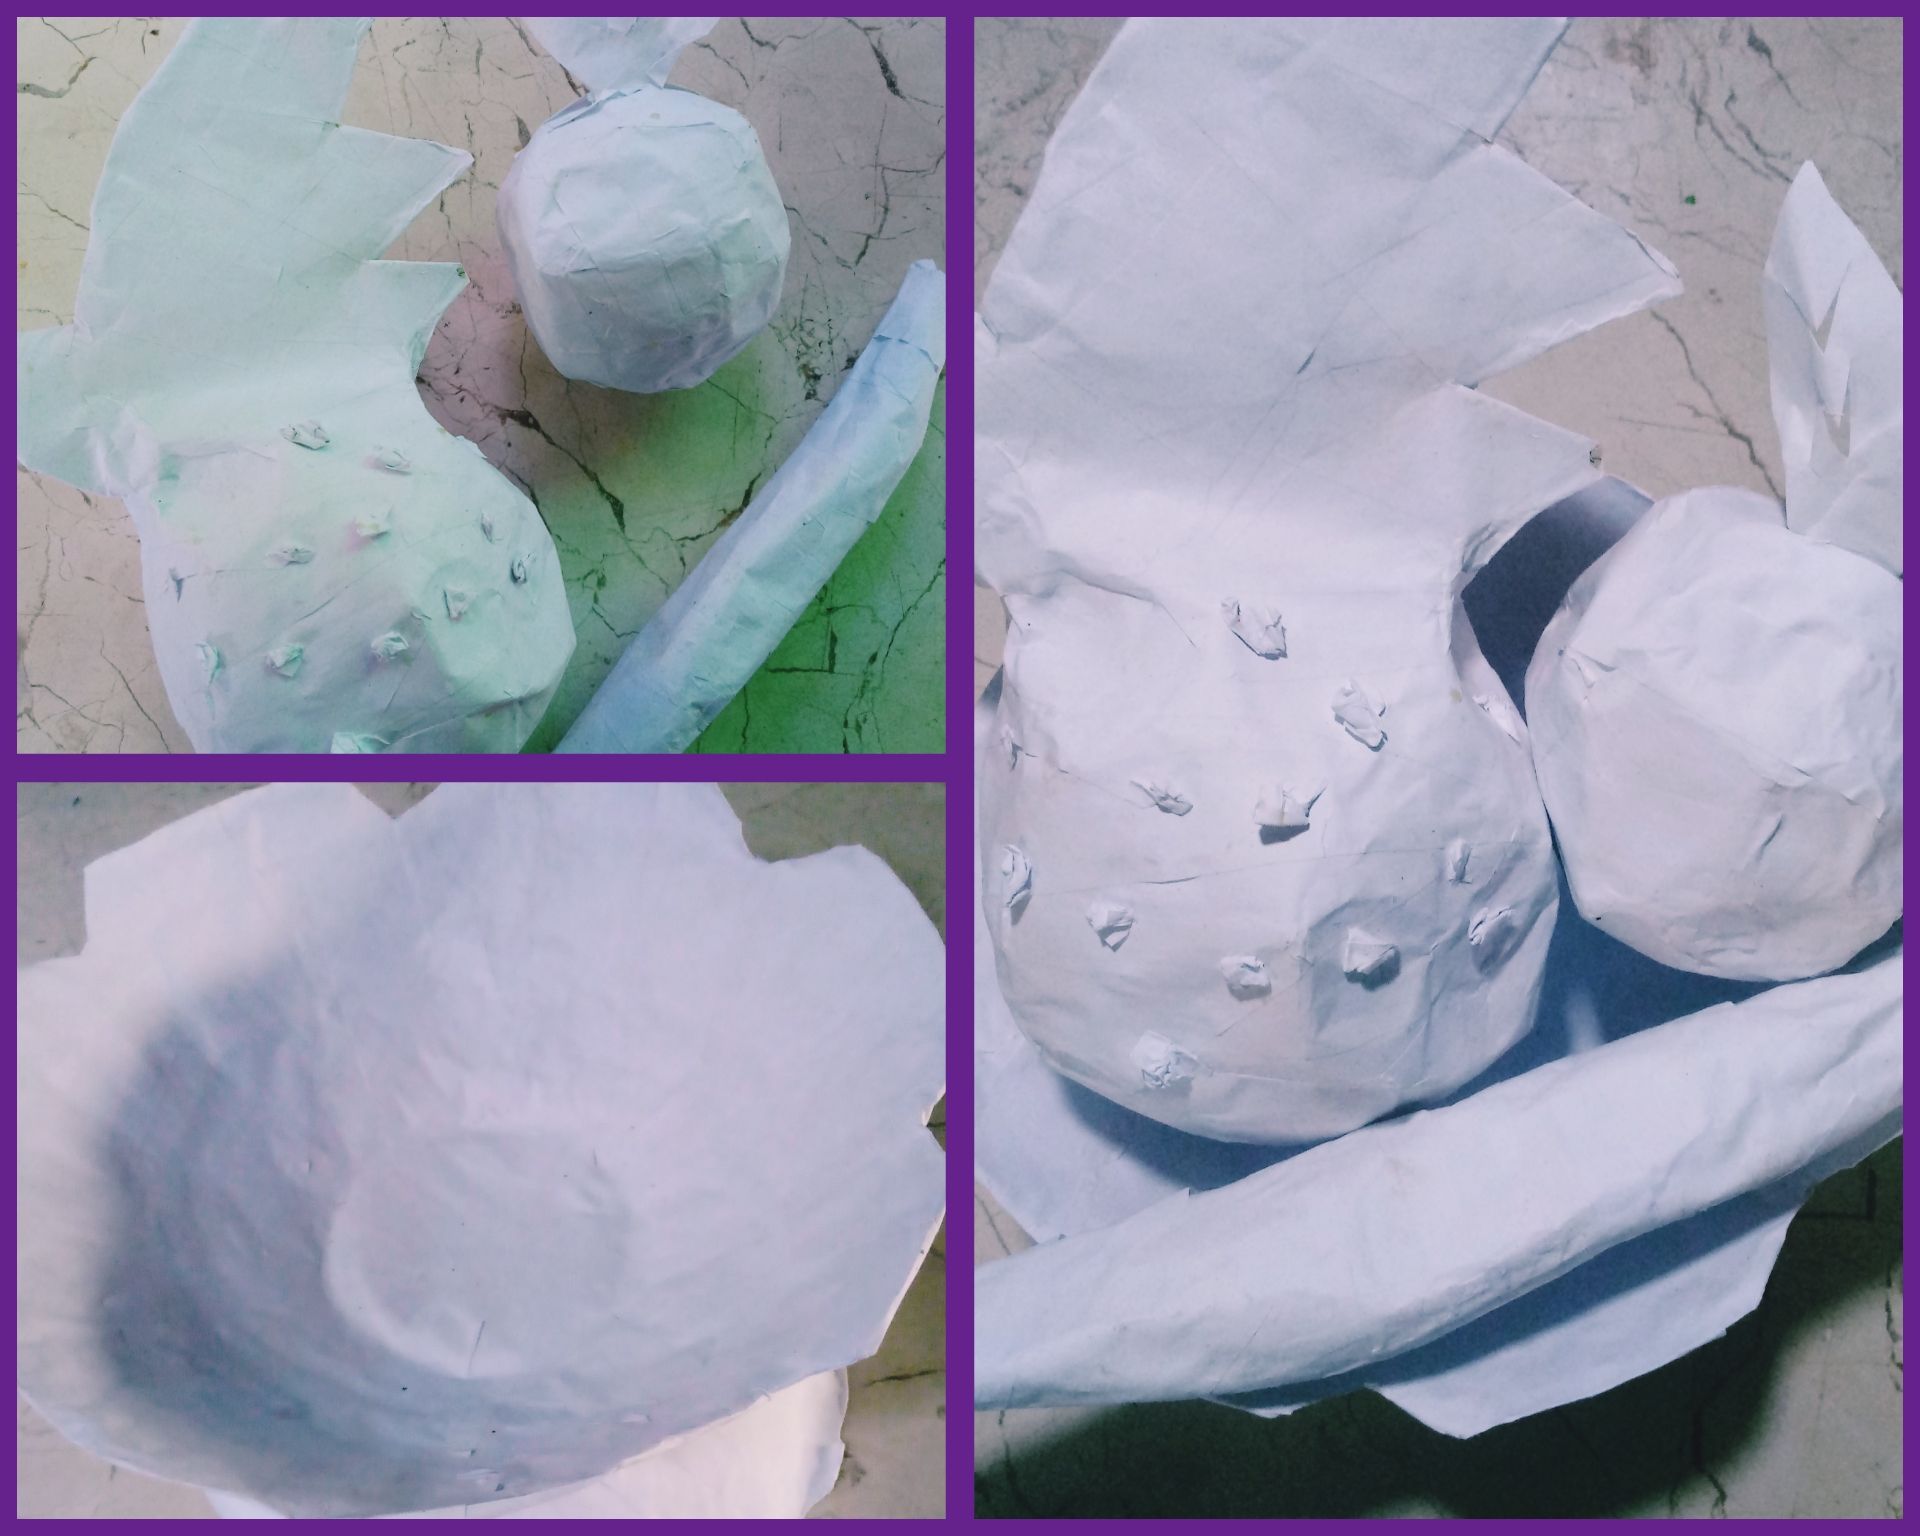
1-Estrujamos papel y le damos forma ovalada ó la deseada para el cuerpo de la piña.
2-Empapelar dándole tres capas con las tiras blancas y la pega elaborada de harina al cuerpo ovalado.
3-Marcar en la cartulina con el lápiz la forma deseada de su corona.
4-Recortar la corona siguiendo el trayecto marcado.
5-Utilizando el pegamento unir corona y cuerpo.
6-Empapelar completamente con la técnica de papel maché proporcionándole dureza.
Platanito🍌
1-Estrujar papel dándole forma alargada asemejándolo a un plátano.
2-Tomar tiras blancas de papel y en unión con la pega elaborada de harina, empapelar la estructura dándole tres capas y ocho horas de secado.
Manzana🍎
Para el cuerpo:
1-Estrujar papel dándole forma redonda.
2- Realizar la técnica de papel maché empapelando toda la estructura redonda con tres capas. Dejar secar por ocho horas.
Para hojas y tallo:
1-Marcar en una cartulina con un lápiz la forma deseada de nuestras hojas y tallo.
2-Utilizando la tijera recortar por la guía marcada en la cartulina.
3-Unir con el pegamento hojas y tallo al cuepo de nuestra manzana.
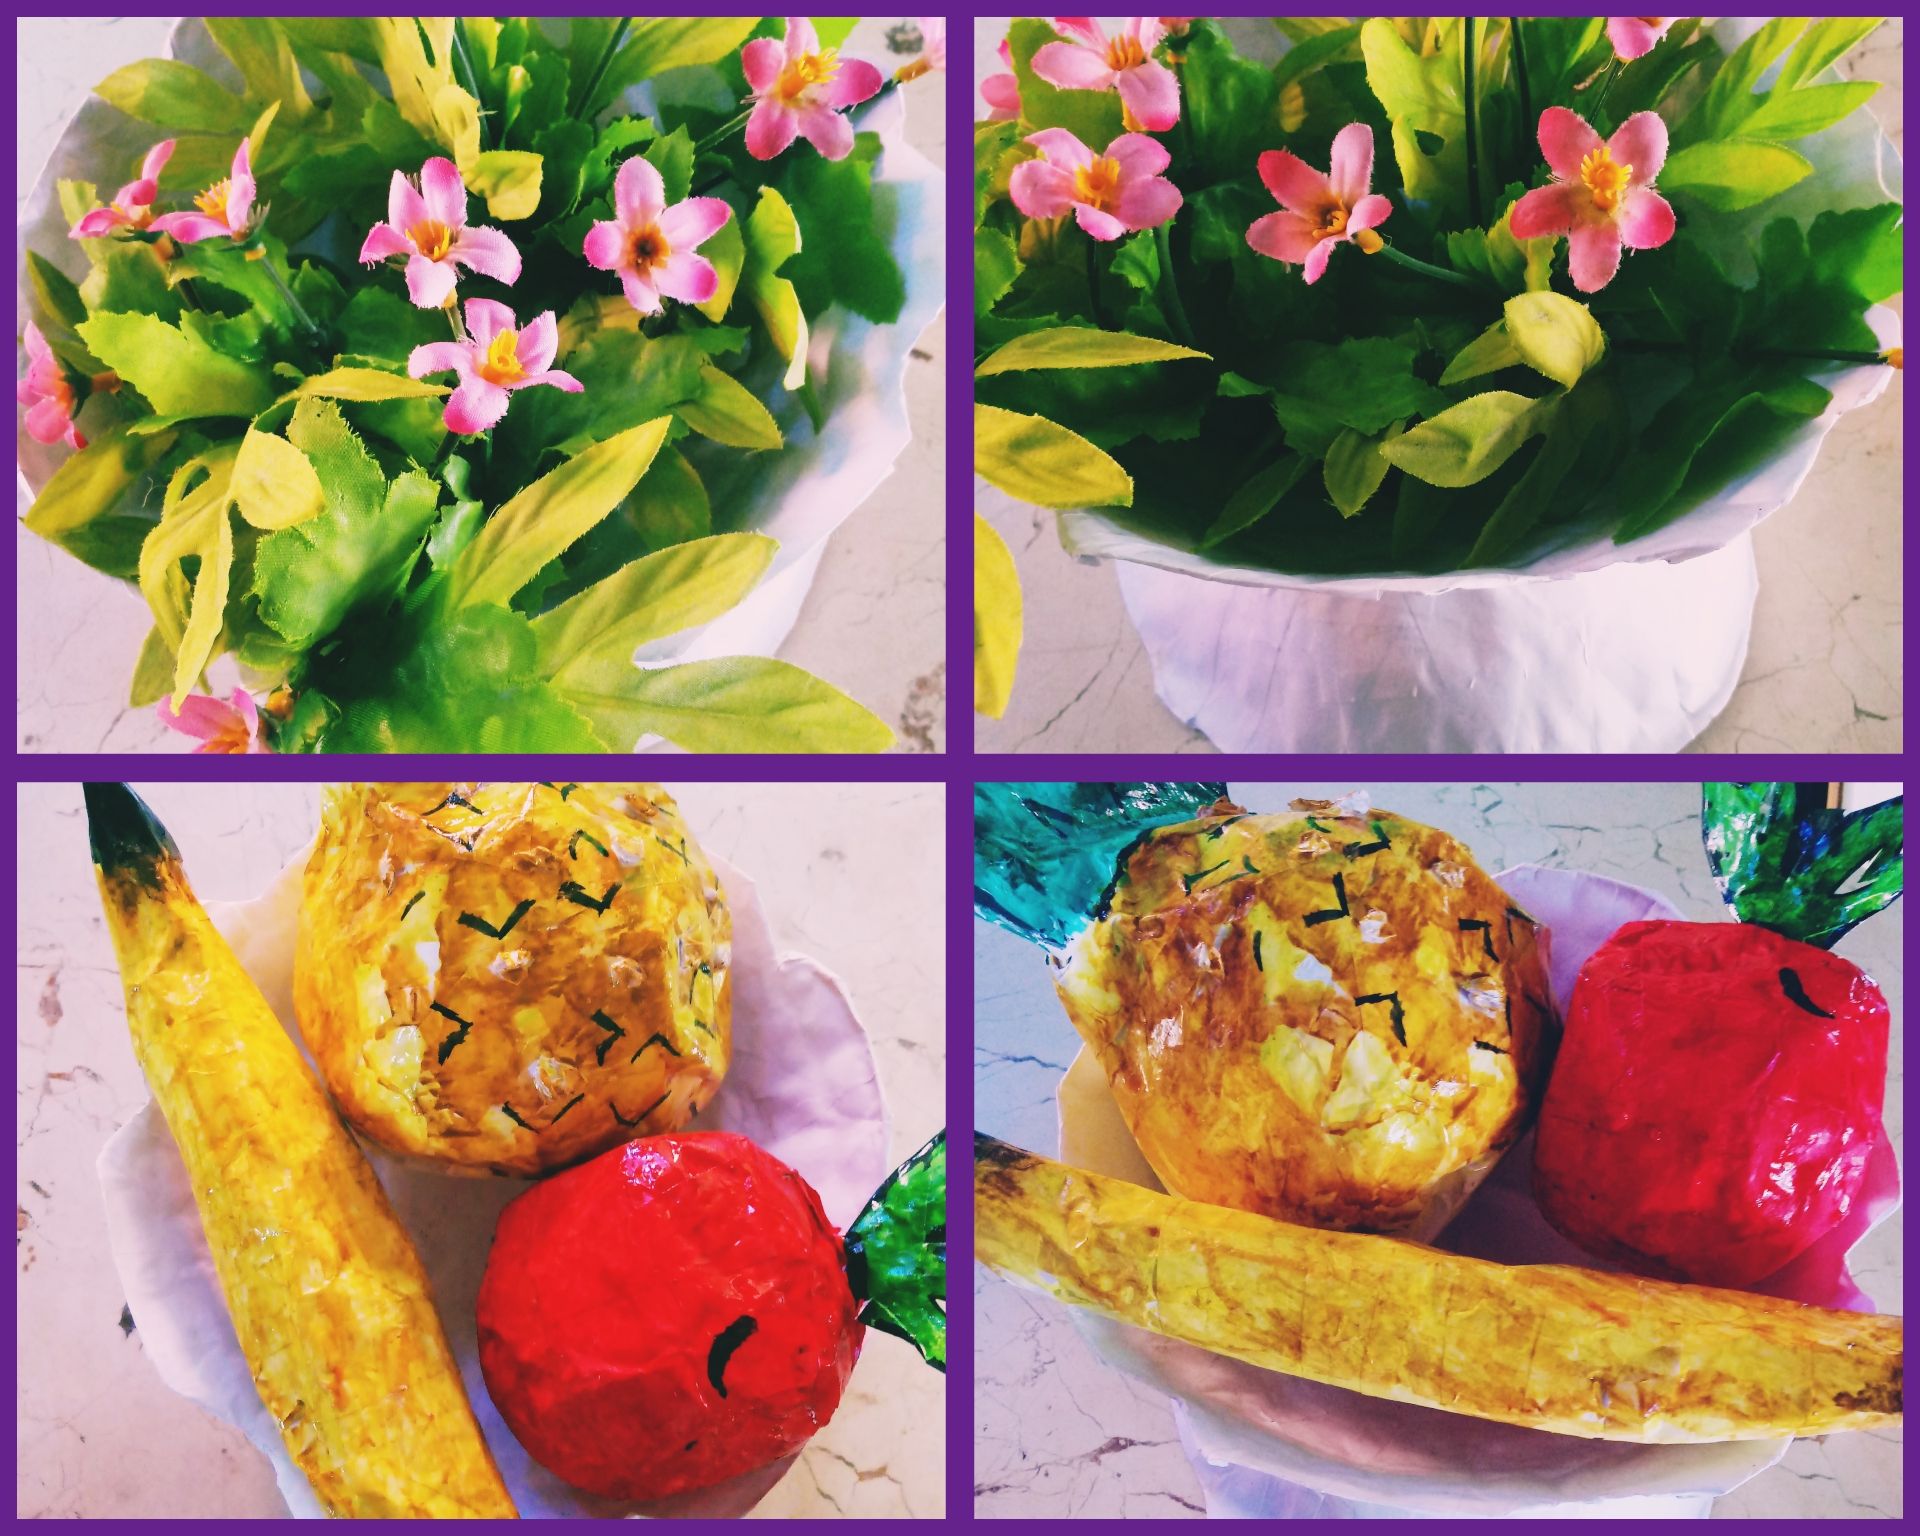
Teniendo nuestras frutas y centro de mesa confeccionados, pasamos a pintar a nuestro gusto con temperas y acuarelas .Yo me incliné por utilizar los colores verdes y amarillo los que considero colores de la esperanza y del renacer.
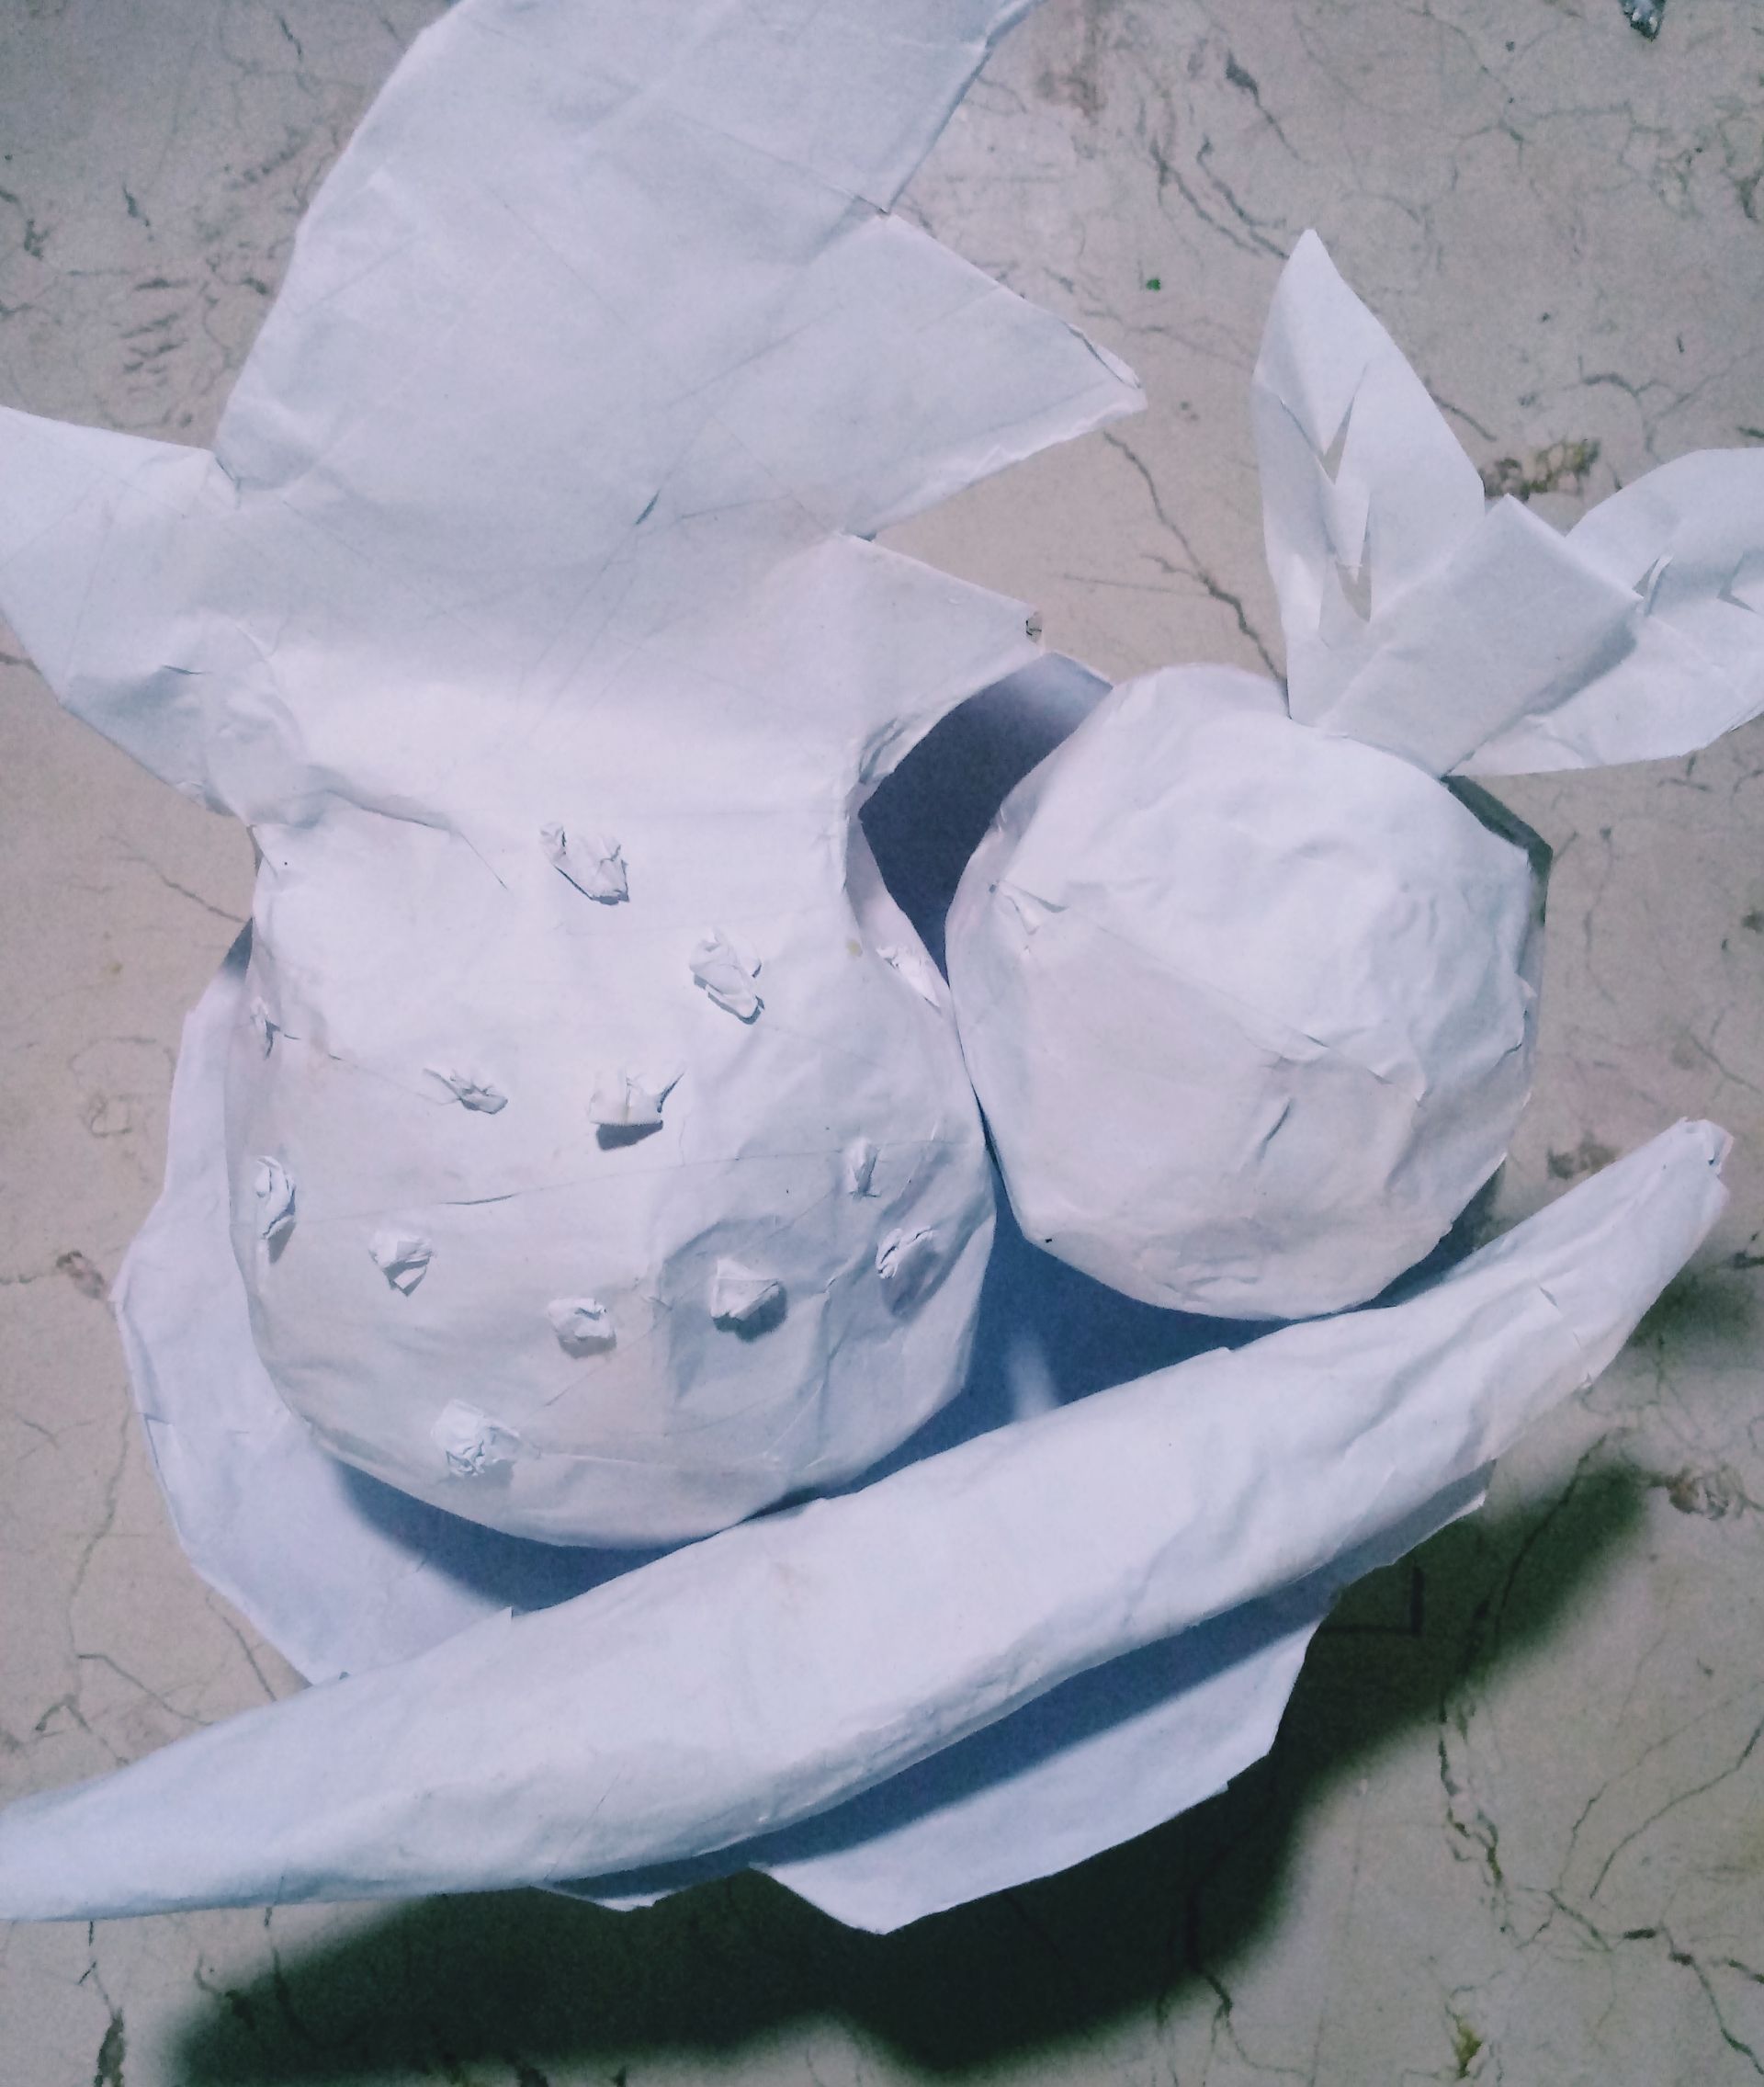
Decirles además, que podemos optar por dejarle el color blanco de nuestro papel a nuestro centro de mesa y frutas, sólo darles barniz para su finalizado, y el resultado, también será gustoso para los amantes de artesanías de yeso y mármol, pues a la vista se asemejan.
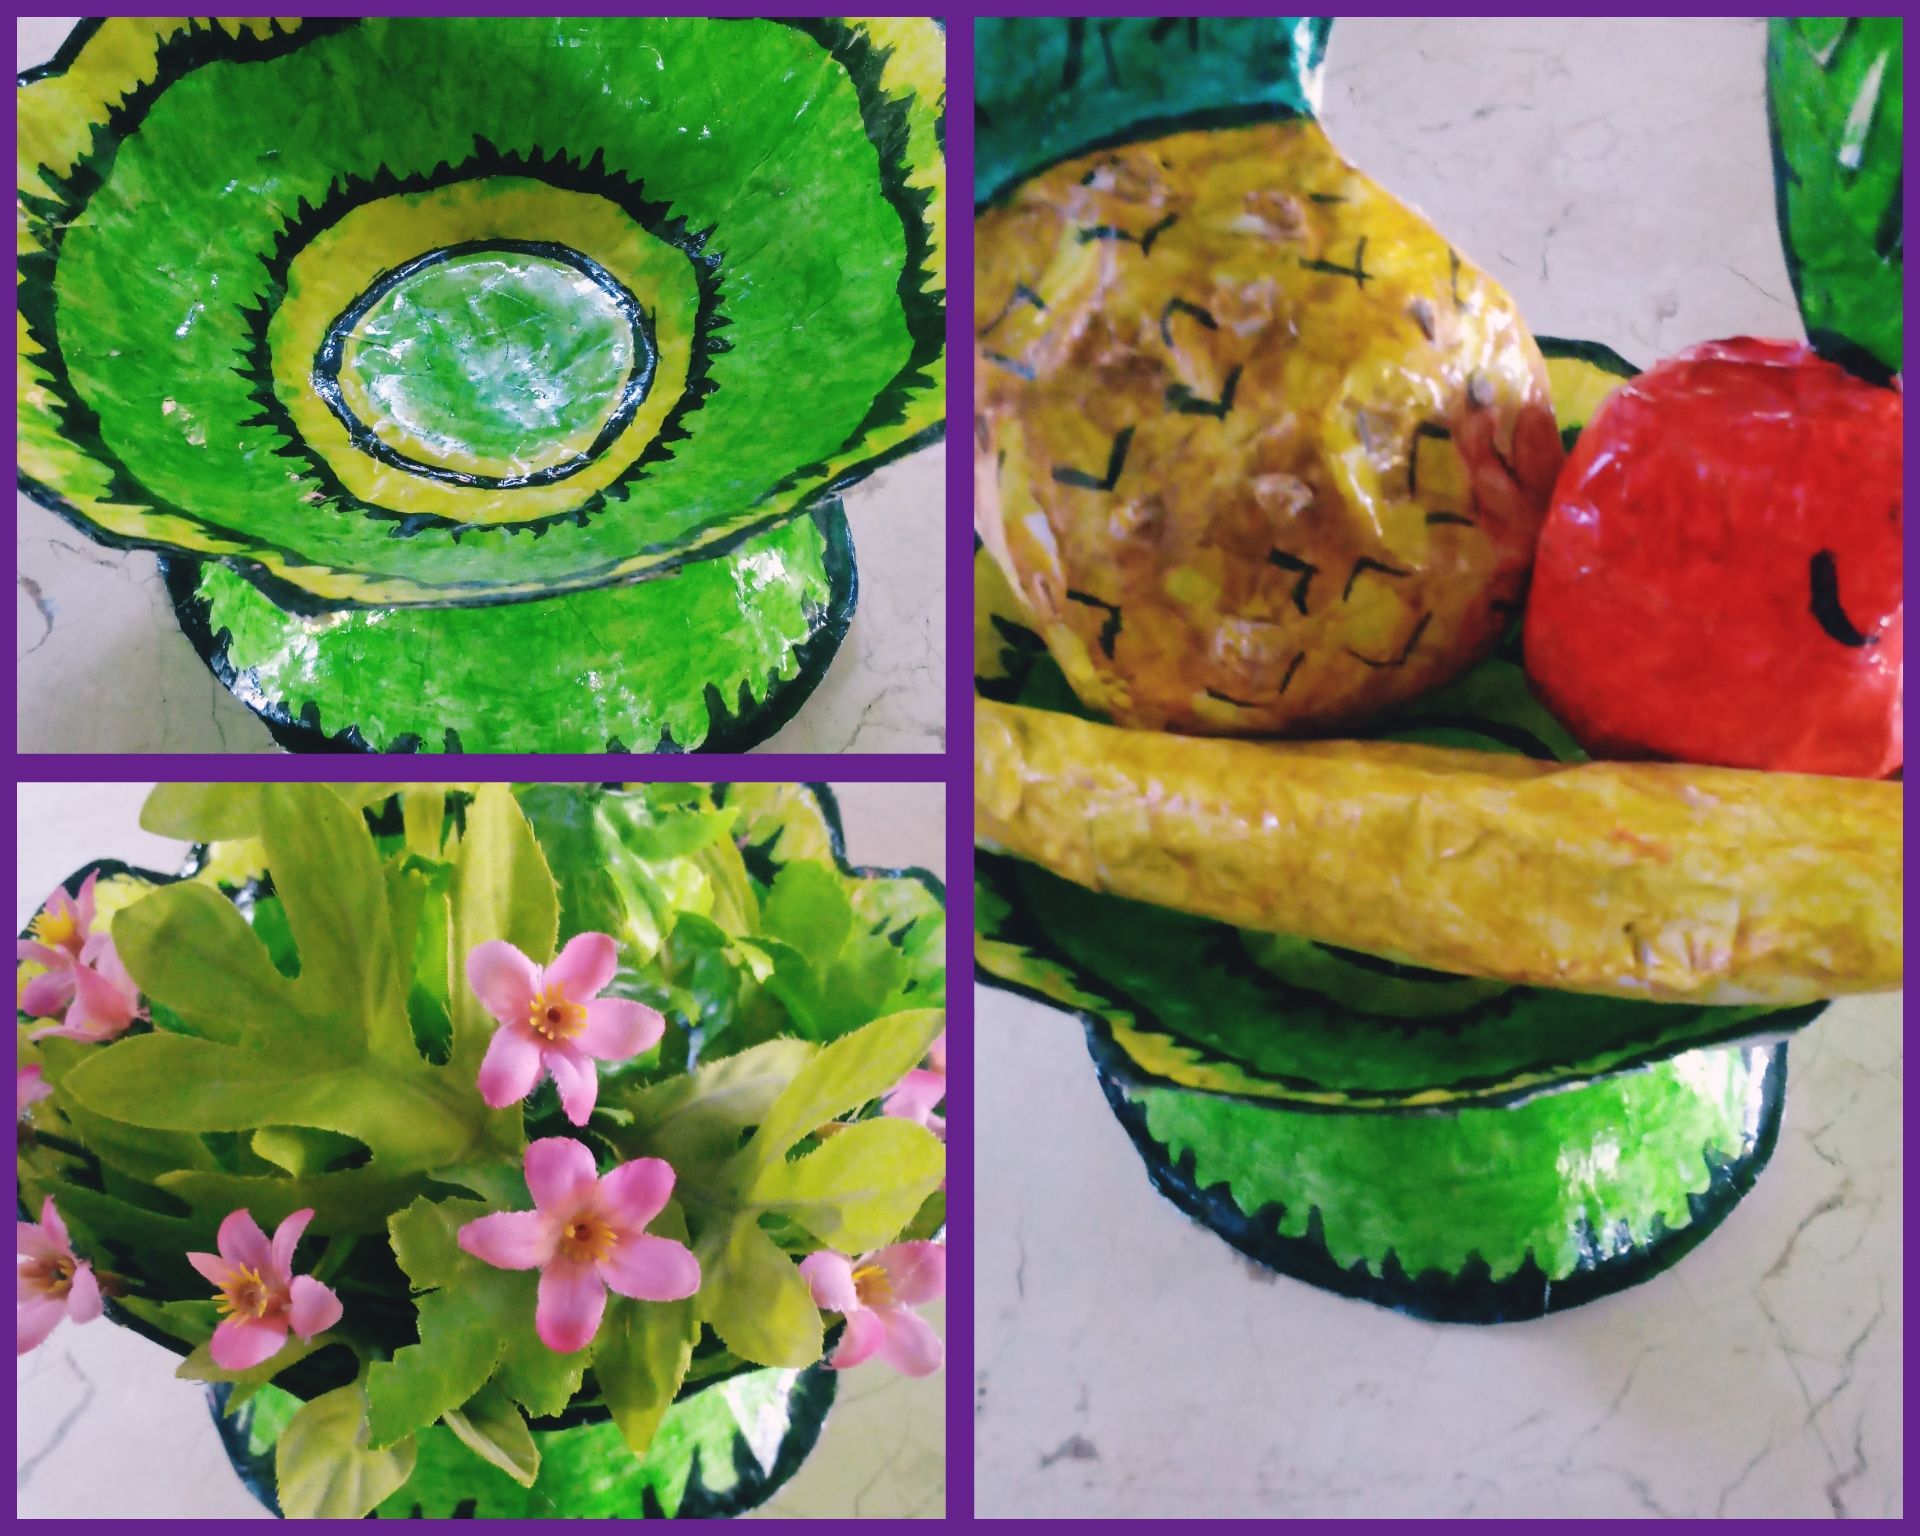
Amigos, espero que les haya gustado la confección de estos decorativos para nuestros hogares. Los exhorto a que disfruten recreándolos a su estilo. Y les deseo excelentes y bendecidos días venideros🙋☀.
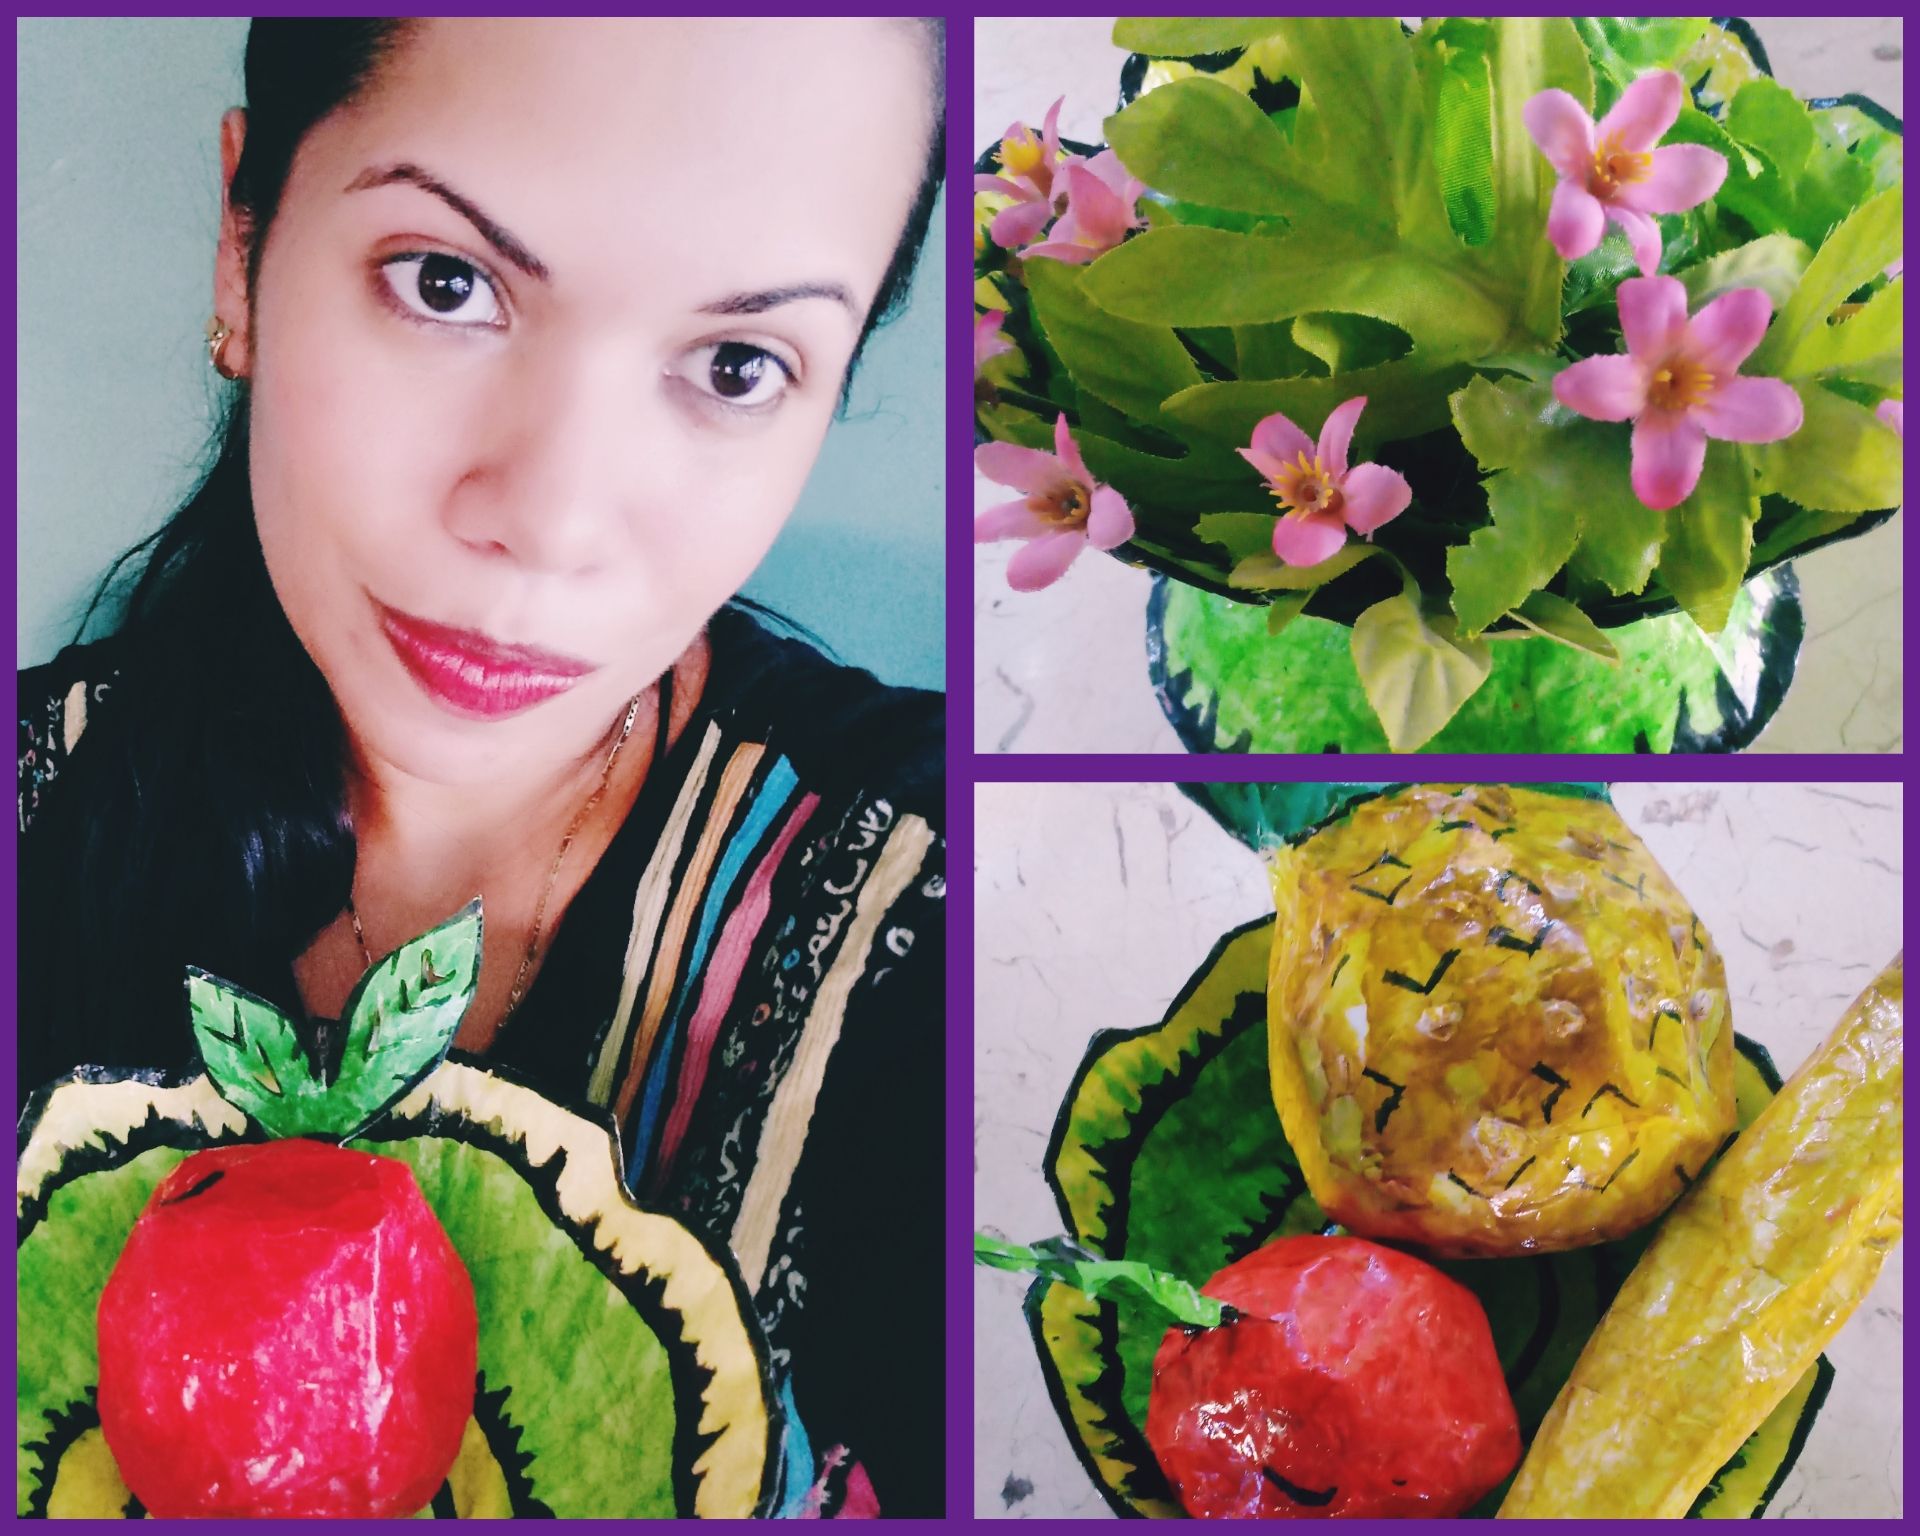
Confecciones y fotografías propias.
English
Greetings community of creators 🙋☀Having our homes decorated in our style, generates such a great well-being, which positively influences our health. Sometimes, we do not have the resources to ambitiate them as we wish, but by bringing out the creative being that we carry inside we can obtain similar results to the ones we love. A few days ago I visited a restaurant and while tasting the delicious Creole flavor, my eyes caught a beautiful centerpiece that decorated and gave a comfortable atmosphere to the place. Immediately, I wanted that feeling so pleasant to the eye to be in my home so getting down to work and relying on the papier mache technique, I made: a personalized floral and fruity centerpiece, which I will share with you friends, in the form of a tutorial.
Materials
.Mold: Medium ondo plate
.Cotton
.Oil
.Varied role
.White paper strips
.Scissor
.Paste made of flour
.Glue
.Cardboard
.Pencil
.Brush
.Temperas
.Watercolors
Method of making the centerpiece.
1-Take a cotton ball moistened in oil, and impregnate the entire surface of the mold on both sides.
2-With the white strips and the glue made of flour, perform the papier-mâché technique by giving it three turns of wallpaper completely. Let it dry for eight hours.
3-Using the scissors, carefully cut approaching the edge on one of the faces.
4-We disassemble from the mold and with the glue, we join both backgrounds.
5-Give a fourth layer of wallpaper to the complete resulting structure, to generate greater firmness.
Mode of preparation of fruits
Pineapple🍍
1-We squeeze paper and give it an oval shape or the desired one for the body of the pineapple.
2-Wallpaper giving it three layers with the white strips and the glue made of flour to the oval body.
3-Mark on the cardstock with the pencil the desired shape of your wreath.
4-Cut the crown following the marked path.
5-Using the glue to join crown and body.
6-Completely wallpaper with the papier-mâché technique providing hardness.
Banana🍌
1-Squeeze paper into an elongated shape resembling a banana.
2-Take white strips of paper and together with the glue made of flour, wallpaper the structure giving it three layers and eight hours of drying.
Apple🍎
For the body:
1-Squeeze paper into a round shape.
2- Perform the papier-mâché technique by wallpapering the entire round structure with three layers. Leave to dry for eight hours.
For leaves and stem:
1-Mark on a cardboard with a pencil the desired shape of our leaves and stem.
2-Using the scissors cut out by the guide marked on the cardboard.
3-Join with the glue leaves and stem to the cuepo of our apple.
Having our fruits and centerpieces ready, we went on to paint to our liking with tempera and watercolors.I decided to use the colors green and yellow, which I consider colors of hope and rebirth.
Tell them in addition, that we can choose to leave the white color of our paper to our centerpiece and fruits, just give them varnish for their finished, and the result, will also be pleasing for lovers of plaster and marble crafts, because at sight they resemble.
Friends, I hope you liked the preparation of these decorations for our homes. I encourage you to enjoy recreating them in your own style. And I wish you excellent and blessed days to come🙋☀.
Own clothing and photographs.