Hello hive
Beautiful morning to you all wishing you better day ahead.
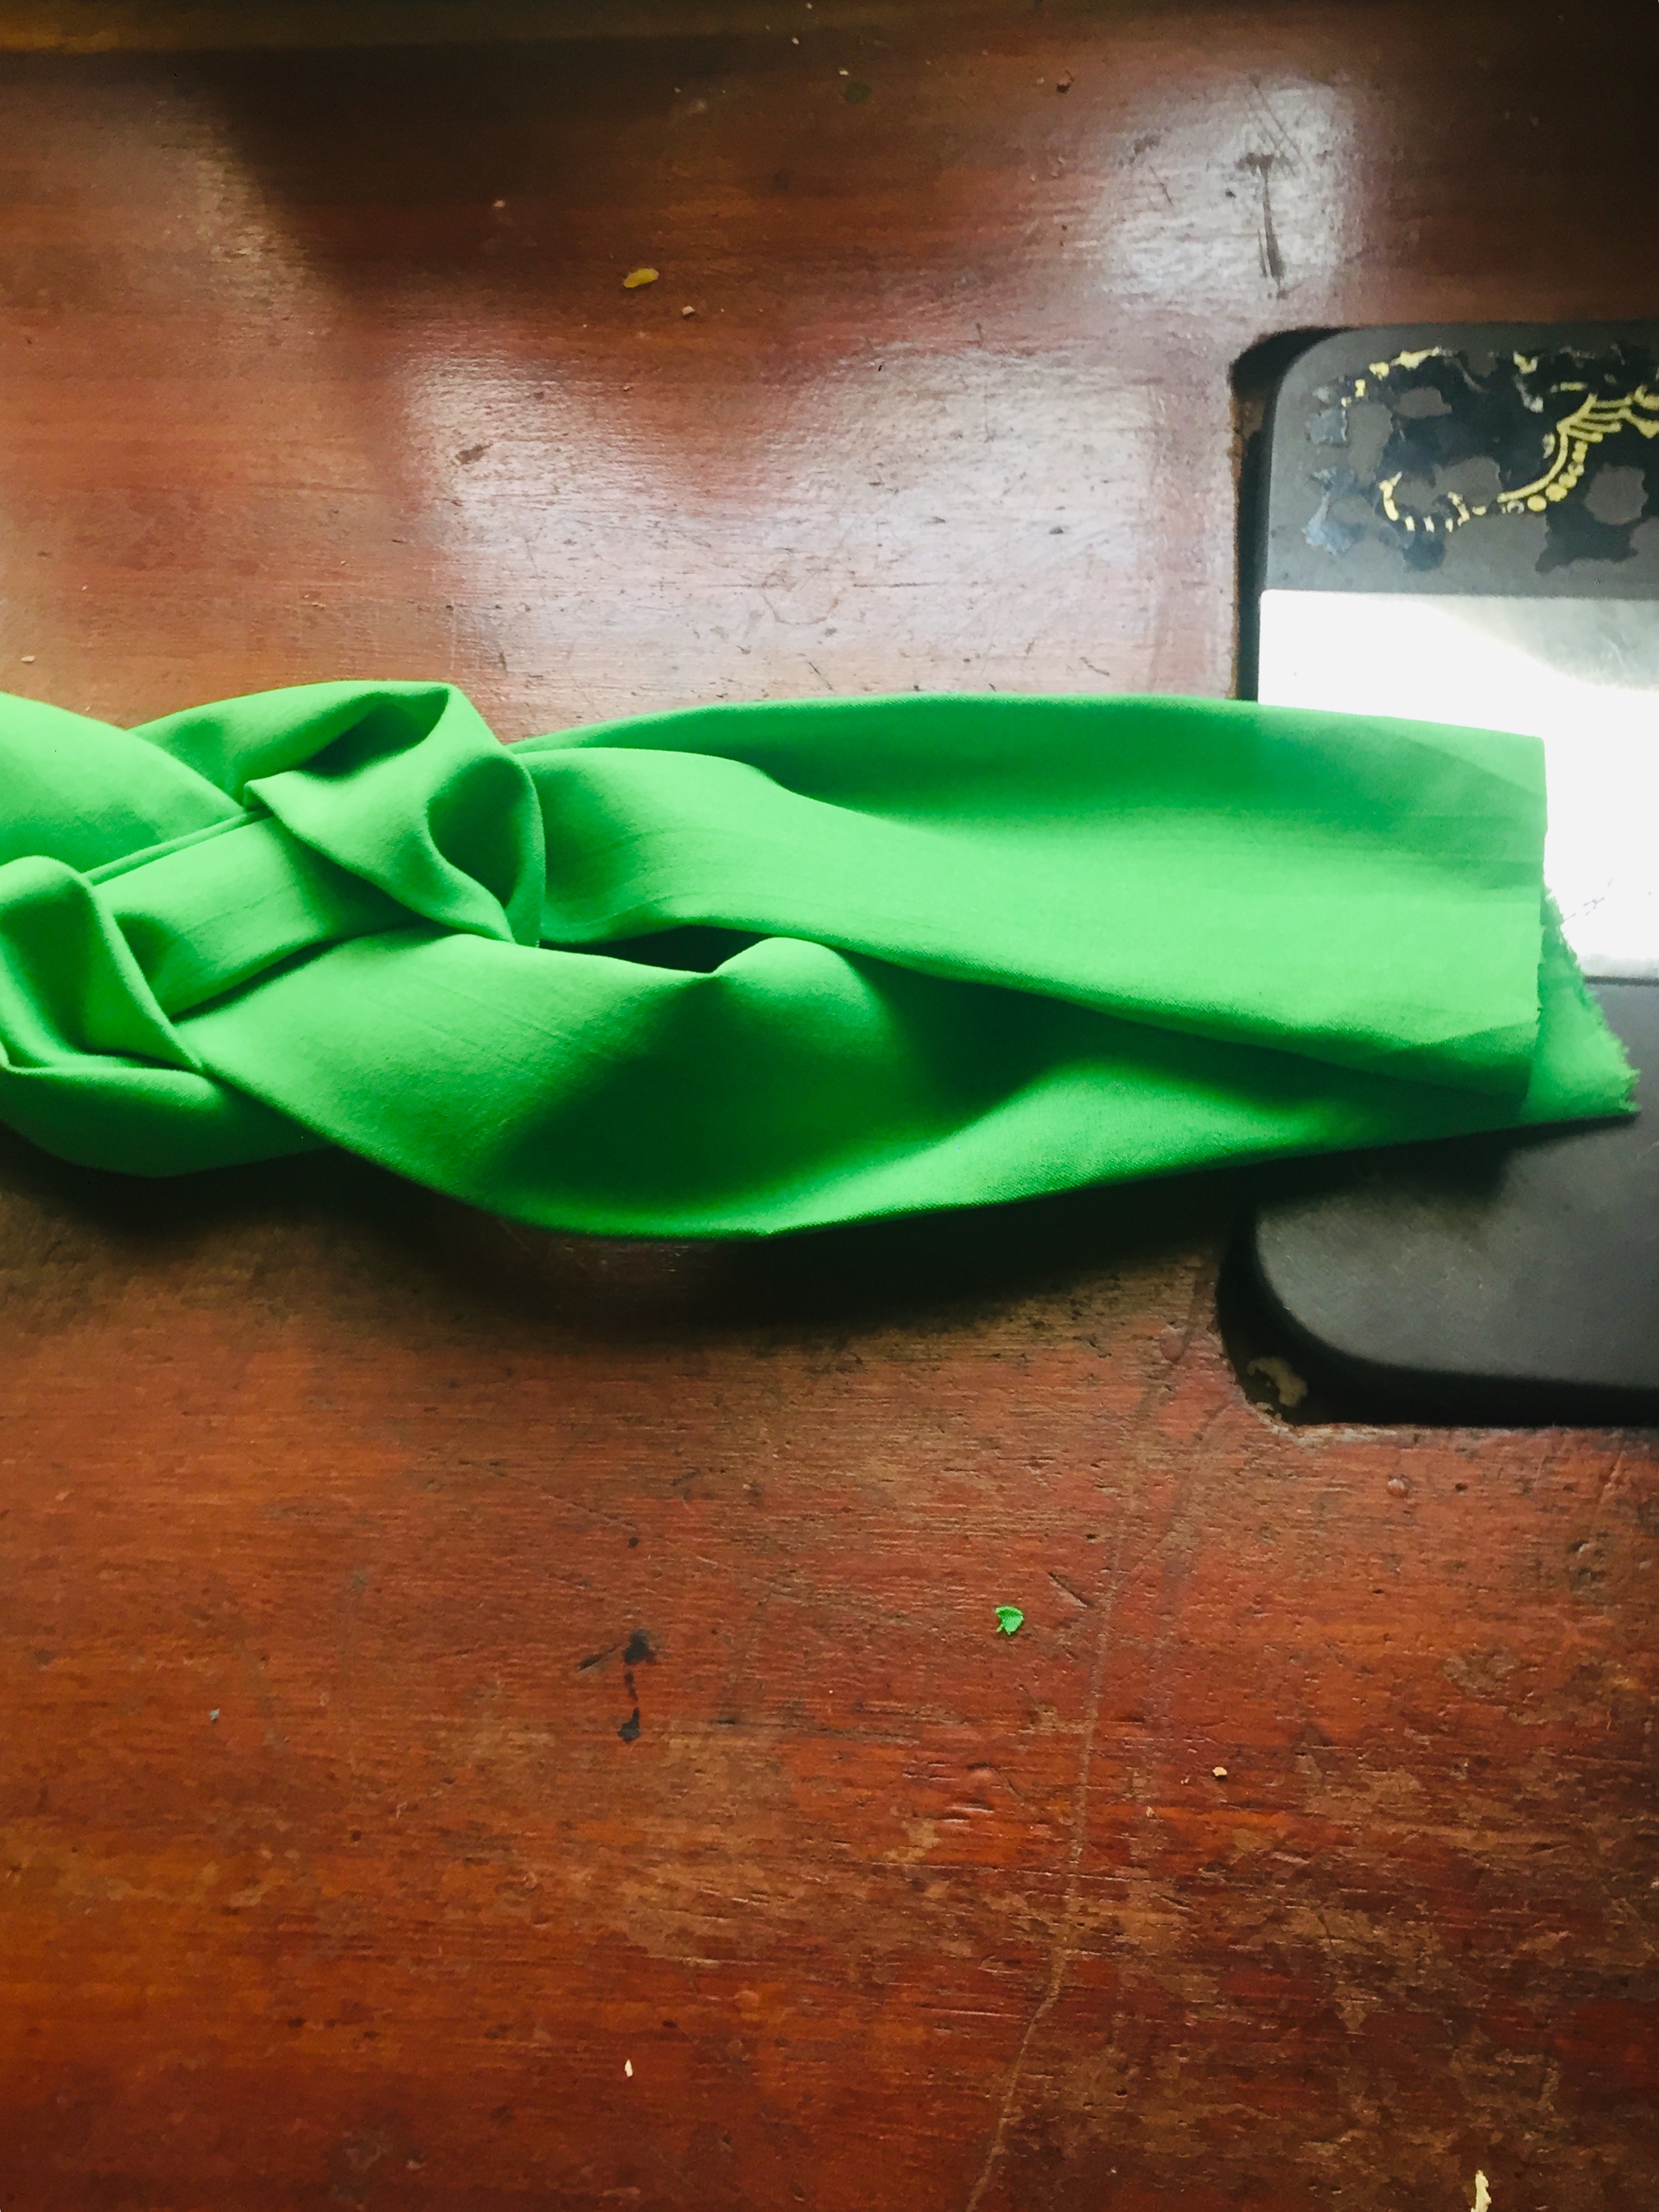
I was thinking of what ideas I can come up with then check through my pieces bag I saw this fabric I use for my trouser, there’s one thing in me I love to keep any remaining fabric i know one day it will useful for me. funny me I still have 2year pieces fabric in my bag I and my lovely twins sister always have this issued at anytime she offer to help me to tidy up when am done cutting she won’t allow me to pick some useful pieces she will always say can you use this one to sew anything not even for one year old baby, yes I understand are perspective we are not in line of business She is a cake baker she don’t know how important that was to me.
Now are days we do patches work and to achieve that we need different fabric to bring out what we really wanted so we cannot be going to the market to buy half yard of material when we have it available then we are good to go.
Creativity is a key to a successful business 👌👌
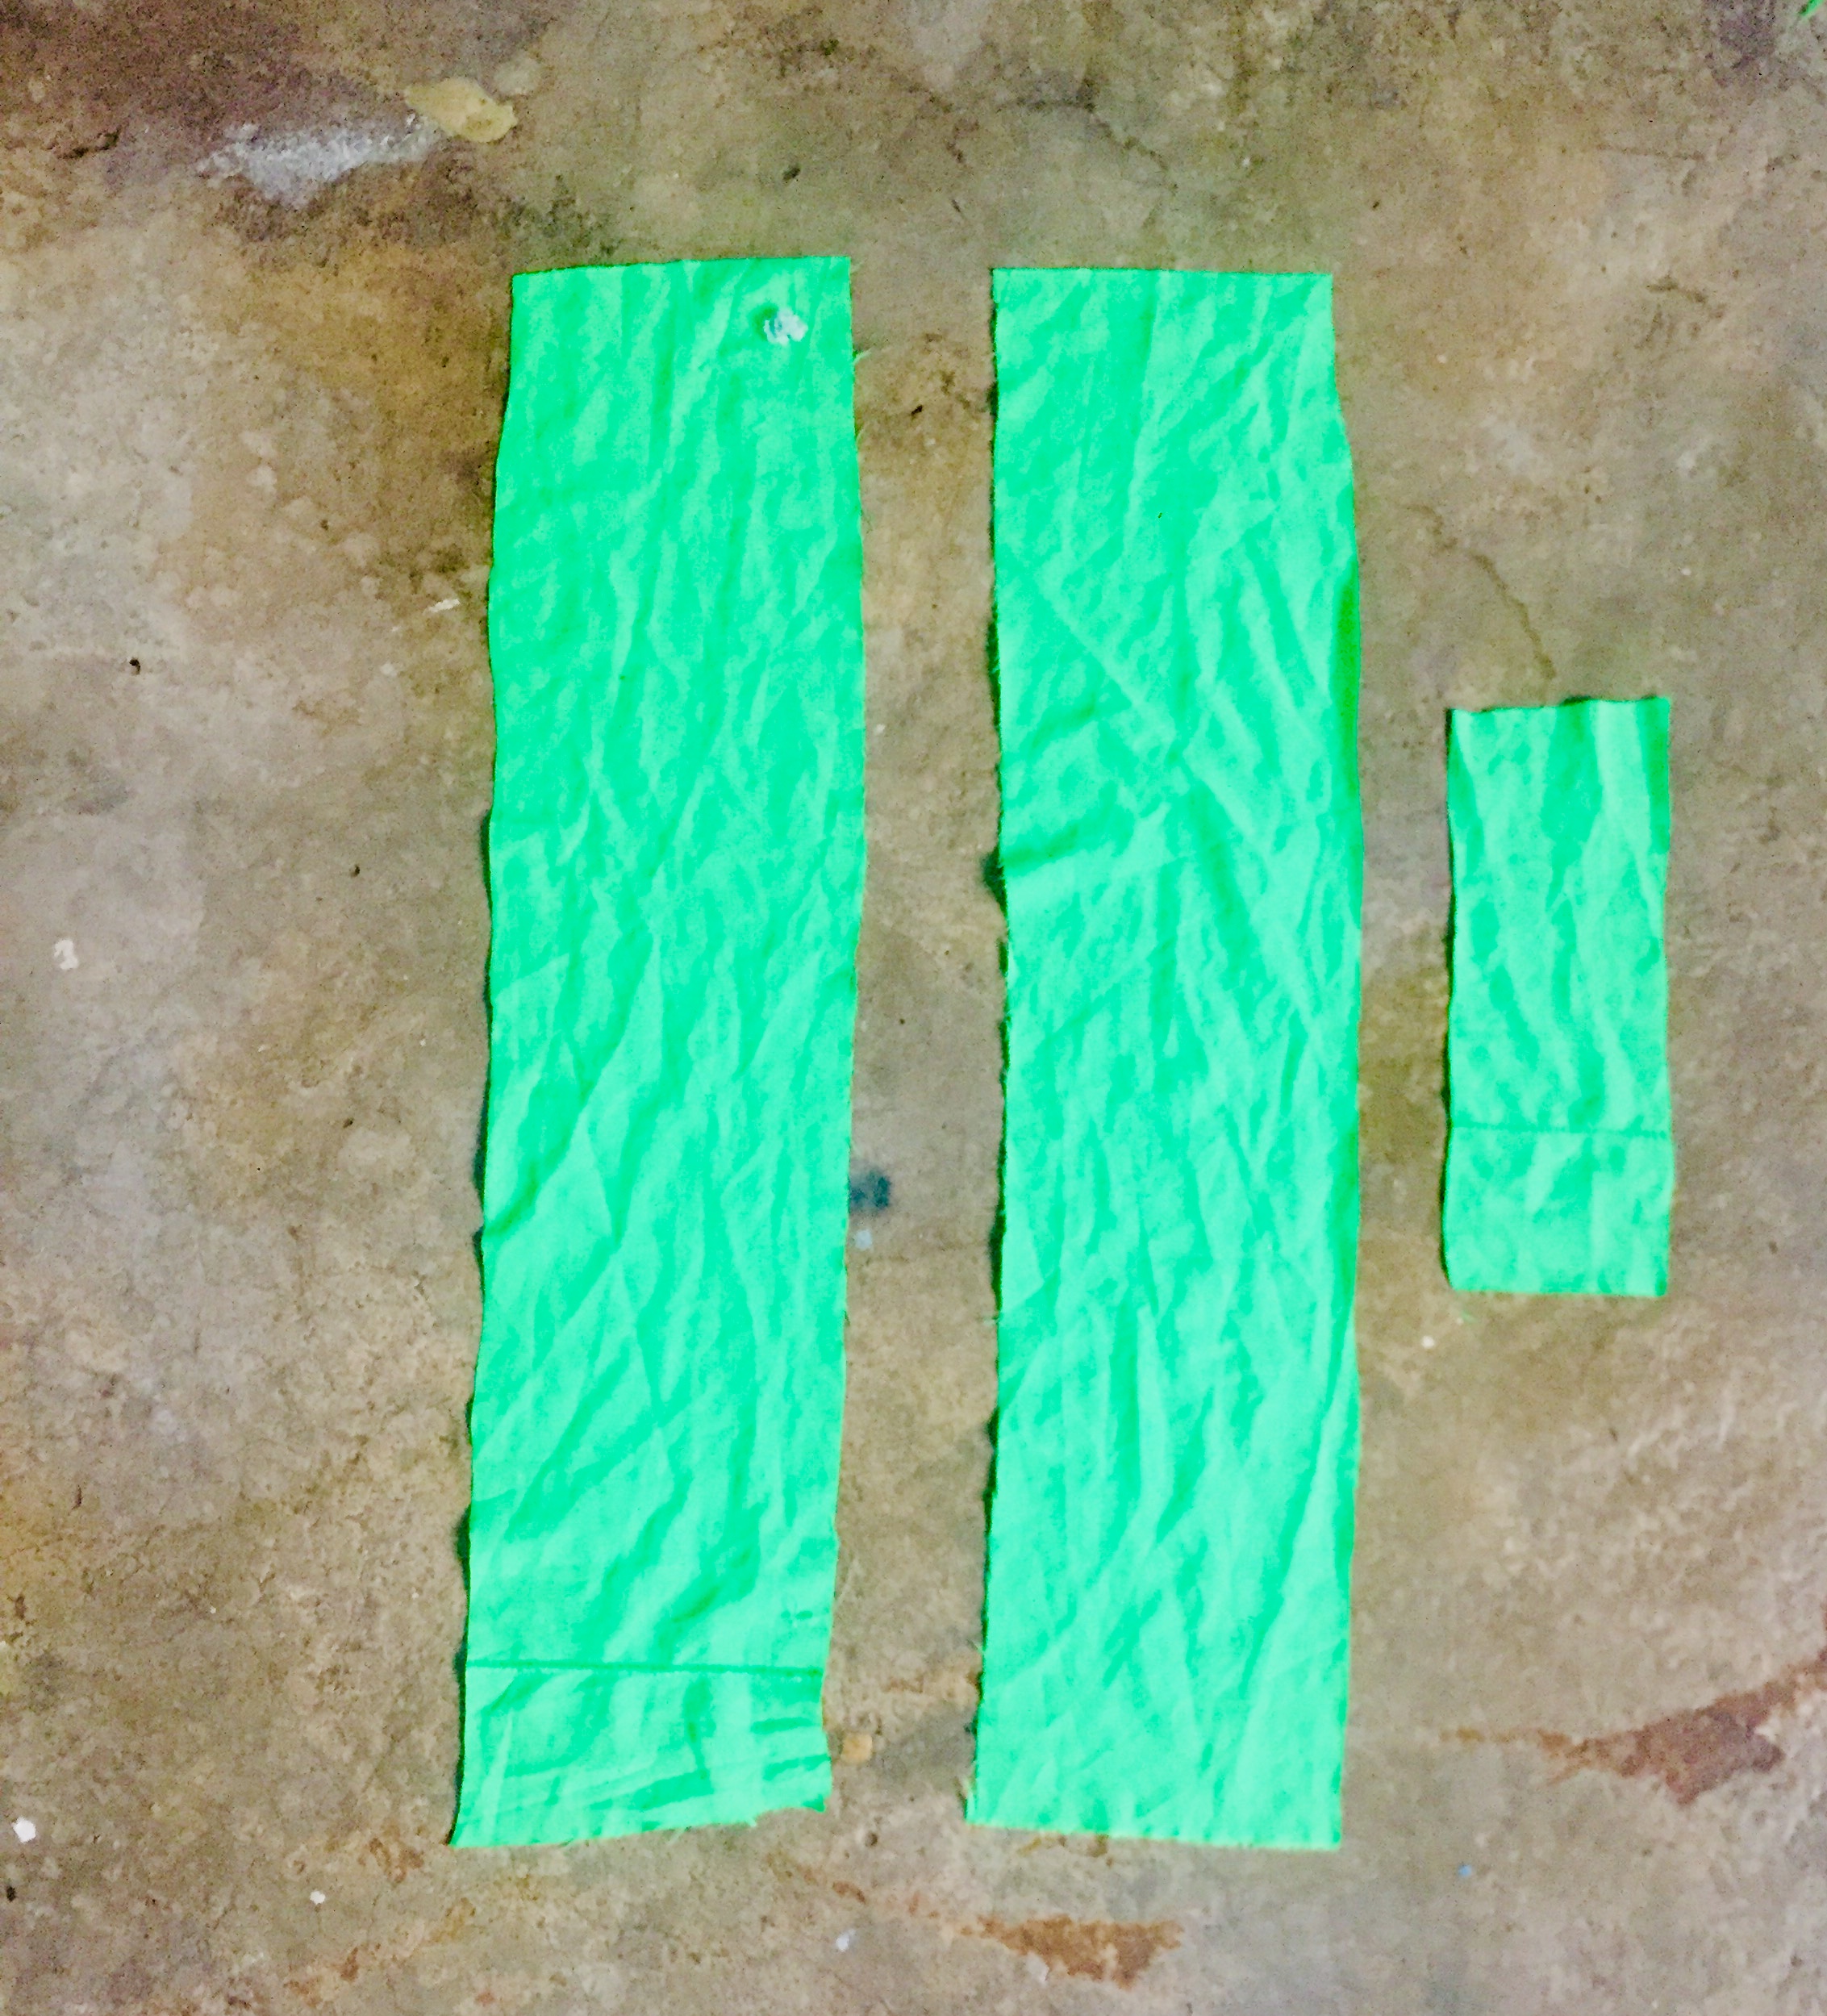
- Three pieces of fabric measuring as follows:
- Two pieces 30inches length and
6inches width. * One smaller piece 9 by 3 * A piece of elastic – I used 1inches width. You’ll need a piece 4inches long.
•Scissors
•A sewing machine – or you could sew by hand a running stitch, but of course that would take longer
•A safety pin – to thread the elastic through
•A ruler, or tape measure
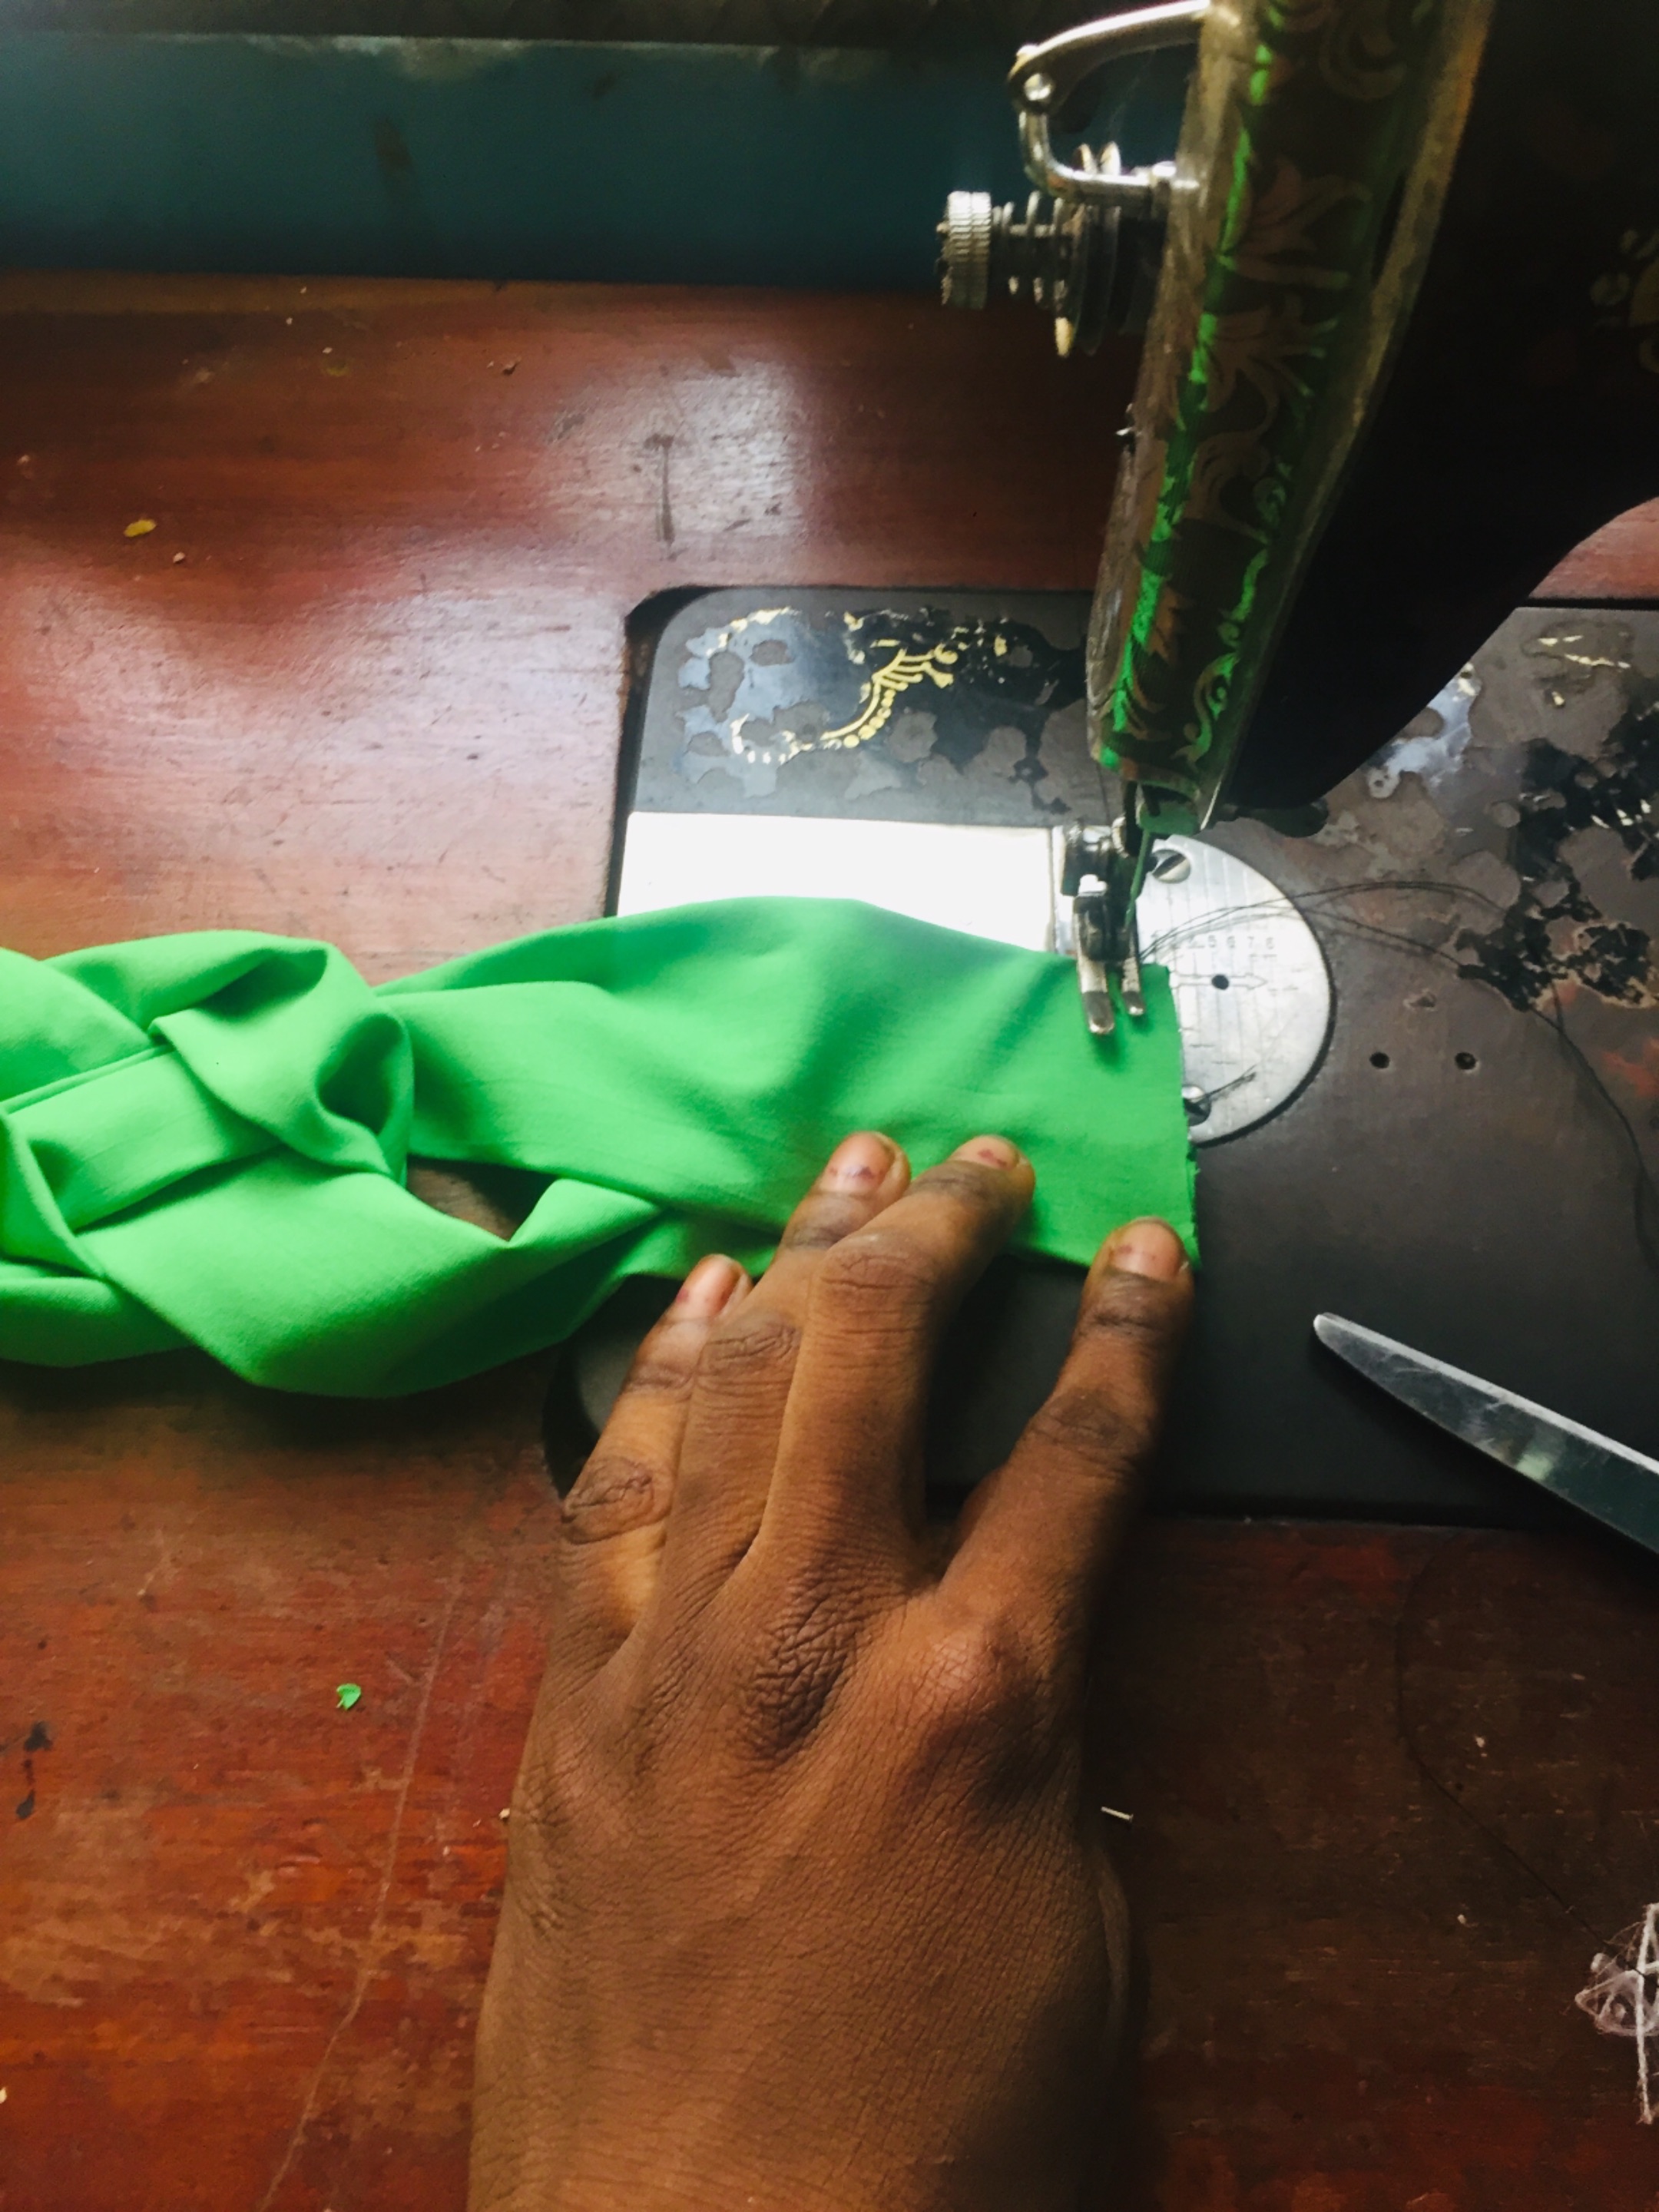
Step 1 – cutting out
First cut out the three pieces of fabric.
Step 2 – the sewing bit
Next you’ll need to fold each piece of fabric along the longer width as shown in the image. Right sides together.
Now sew along the open long edges on all three pieces of fabric, to make three tubes.
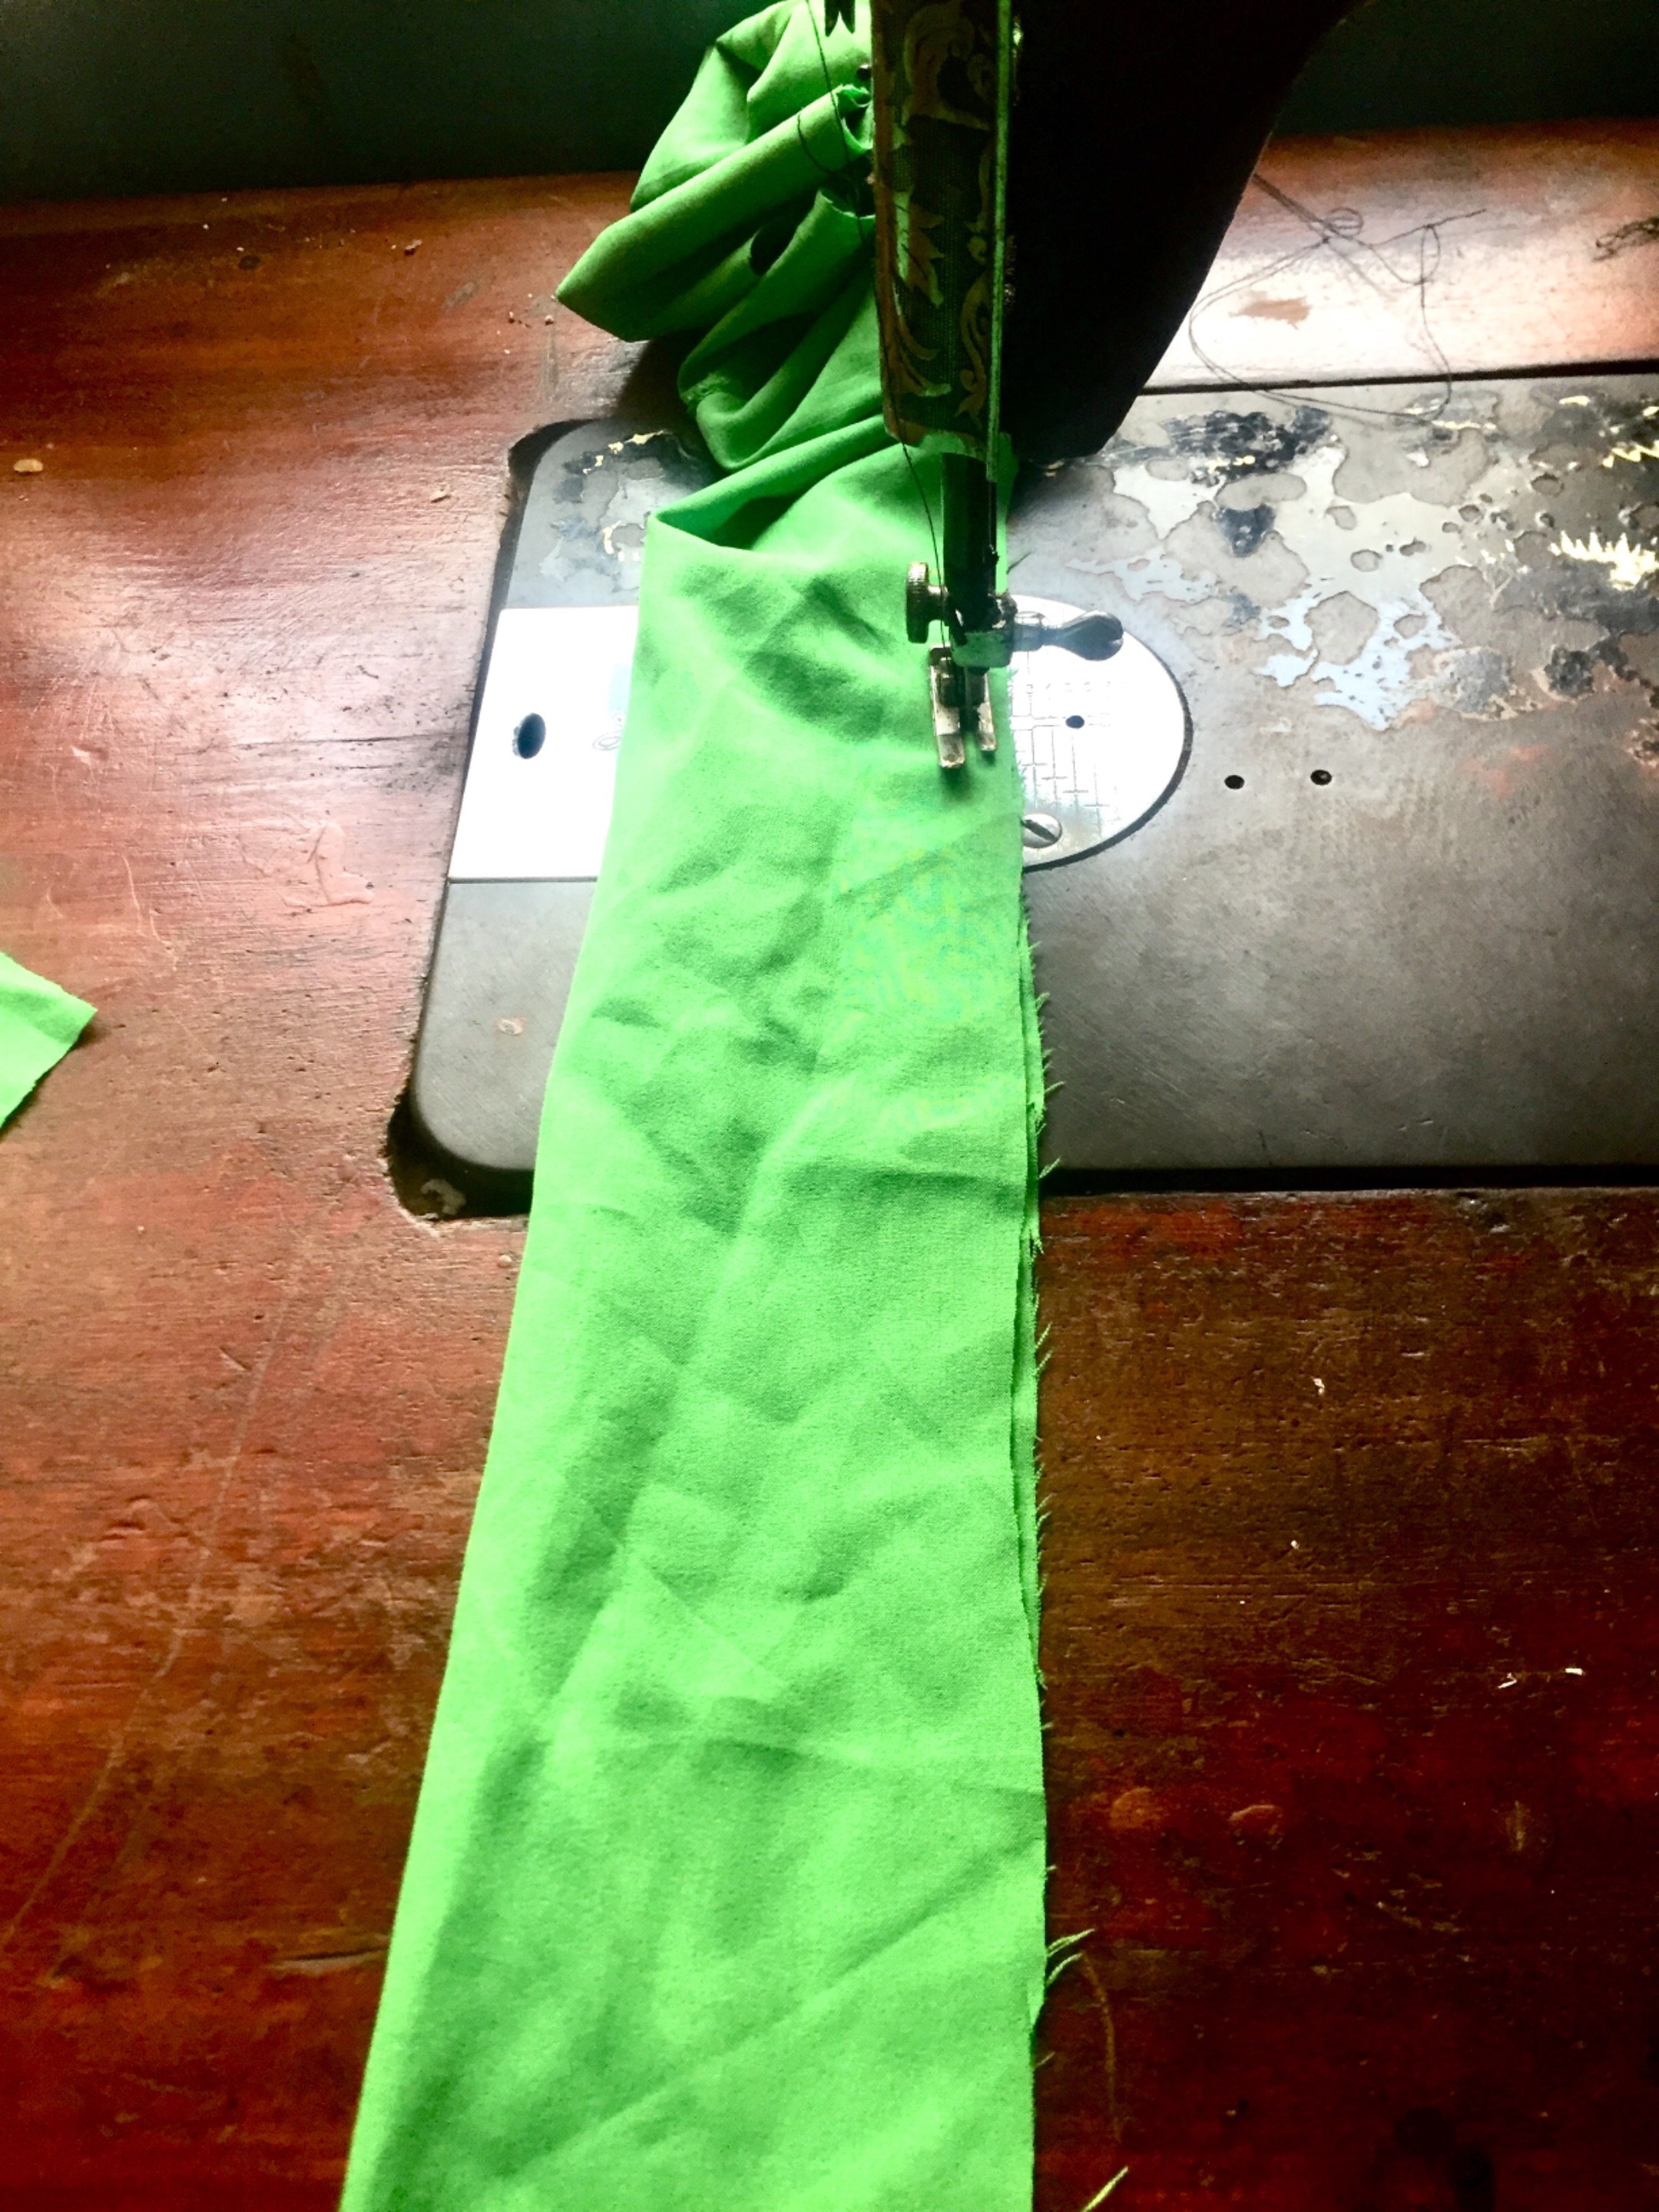
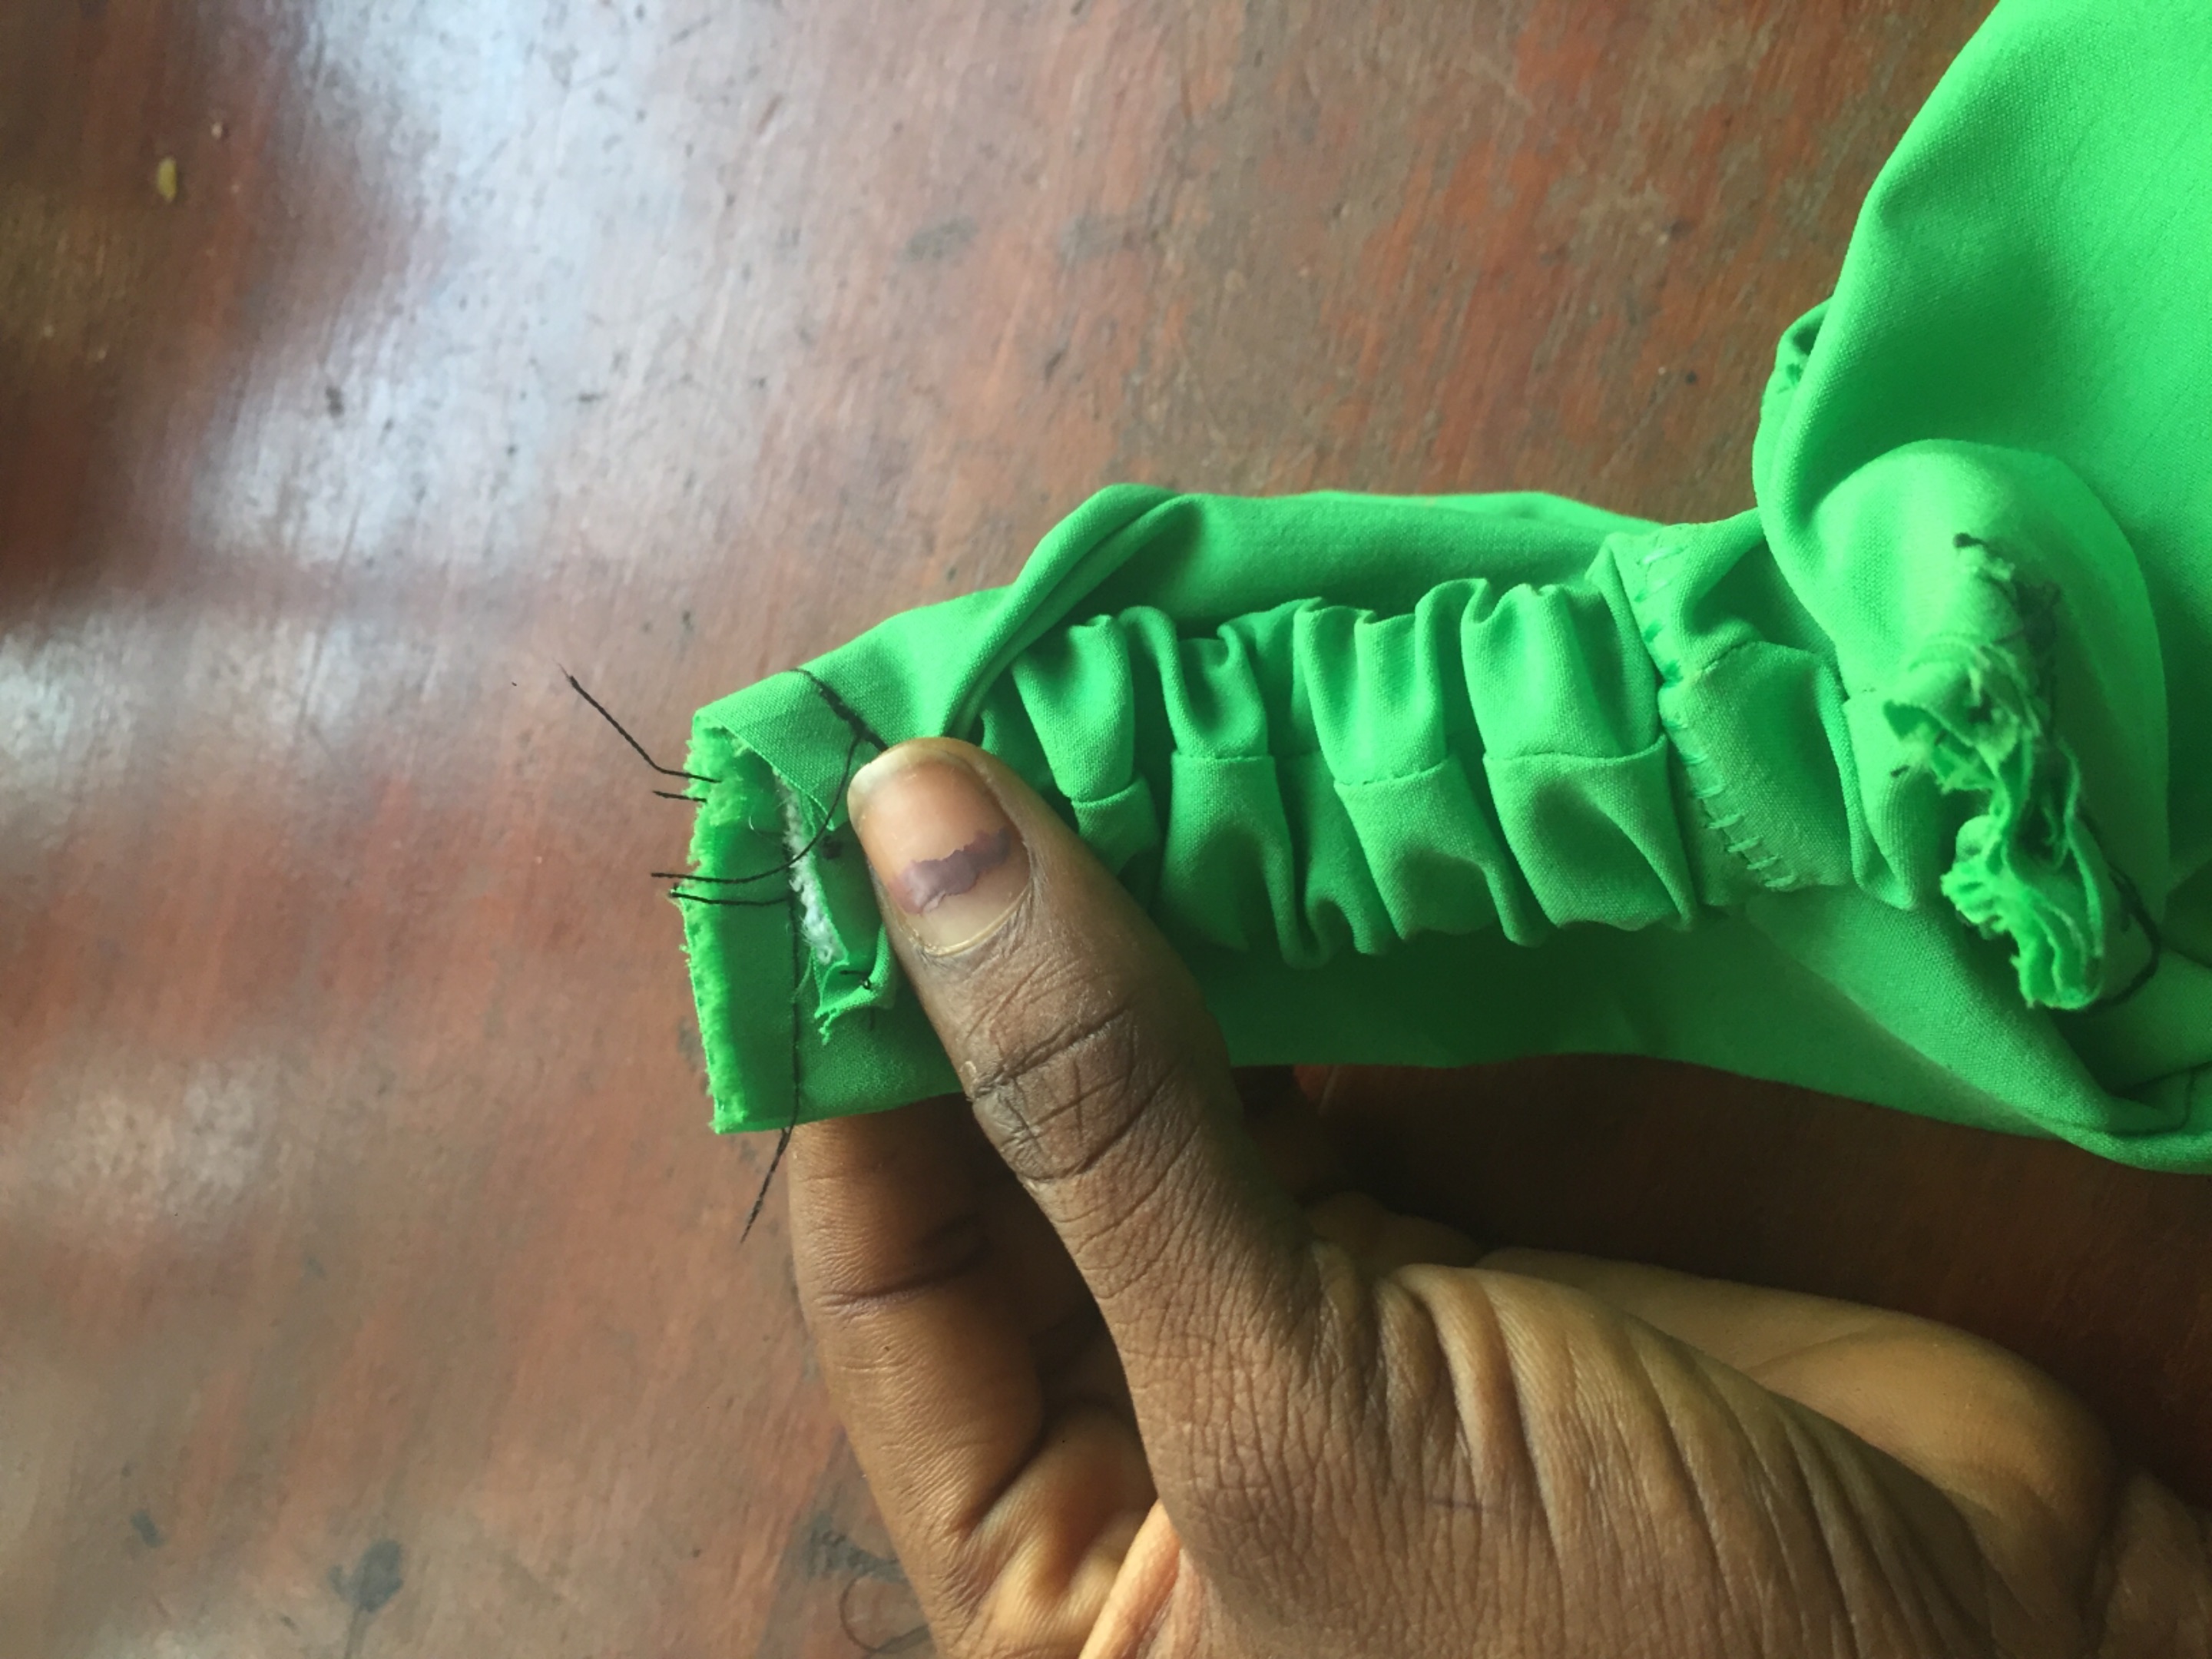
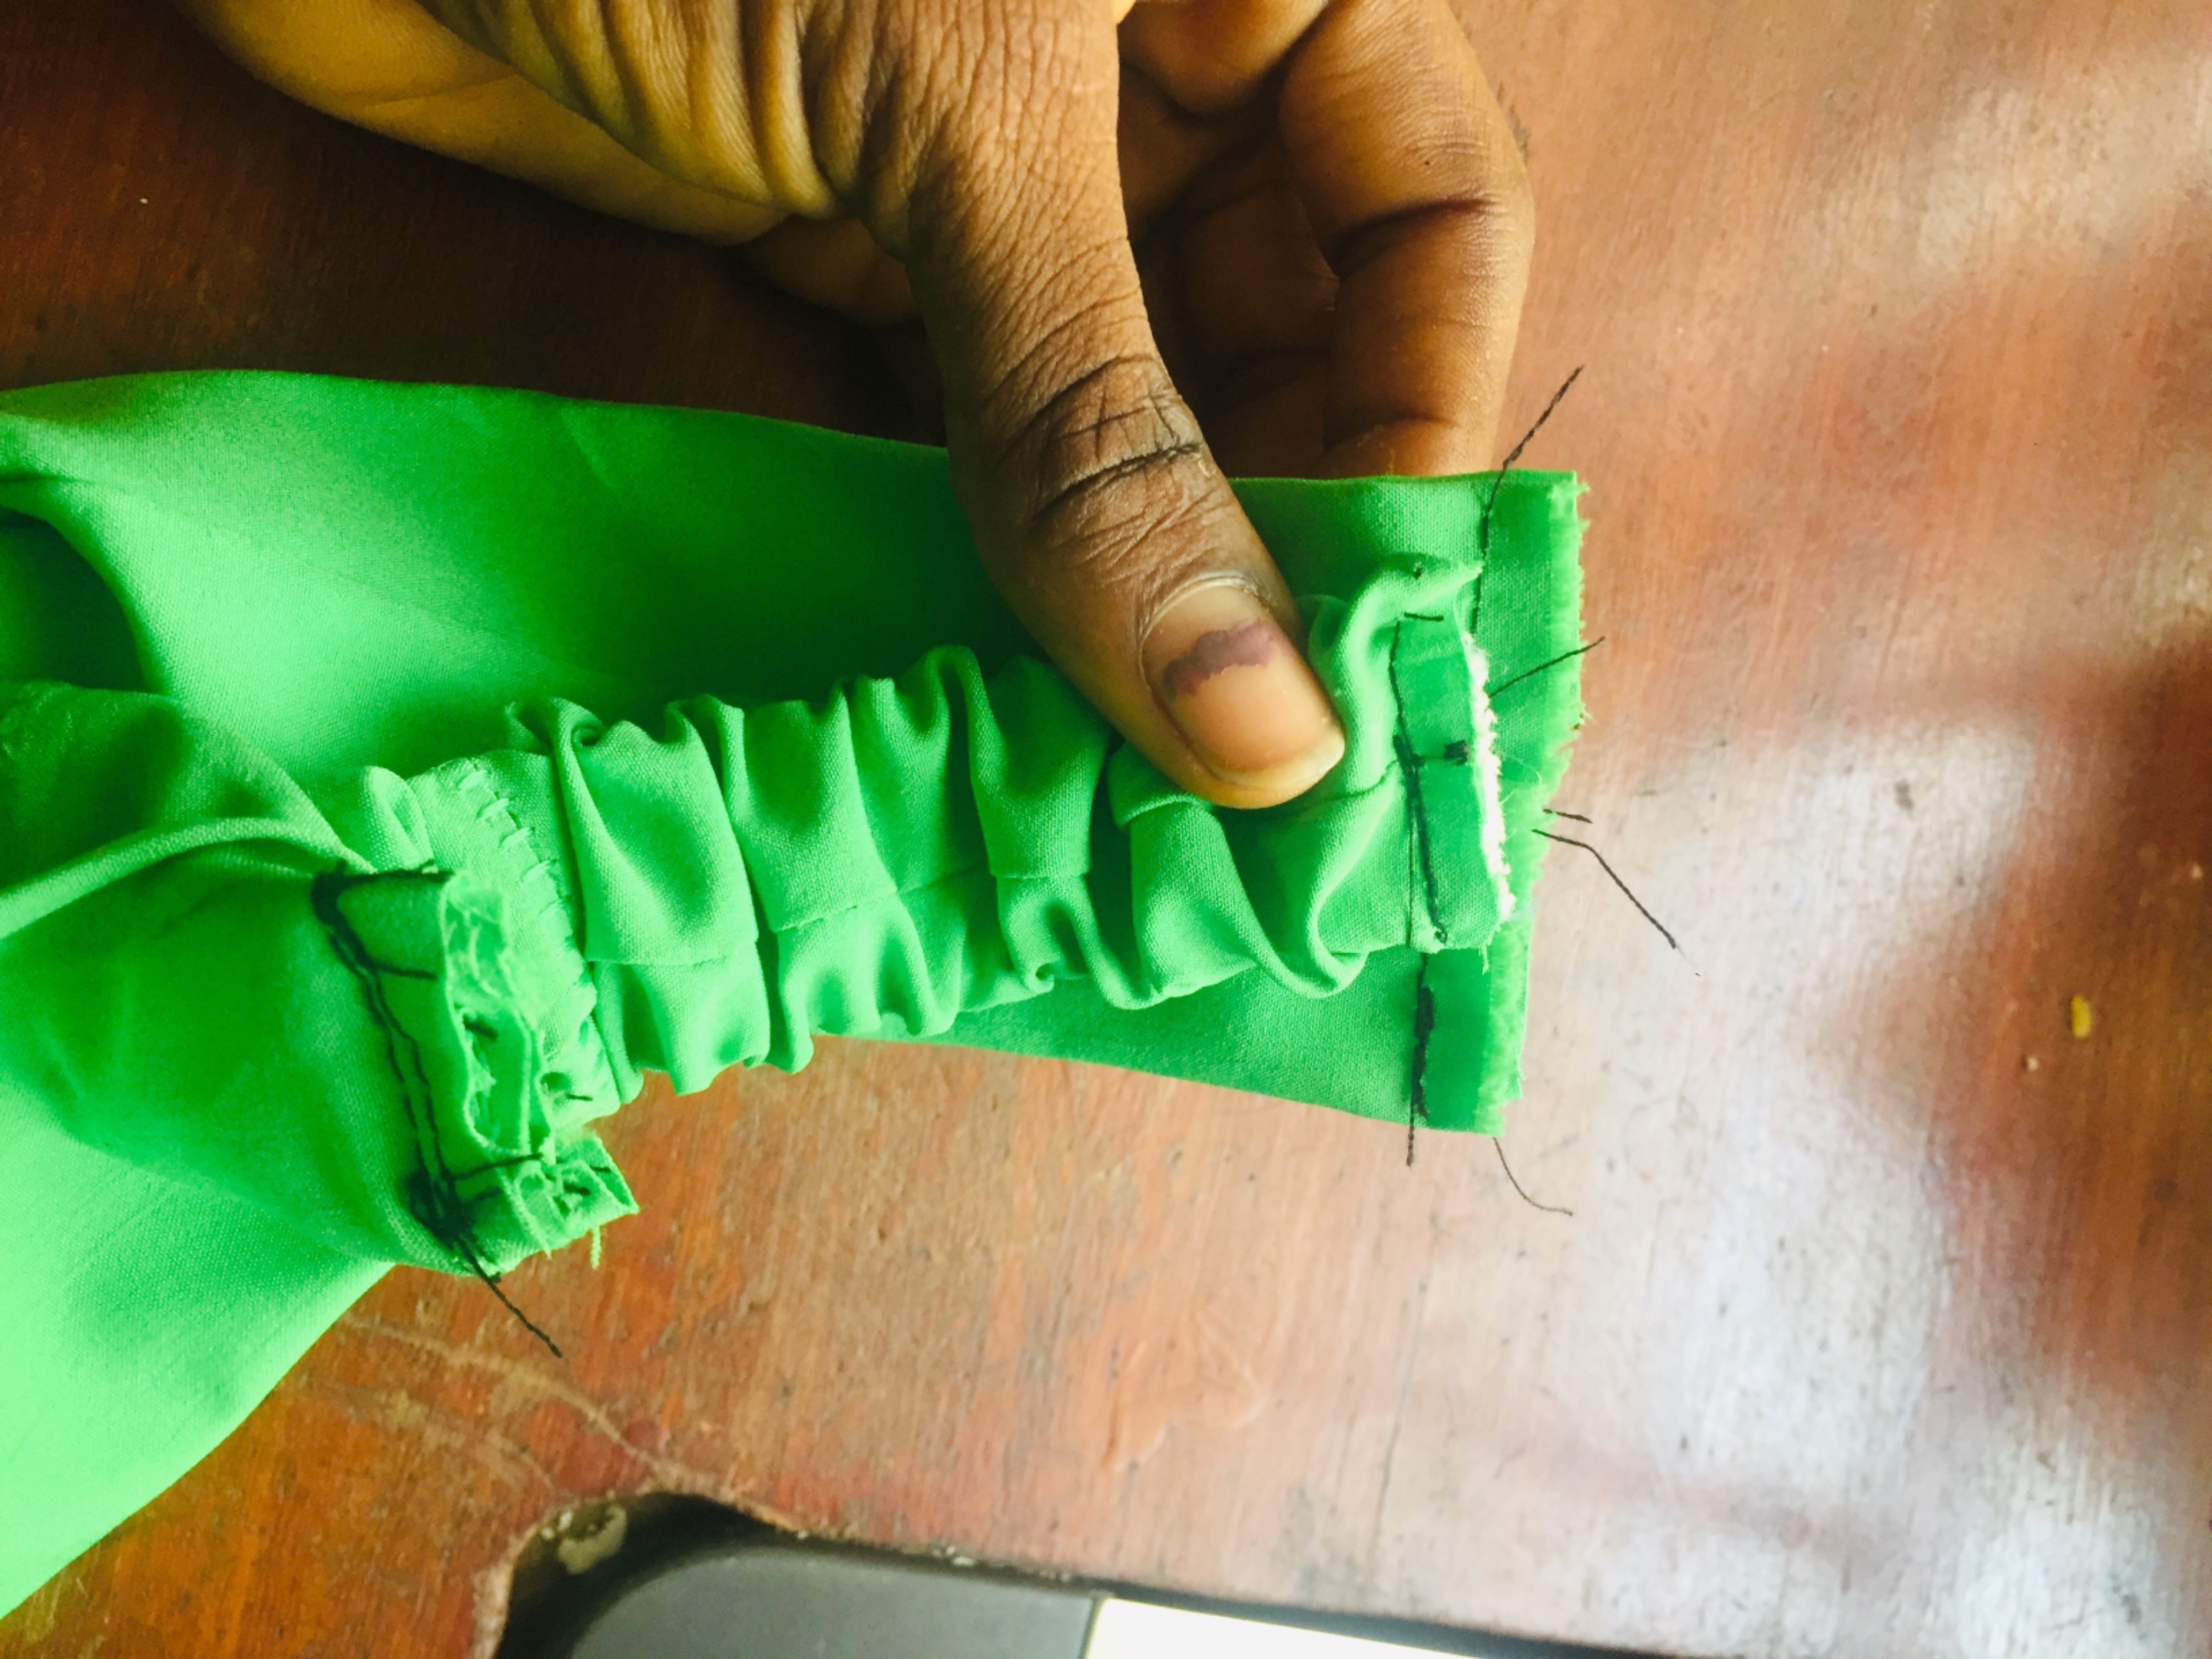
Now turn the tubes right side out, so you end up with three pieces
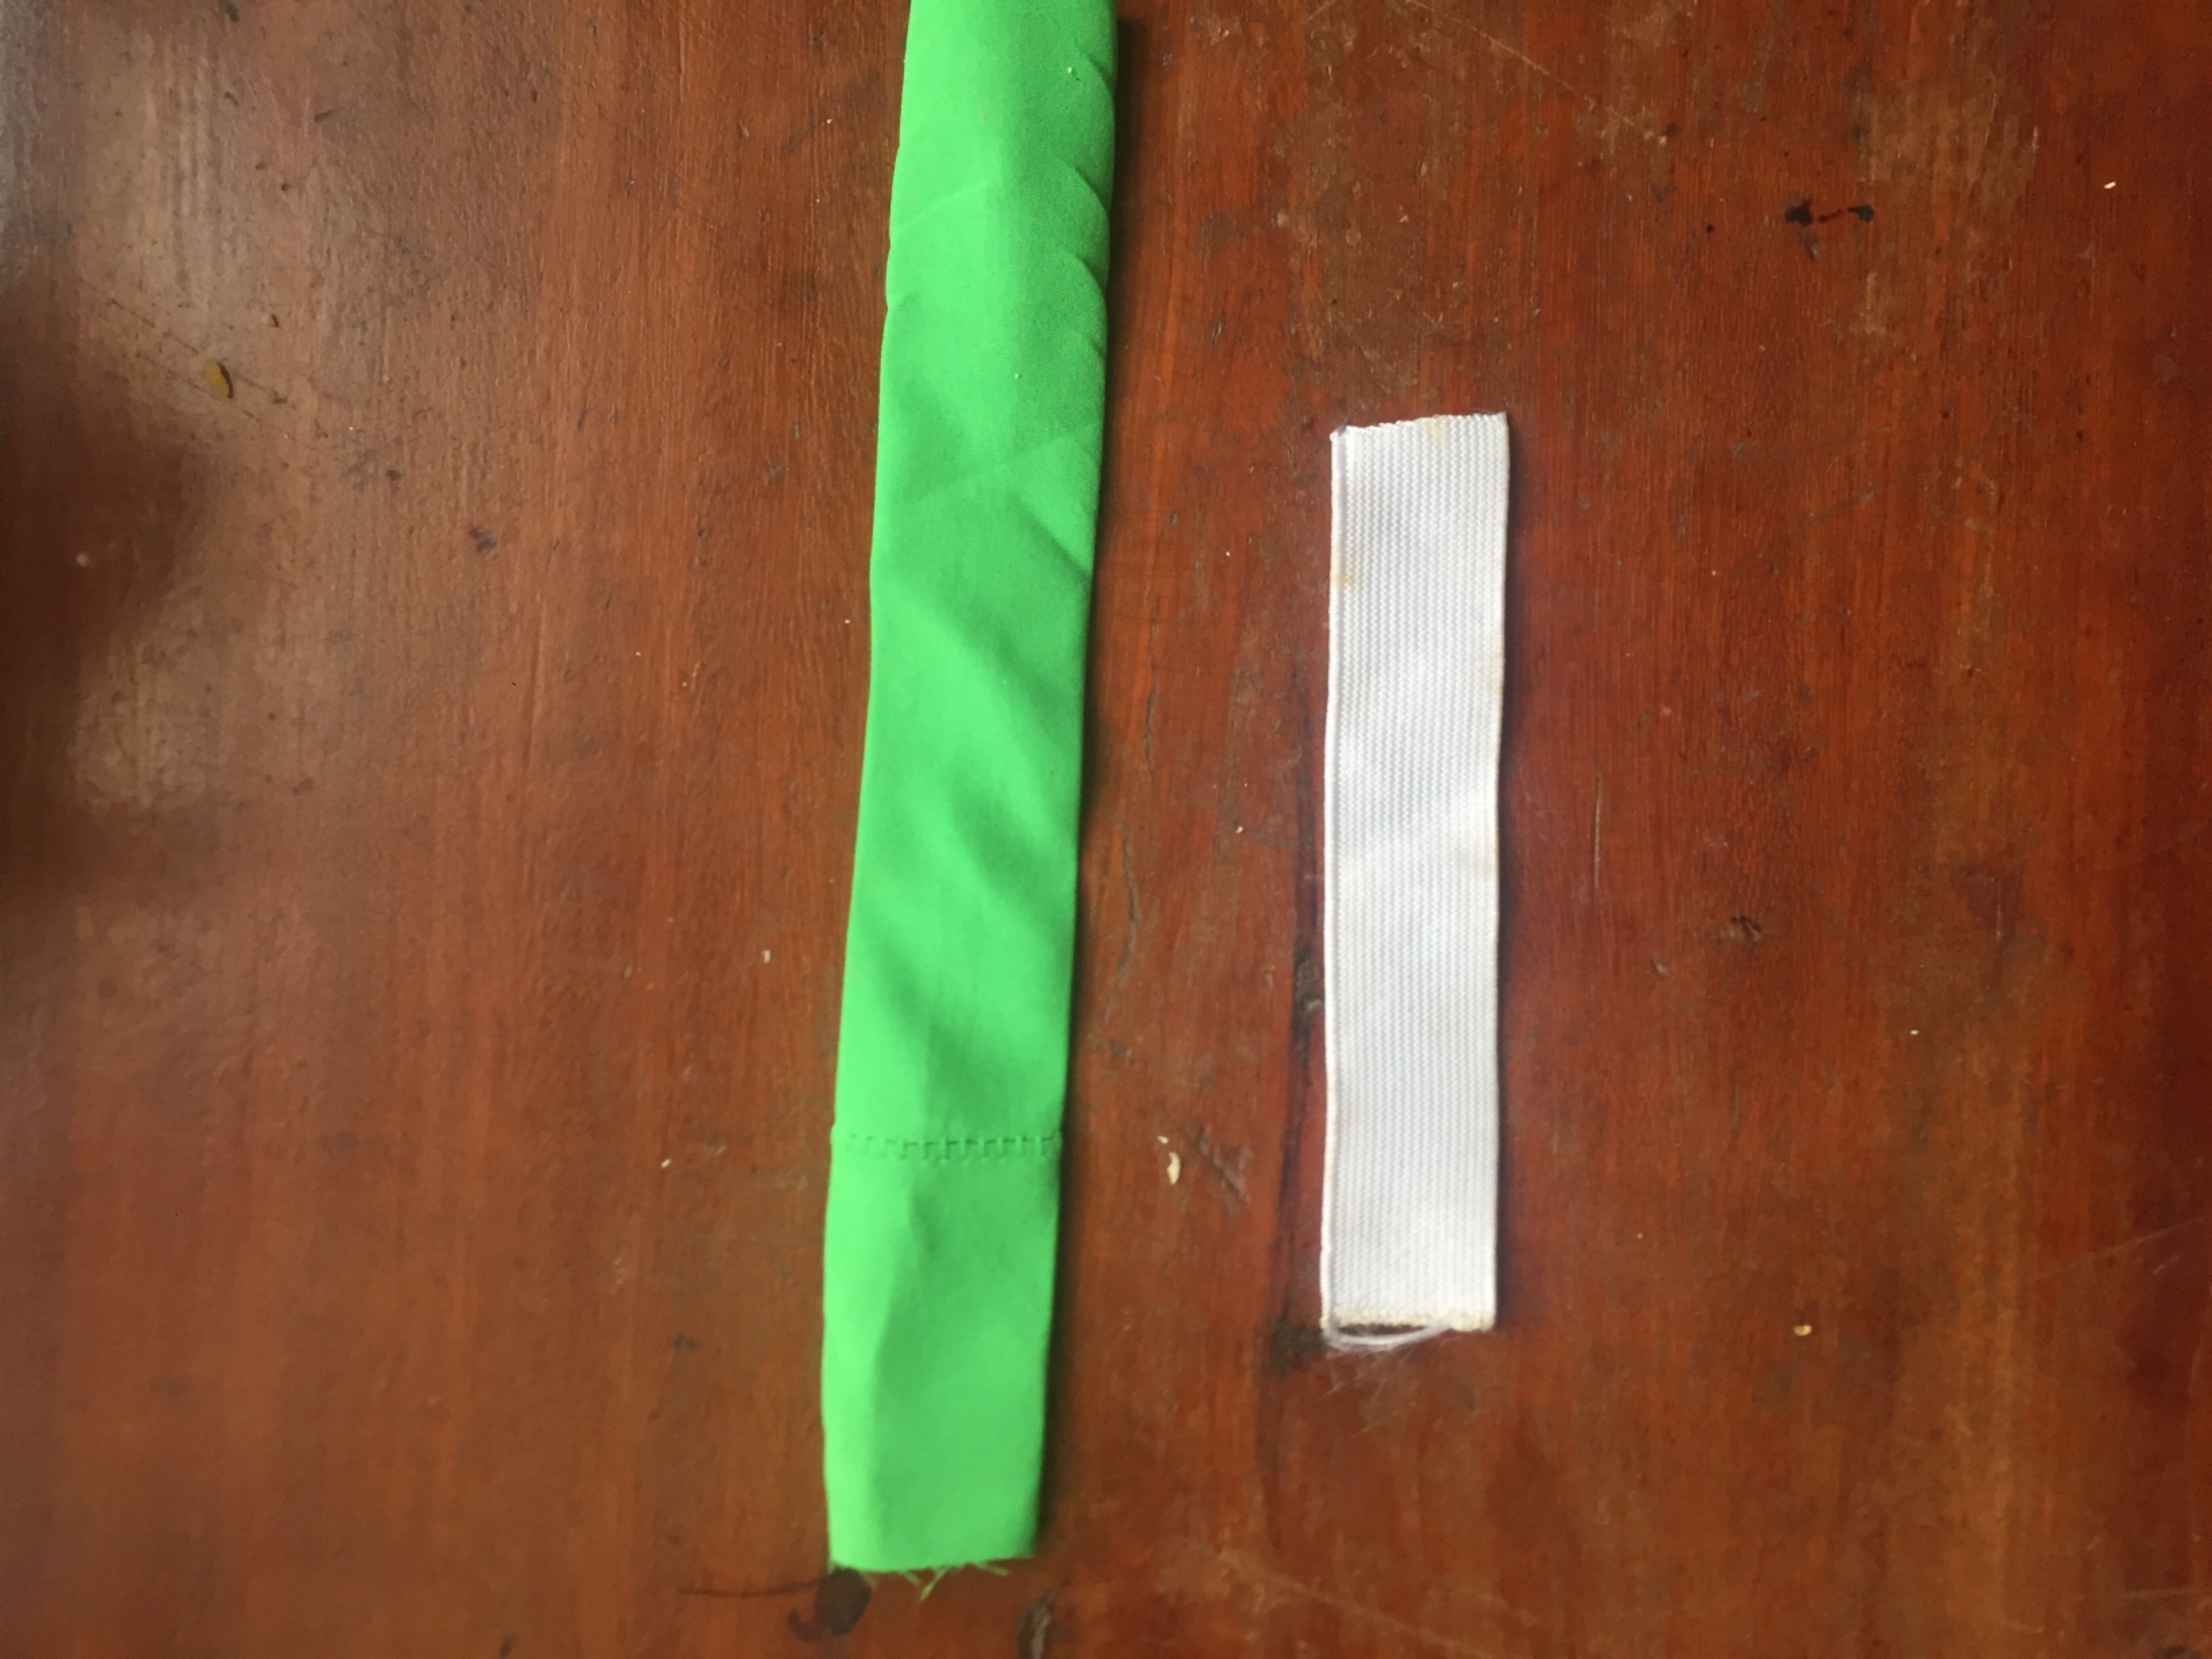
Step 3 – insert the elastic
Now take the smallest ‘tube’ and insert your piece of elastic. You can use a safety pin to help you to do this. Now pin the elastic in place as shown. And now sew to keep the elastic in place.
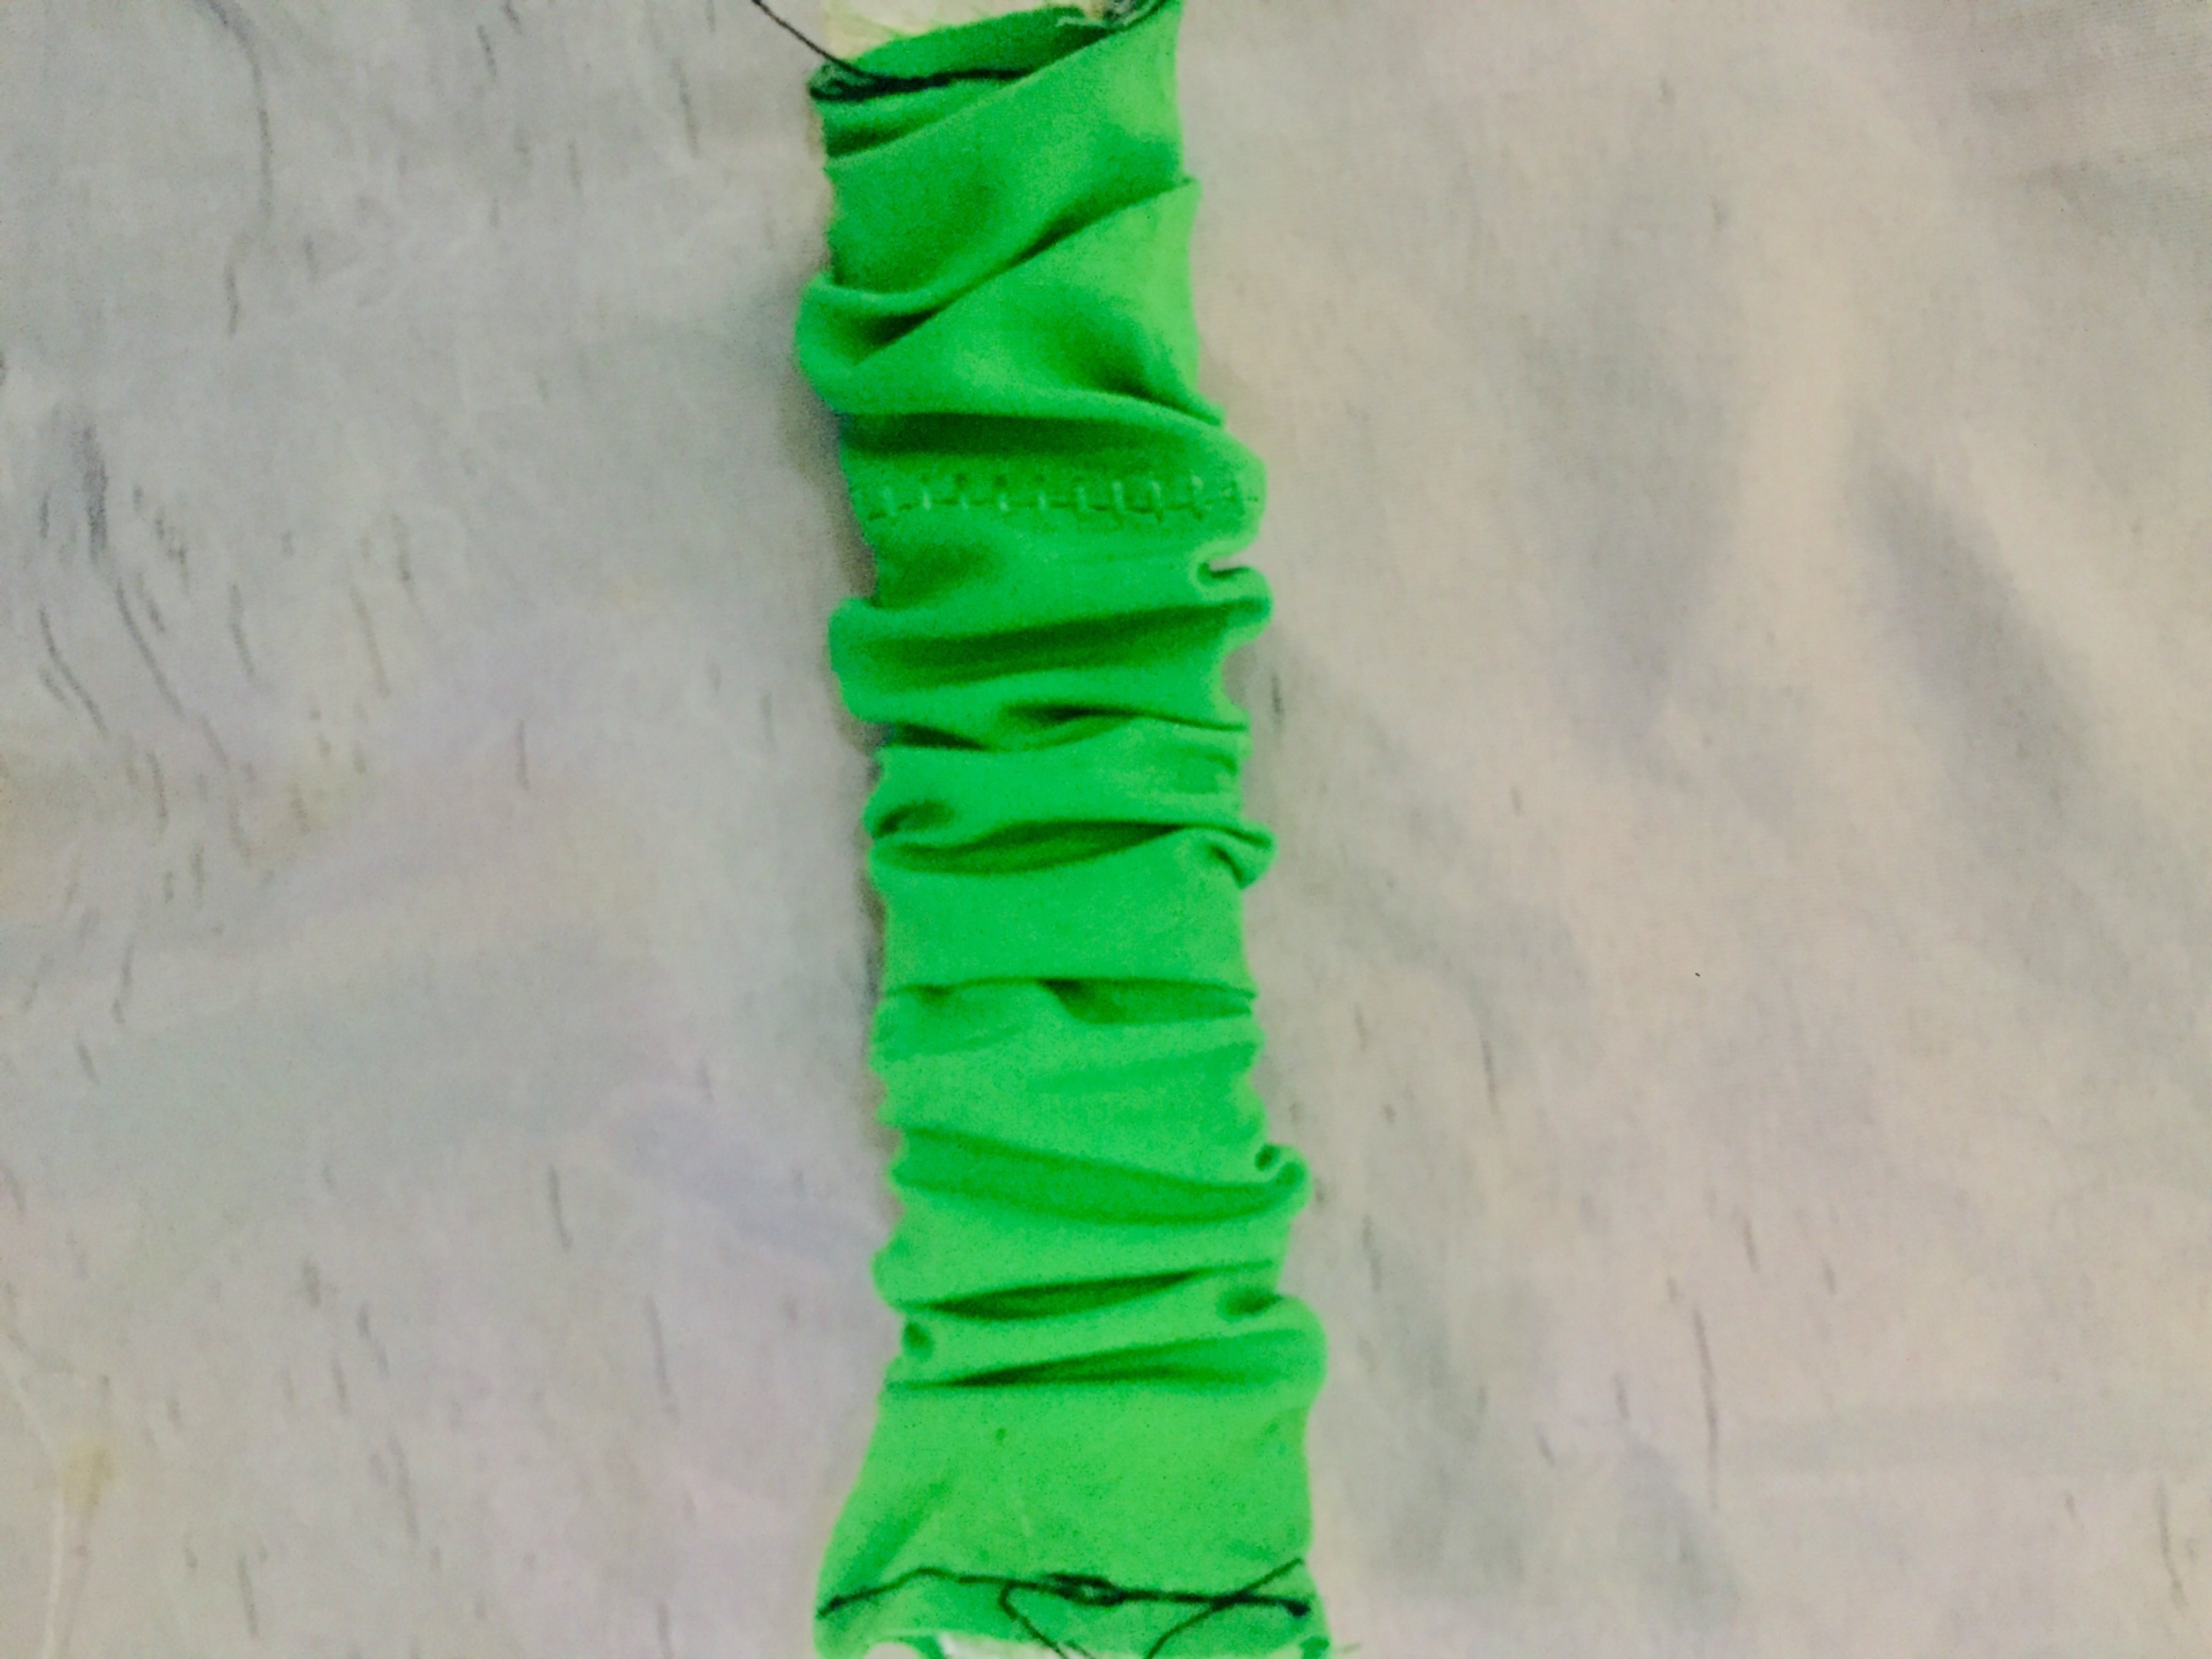
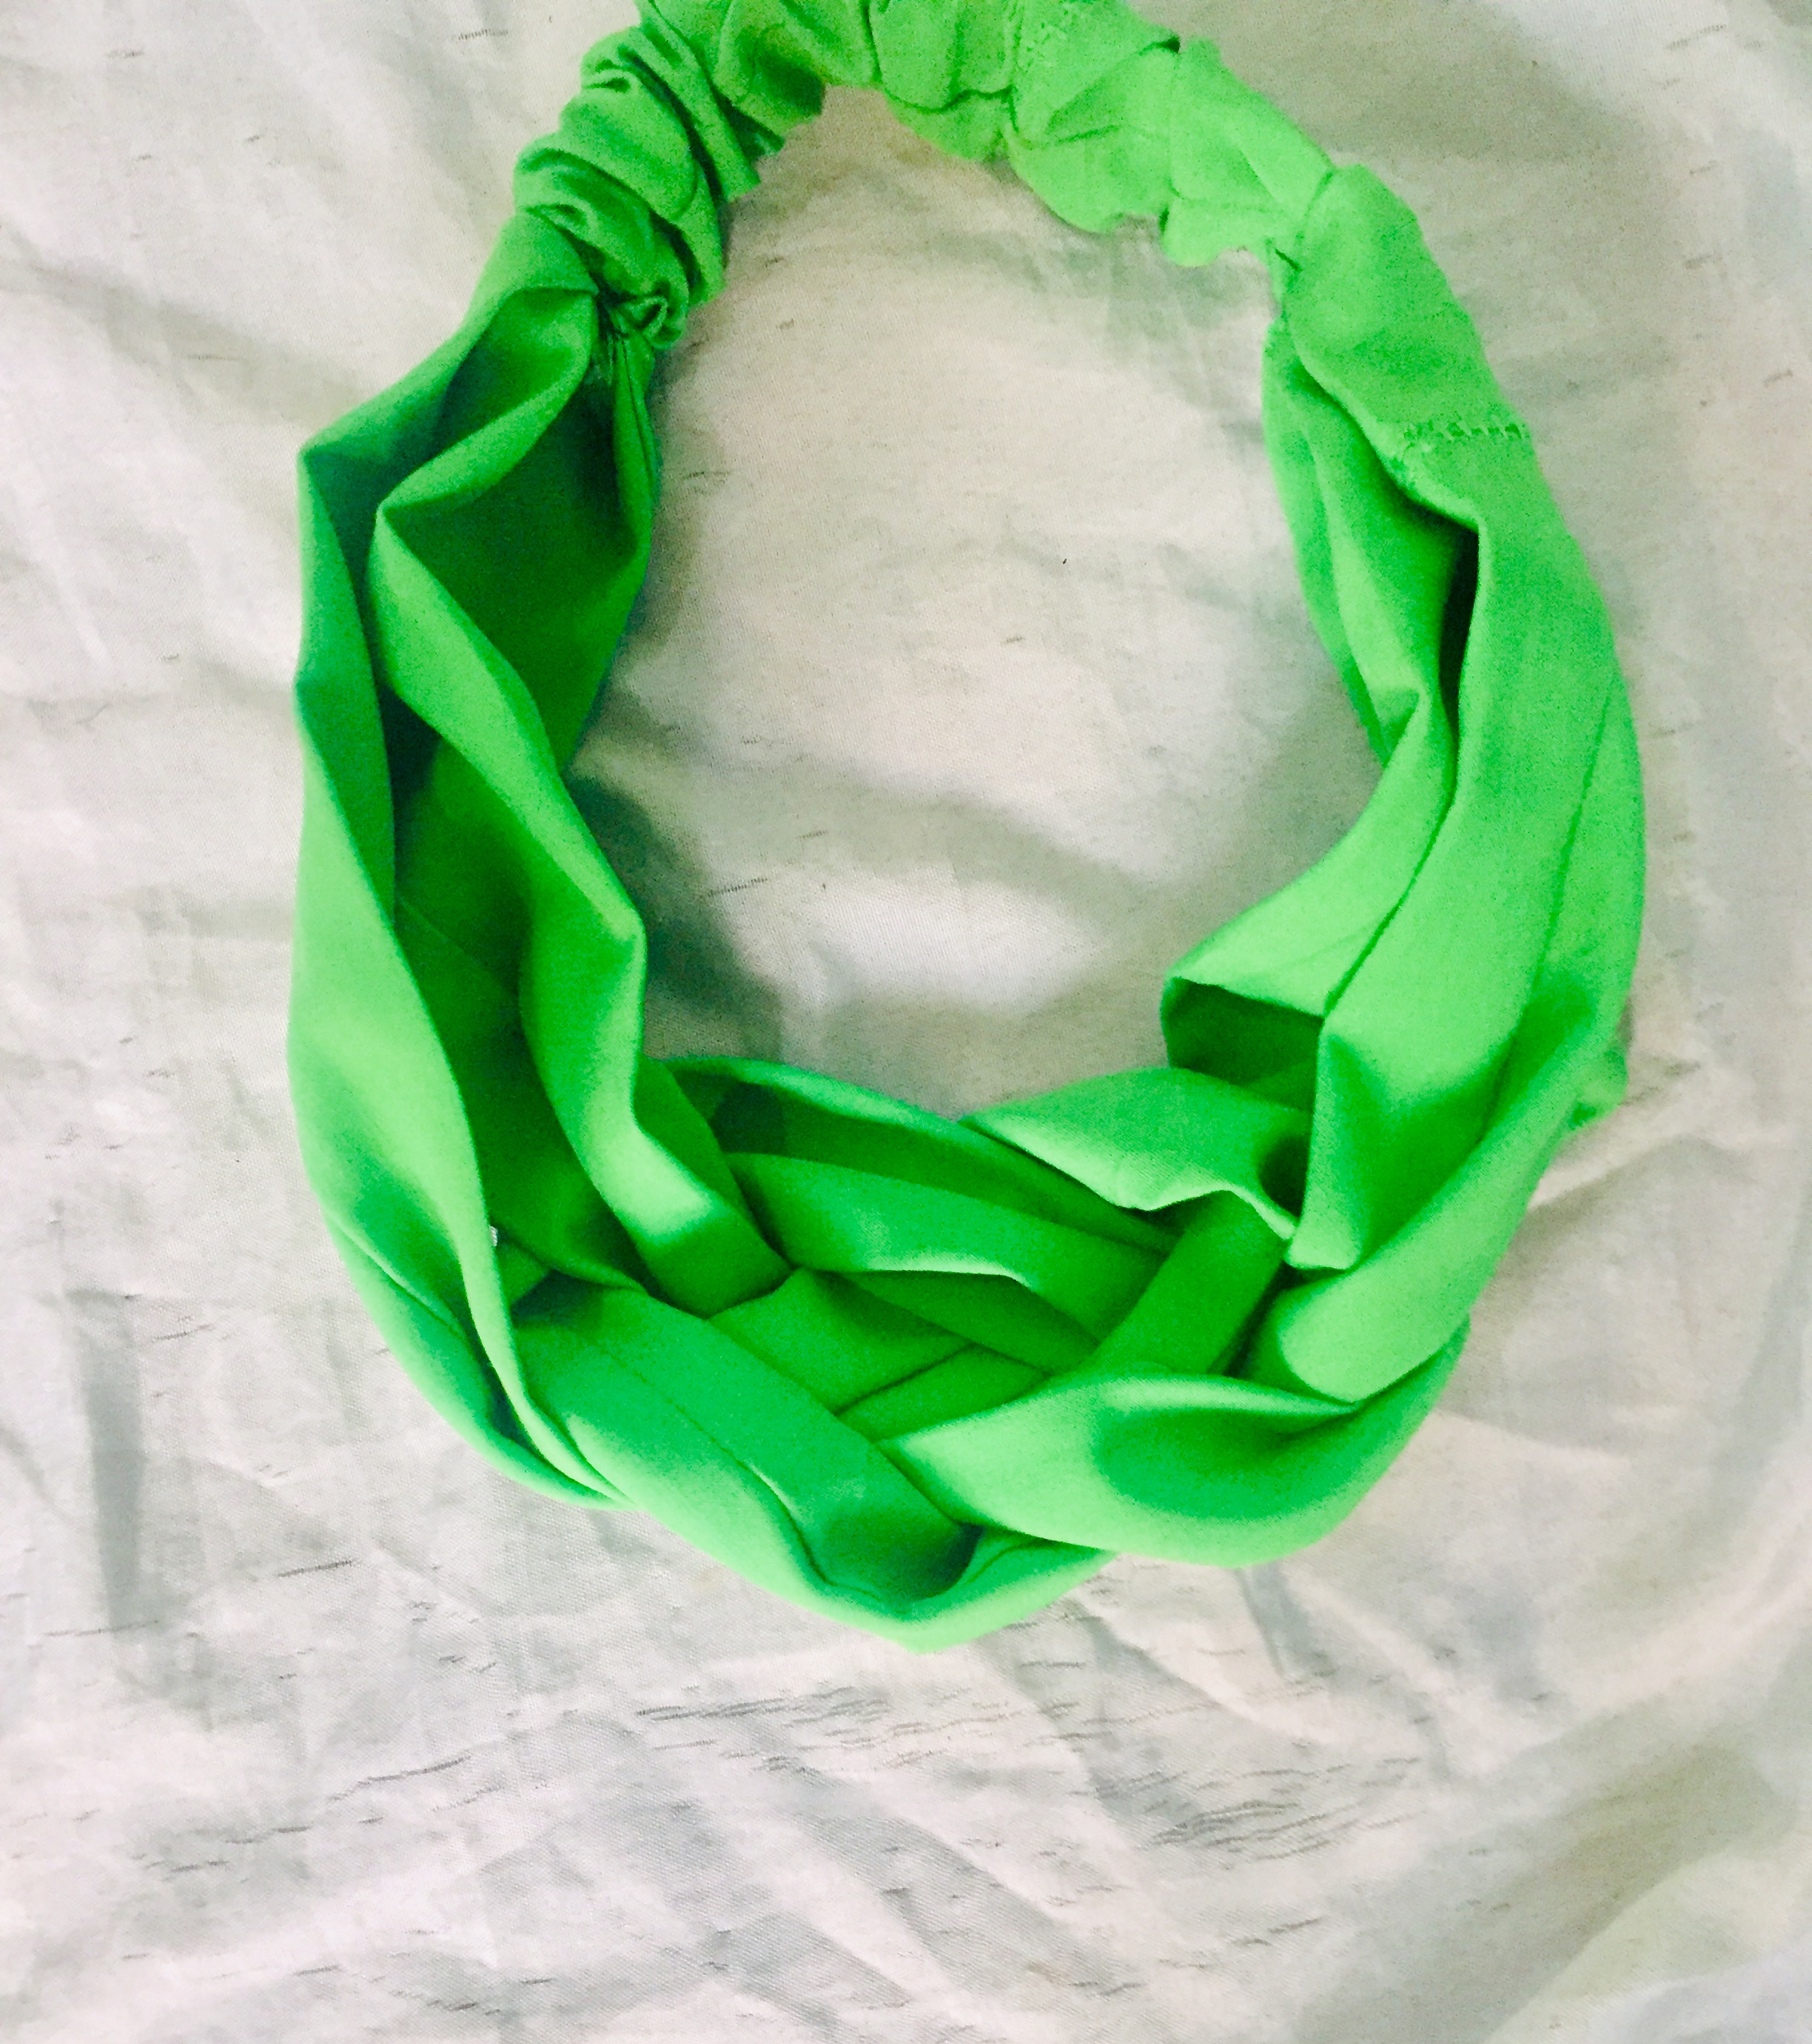
Step 4 after running stitches on the pieces cut out then I give it a good press with iron. Want the hair band to have a little designer at the front.
SEE HOW I GO ABOU IT

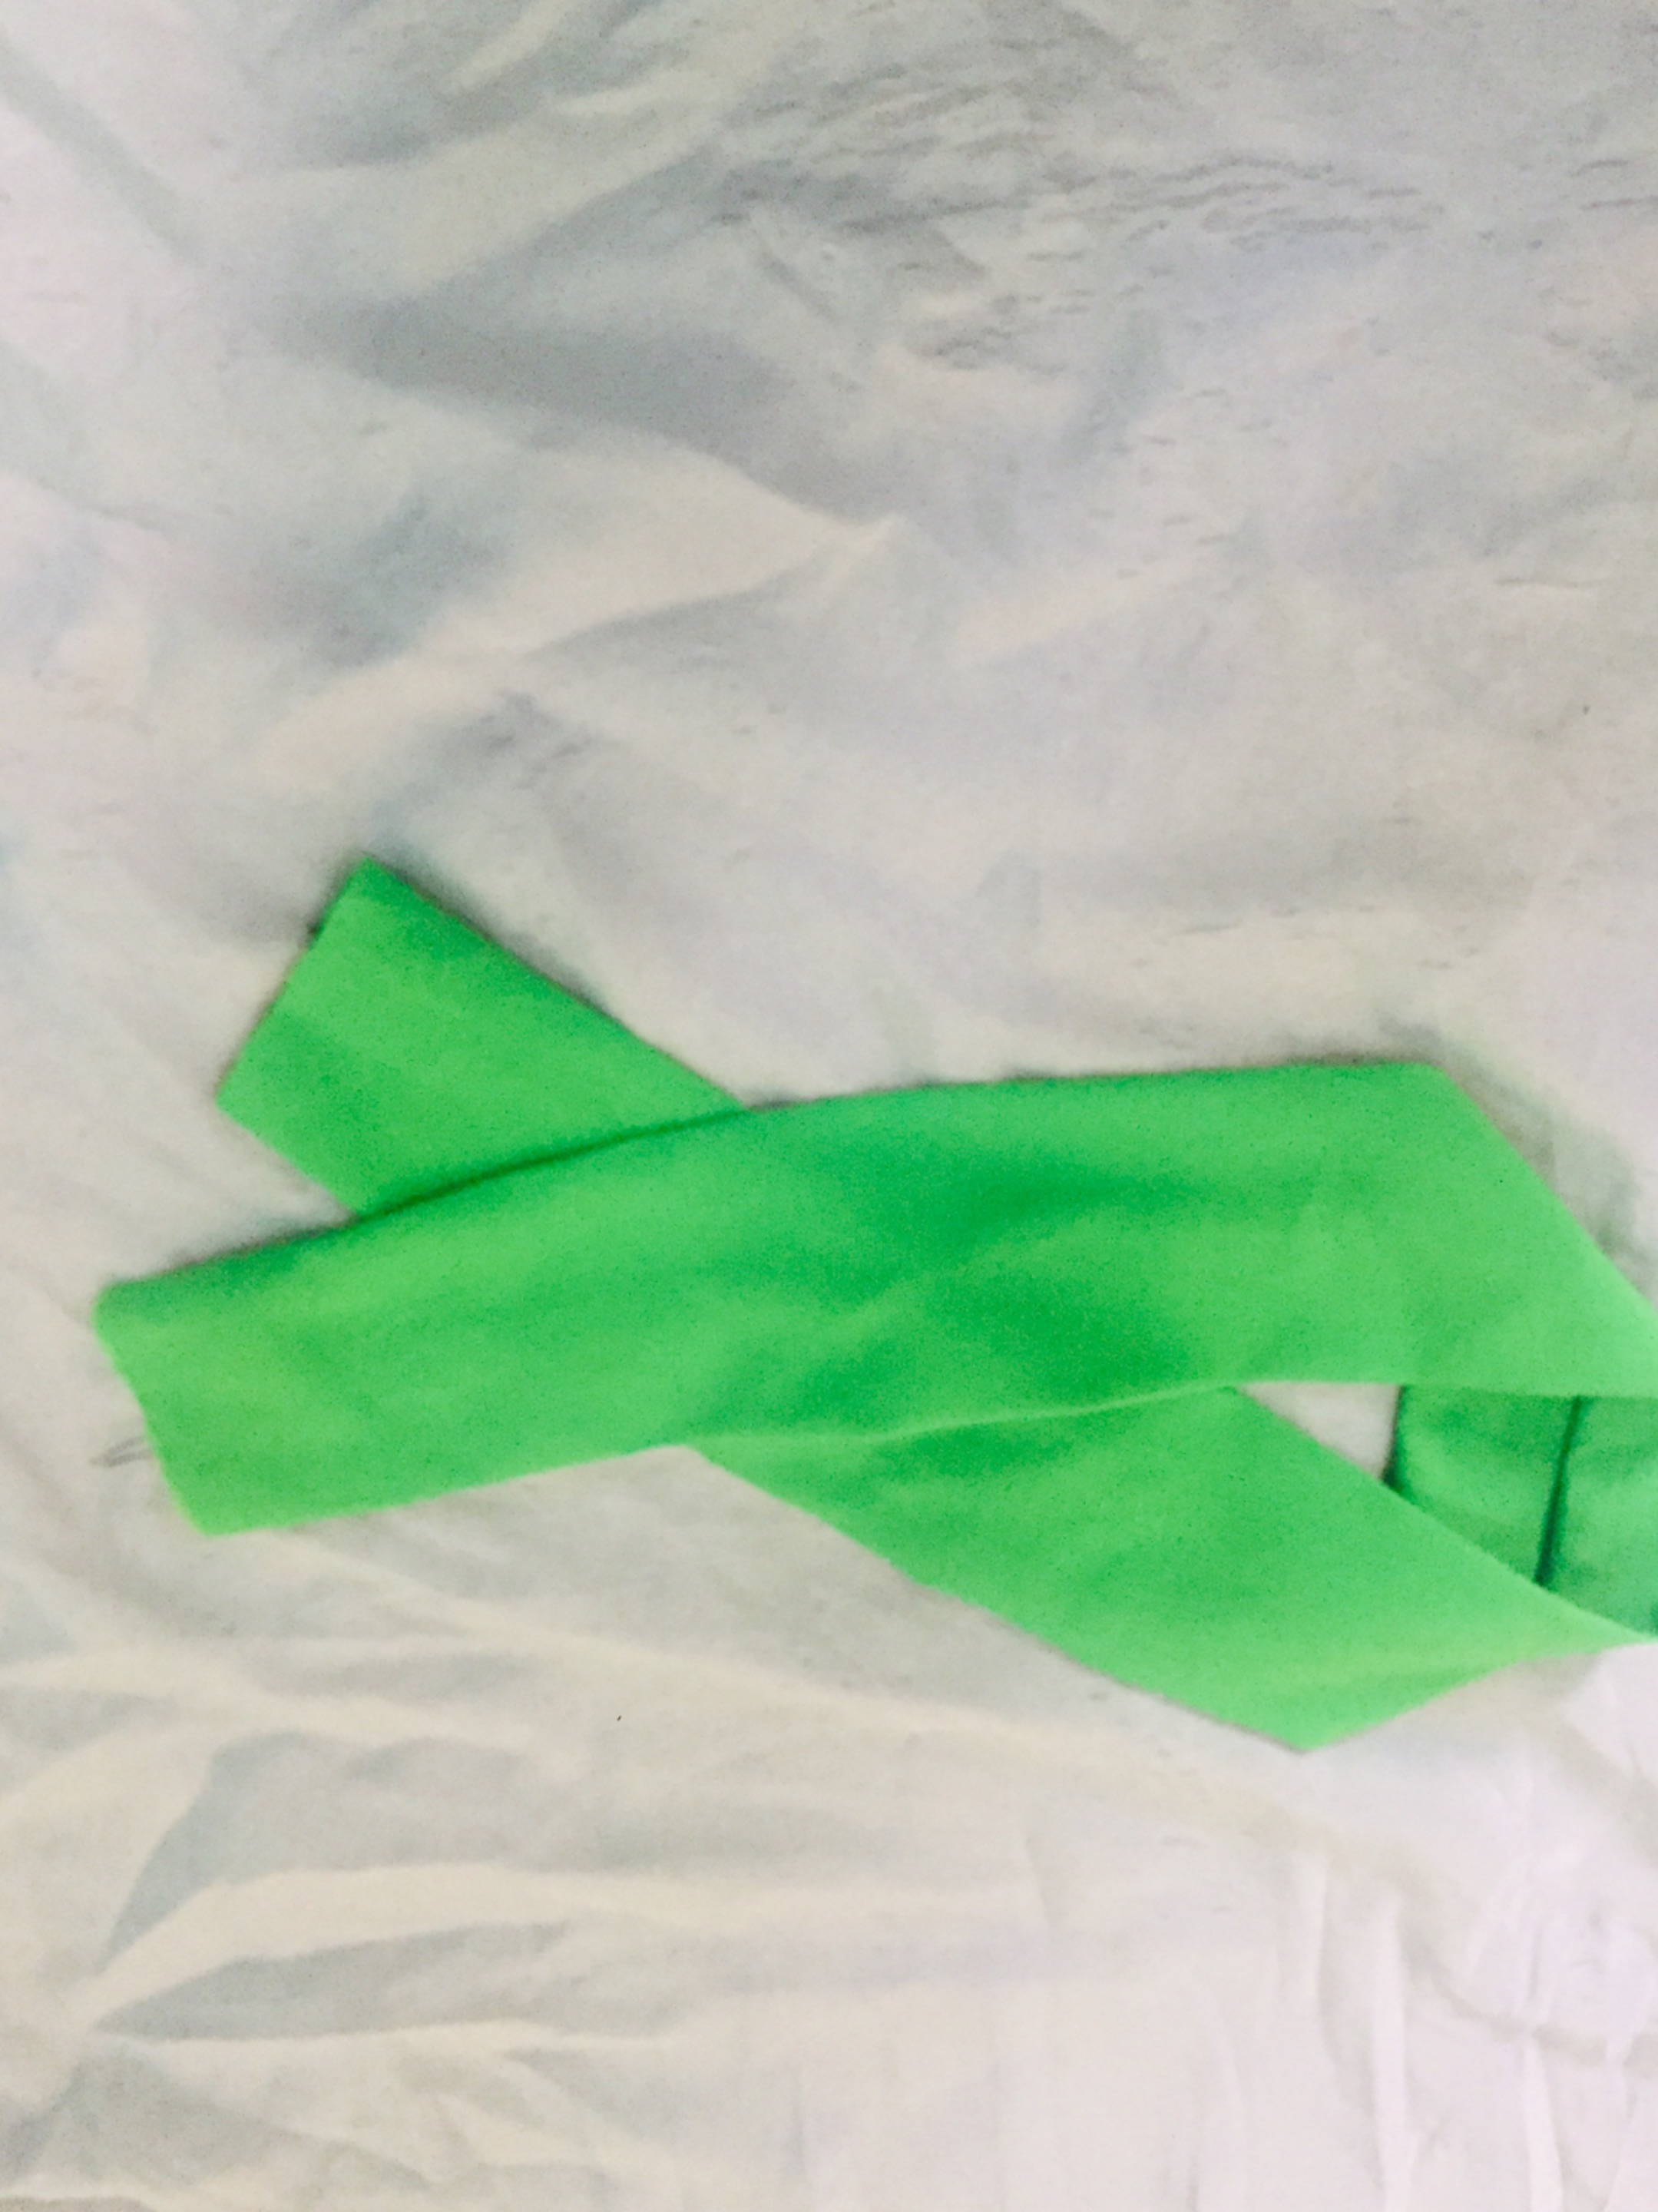
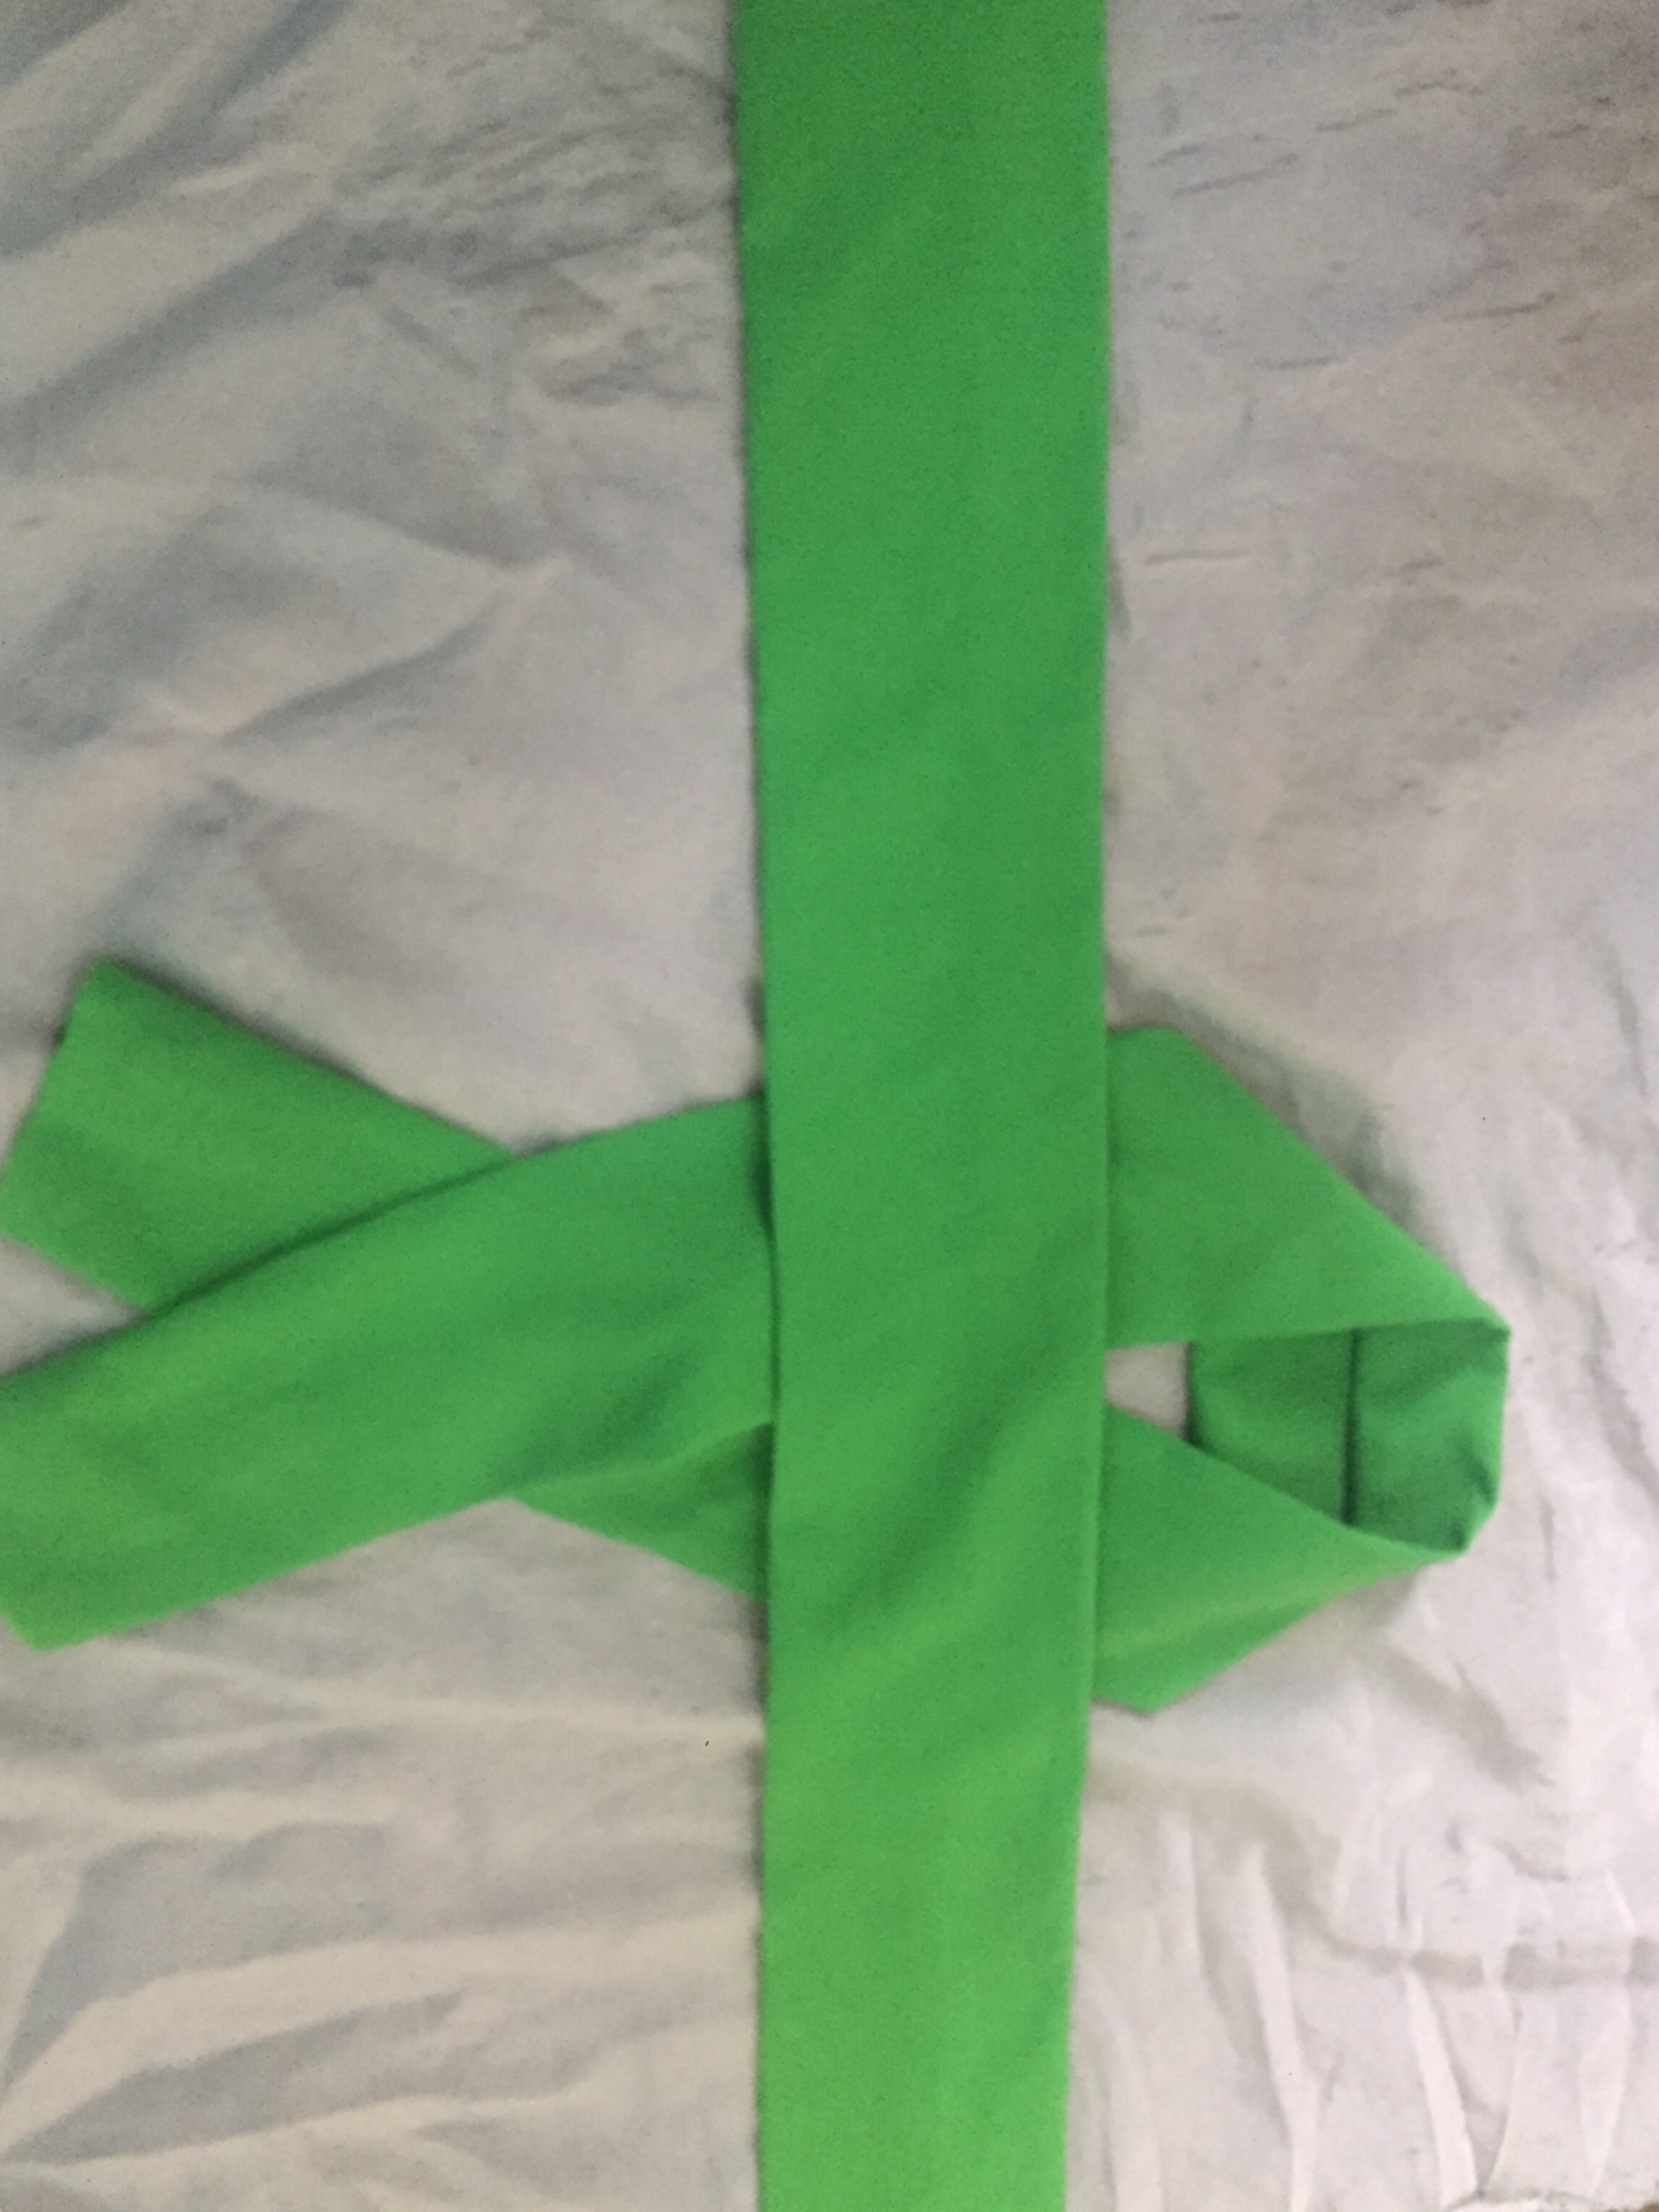


Step 5– assemble the hairband
Take the elastic piece and postition on top of one of the folded large pieces as shown. The raw edges should be in line with the end of the elastic piece.
Pin into place and sew across
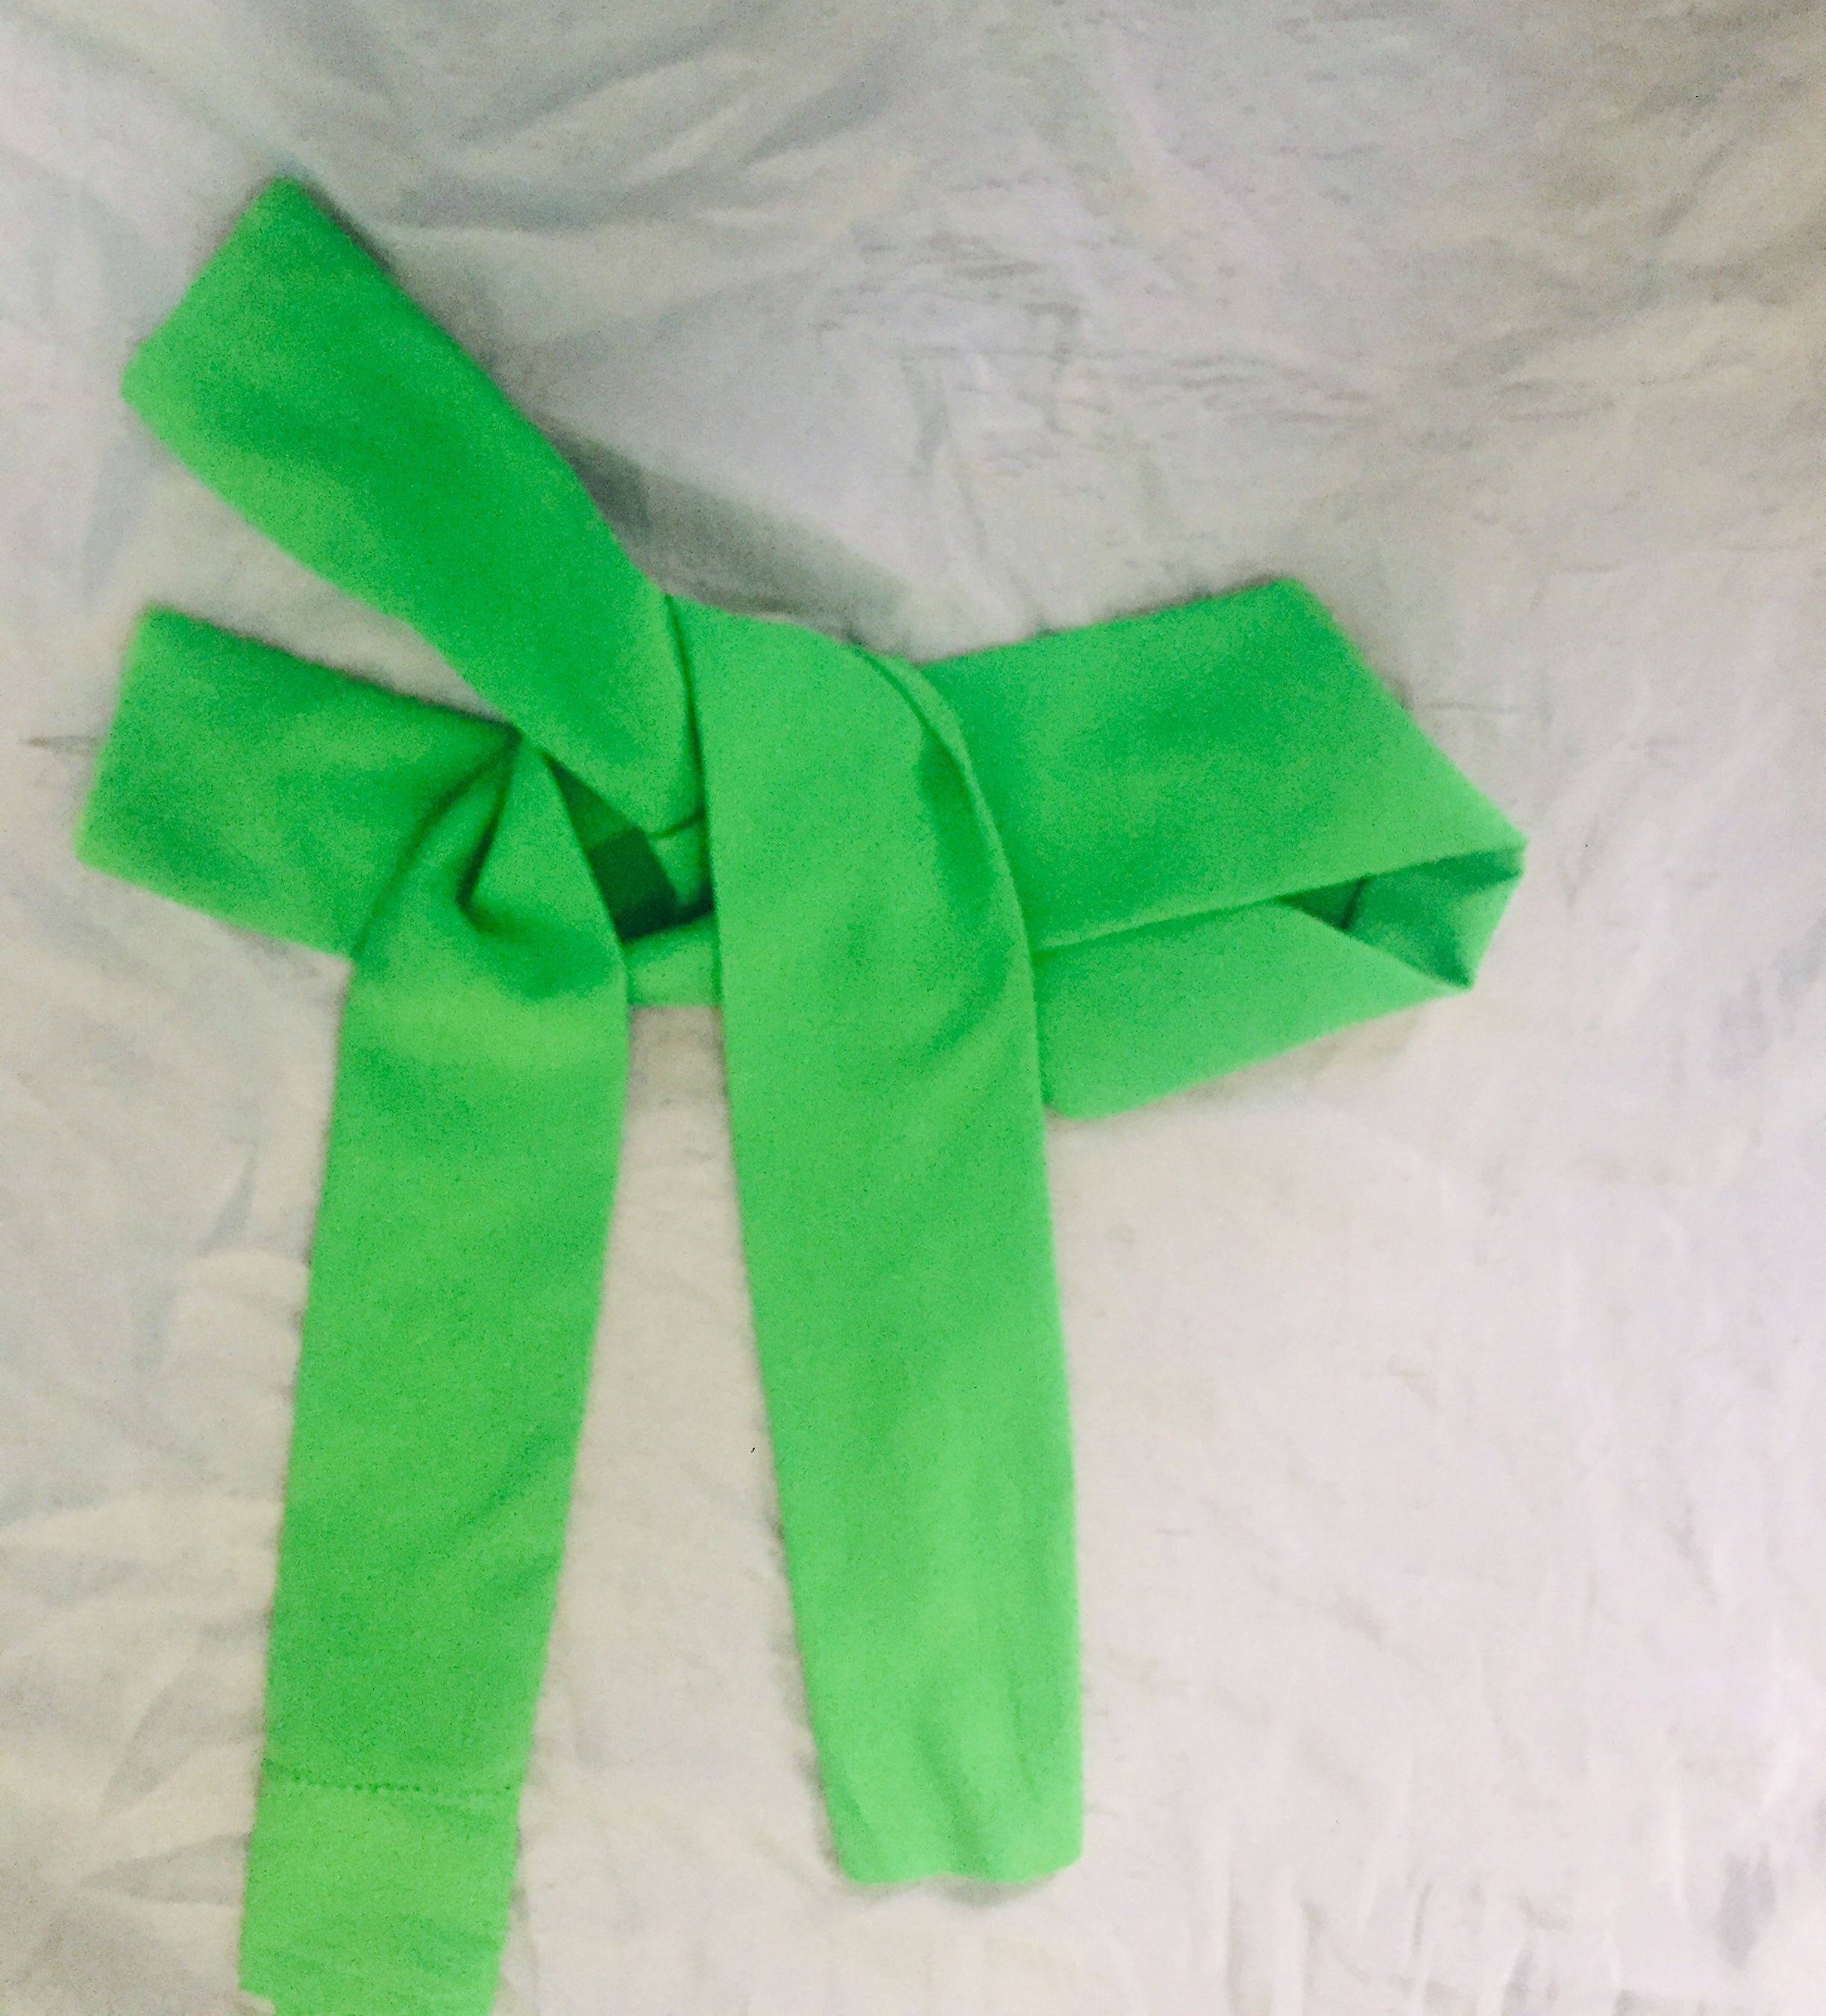
Trim off the raw edges of the elastic sticking out of both ends. Turn our your hair band.
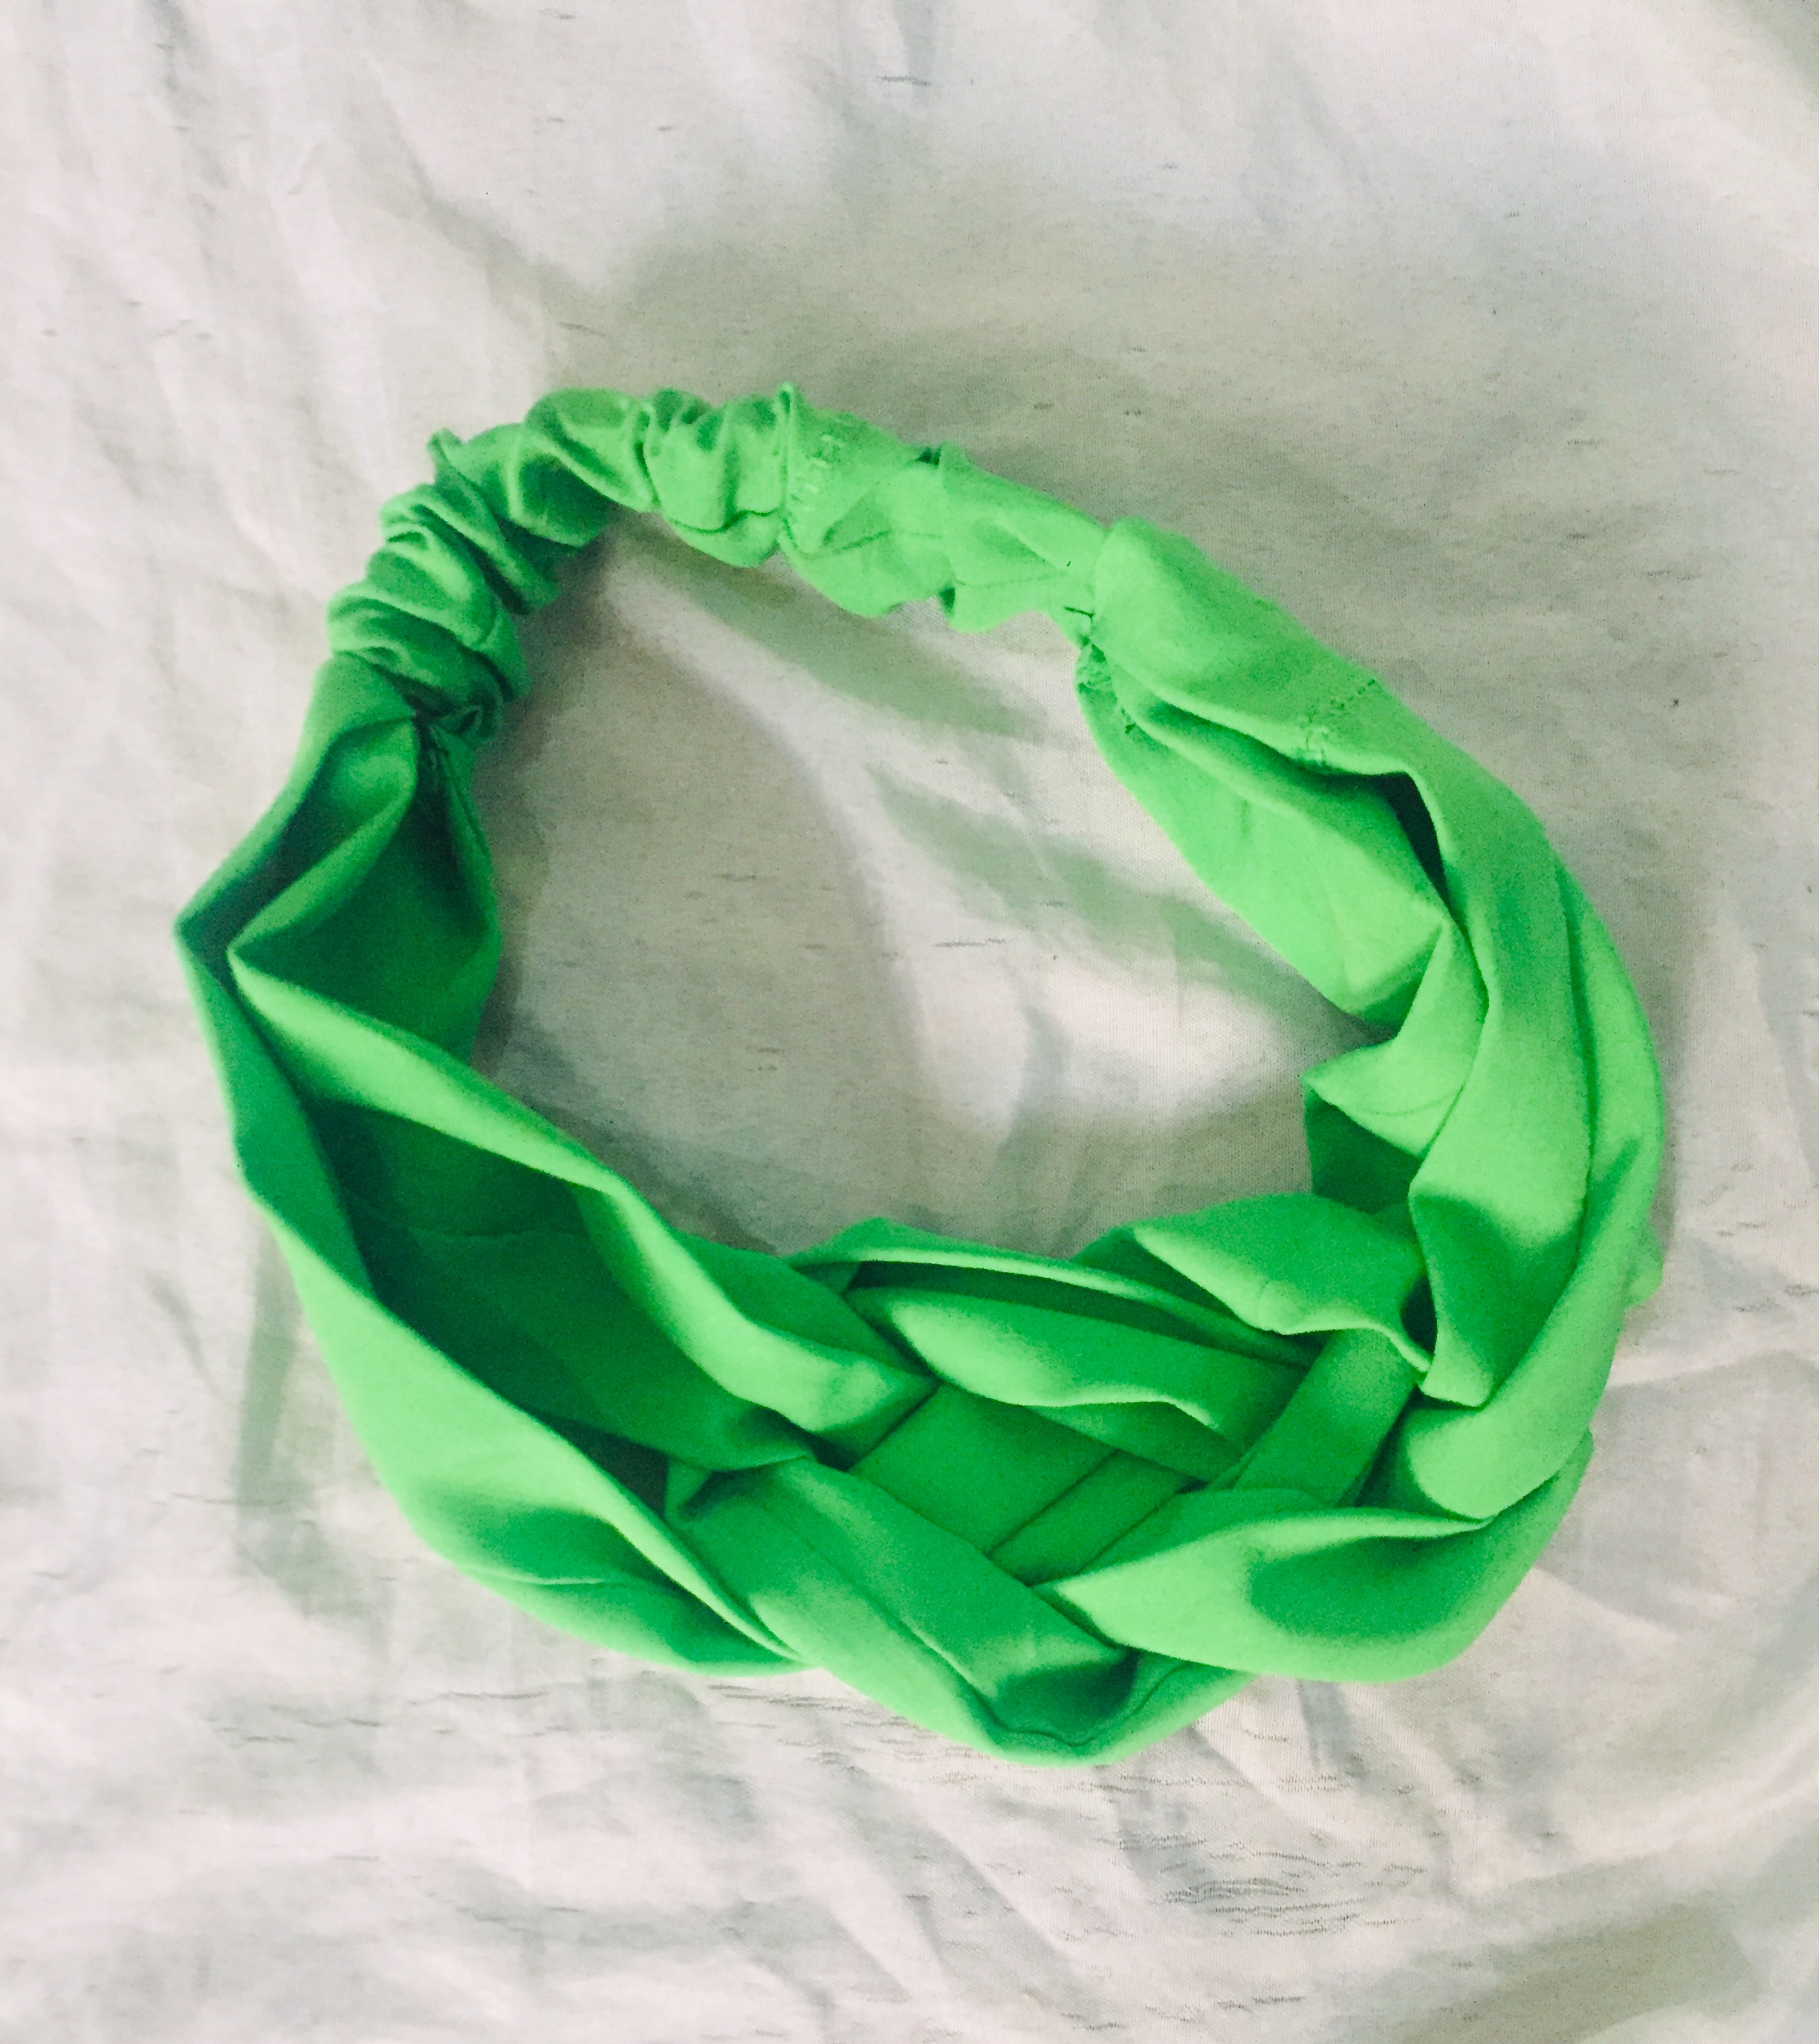
Hope you’ve enjoyed making this headband Thank You for supporting and comments.