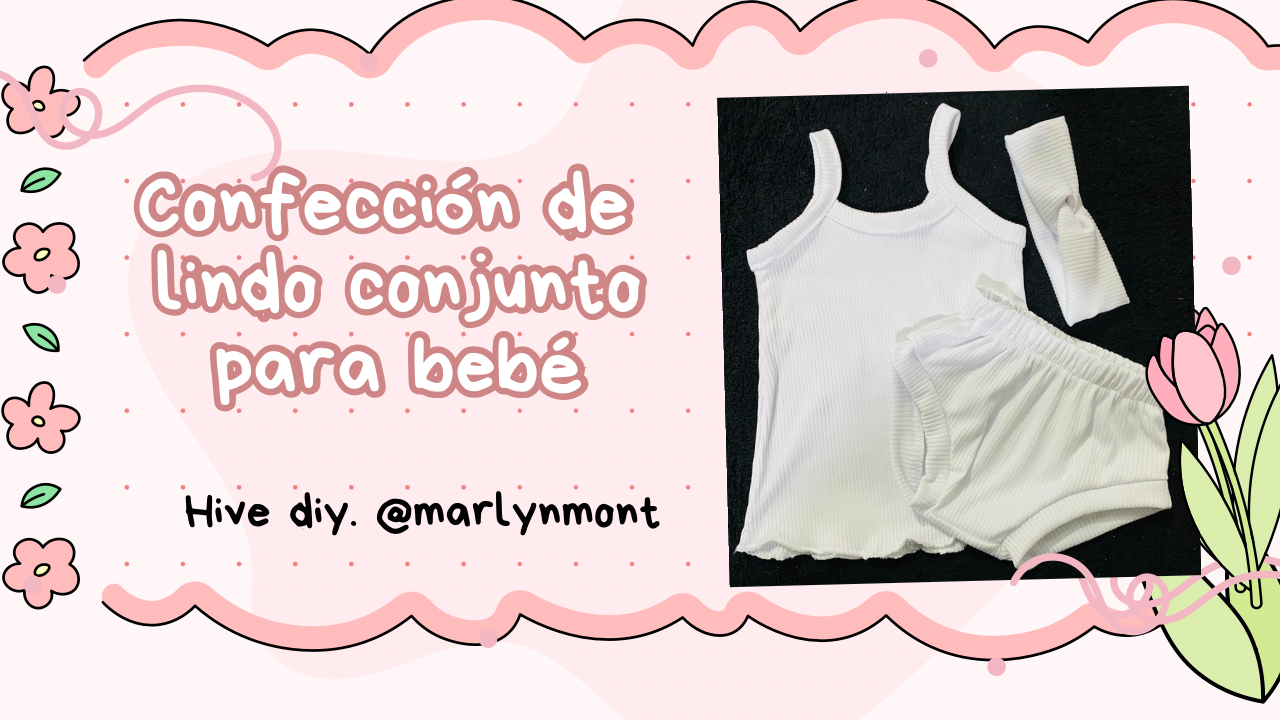
Saludos Amigos de Hive Diy, espero se encuentren bien y que estén disfrutando de un excelente día 💖
Hoy quiero compartir con ustedes la confección de un conjunto de bebé, hace unos días mi Vecina tuvo su primera bebé y quiero tener un gesto de bienvenida para esta nueva vecinita y quise hacerle un lindo conjunto para obsequiárselo, por suerte tengo algunas prendas de mi hija menor guardadas y con estas me guiaré para hacer este lindo conjunto, ven y te muestro este paso a paso:
Greetings, Hive DIY Friends, I hope you're all well and enjoying a wonderful day.💖
Today I want to share with you how to make a baby outfit. A few days ago, my neighbor had her first baby, and I wanted to offer a welcoming gesture for this new neighbor. I wanted to make her a cute outfit to give her. Luckily, I have some of my youngest daughter's clothes stored away, and I'll use them to guide me through making this cute outfit. Come and I'll show you the steps:
MATERIALES
MATERIALS
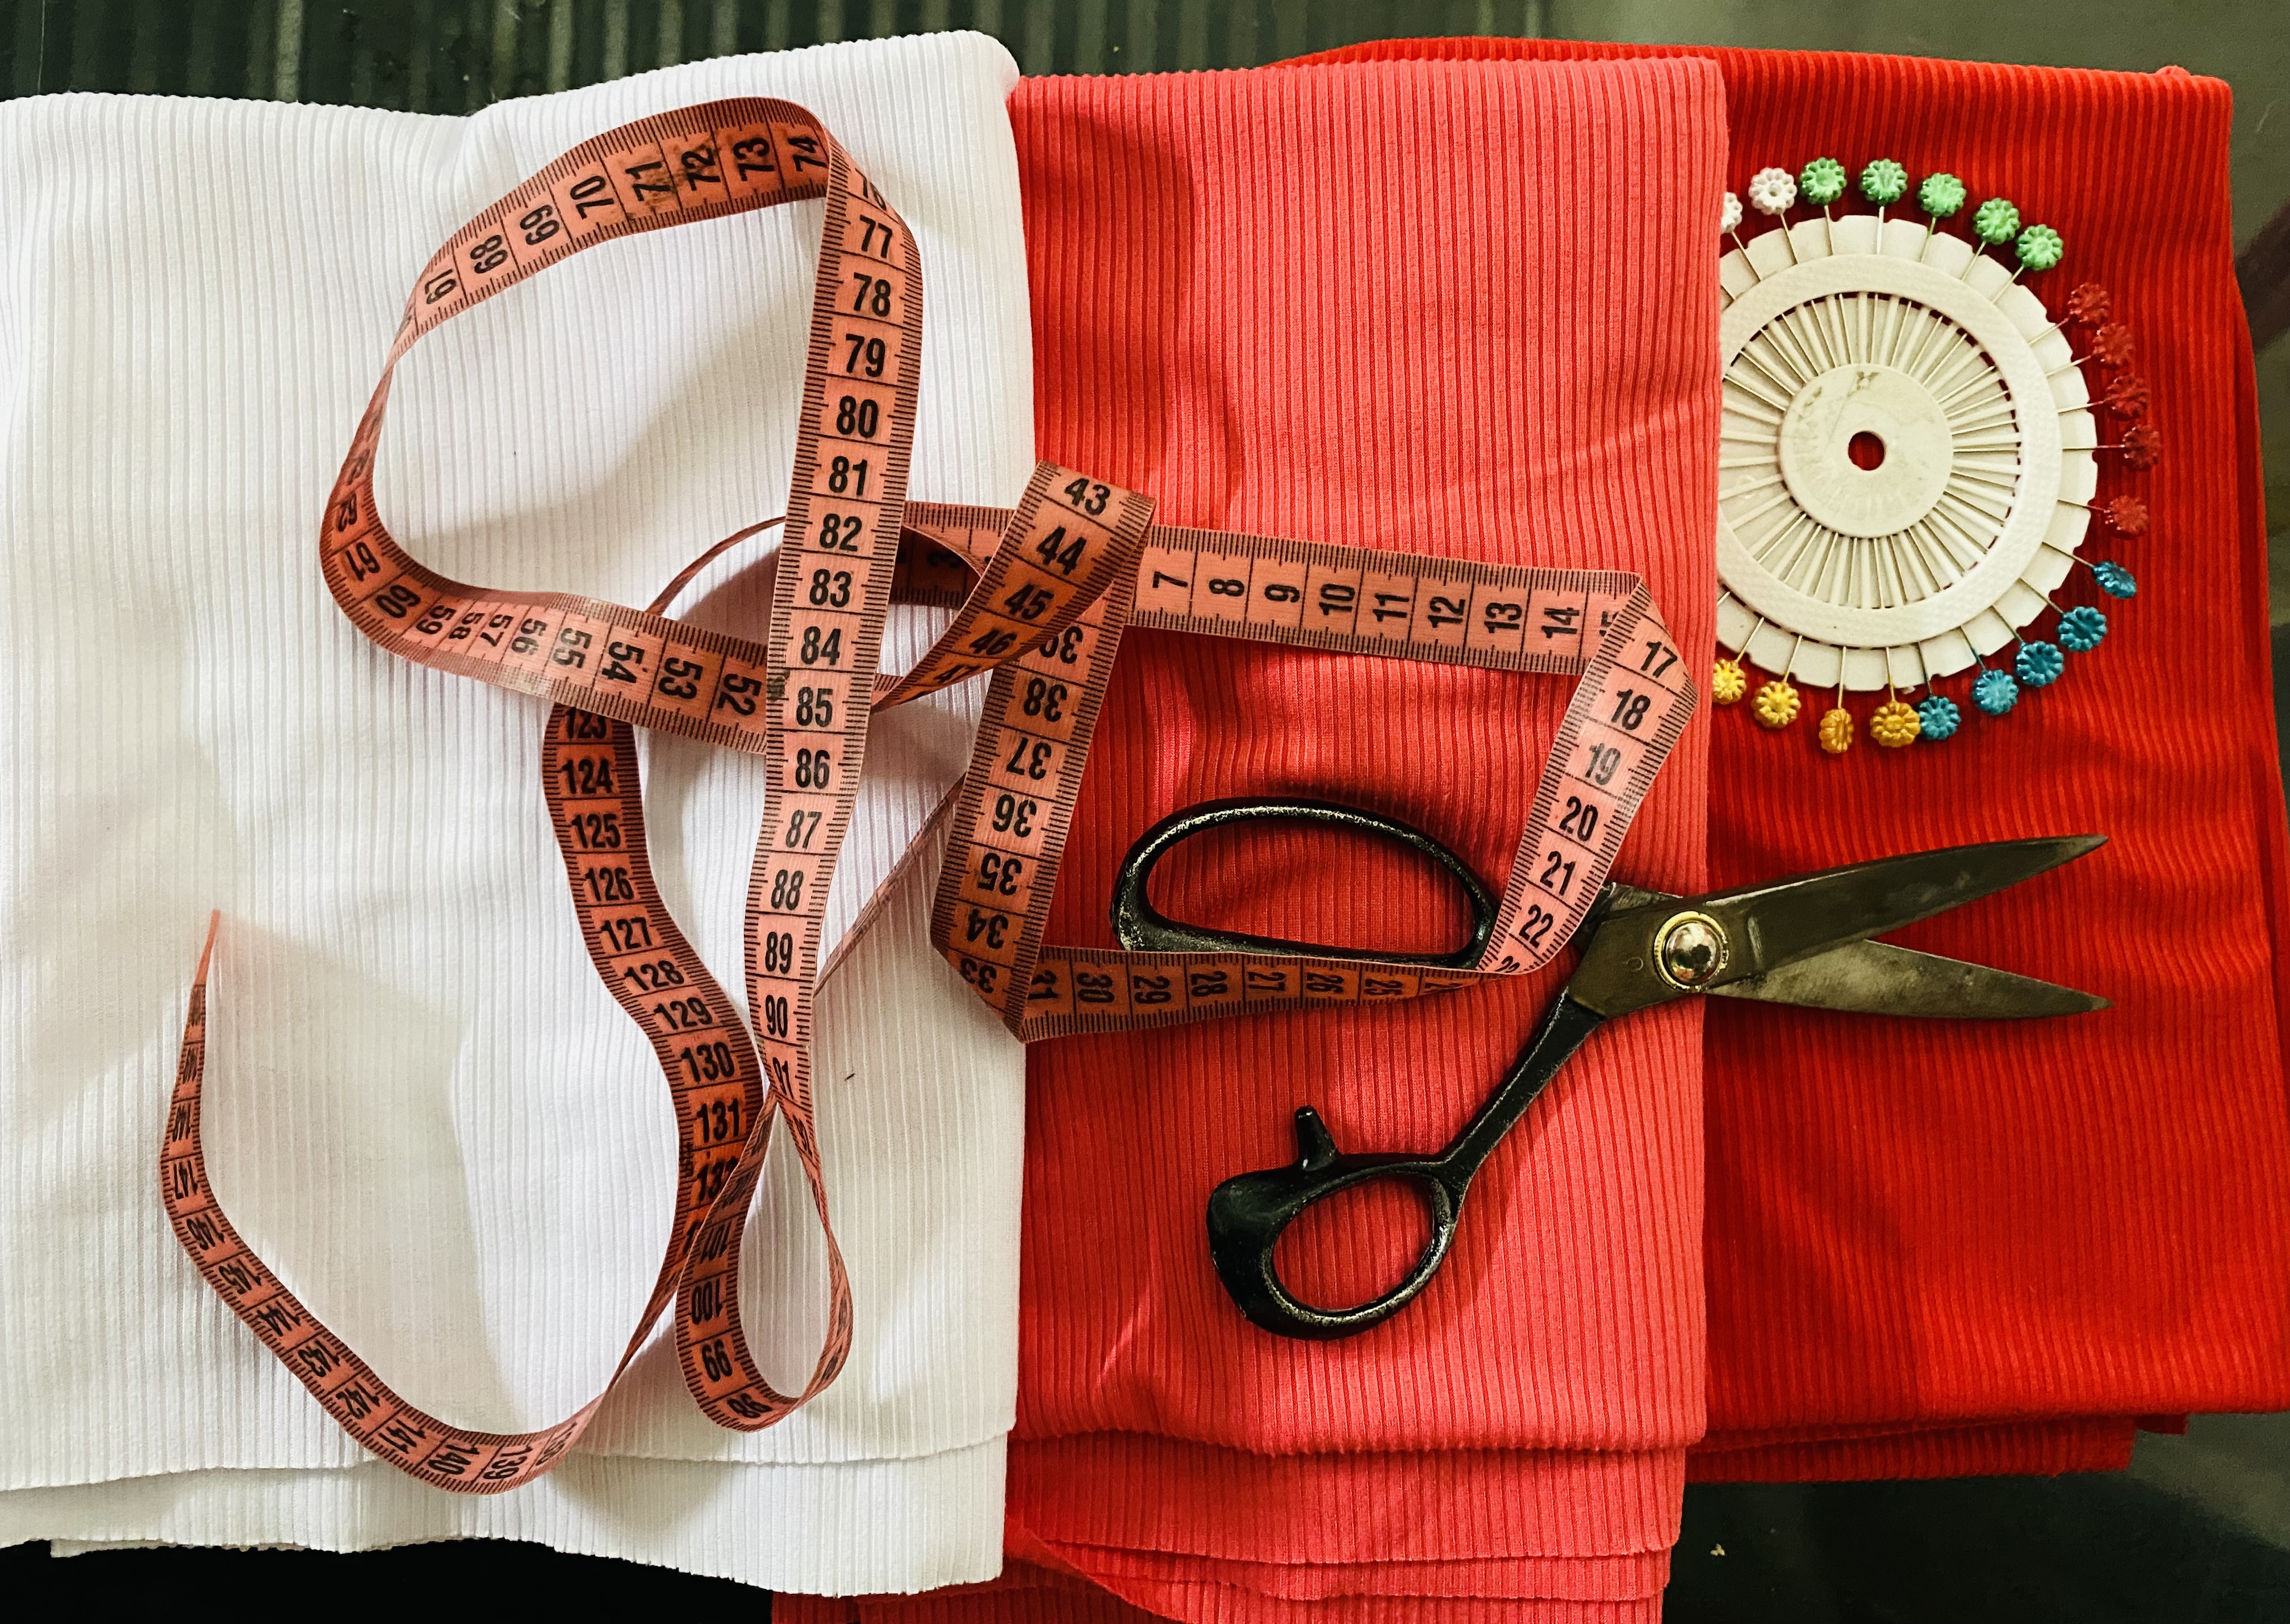
La ropa de bebé es algo sencilla de diseñar sobre todo cuando se trata de una niña, a ellas podemos hacerles hermosas creaciones y más variado que a los varones, así que aproveché y me fui hasta la tienda de telas y escogí 3 colores en tela de Micro-Rib, decidí comprar algo extra de tela ya que aparte del conjunto que voy a hacer para regalar, pensé en la idea de hacer algunos extra y los publicare en mis redes sociales con la intención de venderlos, espero tener suerte 🍀😊.
Al principio pensé en obsequiarle a la chica el conjunto en color rojo, así que mis primeras fotografías serán con la tela de este color , pero debido a que no tengo todos los hilos en este color para mi Overlook, decidí hacer el de color blanco primero y este será el que voy a obsequiar, también pensé que no a todos nos gusta el color rojo y no sé si a la chica le gustaría por eso decidí regalarle mejor el de color blanco, aquí te dejo la lista de materiales a utilizar:
- Para este conjunto puedes comprar medio metro de tela elástica de su preferencia, con esta cantidad es suficiente
- Elástico de 2 cm de grosor
- Tijeras
- Hilo
- máquina de coser
Baby clothes are something simple to design especially when it is a girl, we can make beautiful creations for them and more varied than for boys, so I took advantage and went to the fabric store and chose 3 colors in Micro-Rib fabric, I decided to buy some extra fabric since apart from the set that I am going to make to give as a gift, I thought about the idea of making some extras and I will publish them on my social networks with the intention of selling them, I hope to be lucky 🍀😊.
At first, I thought about giving the girl the red set, so my first photos will be with the fabric in this color. But since I don't have all the threads in this color for my Overlook, I decided to make the white one first, and this will be the one I'm going to give as a gift. I also thought that not everyone likes the color red, and I don't know if the girl would like it, so I decided to give her the white one instead. Here's the list of materials to use:
- For this outfit, you can buy half a meter of stretch fabric of your choice; this amount is sufficient.
- 2 cm thick elastic
- Scissors
- Thread
- Sewing machine
PASO A PASO
STEP BY STEP
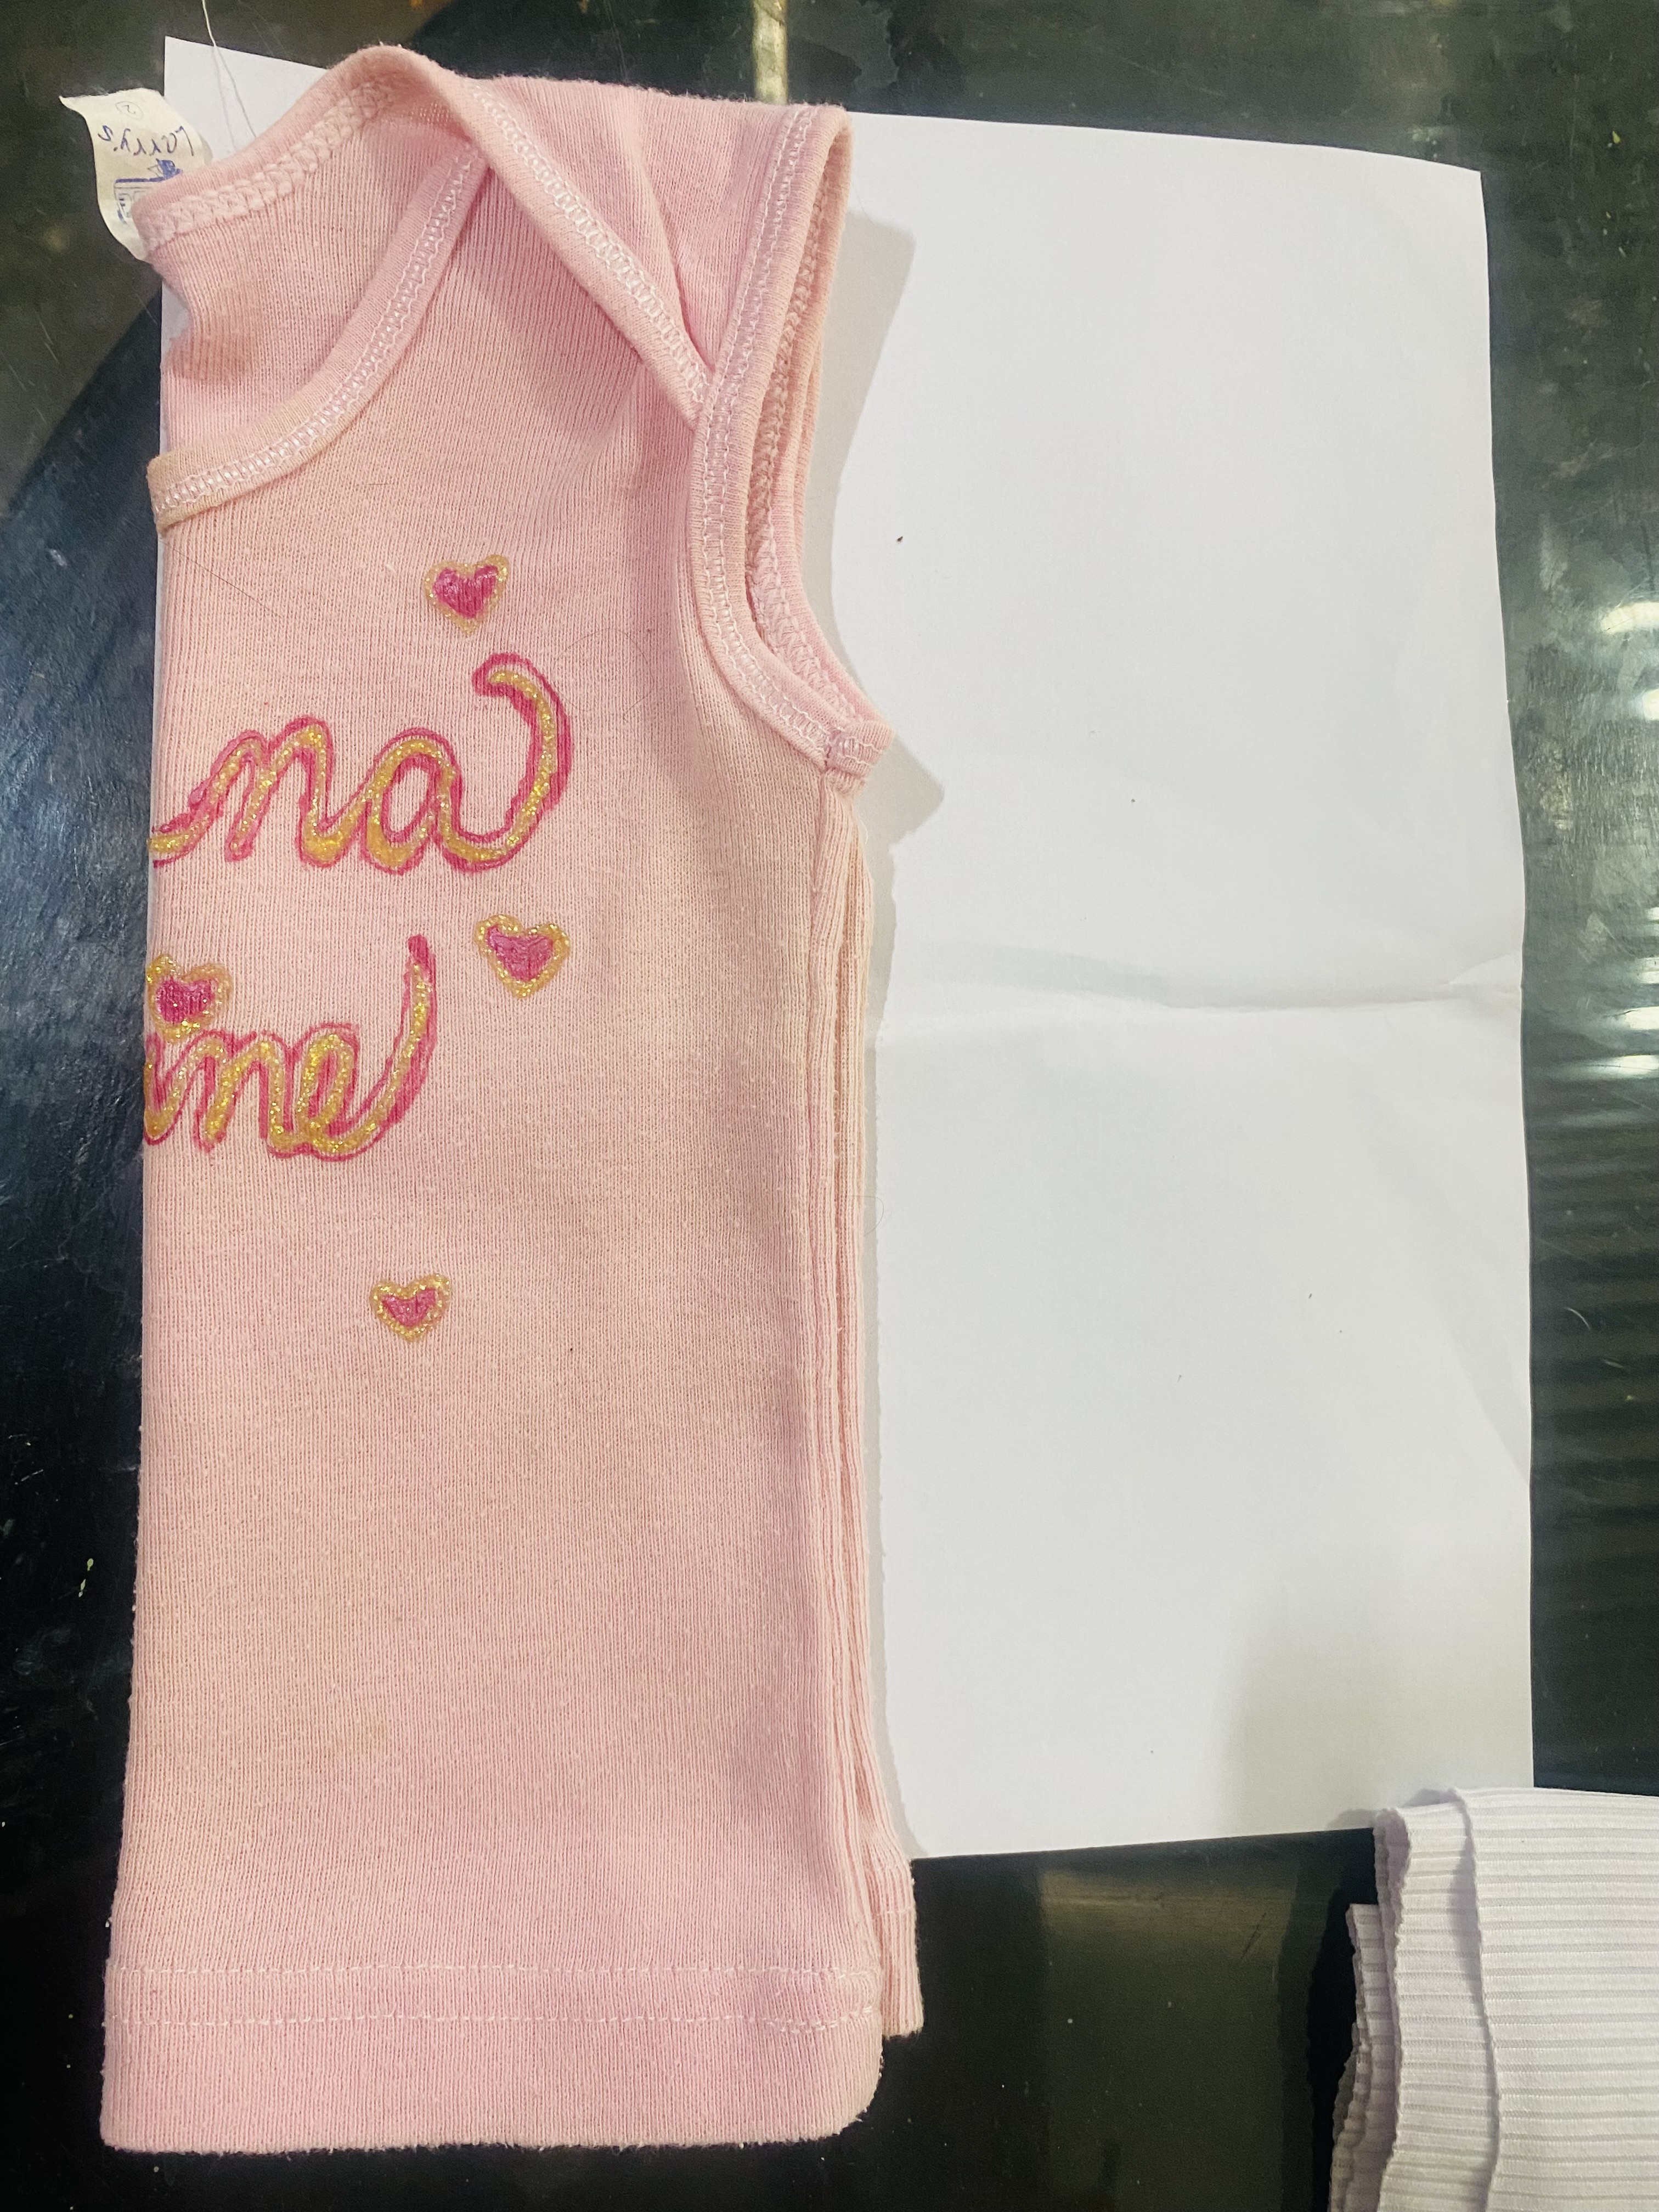
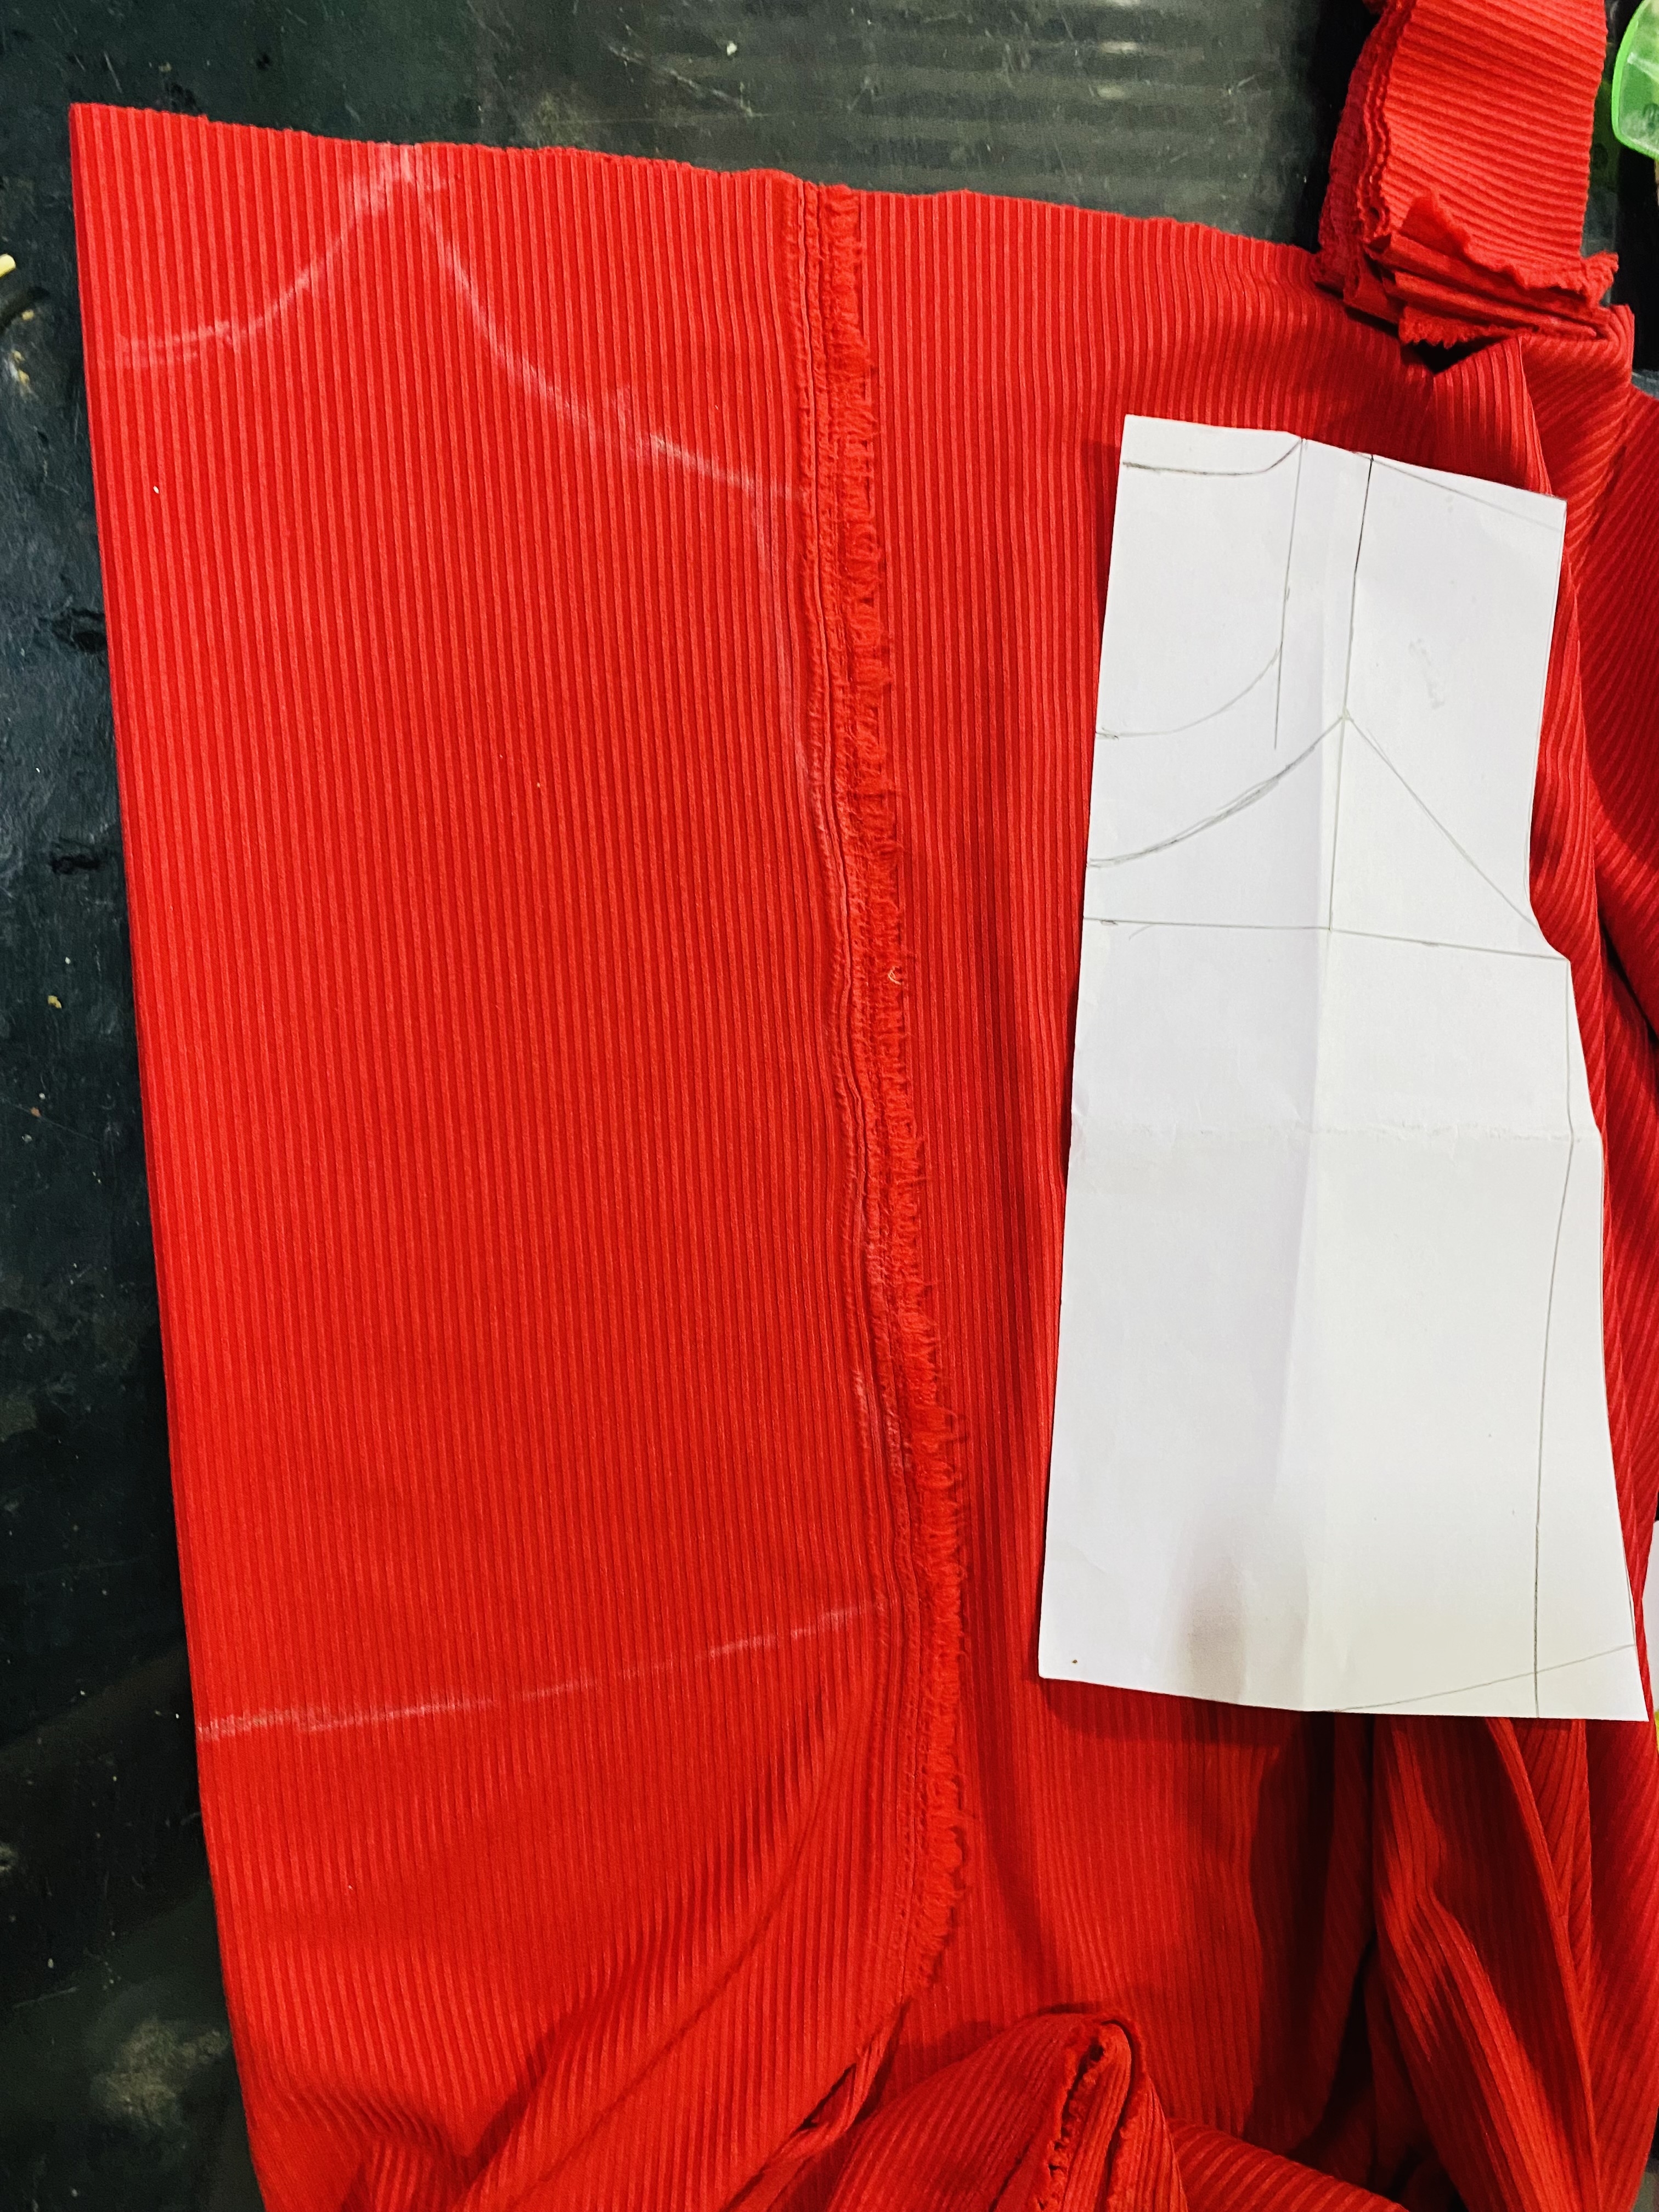
Para comenzar voy a hacer el patrón de la pequeña blusa y así lo tendré para futuros proyectos, me guiaré por las medidas de una franelilla de mi hija cuando estaba chiquita, el tiempo paso volando y está franelilla ya tenía 12 años guardada 😳
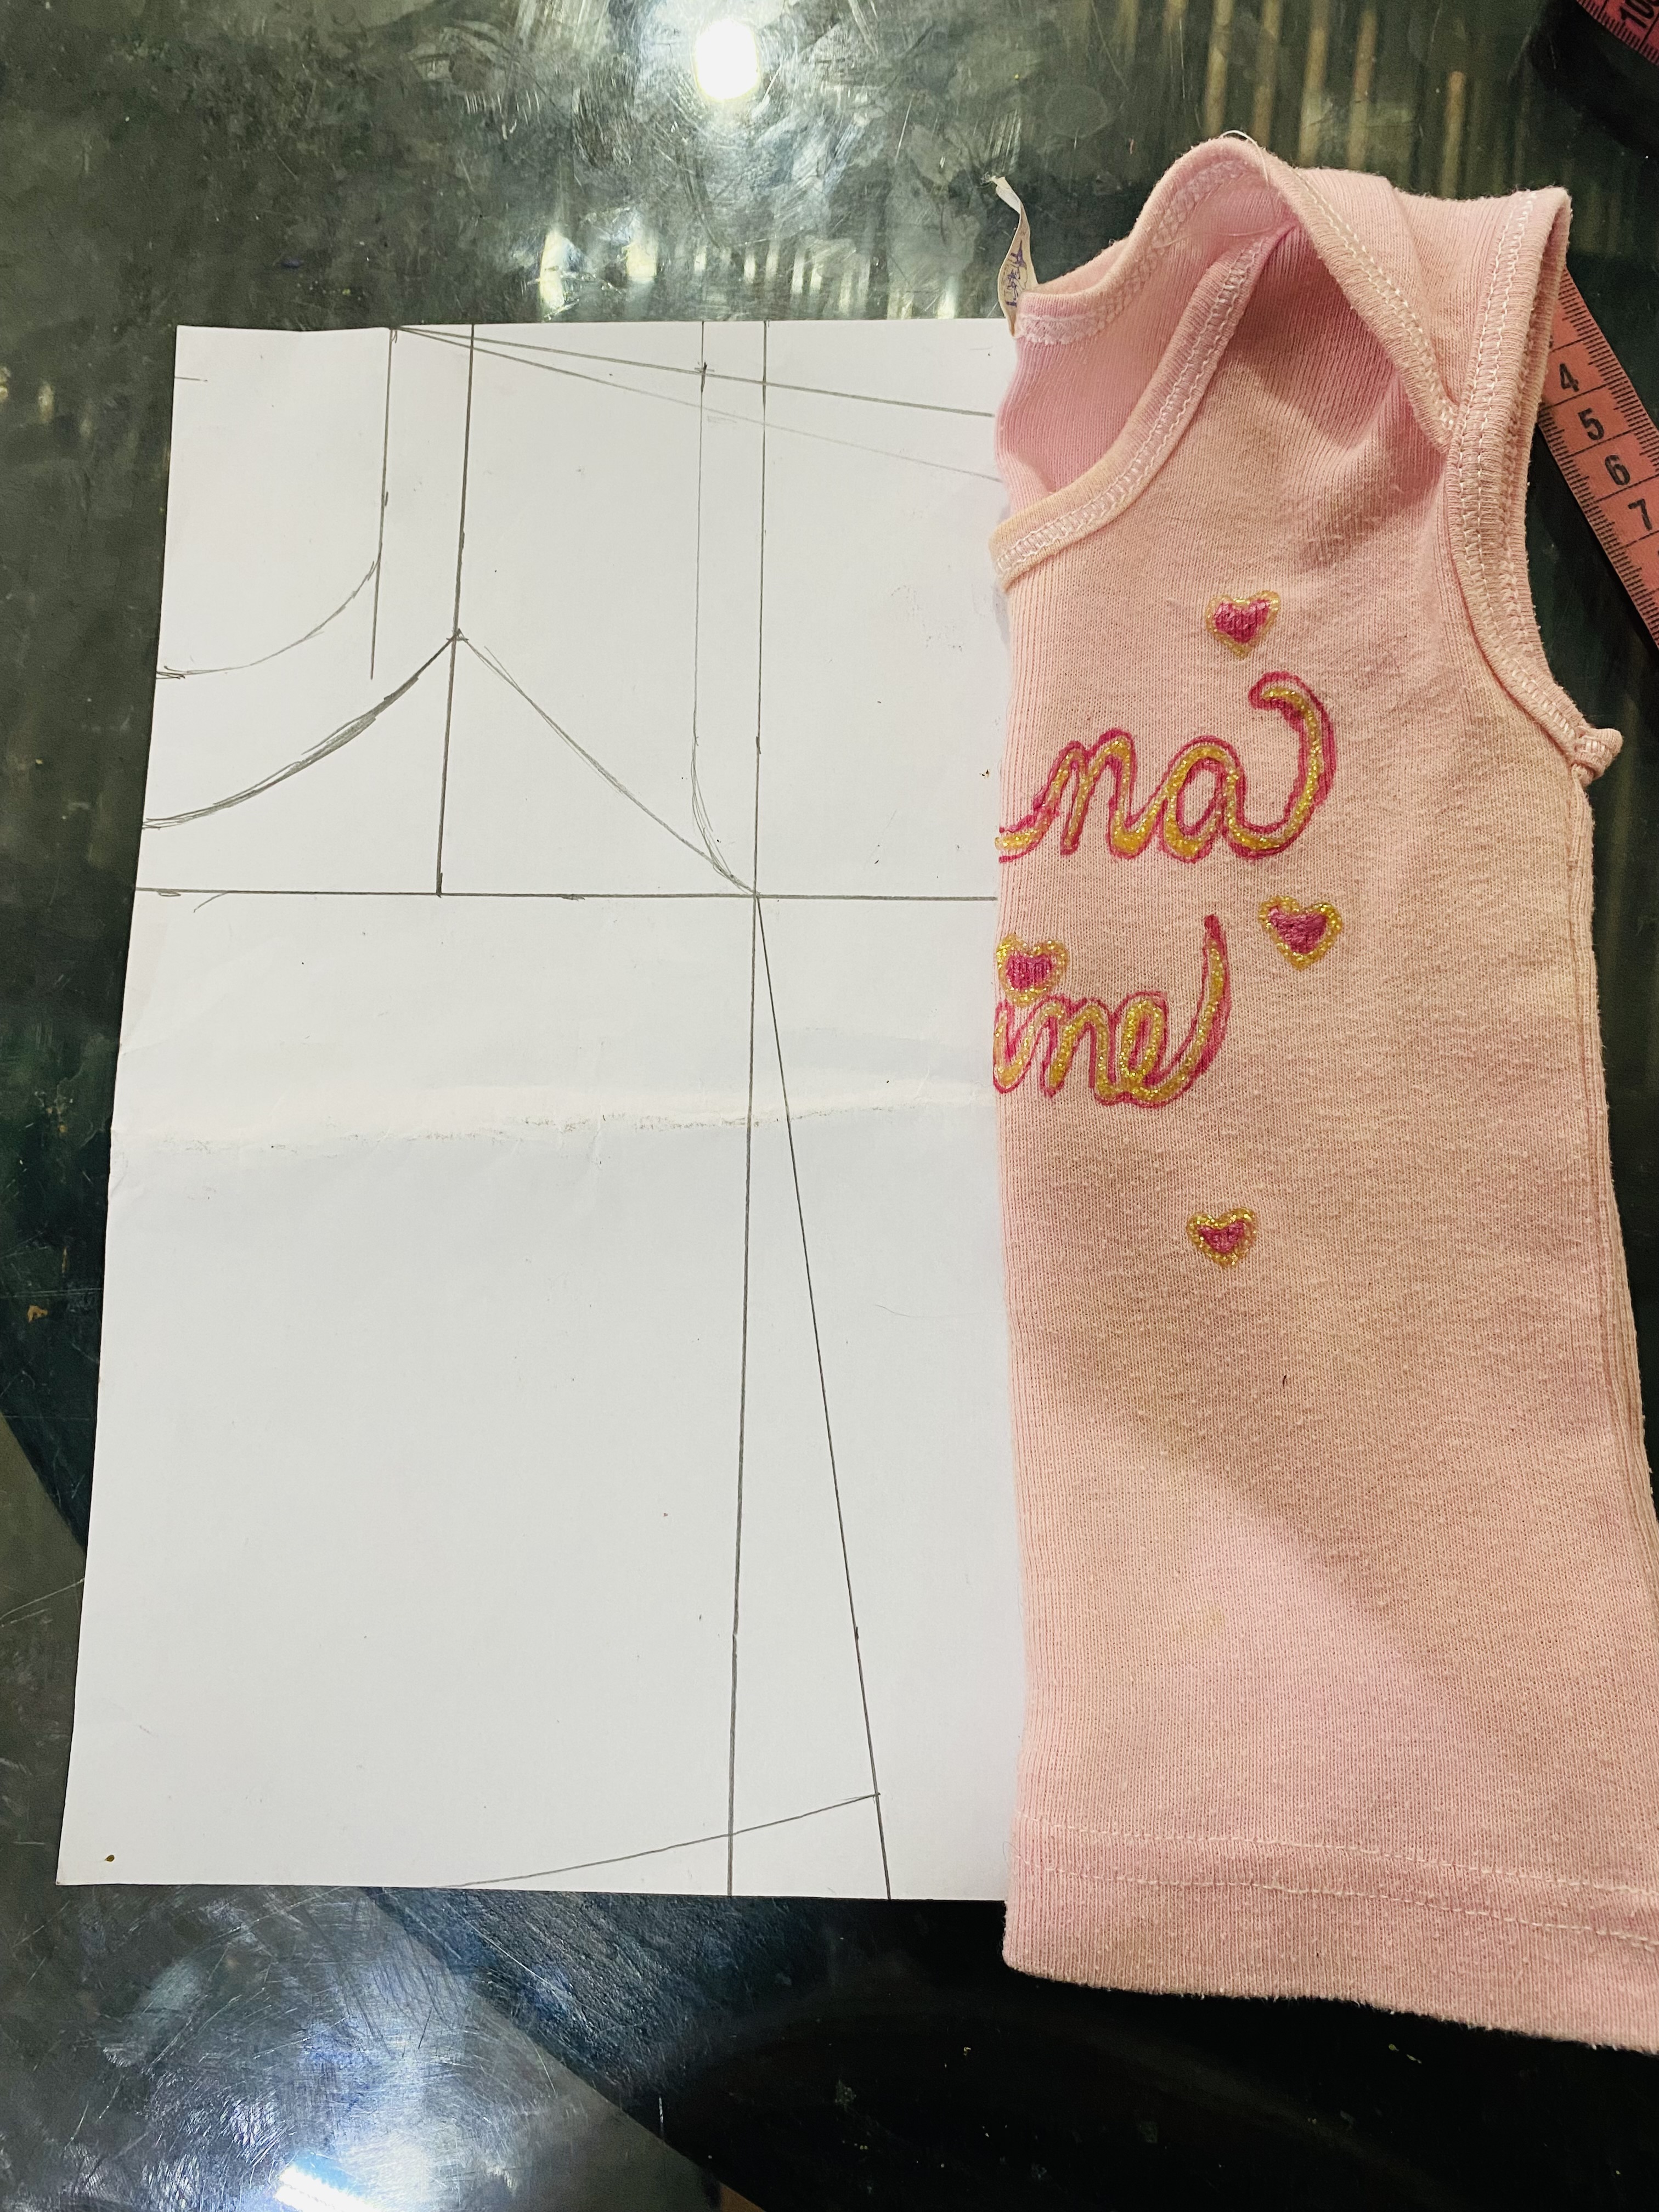
Calculando el tamaño trabajaré con las siguientes medidas:
contorno de busto 11 cm, escote del cuello 4 cm de ancho y bajo 6 cm y le hago una curva, bajo 2 cm en el lateral y trazo la línea para el hombro de 6 cm, ese será como un patrón guía, de allí voy a hacerle las líneas aproximadas para hacer una blusa con tirantes, éste será el modelo que voy a hacer para este conjunto.
To start, I'm going to make the pattern for the little blouse so I'll have it for future projects. I'll use the measurements of a T-shirt my daughter wore when she was little as a guide. Time flies, and this T-shirt has been in storage for 12 years. 😳
To calculate the size, I'll work with the following measurements:
Bust circumference: 11 cm, neckline: 4 cm wide, hem: 6 cm. I'll make a curve, lower it by 2 cm on the side, and draw a line for the shoulder, measuring 6 cm. This will be a guide pattern. From there, I'll draw the approximate lines to make a blouse with straps, This will be the model I'm going to make for this set.
 |  |
|---|---|
 |  |
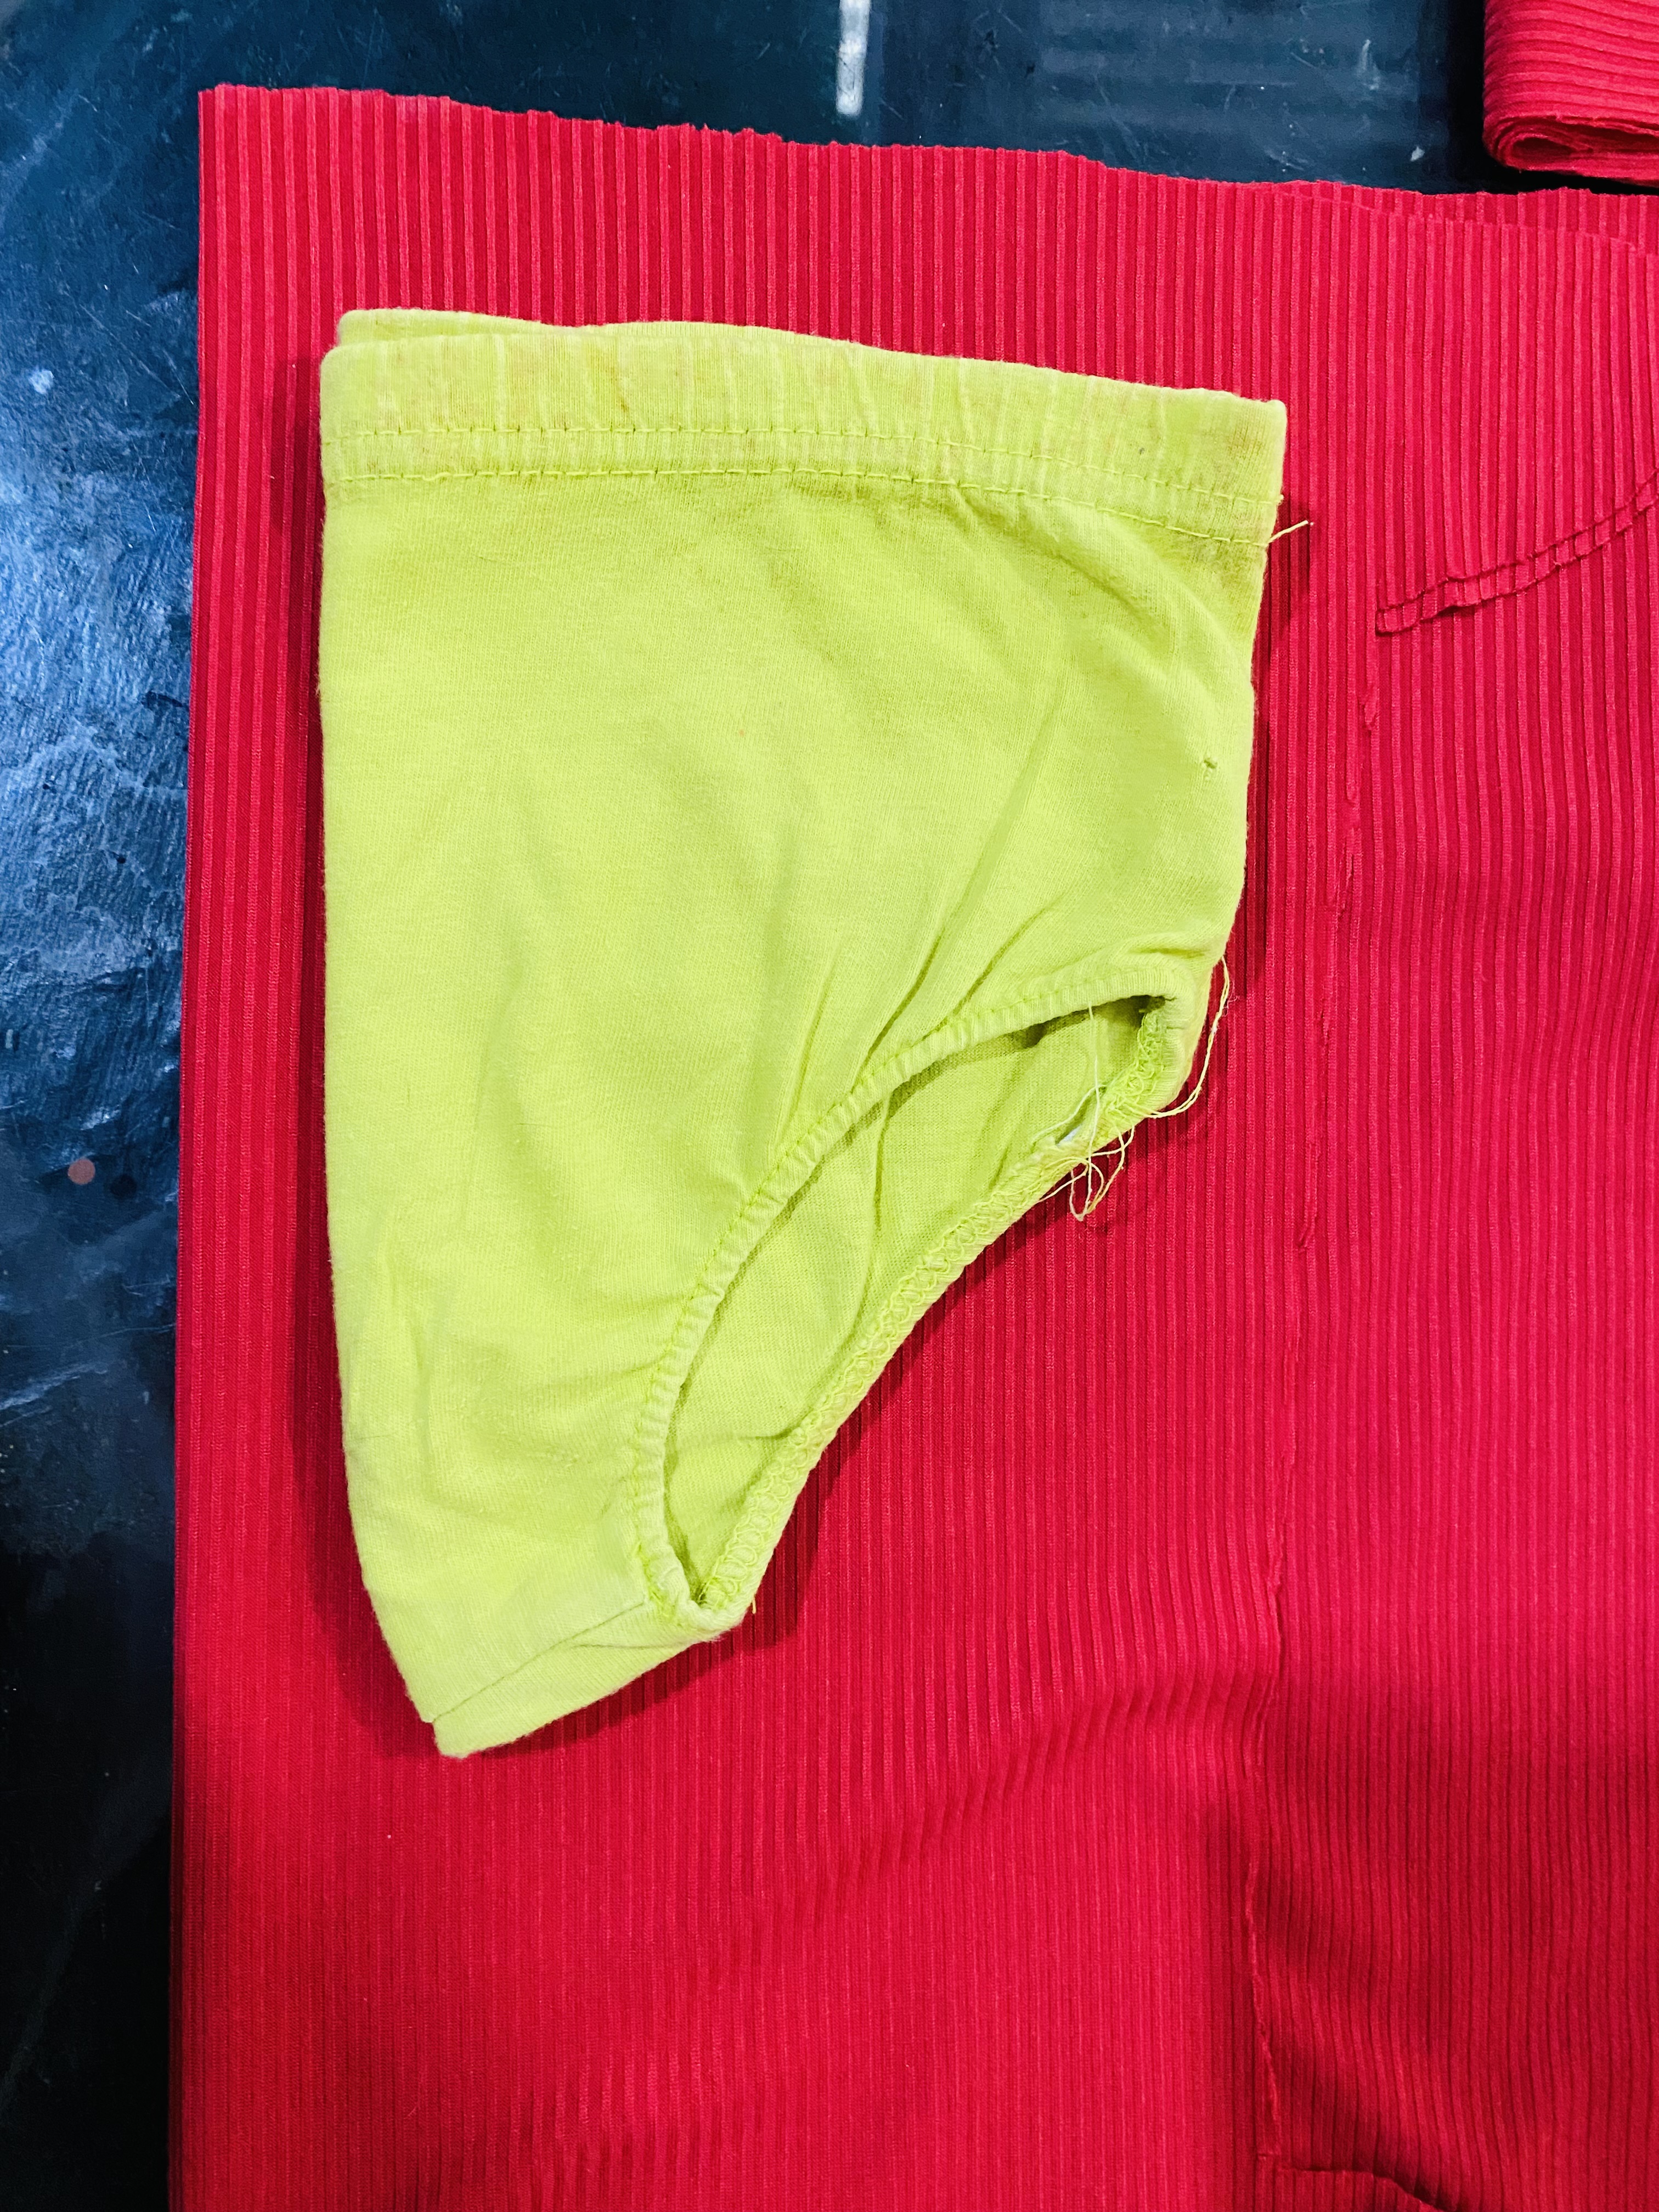
Para completar este conjunto haré una pantys, para esta me guié con una Pantys que también tenía guardada y luego de cortarla la dibujé en papel y así guardaré el patrón para futuros proyectos ya que no tengo las medidas para hacer ropa de bebé y las medidas serán las siguientes:
El contorno de cintura 16 cm al doble, el largo de fundillo en la parte de atrás 26cm y para la parte de adelante 25 cm y le hacemos una curva hacia adentro en el contorno de pierna sólo a la parte de adelante
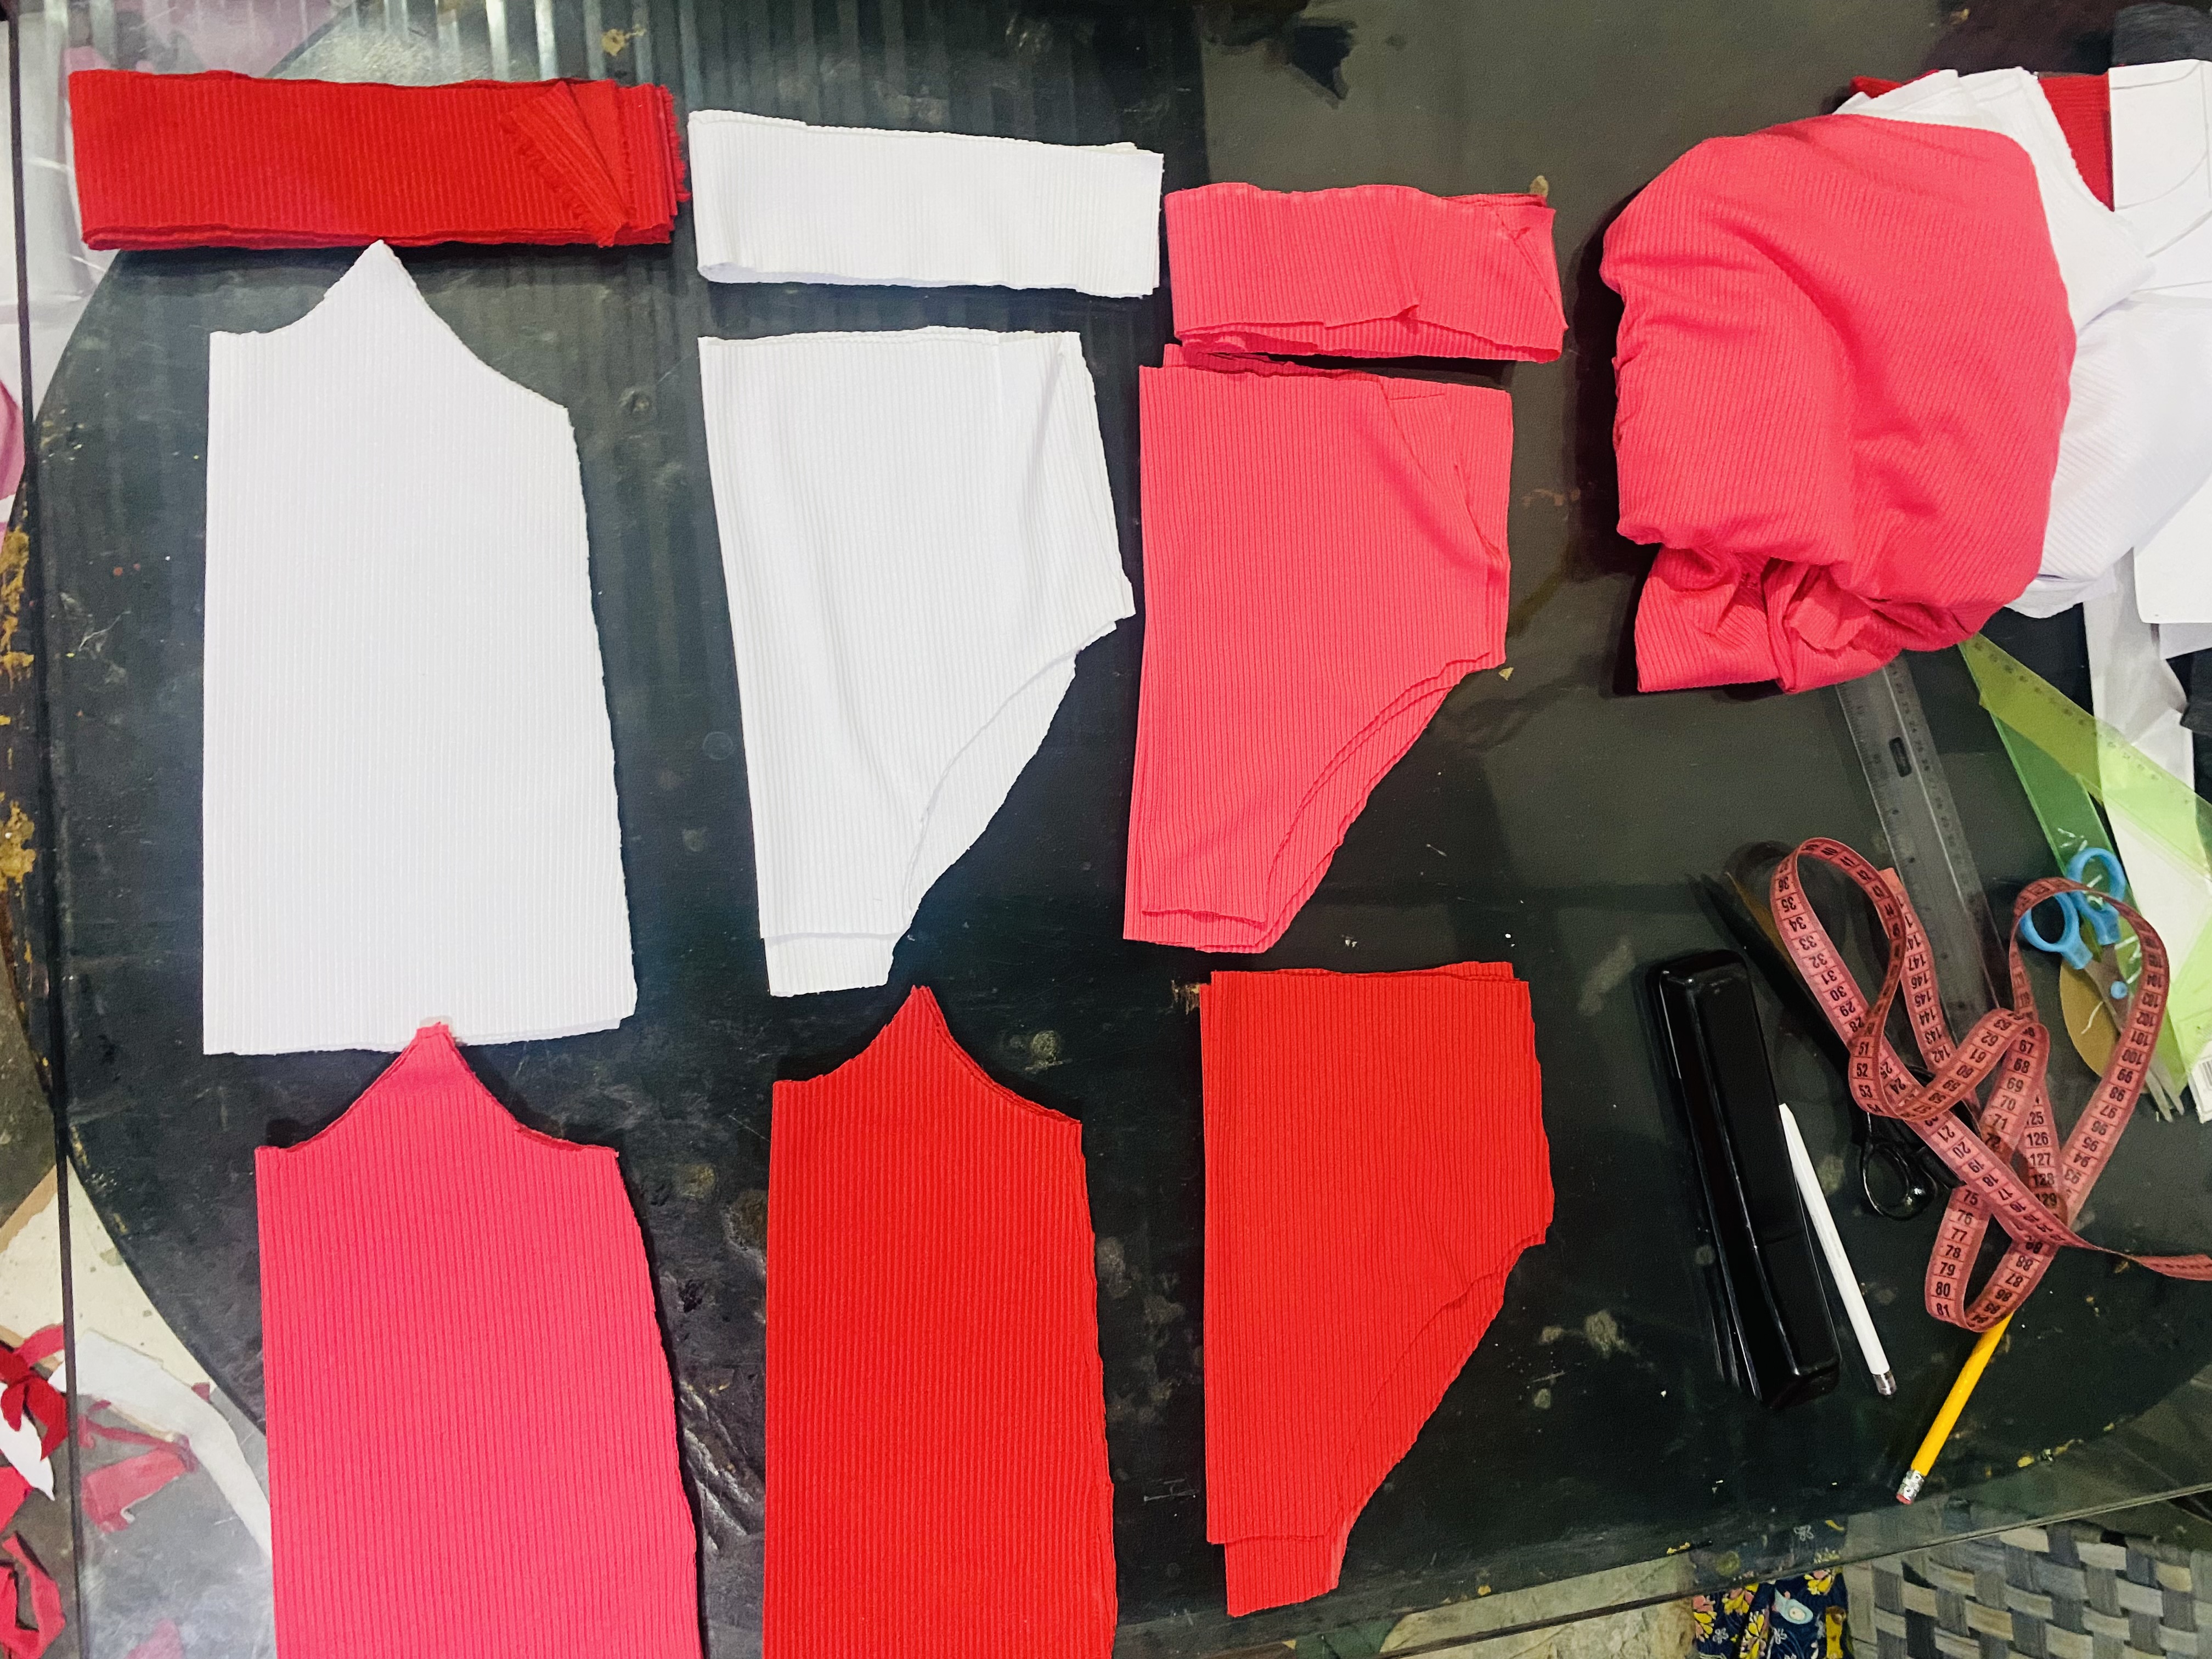
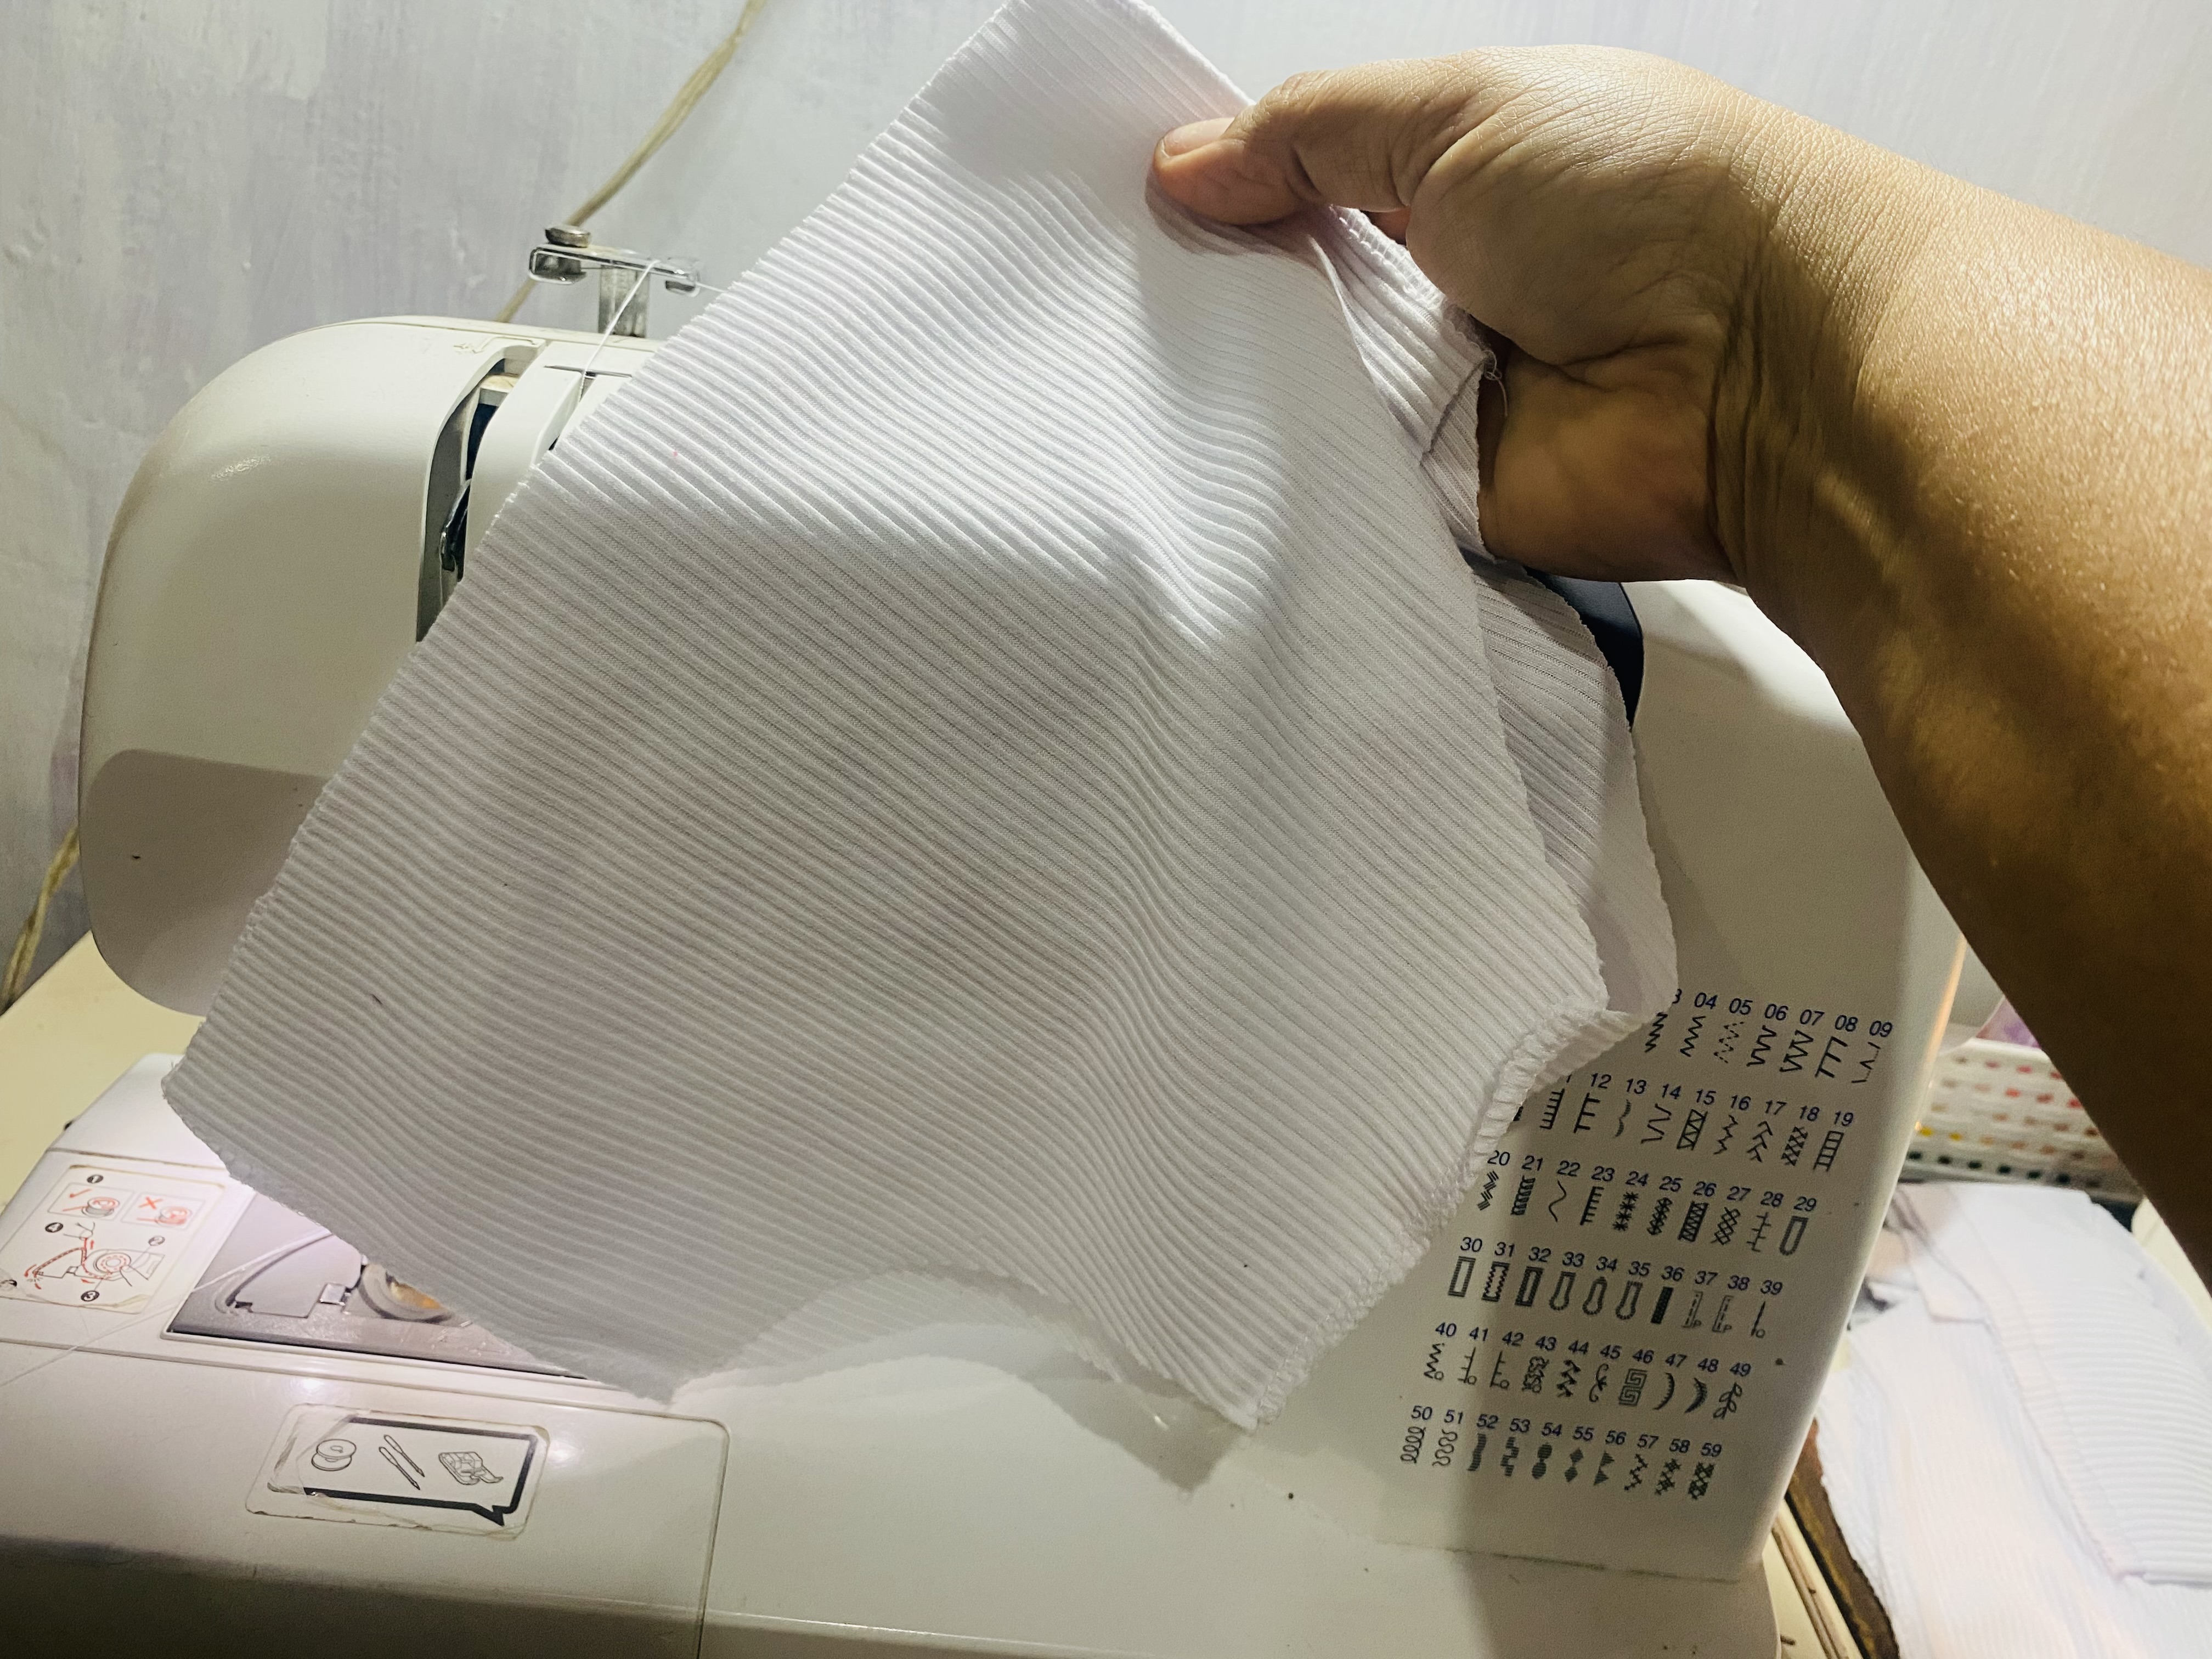
Aparte vamos a cortar una tira de tela de 5 cm de ancha esta será para el sesgo de la orilla de la blusa y para la orilla del contorno de pierna de la panty, el mismo proceso lo hice con los otros dos colores de tela, trabajaré con el conjunto en color blanco.
To complete this outfit, I'll make a pair of tights. For this one, I used a pair of tights I also had in storage, and after cutting them, I drew them on paper. I'll save the pattern for future projects since I don't have the measurements to make baby clothes. The measurements will be as follows:
Waist circumference: 16 cm doubled, hem length: 26 cm in the back, and 25 cm in the front. We'll make an inward curve at the leg circumference, only on the front.Separately, we'll cut a 5 cm wide strip of fabric. This will be for the bias hem of the blouse and for the leg hem of the tights. I did the same process with the other two colors of fabric. I'll be working with the outfit in white.
 |  |
|---|
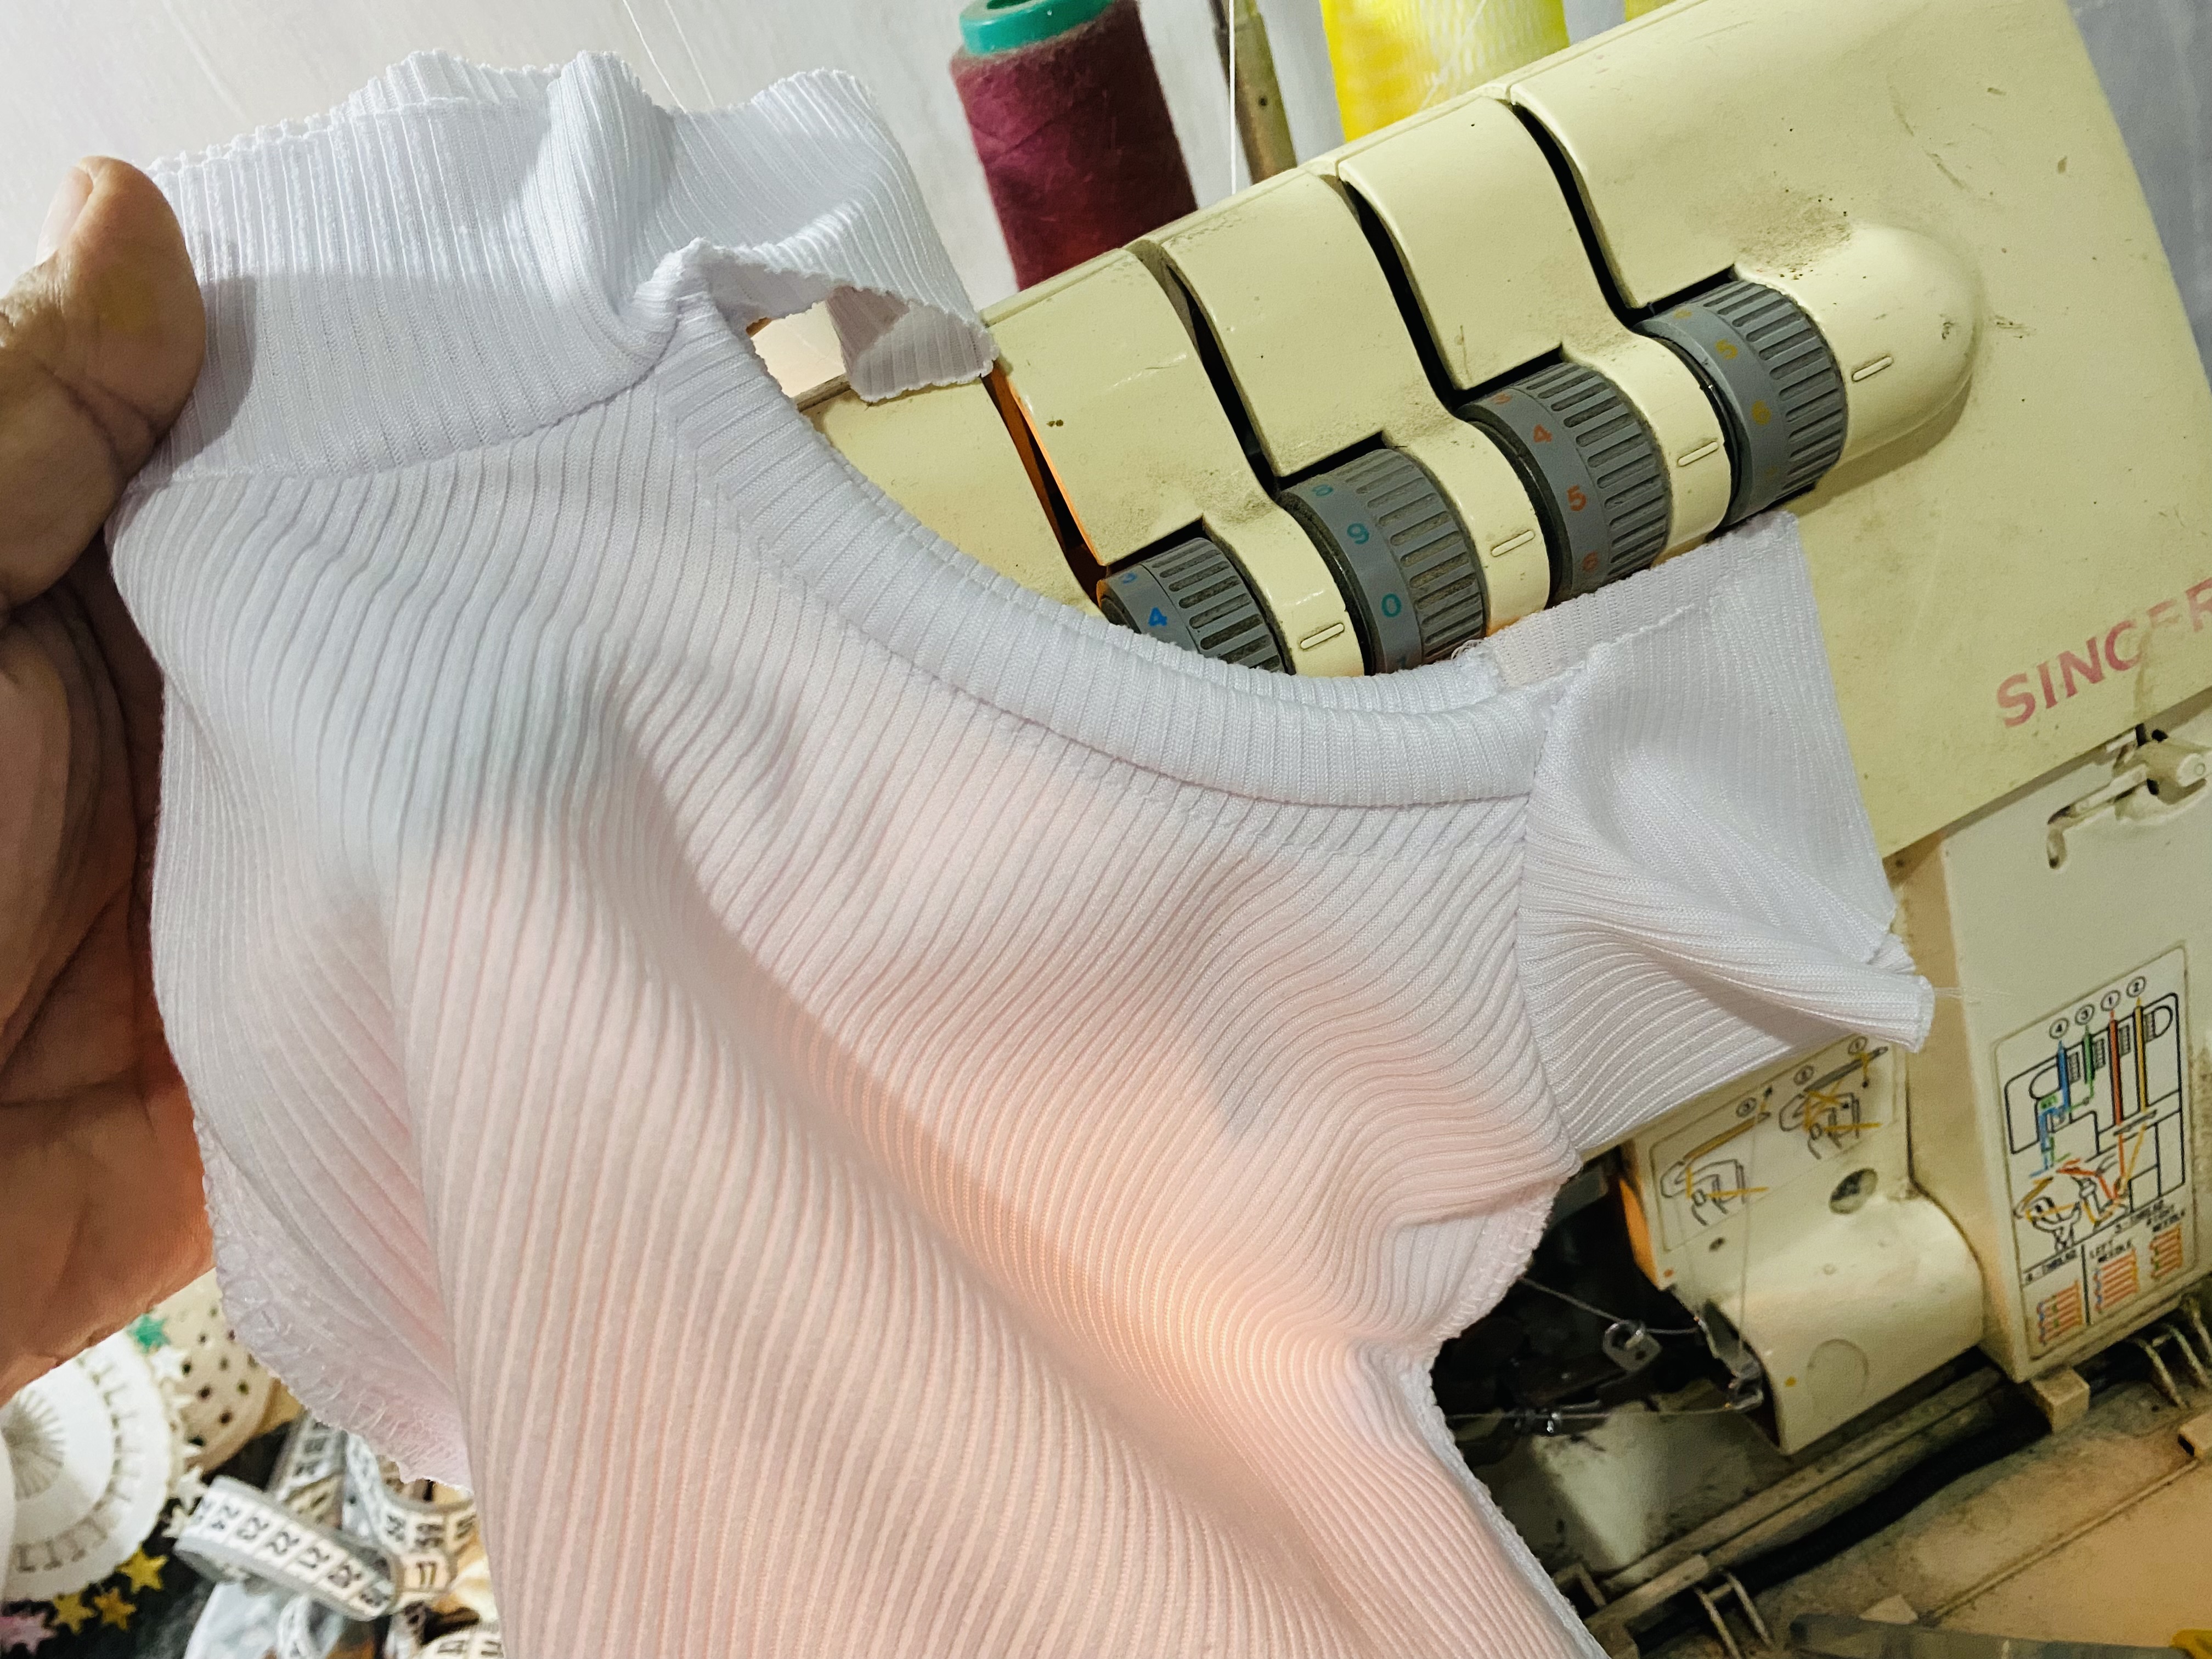
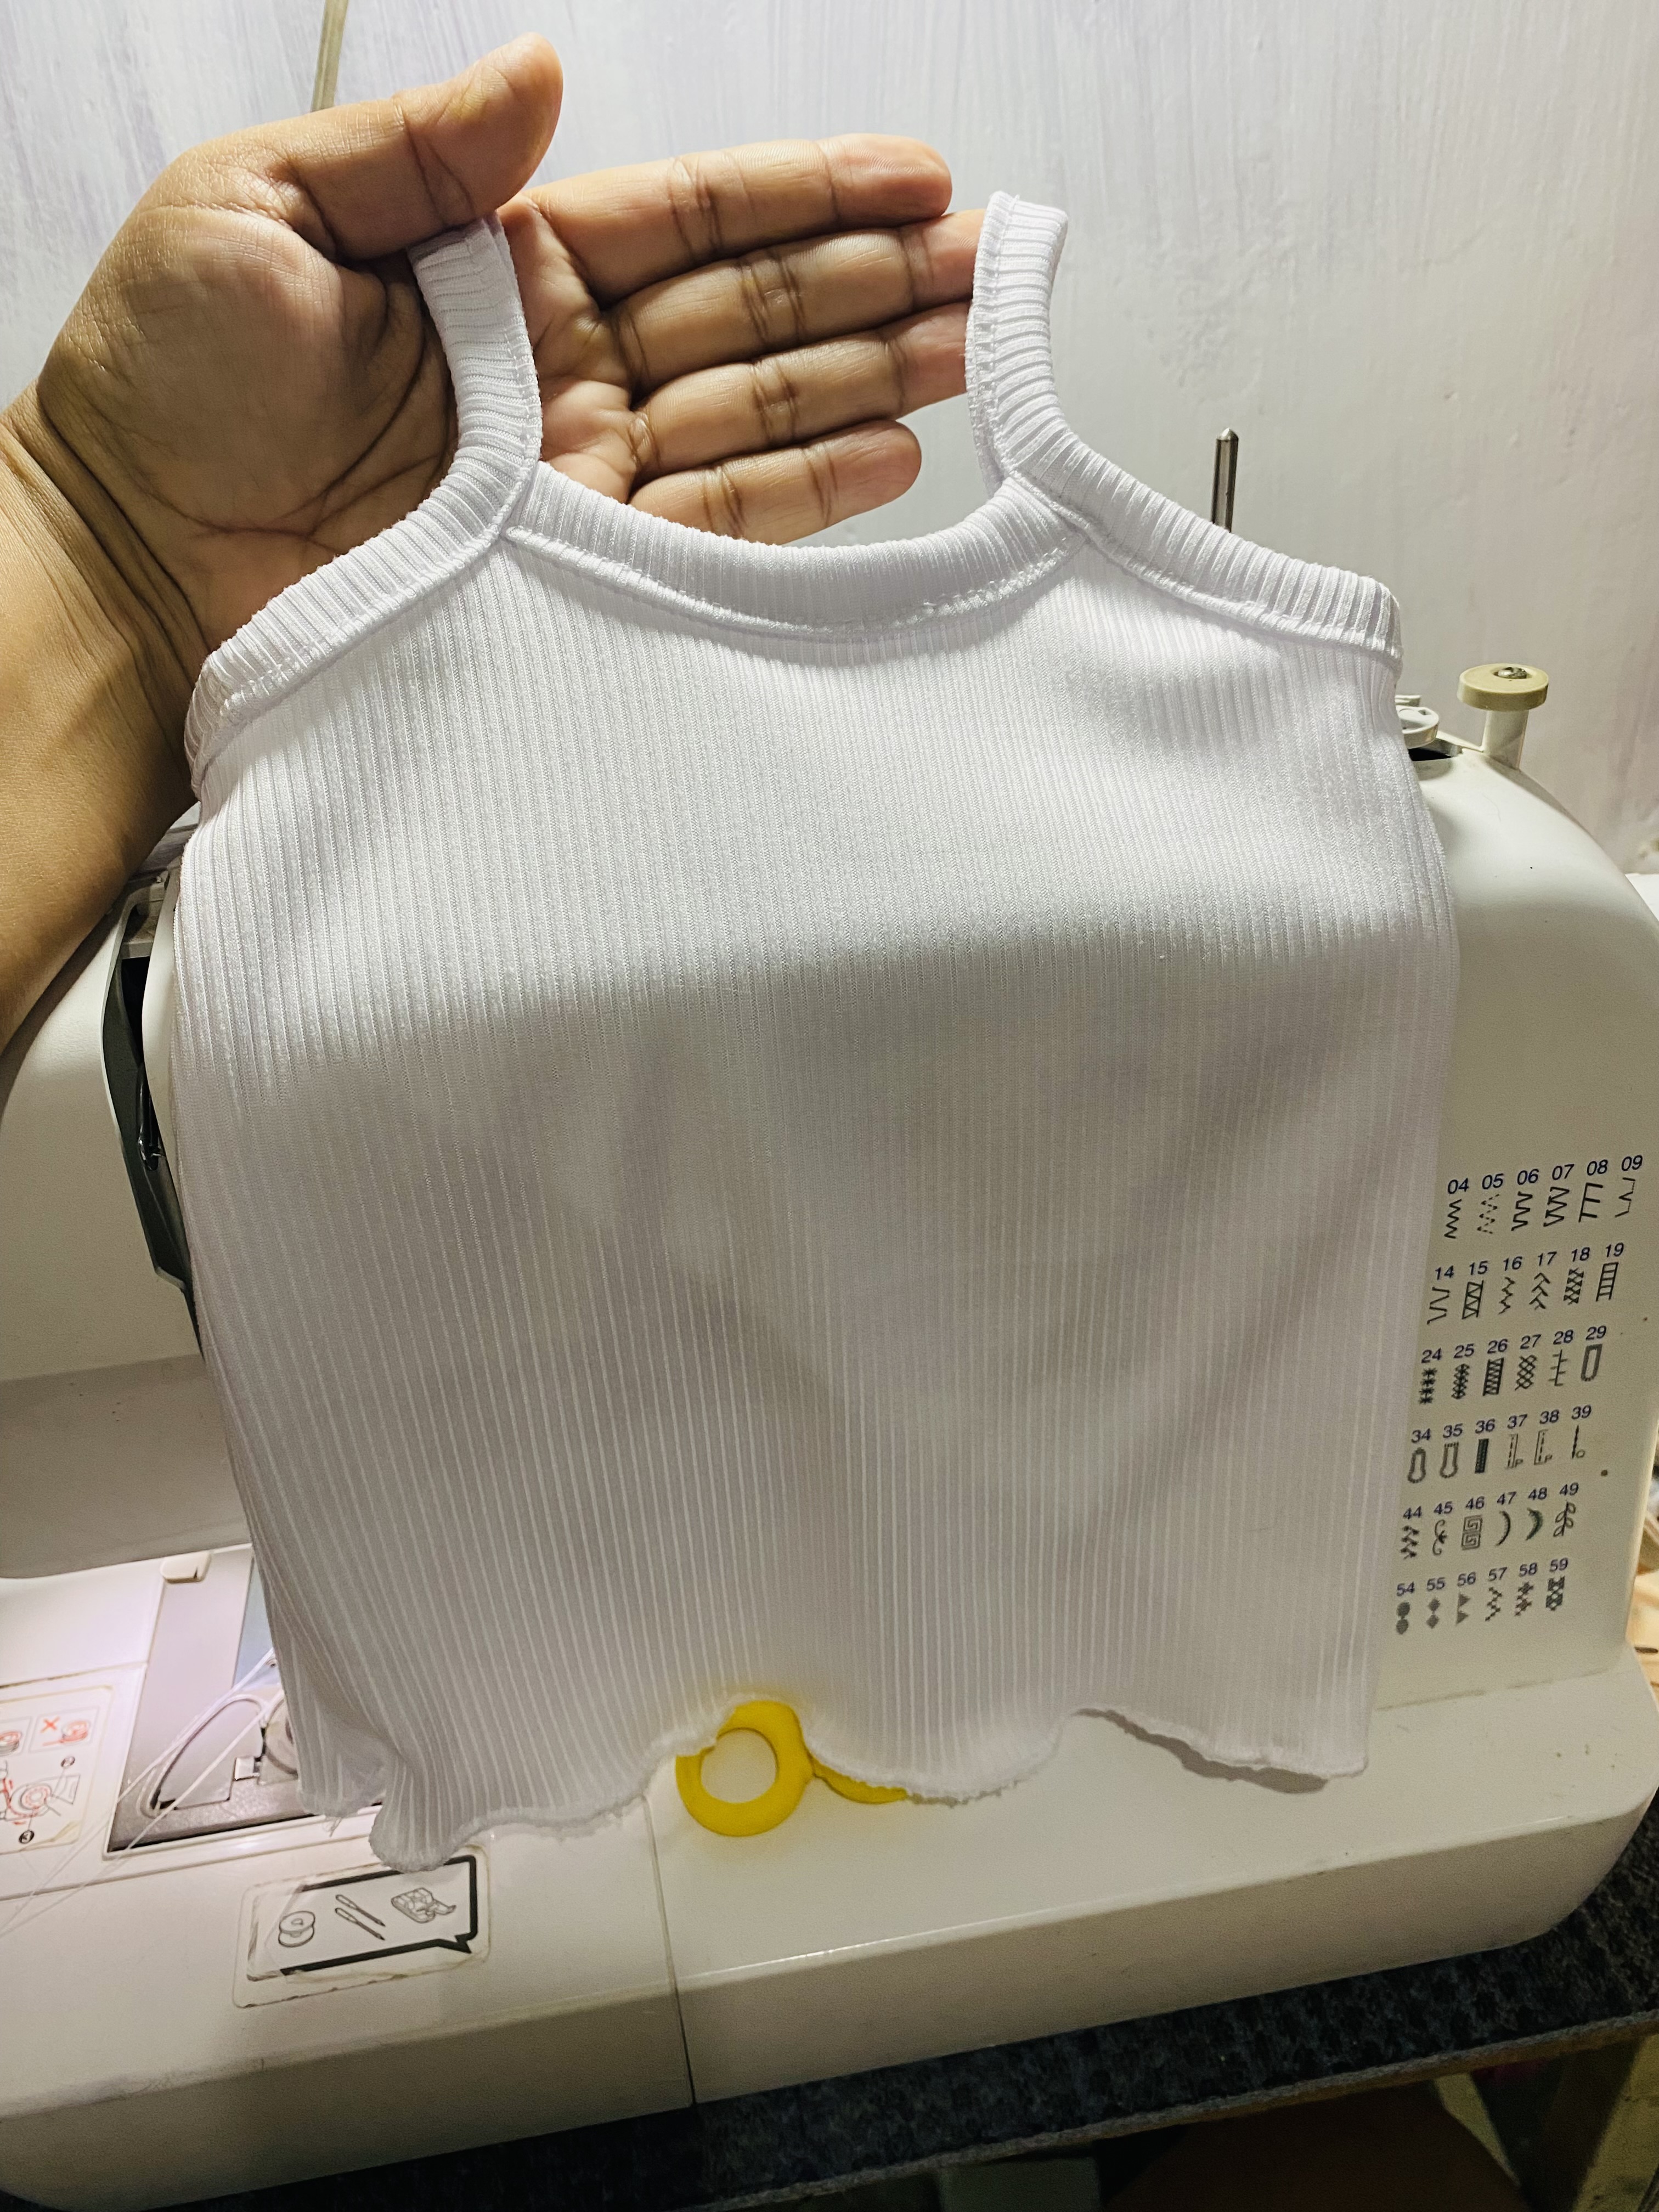
Para el siguiente paso vamos a comenzar con las costuras, en mi caso me estoy ayudando con la Overlook, pero también pasaré costura recta para reforzar ya que mi Overlook ha perdido un poco la tensión de los hilos y la costura queda un poco floja, unimos la blusa por ambos laterales y luego le unimos el sesgo en los escotes del cuello de la blusa.
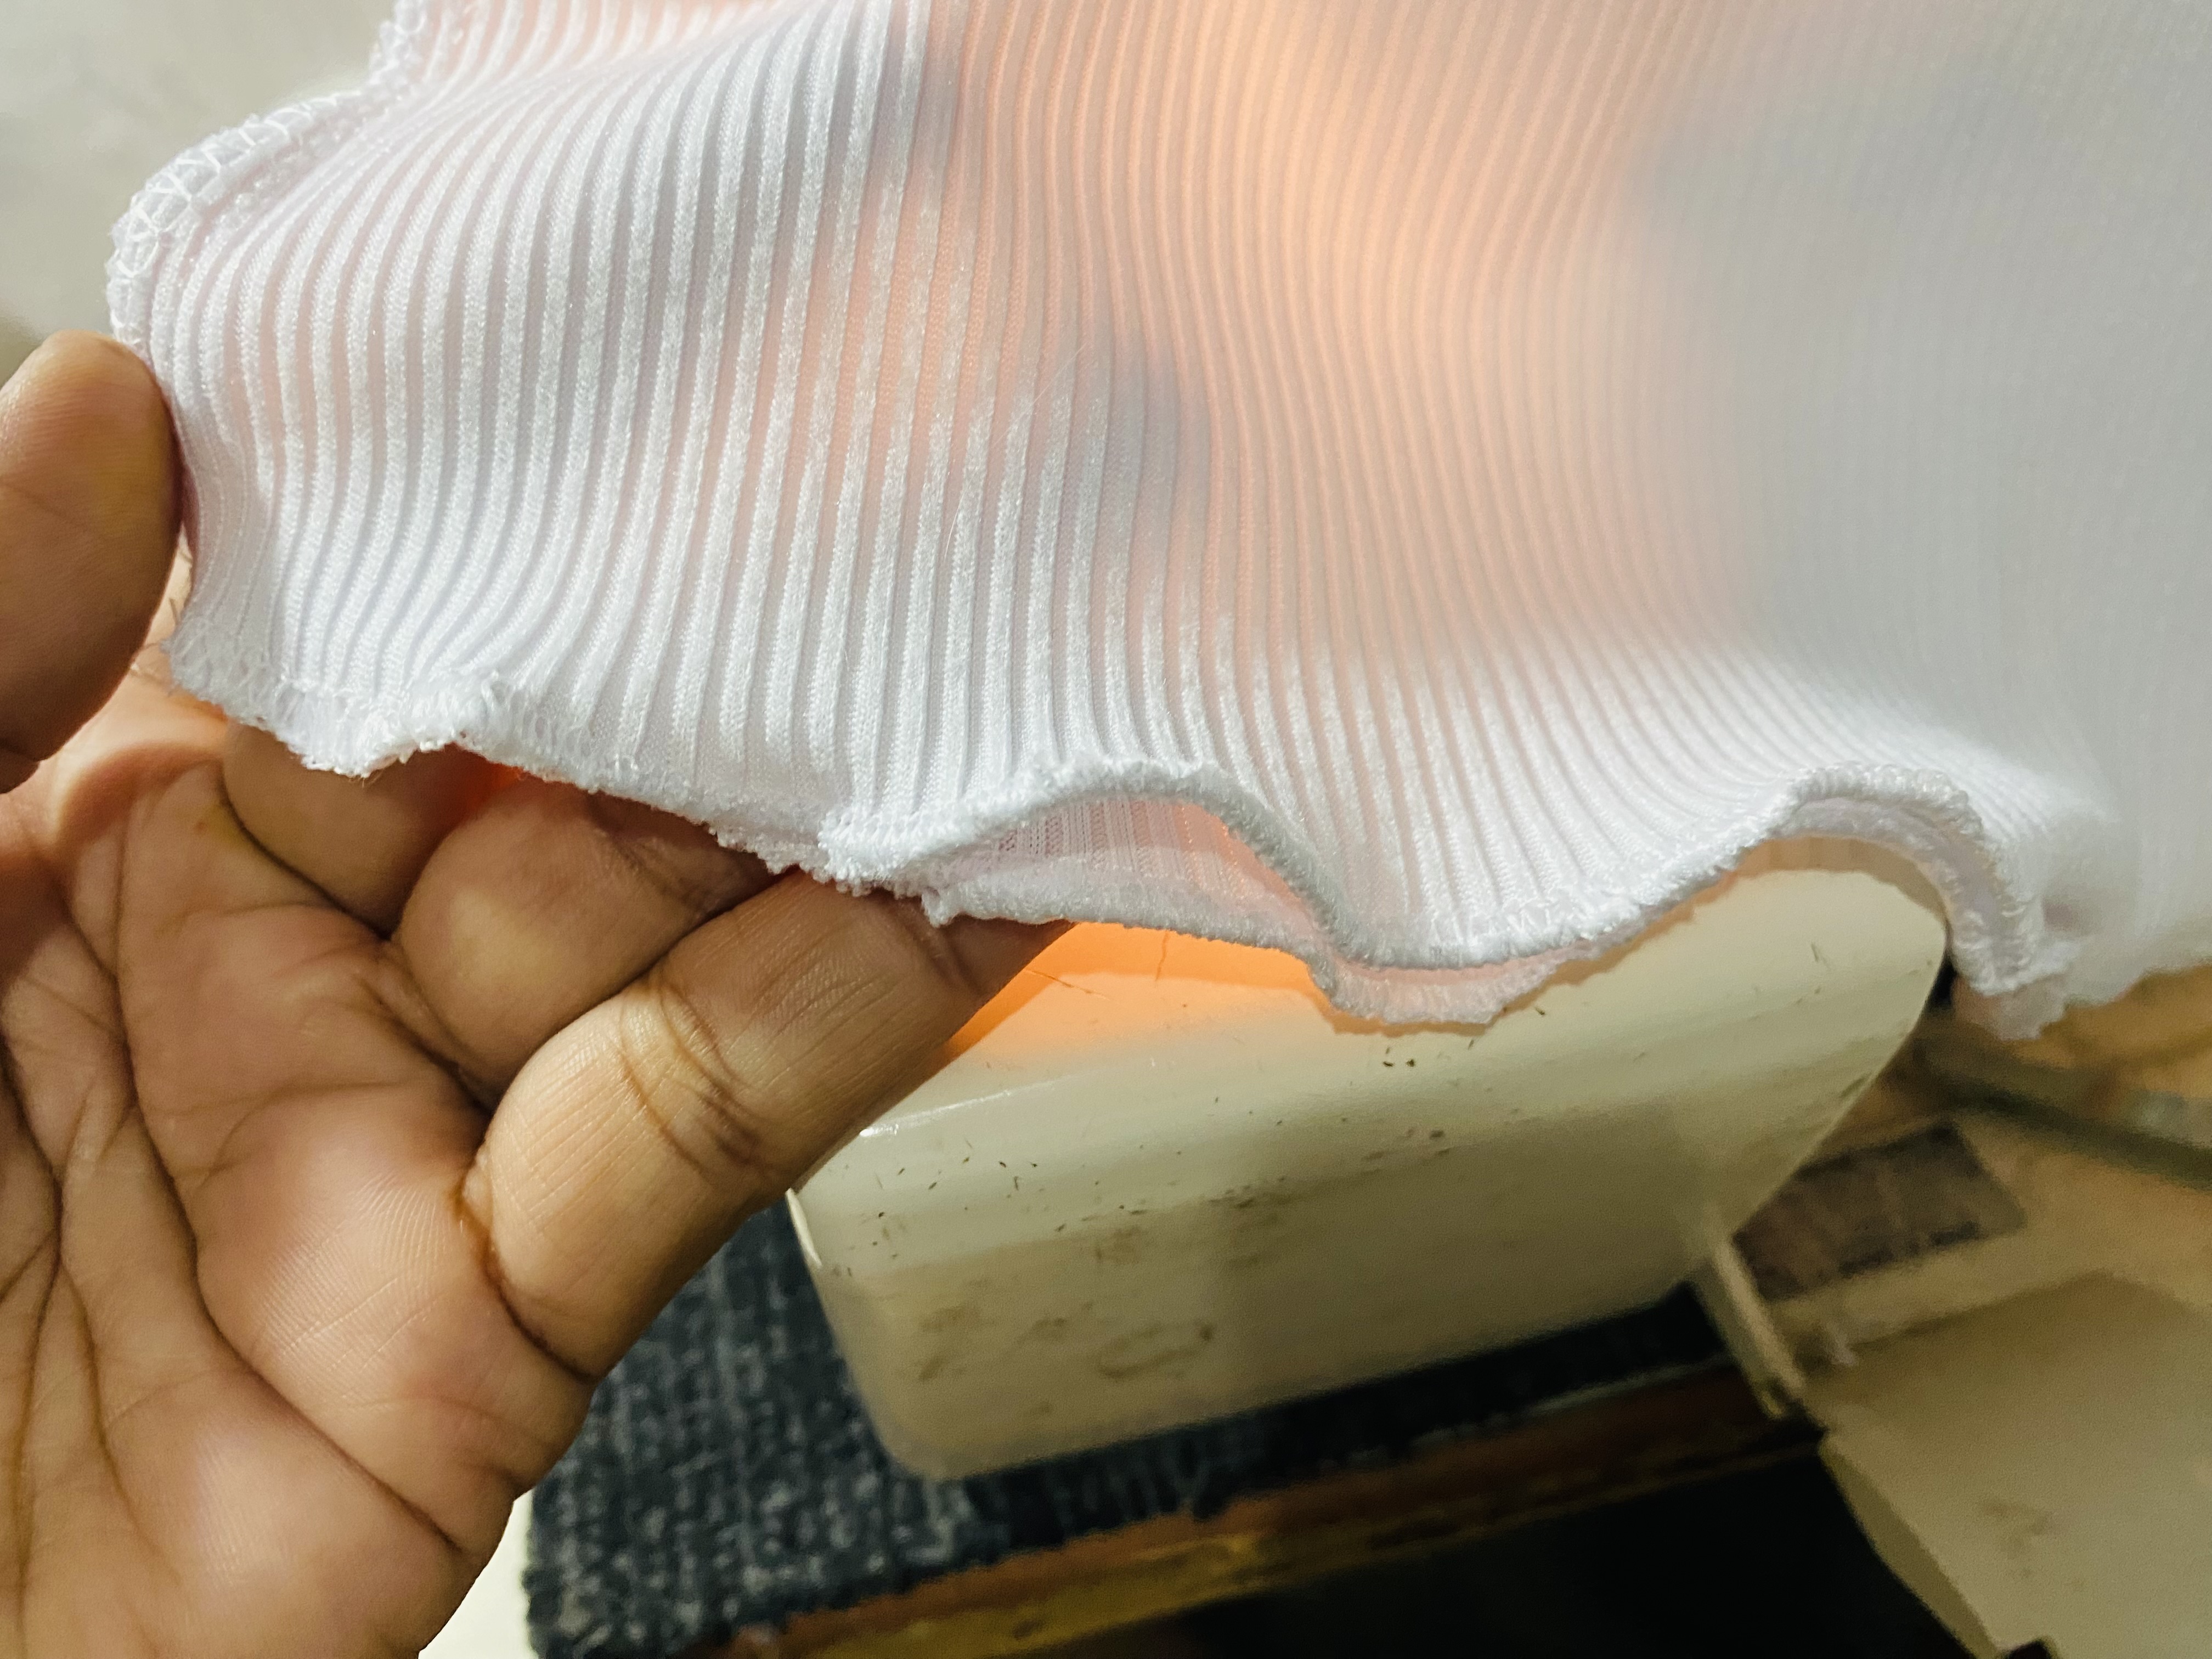
Luego al pasarle la costura externa al sesgo del contorno de cuello vamos a coser el sesgo para el contorno de manga o tirantes, para esto calculé la medida con el patrón que hice y así no me quedarán tan largos, luego le paso la costura externa y para el ruedo le voy a pasar solamente overlock, la ventaja de este tipo de costura es que ella queda muy bonita para el ruido y no es necesario en muchos casos pasar costura recta.
For the next step, we'll start with the seams. In my case, I'm using an overlock stitch, but I'll also use a straight stitch to reinforce the stitching. My overlock stitch has lost some of its thread tension, leaving the seam a little loose. We sew the blouse together on both sides and then sew the bias binding to the neckline.
Then, after sewing the outer seam to the bias binding around the neckline, we'll sew the bias binding for the sleeve or straps. To do this, I calculated the measurements using the pattern I made, so they won't be so long. Then, I sew the outer seam, and for the hem, I'll just overlock it. The advantage of this type of stitching is that it looks very nice, and in many cases, it's not necessary to use a straight stitch.
 |  |
|---|---|
 |  |
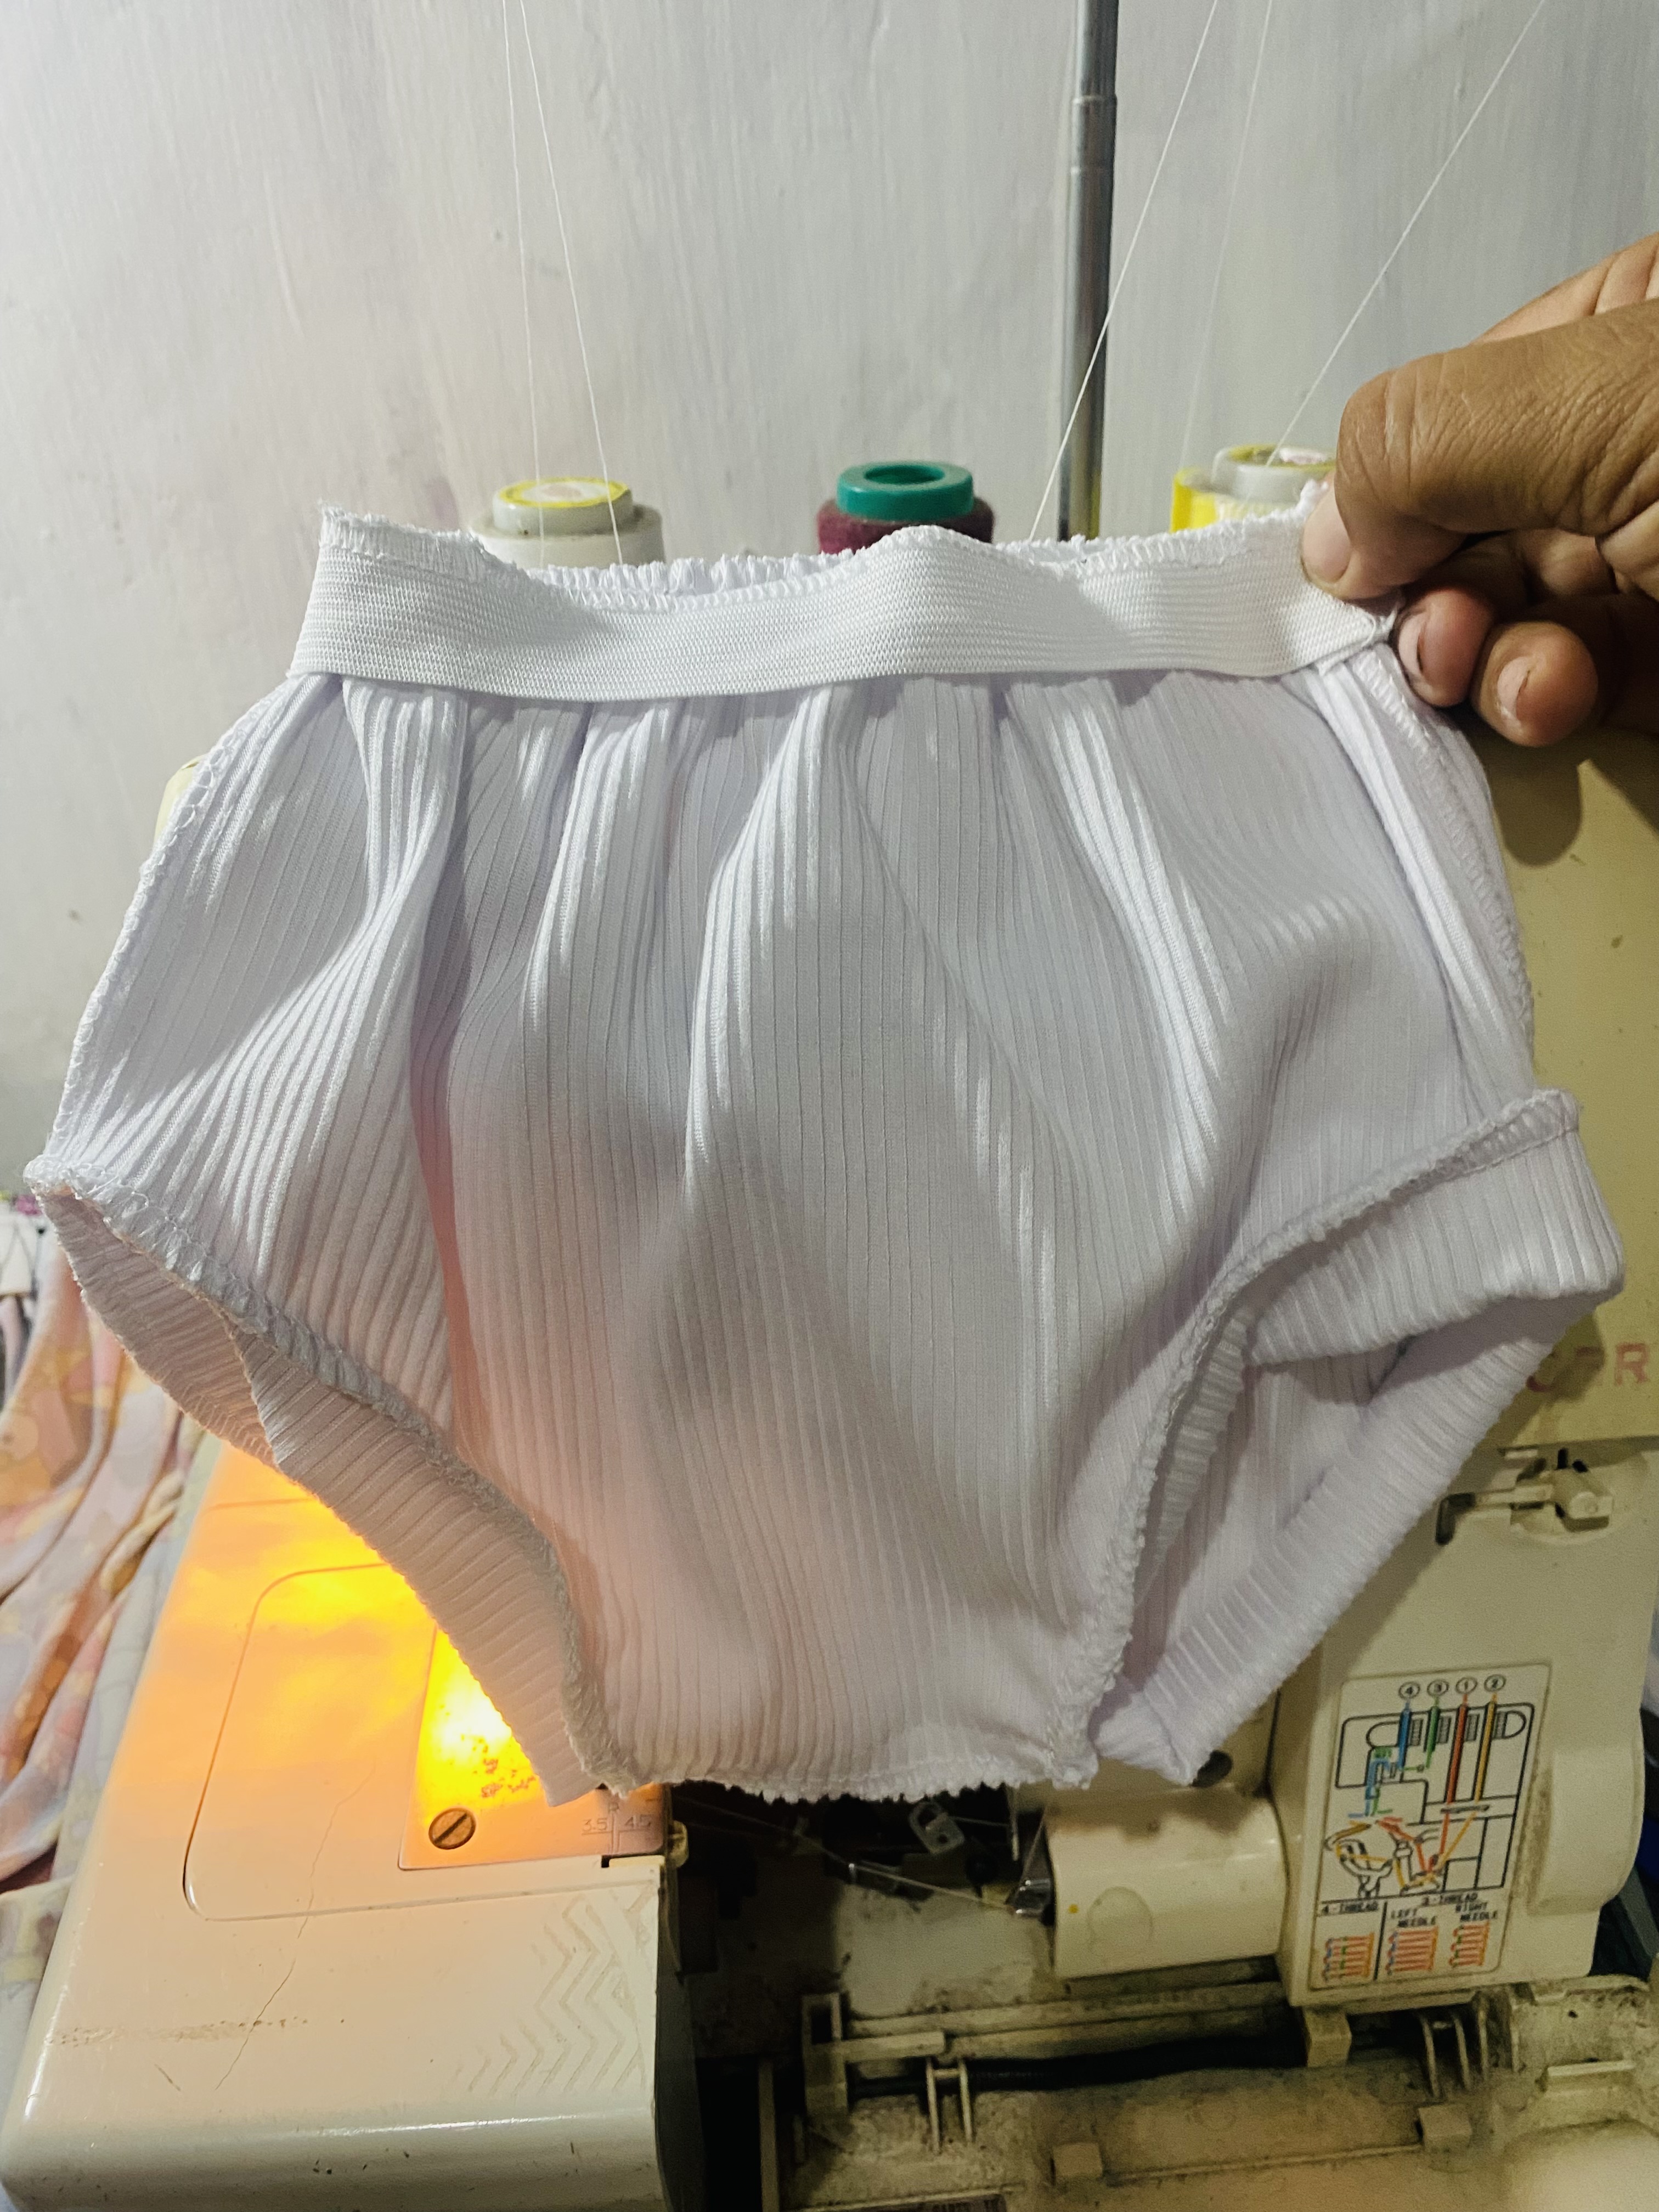
Continuamos con la pantys, le vamos a pasar costura en los laterales y en el fundillo luego hacemos la orilla en el contorno de pierna con parte de la tira que cortamos de 5 cm, tuve que cortarle 1 cm por cada orilla de la pantys ya que me parecía que estaba muy grande, el contorno de piernas me quedó de 26 cm, para la cintura de la pantys cortare el elástico de 34 cm quise hacerla pequeña ya que la bebé está recién nacida y podrá usarla de una vez, luego de unir el elástico le paso una costura recta por la parte externa y así ya está lista esta linda prenda.
We continue with the tights, we are going to sew on the sides and on the hem then we make the edge on the leg contour with part of the strip that we cut 5 cm, I had to cut 1 cm from each edge of the tights since it seemed to me that it was too big, the leg contour was 26 cm, for the waist of the tights I will cut the elastic to 34 cm I wanted to make it small since the baby is just born and will be able to use it at once, after joining the elastic I make a straight seam on the outside and so this cute garment is ready.
 |  |
|---|---|
 |  |
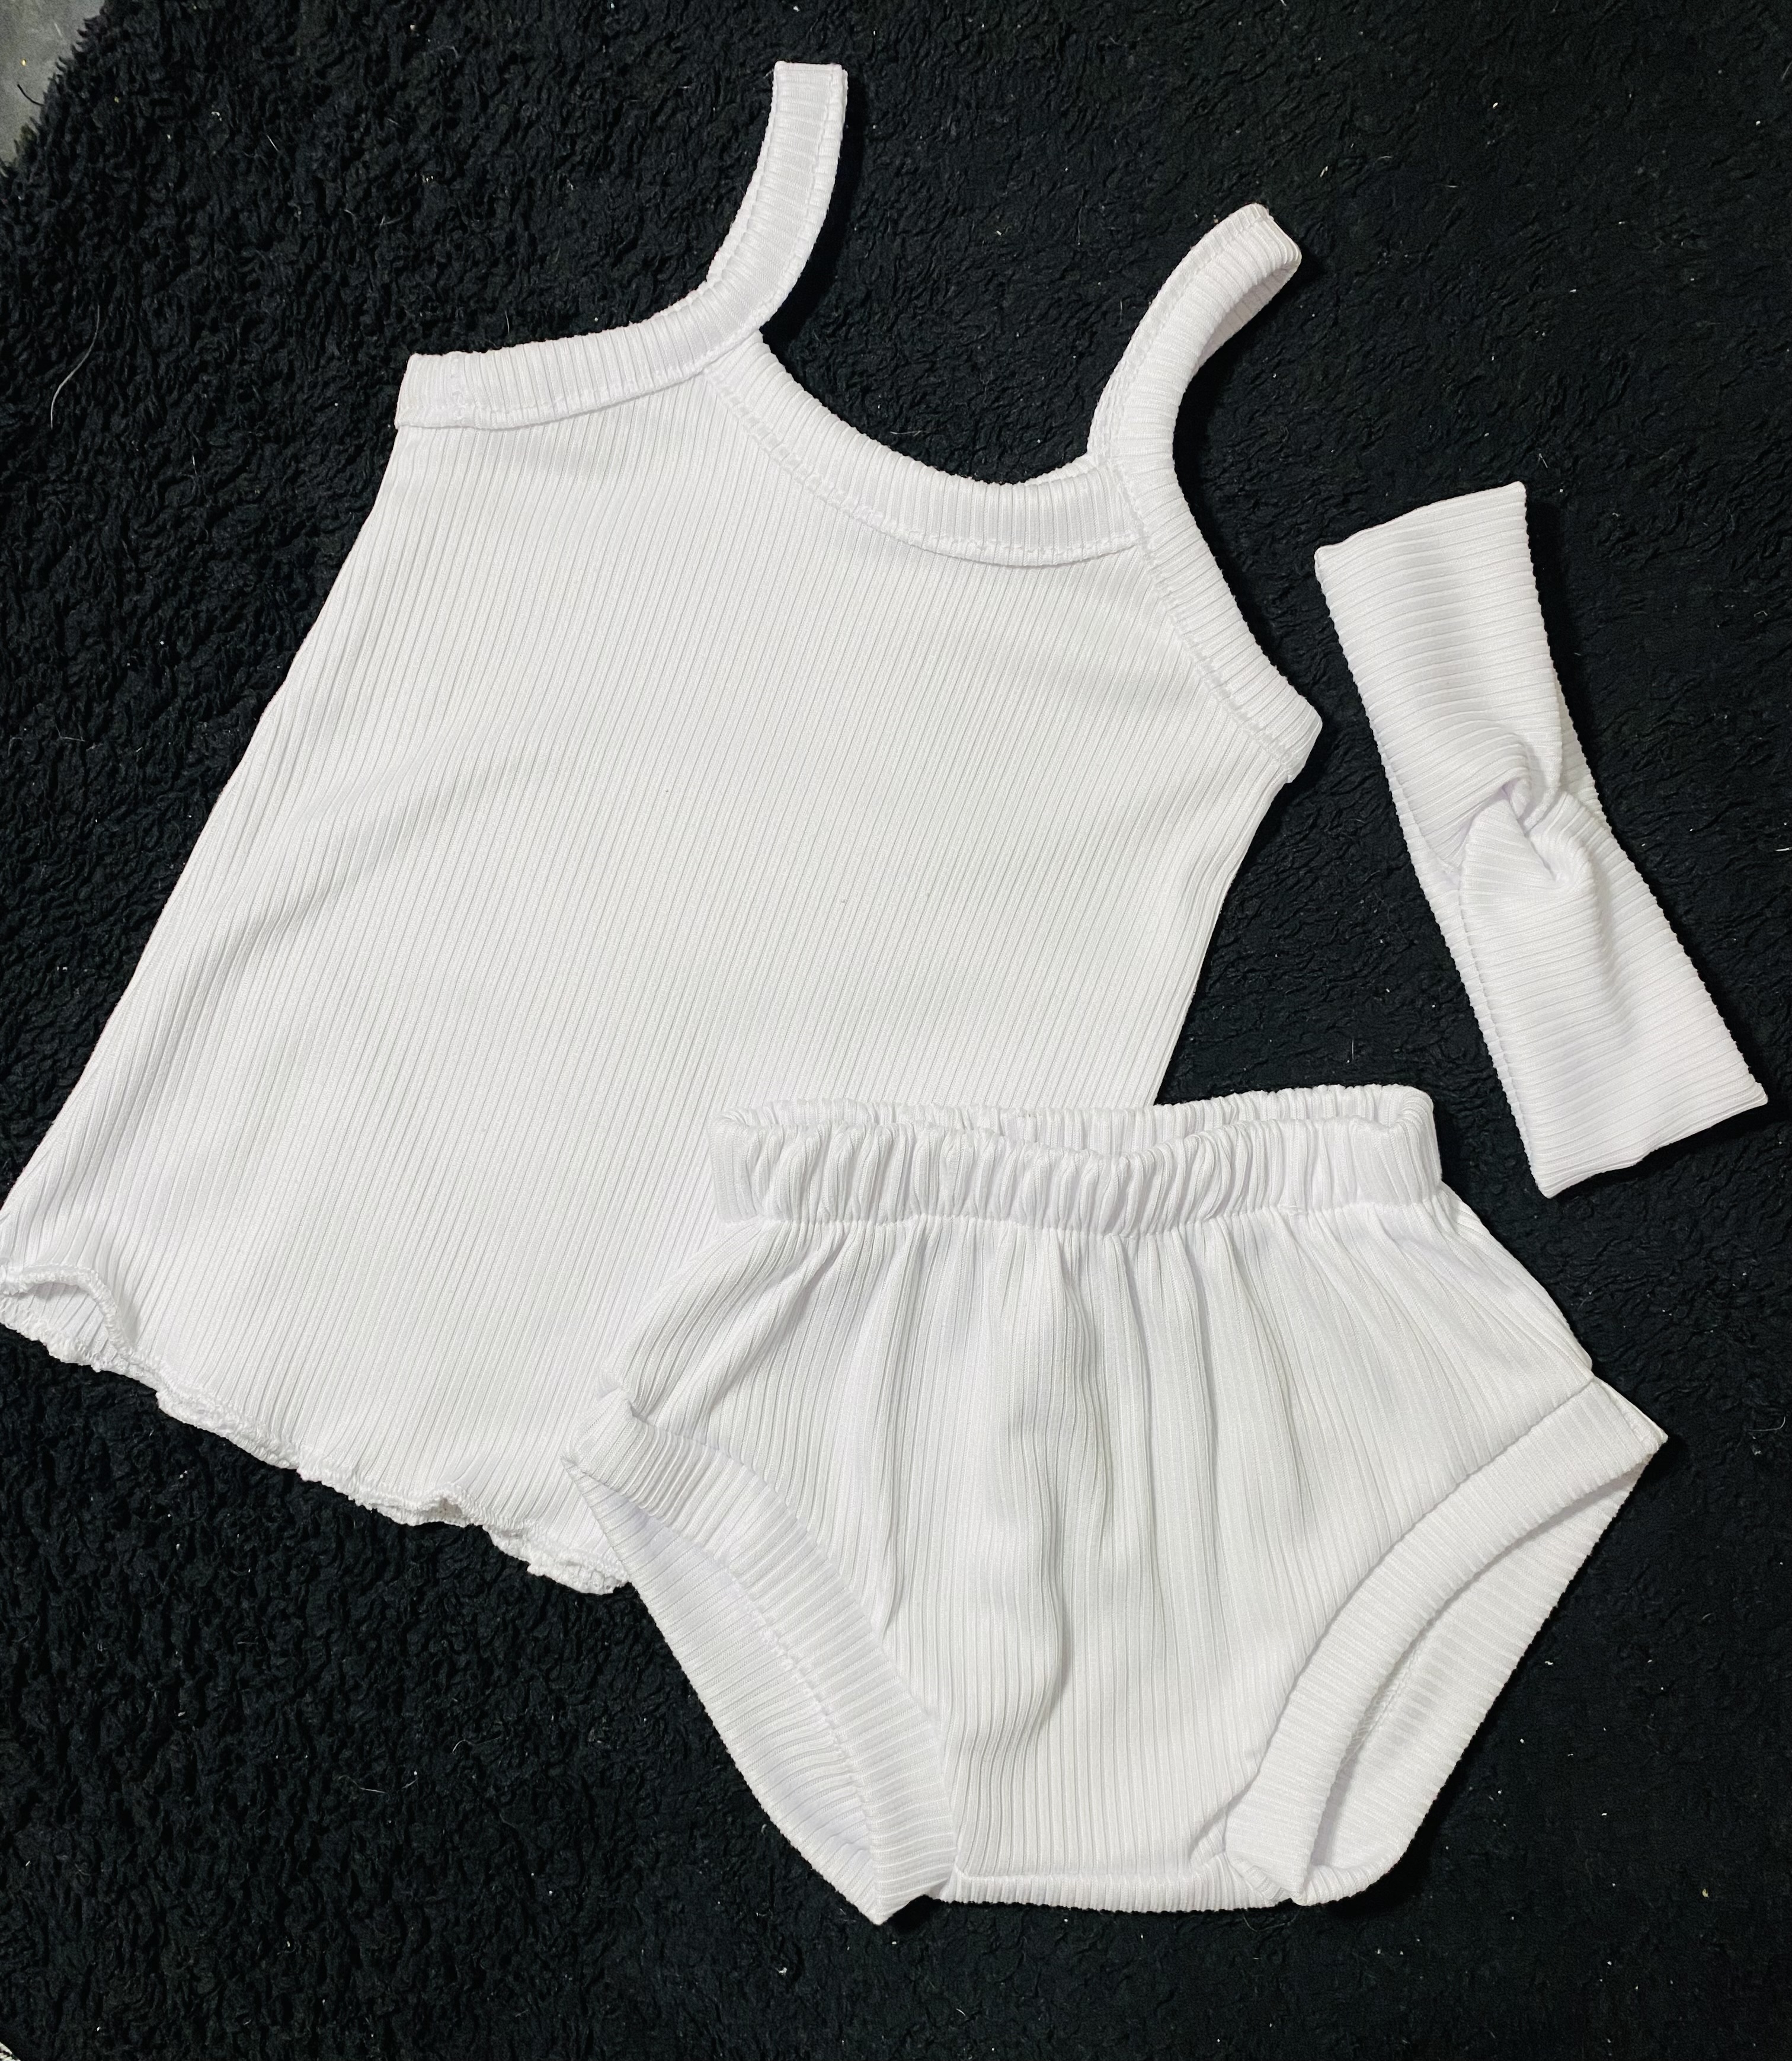
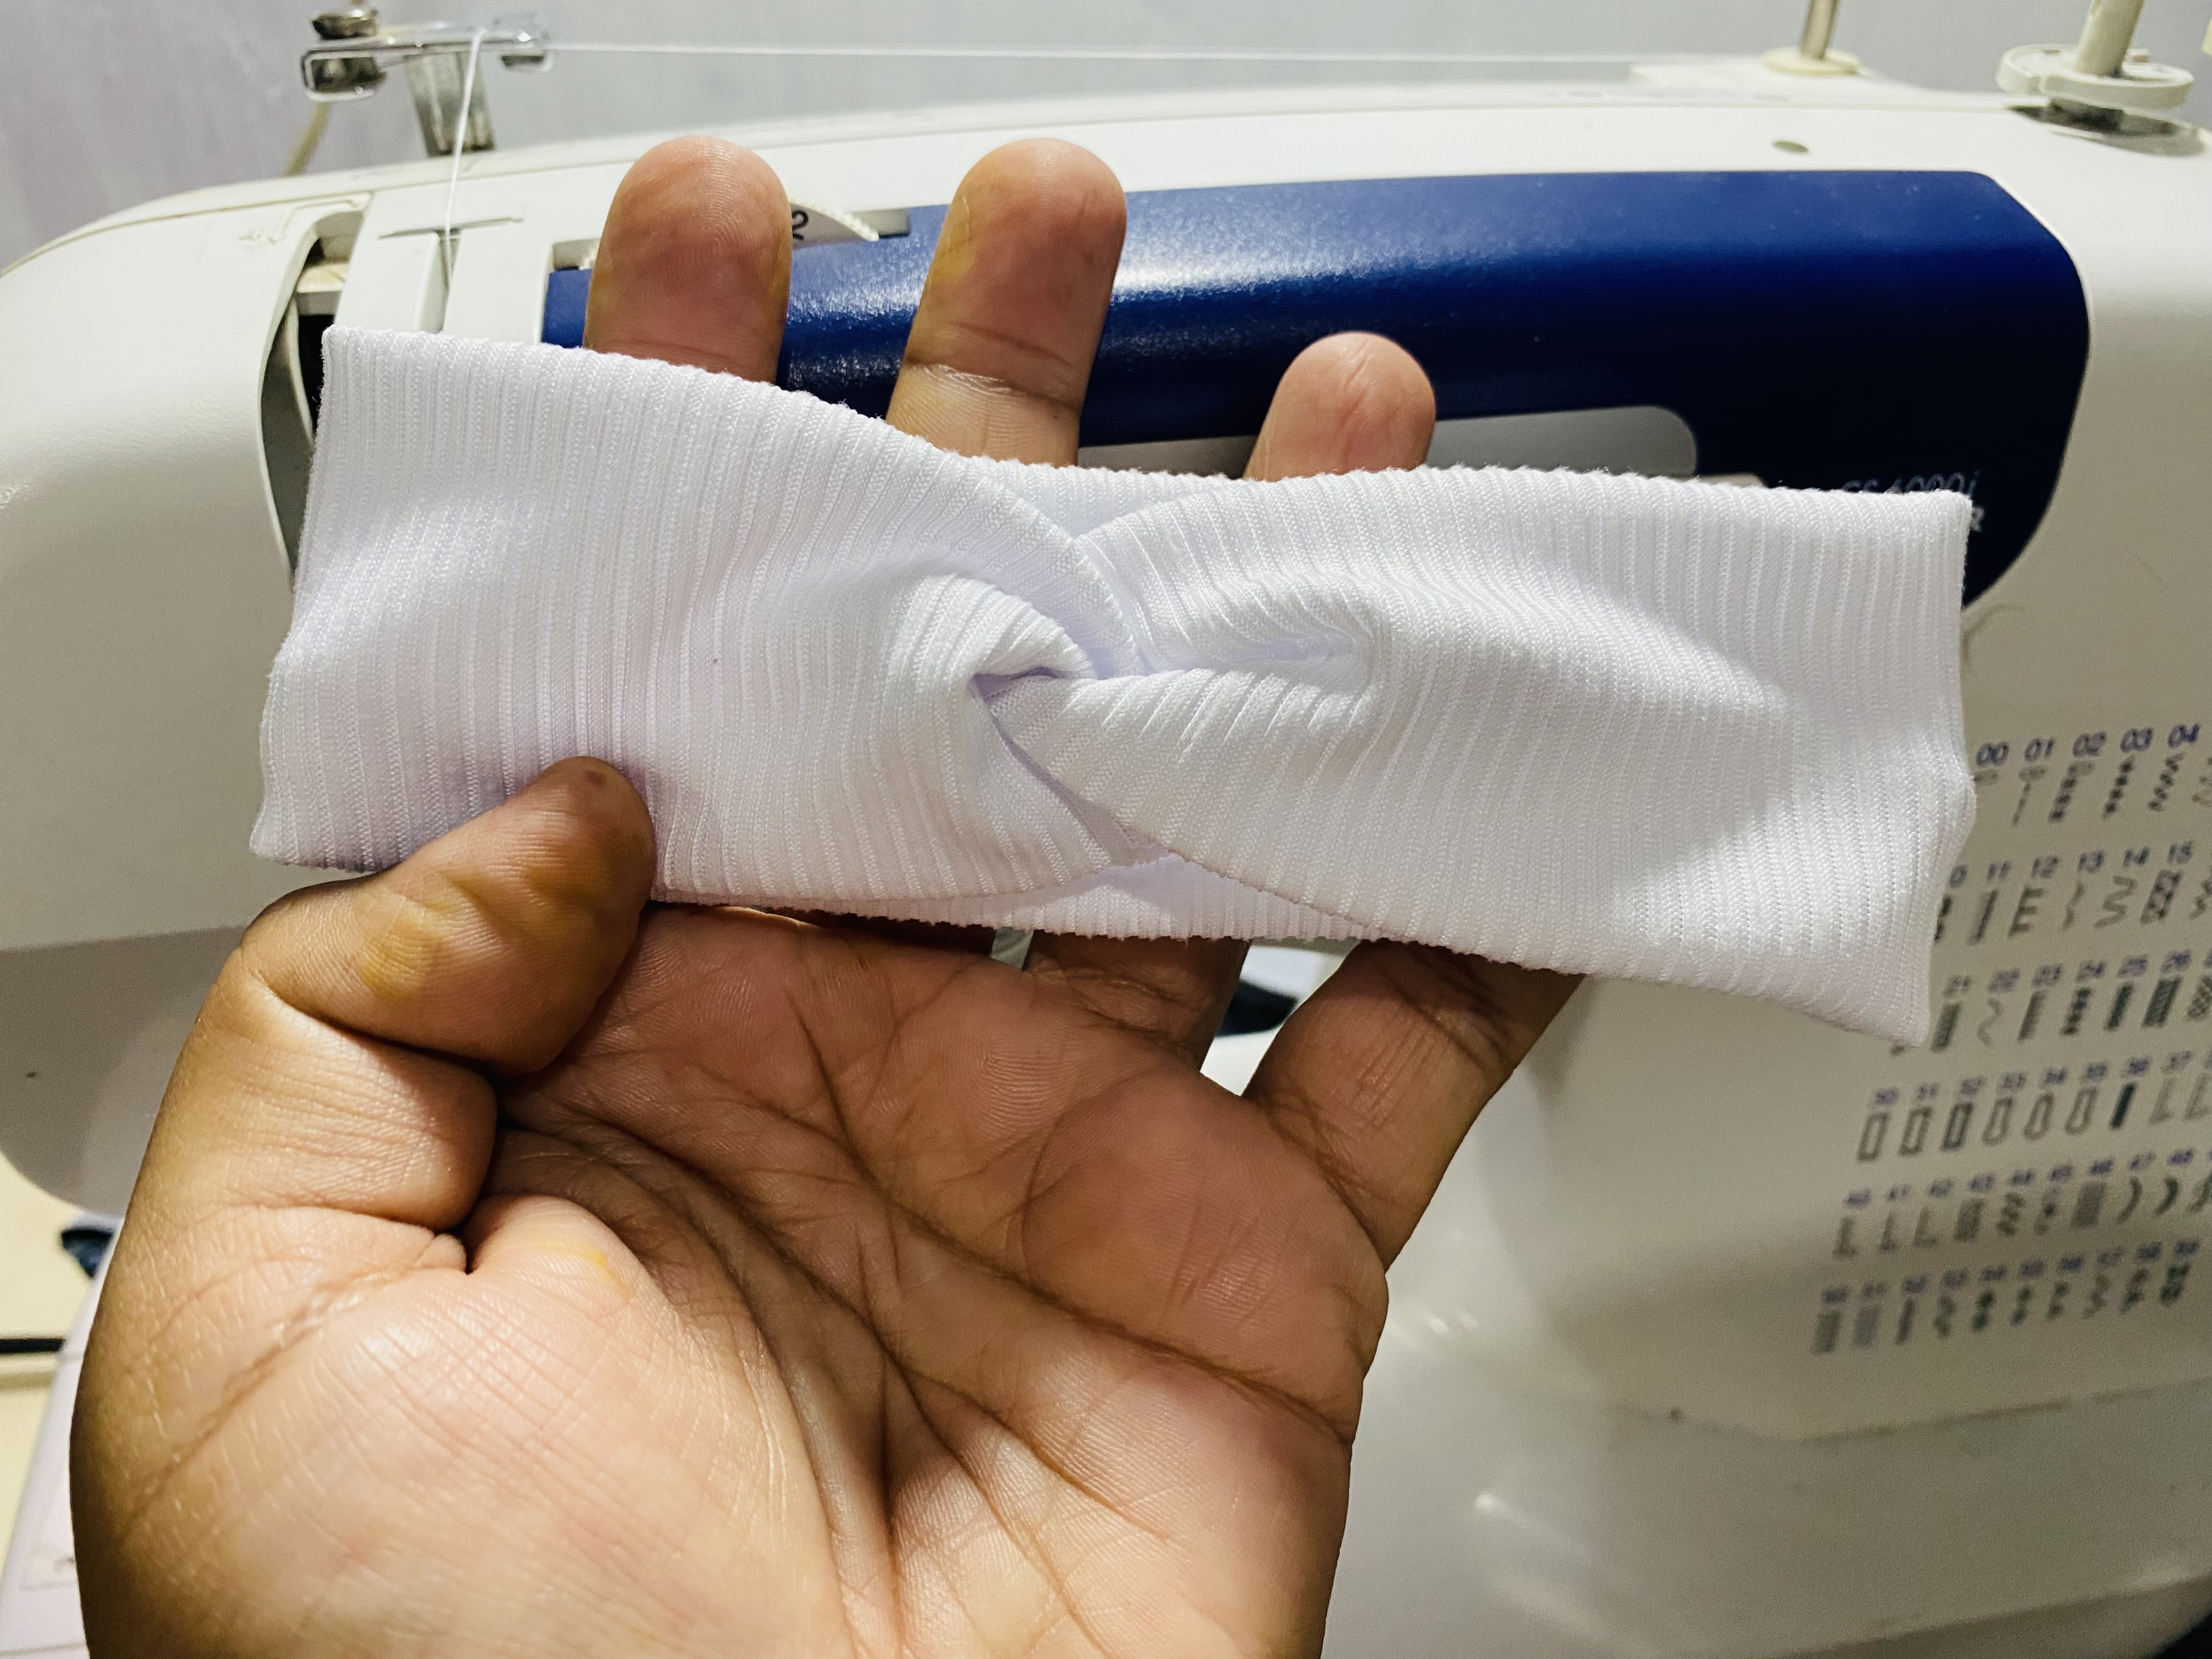
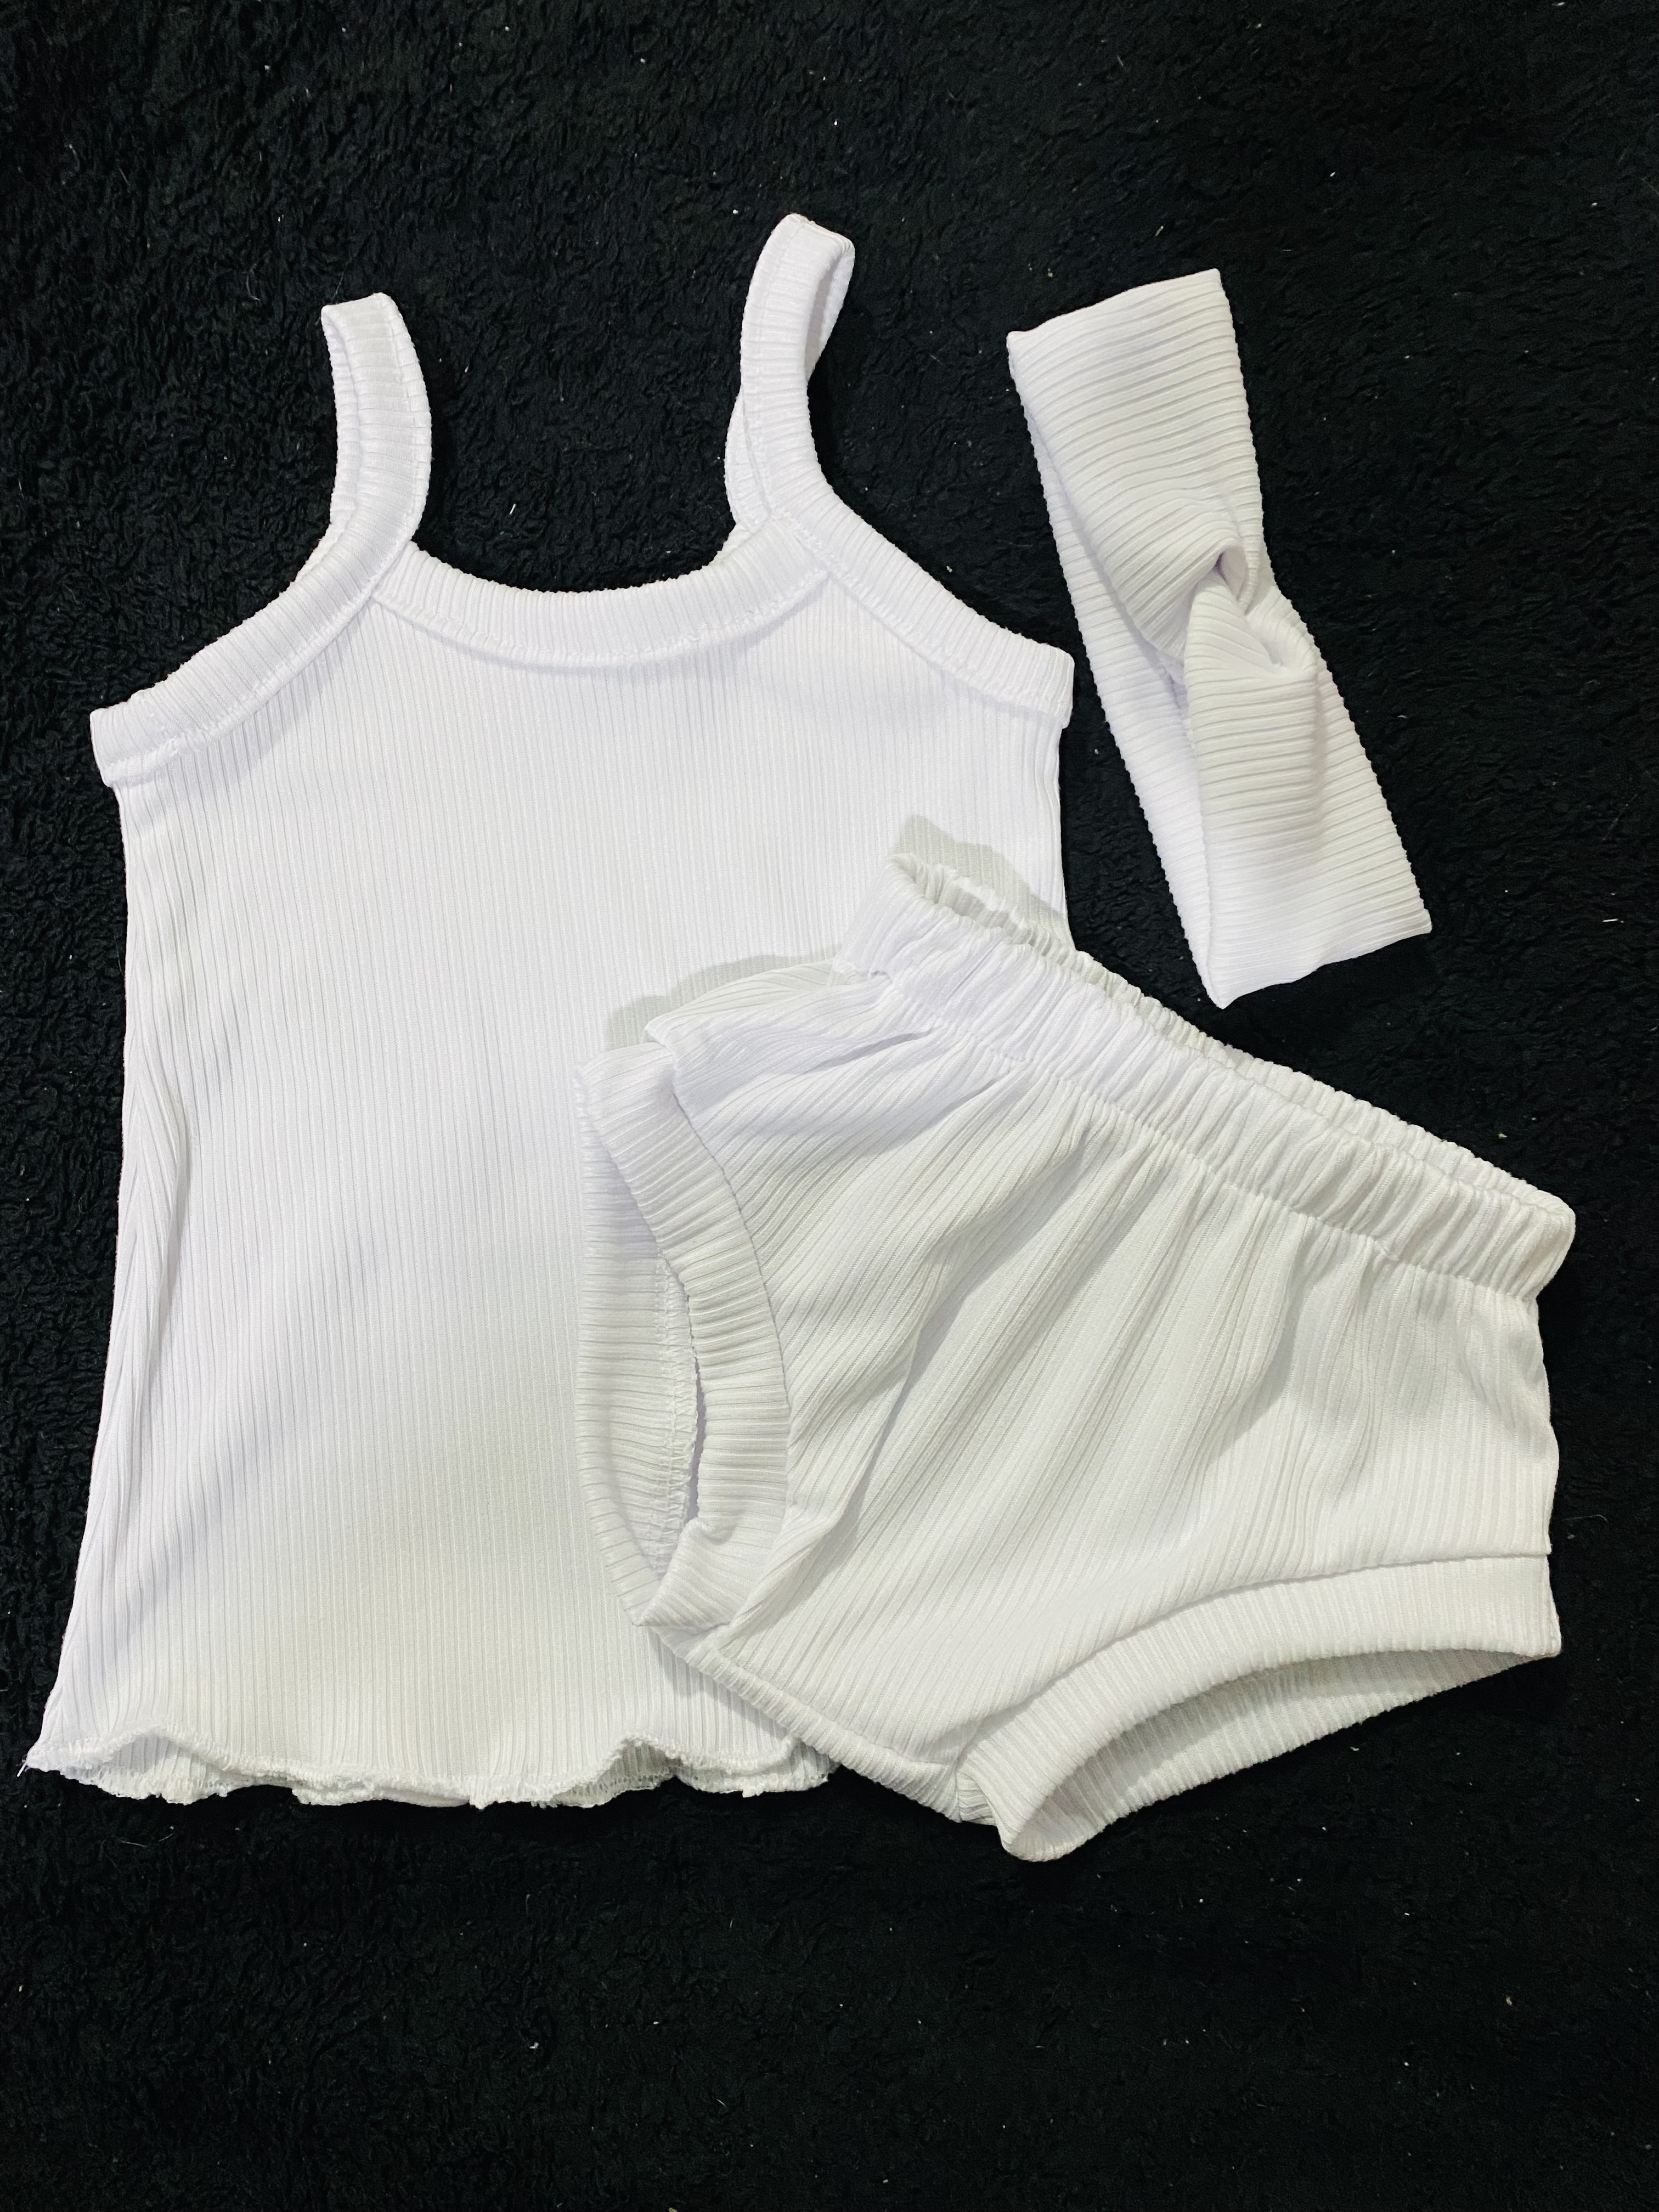
Para completar este lindo conjunto le hice una linda diadema con la misma tela y así ya está listo este lindo conjunto para bebé, sentí mucha emoción haciendo ropita de bebé nuevamente, a mis hijos les confeccioné muchas prendas y esto me daba mucho orgullo y felicidad, espero que a la chica le guste mucho el nuevo conjunto para su bebé, si llegaste hasta aquí estoy muy agradecida de qué hayas visitado mi Publicación, me despido por hoy deseándoles muchos éxitos y bendiciones 🥰❤️
To complete this cute outfit I made a cute headband with the same fabric and this cute baby outfit is ready. I felt so excited making baby clothes again. I made a lot of clothes for my kids and this made me so proud and happy. I hope the girl really likes the new outfit for her baby. If you got this far I am so grateful that you visited my post. I say goodbye for today wishing you lots of success and blessings 🥰❤️


las fotos aquí compartidas son de mi propiedad tomadas con mi teléfono iPhone 11, la edición fue en Canva, para la traducción del inglés utilice el traductor de Google