Hello, beautiful day! It's a pleasure to greet you. I hope you are all doing very well, dear and appreciated friends. I warmly welcome you to a new blog where I will be sharing with you the creative process of what we will do here step by step. Feel comfortable and thank you for being here reading this blog.🥰😊
.jpg)
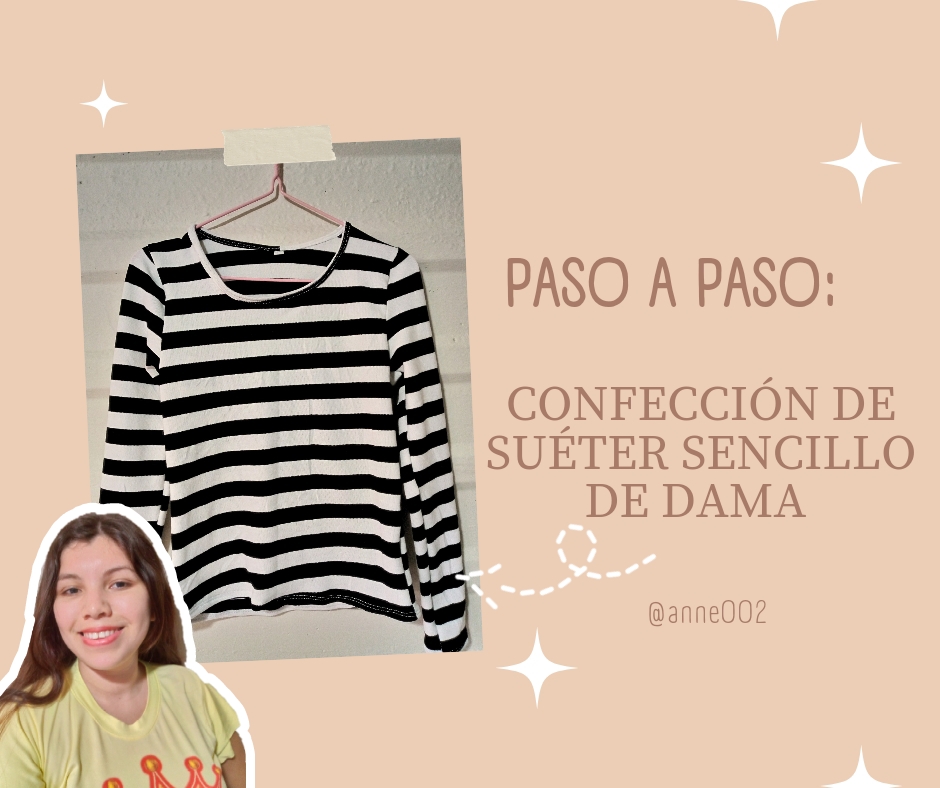
I want to show you the process of this beautiful sweater in this fabric that I really liked when I went to buy it, it is a fabric that I thought at first could be very warm but being there in the fabric store I saw several options to make a sweater out of a soft fabric because I will no longer use them for the cold but to cover myself from the sun 😁, then I saw several types of fabrics that would serve me for these moments when I go out downtown to buy and I forget my umbrella, so I decided on this type of fabric that is thick and somewhat soft, it is like a school shirt but more like cotton, it feels soft and is perfect for a sweater.
The sweater model is super easy, I didn't want to add any more details because the striped design on the fabric already makes the detail stand out, it goes with any type of single-color pieces, I hope you really like how it turned out and tell me what you think and if you have had one of these sweaters that I have always said never go out of style, a striped sweater cannot be missing in our wardrobe 😍.
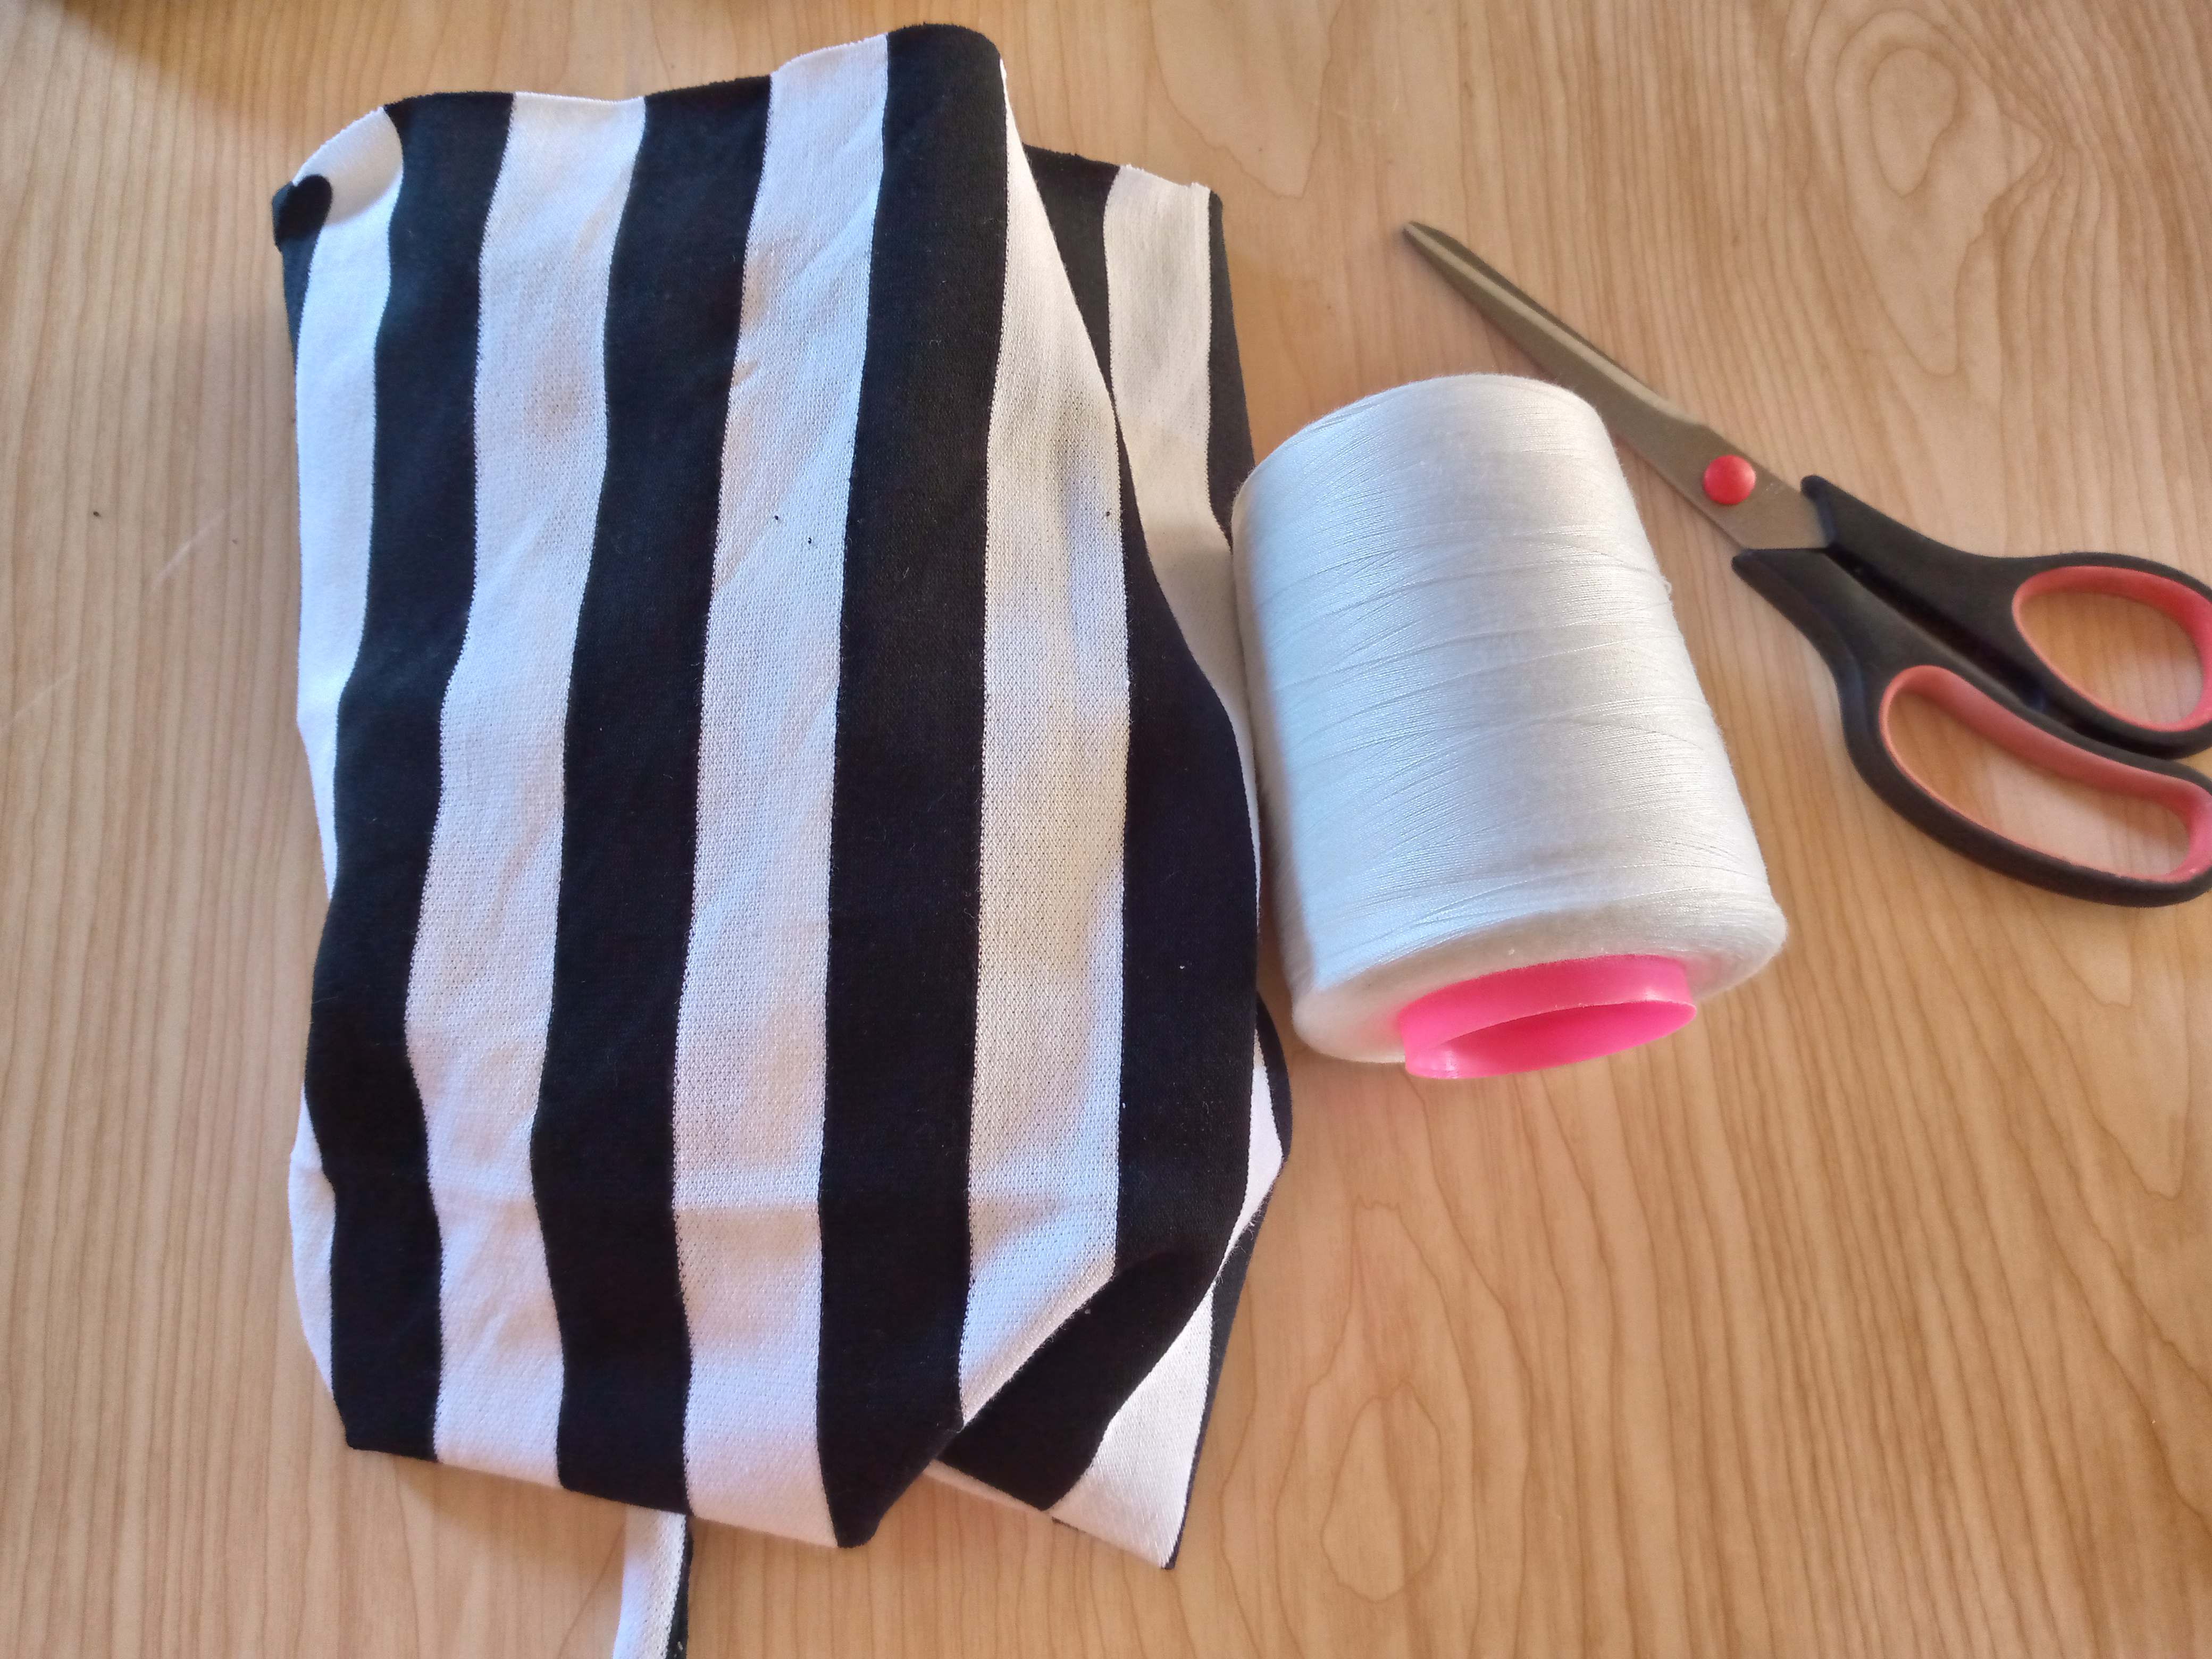
Materiales:// Materials:
- Tijera
- 1 metro de tela de chemise
- Alfileres
- Hilo
- Máquina de coser
- Scissors
- 1 meter of chemise fabric
- Pins
- Thread
- Sewing machine
Pasos a seguir://Steps to follow:


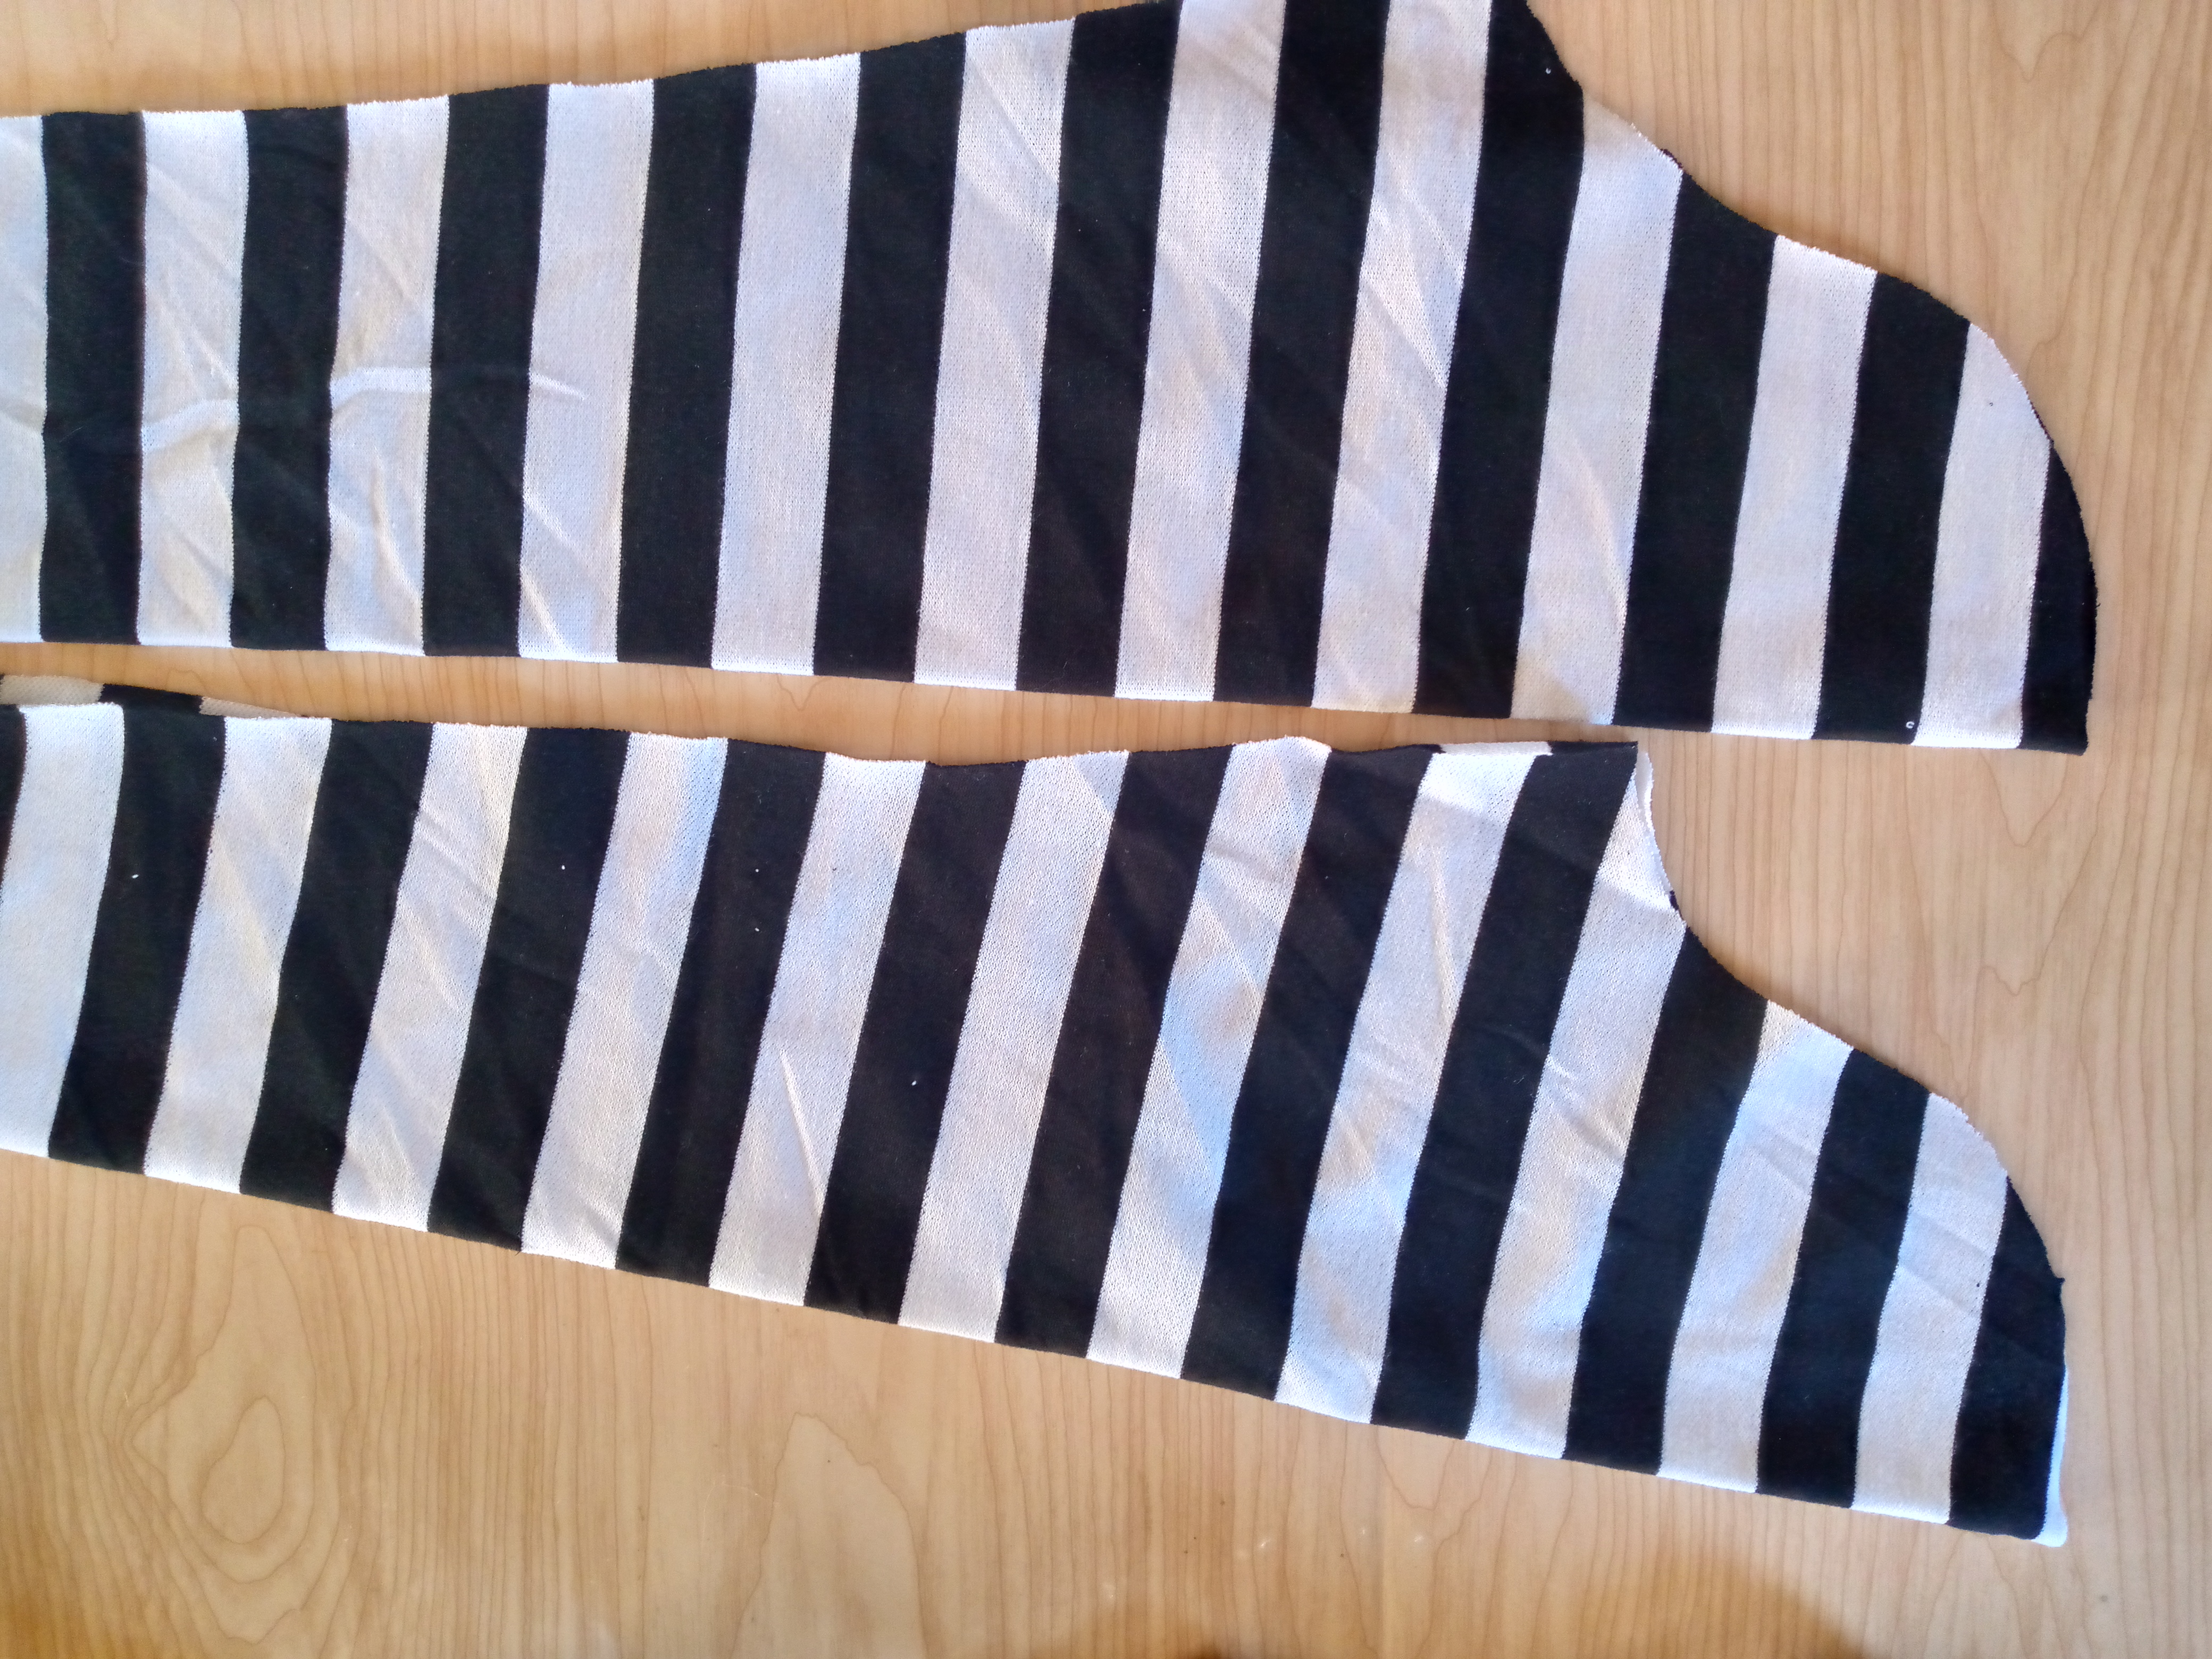
Paso 01
Step 01
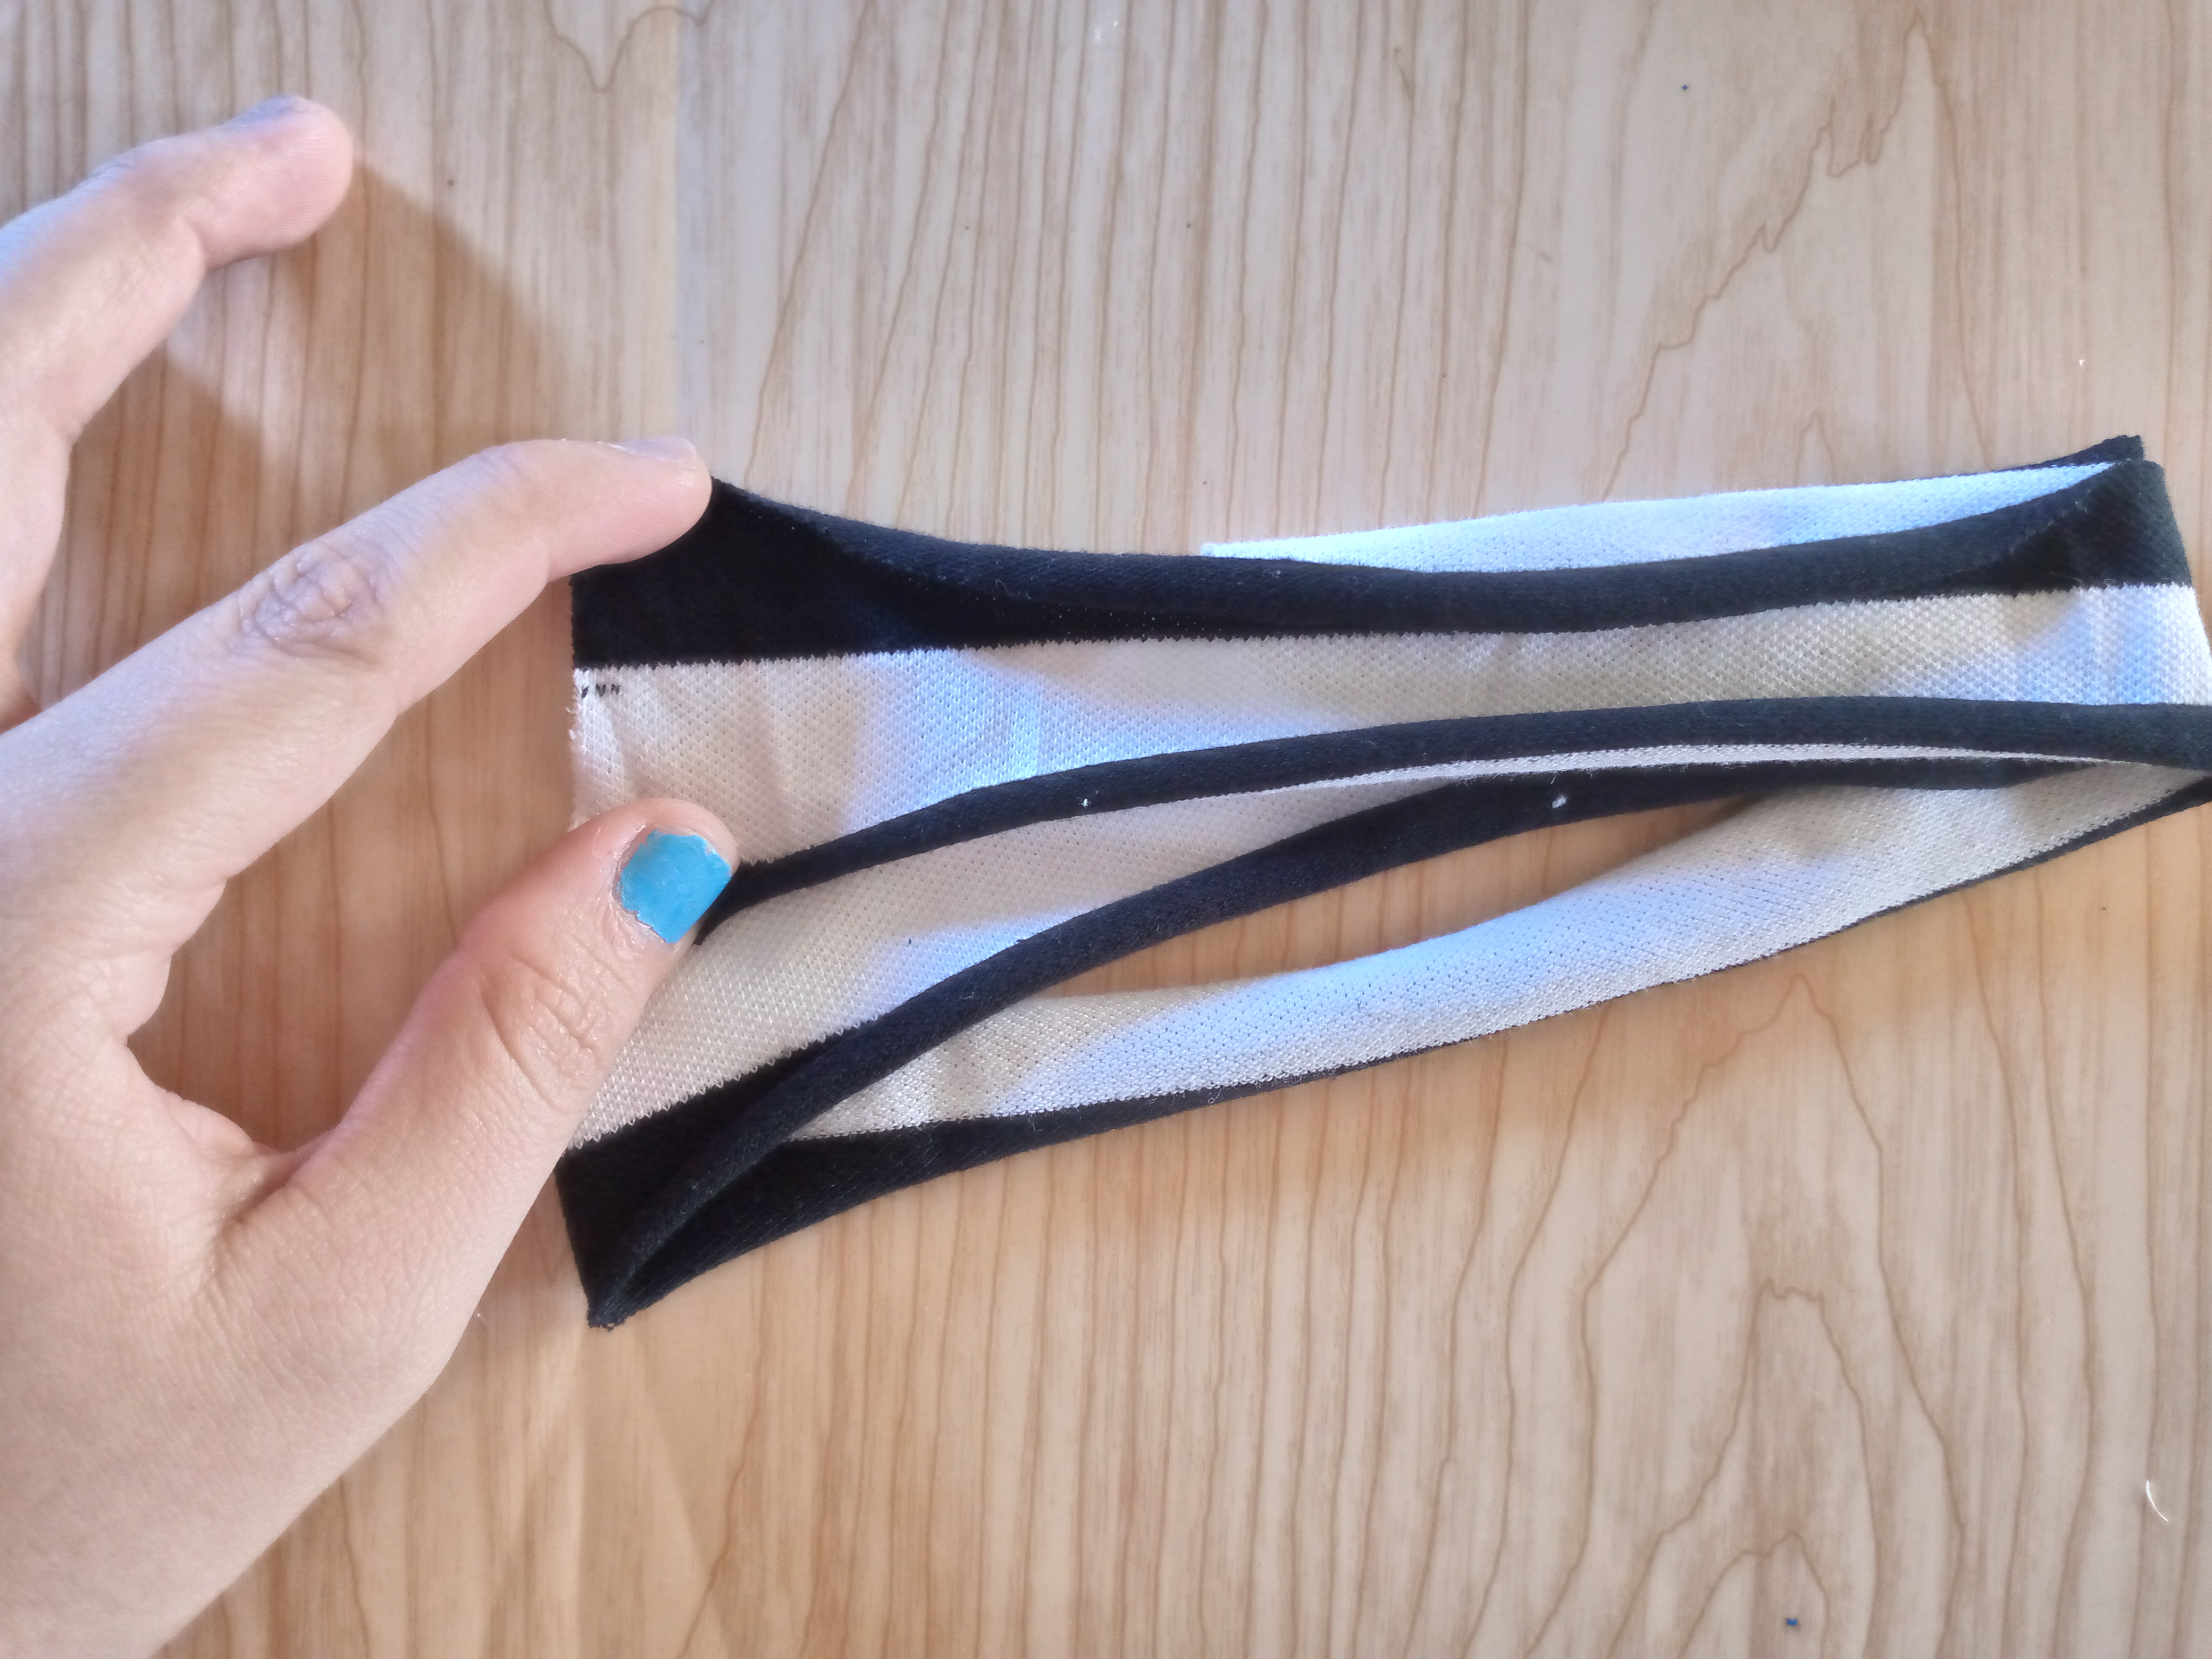
I will cut the pieces for this. I will be cutting with the measurement of a garment that of course fits me well and I took that as a reference. You can use the patterns. Here I cut the front piece with a round neck measuring 8 cm long and the back piece. I cut the two long sleeves and a bias tape the same width as the neck minus 2 cm and 3 cm of this bias tape width.


Paso 02
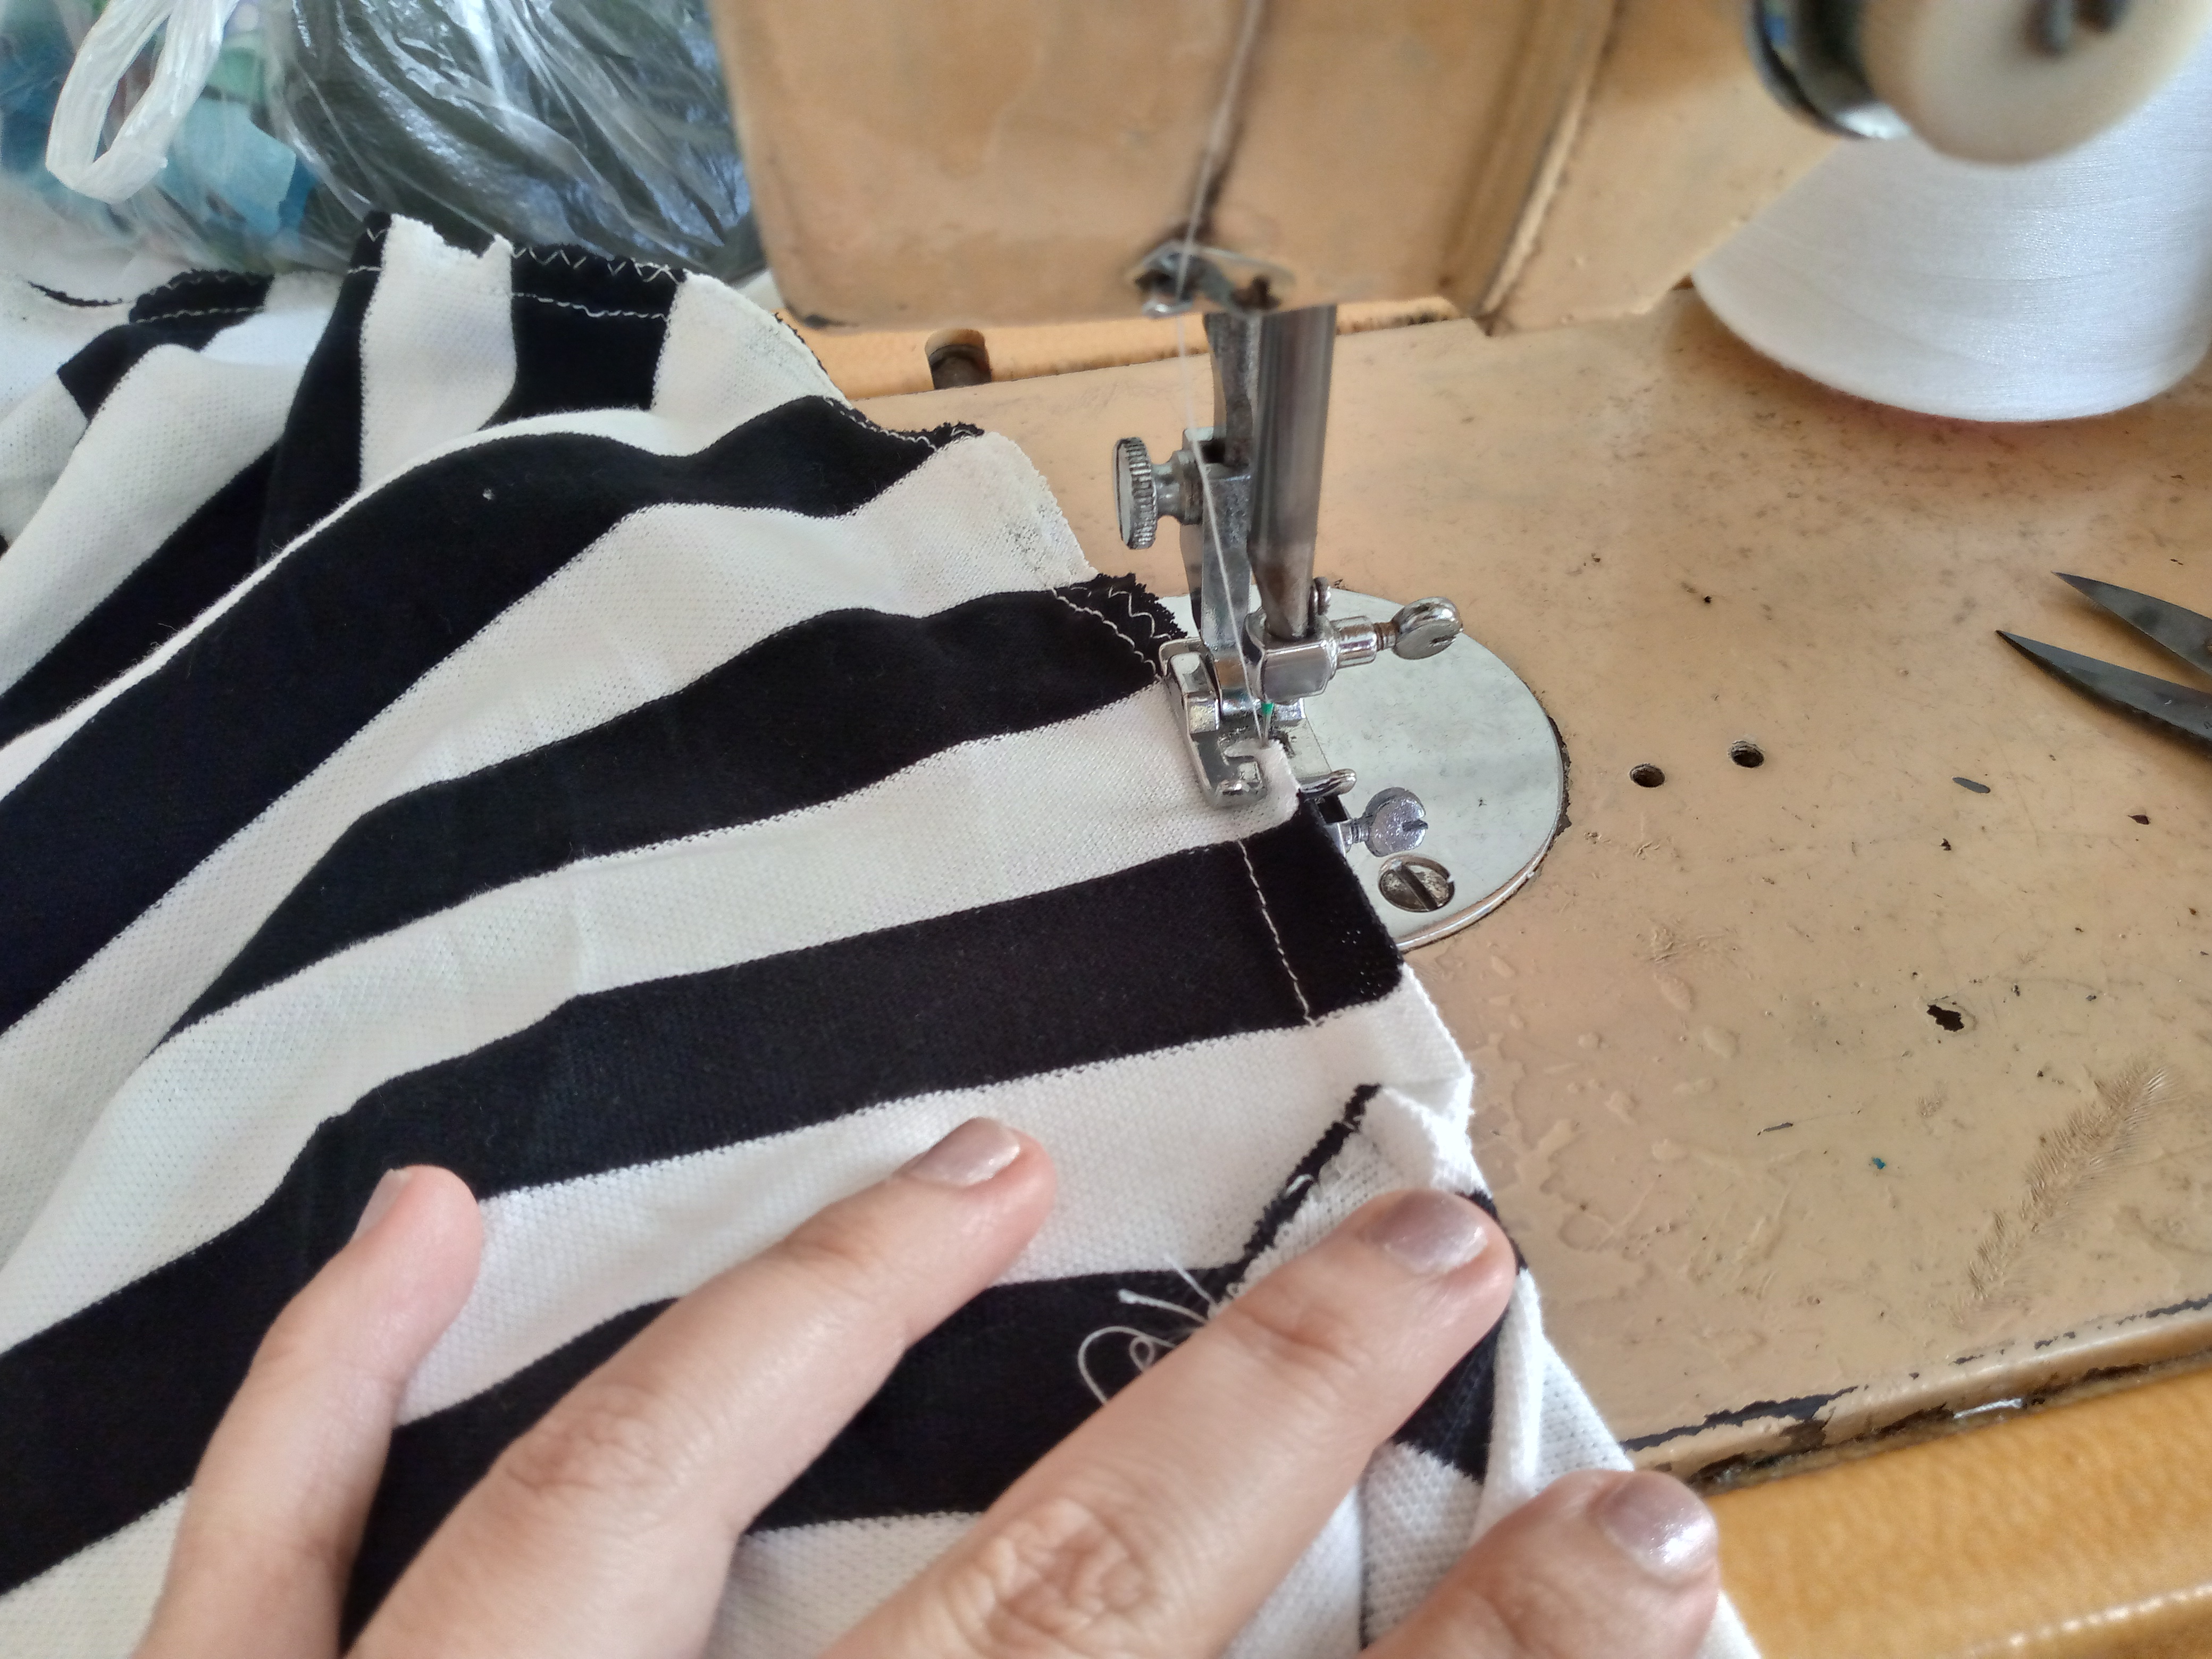
Step 02
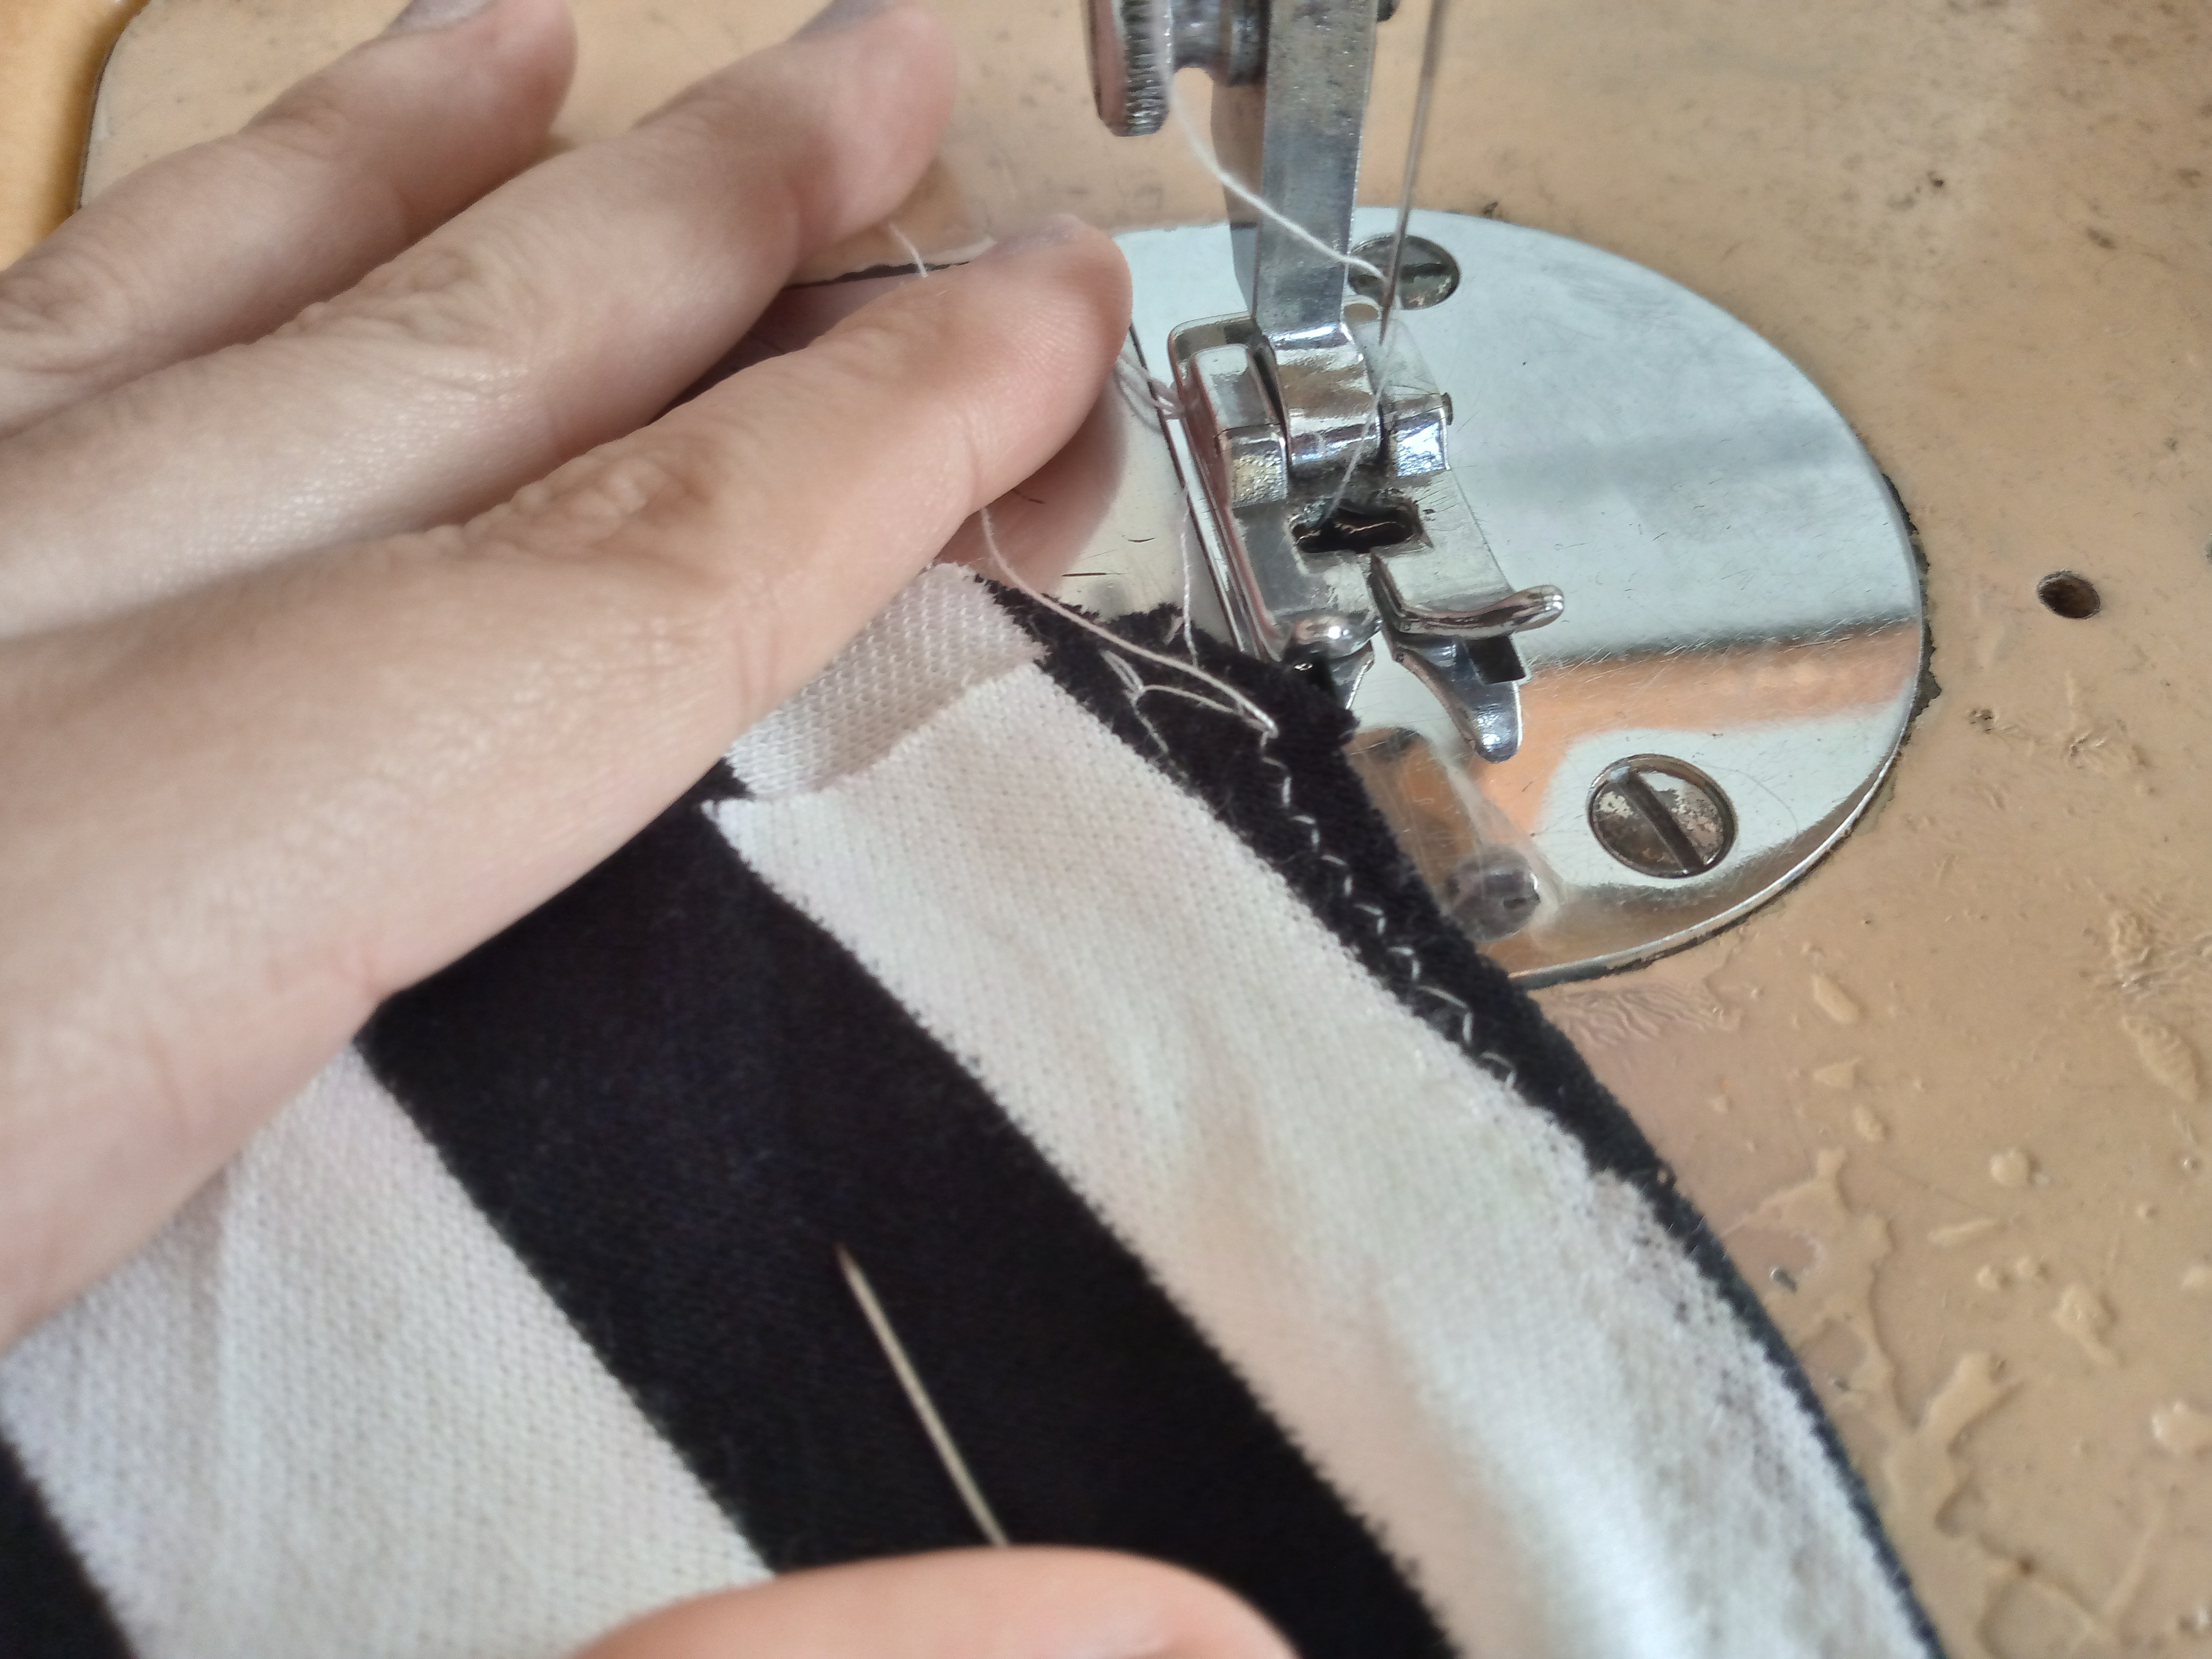
We are going to be joining the shoulder pieces, both the front and the back, and we will do a straight and zig zag stitch. We will do the same with the other part of the shoulder. We will open these two pieces and on the back we will fold the piece and make a small "V" shaped cut with the tip of the scissors to mark the middle. Then we will sew the bias together and place it where we made the cut right in the middle. We will join it with a pin to hold it in place, so it is much easier to sew.
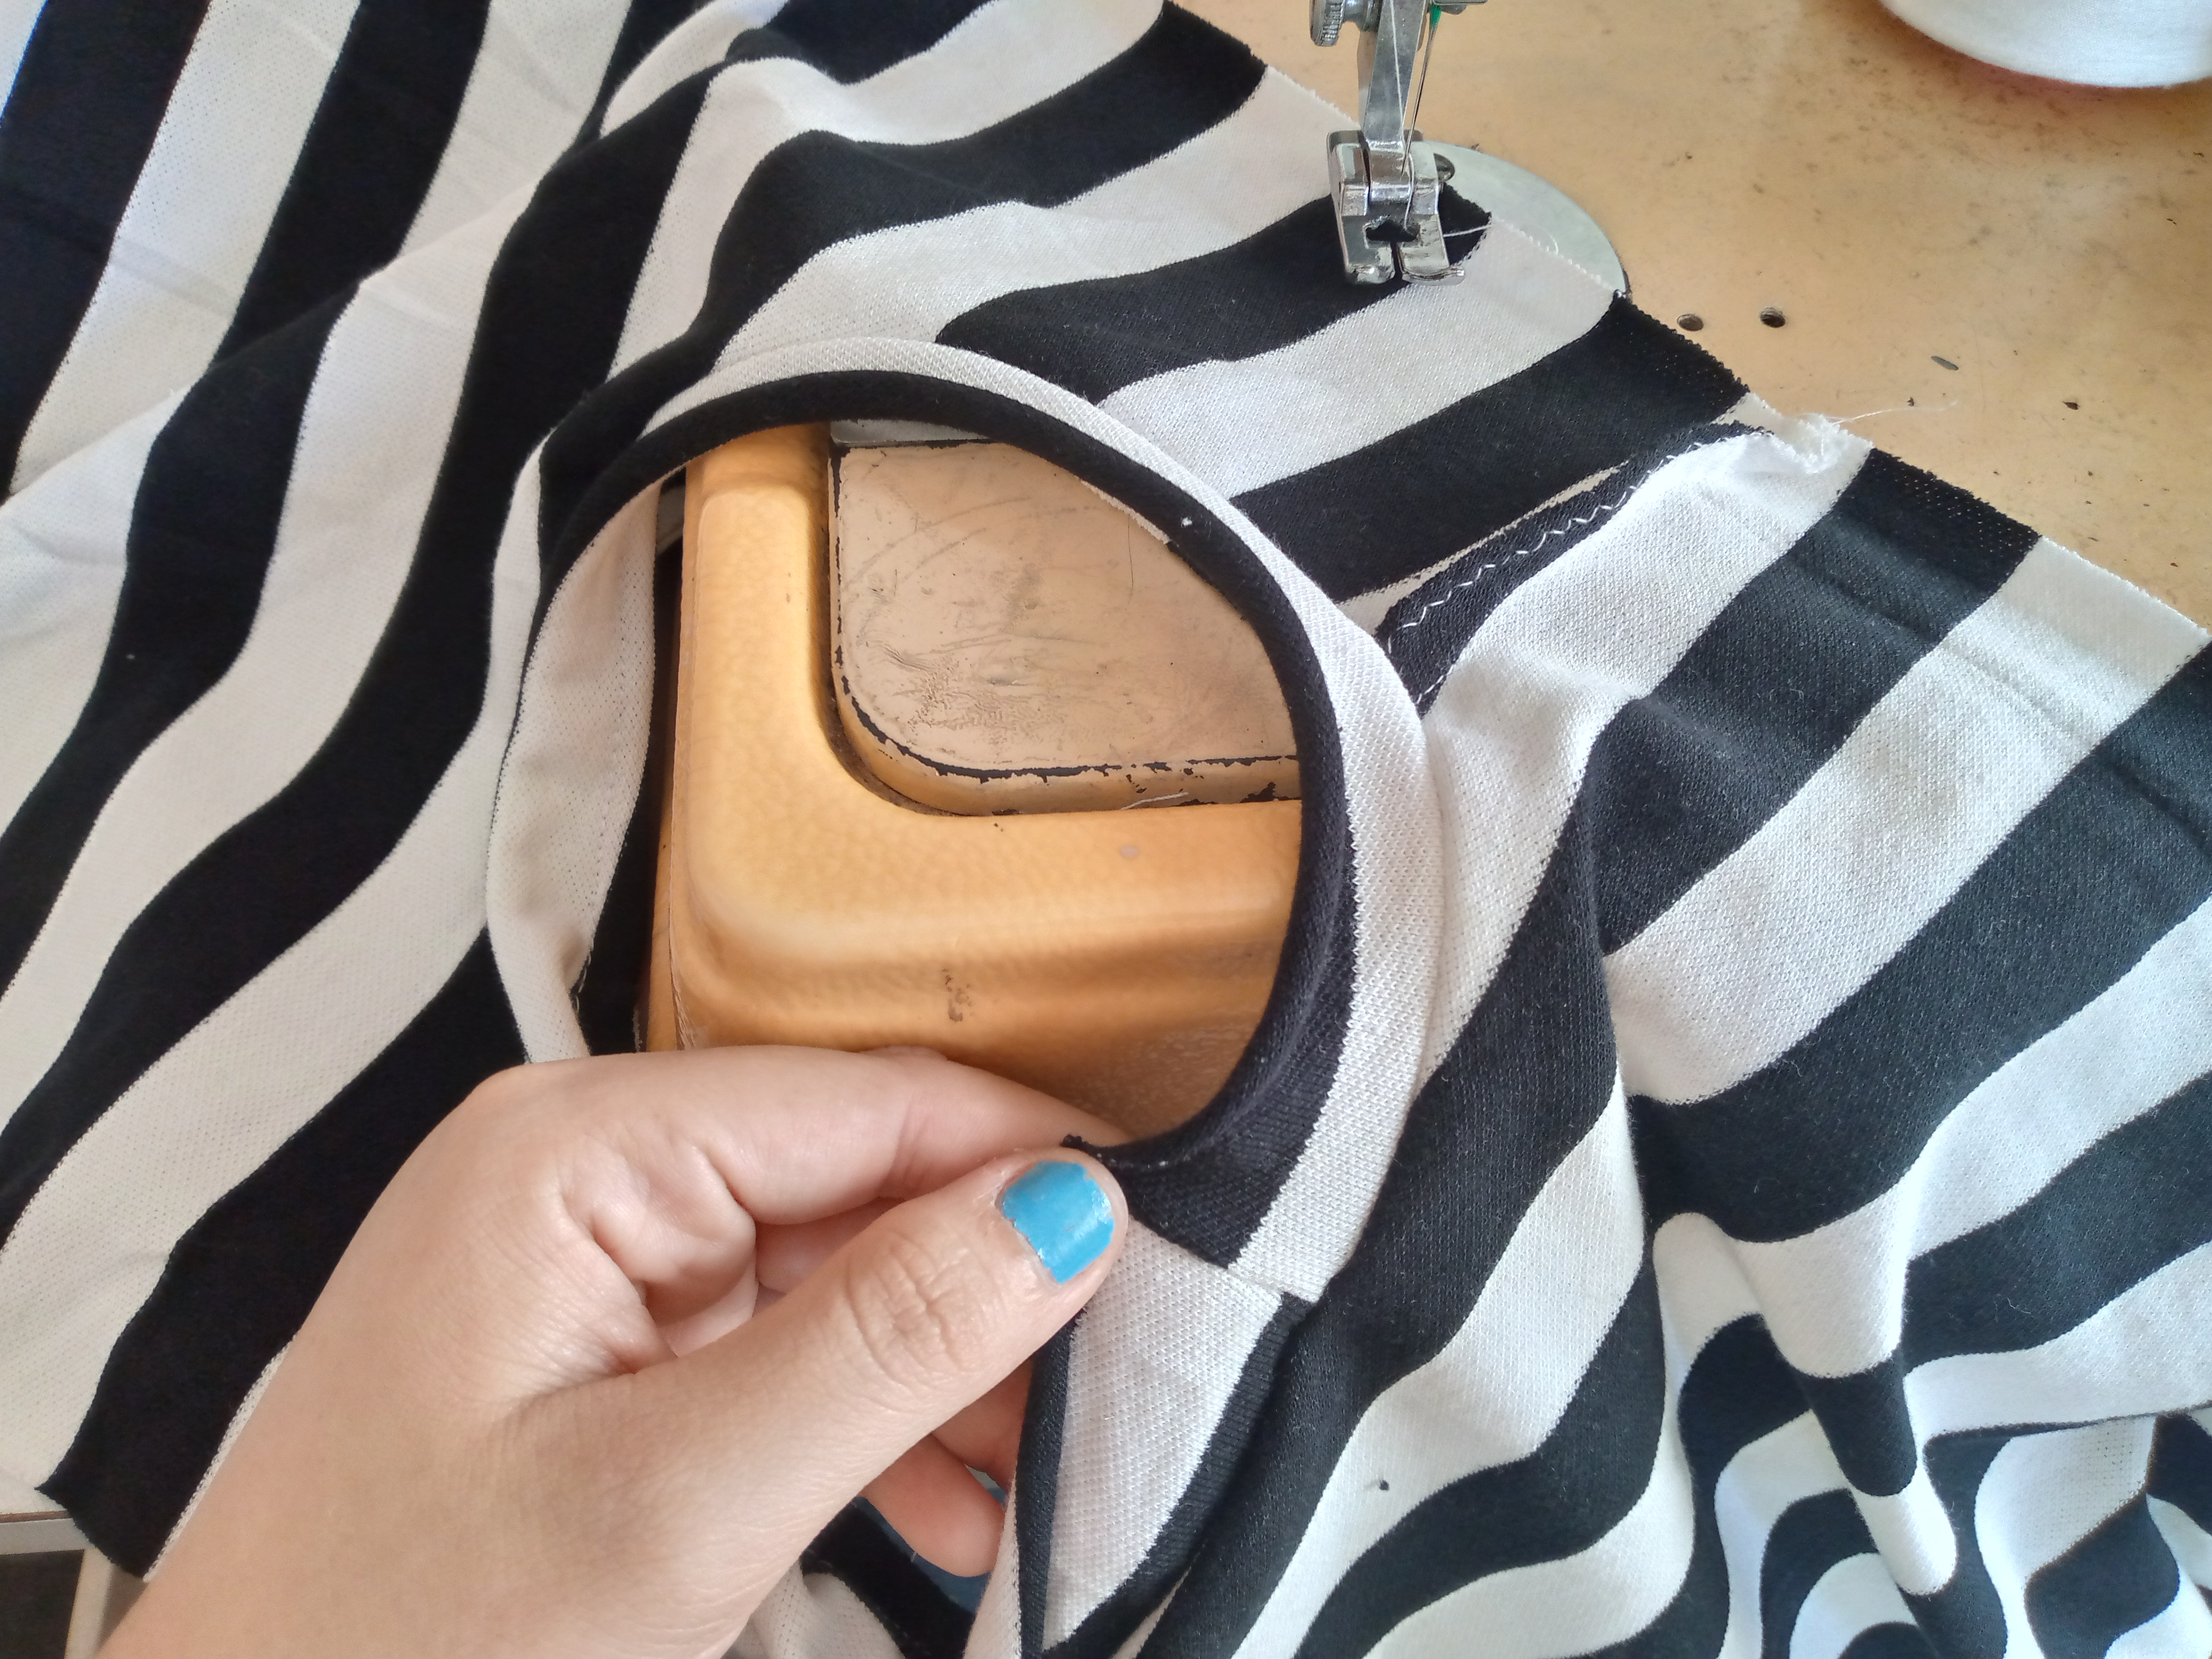

Paso 03
Step 03
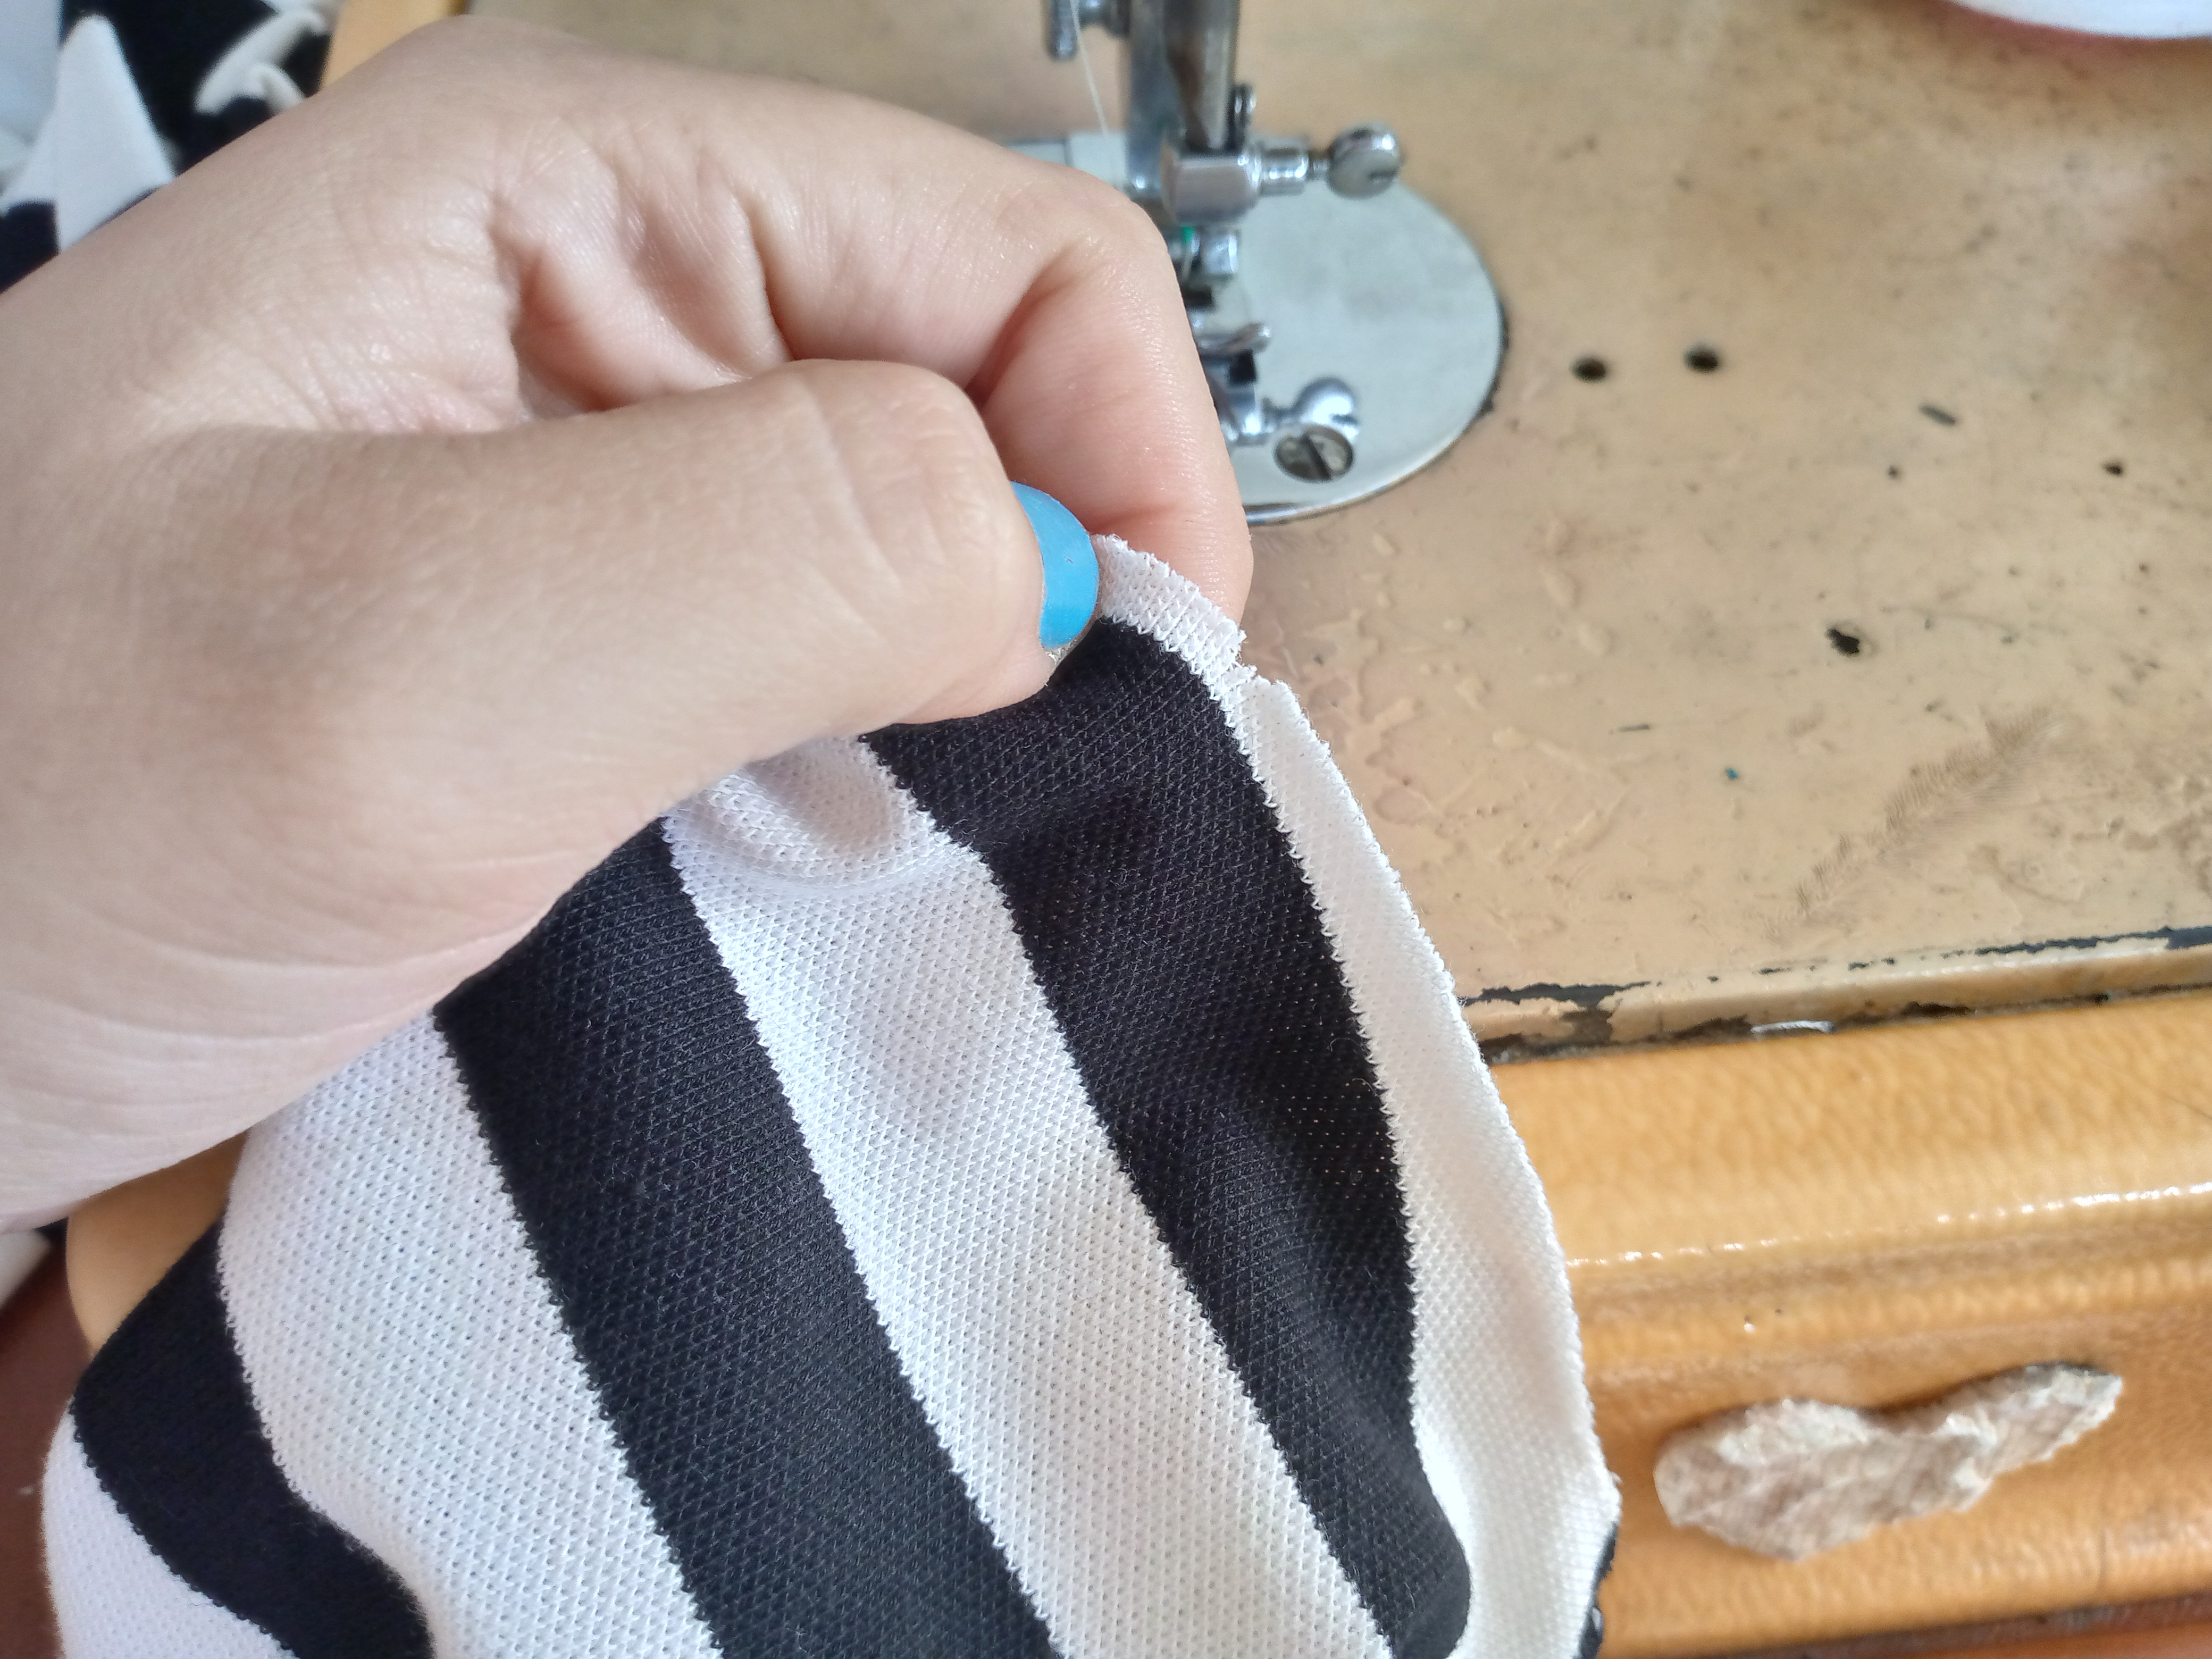
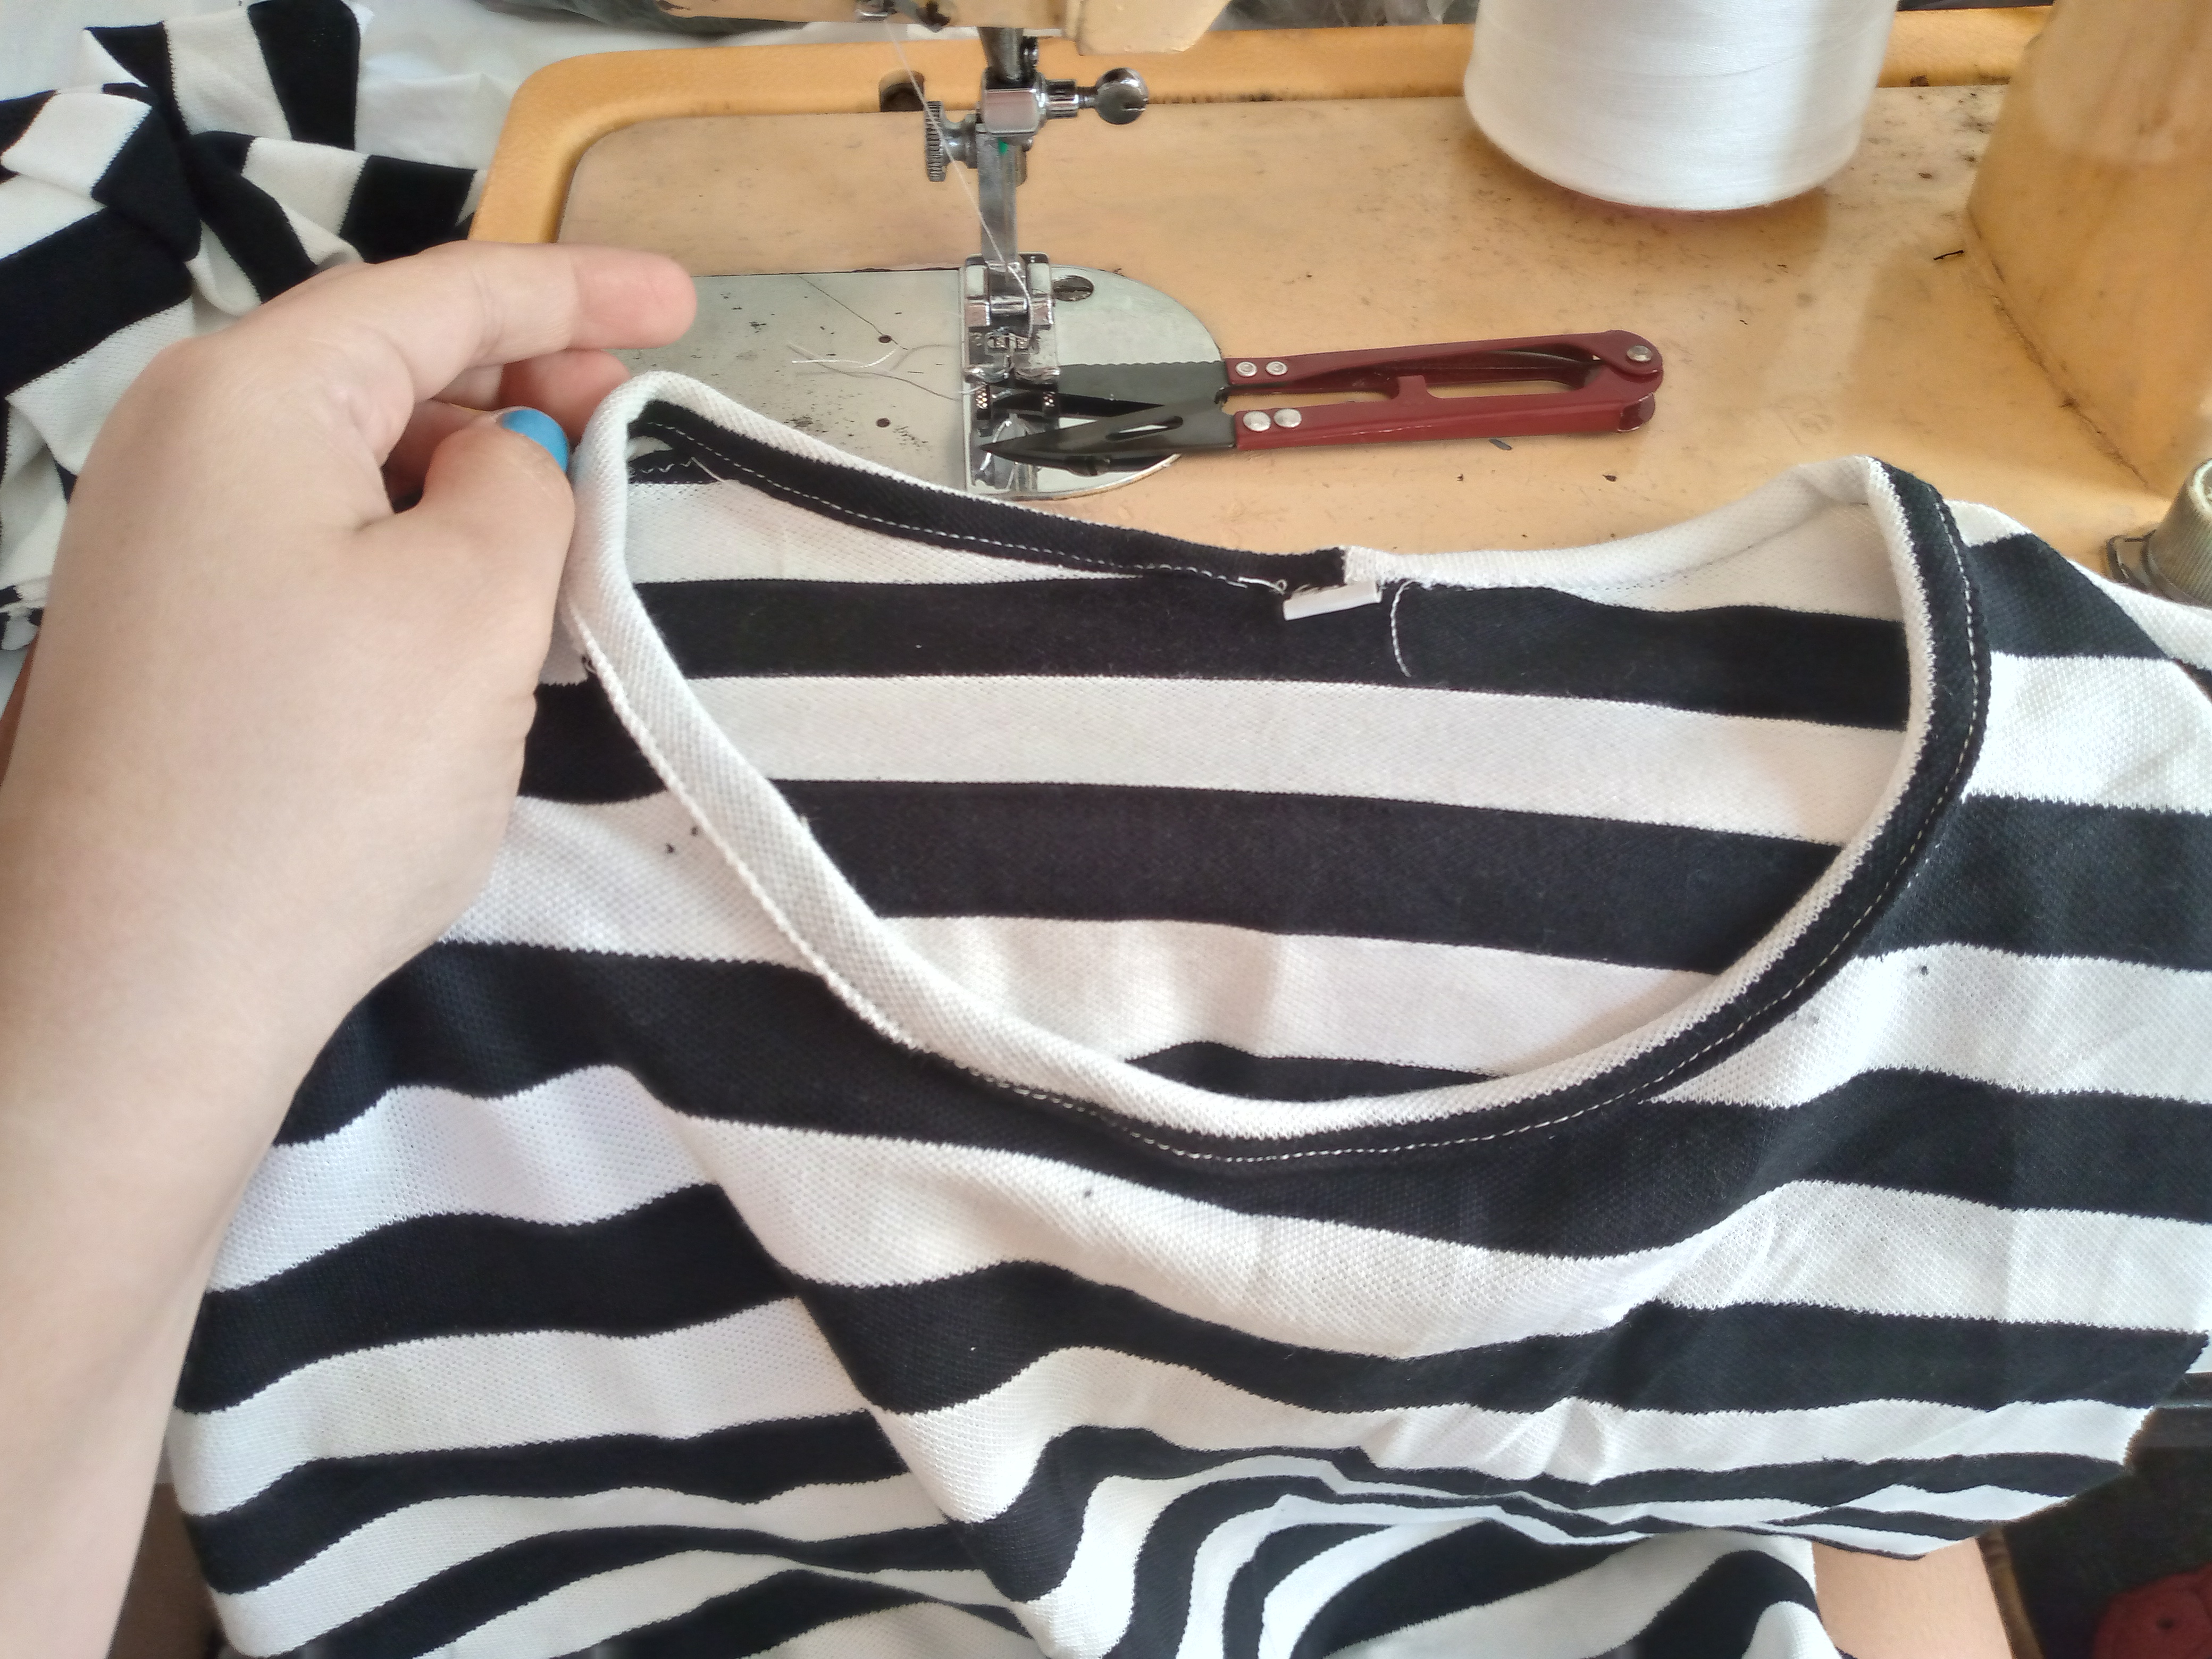
I will then sew my collar around the entire edge and sew it over the top, then we will open our sweater again and we will place the sleeve in the armhole, we will join with a pin and sew with a straight stitch and zig zag.


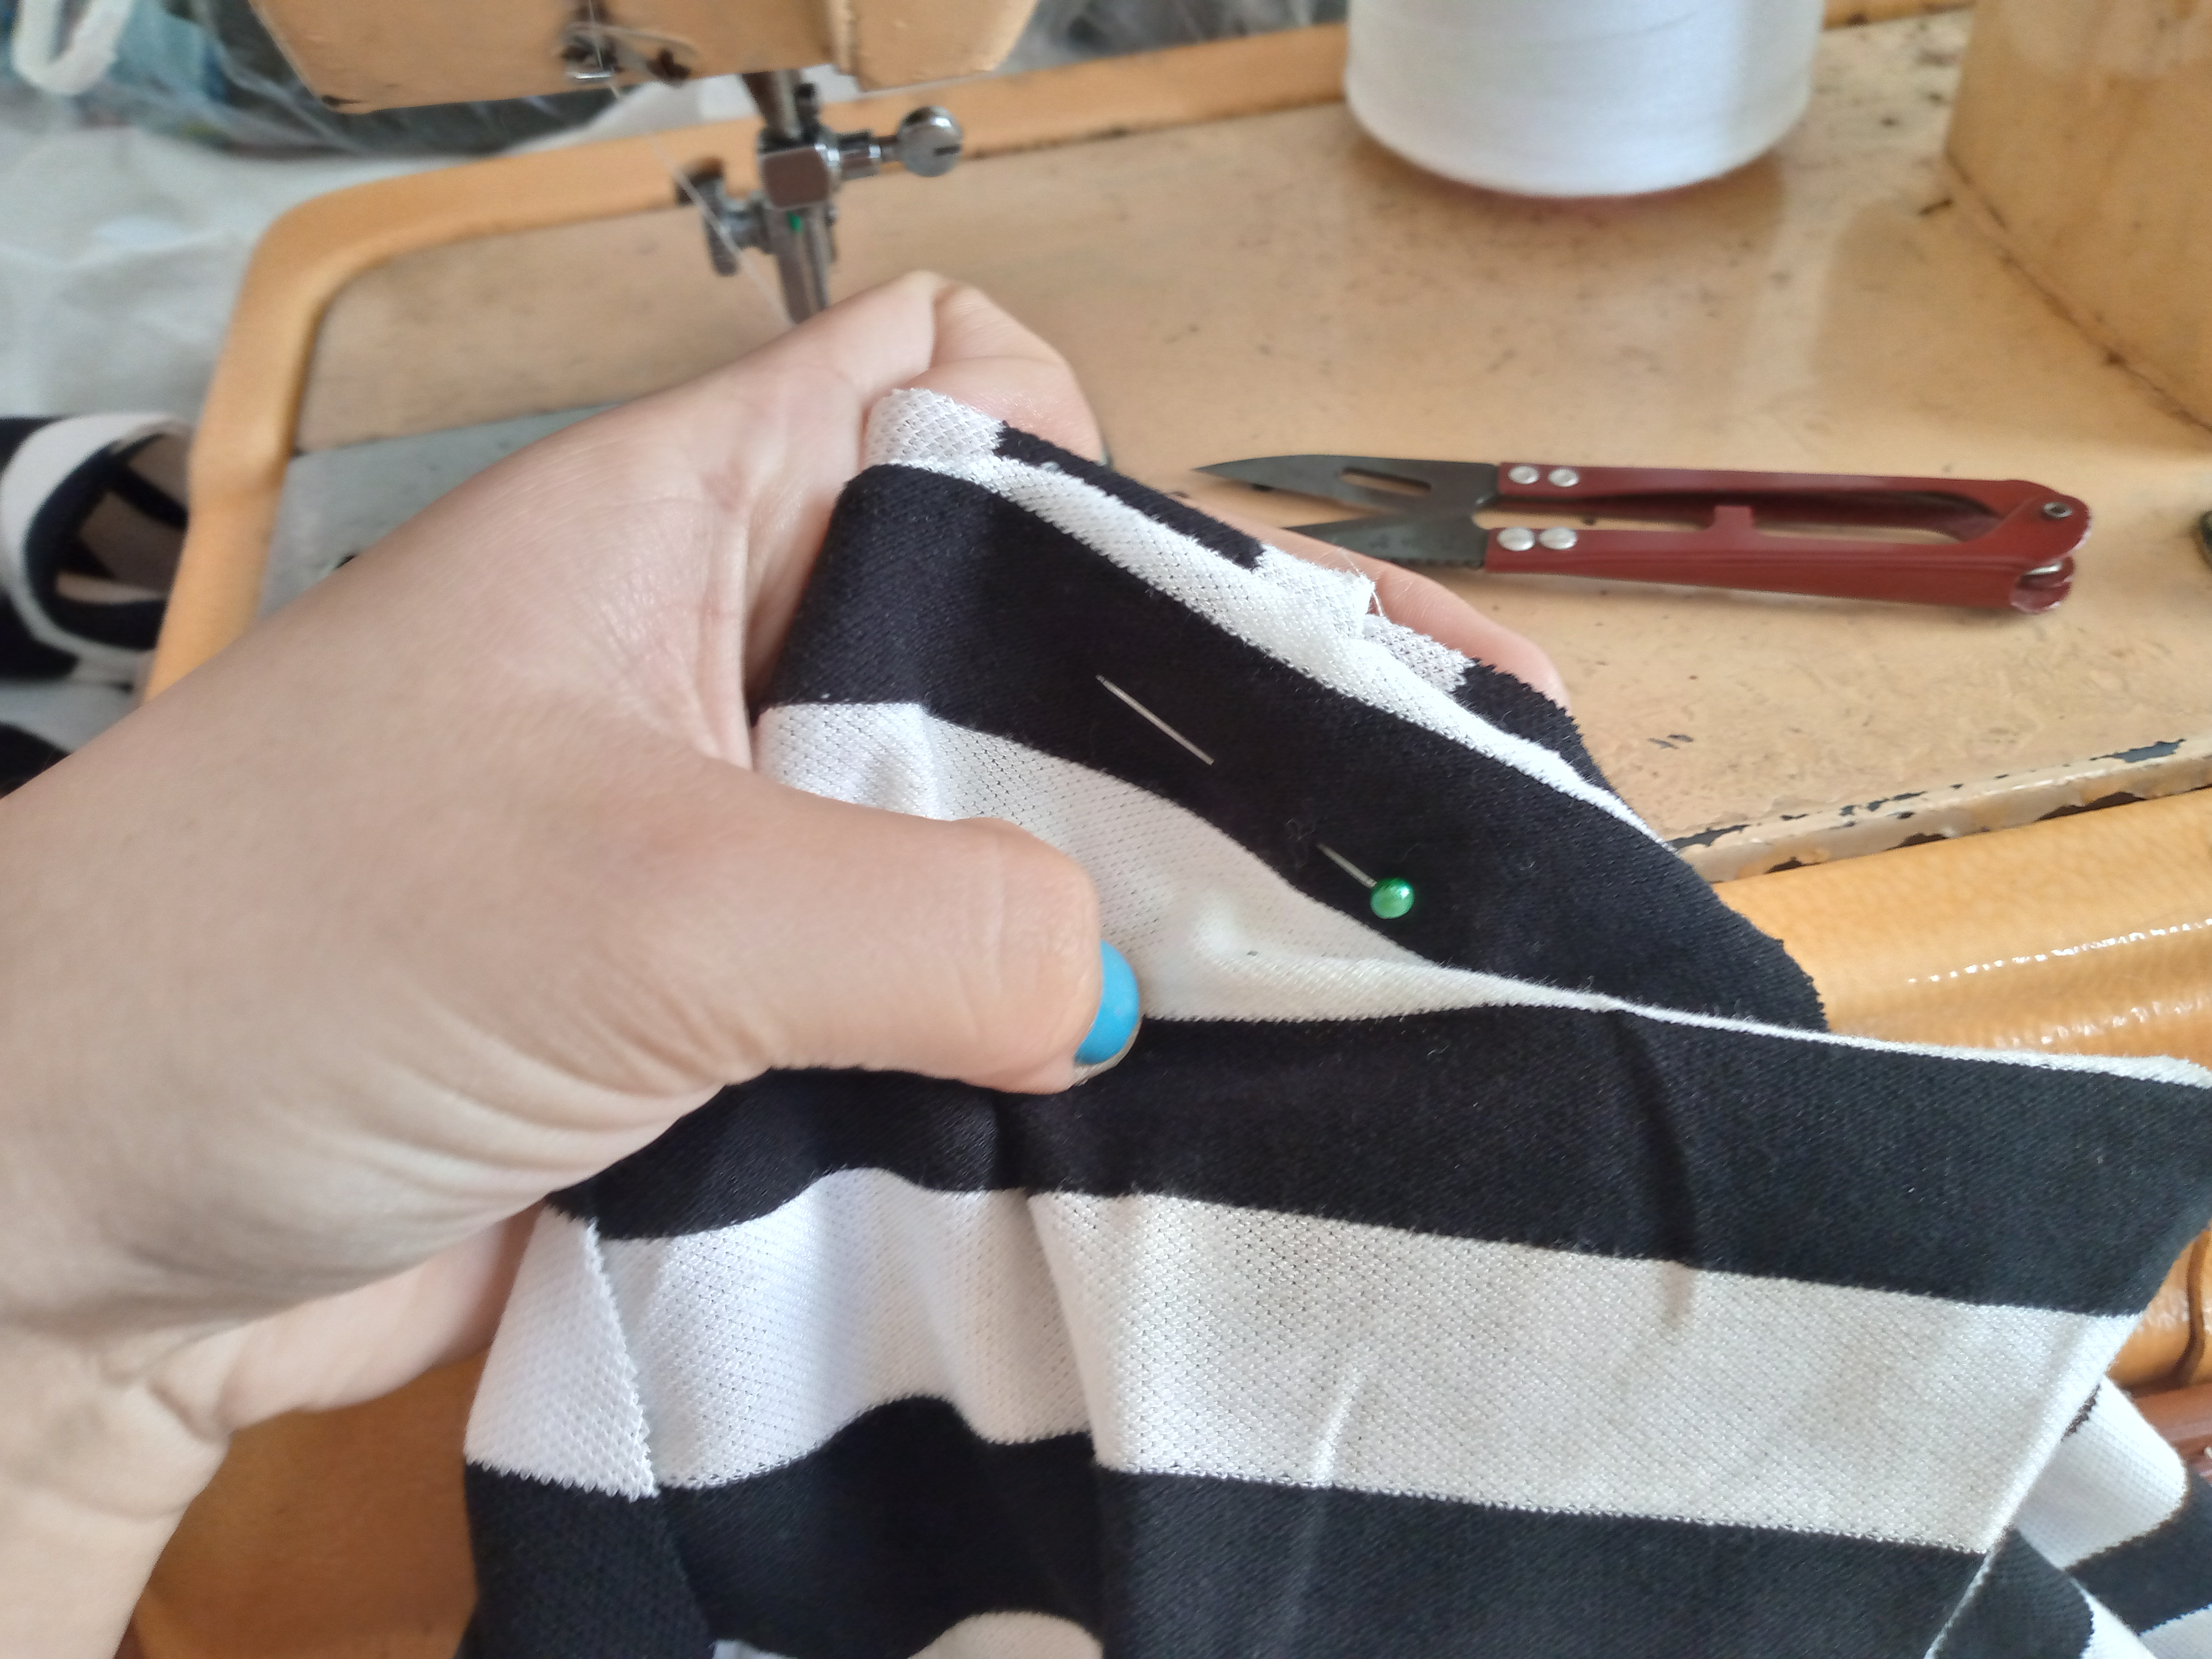
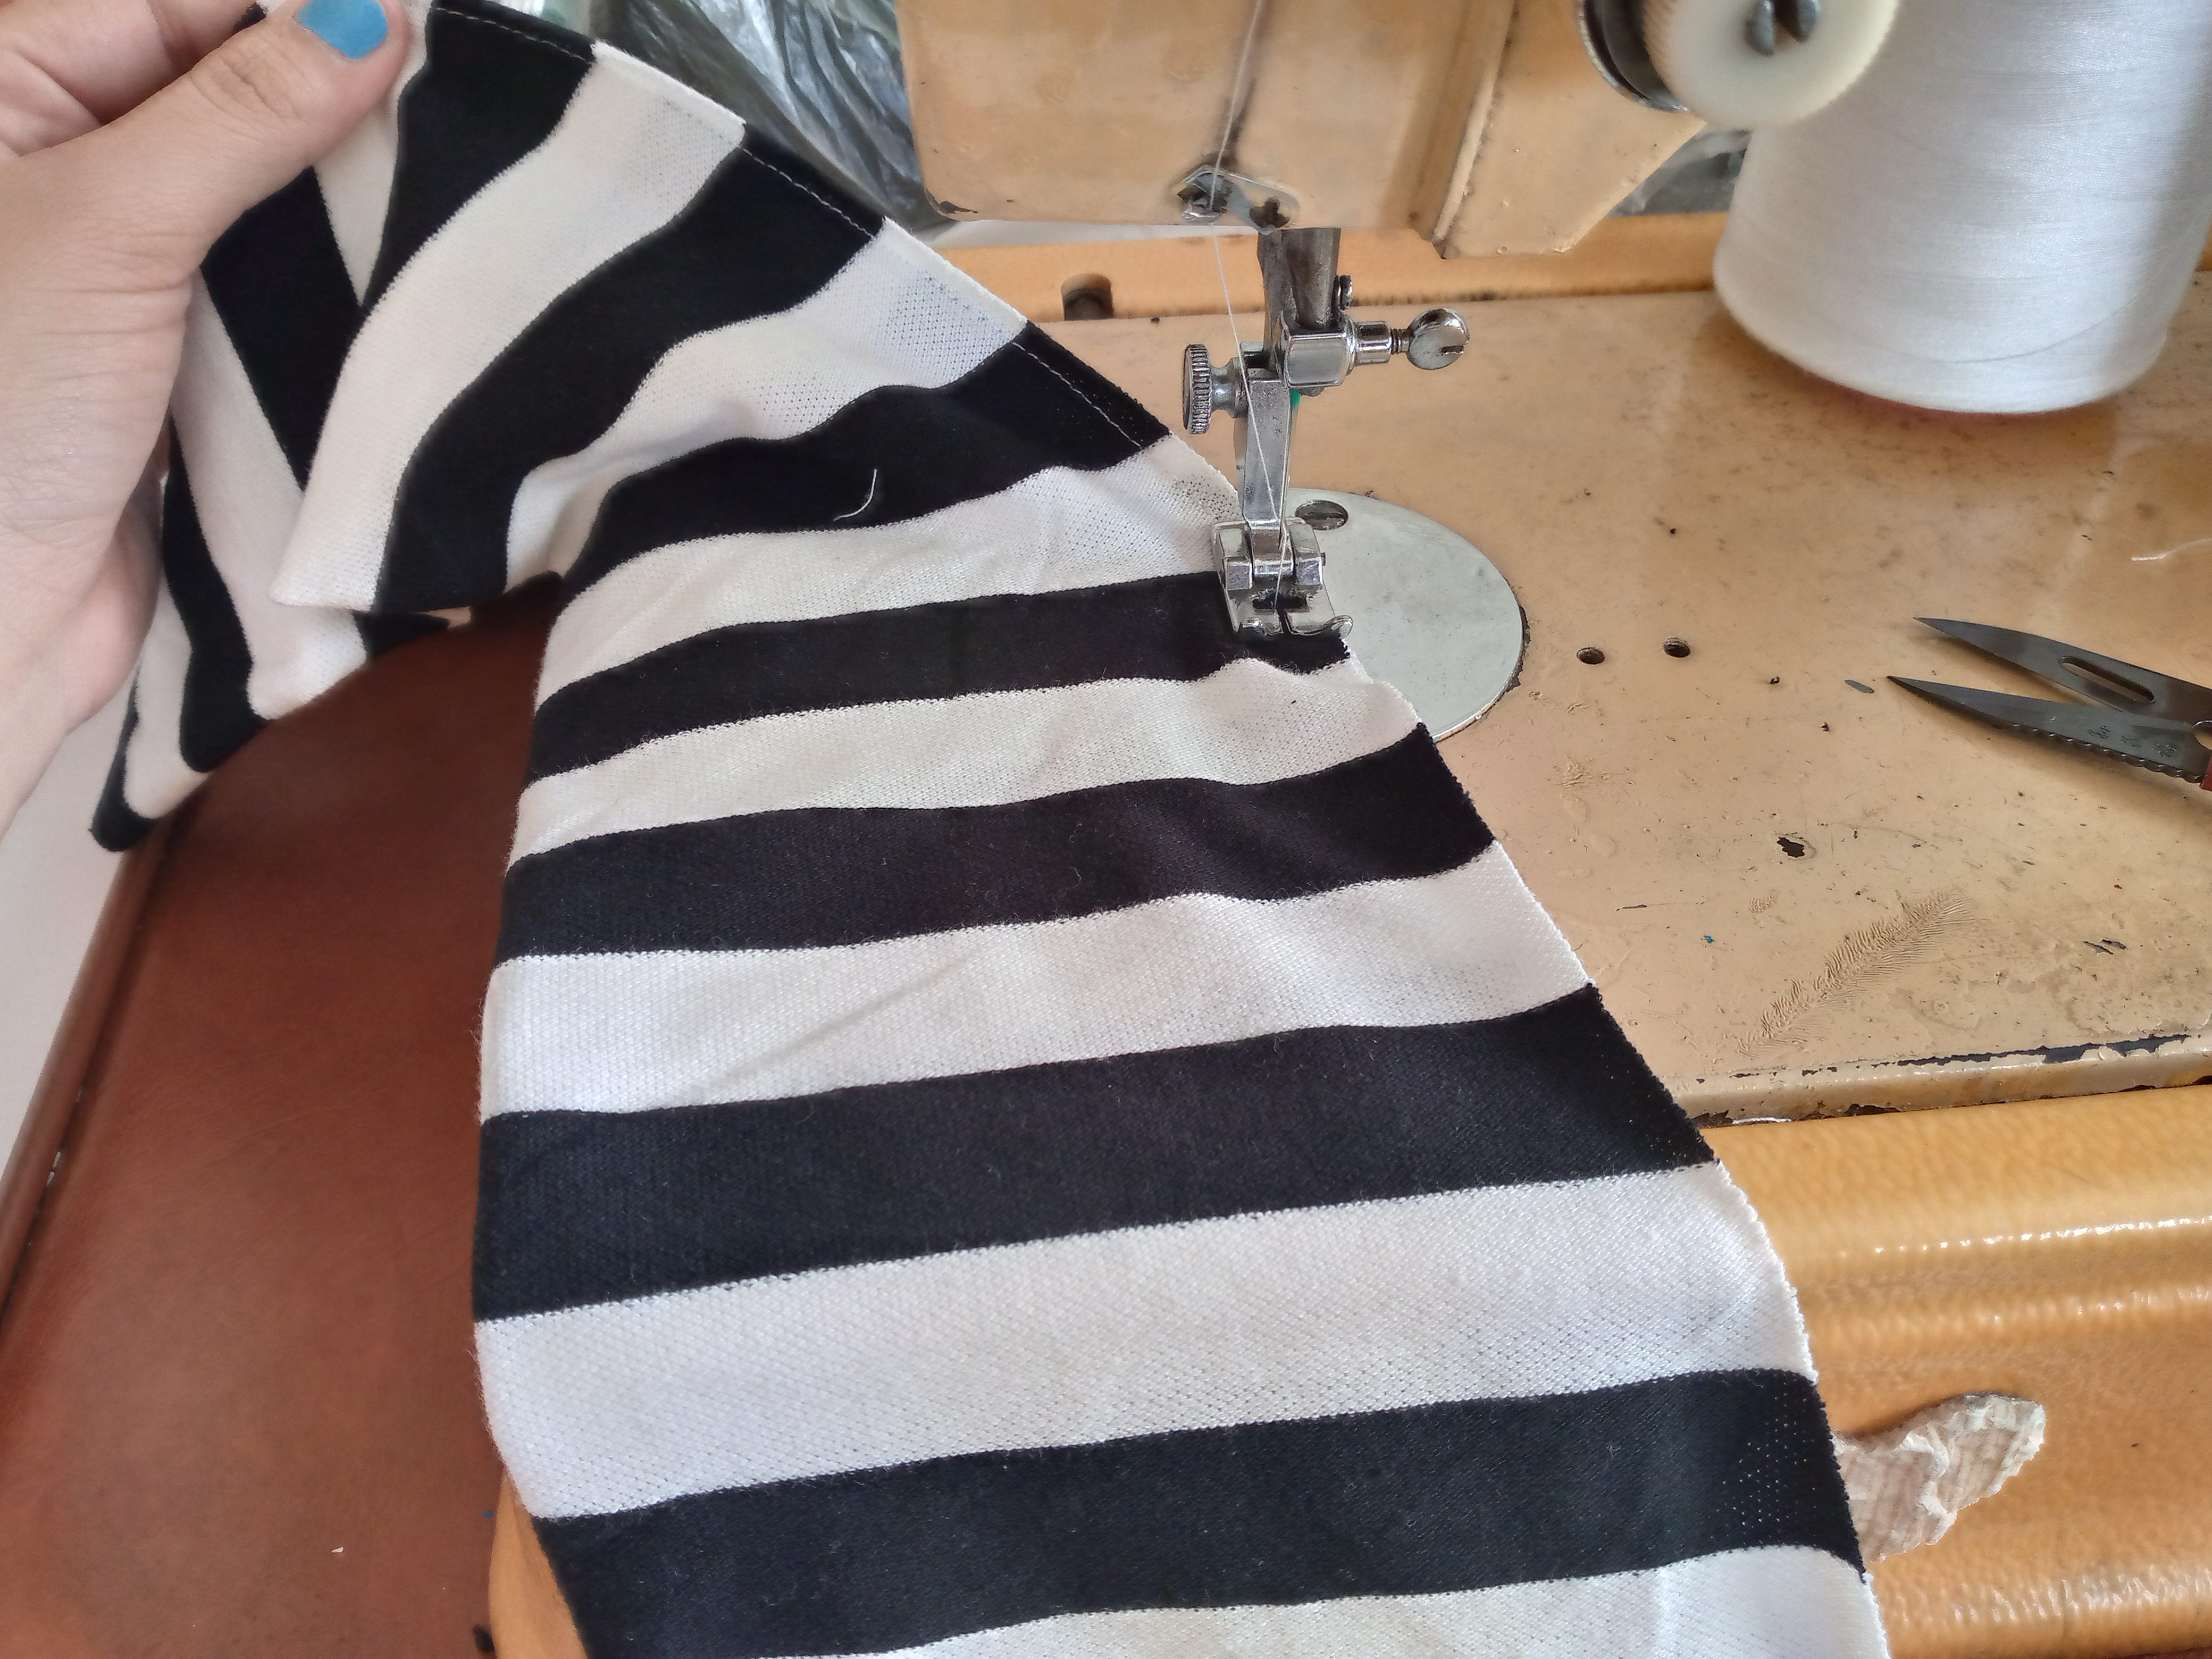
Paso 04
Step 04
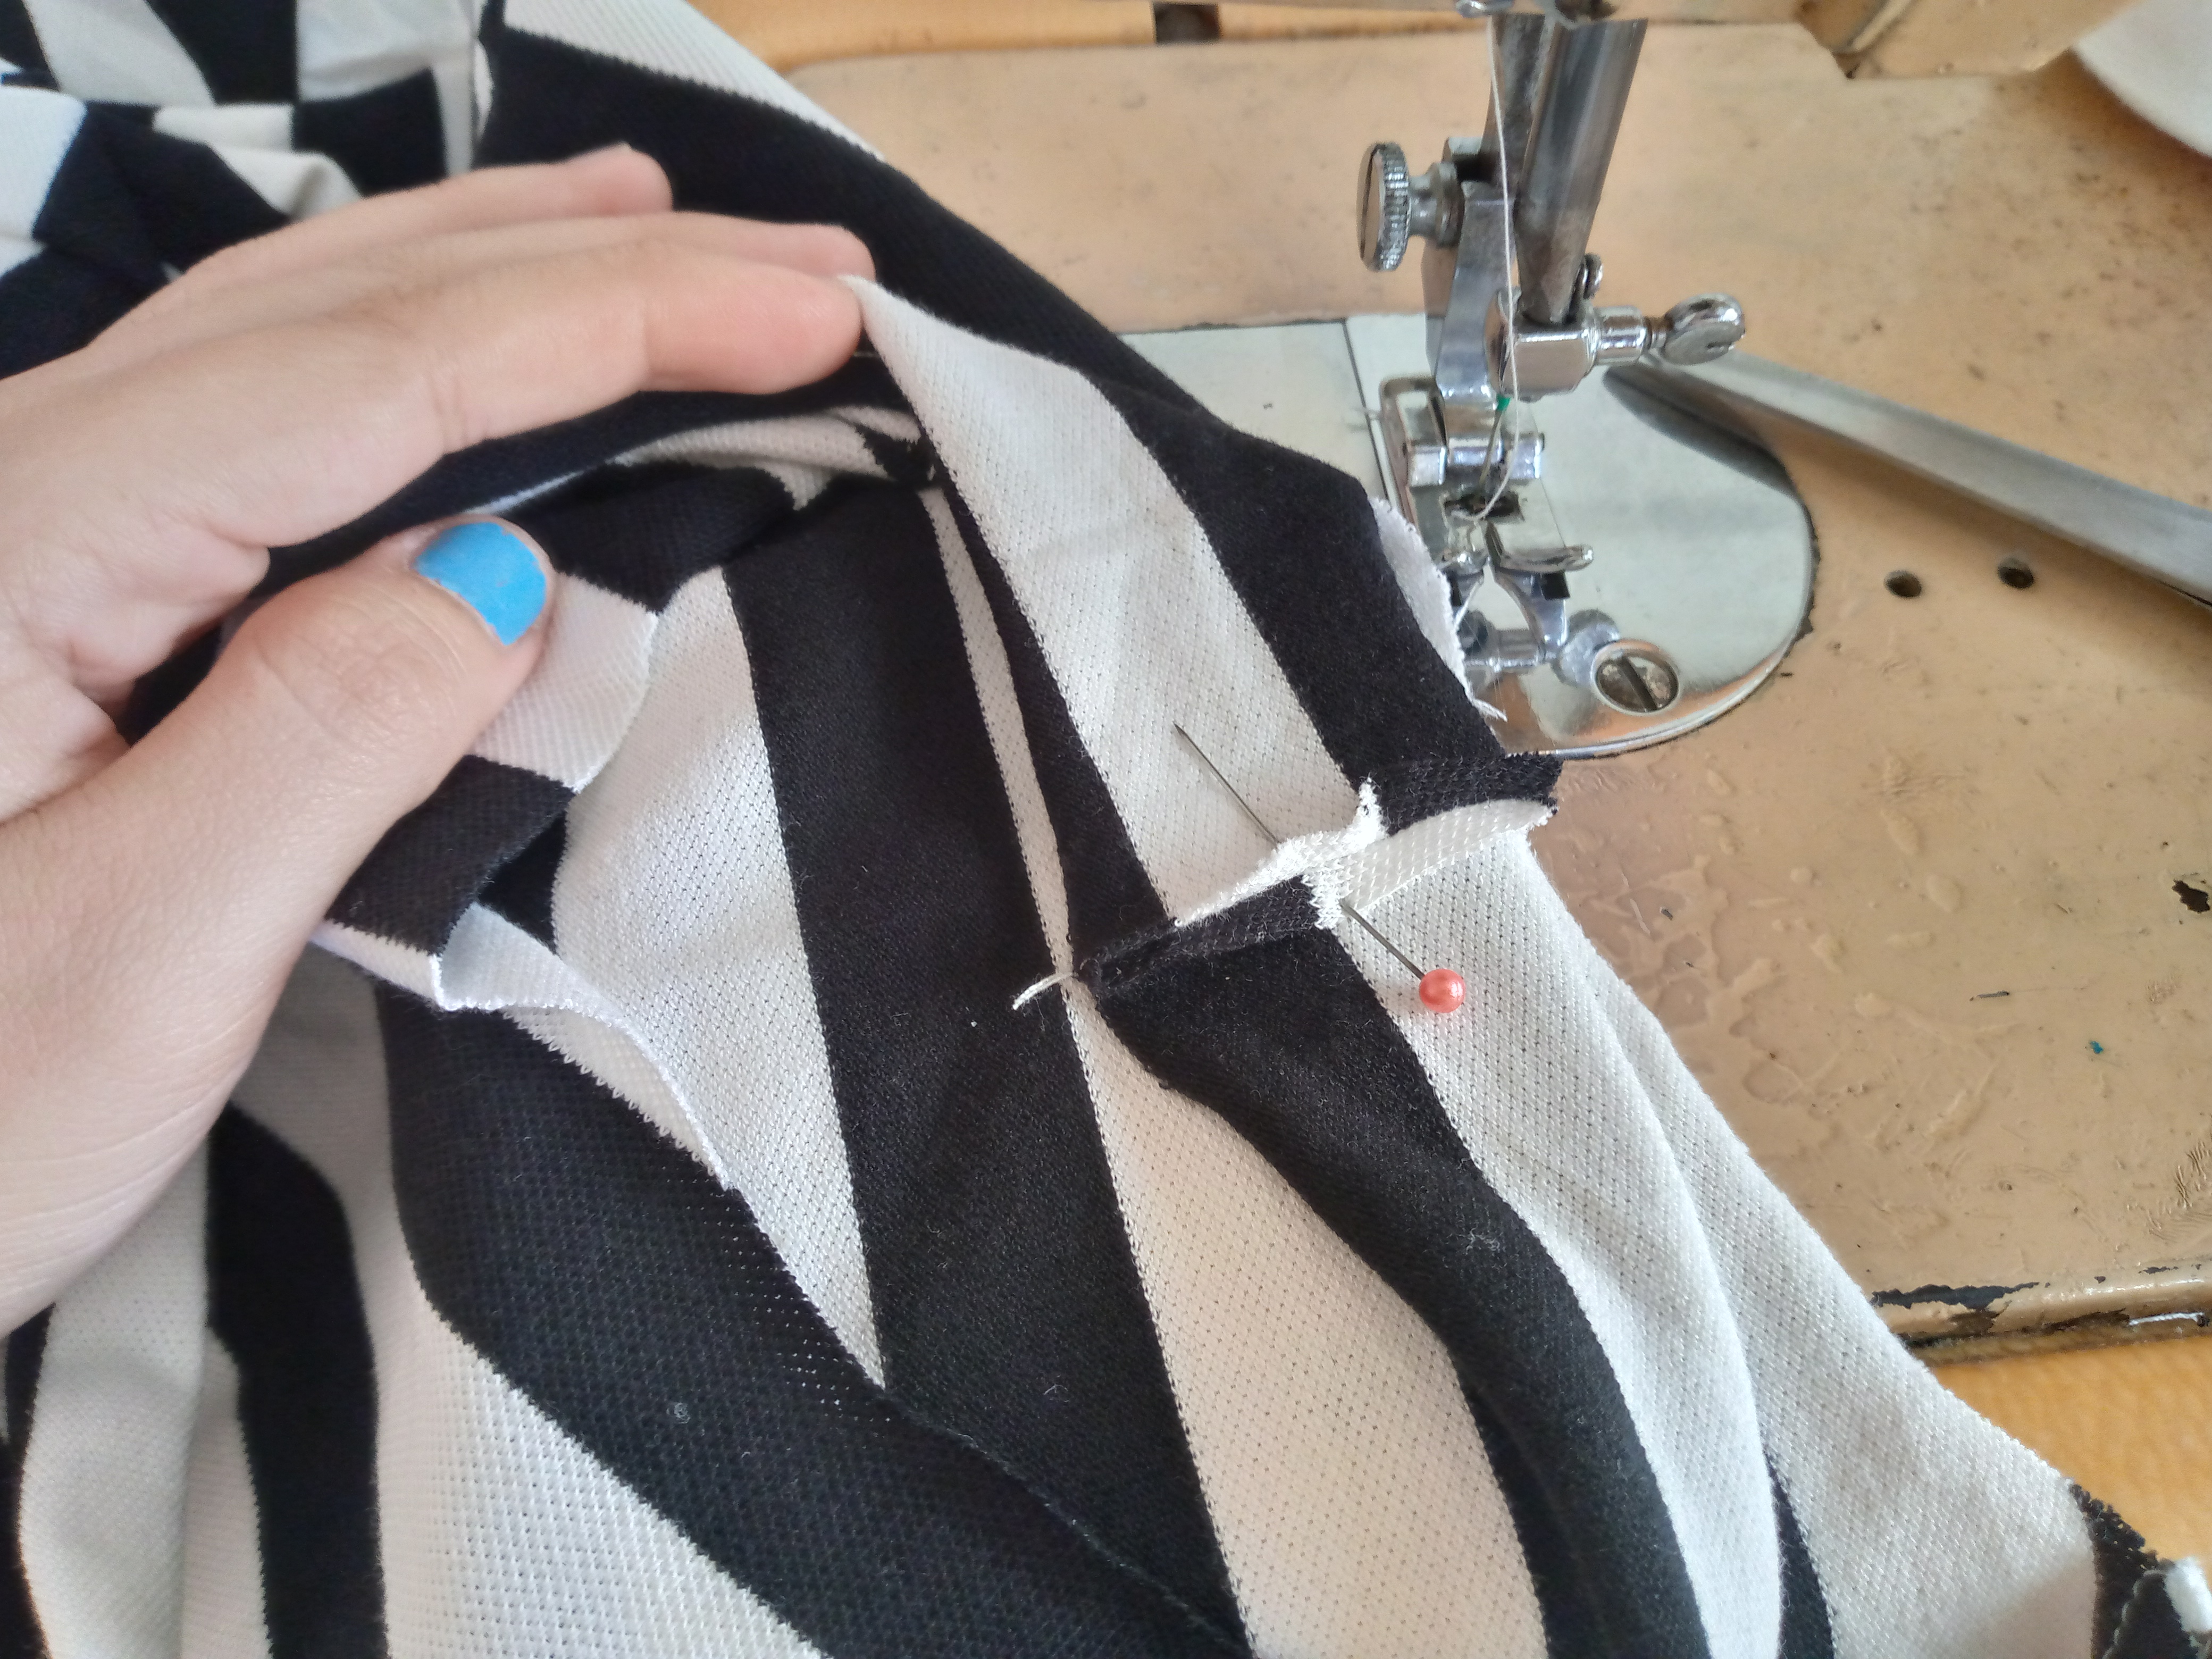
To finish sewing the sides of my sweater, in this case I will start from the tip of the sleeve sewing to the bottom of the blouse, I will sew the hem of the bottom part approximately 1 cm wide and I will finish by sewing the bias of the sleeves as well, I will be double stitching again both the hems and the neck for a better finish and that's it.
Resultado:// Result:


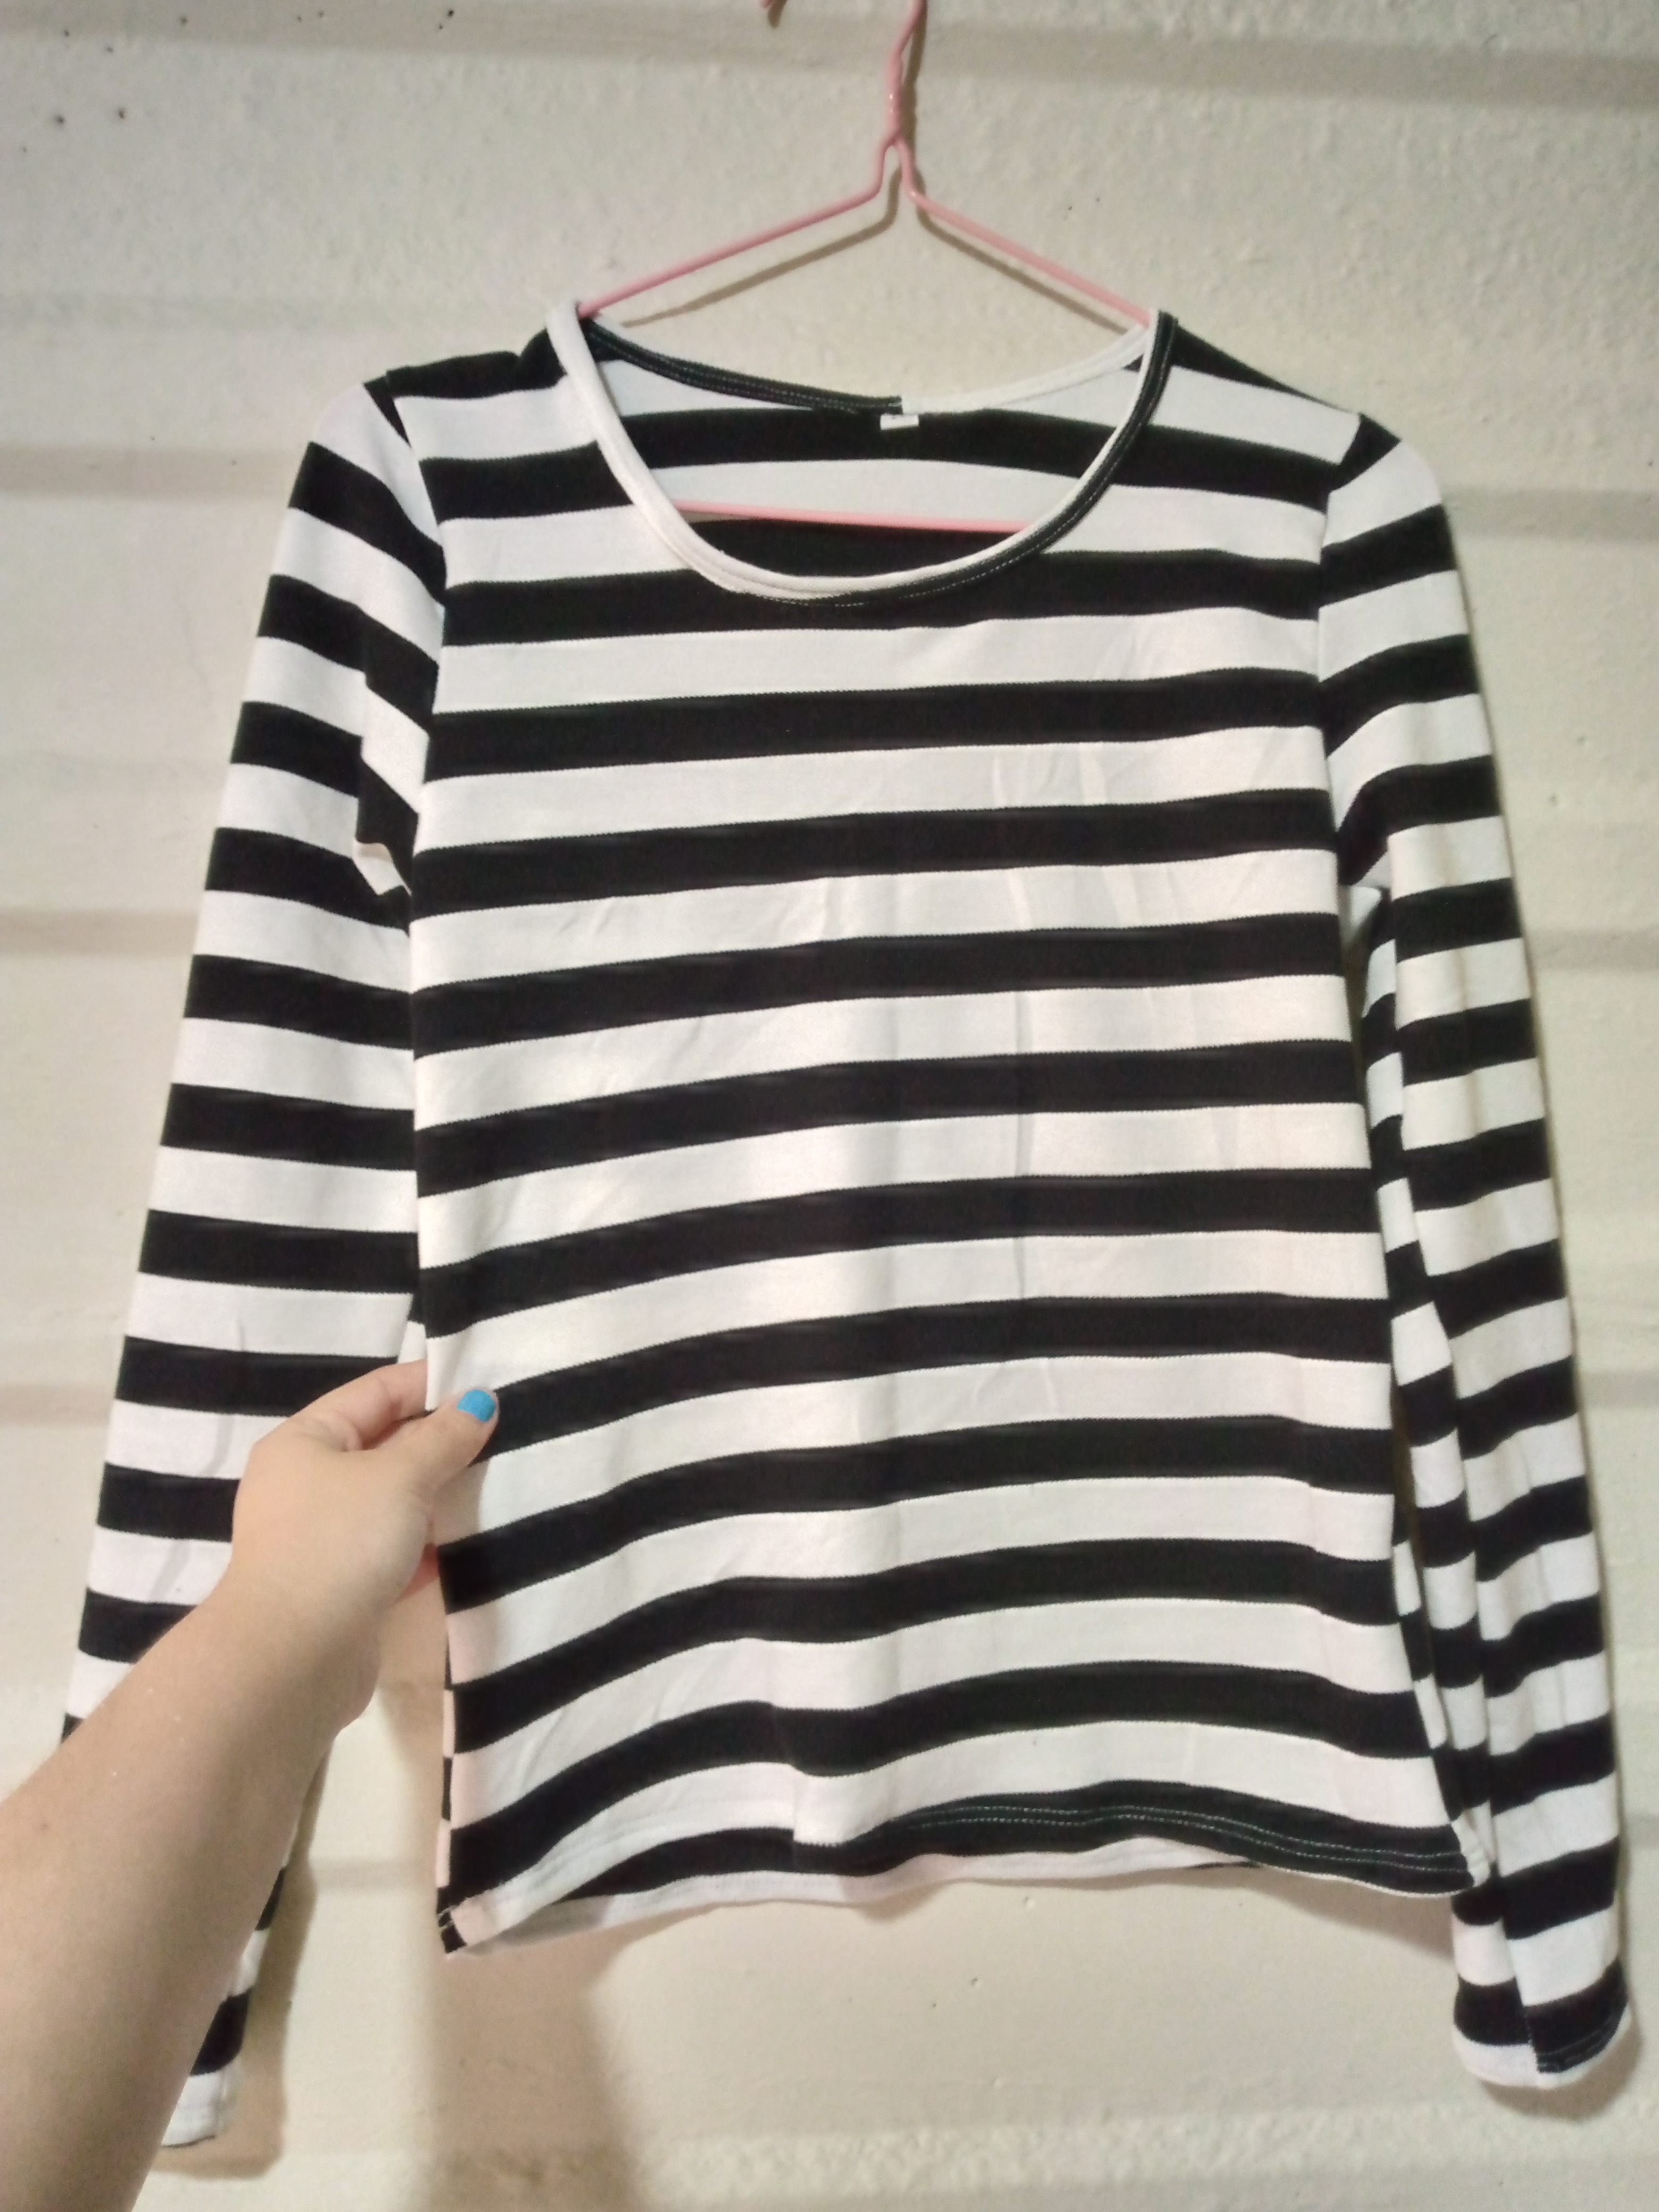
This is how this beautiful finished work looks, it looks very elegant and presentable, a garment that you could use for different occasions and have a unique and different style, these garments can also be made for men in this same print, it would look great, friends, thank you for appreciating and getting to the end of this simple confection, hoping that it has been to your liking and that you leave me your most sincere comments, I will gladly be reading them, until another next job.
Creating things with love 🌷❤️
🦋✨ All the images in this publication are my author ,📱taken with my TecnoSpark8C cell phone |📸Photos edited in PicsArt and Canva. Text translated in Google Translate.