ENGLISH.
Greetings dear vegan community ☺.
Lately I've been experimenting a lot with the Apple, this delicious and healthy fruit is widely used to prepare different desserts, salads, juices, etc..
With so much variety in gastronomy one always wants to learn new things and made with our own hands, well that at least is my case, this recipe today I started making it with great enthusiasm, first because since I saw it online I was captivated although the lady who gives the explanation does not give it in detail, another thing I liked about this recipe are the ingredients to use since I almost always have them at home and of course that gives me the freedom to do it.
Whenever I'm sure I have ingredients on hand to make a new recipe I try not to miss the opportunity, and so I arrived today to prepare this delicious Apple Rosca, I tell you that on the way while preparing this recipe I had my little stumbles, such as when I used the rolling pin the dough stuck to the table, that made me realize that I should put more flour, these things make me a little nervous but also serves to learn more, and for the next Rosca I hope it will be easier.
I can tell you that it really is a simple recipe, you just have to pay attention to the small details and do everything with delicacy.
Now without further ado I invite you to make this Exquisite Apple Rosca together.
Ingredients:
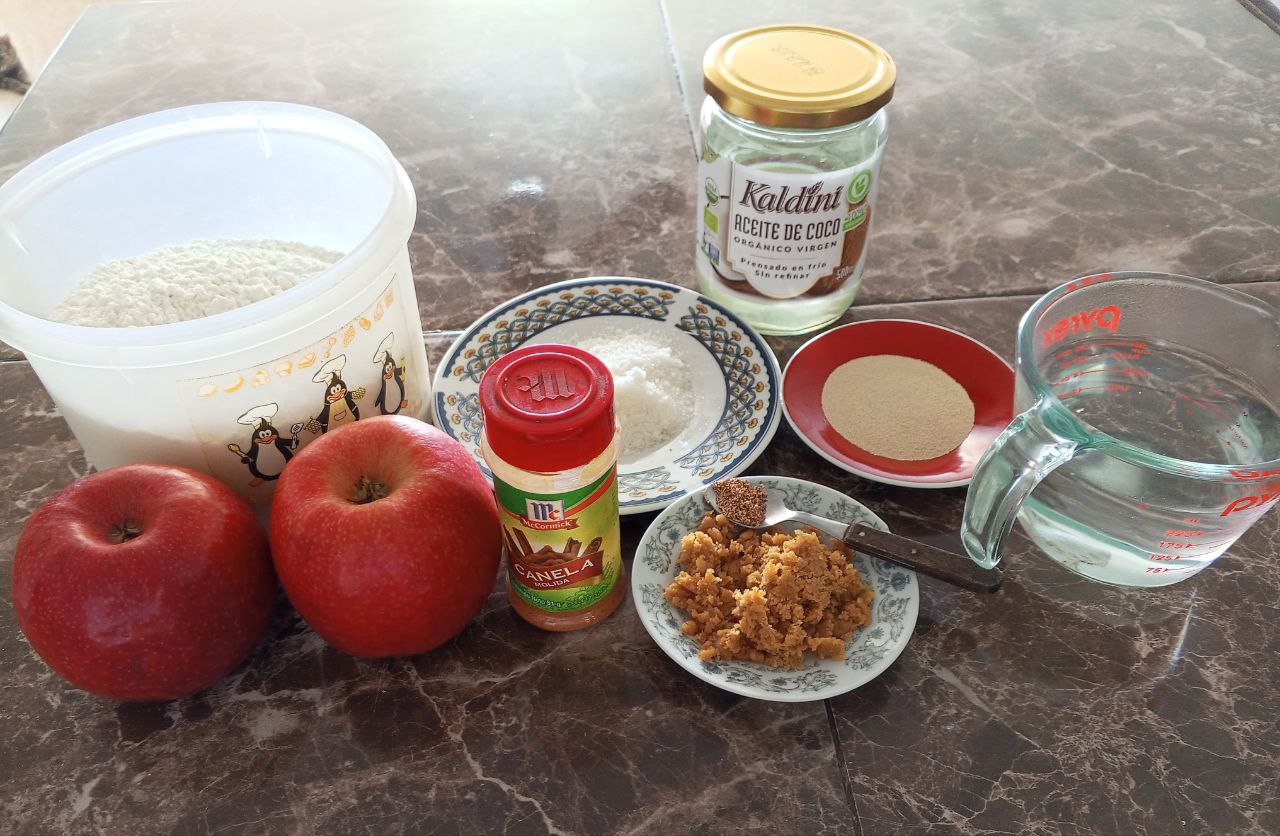
For the Dough:
- 540 grams of all-purpose flour.
- 10 grams of dry yeast.
- 30 grams of sugar.
- 300 Ml of lukewarm water.
- 1 teaspoon of salt.
For the filling.
- 50 ml of Coconut Oil.
- 30 grams of grated Panela or Sugar, you can use another sweetener, the original recipe uses Coconut Sugar.
- 1 teaspoon of Cinnamon powder.
- 1/2 teaspoon of powdered Nutmeg.
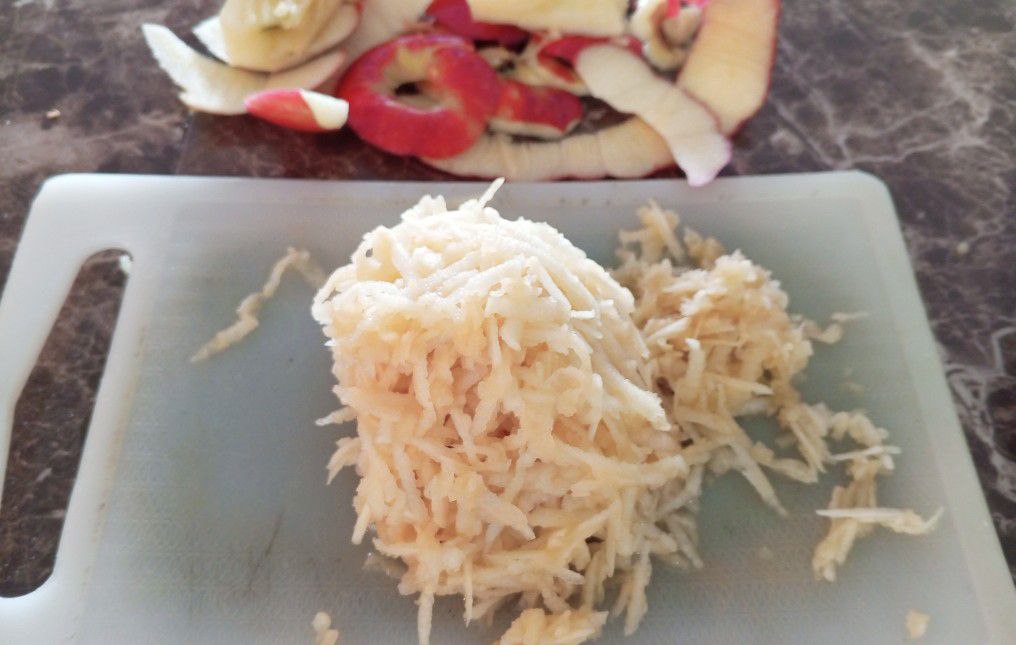
- 2 grated Apples.
Let's go with the preparation.
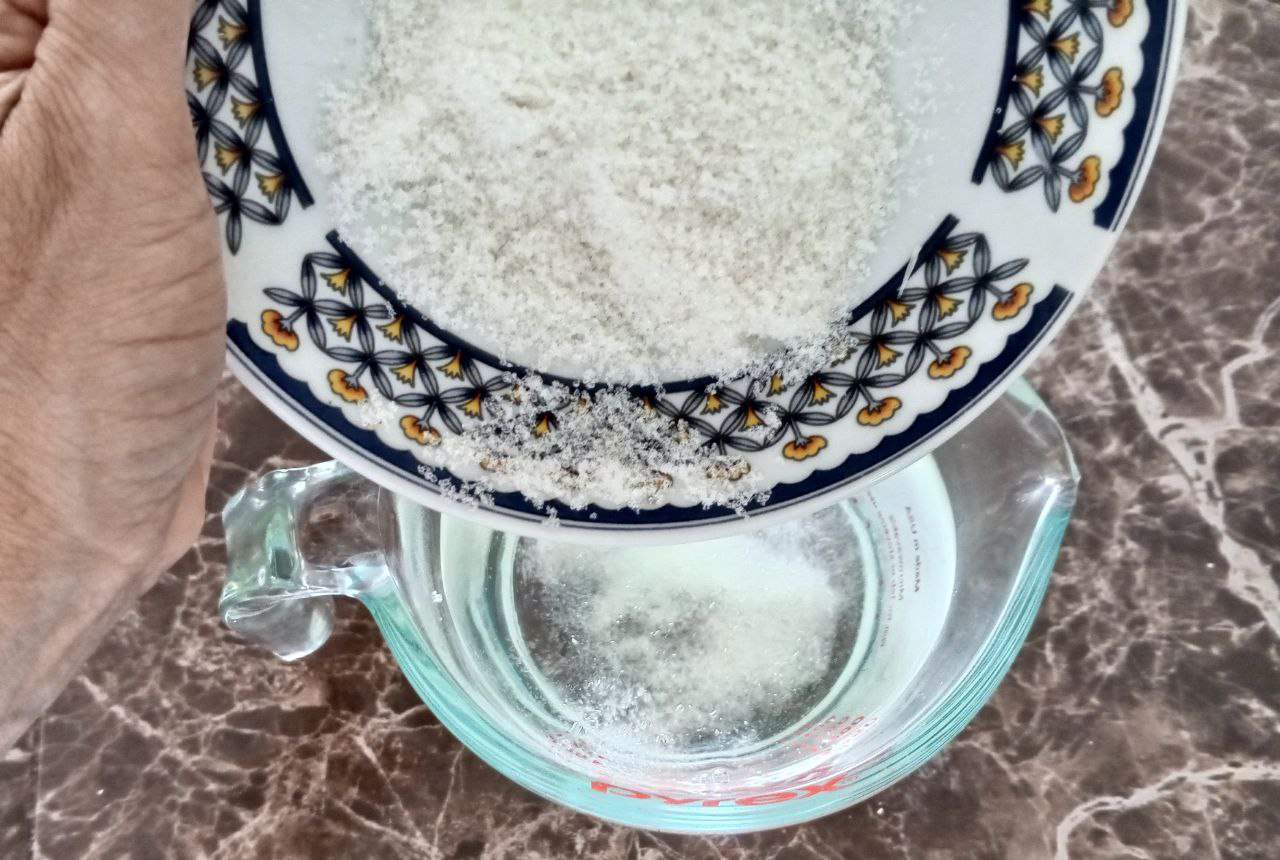
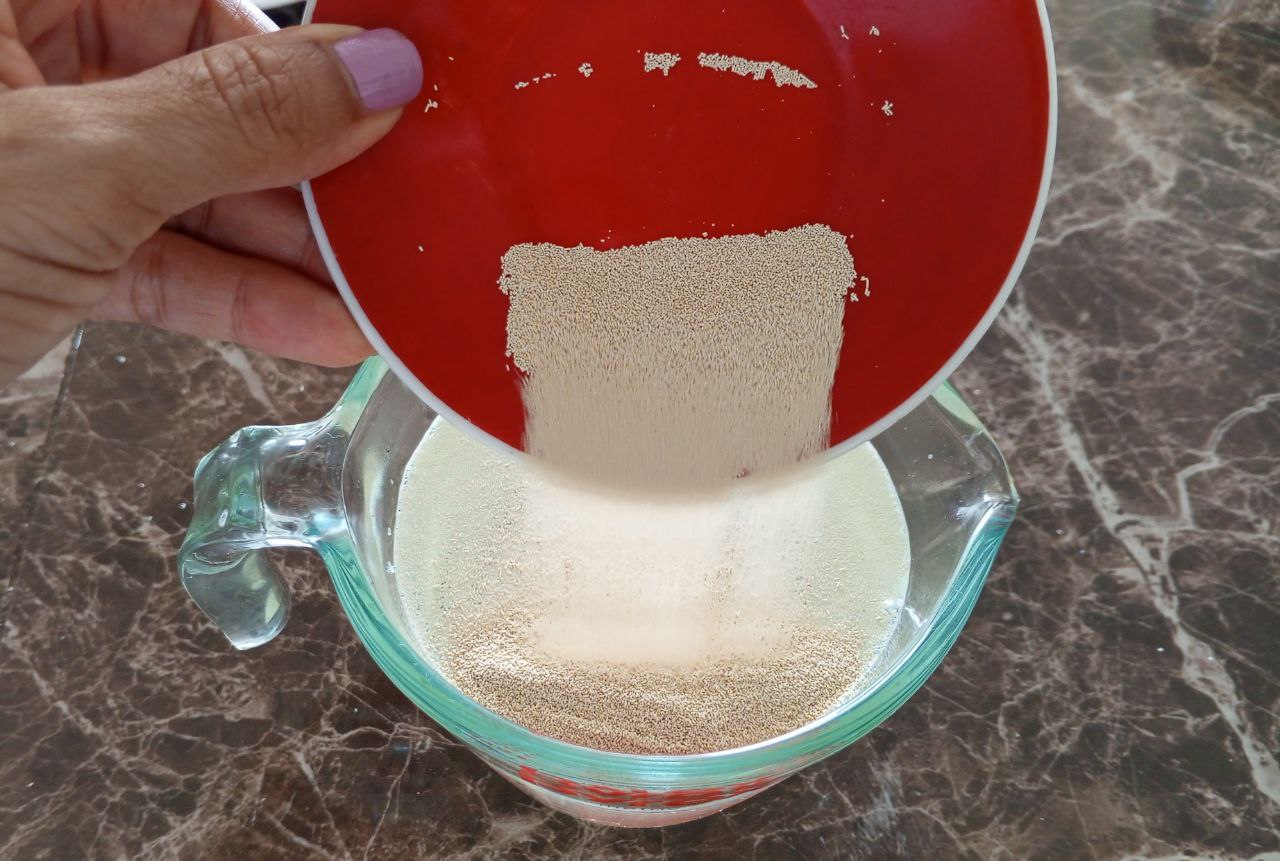
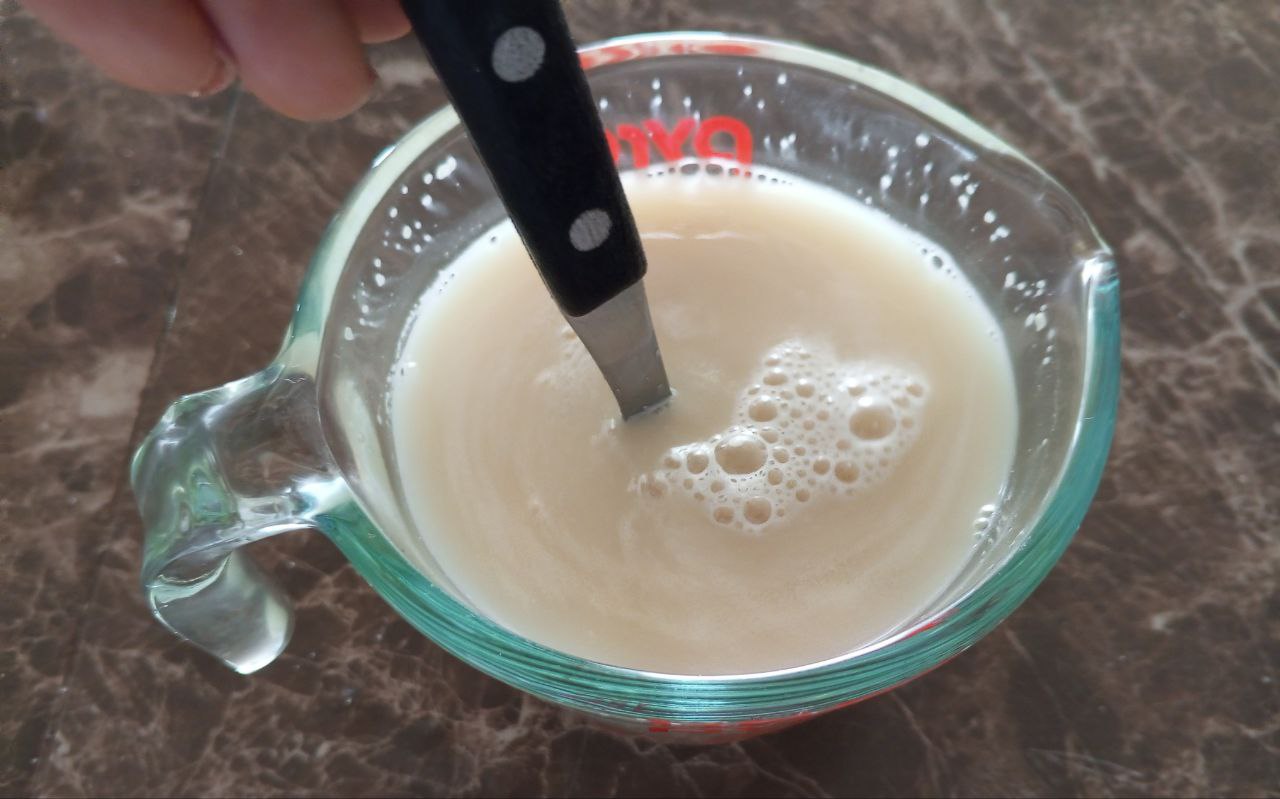
We start making the dough, in a bowl we are going to mix 300 ml of warm water with 30 grams of sugar and 10 grams of yeast, we are going to mix it and let it rest for about 15 minutes.
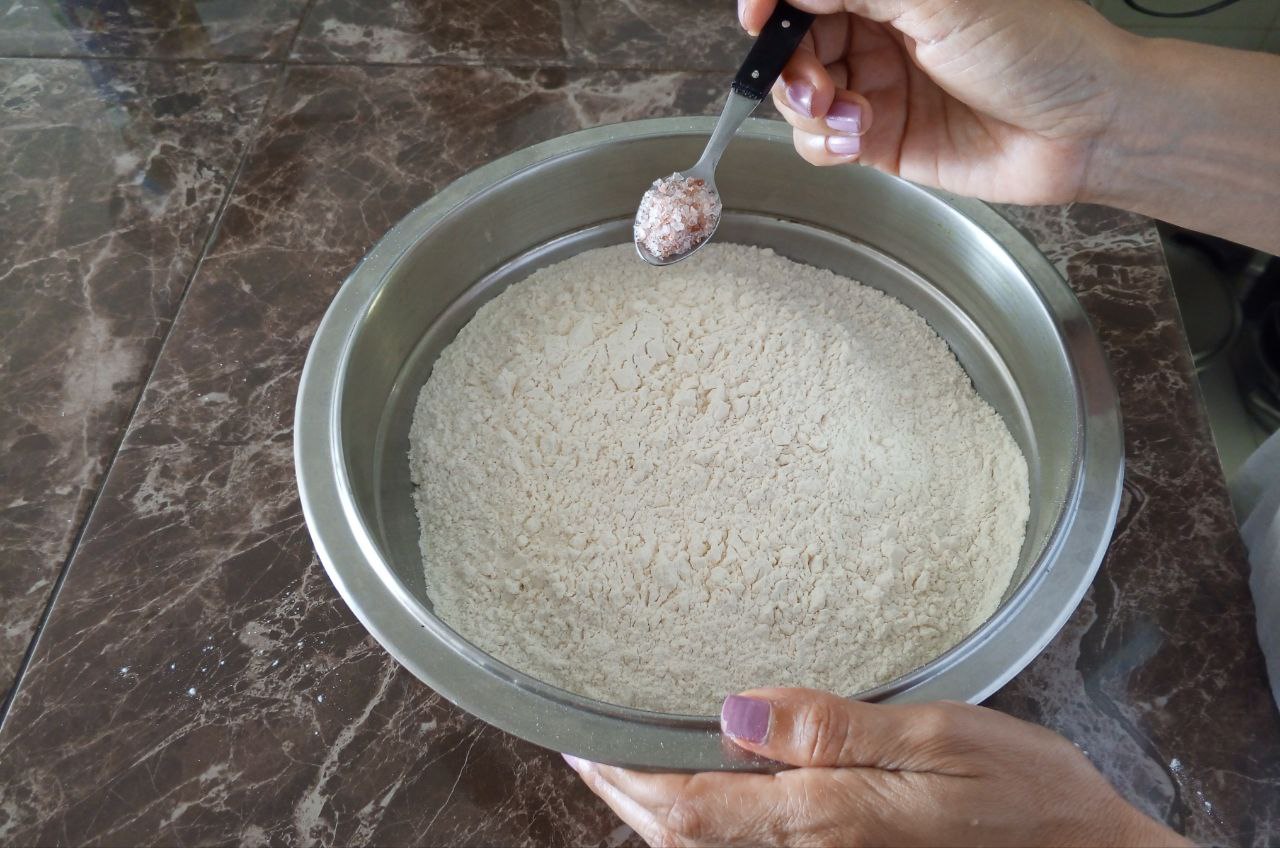
Once the 15 minutes have passed, pour the flour in a bowl and add 1 teaspoon of salt, mix.
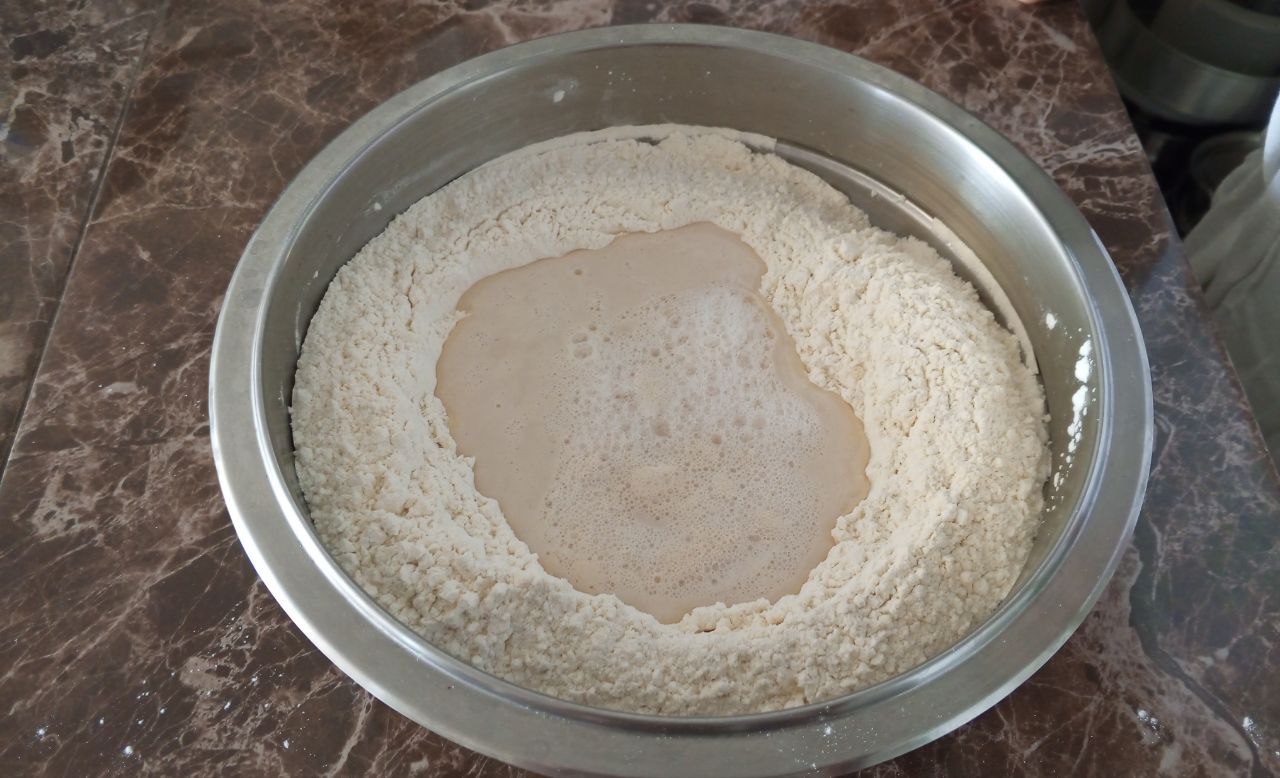
Then we are going to add the preparation we made with the water and the yeast.
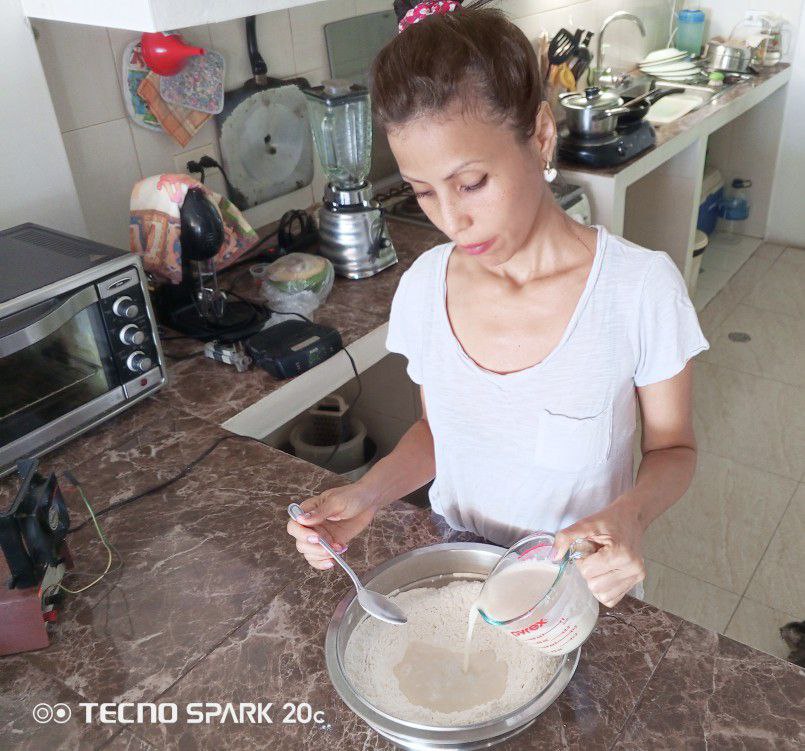
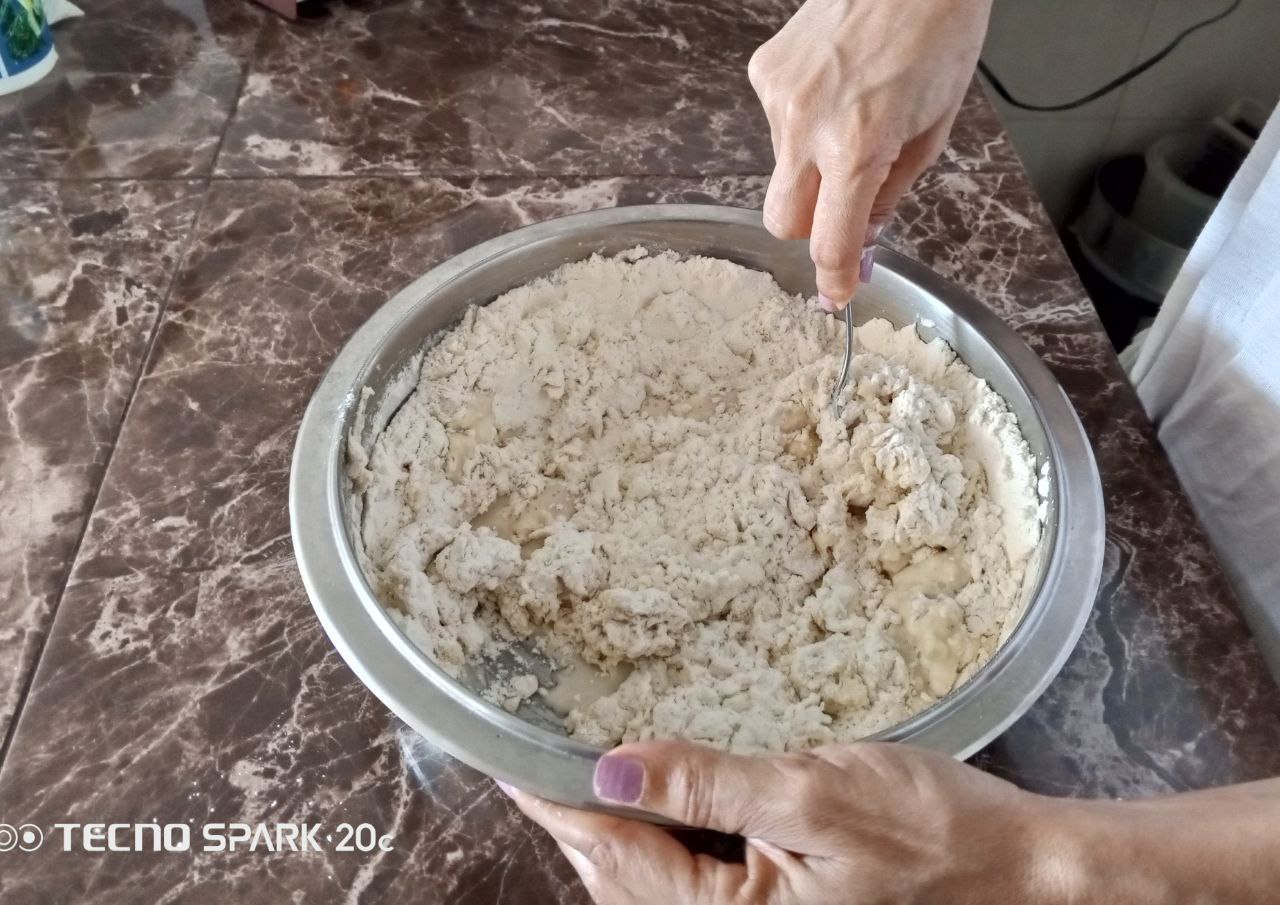
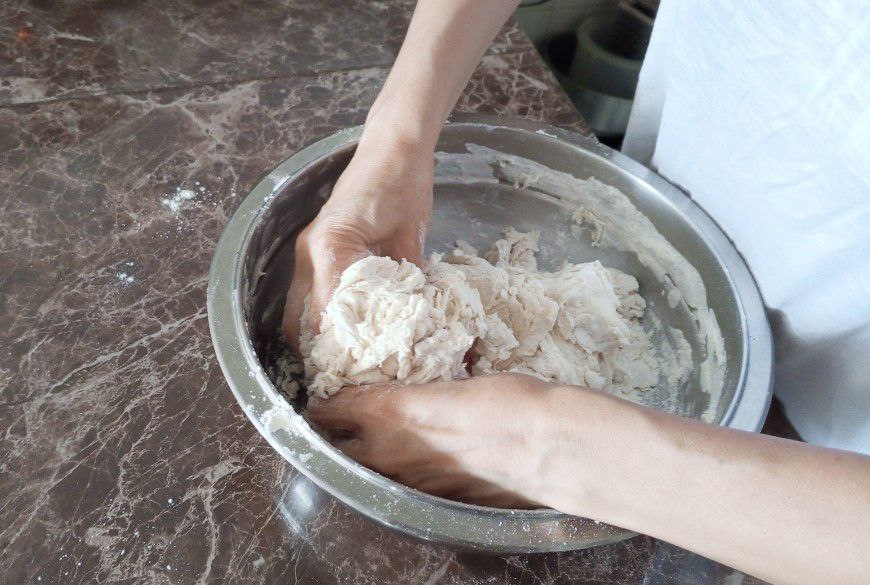
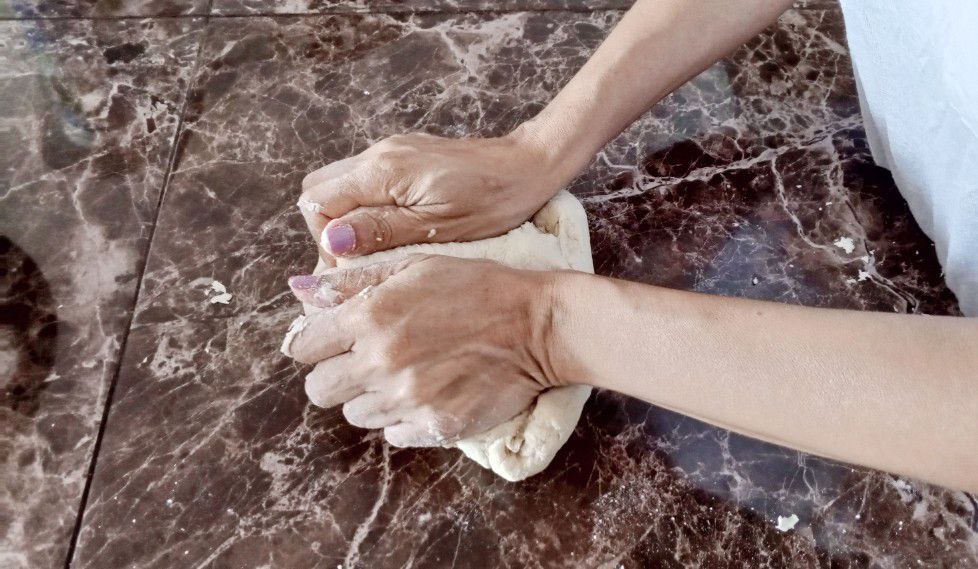
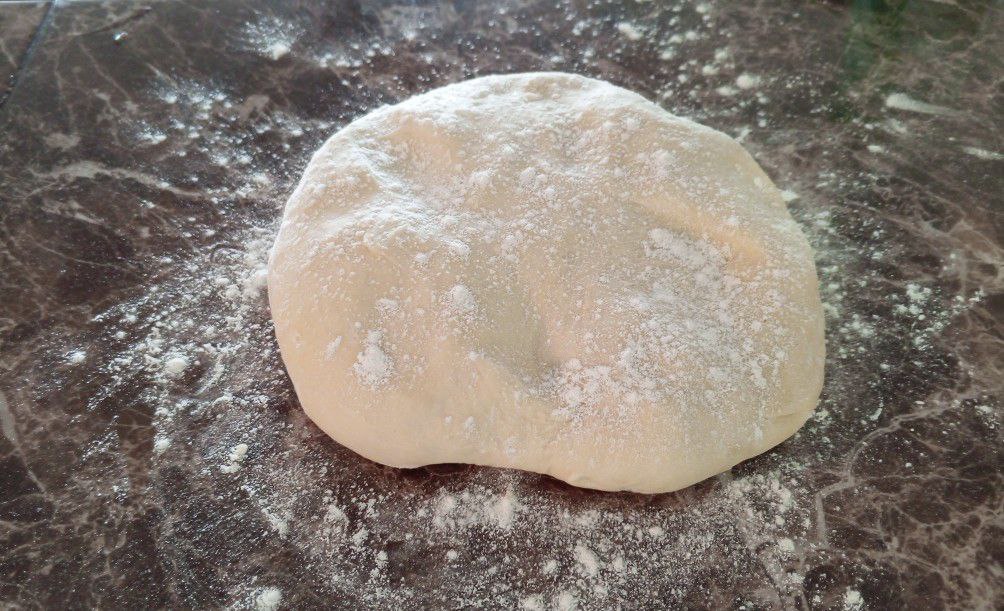
We begin to mix the dough, we can help us with a spoon or with a pastry paddle and then we will use our hands, the kneading time takes about 7 minutes, the dough will be ready when it does not stick to our hands, if you see that the dough is too sticky just add a little more flour.

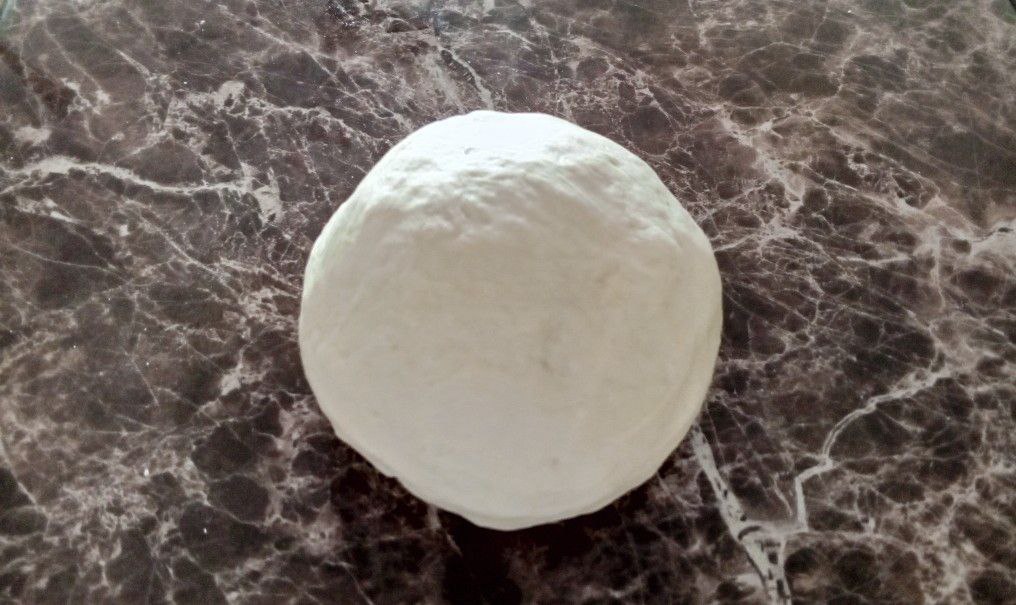
Once our dough is ready we put it in a bowl and cover it, let it rest for about 20 minutes.
At this time we preheat our oven to 180 degrees.
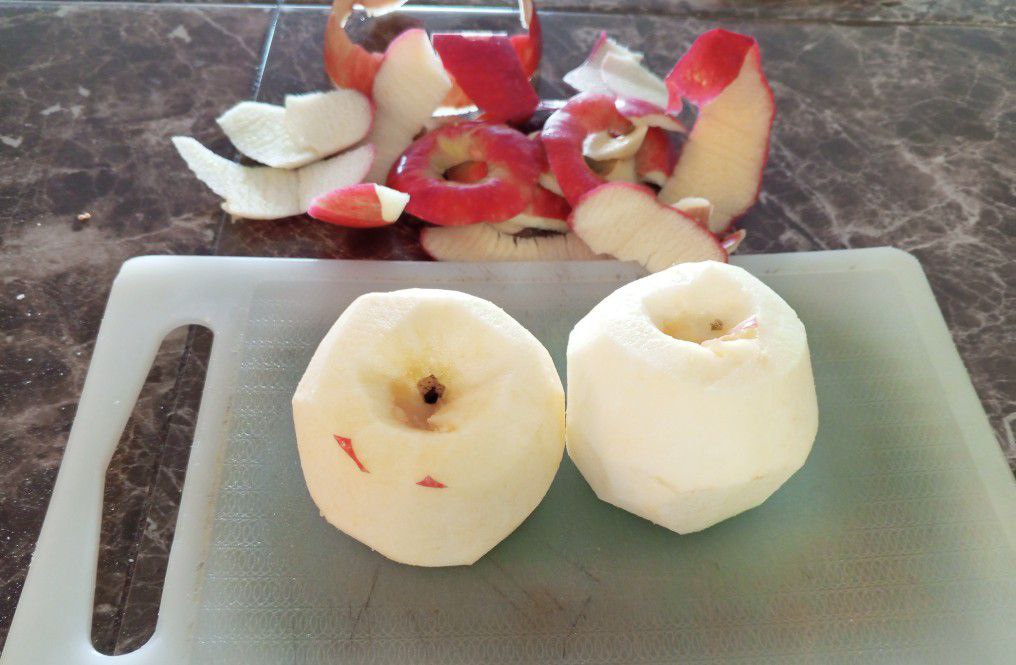
And now we are going to make our filling, we start by peeling and grating our apples, we reserve them, if you do not want them to oxidize, add a little lemon juice.
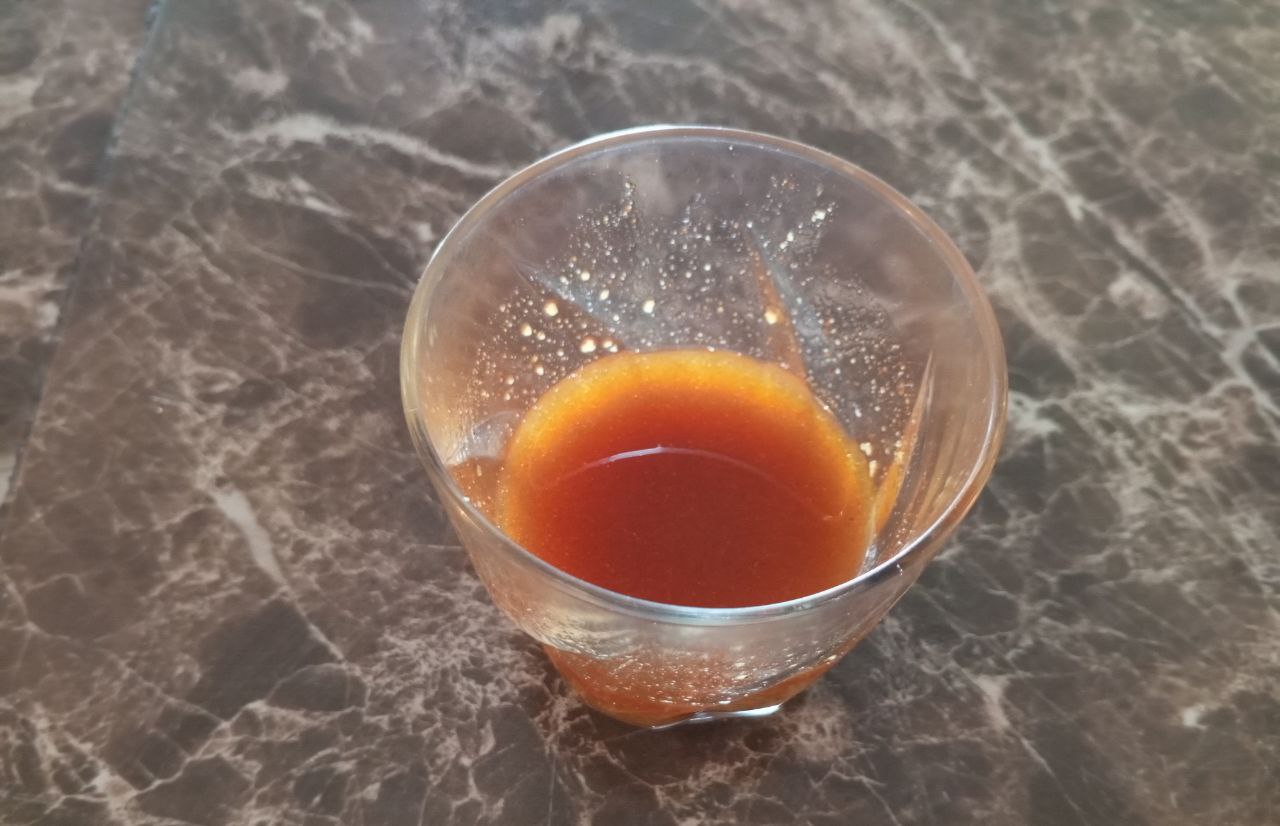
Now in a container, I used a small glass, there we are going to pour the Coconut Oil, if you see it white is because it was in the fridge, to this we add the grated Panela, the Nutmeg.
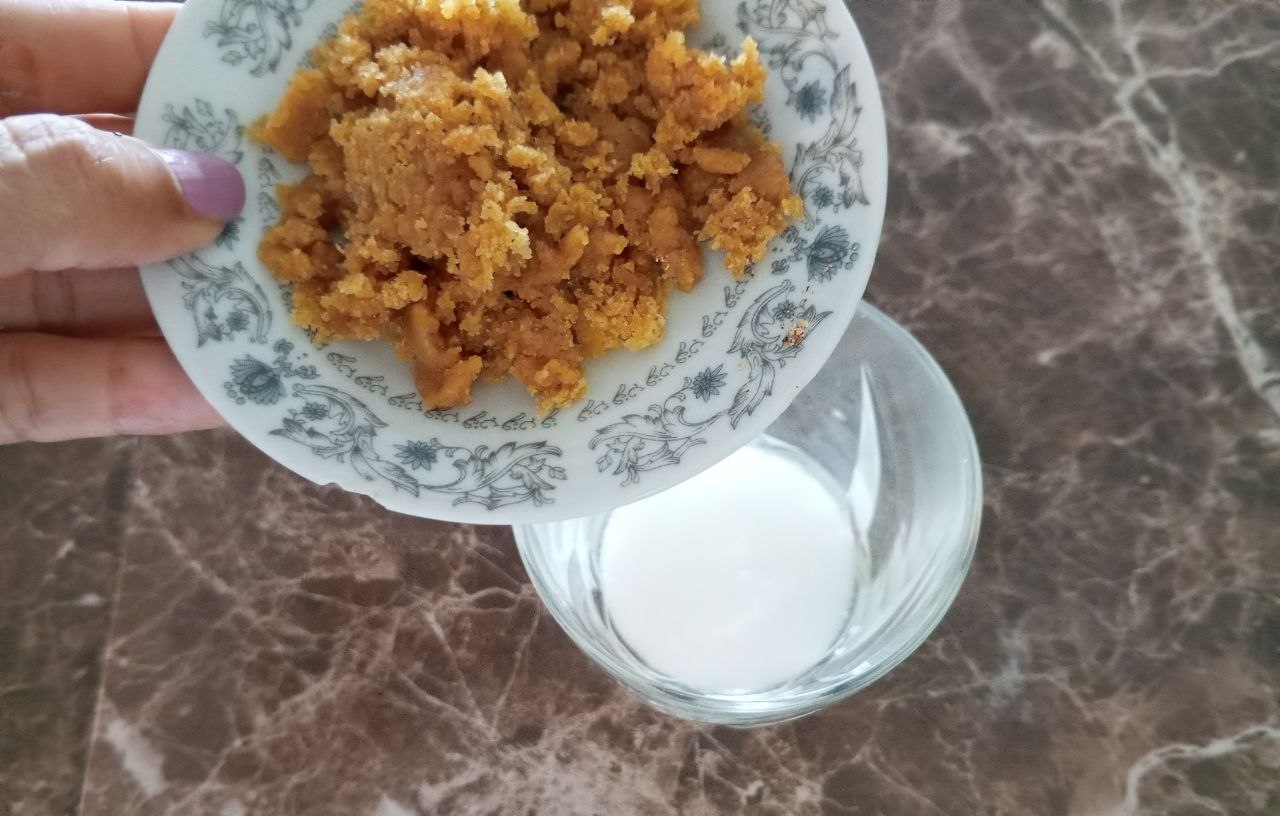
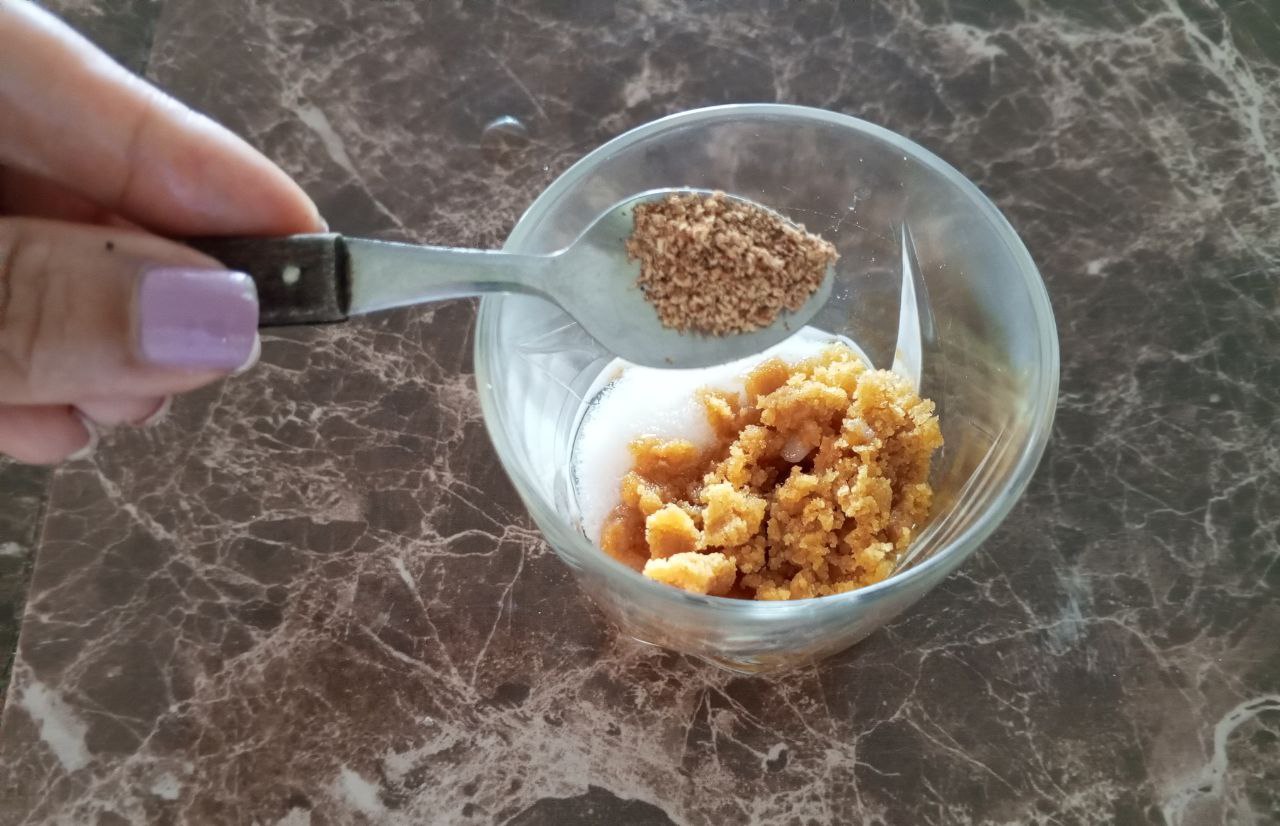
And the Cinnamon, mix very well, we will have a mixture like the one we see in the photo.

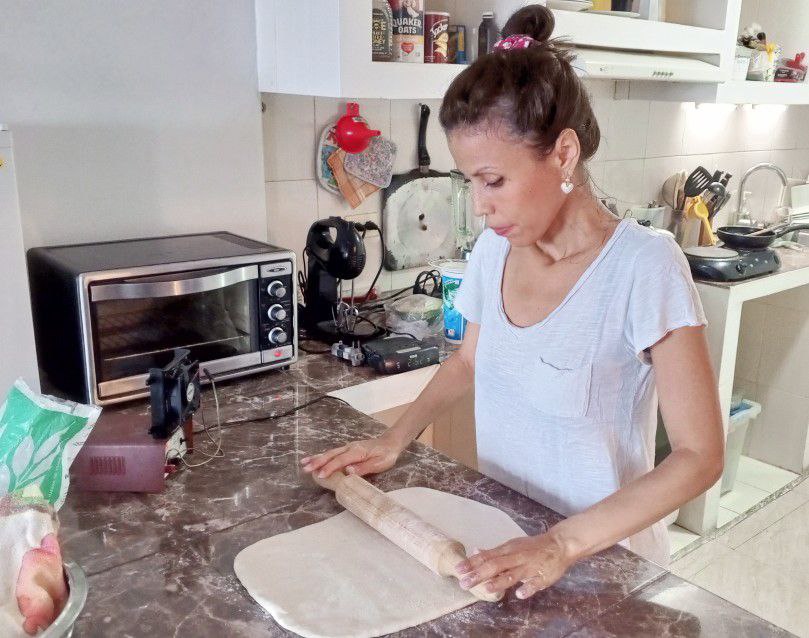
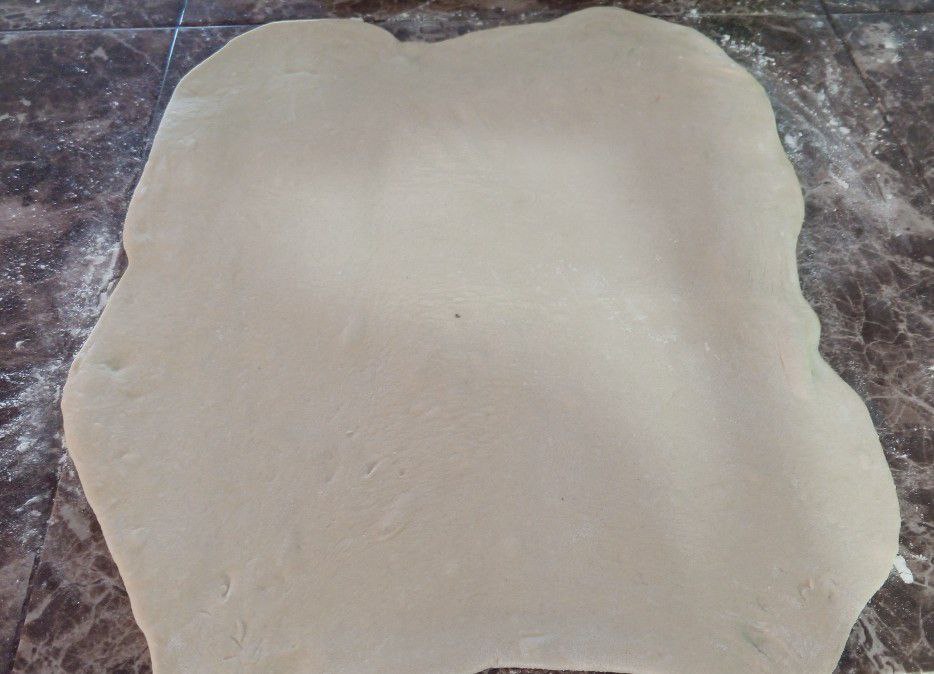
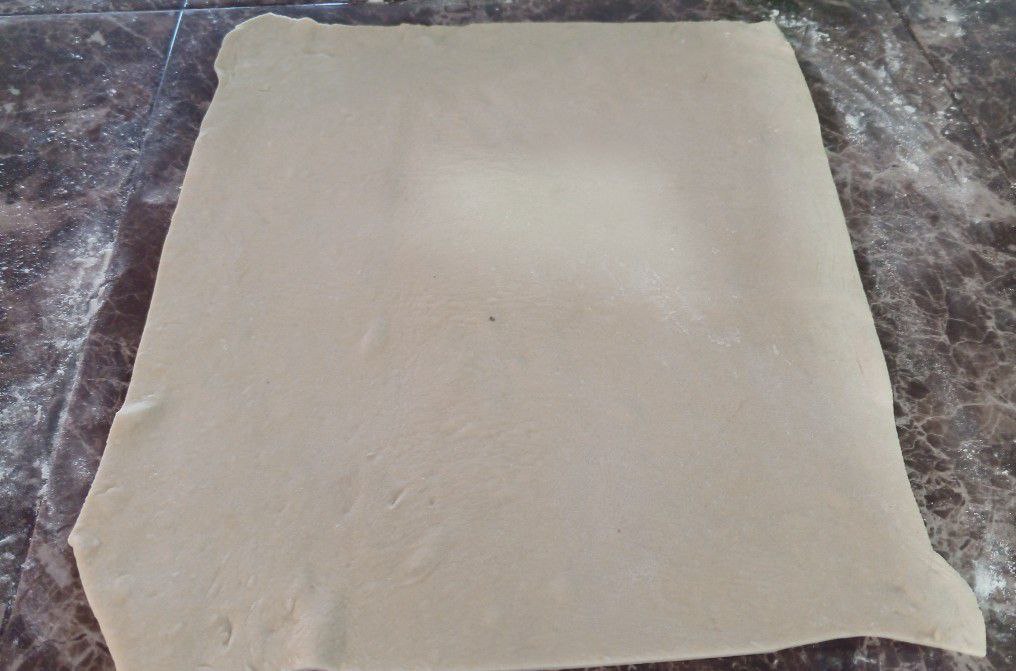
After twenty minutes, and our dough has rested, now we put enough flour on the table where we are going to extend our dough, we put flour under and above the dough, we must be careful with that, because if it sticks later it is very difficult to work it.
We extend using our rolling pin, trying to give a rectangular shape, to make it more even I helped myself with a knife.
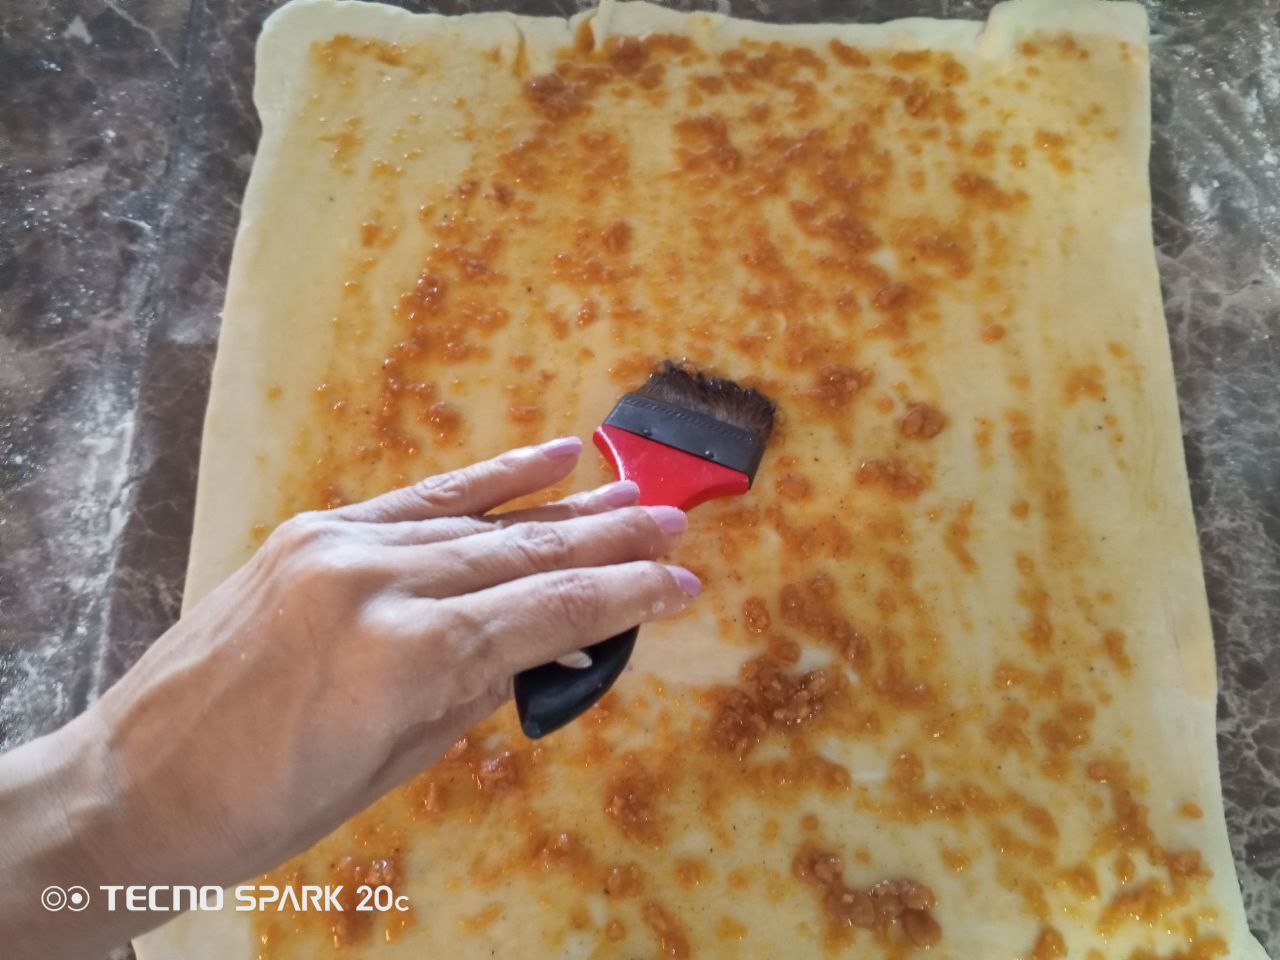
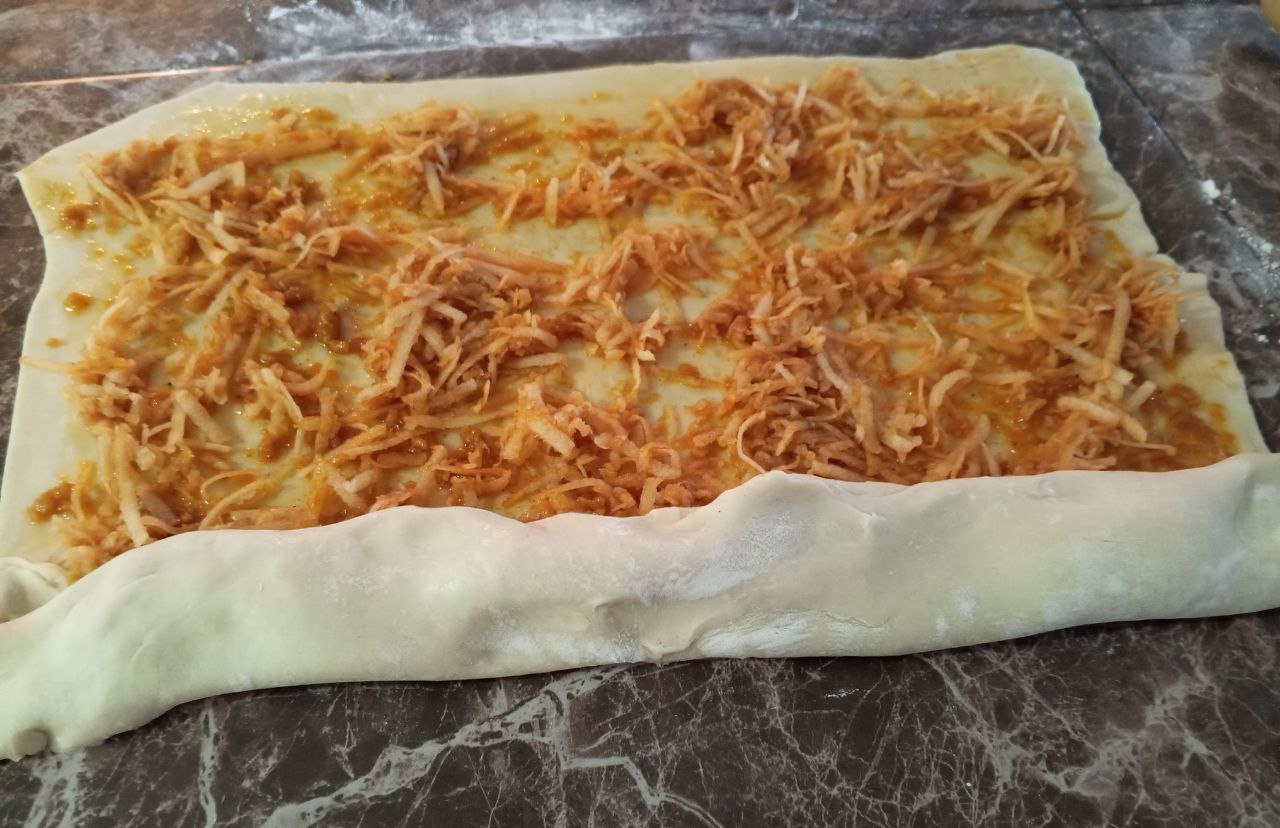
Now we begin to fill, we put our preparation of Coconut Oil and grated Panela, we help us with a small brush.
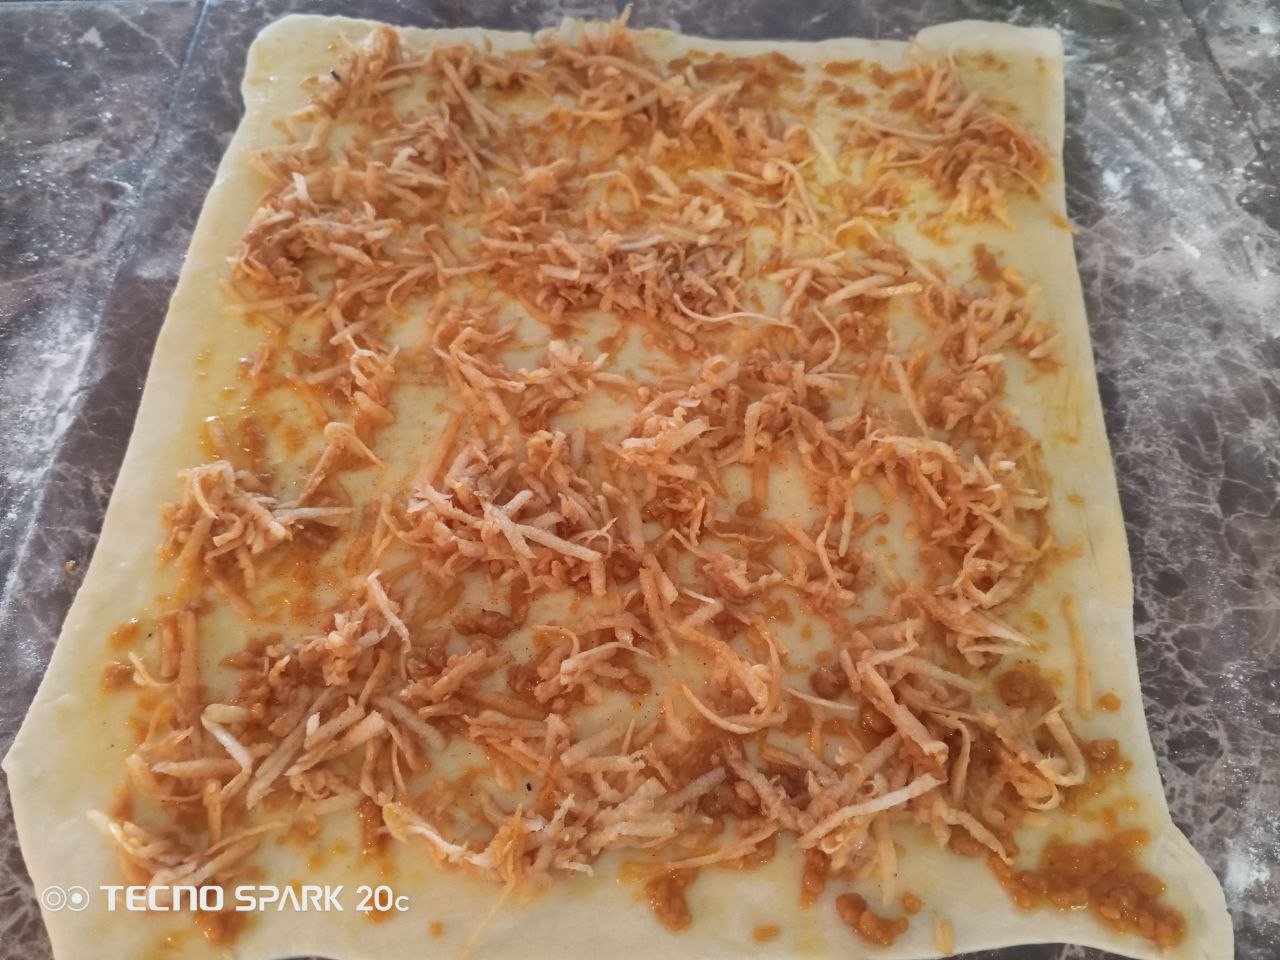
Then we add the grated apples, before adding the apple to the dough first we are going to squeeze it very well, because it releases a lot of juice and that can damage our recipe.
Now we just have to roll the dough, let's do this carefully and delicately.
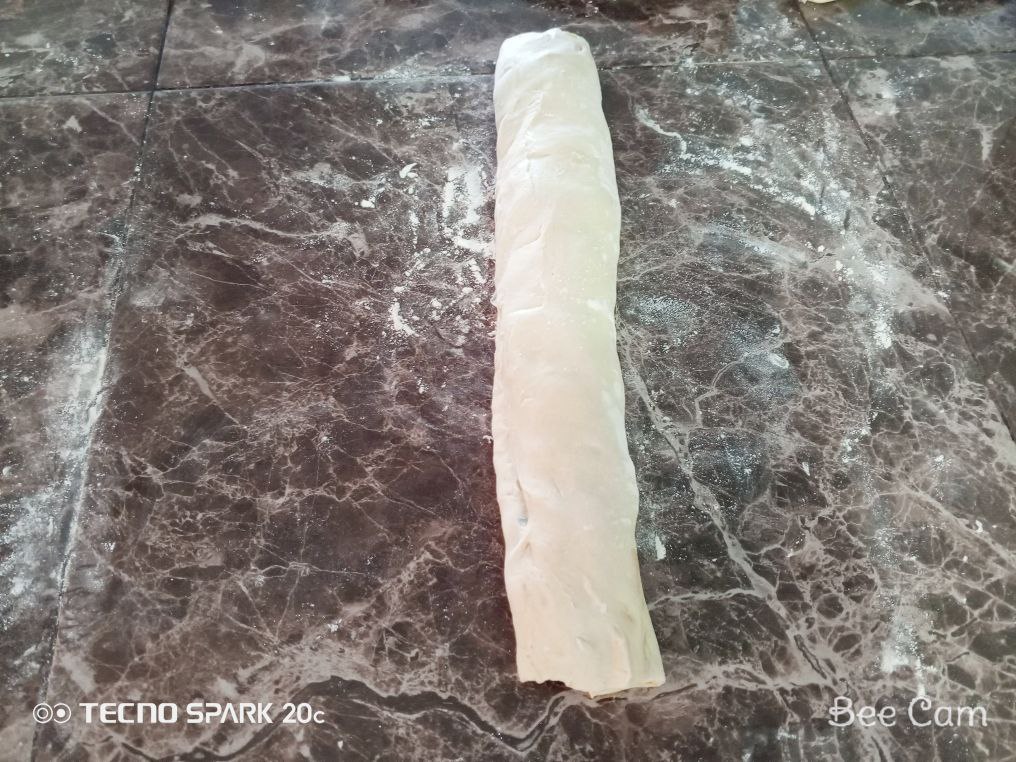
Once our dough is rolled we are going to divide it into parts as equal as possible.
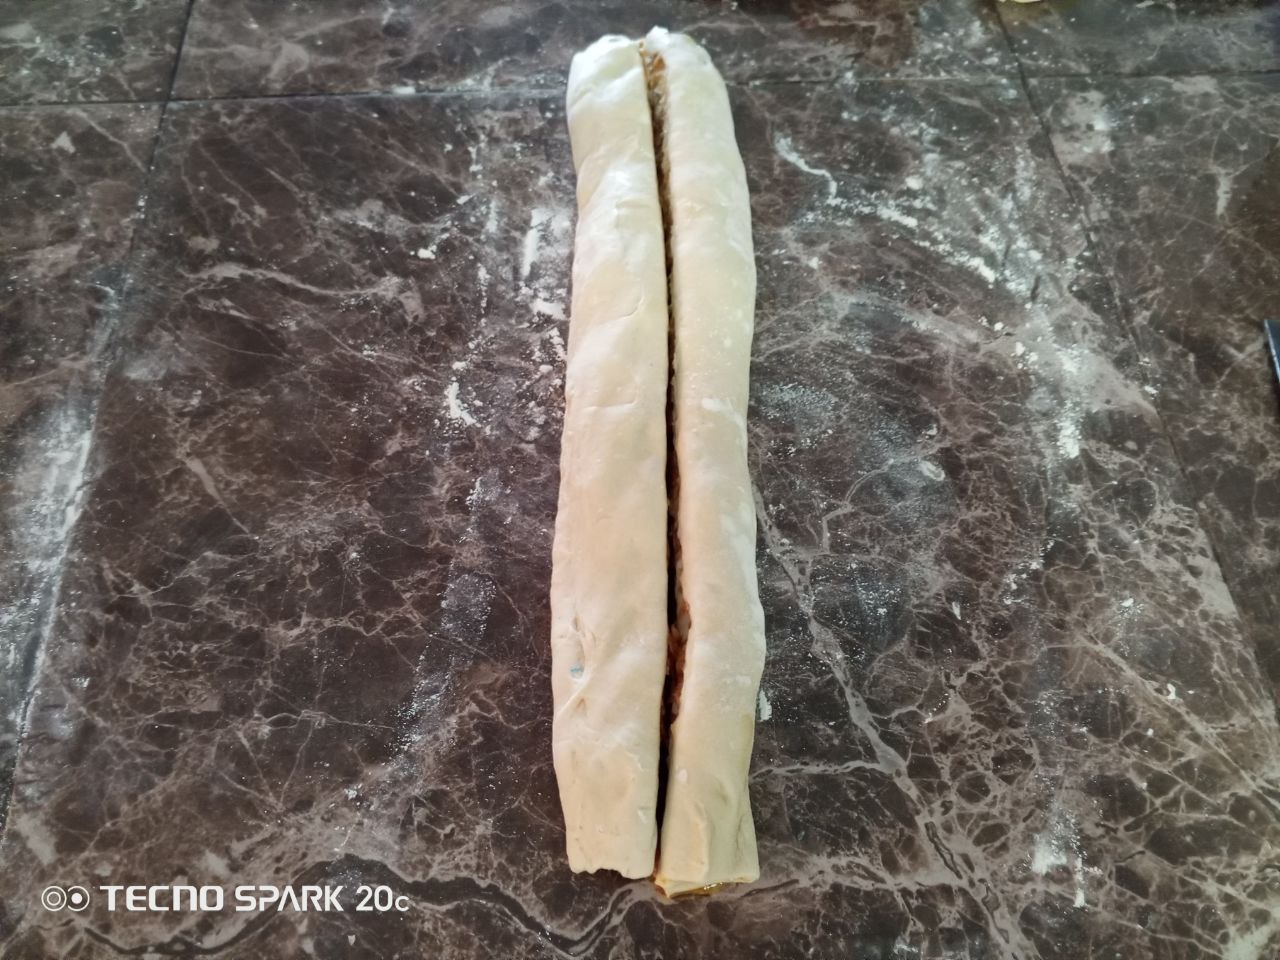
And then we just make a braid with them, here I owe you a picture but I concentrated and only took it when I had finished the braiding, it did not come out perfect but practice makes perfect.
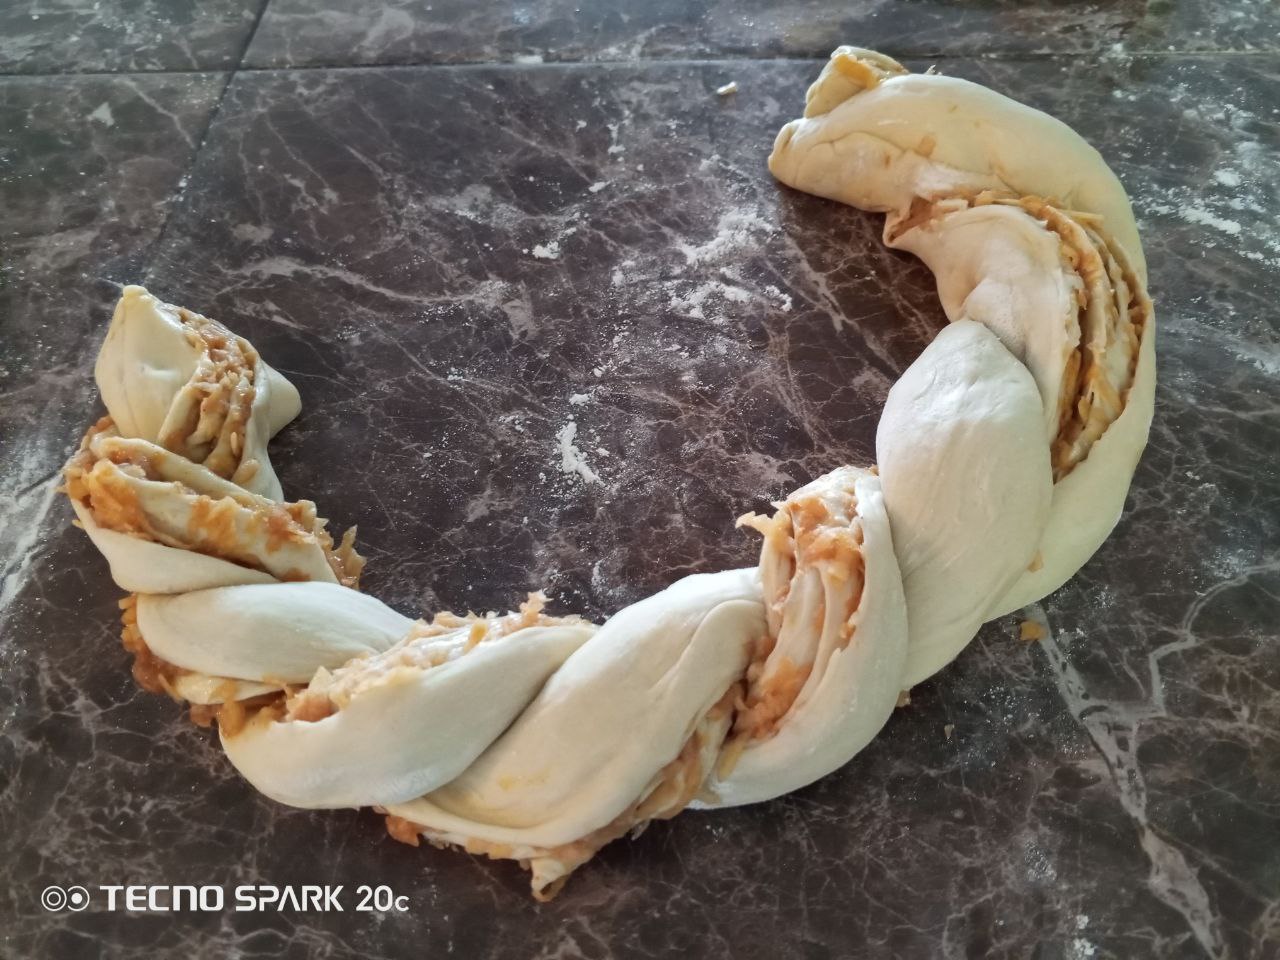
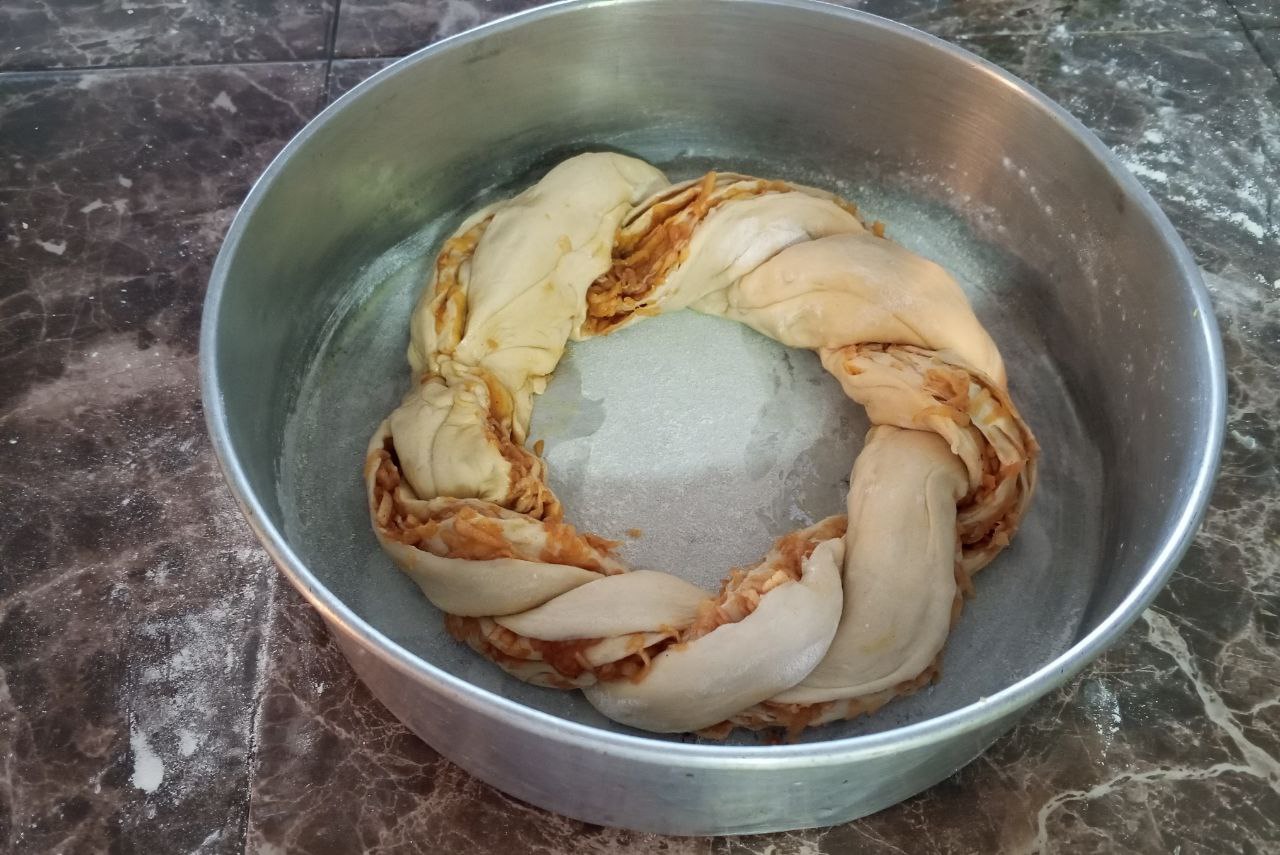
Very carefully we are going to place it in a mold previously greased and floured, there I finished closing the braid to give it the shape of a donut.
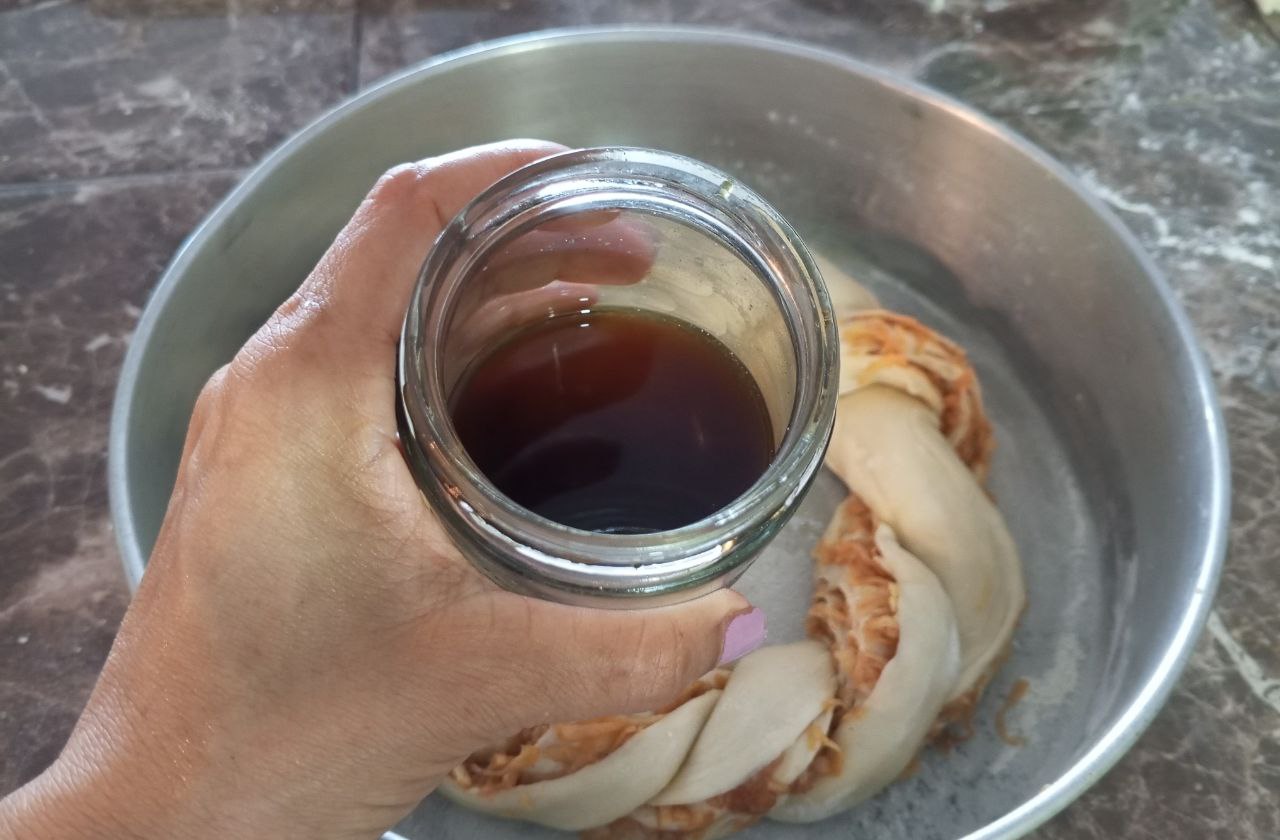
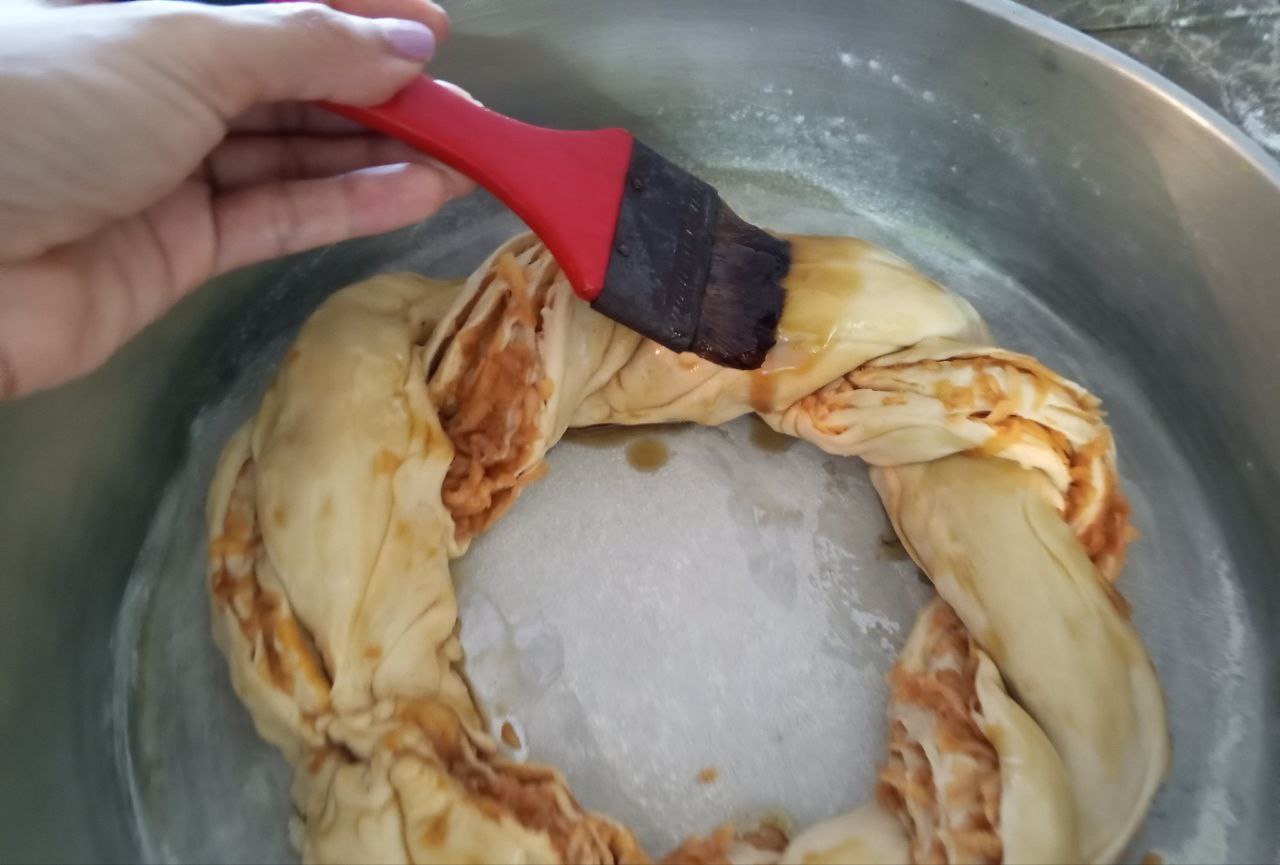
If you wish you can put on top a little bit of Oil, either Coconut or Olive Oil, you can also put Piloncillo honey as I did, the only thing you have to know is that if you put the latter, the Rosca will probably stick as it happened to me, the good thing is that it can be solved.
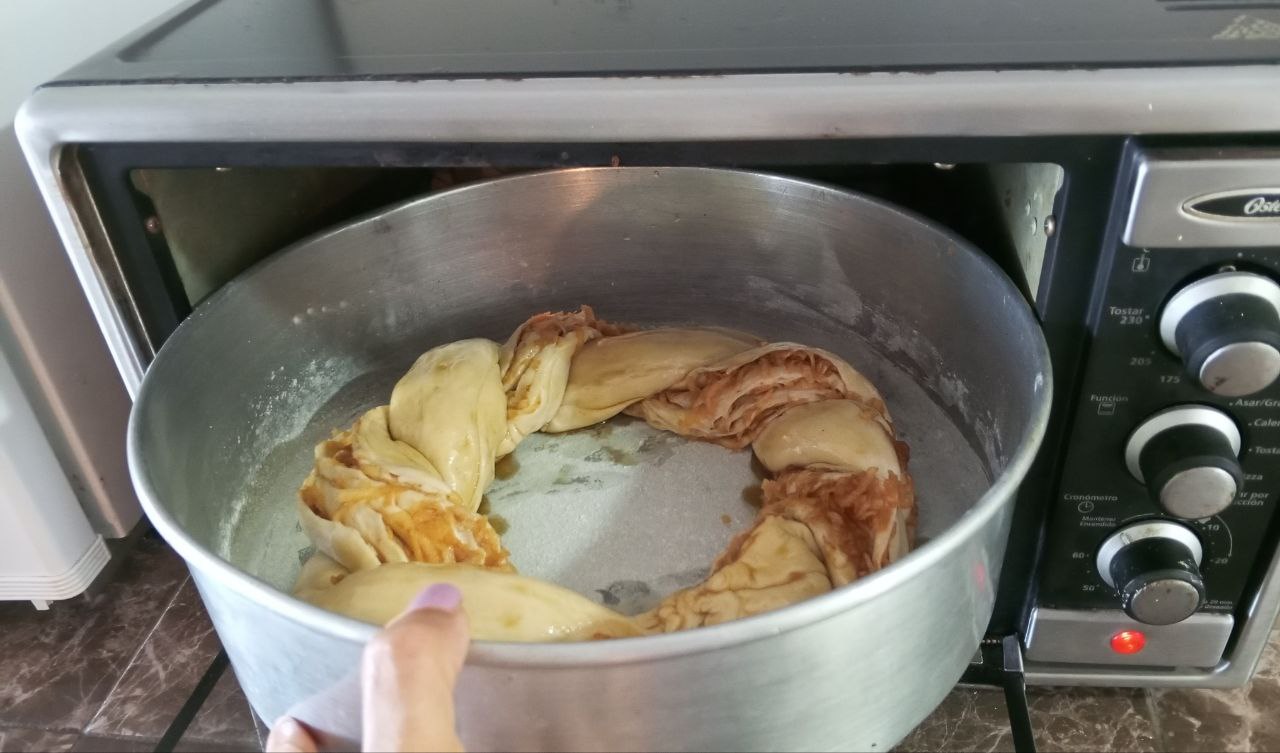
We are going to put it in the oven for approximately 20 minutes.
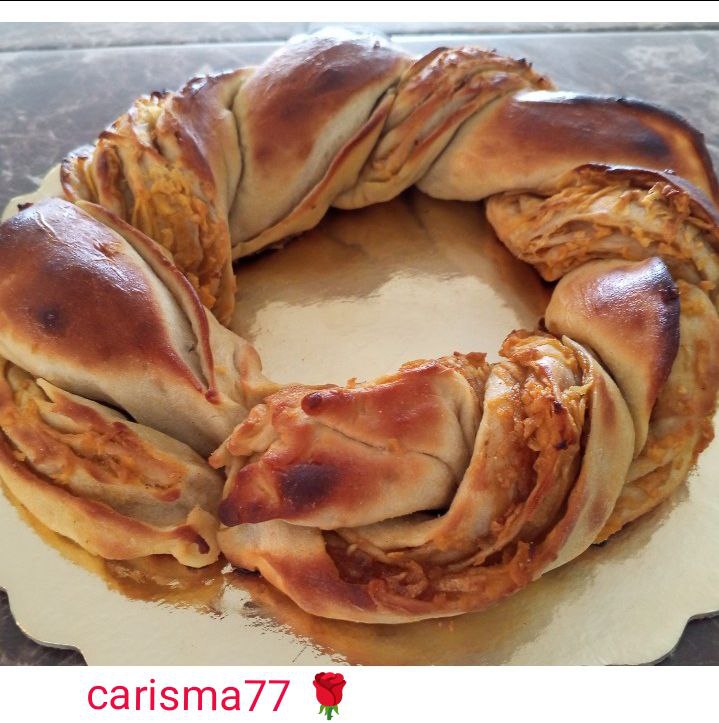
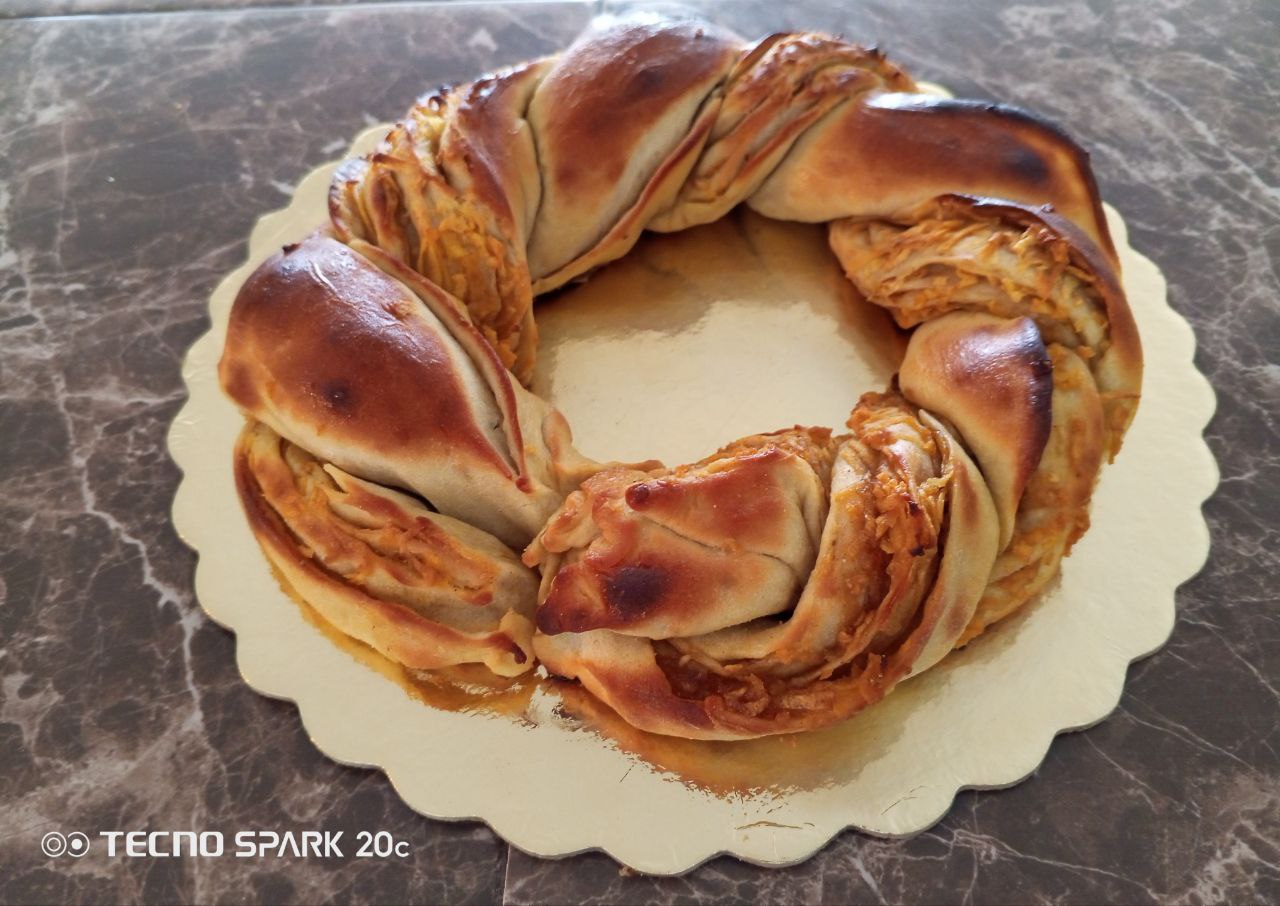
We take it out of the oven and our Rosca will have a beautiful golden color.
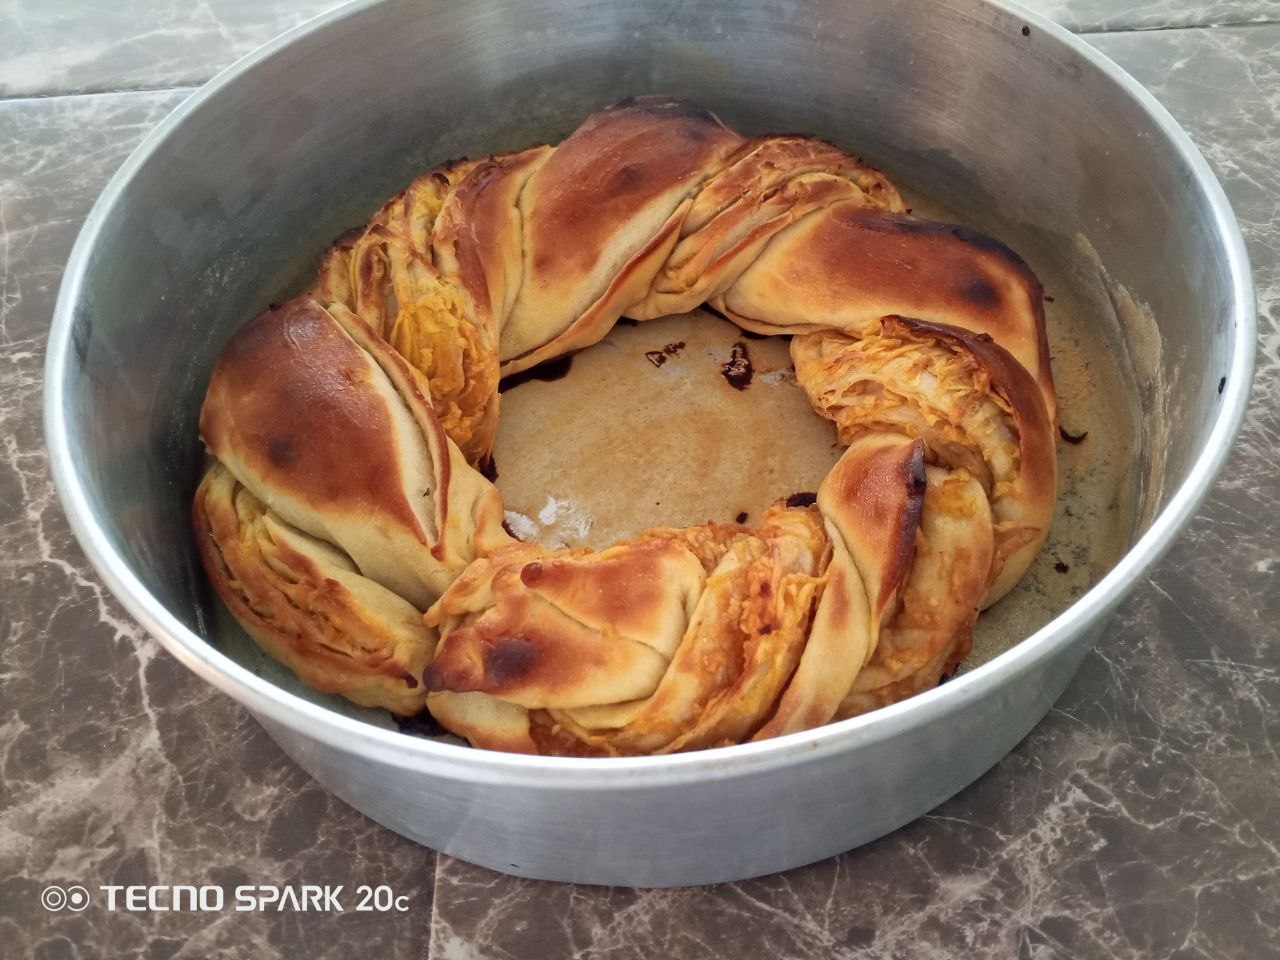
Now we can enjoy it, as I told you, it stuck to me and I'm sure it was because of the Piloncillo Honey I used when I put it in the oven, but while the Rosca was still warm I helped myself with a plastic palette and I took it off little by little, I was able to unmold it and it was beautiful!
It's time to enjoy it, this was delicious, I love that the dough is toasted on the surface and the filling is exquisite, it is not cloying, for the first time I have been very happy with the result ☺.
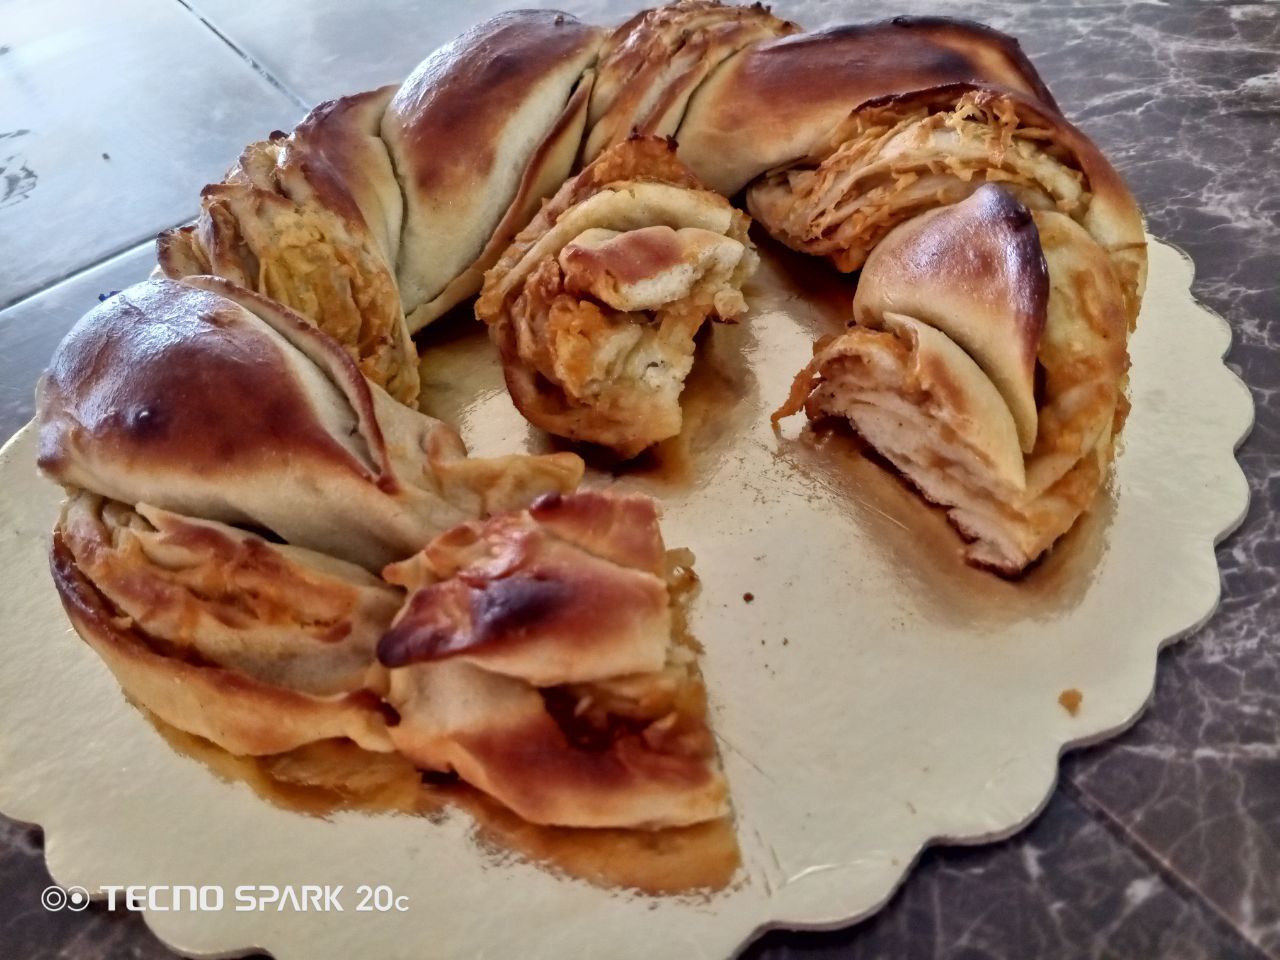
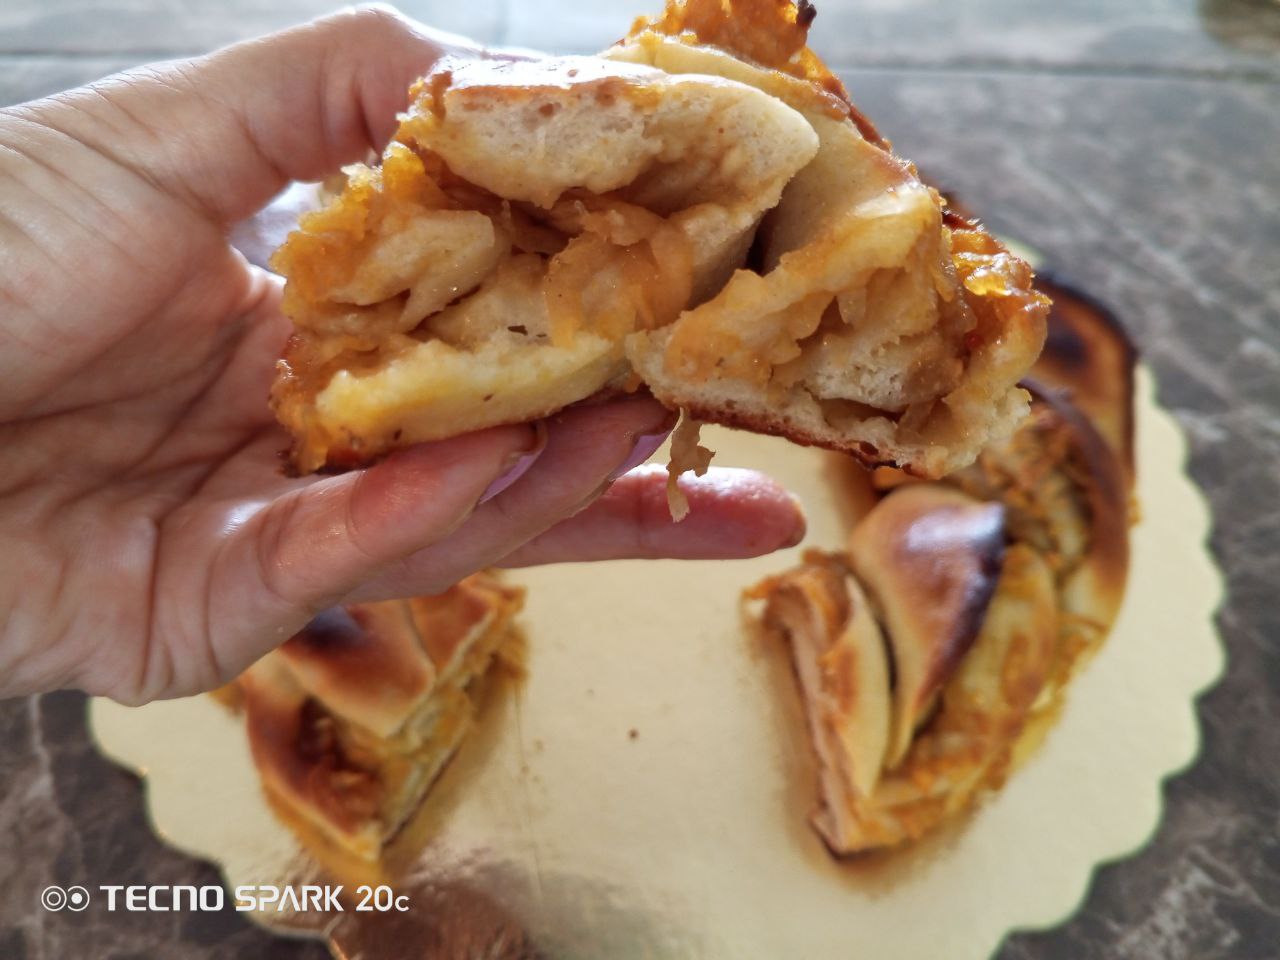
Accompany it with whatever you want, Juices, teas, coffee and you can eat it for breakfast, snack and as a dessert.
This will be my breakfast tomorrow and I will accompany it with a coffee with Almond Milk, I can imagine it and my mouth is watering!
Approximate Yield: 10 servings.

Photos of my property taken and edited with my Tecno Sparkc 20c phone.
Separators and Figures from Microsoft Word.
Collage Used: CollageMaker.
ESPAÑOL.
Saludos querida comunidad vegana ☺.
Últimamente he estado experimentando mucho con la Manzana, esta deliciosa y saludable fruta es muy usada para preparar diferentes postres, ensaladas, jugos, etc.
Con tanta variedad que hay en la gastronomía uno siempre quiere aprender cosas nuevas y hechas con nuestras propias manos, bueno ese por lo menos es mi caso, esta receta de hoy la empecé a hacer con mucho entusiasmo, primero porque desde que la vi por internet me cautivo aunque la señora que da la explicación no la da detalladamente, otra cosa que me gusto de esta receta son los ingredientes a usar ya que casi siempre los tengo en casa y por supuesto eso me da la libertad para hacerlo.
Siempre que estoy segura que tengo a la mano ingredientes para hacer una nueva receta trato de no perder la oportunidad, y así llegué hoy a preparar esta deliciosa Rosca de Manzana, les cuento que en el camino mientras preparaba esta receta tuve mis pequeños tropiezos, como por ejemplo cuando usé el rodillo la masa se me pego mucho de la mesa, eso me hizo dar cuenta que debía poner más harina, esas cosas me ponen un poco nerviosa pero también sirve para aprender más, ya para la próxima Rosca espero que sea más fácil.
Les puedo decir que realmente es una receta sencilla, solo hay que poner atención a los pequeños detalles y hacerlo todo con delicadeza.
Ahora sin más preámbulos te invito a que juntos hagamos esta Exquisita Rosca de Manzana.
Ingredientes:
Para la Masa:
- 540 Gramos de Harina todo uso.
- 10 Gramos de Levadura Seca.
- 30 Gramos de Azúcar.
- 300 Ml de Agua tibia.
- 1 Cucharadita de sal.
Para el relleno.
- 50 Ml de Aceite de Coco.
- 30 Gramos de Panela rallada o Azúcar, puedes usar otro endulzante, la receta original lleva Azúcar de Coco.
- 1 Cucharadita de Canela en polvo.
- 1/2 Cucharadita de Nuez Moscada en polvo.
- 2 Manzanas ralladas.
Vamos con la Preparación.
Empezamos haciendo la masa, en un recipiente vamos a mezclar los 300 Ml de Agua tibia con los 30 gramos de Azúcar y los 10 gramos de Levadura, eso lo vamos a mezclar y dejamos reposar por unos 15 minutos.
Una vez pasado los 15 minutos echamos la harina en un bol y le añadimos 1 cucharadita de Sal, mezclamos.
Luego le vamos a agregar la preparación que hicimos con el Agua y la levadura.
Empezamos a mezclar la Masa, nos podemos ayudar con una cuchara o con una paleta repostera y luego vamos a usar nuestras manos, el tiempo de amasado dura más o menos unos 7 minutos, la masa estará lista cuando no se pegue a nuestras manos, si vez que la masa está muy pegostosa solo agrega un poco más de harina.
Una vez nuestra masa esté lista la metemos en un recipiente y tapamos, dejamos reposar unos 20 minutos.
En este momento ponemos a precalentar nuestro horno a 180 grados.
Y ahora vamos a hacer nuestro relleno, empezamos pelando y rallando nuestras Manzanas, las reservamos, sino quieres que se te oxiden ponle un poco de jugo de Limón.
Ahora en un recipiente, yo usé un vaso pequeño de vidrio, allí vamos a echar el Aceite de Coco, si lo ven blanco es porque estaba en la nevera, a esto le agregamos la Panela rallada, la Nuez Moscada.
Y la Canela, mezclamos muy bien, nos quedará una mezcla como la que vemos en la foto.
Pasado los veinte minutos, ya nuestra masa ha reposado, ahora echamos suficiente Harina en la mesa en donde vamos a extender nuestra masa, ponemos Harina por debajo y por arriba de la masa, hay que estar pendientes con eso, porque si se pega después es muy difícil trabajarla.
Extendemos usando nuestro rodillo, tratando de dar forma rectangular, para quede más pareja yo me ayudé con un cuchillo.
Ahora empezamos a rellenar, le colocamos nuestra preparación de Aceite de Coco y Panela rallada, nos ayudamos con una pequeña brocha.
Luego le agregamos las manzanas ralladas, antes de agregar la manzana a la masa primero vamos a exprimirla muy bien, ya que suelta mucho jugo y eso puede dañar nuestra receta.
Ahora solo nos queda enrollar la masa, hagamos esto con cuidado y delicadeza.
Una vez que nuestra masa esté enrollada la vamos a dividir en partes lo más iguales posibles.
Y luego solo haremos una trenza con ellas, aquí les debo una foto pero me concentré y solo saqué cuando ya había terminado el trenzado, no me salió perfecto pero la práctica hace al maestro.
Con mucho cuidado la vamos a colocar en un molde previamente engrasado y enharinado, allí terminé de cerrar la Trenza para dar forma de Rosca.
Si deseas puedes poner por encima un poco de Aceite, ya sea de Coco o de Oliva, también puedes ponerle miel de Piloncillo como hice yo, lo único que tienes que saber es que si le pones este último lo más probable es que la Rosca se pegue como me paso a mí, lo bueno es que se puede resolver.
Vamos a meter al horno por aproximadamente 20 minutos.
Sacamos del Horno y nuestra Rosca estará con un color dorado hermoso.
Ahora ya la podemos disfrutar, como les comenté a mí se me pego y estoy segura que fue por la Miel de Piloncillo que usé cuando la metí en el horno, pero estando aún la Rosca tibia me ayudé con una paleta plástica y fui despegando poco a poco, Mi Rosca la pude desmoldar y quedo hermosa!
Es tiempo de disfrutarla, esto quedó riquísimo, me encanta que la masa está tostada por la superficie y el relleno exquisito, no está empalagoso, para ser la primera vez he quedado muy contenta con el resultado ☺.
Acompáñalo con lo que desees, Jugos, tés, café y puedes comerlo en el desayuno, en la merienda y como postre.
Este será mi desayuno de mañana y lo acompañaré con un café con Leche de Almendras, me lo imagino y se me hace agua la boca!
Rinde Aproximadamente: 10 porciones.
Fotos de mi propiedad tomadas y editadas con mi teléfono Tecno Sparkc 20c.
Separadores y Figuras de Microsoft Word.
Collage Usado: CollageMaker.
Posted Using InLeo Alpha