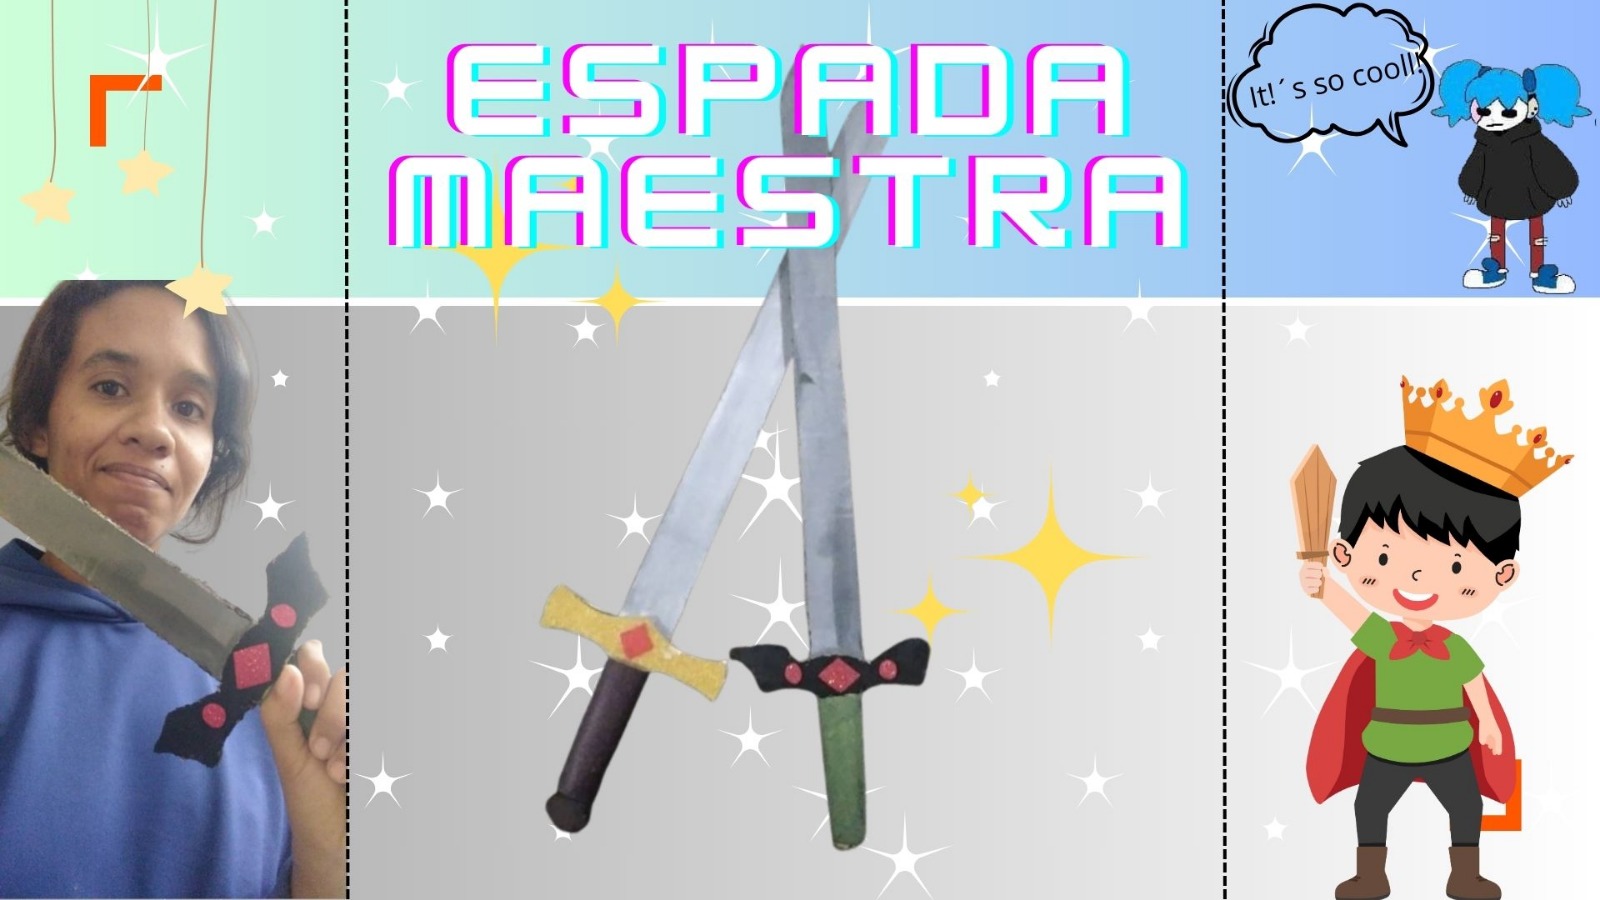
Muy buenas! Bienvenidos por aquí. Espero hoy, haya sido un día excelente y de productividad para todos~ El día de hoy, les quiero traer una heróica idea. Realmente, muy fácil de hacer; y puede ser modificada al gusto de cada quien, ya sea en cuanto a su diseño y colores. Una buena idea si como padres su niño lo necesita para una obra, para complementar un disfraz o simplemente para tener una tarde diferente y divertida dejandonos llevar por la imaginación ❤ y sin más que agregar; les dejo plasmado los materiales a utilizar, el paso a paso y unas recomendaciones para ampliar más la creatividad~
Materiales:
- Cartón (se puede utilizar una caja 📦)
- 1 un rollo de papel higiénico
- Regla
- Lápiz
- Exacto o cutter
- Tijera
- Silicón
- Pinturas y pinceles
Paso a Paso
1
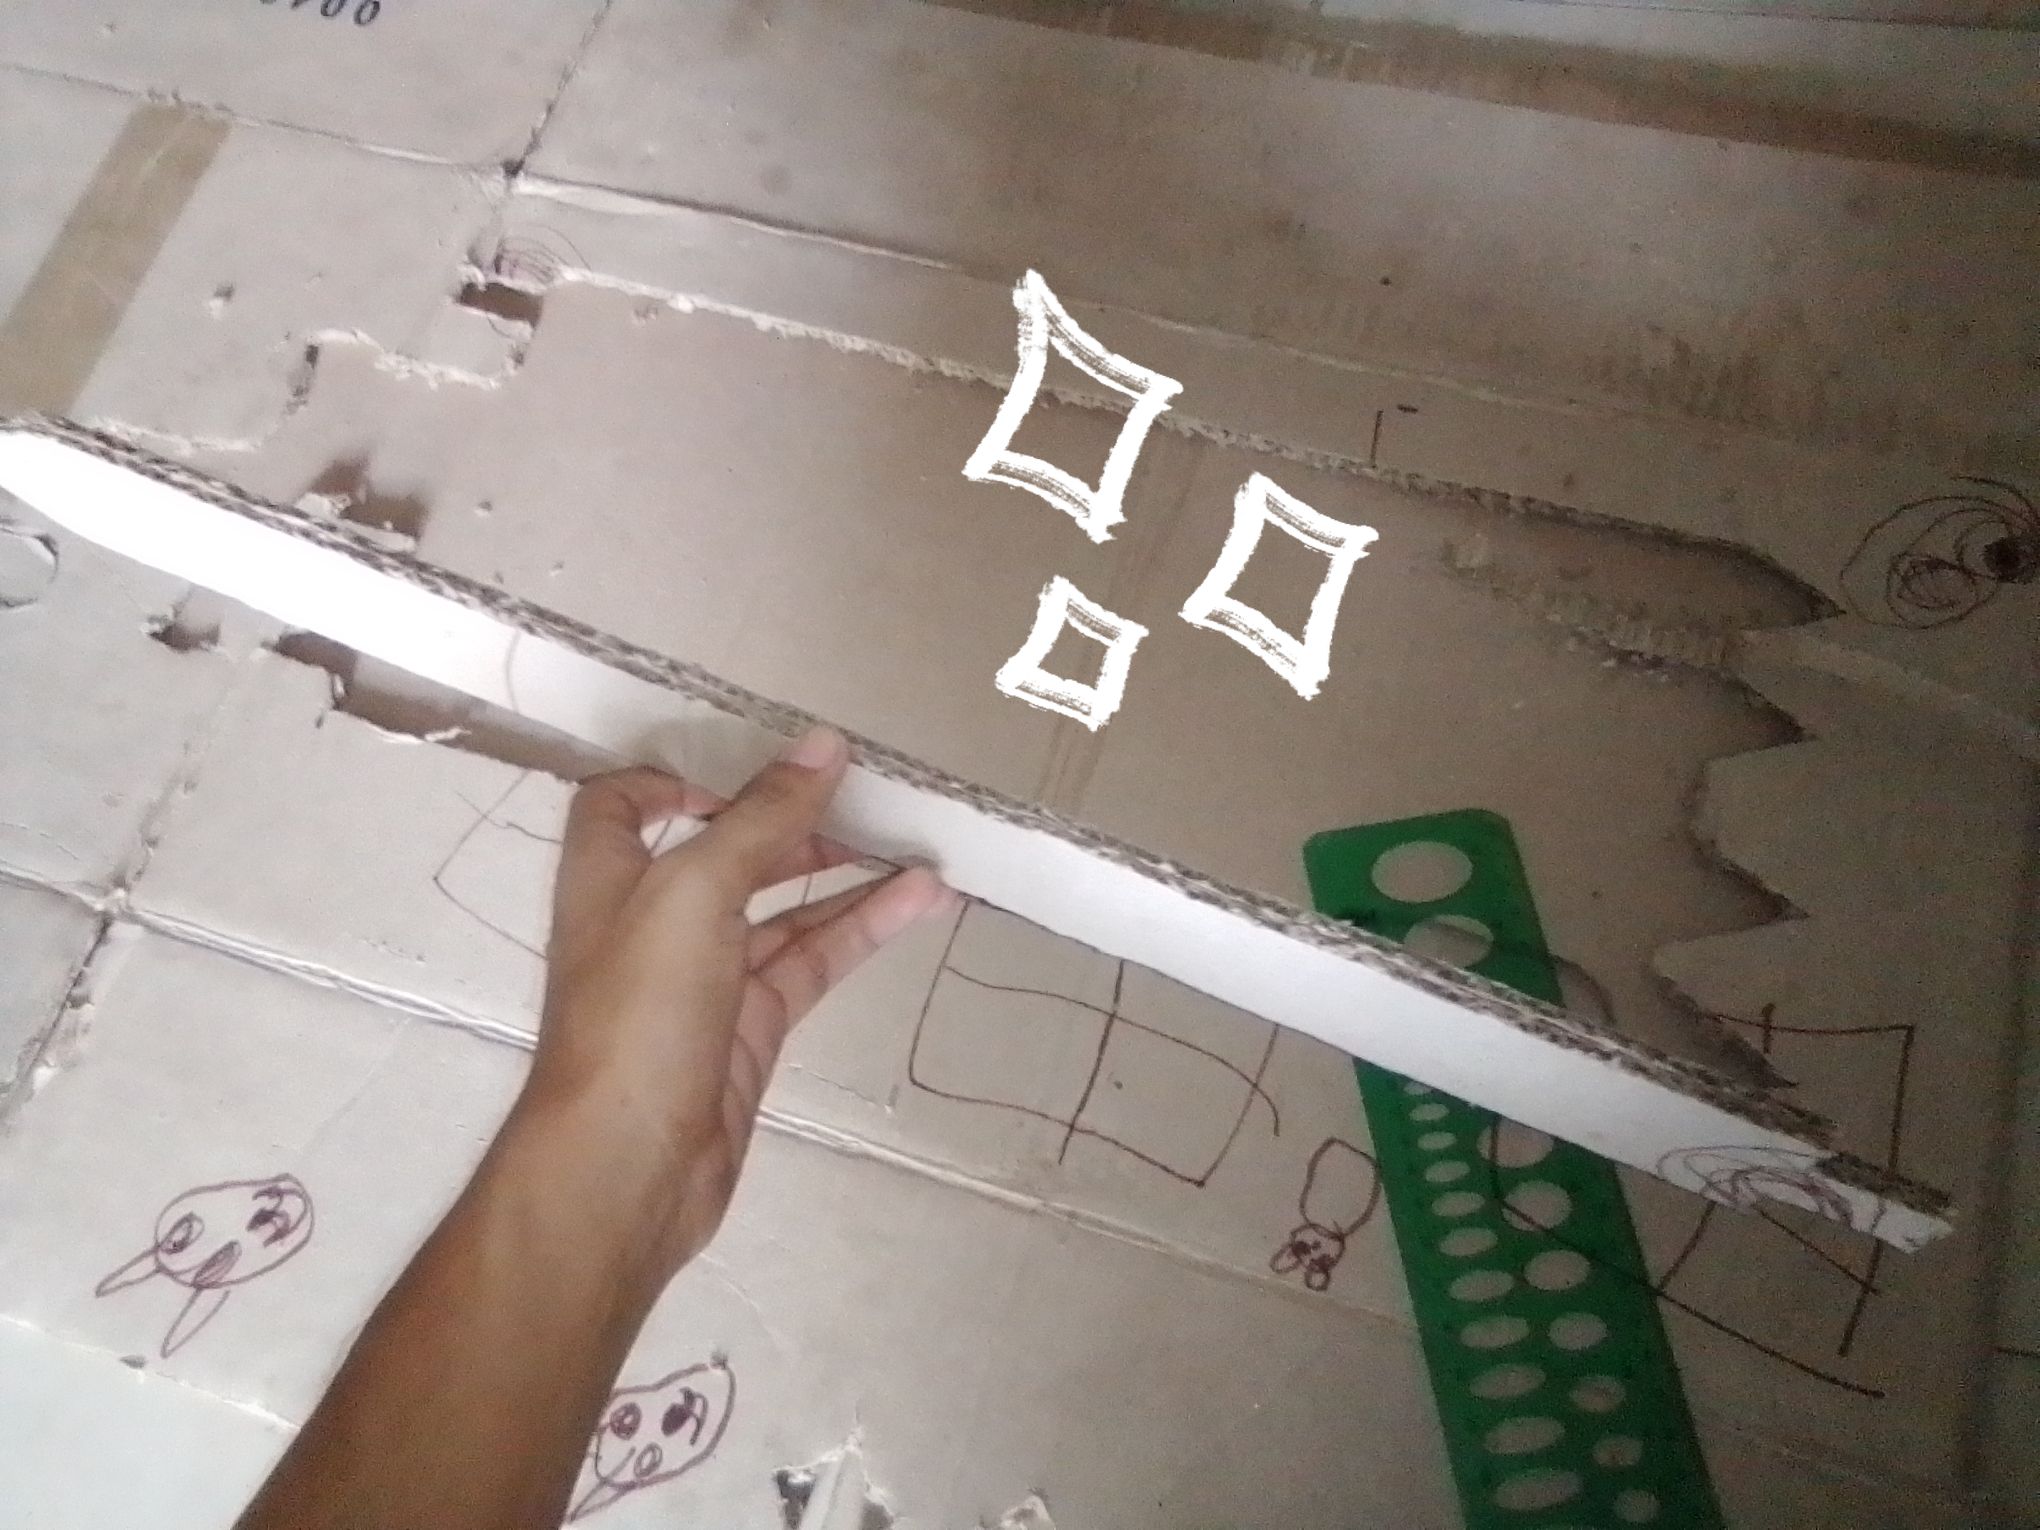
Por uno de los lados más largo de nuestra caja, dibujaremos la forma de nuestra hoja (el filo de la espada). En realidad está puede ser del ancho o largo que se crea conveniente, en mi caso mi hoja tiene un largo de 49 cm y 3,7 cm de ancho.
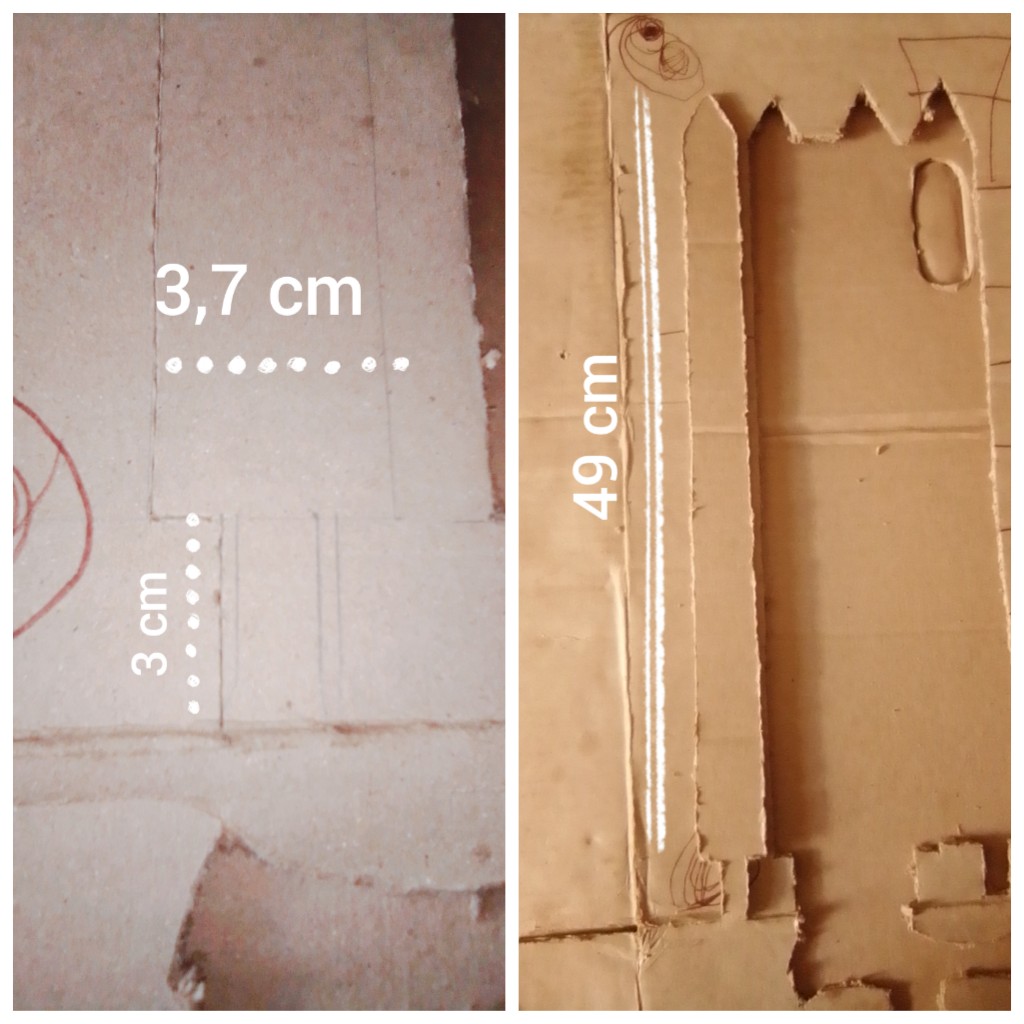
Yo en los personal, decidí dejarle un pliegue en la base, como se aprecia en la foto, de 3 cm, podría ser incluso de 2 cm. Con esto, estara más asegurada cuando juntemos todas las partes y no se despegara.
2
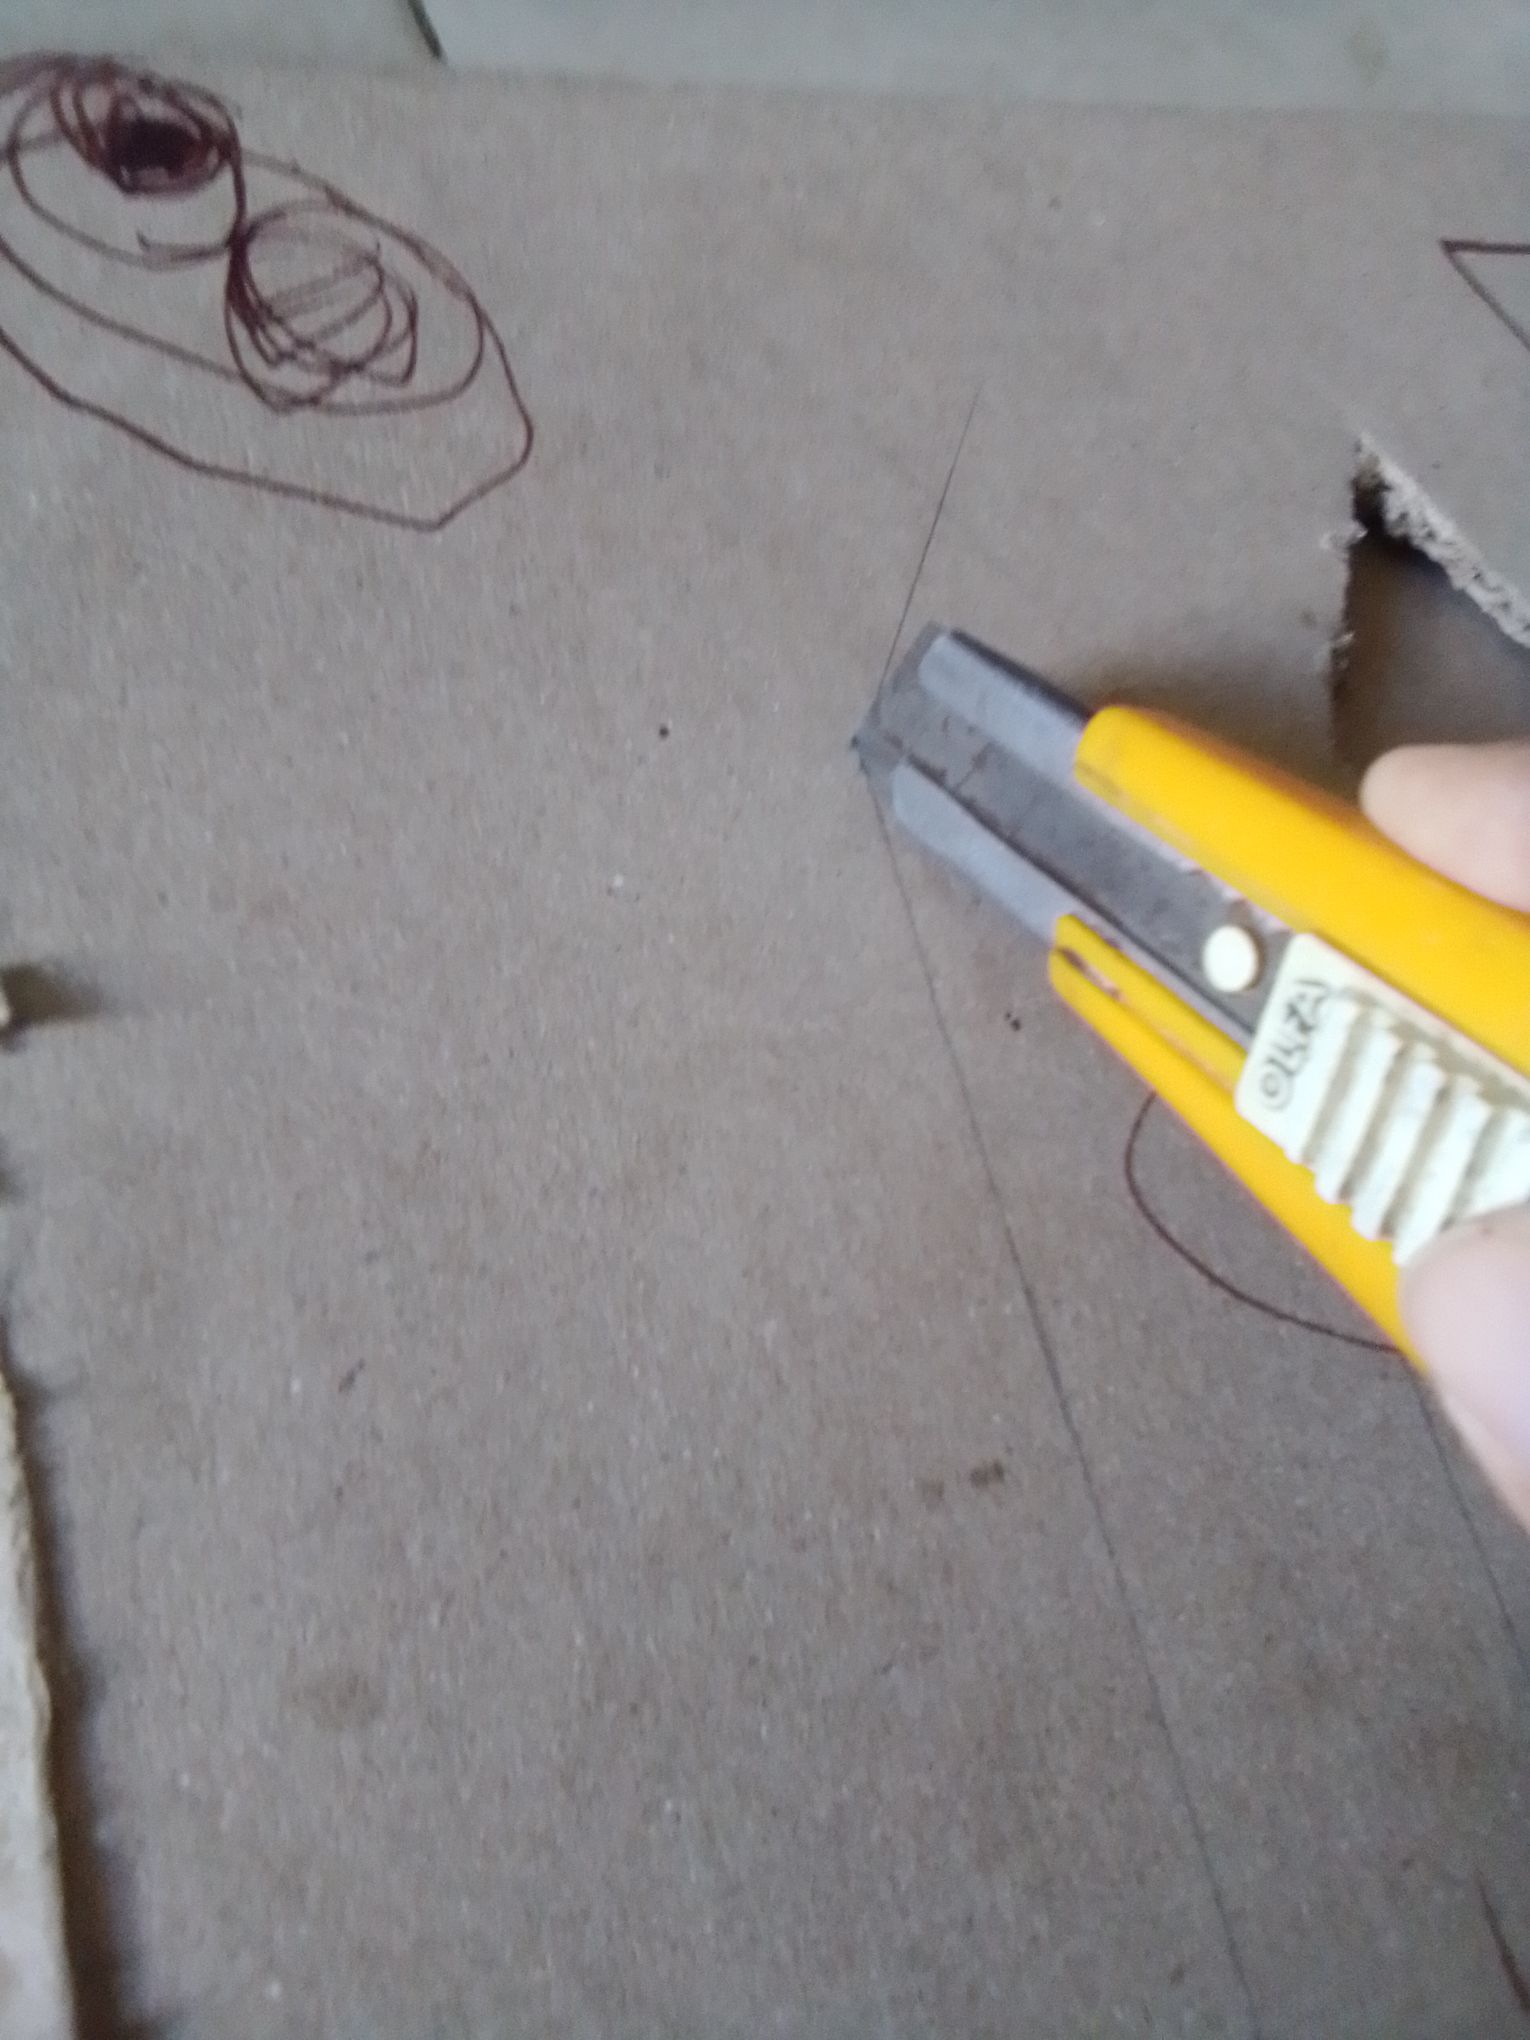
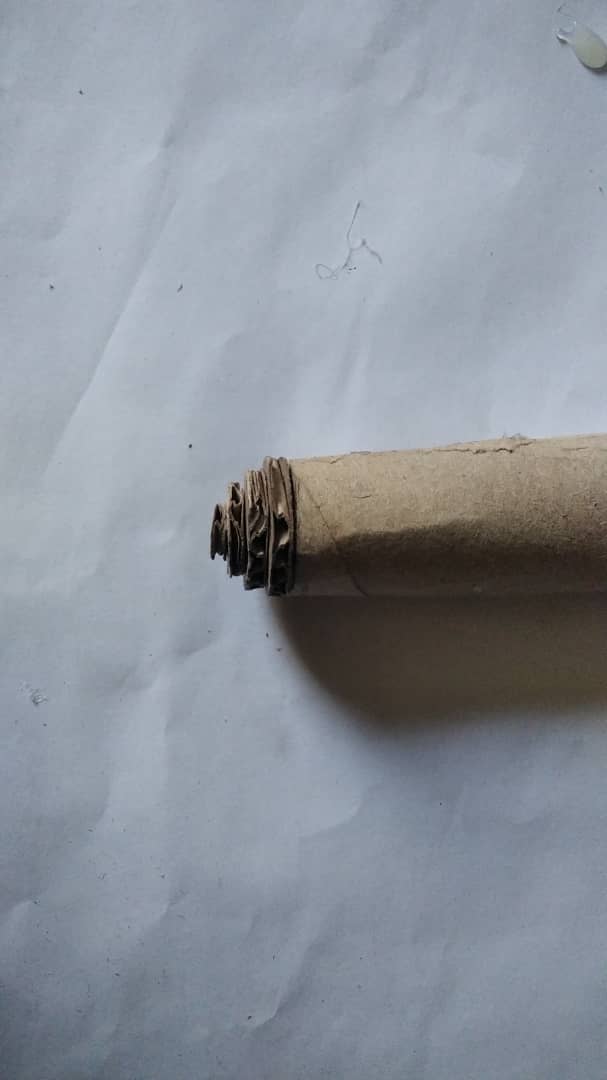
Depués, procedemos a utilizar el cutter y sacamos nuestra forma dibujada (recomiendo cortarla con esta herramienta, también se podría utilizar las tijeras, pero el trabajo sería más difícil y se podría doblar el cartón)
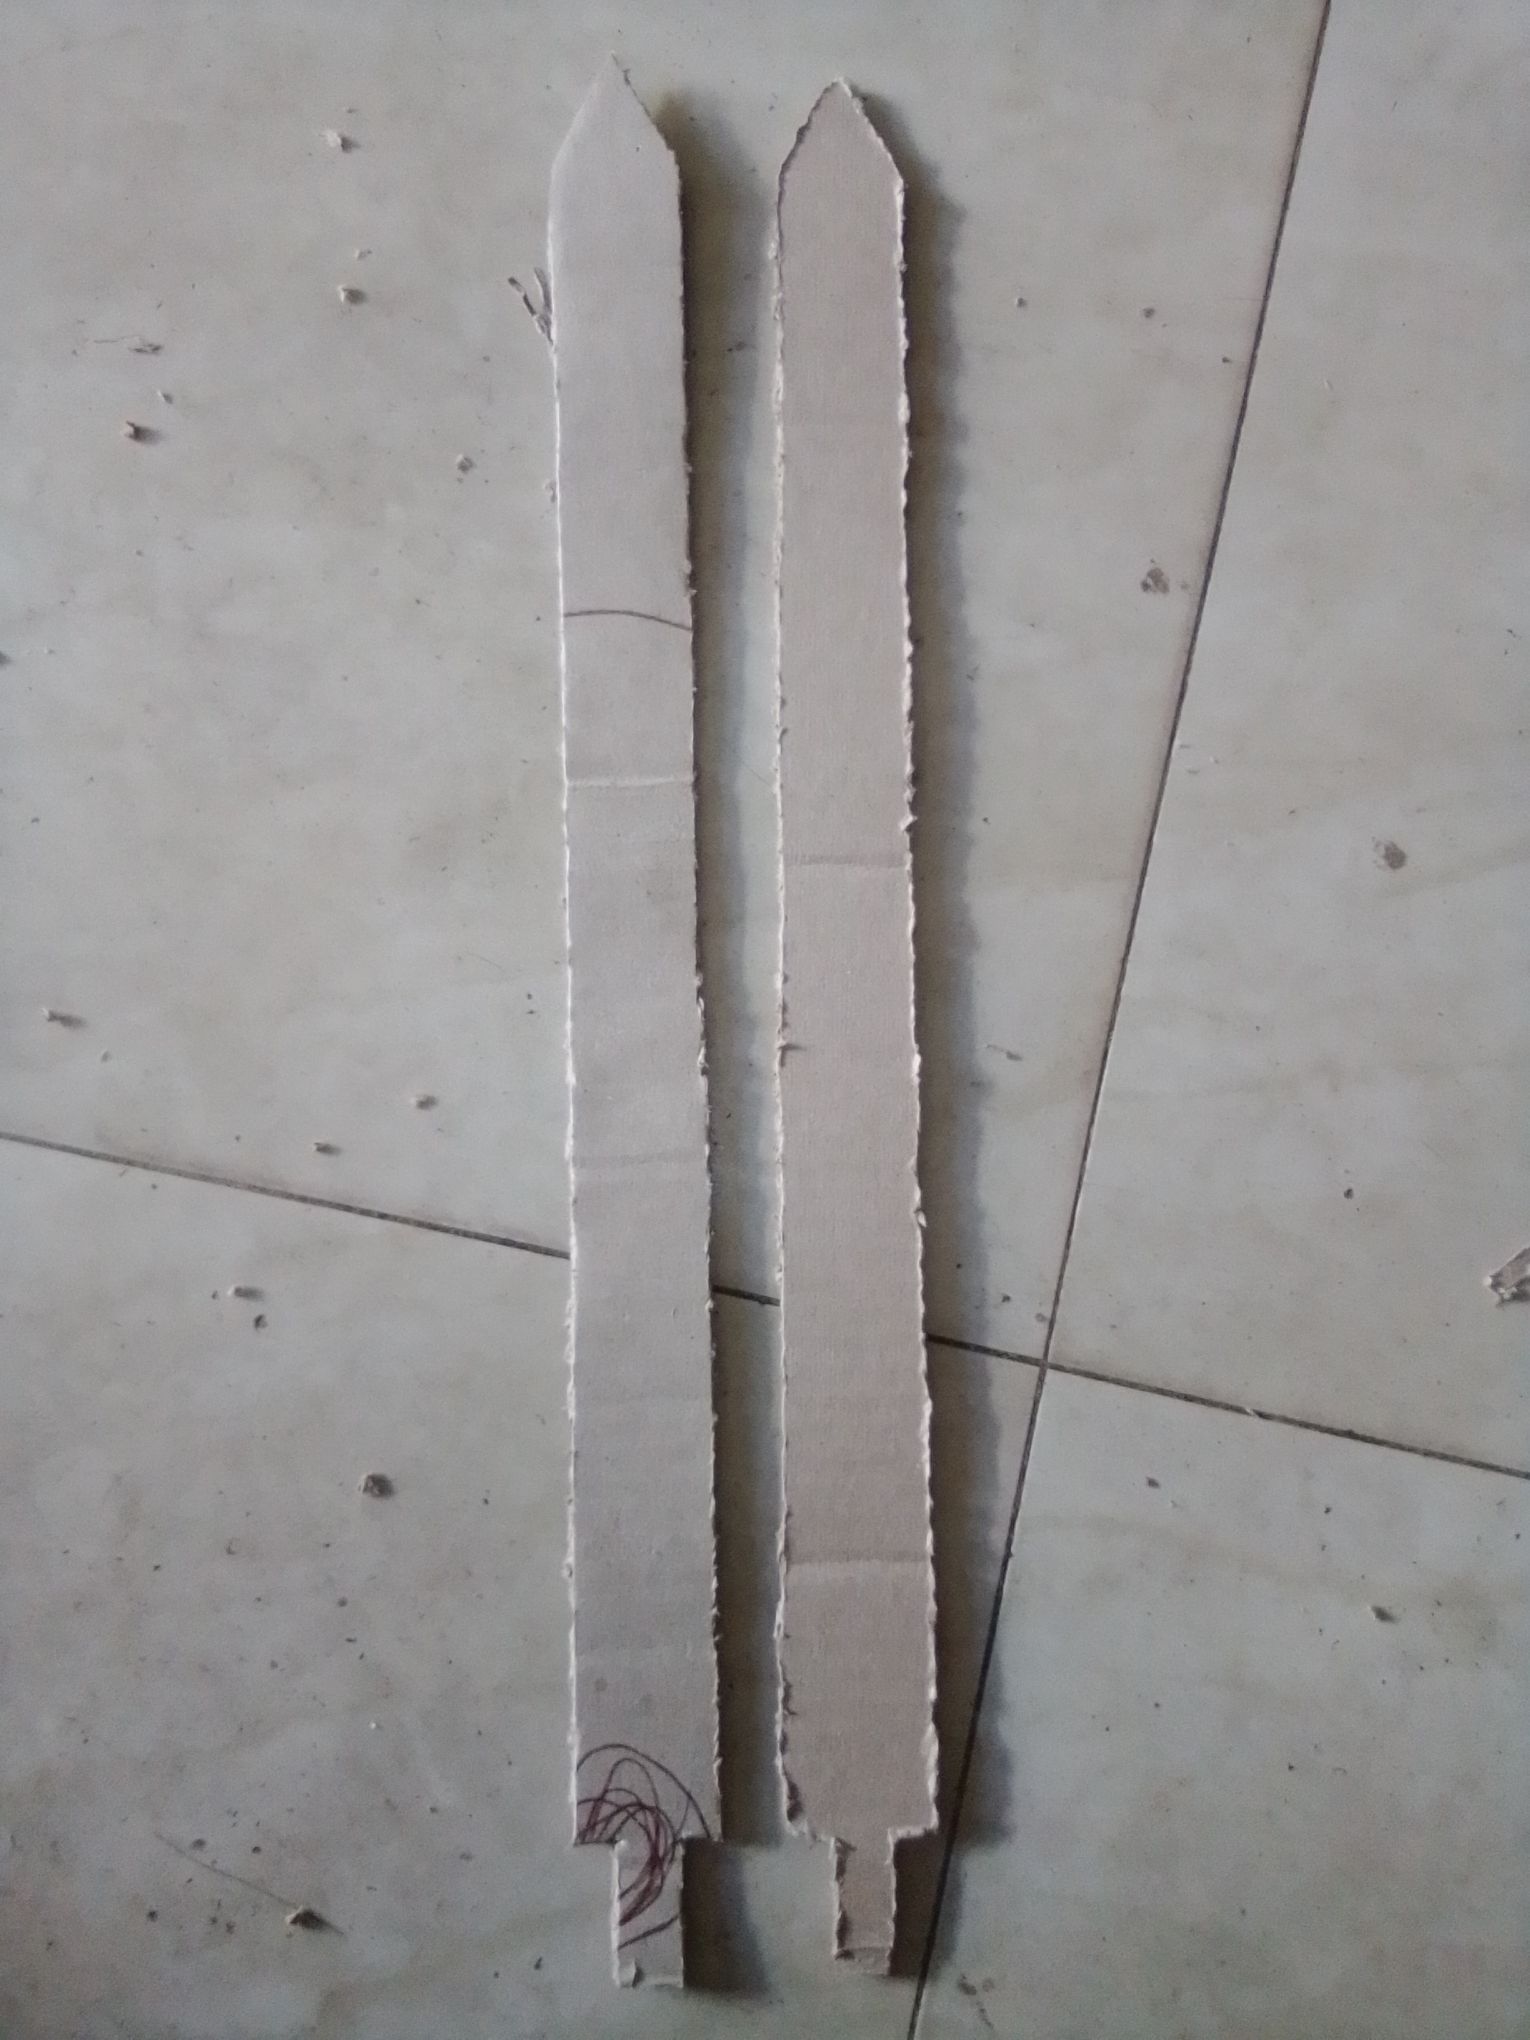
Esta espada la haremos doble, es decir, ahora cortaremos otra hoja la cual pegaremos a la otra. El cartón es fuerte, pero se doblará fácil, así que para reforzarla haremos una igual y las juntamos.
La tijera, la utilizarémos para eliminar los desperfectos que puedan haber a los lados, y para emparejar las 2 piezas.
3
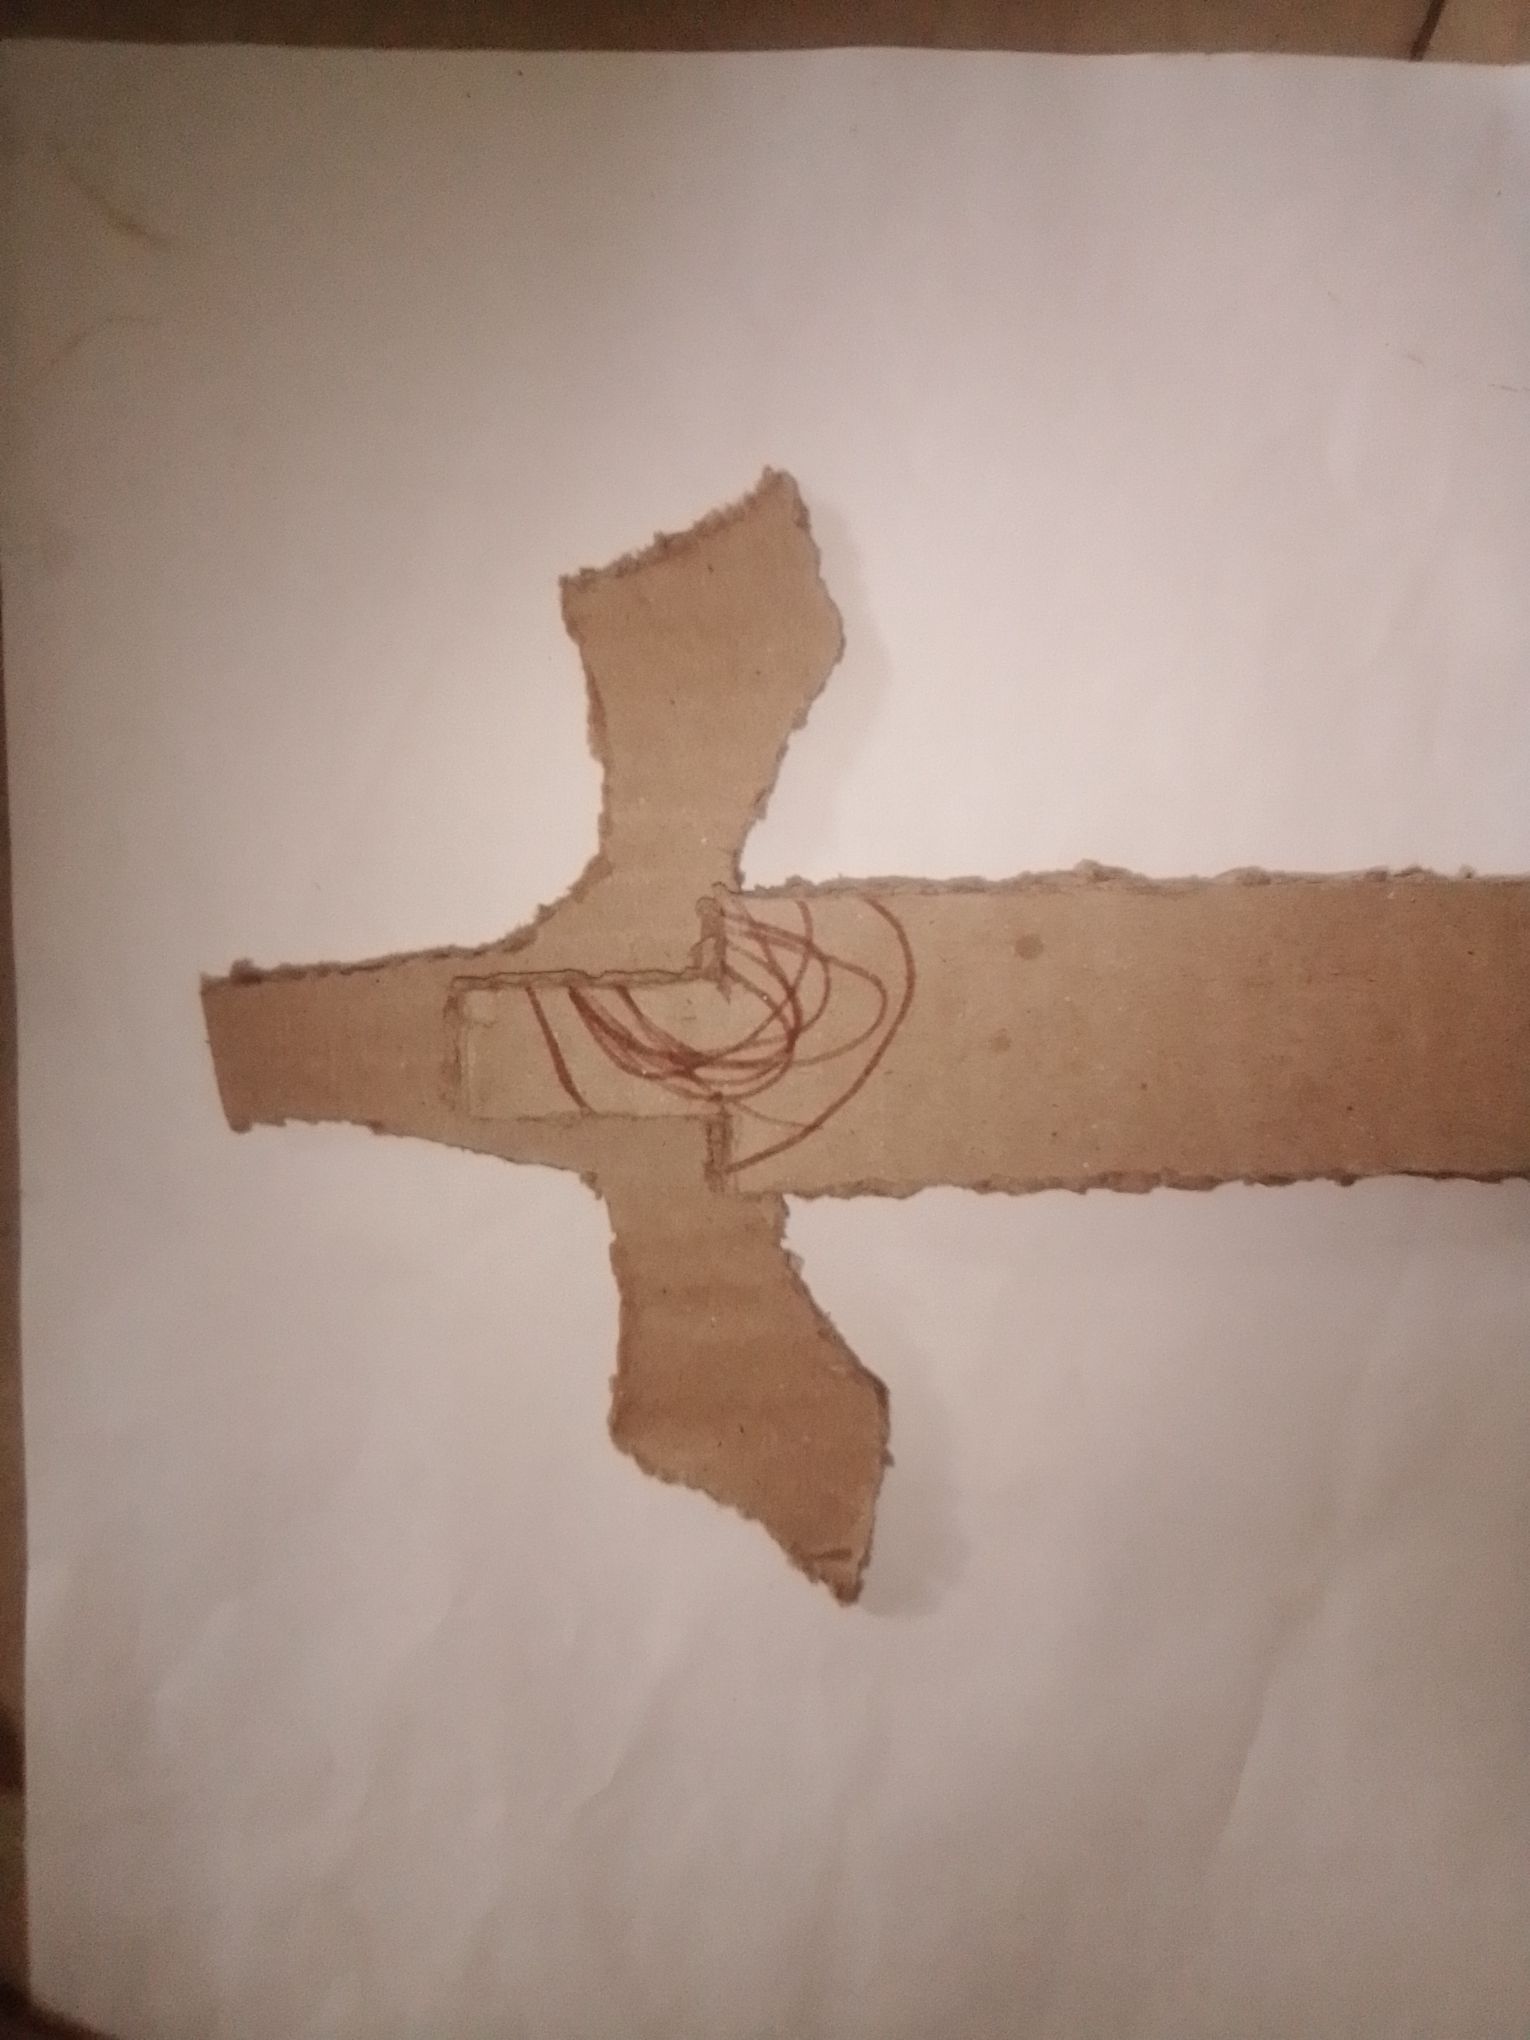
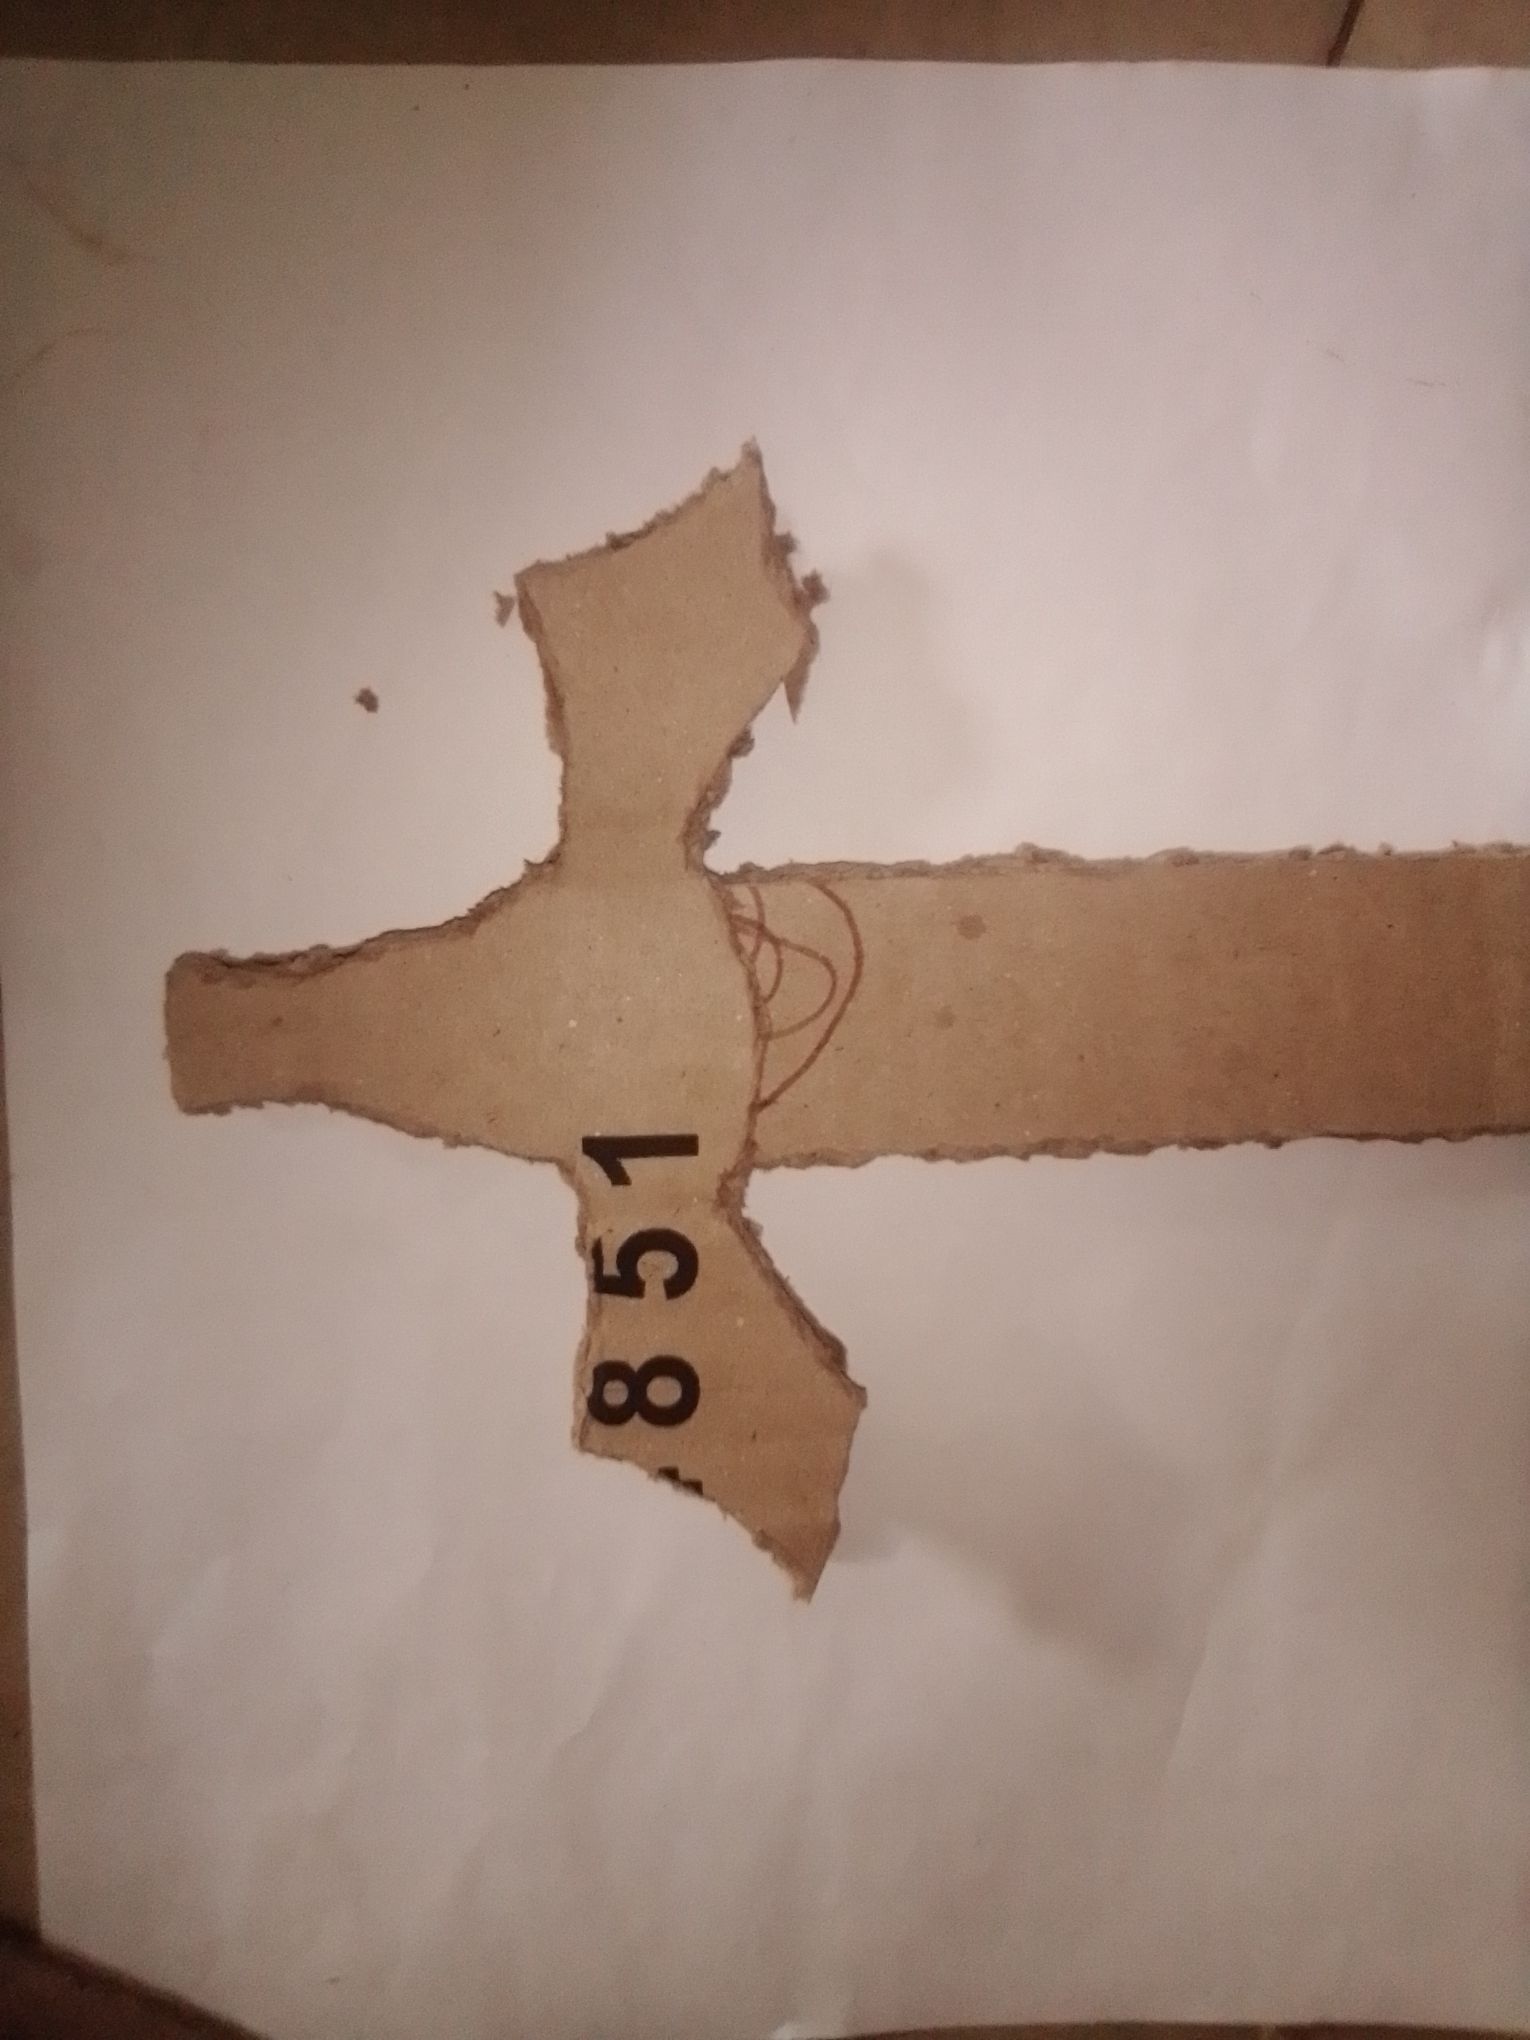
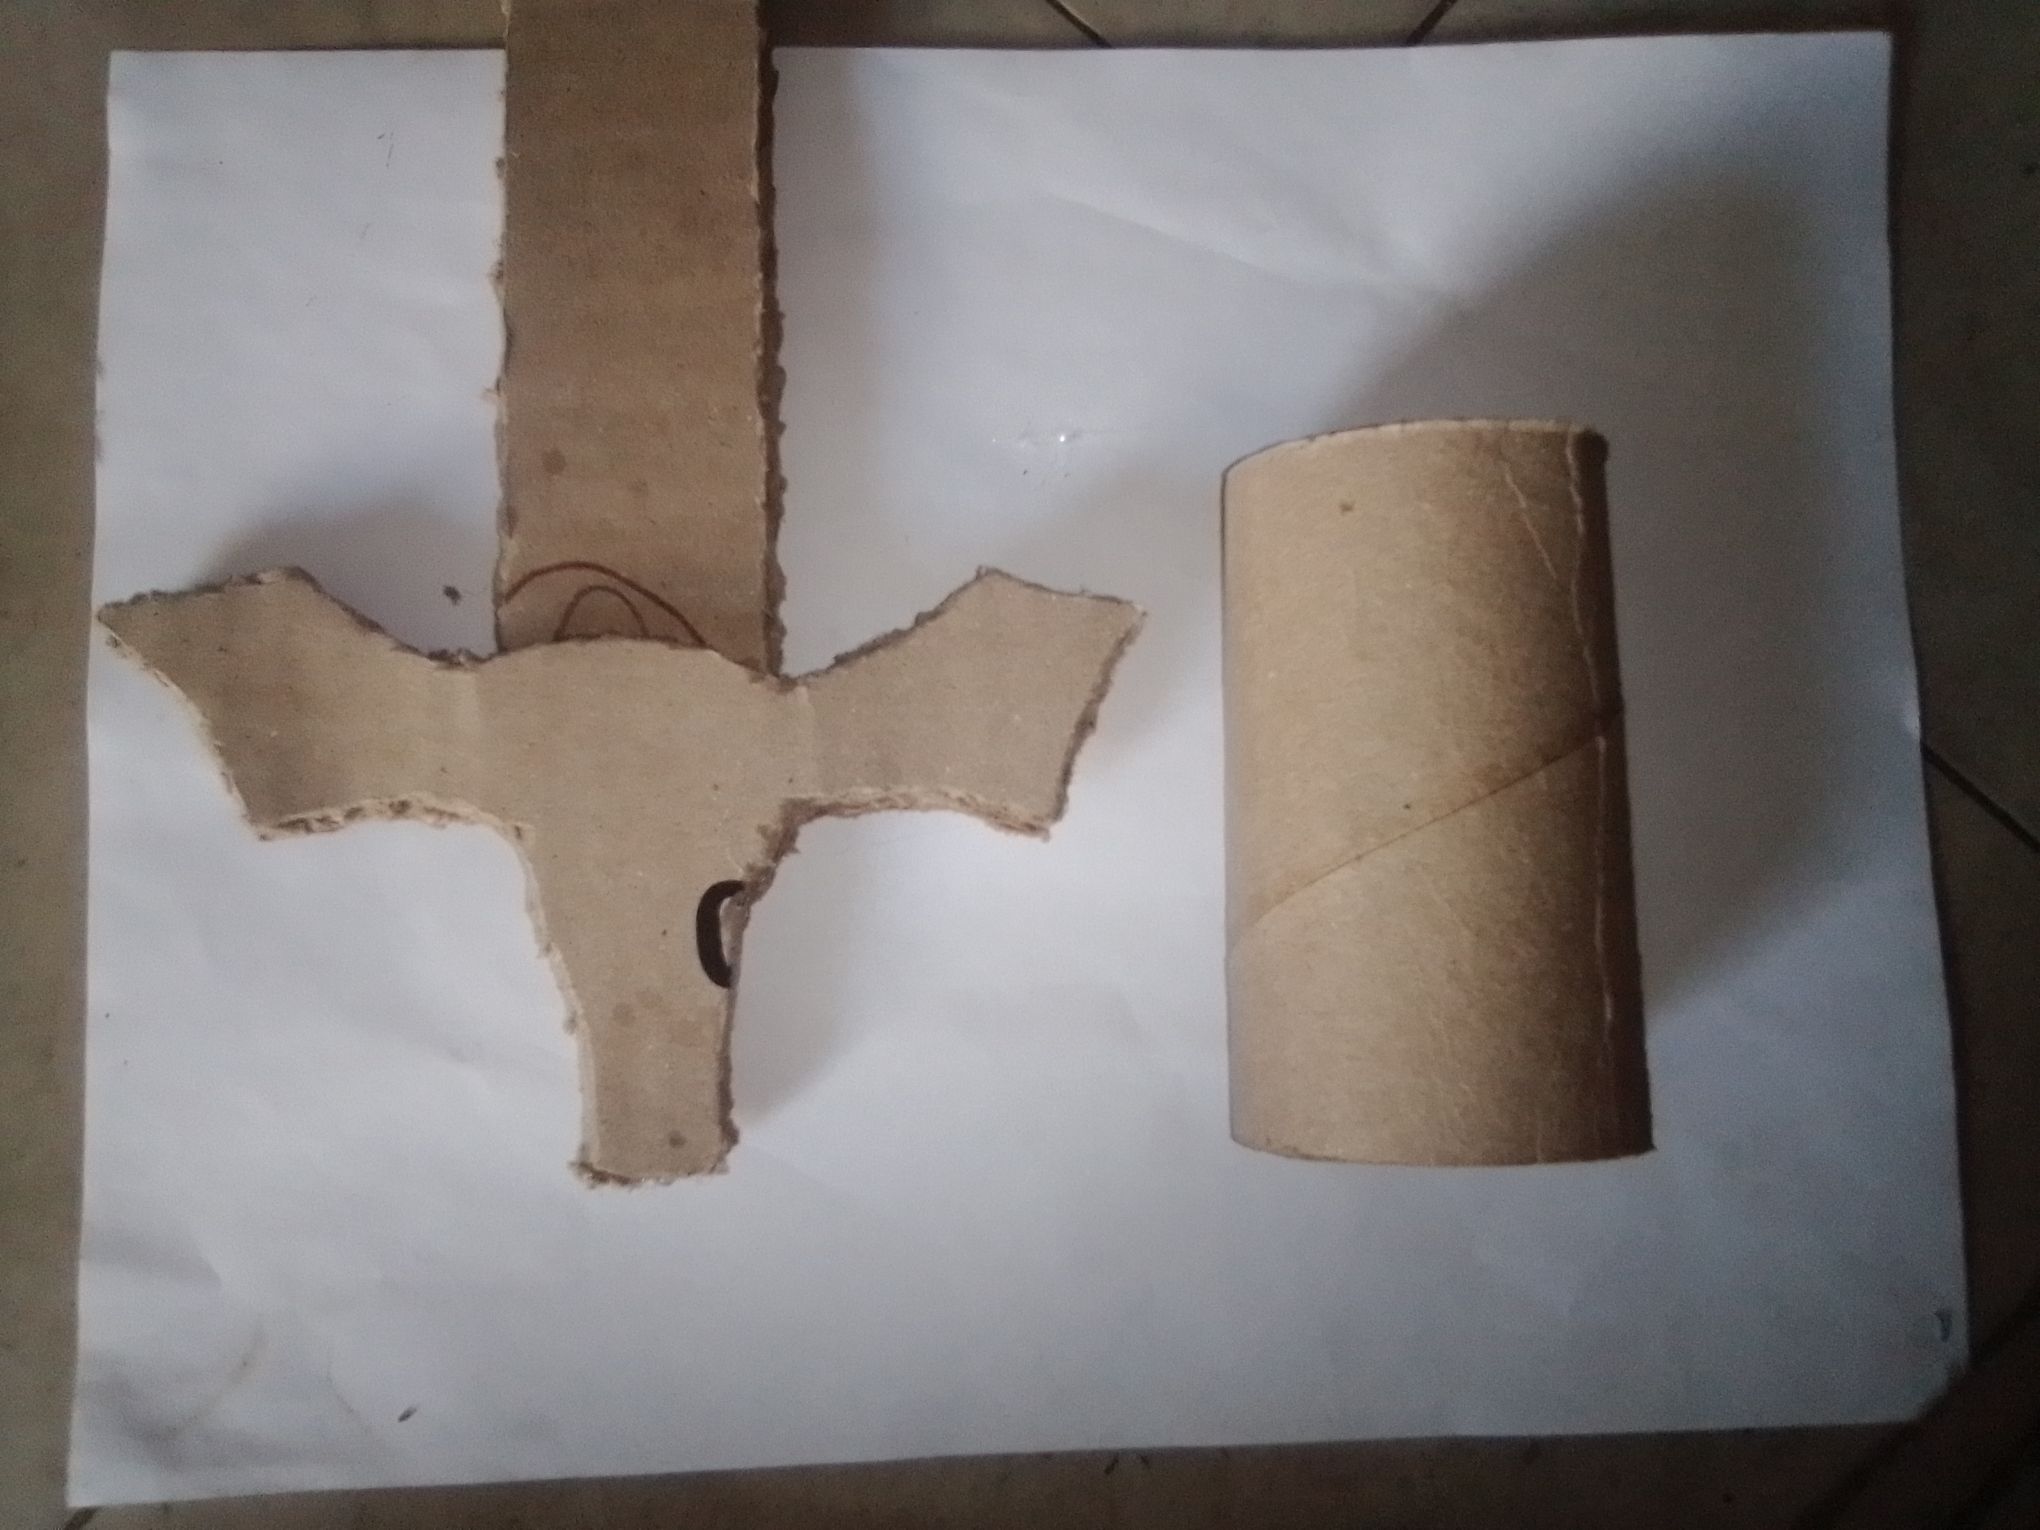
Seguidamente, dibujaremos en el cartón, la siguiente parte de nuestra espada; la empuñadura y la guarda. Aquí la verdad, su forma puede ser como les guste, o inspirada en algun personaje que porte una. No hay nada escrito :)

Y haremos los mismo aquí, cortaremos otra igual.
4
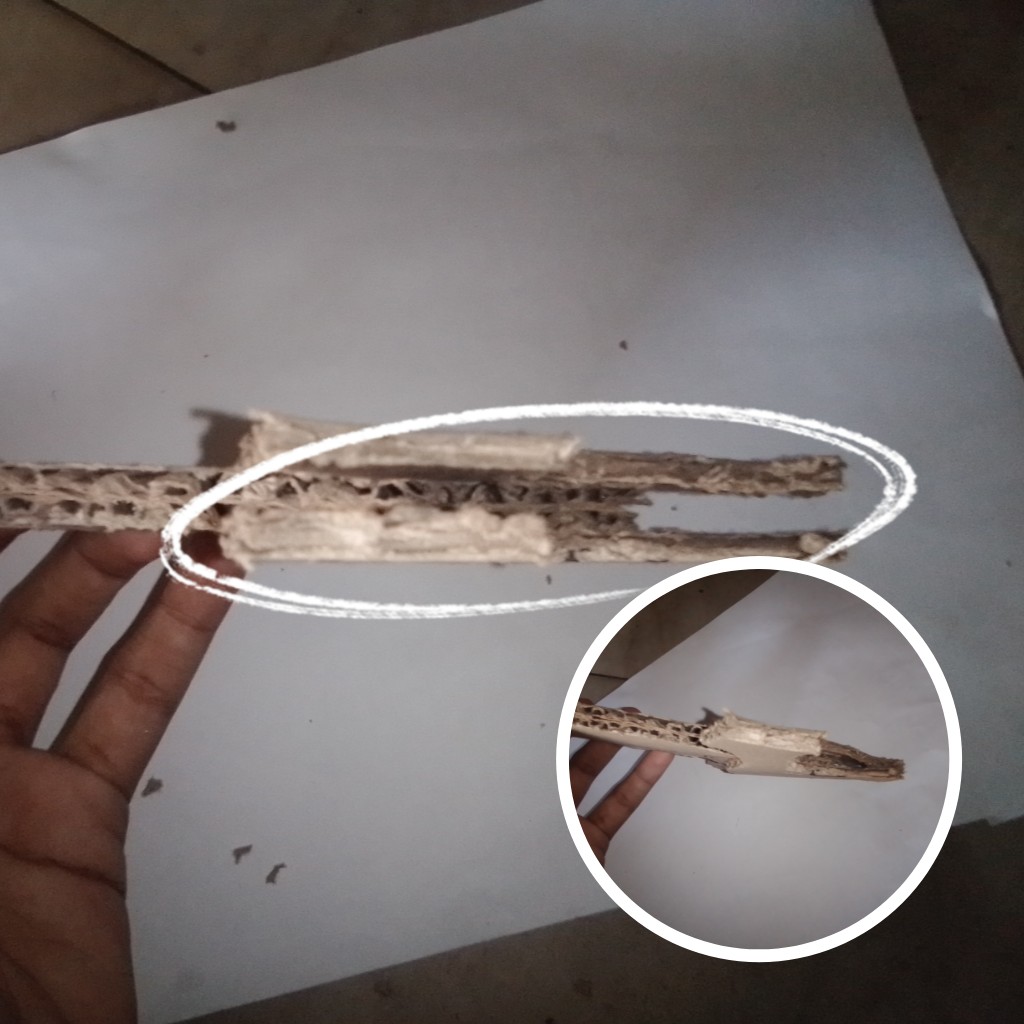
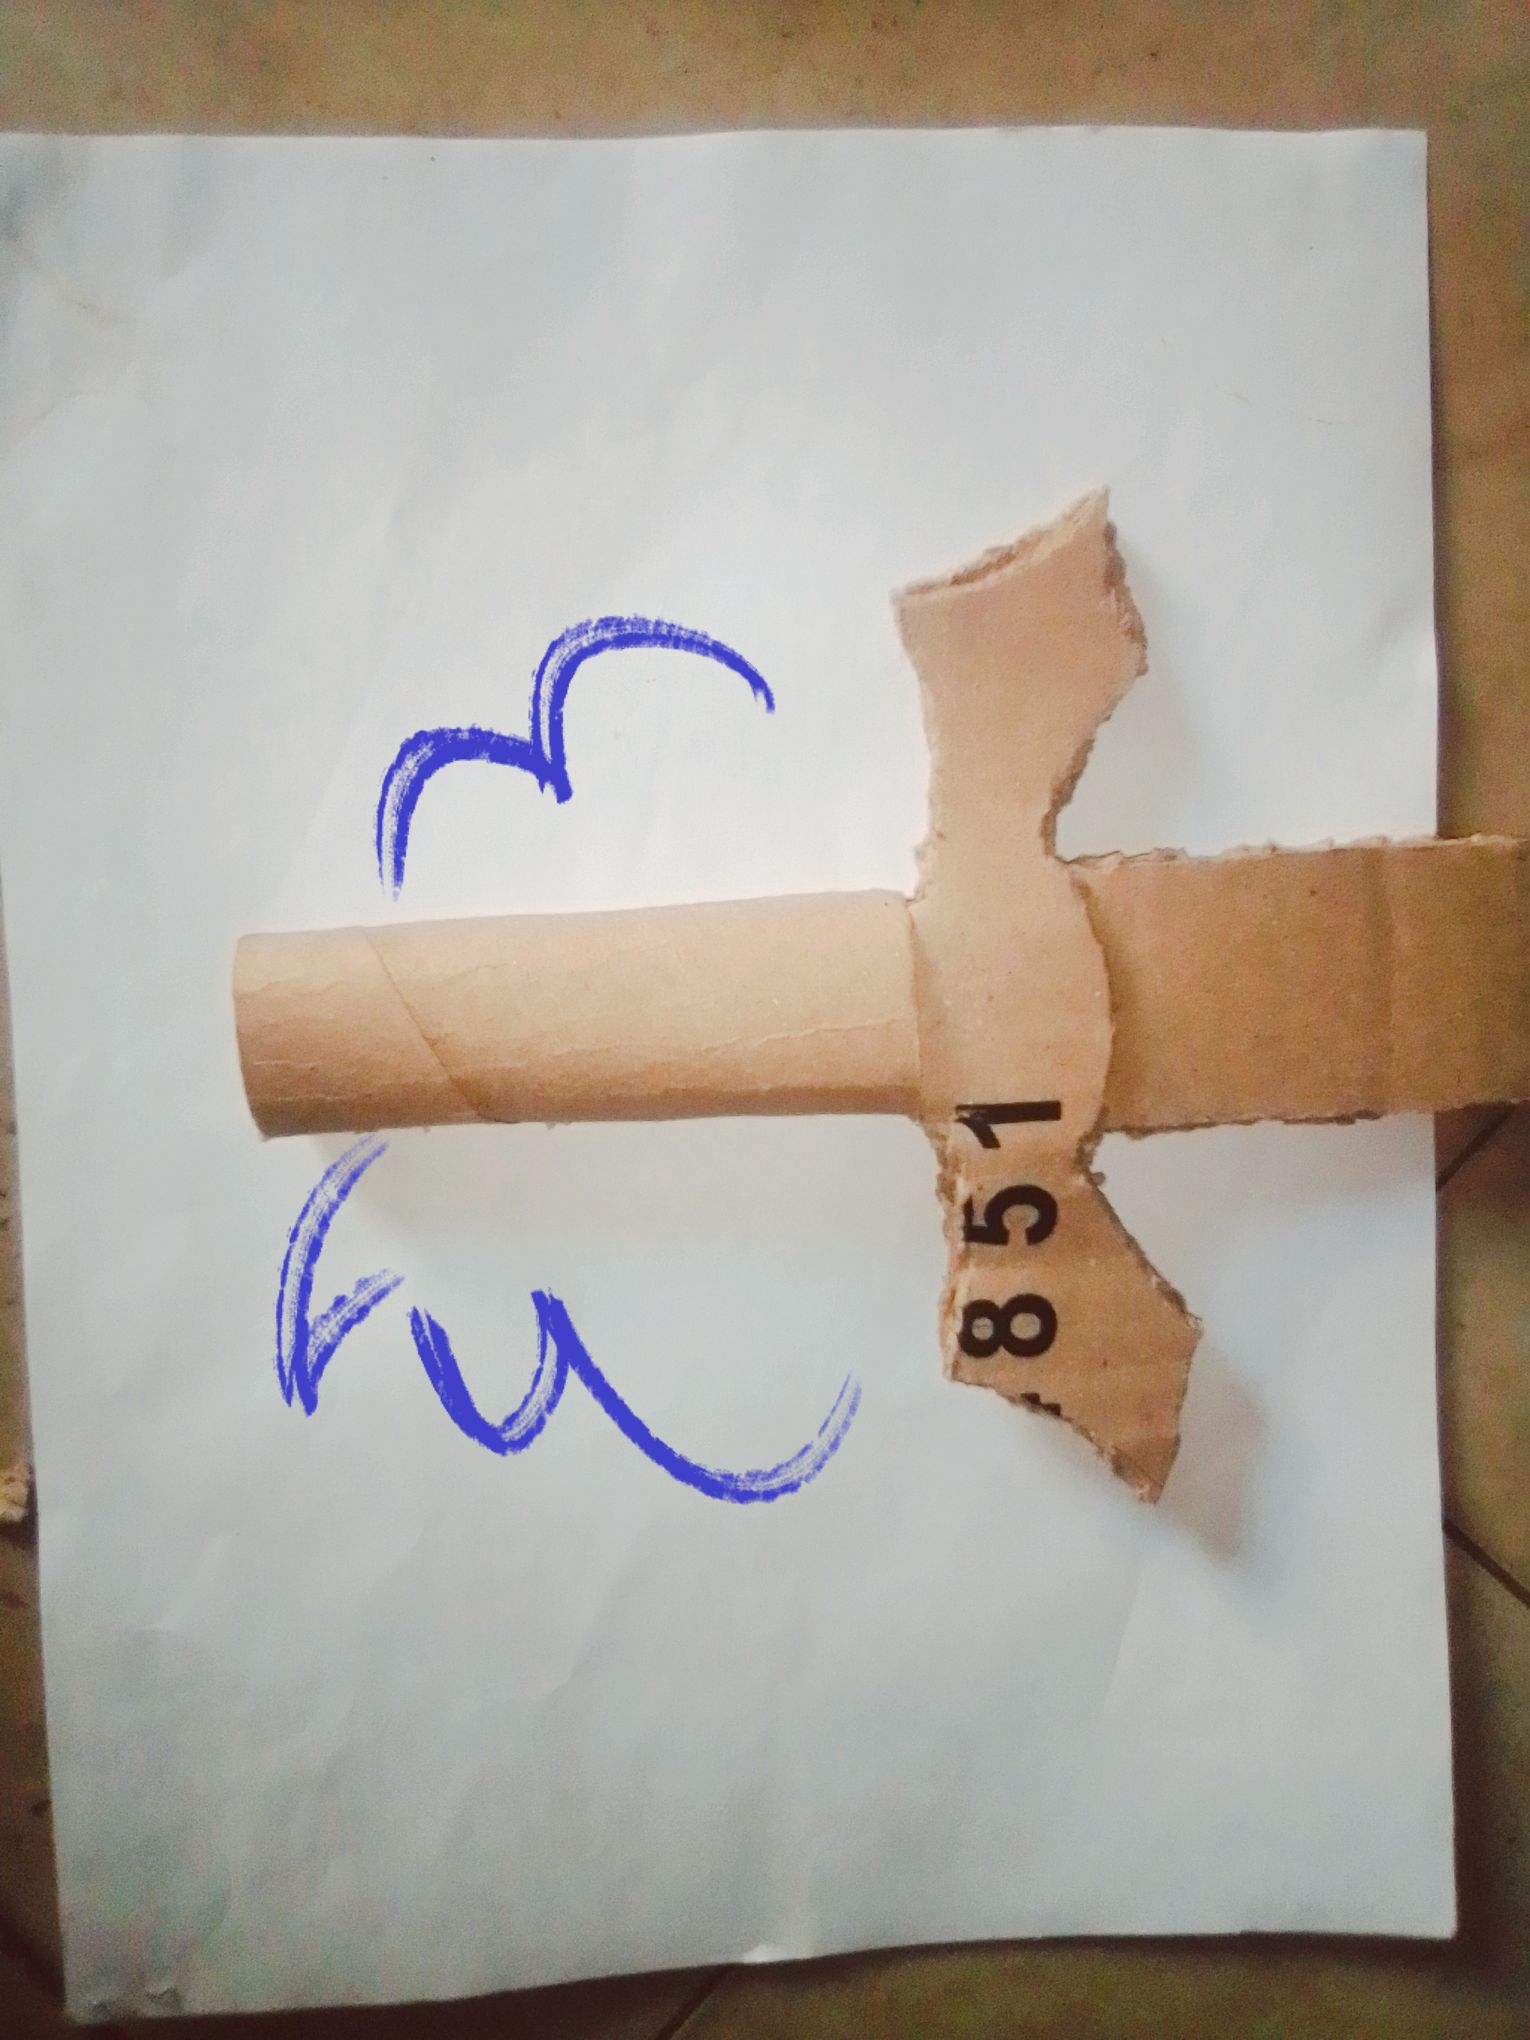
El siguiente paso entonces es, unir nuestra empuñadura con la hoja. Y aquí es que ayuda haber dejado un pequeño pliegue en el filo, sobre ella usaremos nuestro silicón (aconsejo que sea caliente, en frío también funciona, pero me gusta asi) pegaremos las dos partes a cada lado de la hoja.
Pegaremos bastante cerca del borde.
Pueden notar que a los laterales y por debajo quedan separadas. Usamos el silicón y las juntamos hasta donde se nos permita. Con cuidado.
5
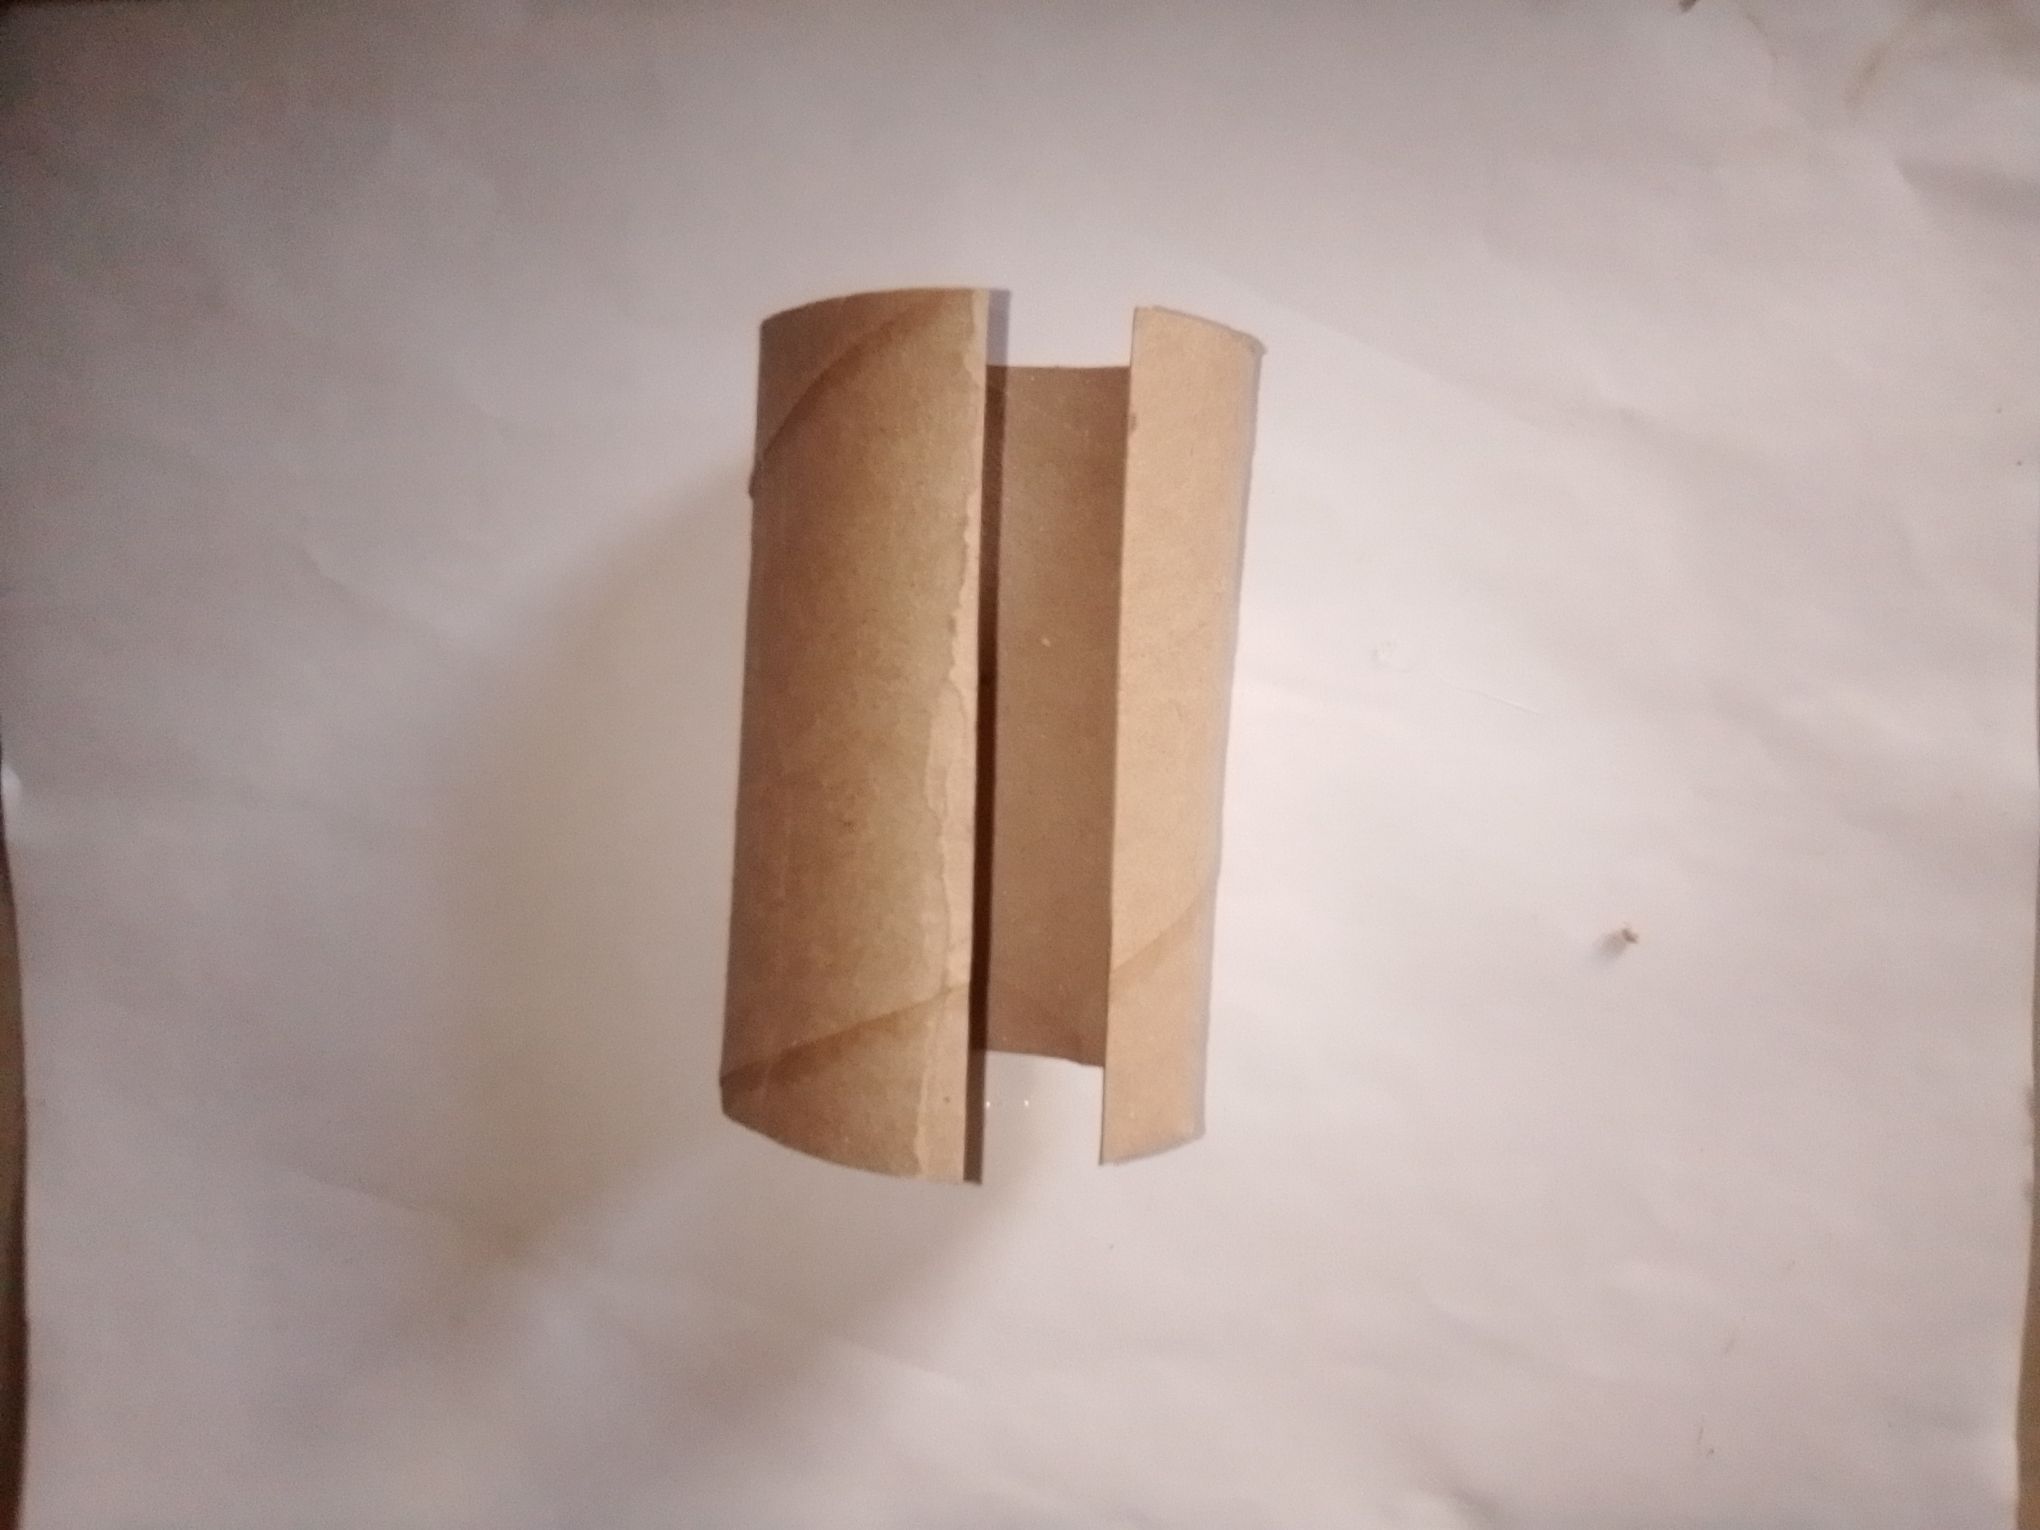
Ahora, completaremos la empuñadura. Para eso utilizarémos un rollo de papel higiénico. (También se puede utilizar un rollo de toallas de papel, que son más largos)
Debido a que el diámetro del rollo es notablemente más grande, tenemos que reducirlo. Solo hace falta hacer 1 Corte en él.
Luego vamos a medirlo con nuestra empuñadura y vamos a ir apretando poco a poco hasta ver que encaje ajustado a nuestra espada.
Cuando tenemos lista esa medida, pegaremos el rollo para que su diámetro quedé con ese tamaño. Y acto seguido la encajaremos en su sitio.
6
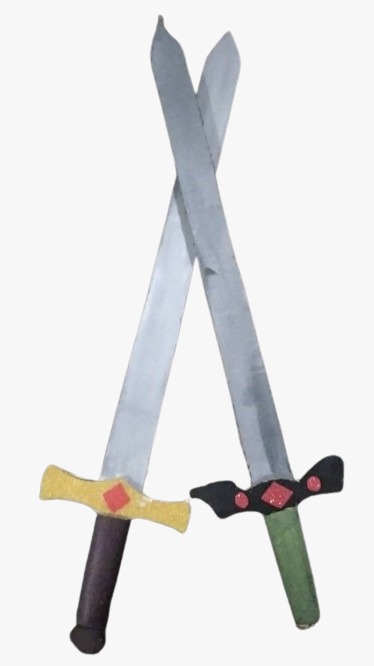
Solo faltaría hacer la parte de abajo, el pomo. Puede ser cualquier diseño, puede ser redondo, esférico, como una pirámide, un diamante... Todo se vale a la hora de ser creativo. Yo solo hice círculos de diferentes tamaños, y los coloque.
7
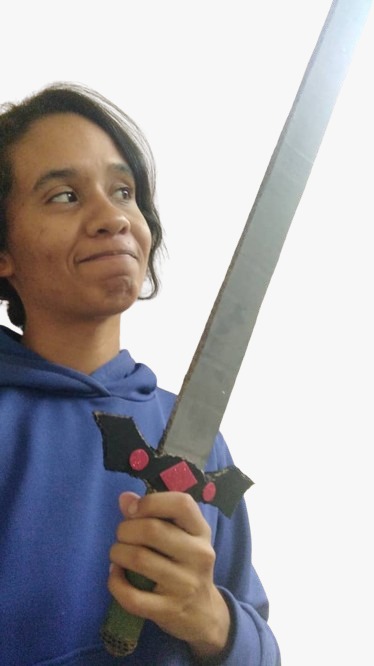
Para terminar, el paso más tranquilo y divertido, pintarlo. Sabemos que la hoja de una espada es color gris o plateado. Pero no pondré ninguna regla; puede hacerse como normalmente son, o pintarse con lo que ustedes o los niños más quieran ❤
Y pues, ya estaría! Todo listo para salir a la aventura!
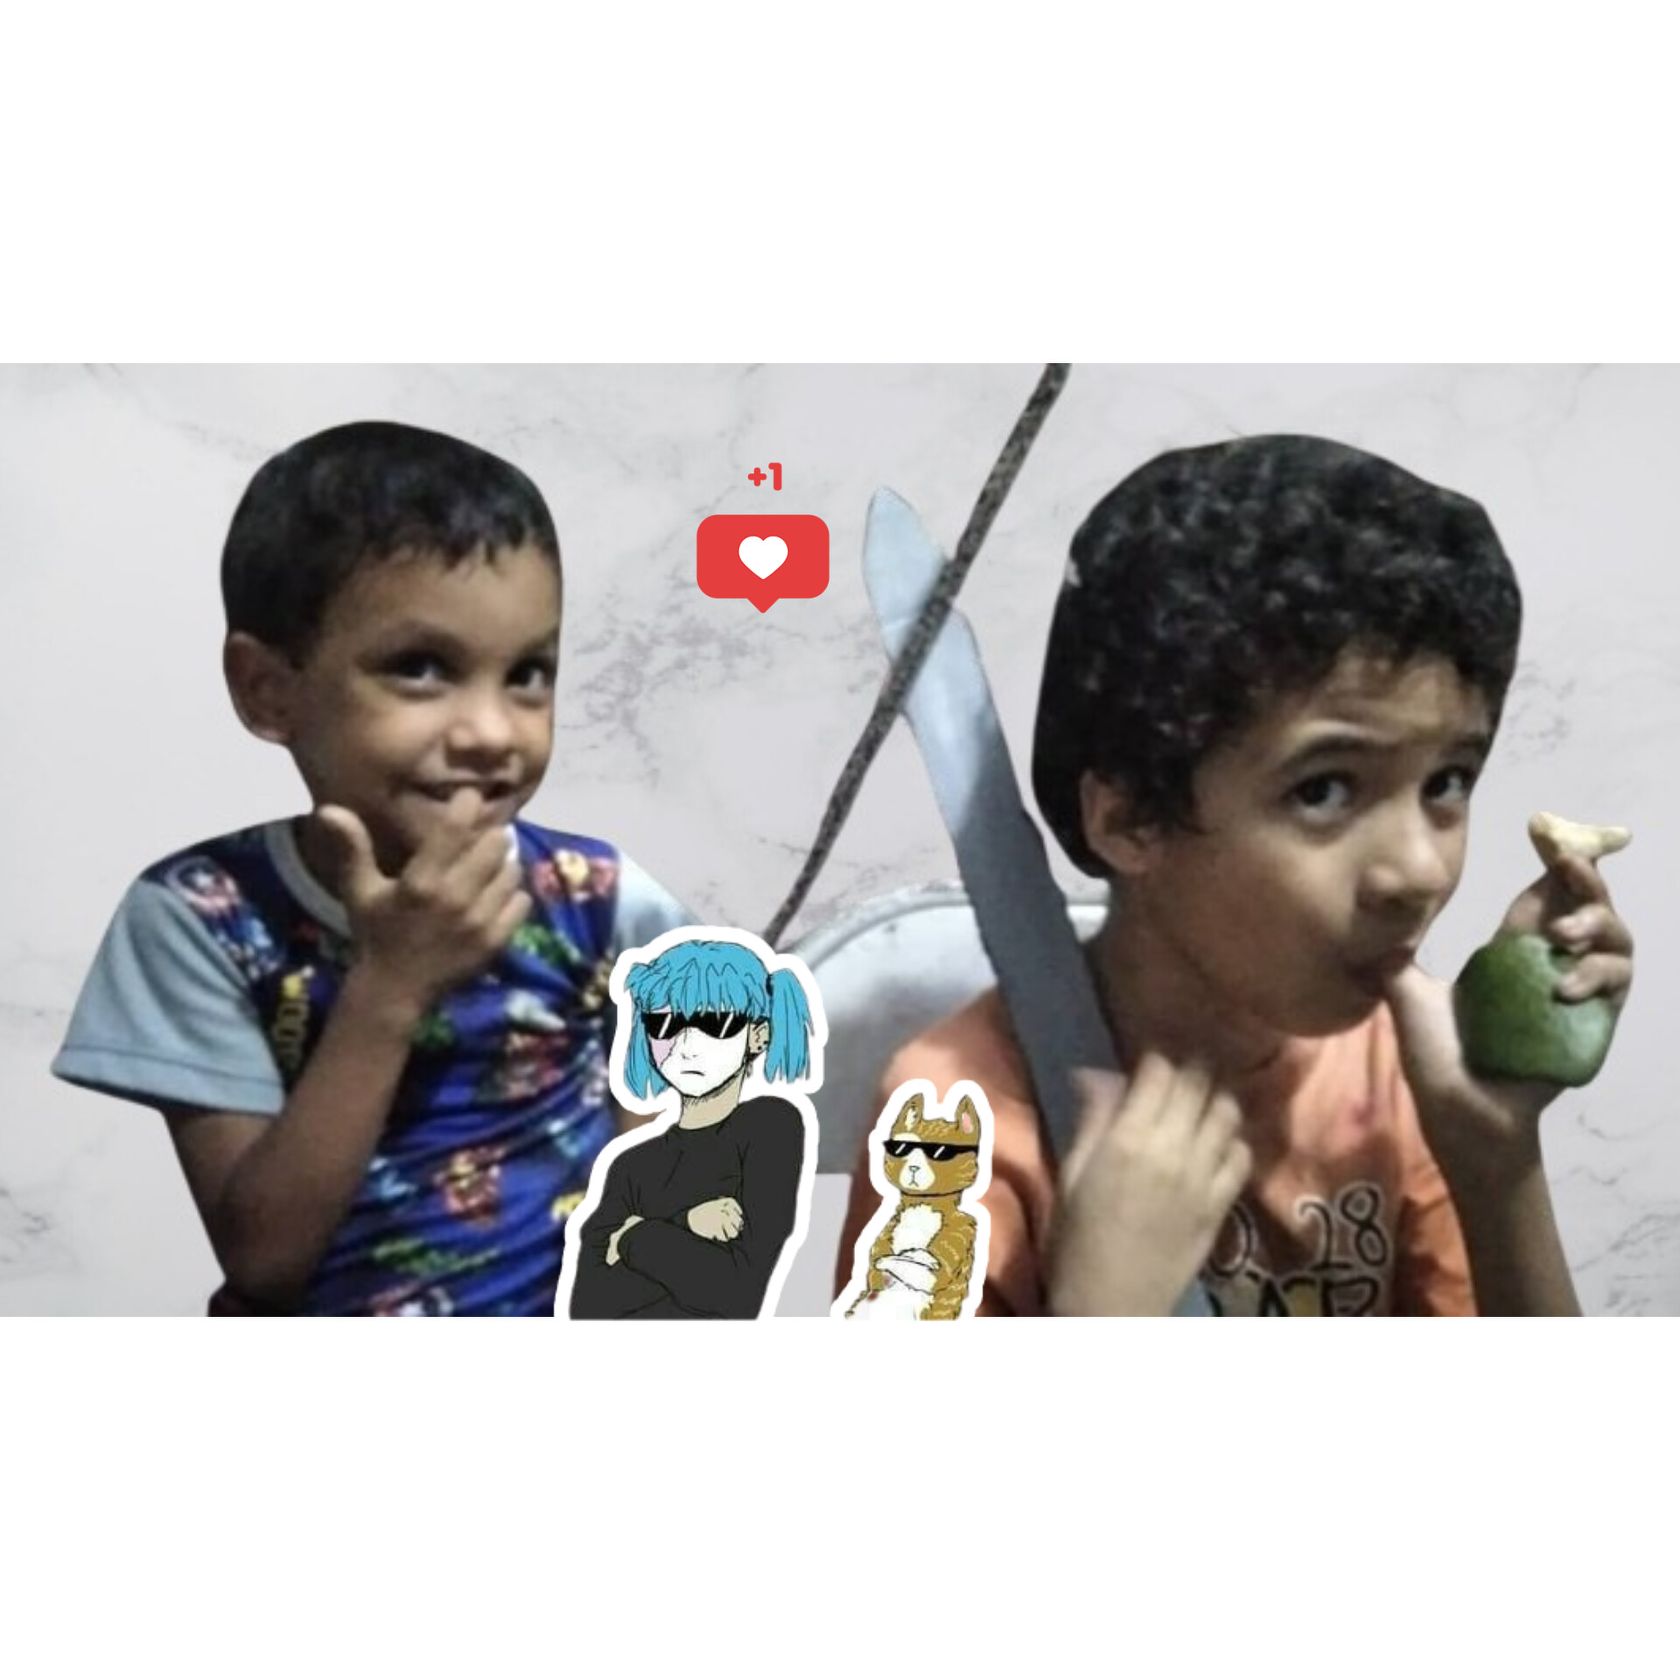
Fue realmente algo divertido, y cansado para mi fabricarla. Hace poco había hecho 1,para una presentación que tenía. Y pues me pareció buena idea compartir mi forma de crearla. A mi sobrino le encanto demasiado, y por eso decidí crear otra; para que mi hijo y él pudieran divertirse 🎉
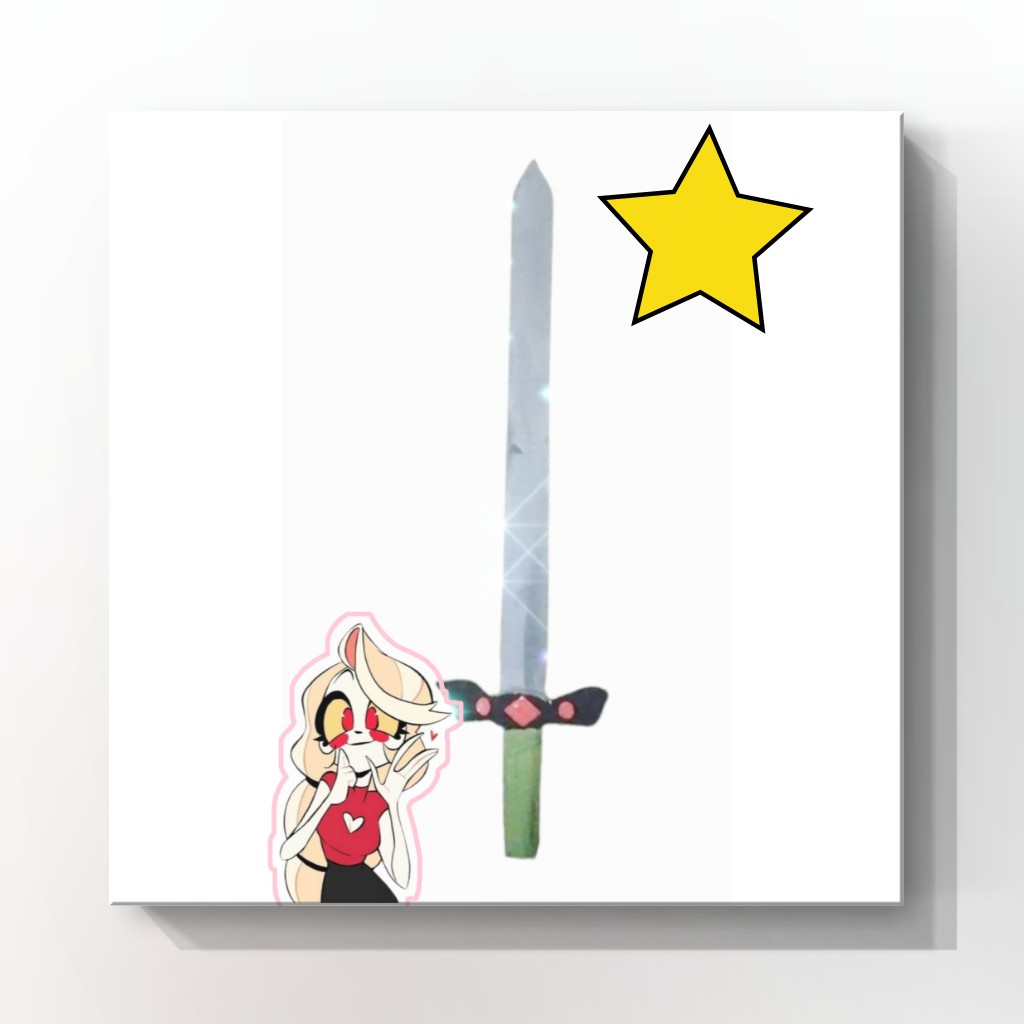
Para terminar, quería dejar unas pequeñas explicaciones. Pues usé términos como "empuñadura" "hoja" "filo" "pomo" y "guarda". Y solo son las partes de una espada, una simple. Les muestro:
Hay millones de diseños, colores y formas para las espadas. En cada país, cada cultura a través del tiempo tienen sus propias formas, así que; pueden hacerse tantas y ninguna será igual 👍
Y sin más, me despido! Espero les haya gustado. Y como una frase que me gusta mucho:
" Si puedes imaginarlo... Puedes crearlo "!
Feliz Día! ☀
- Las imágenes me pertenecen
- Traductor: Deelp traslator
- Edicion: Canva
Very good! Welcome here. I hope today has been an excellent and productive day for everyone~ Today, I want to bring you a heroic idea. Really, very easy to do; and can be modified to each person's taste, whether in terms of its design and colors. A good idea if as parents your child needs it for a play, to complement a costume or simply to have a different and fun afternoon letting ourselves be carried away by the imagination ❤ and without anything else to add; I leave you the materials to use, the step by step and some recommendations to further expand your creativity.
Materials:
- Cardboard (you can use a box 📦)
- 1 roll of toilet paper
- Ruler
- Pencil
- Exact or cutter
- Scissors
- Silicone
- Paints and brushes
Step by Step
1
On one of the longest sides of our box, we will draw the shape of our blade (the edge of the sword). In reality, it can be whatever width or length you deem appropriate. In my case, my blade is 49 cm long and 3.7 cm wide.
Personally, I decided to leave a fold at the base, as seen in the photo, 3 cm, it could even be 2 cm. With this, it will be more secured when we put all the parts together and it will not come apart.
2
Afterwards, we proceed to use the cutter and take out our drawn shape (I recommend cutting it with this tool, you could also use scissors, but the work would be more difficult and the cardboard could be folded)
We will make this sword double, that is, now we will cut another blade which we will glue to the other. The cardboard is strong, but it will bend easily, so to reinforce it we will make the same one and put them together.
We will use the scissors to eliminate any damage that may exist on the sides, and to match the 2 pieces.
3
Next, we will draw the next part of our sword on the cardboard; the handle and the guard. Here the truth is, its shape can be however you like, or inspired by a character who wears one. There is nothing written :)
And we will do the same here, we will cut another one that is the same.
4
The next step then is to join our handle with the blade. And here it helps to have left a small crease on the edge, on it we will use our silicone (I advise it to be hot, cold also works, but I like it that way) we will glue the two parts to each side of the blade.
We'll glue pretty close to the edge.
You may notice that they are separated on the sides and below. We use silicone and join them as far as we are allowed. Carefully.
5
Now, we will complete the grip. For that we will use a roll of toilet paper. (You can also use a roll of paper towels, which are longer)
Because the diameter of the roll is noticeably larger, we have to reduce it. You only need to make 1 Cut in it.
Then we are going to measure it with our handle and we are going to tighten it little by little until we see that it fits snugly to our sword.
When we have that measurement ready, we will glue the roll so that its diameter remains that size. And then we will fit it into place.
6
The only thing left to do is the bottom part, the knob. It can be any design, it can be round, spherical, like a pyramid, a diamond... Anything goes when it comes to being creative. I just made circles of different sizes, and placed them.
7
To finish, the calmest and most fun step, painting it. We know that the blade of a sword is gray or silver. But I won't make any rules; They can be made as they normally are, or painted with whatever you or the children want the most ❤
And then, that would be it! Everything ready to go on the adventure!
It was really something fun, and tiring for me to make it. I had recently made 1, for a presentation I had. And so it seemed like a good idea to share my way of creating it. My nephew loved it too much, and that's why I decided to create another one; so my son and he could have fun 🎉
Finally, I wanted to leave a few small explanations. Well, I used terms like "handle," "blade," "edge," "knob" and "guard." And they are just the parts of a sword, a simple one. I show you:
There are millions of designs, colors and shapes for swords. In each country, each culture over time they have their own ways, so; so many can be made and none will be the same.
And without further ado, I say goodbye! I hope you liked it. And as a phrase that I really like:
"If you can imagine it... You can create it"!
Good day! ☀
- Images belong to me
- Translator: Deepl Traslator
- Editing: Canva