(ENG)
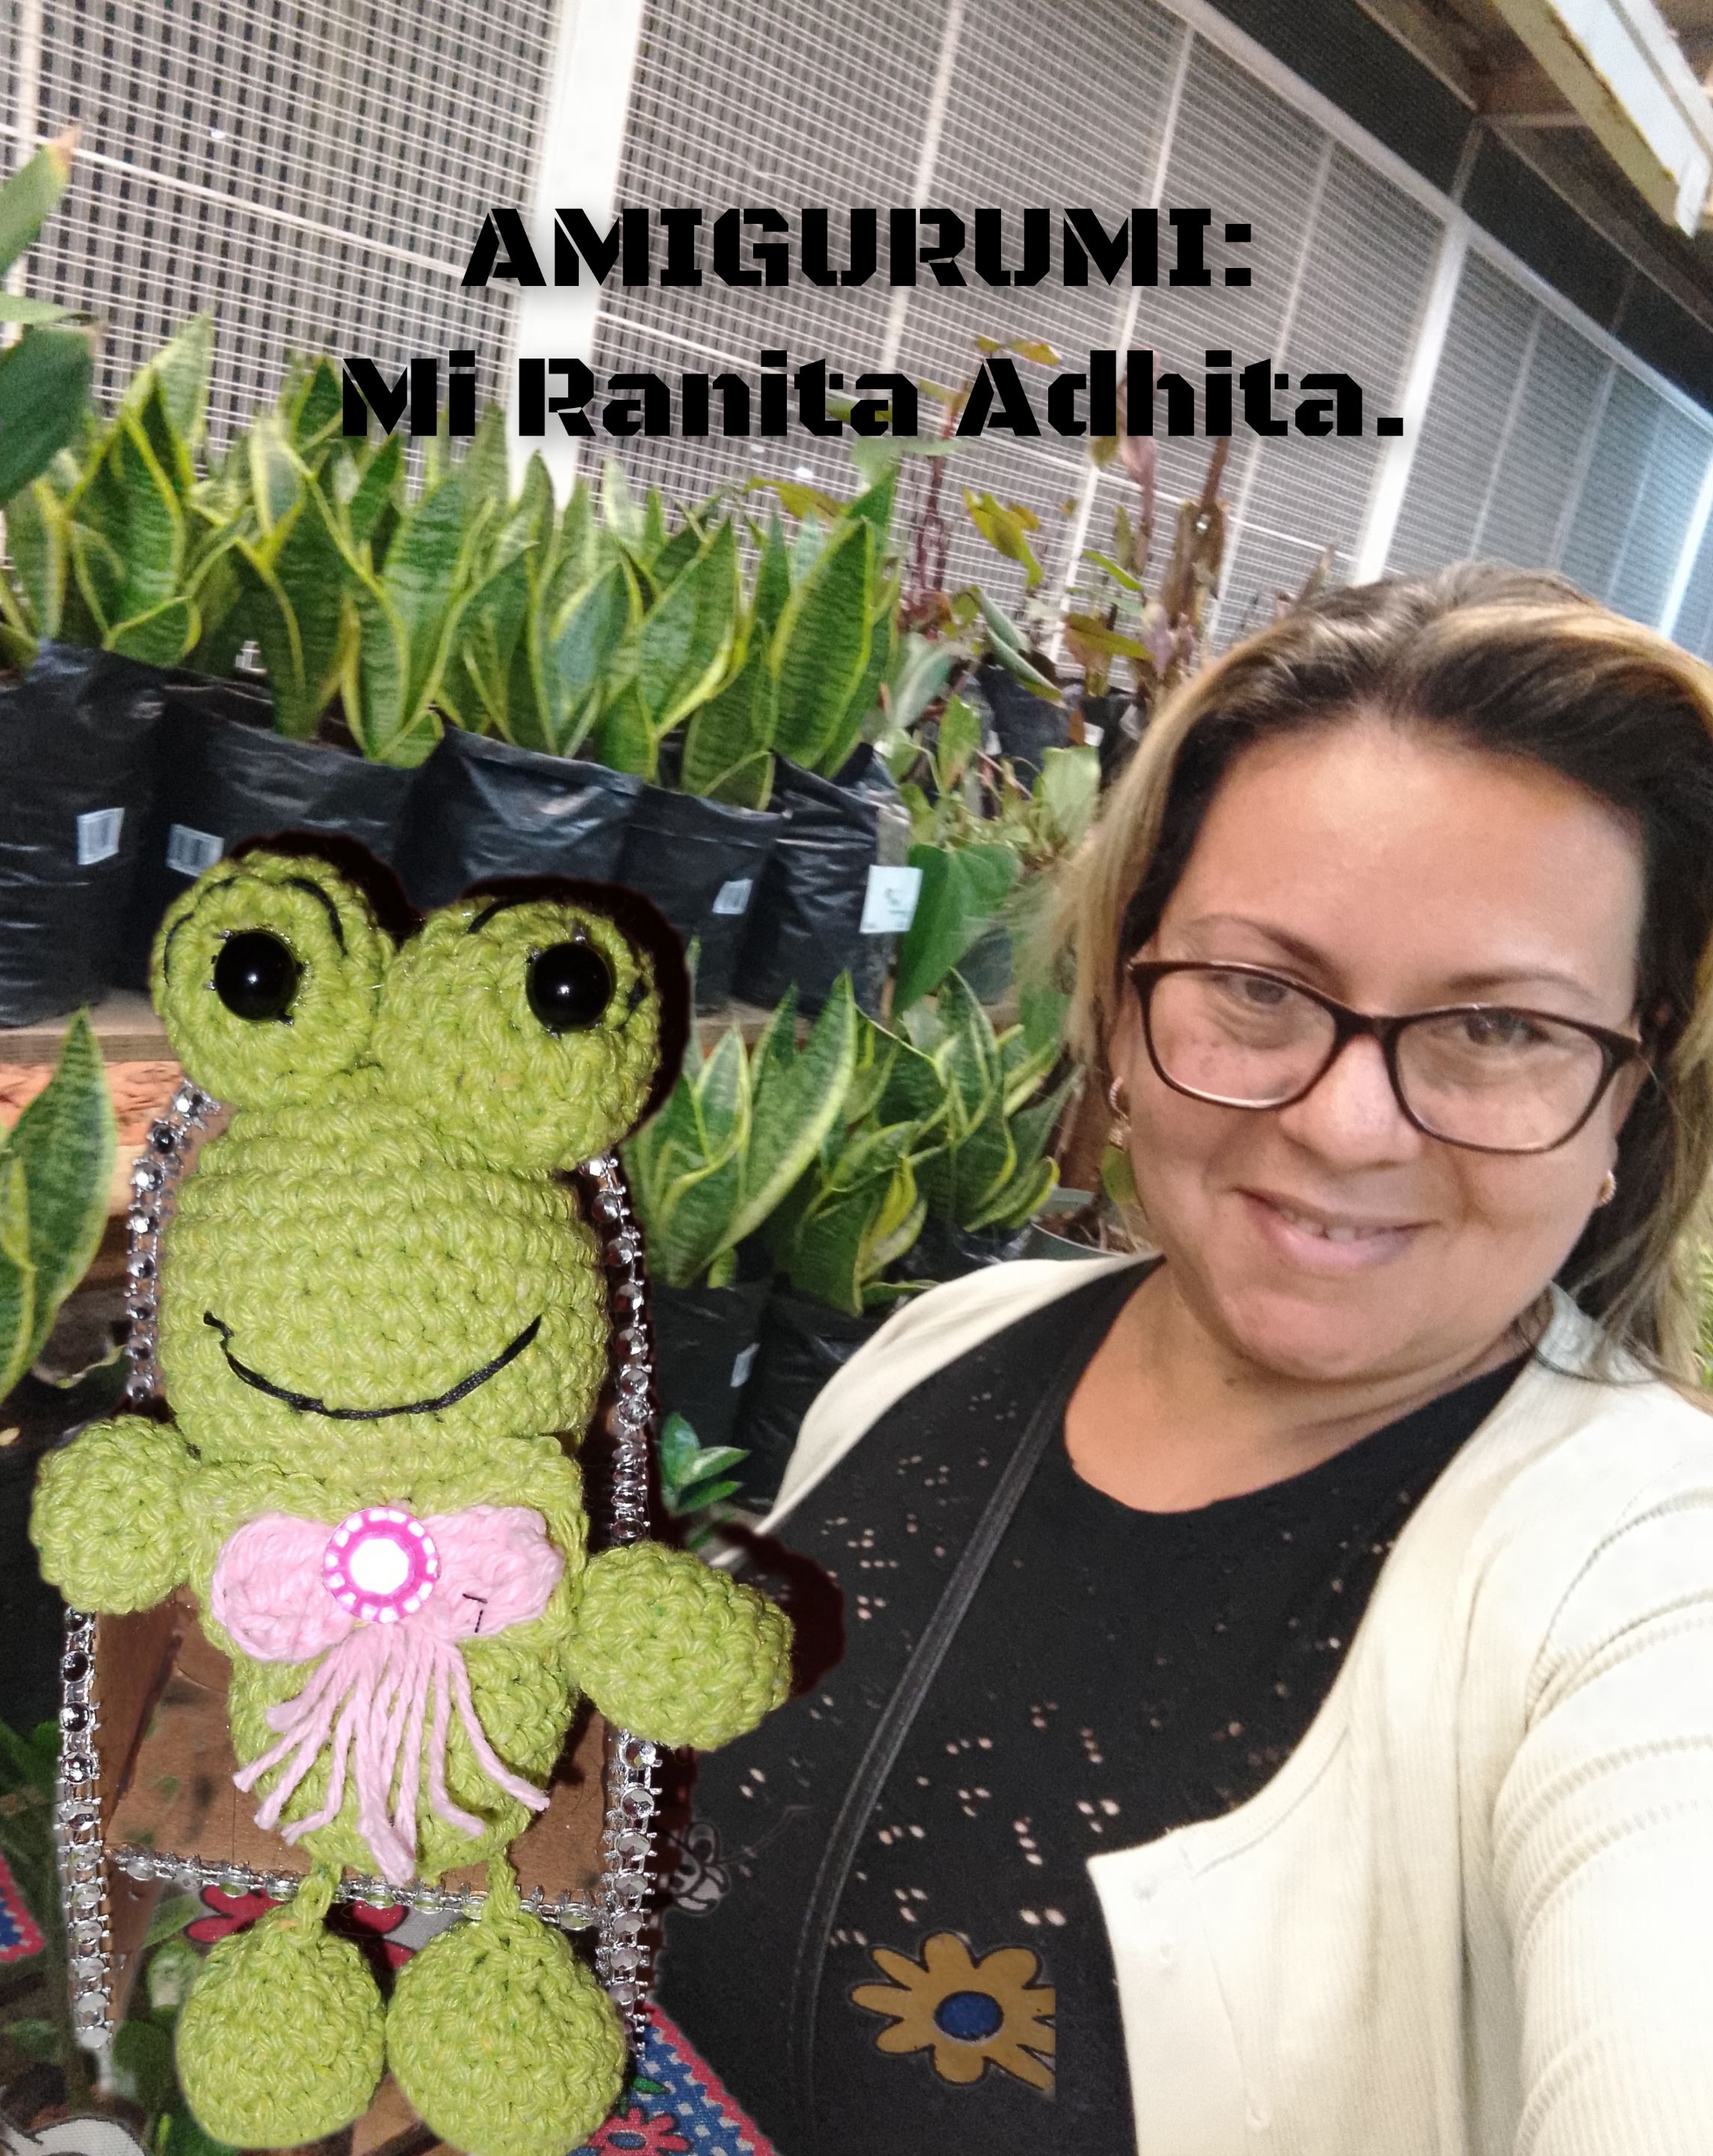
Hello people, creator of this community @diyhub, I am pleased to be with you, I hope you are well, and eager to create new and innovative things, today I am very happy, with the amigurumi fabric, I show you how I did A cute Frog, who I call, Adhita, is sweet and tender little frog, it is ideal to decorate the little ones' room or why not, to give as a gift on a birthday. I invite you to follow me, I hope you enjoy it.
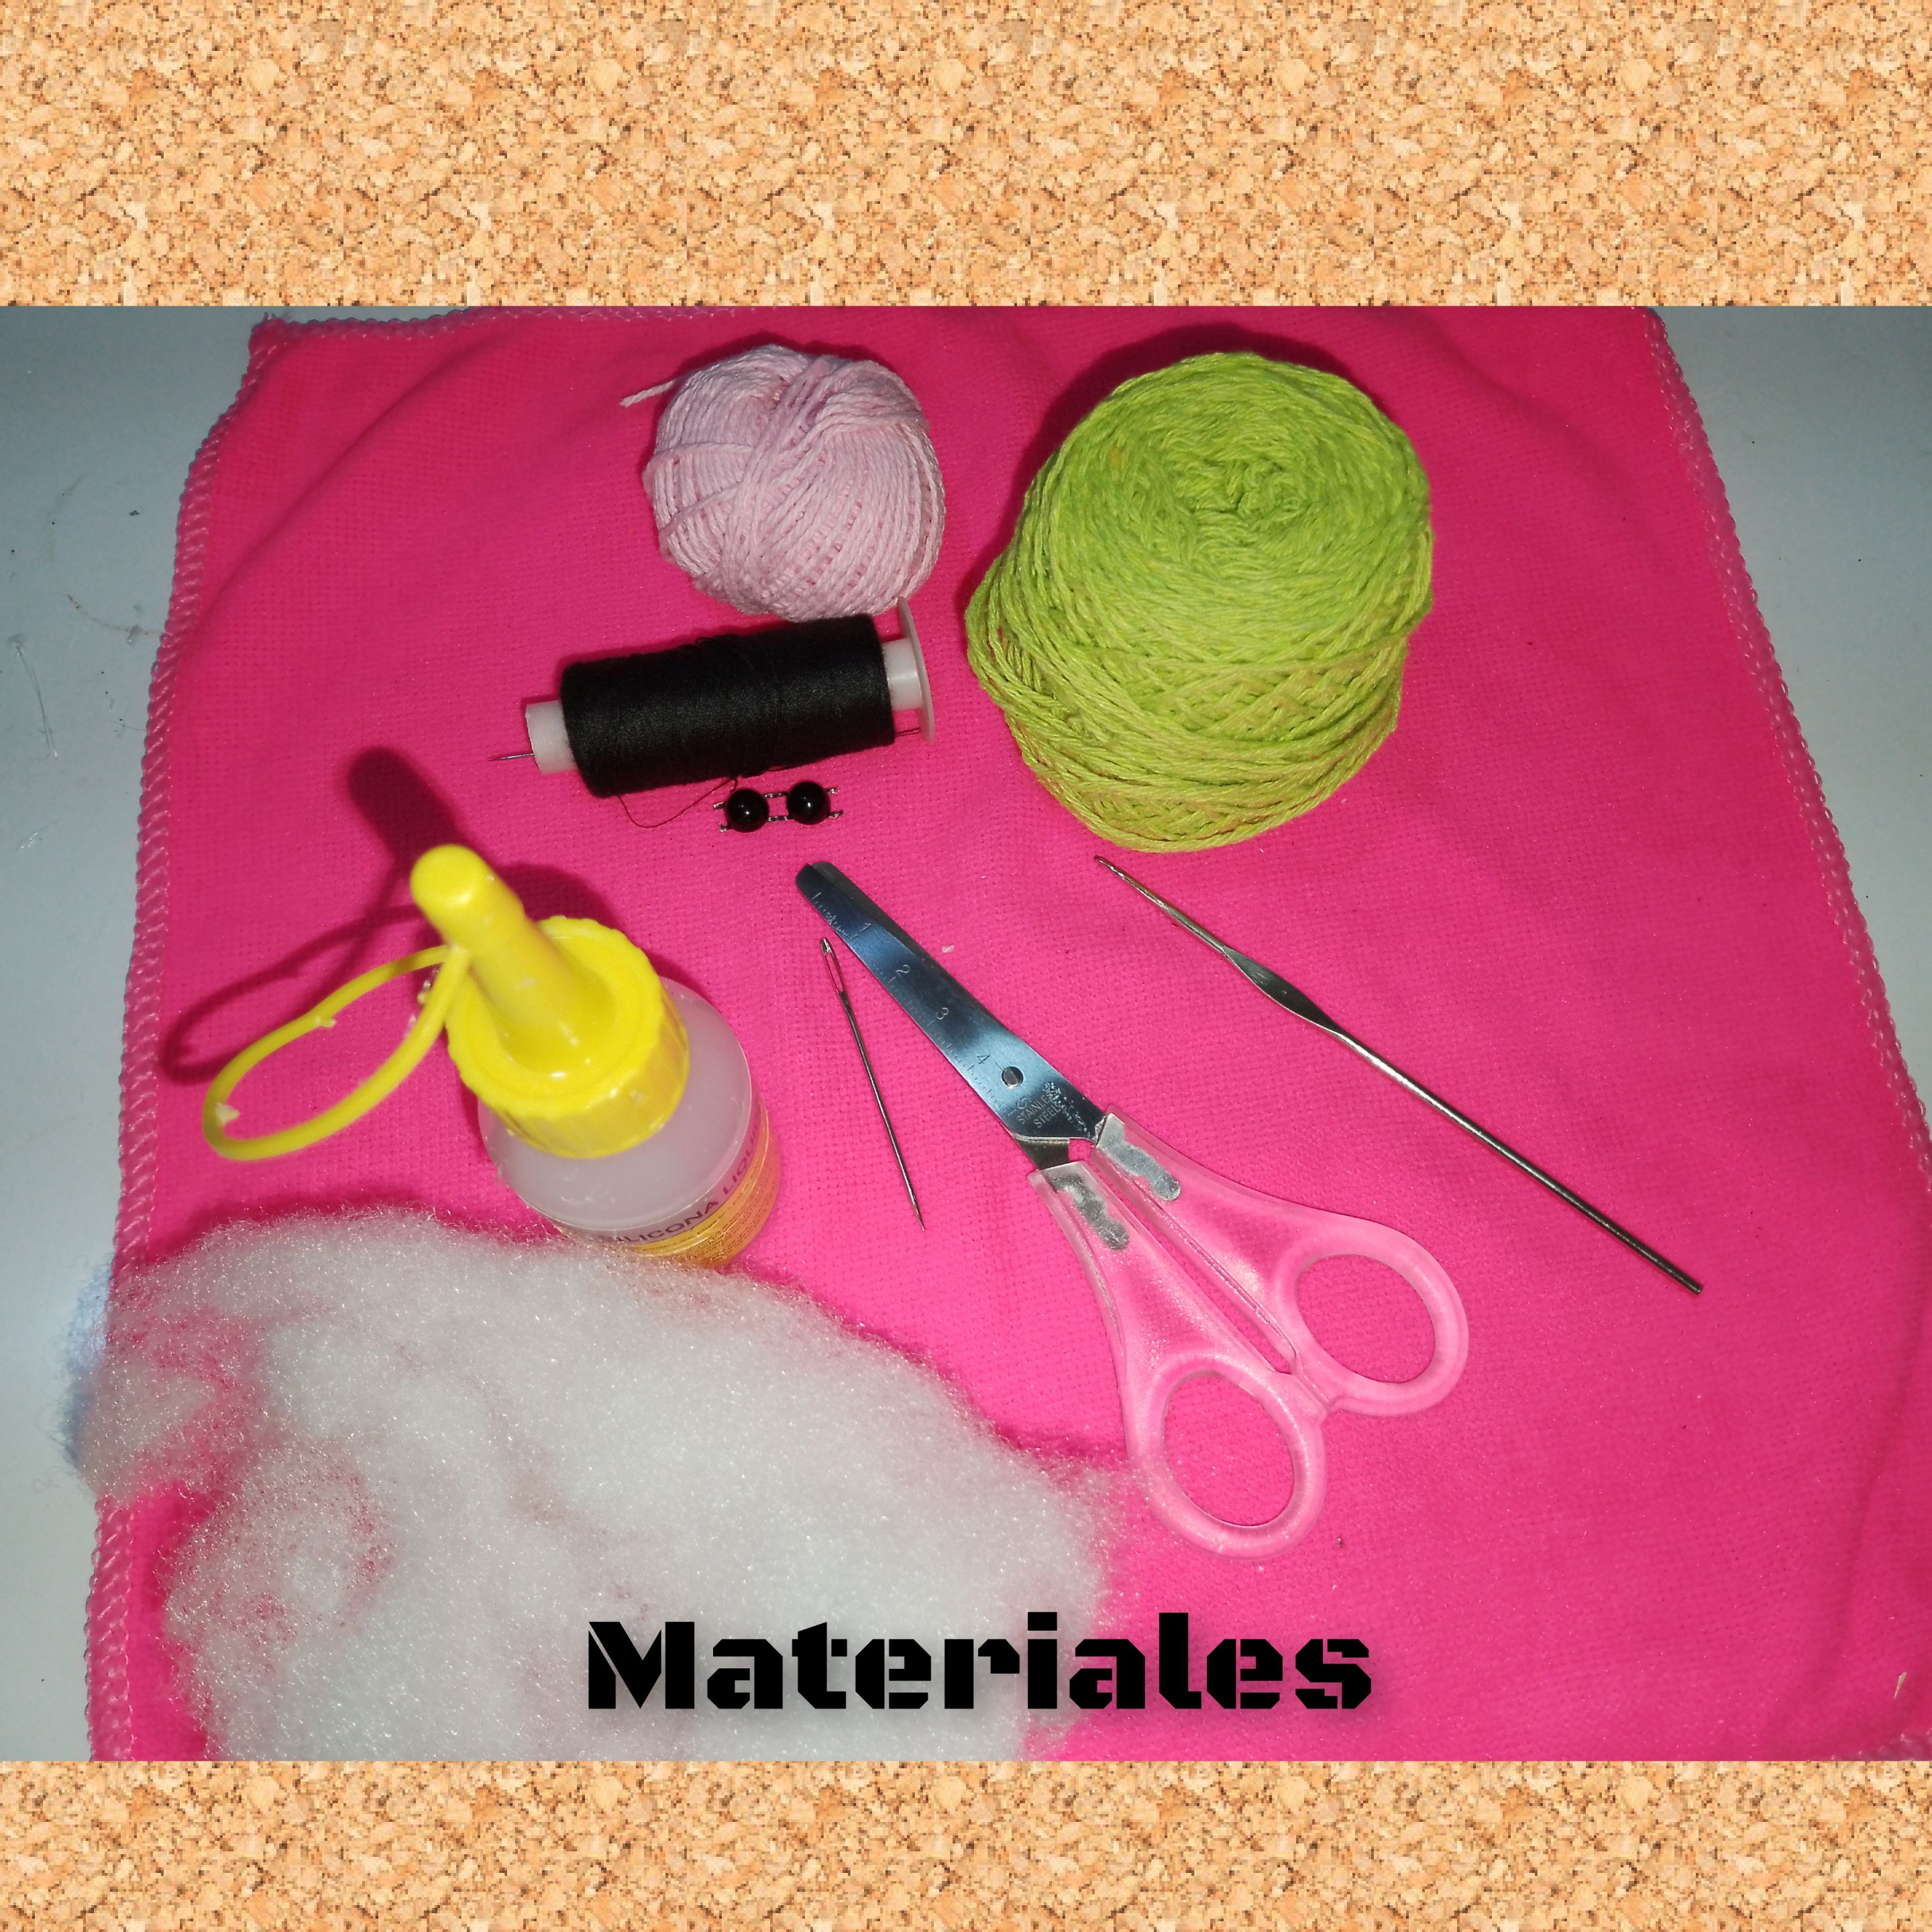
Materials:
. Knitting yarn, light green color. . Knitting needle.
. Pink wick thread.
. Two black half stones, n4.
. Liquid glue.
. Needle and thread for sewing, black.
. Stuffed.
. wool needle
. Scissors.
Steps:
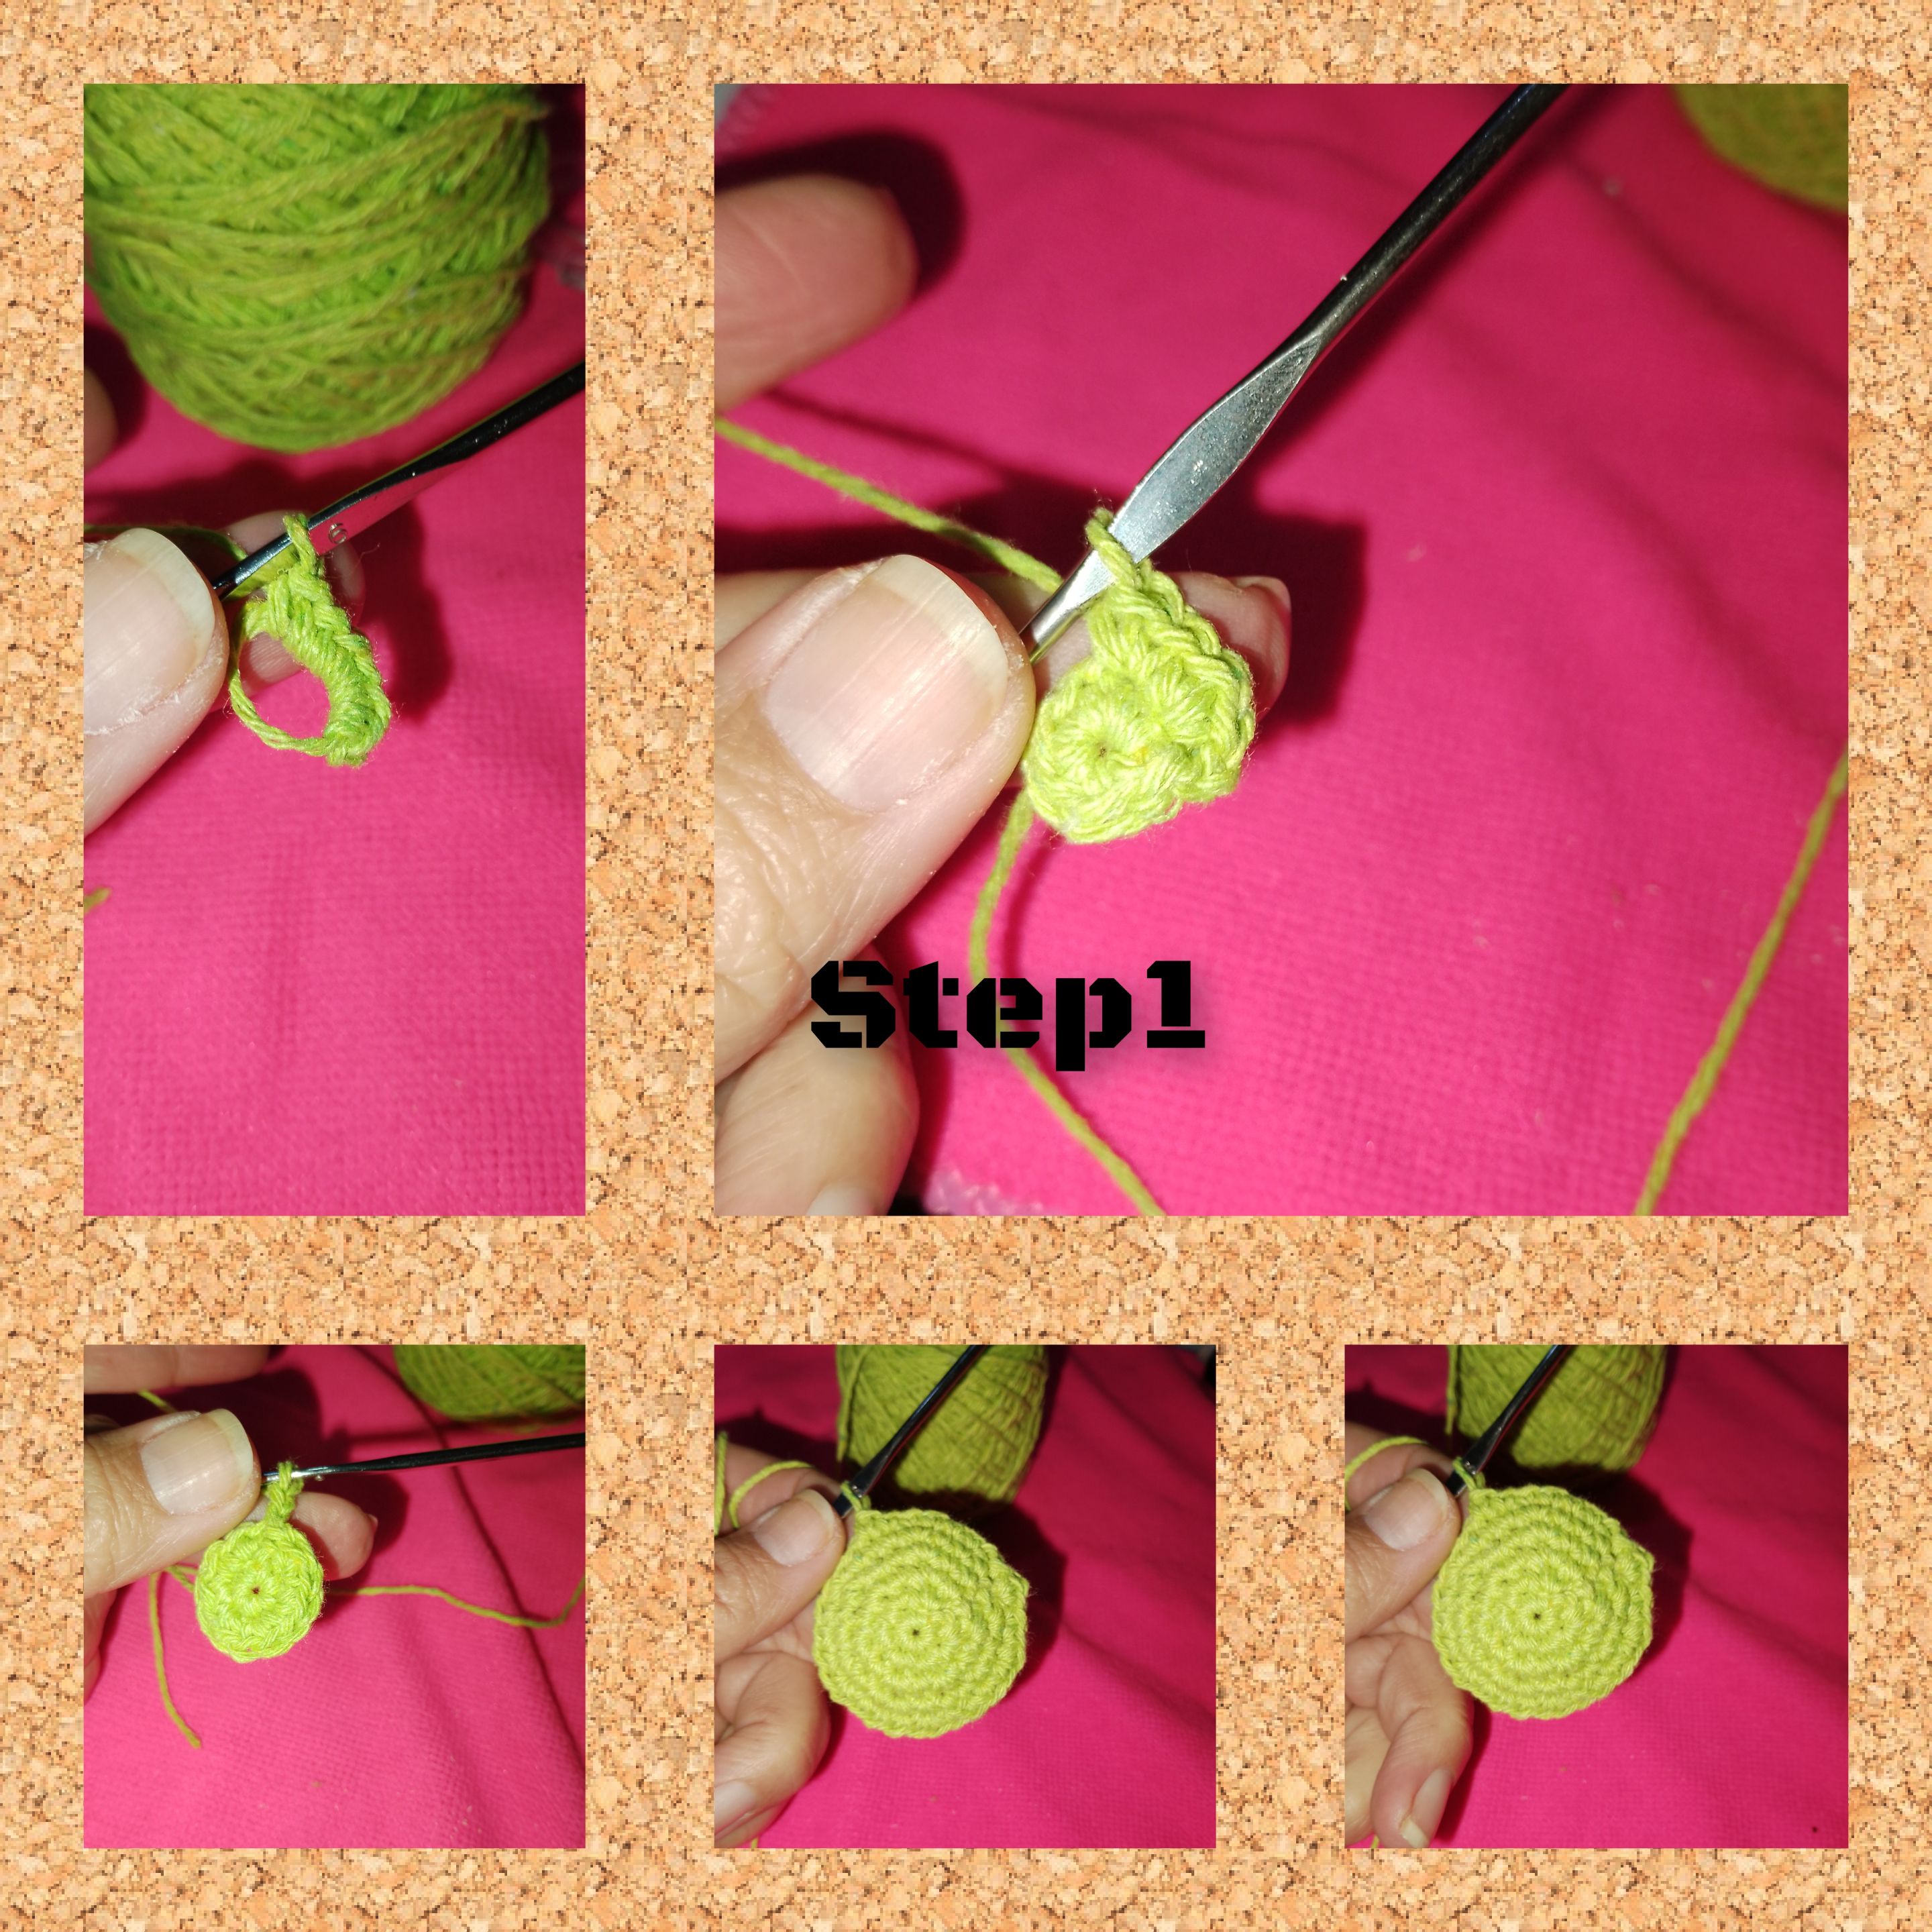
1.) in a magic ring, I knit 6 half stitches, I close the ring, with a slip stitch, on the next round, I will knit six increases, even or have 12 stitches, I close with a slip stitch. Continue, for round n3, after half a stitch, I make an increase, for a total of (18 o), for round n4, after two single crochets, I make an increase, for (24 stitches). While for n5, I will make an increase after three half points, for a total of (30 points). Continuous, knitting six consecutive rounds, of (30 stitches) So that the fabric goes, taking the shape of a sphere,
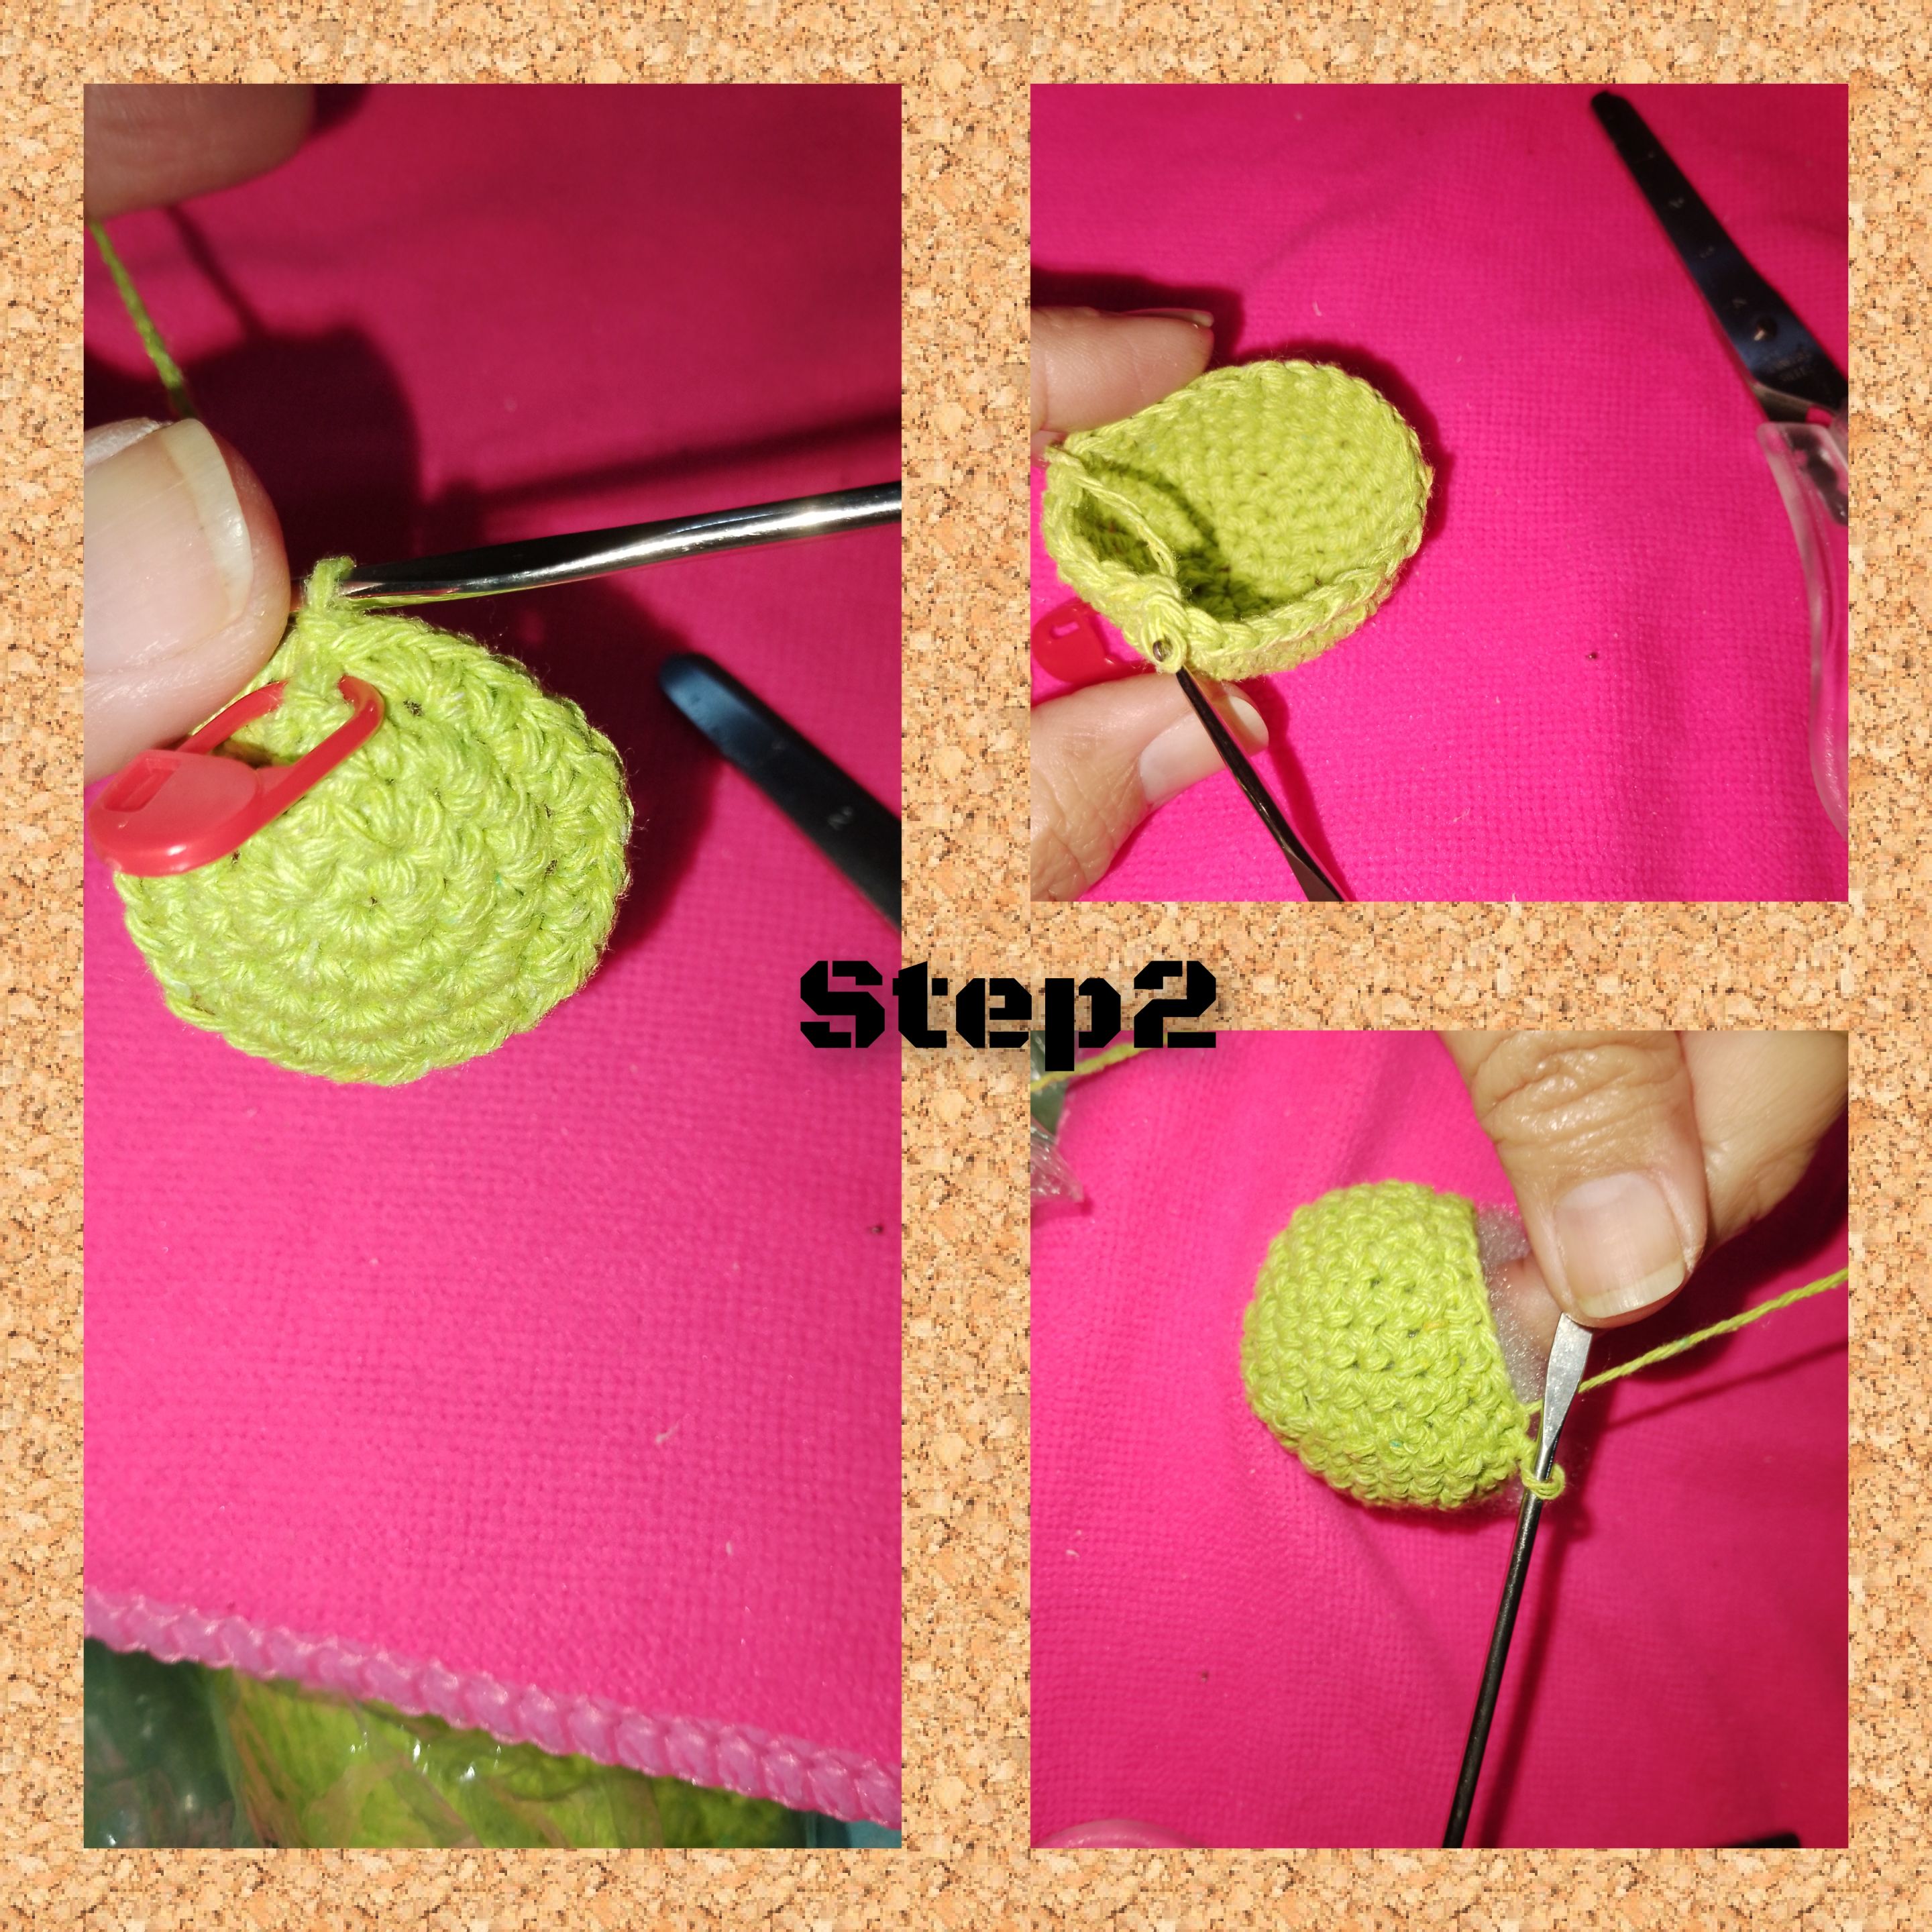
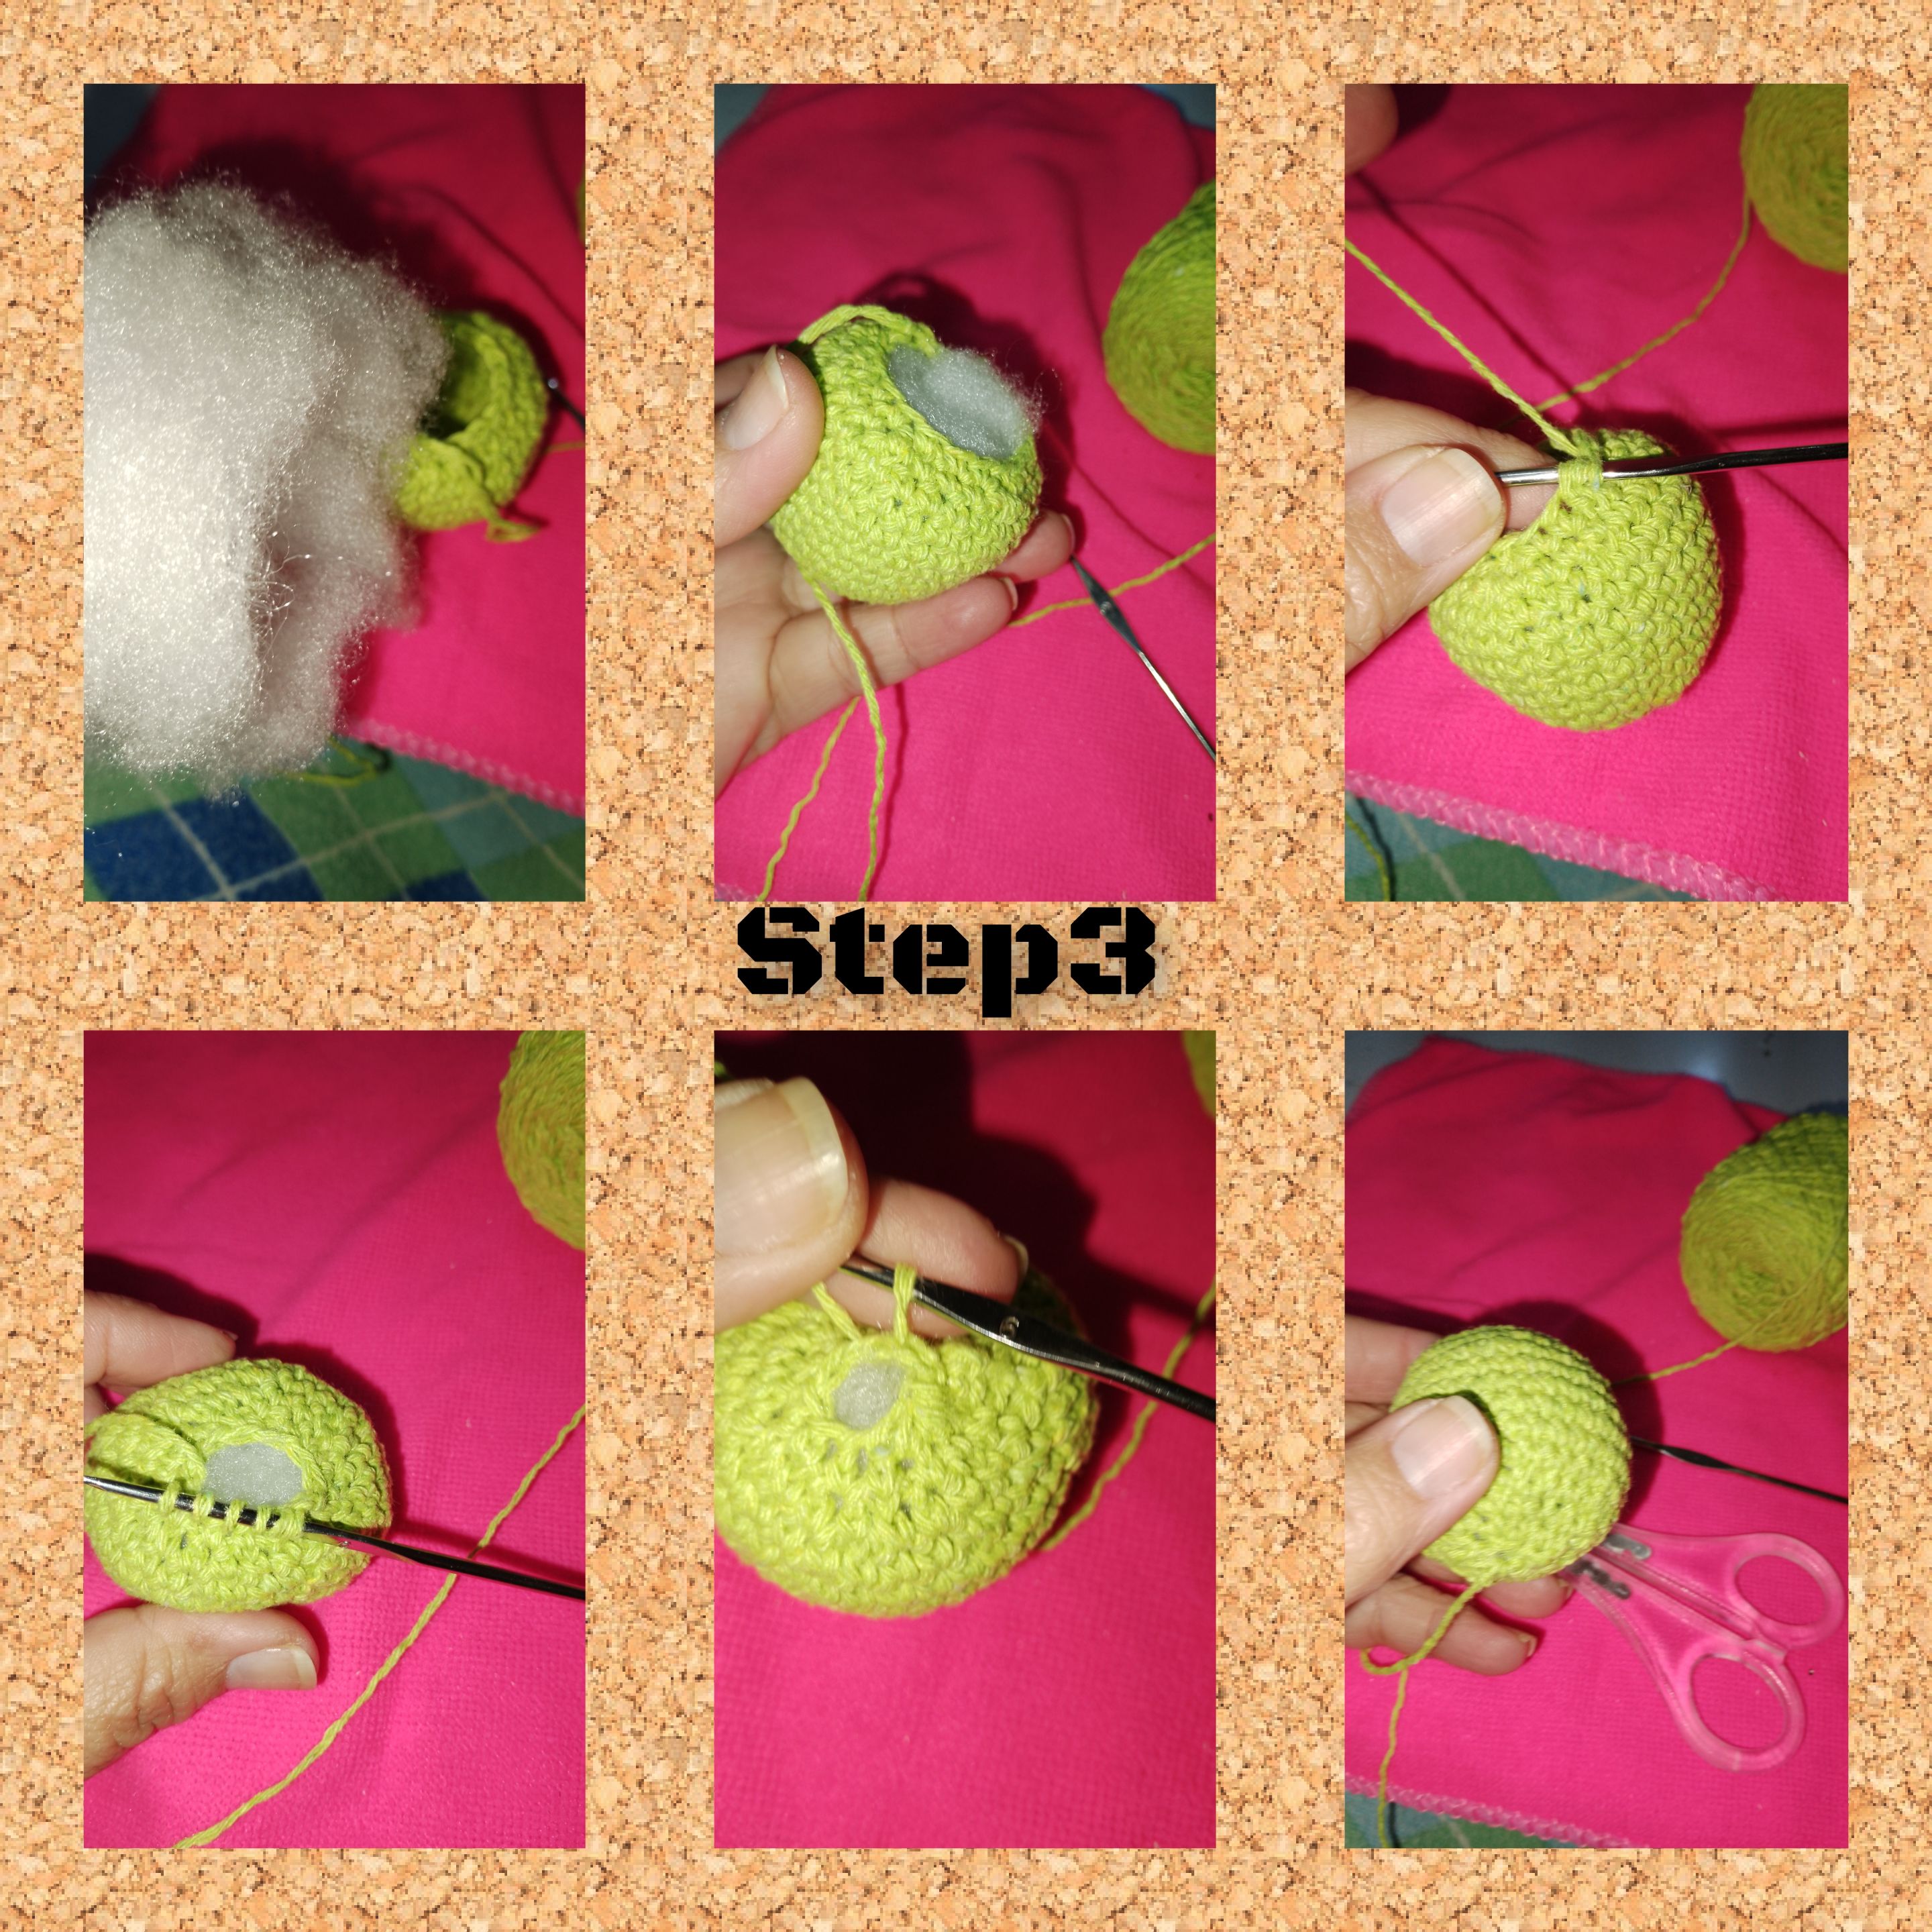
2.) having achieved the necessary height of the sphere on its 12th round, I begin to make the decreases, this round, I will make a decrease, after three half points, on the next one, after two half points and on the third one then of a half point, I fill the sphere and close. When closing, I leave a considerable length of knitting thread. This sphere is the largest, and the head of the Adhita Frog.
3.) ready, I start knitting, I make a magic ring and six half stitches, I close the ring. The next round, I make six increases, for a total of (12 stitches), the next one after a single crochet, an increase, and in the fourth round, an increase after two single crochets, for (24 stitches), from rounds five to eight, I will crochet single crochets. Very similar to the previous sphere, this one will be smaller in size for the body. Having reached the stop on round number eight, I begin to make decreases, and before closing, I place the filling inside the sphere and close.
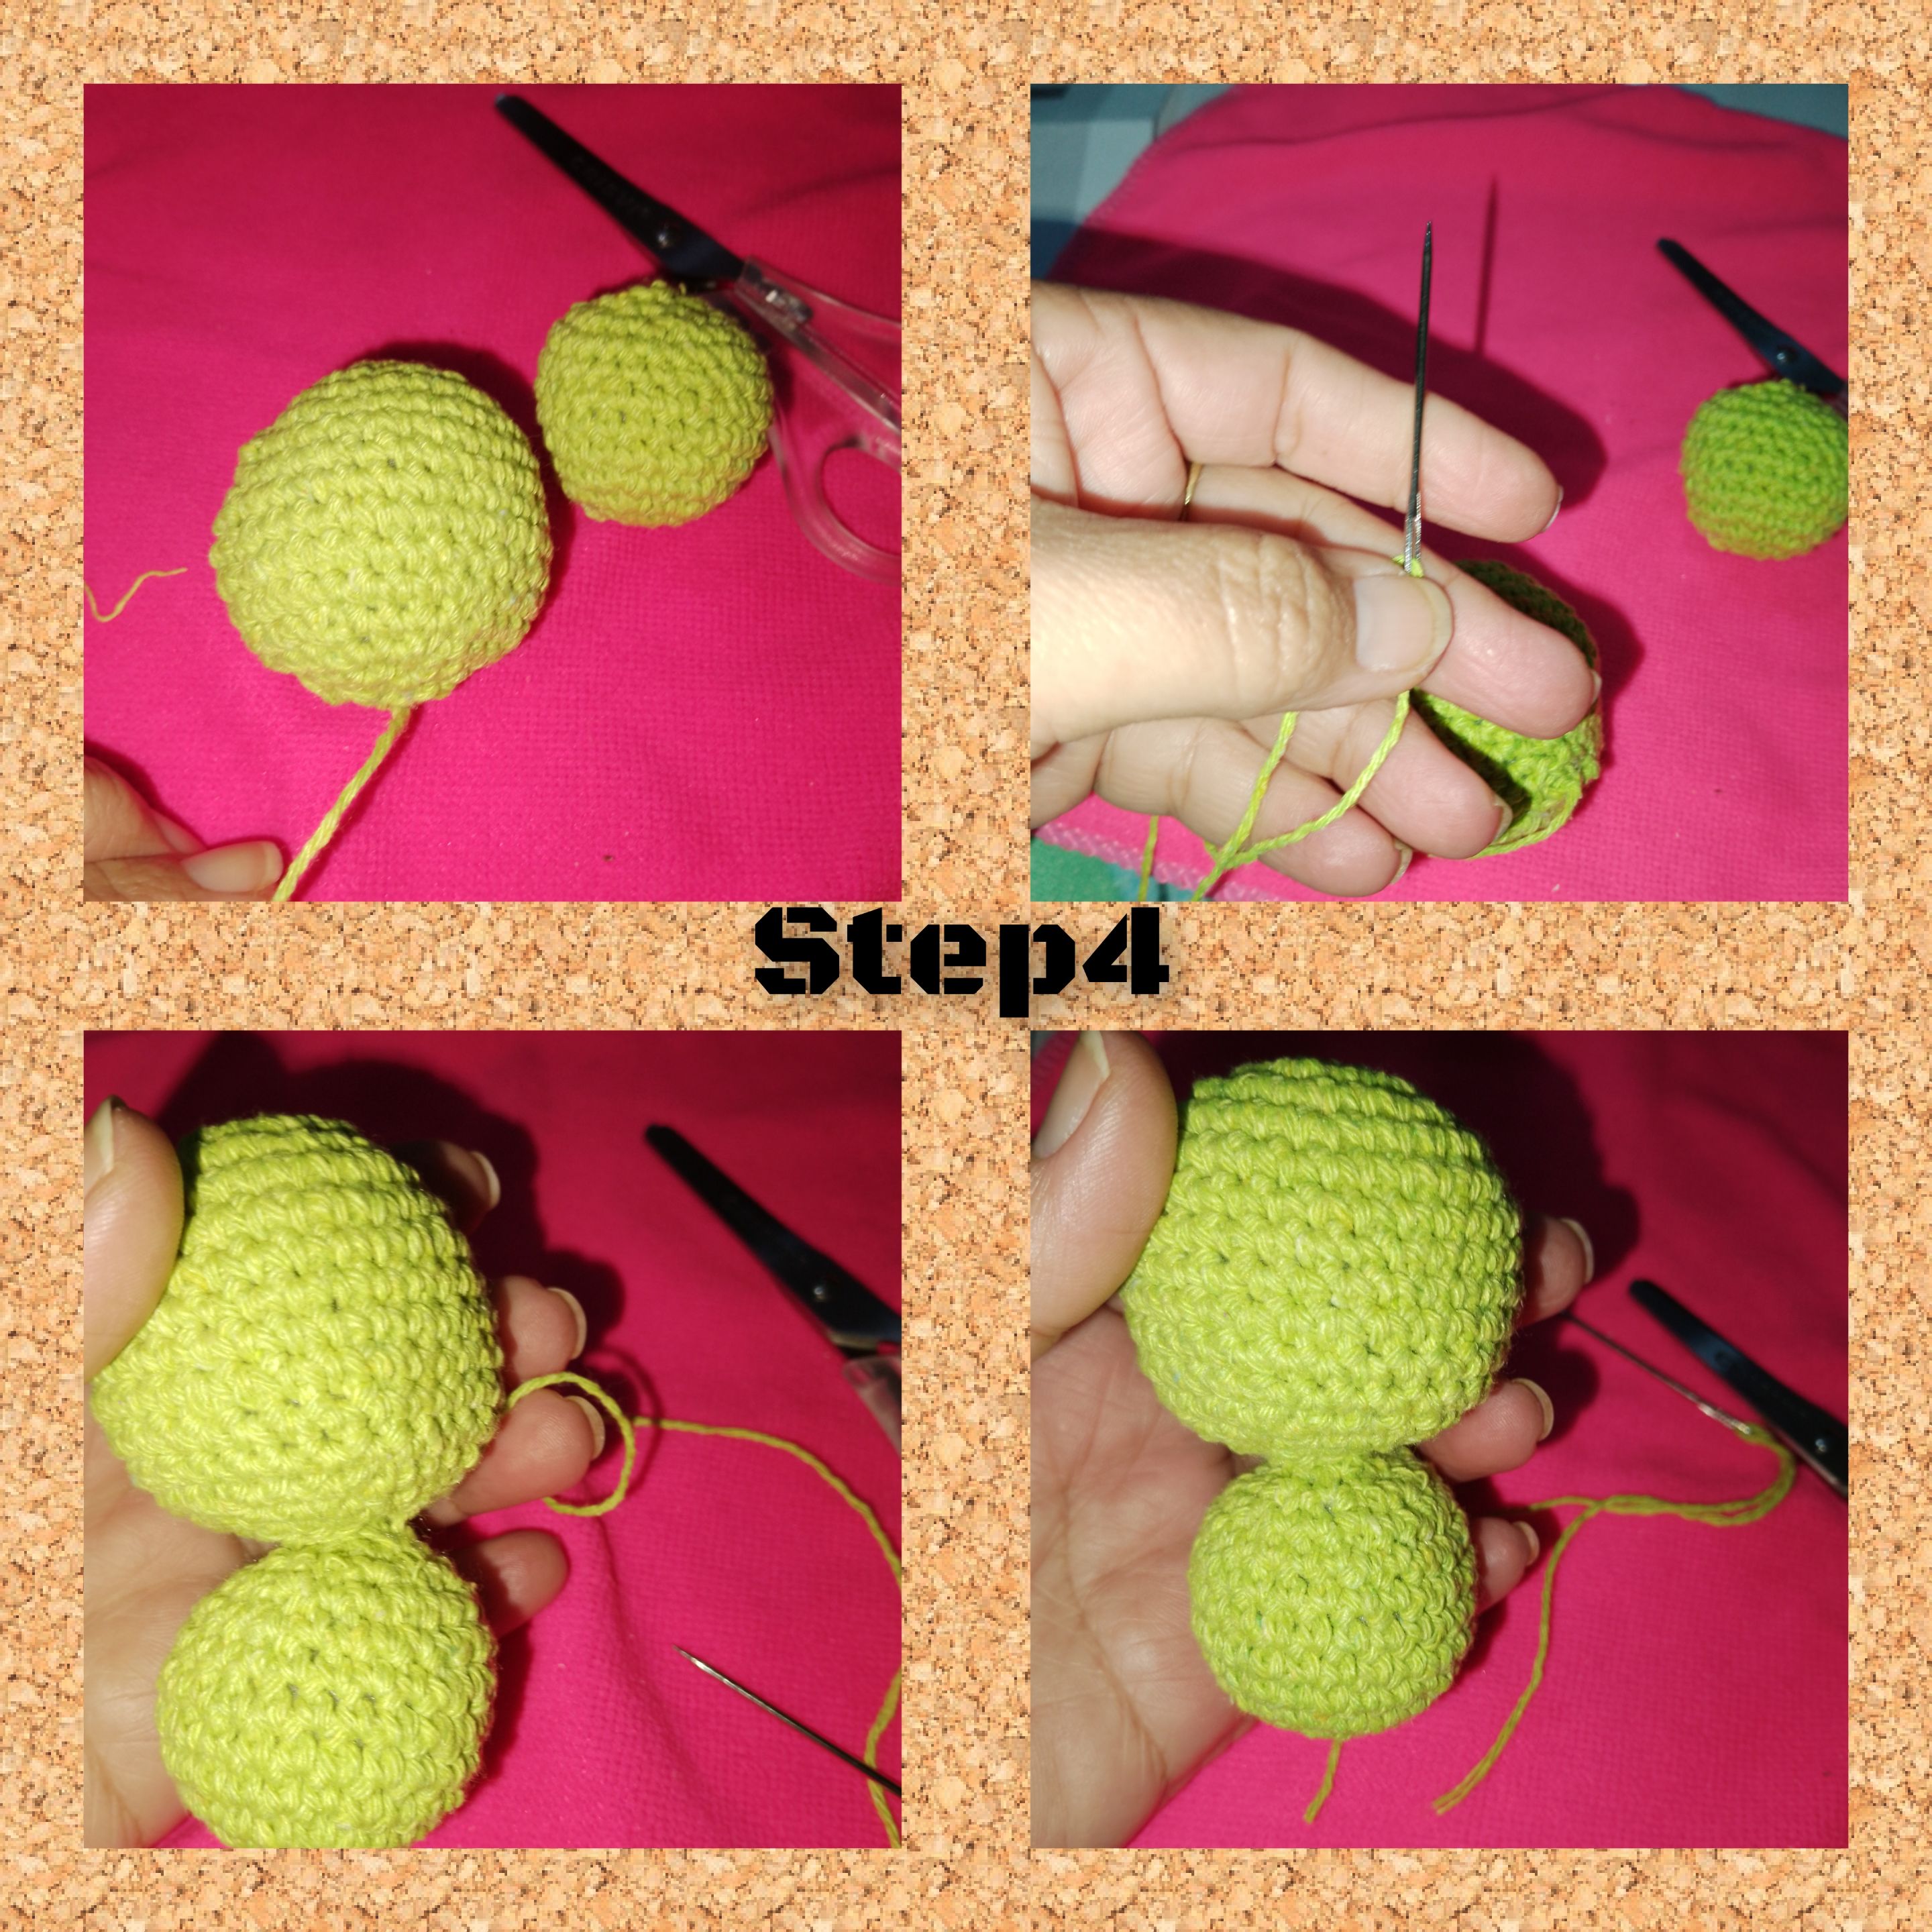
4.) list the spheres, in the strand of thread, which I left uncut, I place the wool needle, and stitching inside the spheres I glue them, then I finish off and cut the thread. I give some massages to both spheres, to harmonize their shape.
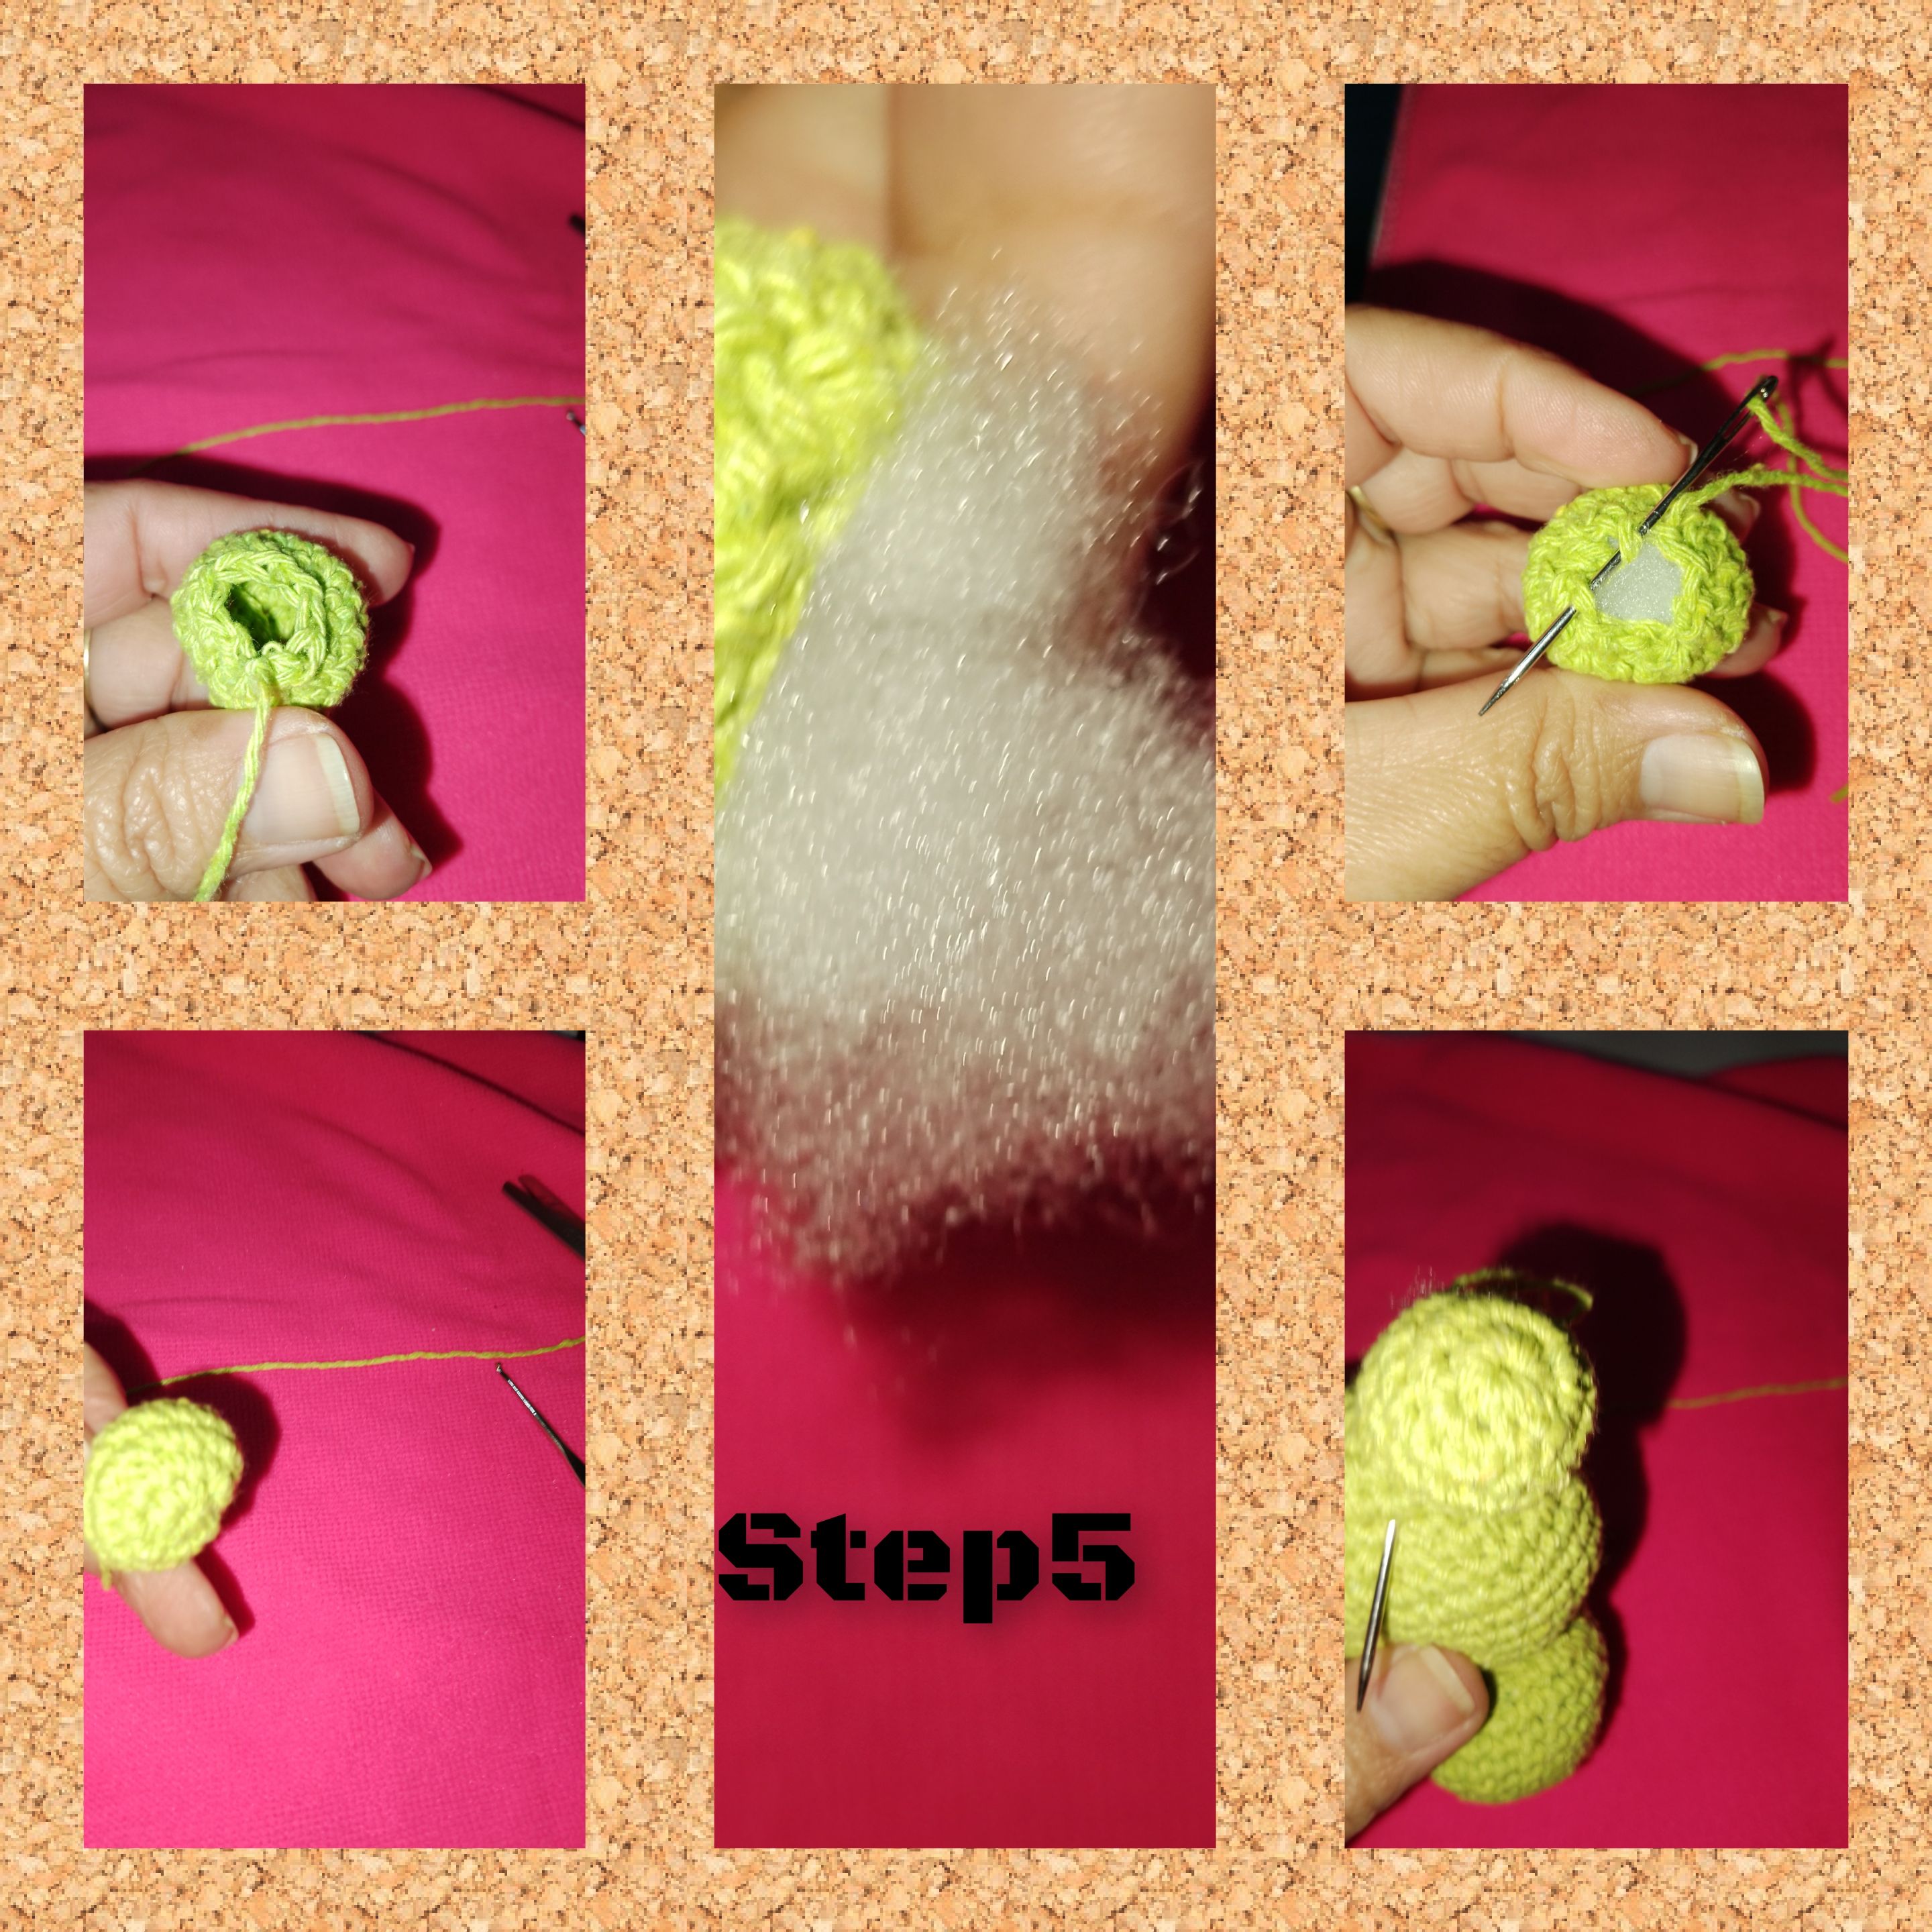
5.) with a magic ring, I start by knitting eight half stitches and close. For the next one I must make an increase in each half stitch, then I knit two rows, of 16 half stitches, then, from row number 5/12, I make decreases until close, but not without first filling. I leave a strand of thread, and jump, the wool needle and I start by gluing the first eye of the frog to the top of the head, I continue, repeat and knit thesecond eye
6.) In this step, I knit the smaller pieces, that is, the arms and legs, after knitting and filling, I glue, taking into account the distance between each side, so that they are uniform.
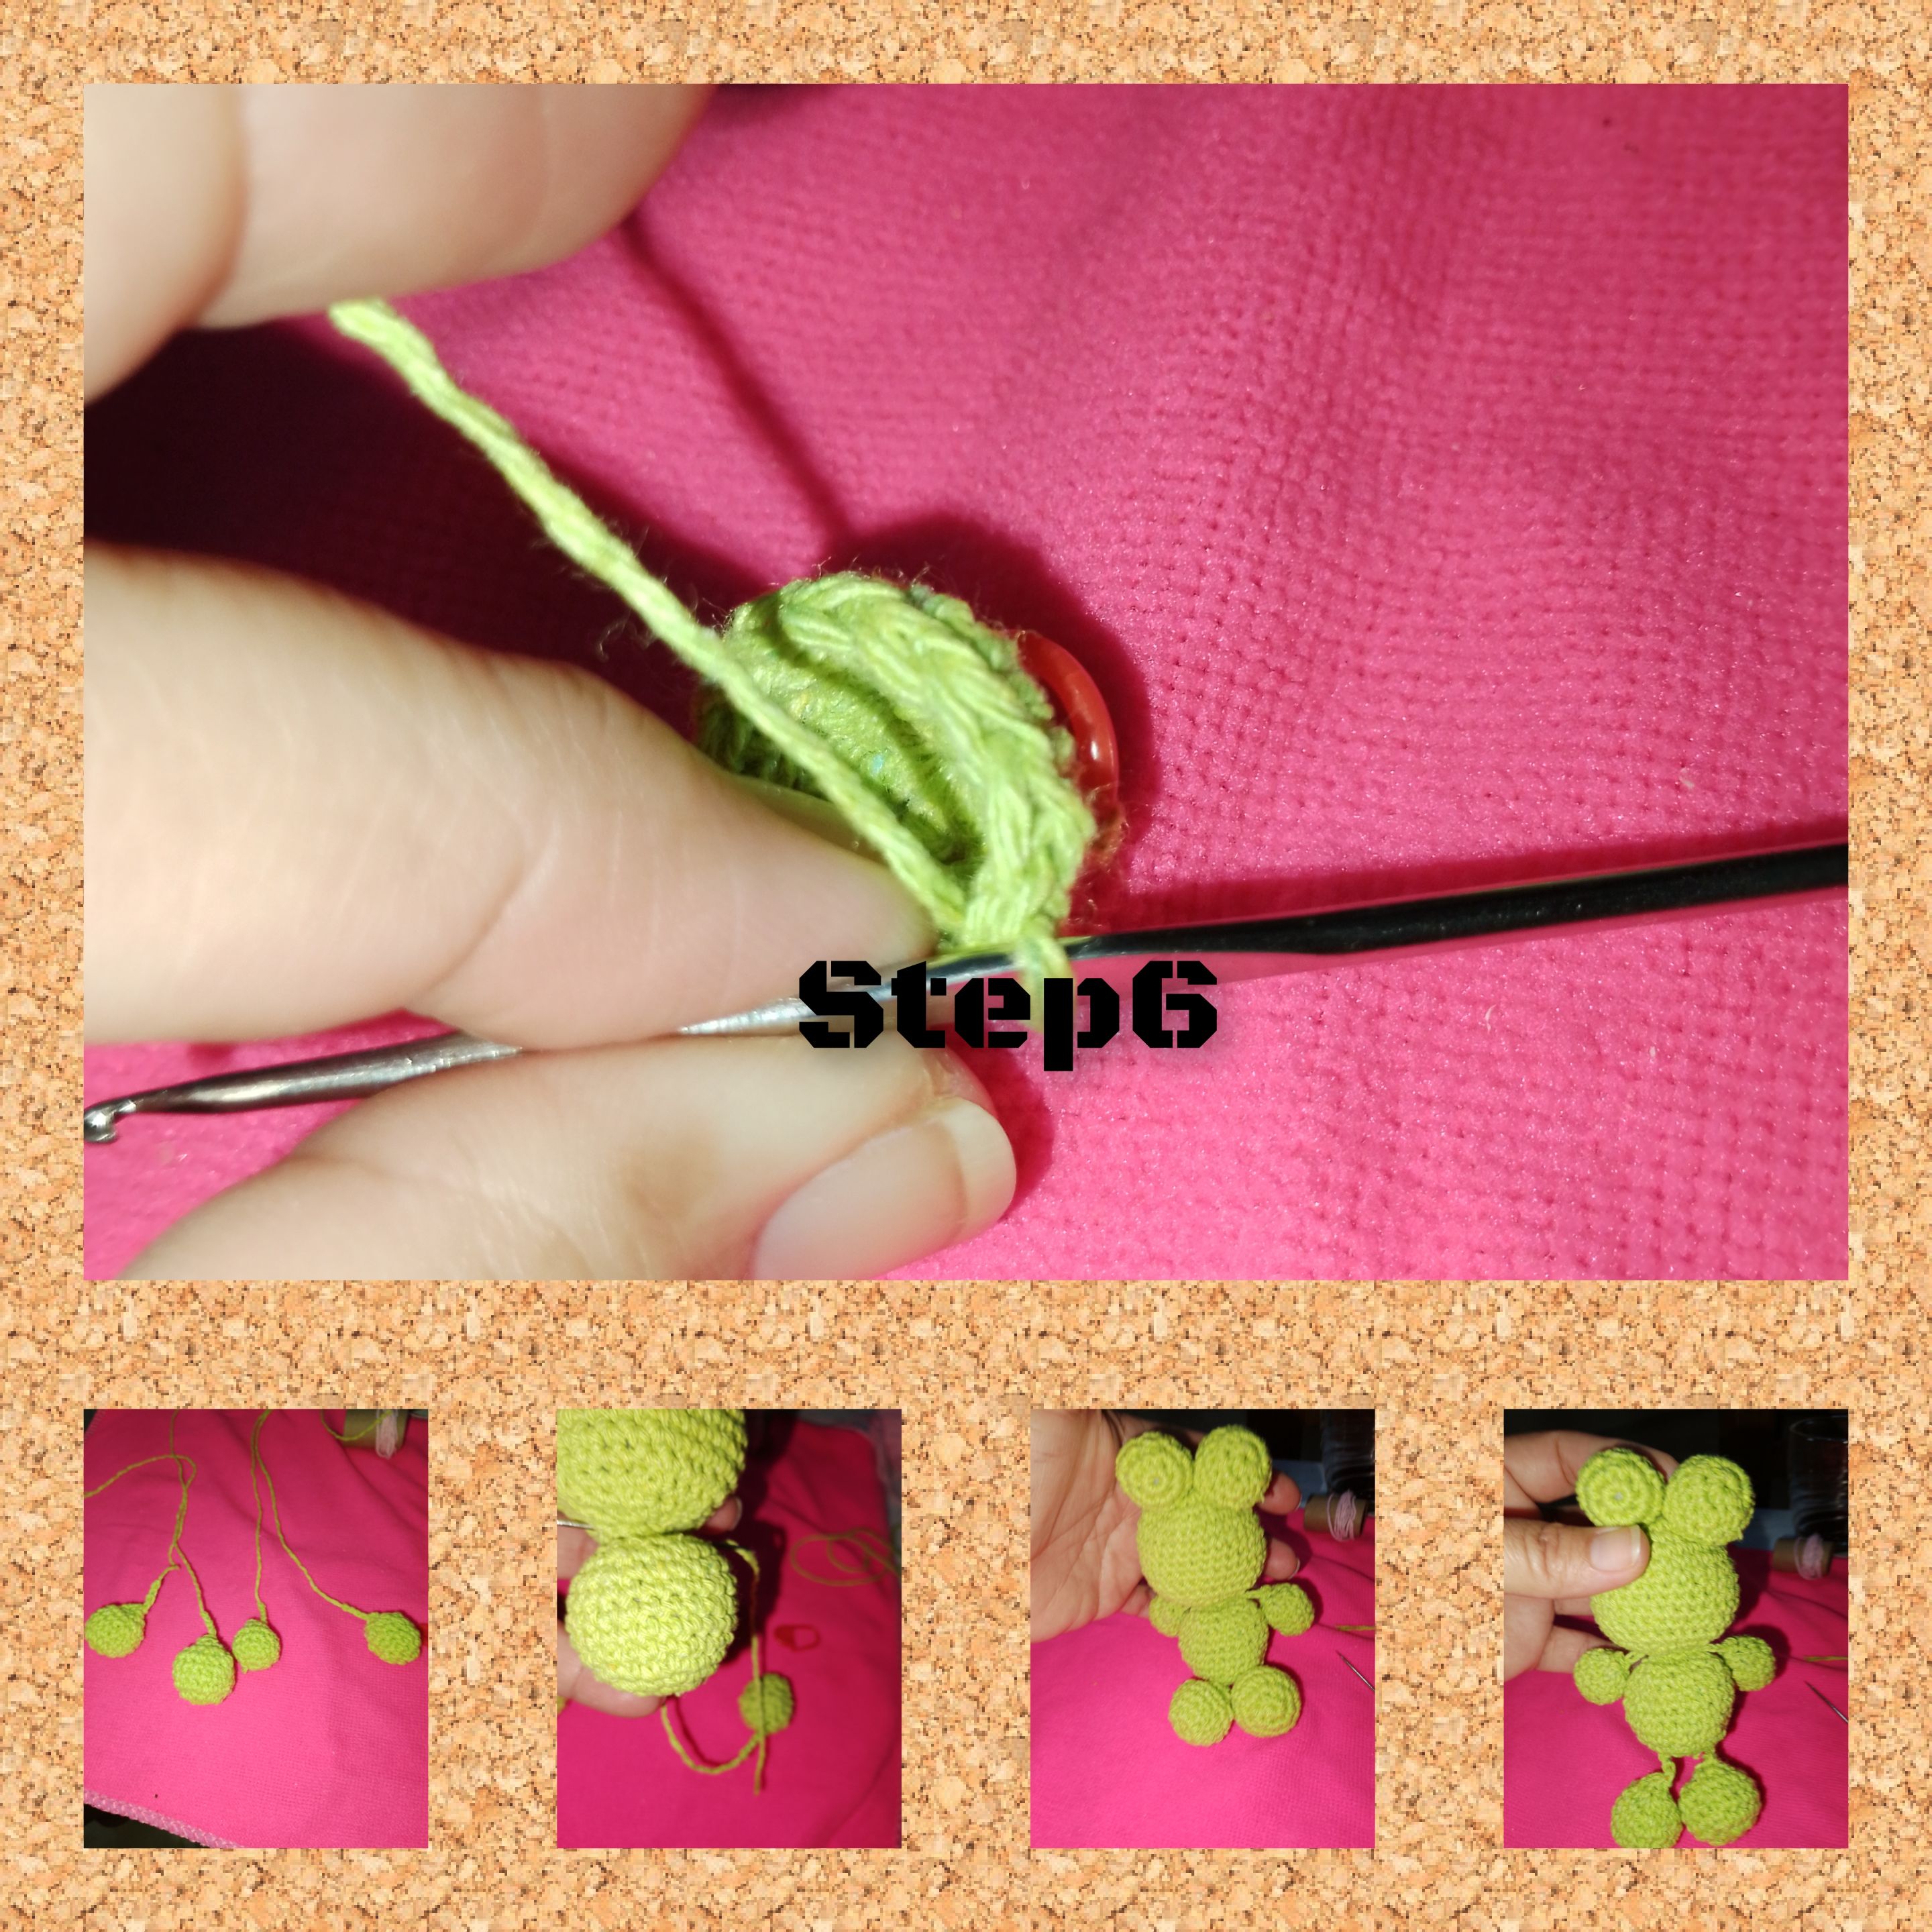
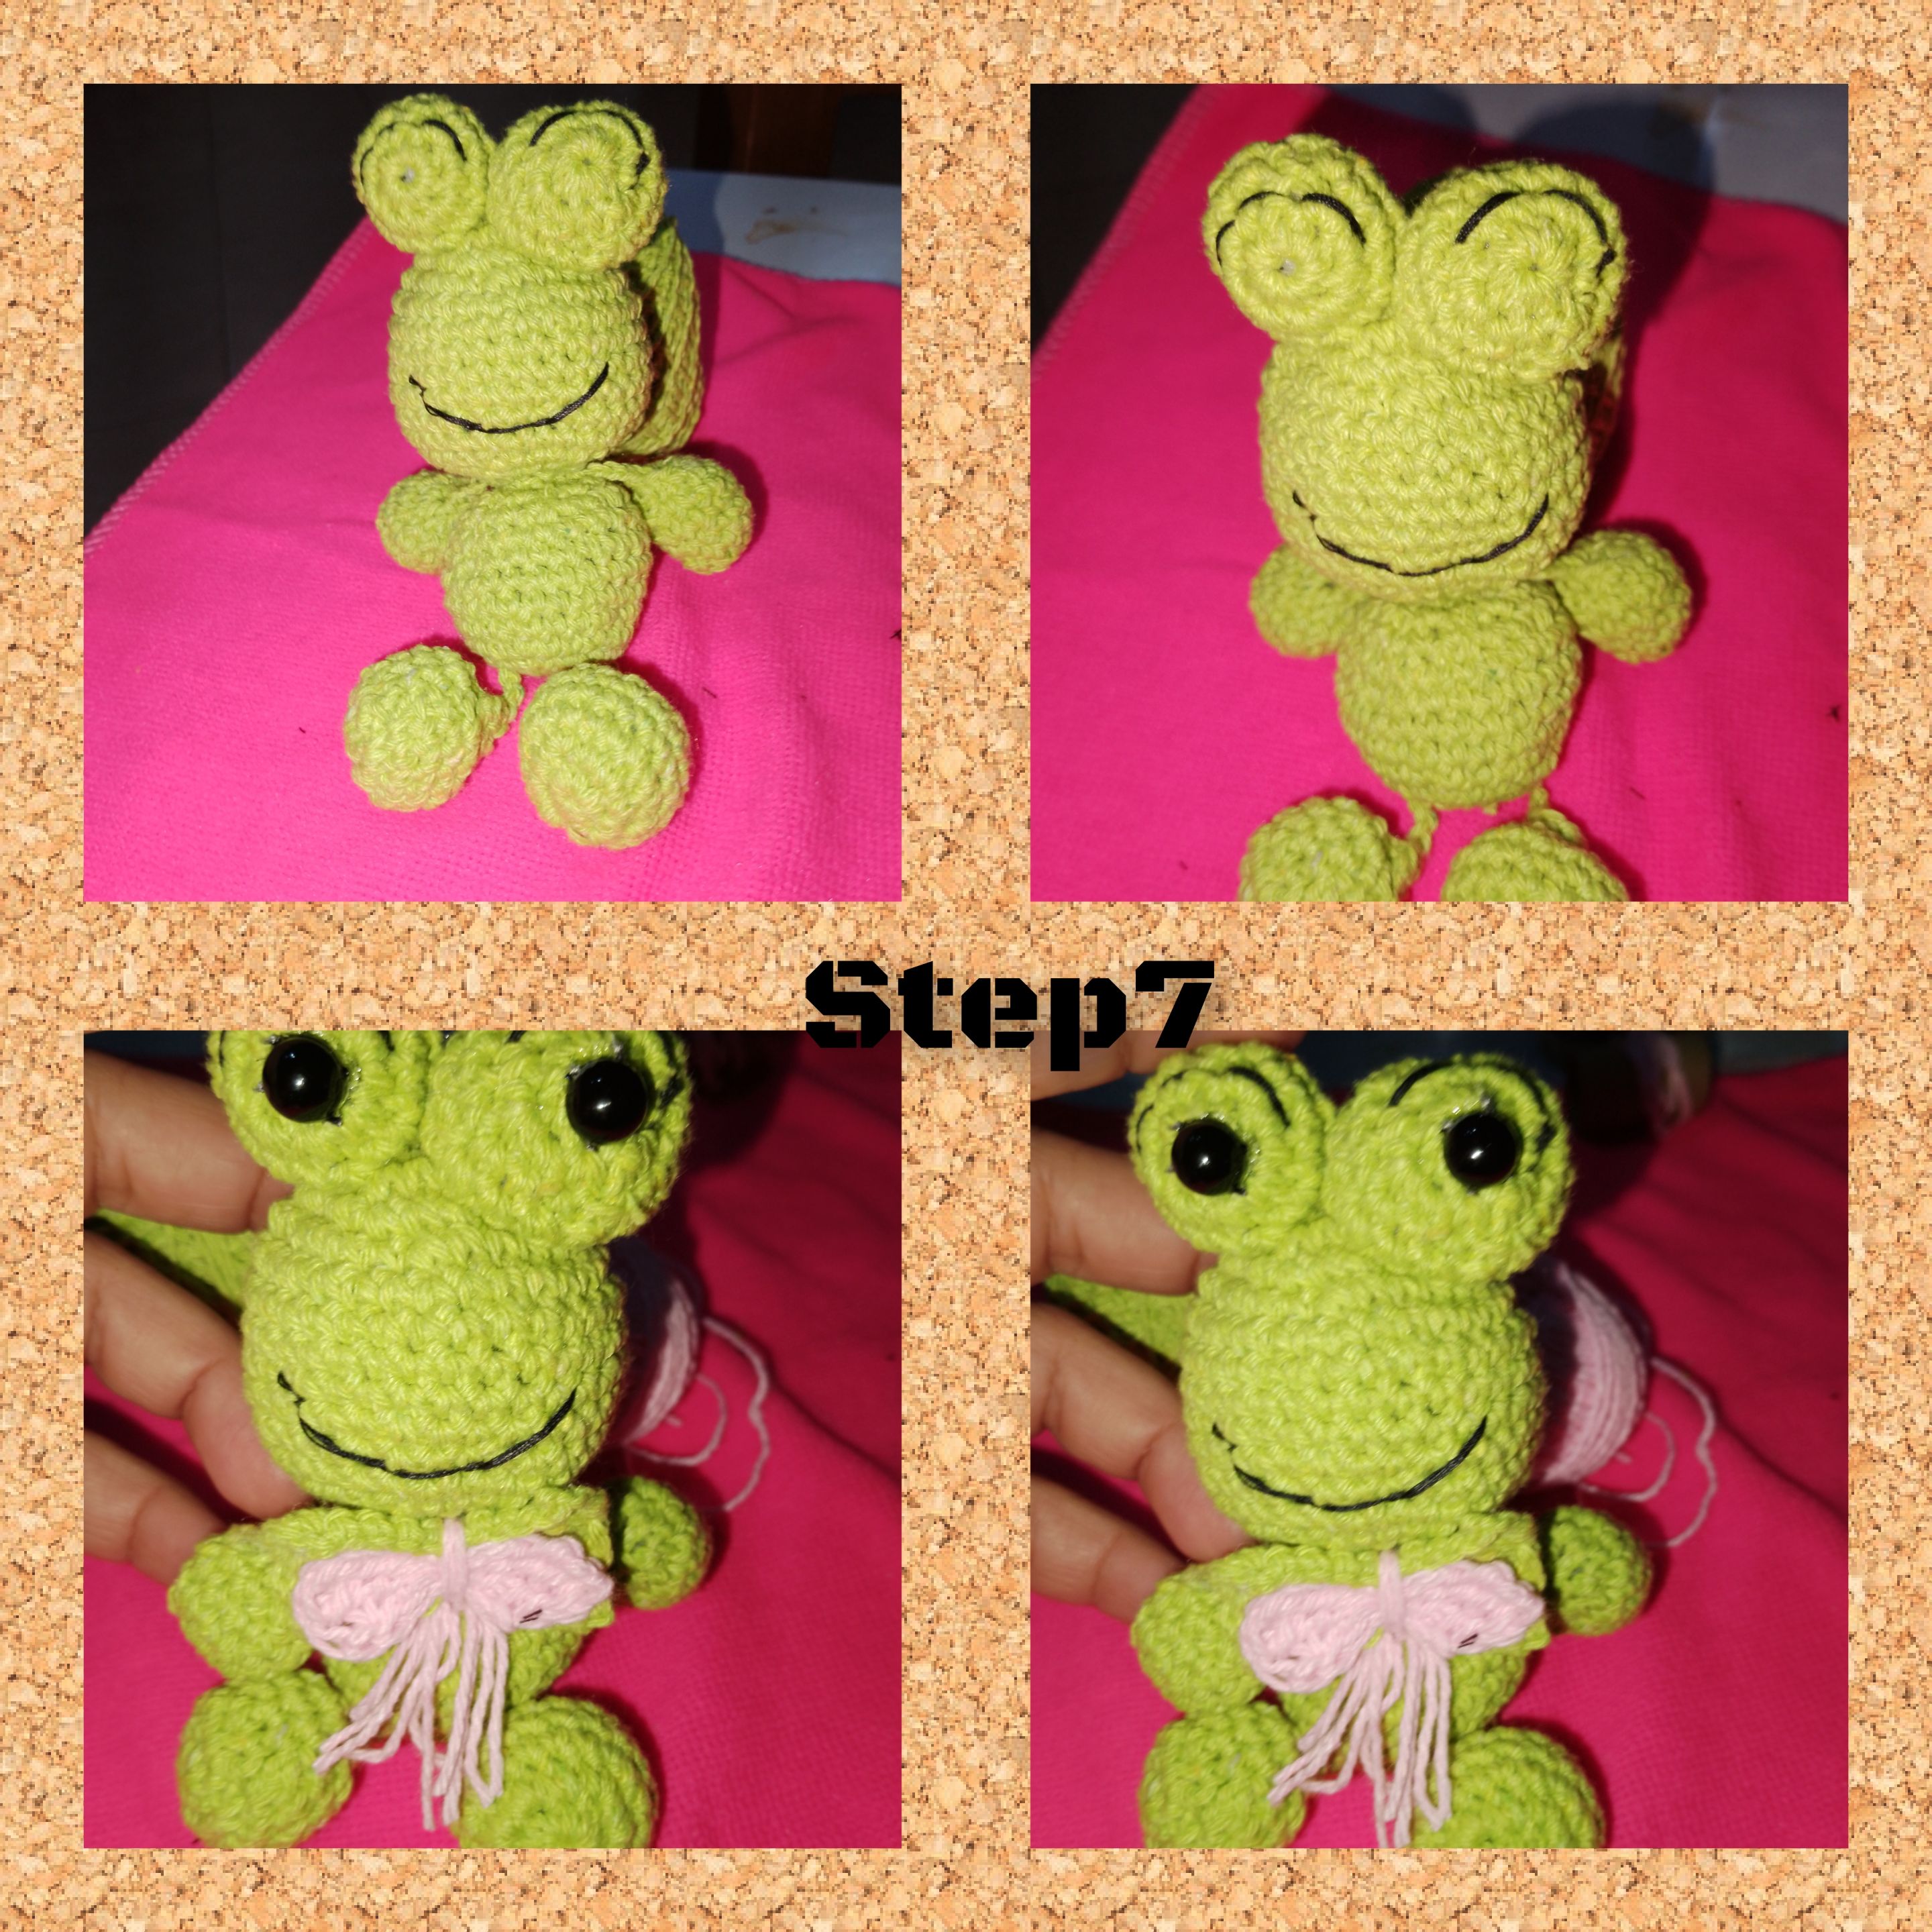
7.) Glued all the pieces, with the sewing needle and thread, I embroider the eyelids of the frog's eyes, and its very pronounced smile. Likewise, he applied a little glue and glued the eyes. To finish, I gathered several strands of pink thread and made a small bow, which I glued to the bottom of the head.
.All photos are my property, taken with my smartphone.
. Use incollage.
. Use language translator.
Grateful for following me until the end, it will be until the next opportunity.
(ESP)
Hola gente, creadora de esta comunidad @diyhub, me complace estar, con ustedes, espero se encuentren bien,y con muchas ganas de crear, cosas nuevas e innovadoras, hoy yo muy contenta, con el tejido en amigurumis, les muestro, como hice una linda Ranita, a quien llame, Adhita, está dulce y tierna ranita, es ideal para decorar la habitación de los más pequeños o porque no, para dar como regalo en algún cumpleaño. Les invito a seguirme, espero lo disfruten.
Materiales:
. Hilo para tejer, color verde claro.
. Aguja para tejer.
. Hilo pabilo color rosado.
. Dos medias piedras color negra, n4.
. Pegamento líquido.
. Aguja e hilo para coser, de color negro.
. Relleno.
. Aguja lanera
. Tijeras.
Pasos:
1.) en un anillo mágico, tejo 6 medios puntos, cierro el anillo, con punto deslizado, en la siguiente vuelta, tejere seis aumento, par o tener 12 puntos,cierro con punto deslizado. Continuo, para vuelta n3, luego de medio punto, hago un aumento, par un total de (18 o), para la vuelta n4, luego de dos puntos bajos, hago un aumento, para ( 24 puntos). Mientras que para la n5, haré luego de tres medios puntos un aumento, par un total de (30puntos). Continuo, tejiendo seis vueltas consecutivas, de (30puntos)
Para que el tejido valla, tomando forma de esfera,
2.) logrado la altura, necesaria de la esfera en su vuelta número 12, comienzo a hacer las disminuciones, esta vuelta, haré una disminución, luego de tres medios puntos, en la siguiente, luego de dos medios puntos y en l tercer luego de un medios puntos, relleno la esfera y cierro. Al cerrar, dejo un largo considerable de hilo de tejer. Está esfera es la de mayor tamaño, y la cabeza de la Ranita Adhita.
3.) dispuesta, emprendo el tejido, hago un anillo mágico y seis medios puntos, cierro el anillo.lansiguiente vuelta, hago seis aumentos,para un total de (12puntos), la siguiente luego de un punto bajo, un aumento, y en la cuarta vuelta, un aumento luego de dos puntos bajos, para (24 puntos), de la vuelta cinco a la ocho, tejere puntos bajos. Muy parecido a la esfera anterior, está será de menor tamaño, para el cuerpo. Logrado, el alto en la vuelta número ocho, comienzo a hacer disminuciones, y antes de cerrar, coloco el relleno dentro de la esfera y cierro.
4.) lista las esferas, en la hebra de hilo, que deje sin cortar, coloco la aguja lanera, y dando puntadas dentro de las esferas las pego, luego remato y corto el hilo. Doy algunos masajes a ambas esferas, para armonizar su forma.
5.) con un anillo mágico, comienzo tejiendo ocho medios puntos y cierro, Par la siguiente debo hacer un aumento en cada medio punto,seguidamente, tejo dos vueltas, de 16 medios puntos, seguidamente, desde la vuelta número 5/12, hago disminuciones hasta cerrar, pero no sin antes rellenar. Dejo una hebra de hilo, y en salto, la aguja lanera y comienzo pegando en la parte superior de la cabeza el primer ojo, de la rana, continuo, repito y tejo el segundo ojo.
6.) en este,paso, tejo las piezas mas pequeñas, es decir, los brazos y las piernas, luego de tejer y rellenar, pego, teniendo en cuenta la distancia entre cada lado, para que queden de manera uniforme.
7.) pegada, todas las piezas, con el hilo y aguja, de coser, bordo los párpados de los ojos de la rana, y su muy pronunciada sonrisa. Así mismo aplicó un poco de pegamento y pego los ojos. Para finalizar, acon varias hebras de el hilo color rosado y armó un pequeño lazo, a quien pego en la parte inferior de la cabeza.
.Todas las fotos son de mí propiedad, tomadas con mí teléfono inteligente.
. Use incollage.
. Use traductor lenguaje.
Agradecida me hayas seguido hasta el final, será hasta Aúna próxima oportunidad.i