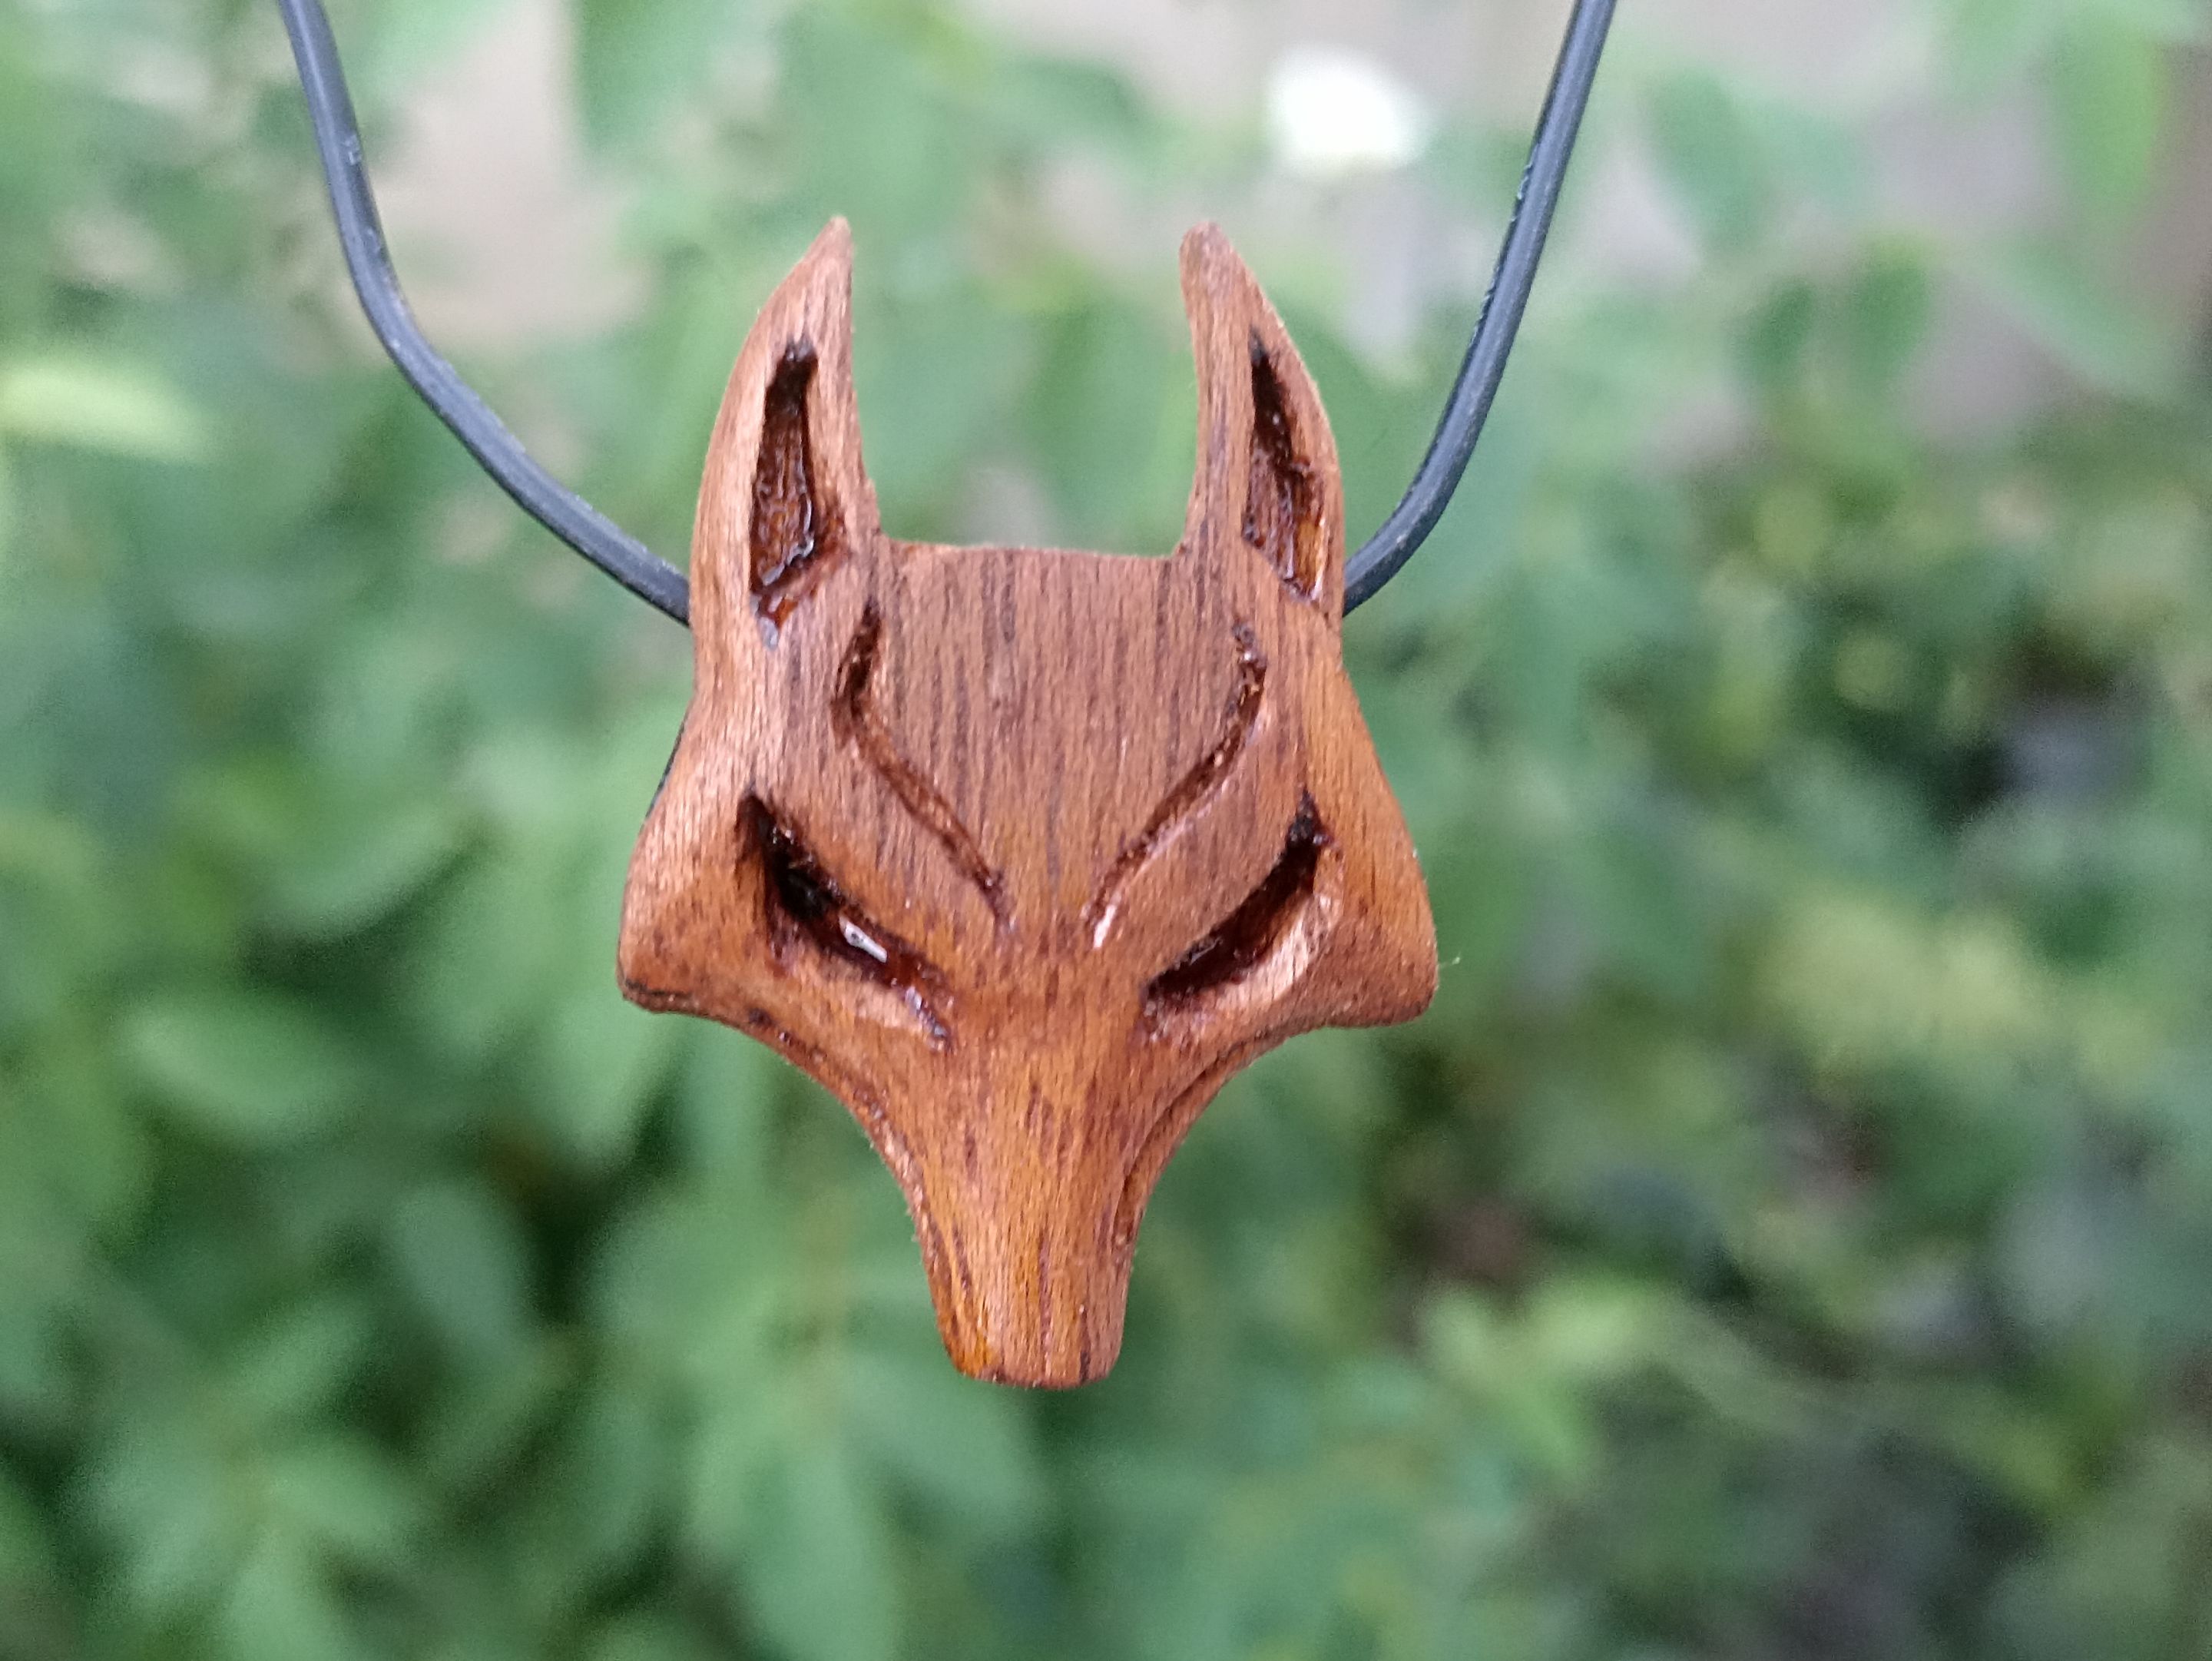
Hello friends, I hope you are well, I come here to share with you my participation for the 315 Splinterlands contest, on this occasion I have made a necklace with wood carving taking as reference the character called Razorhound, I really liked the design it has, I think it looks great, so I thought that its face carved in wood would look very good. To do it, I used a piece of mahogany wood, which is reddish in color and helped me with my new work tools. I leave the process here briefly step by step and I hope you like it.
Hola amigos, espero que se encuentren muy bien, vengo por aqui para compartir con ustedes mi participación para el concurso 315 de Splinterlands, en esta oportunidad he realizado un collar con tallado en madera tomando como referencia al personaje llamado Razorhound, me ha gustado mucho el diseño que tiene, opino que se ve genial, asi que pense que se veria muy bien su rostro tallado en madera. Para hacerlo utilicé un trozo de madera caoba, que es color rojizo y me ayude con mis nuevas herramientas de trabajo, dejo aqui el proceso brevemente paso a paso y espero les guste.

 |  | |
|---|---|---|
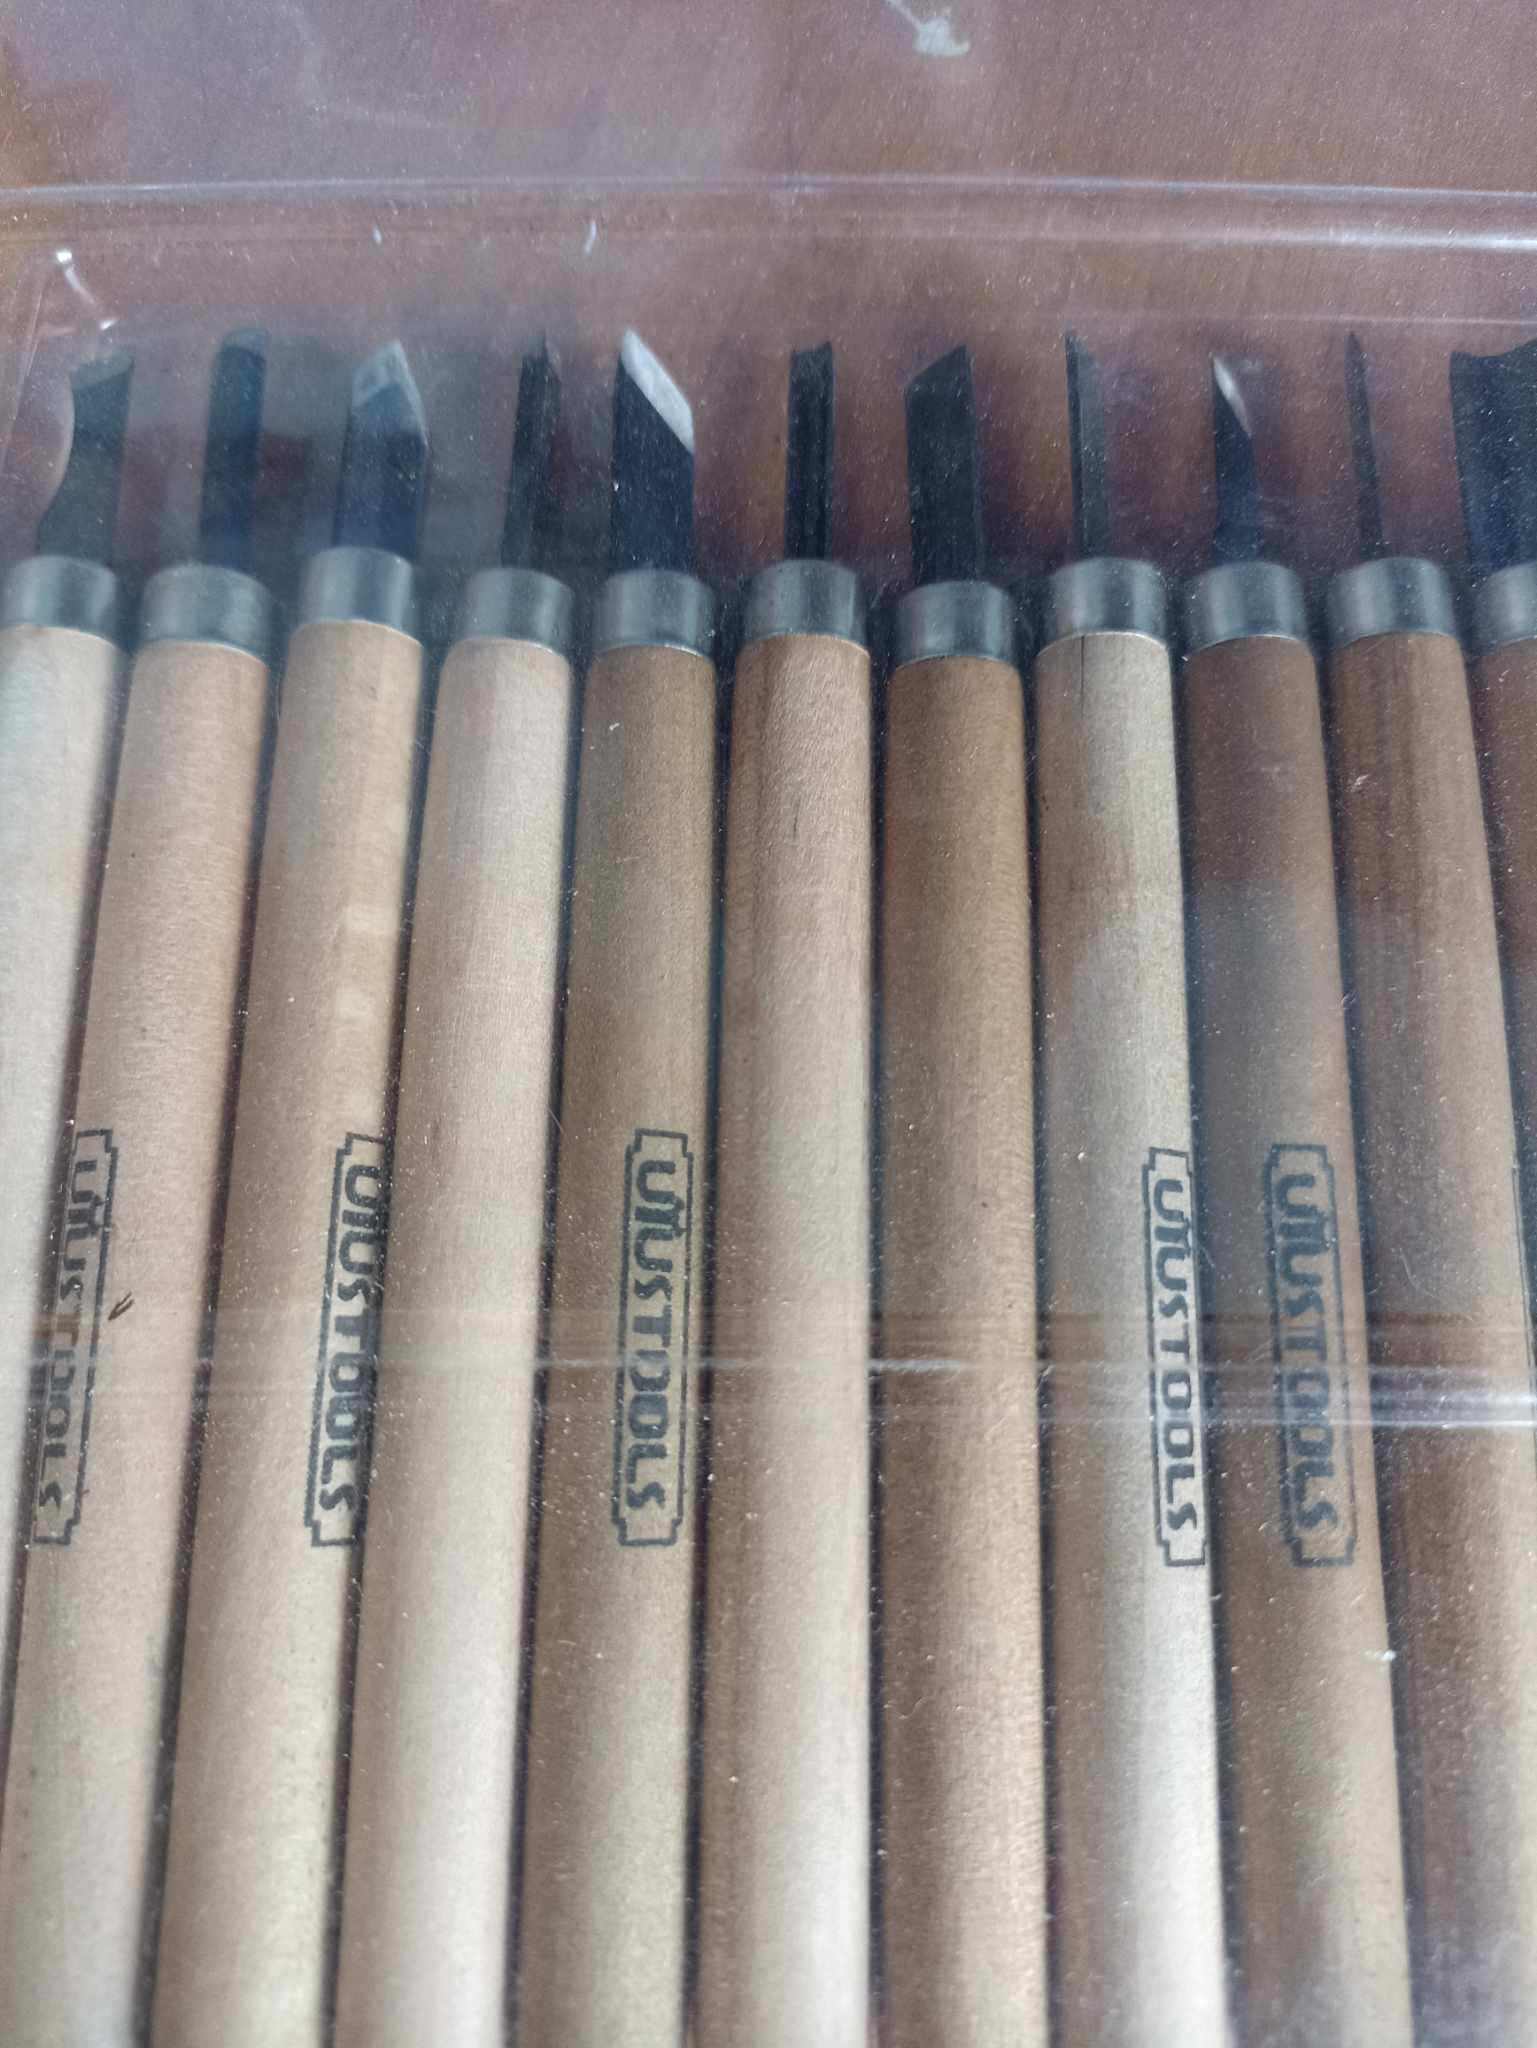 |  |
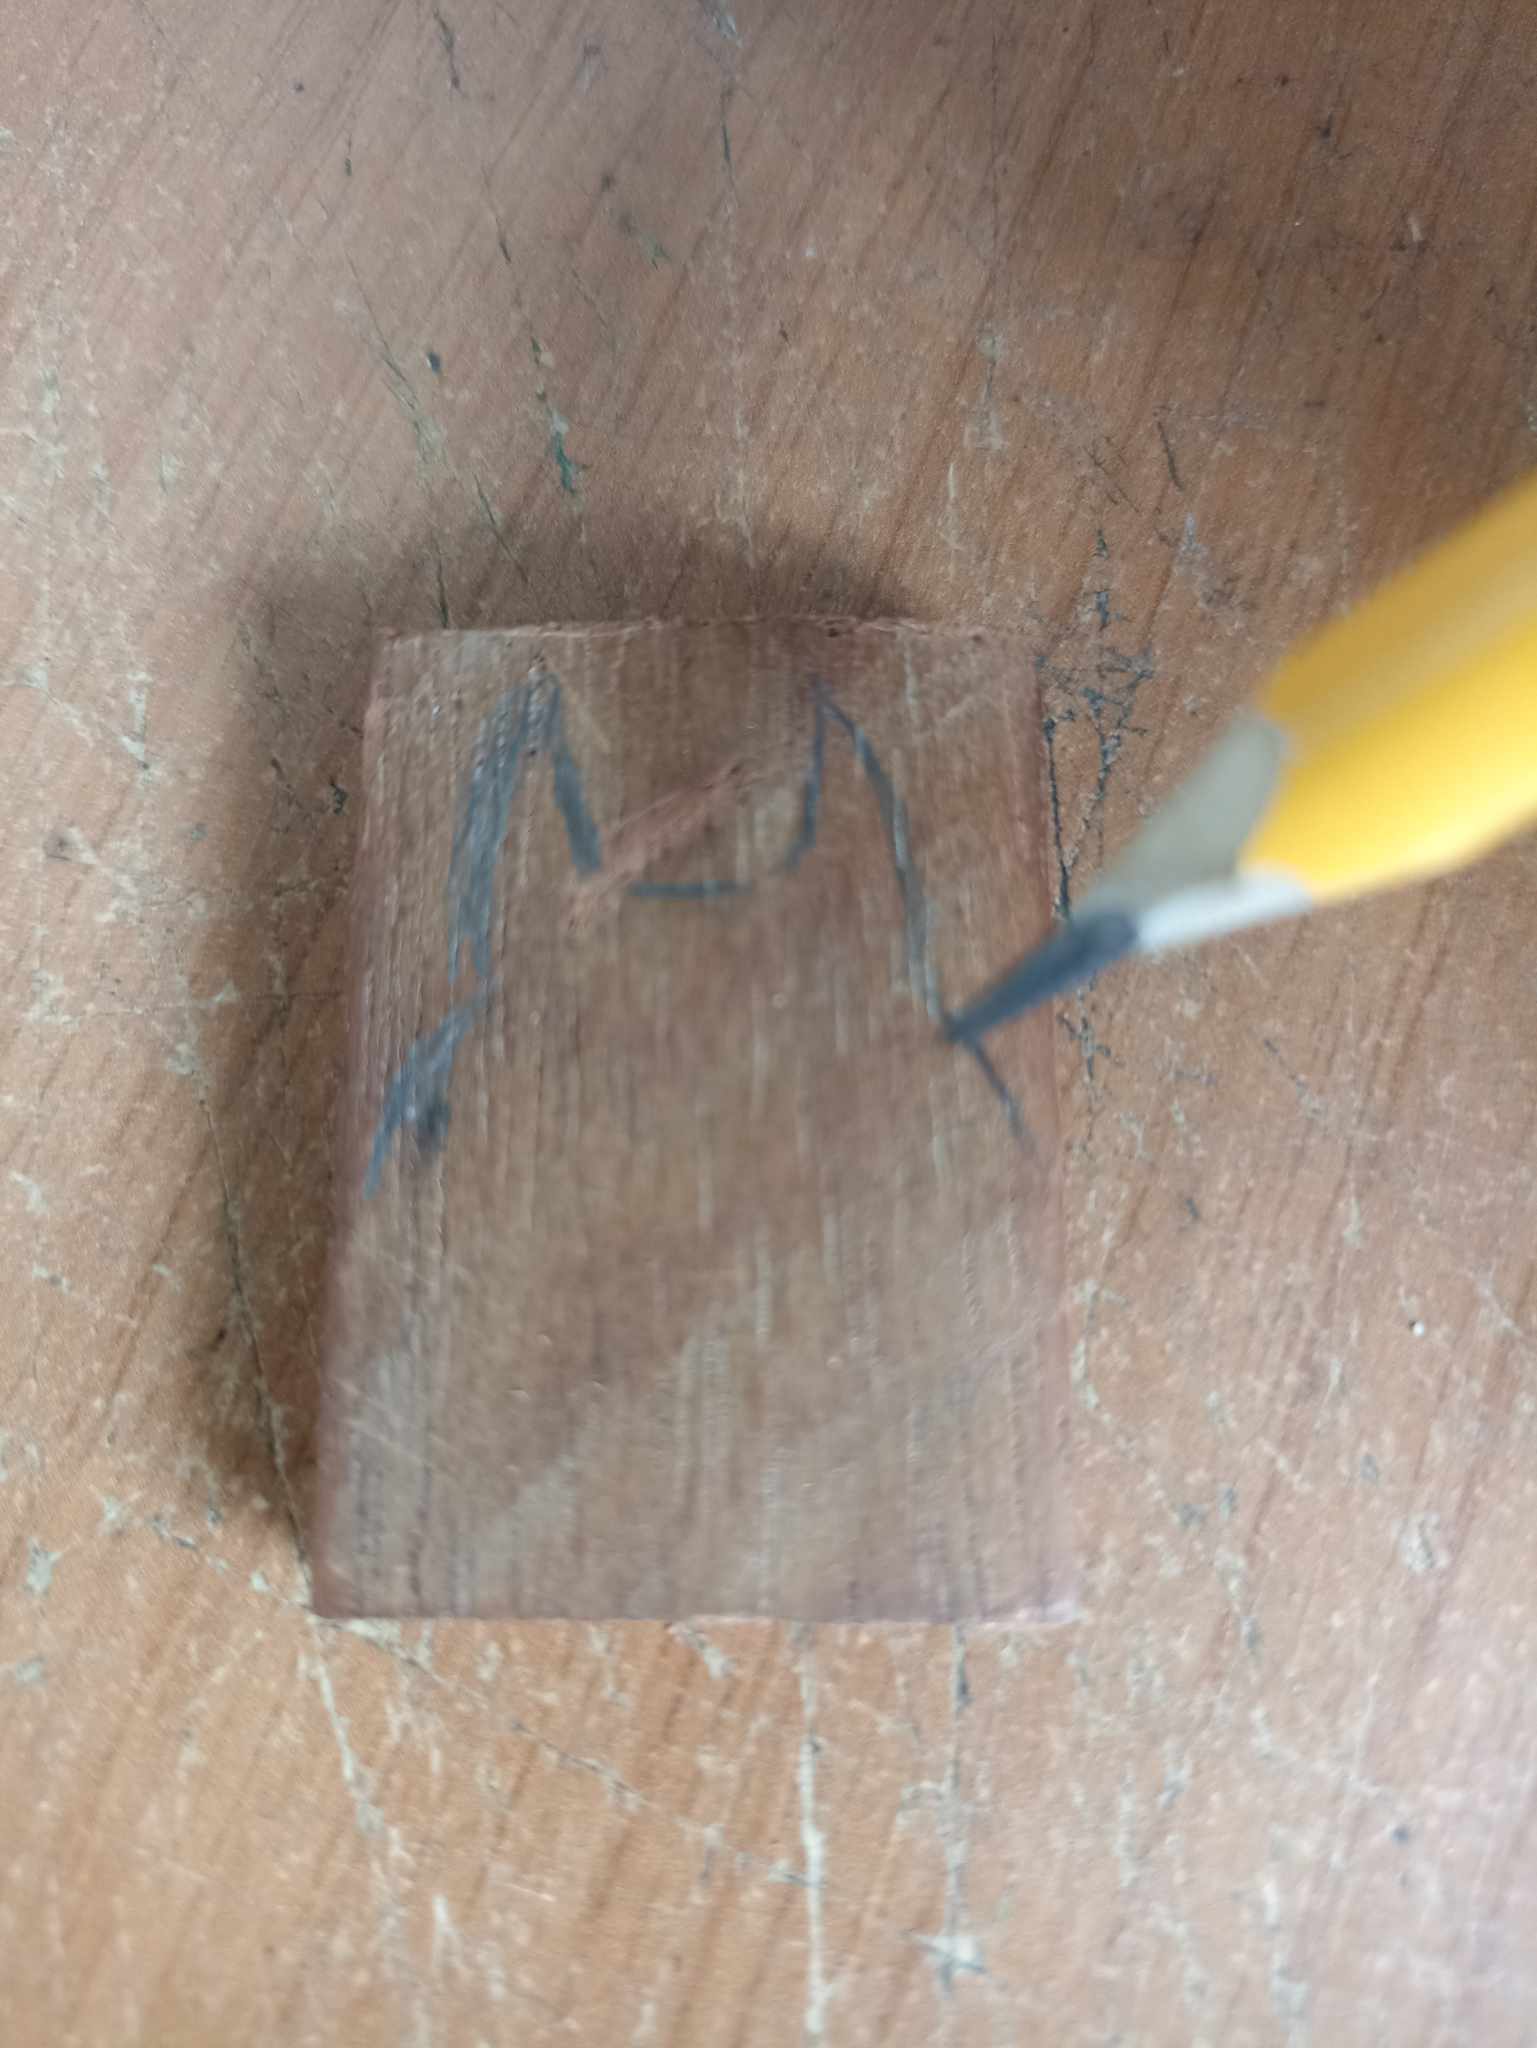
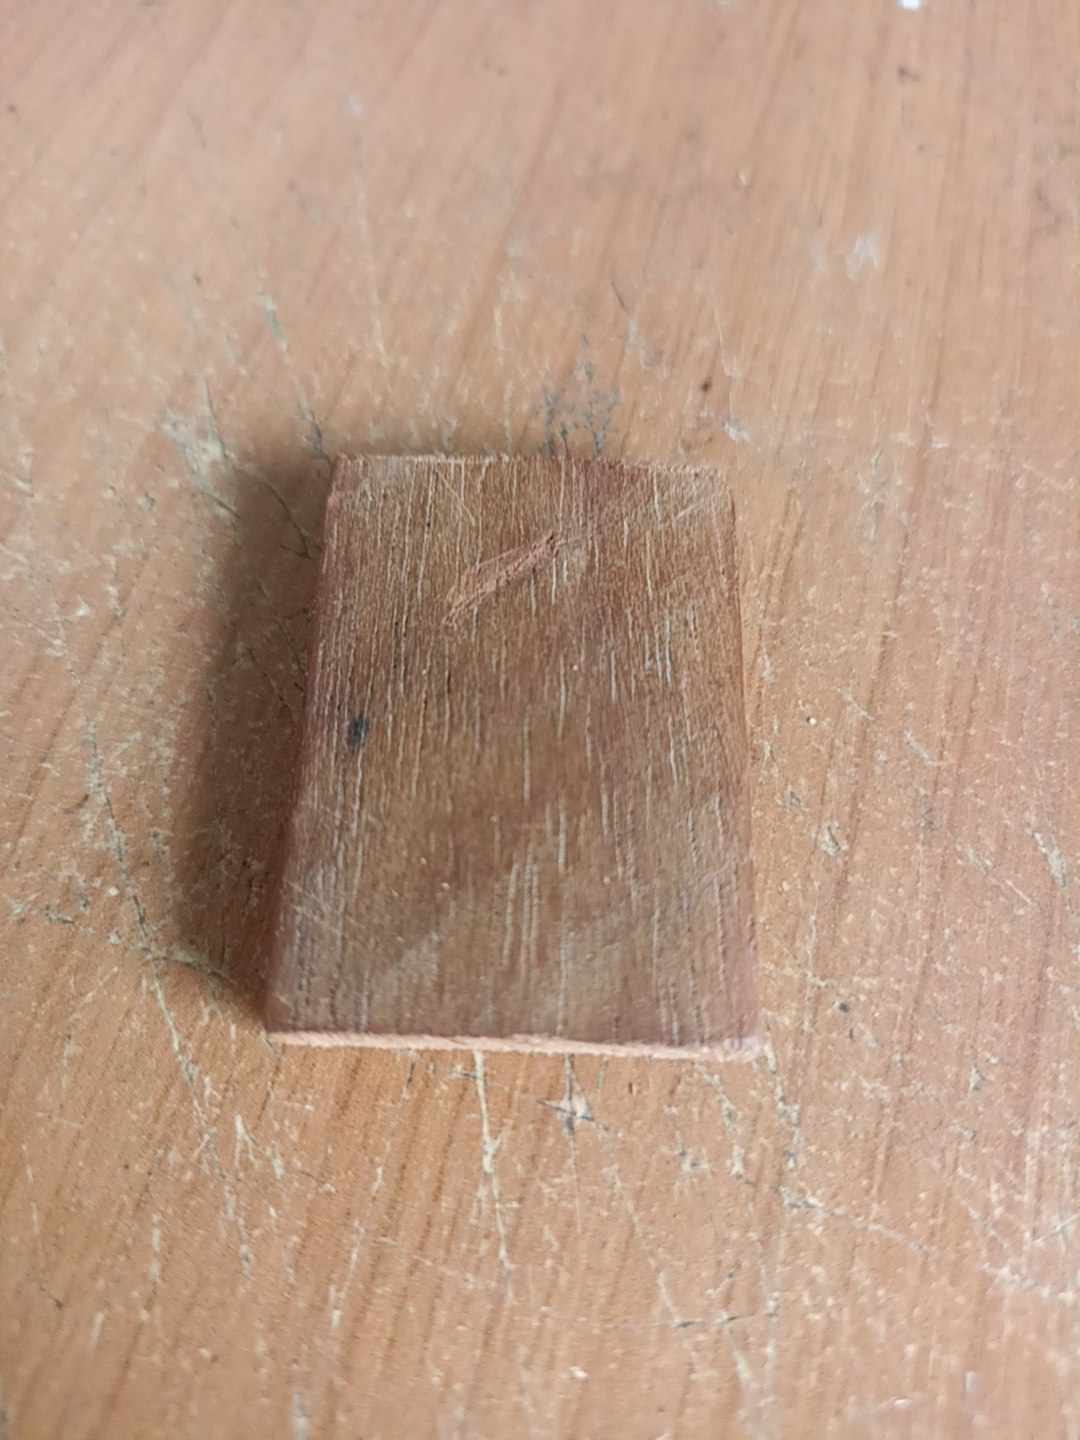
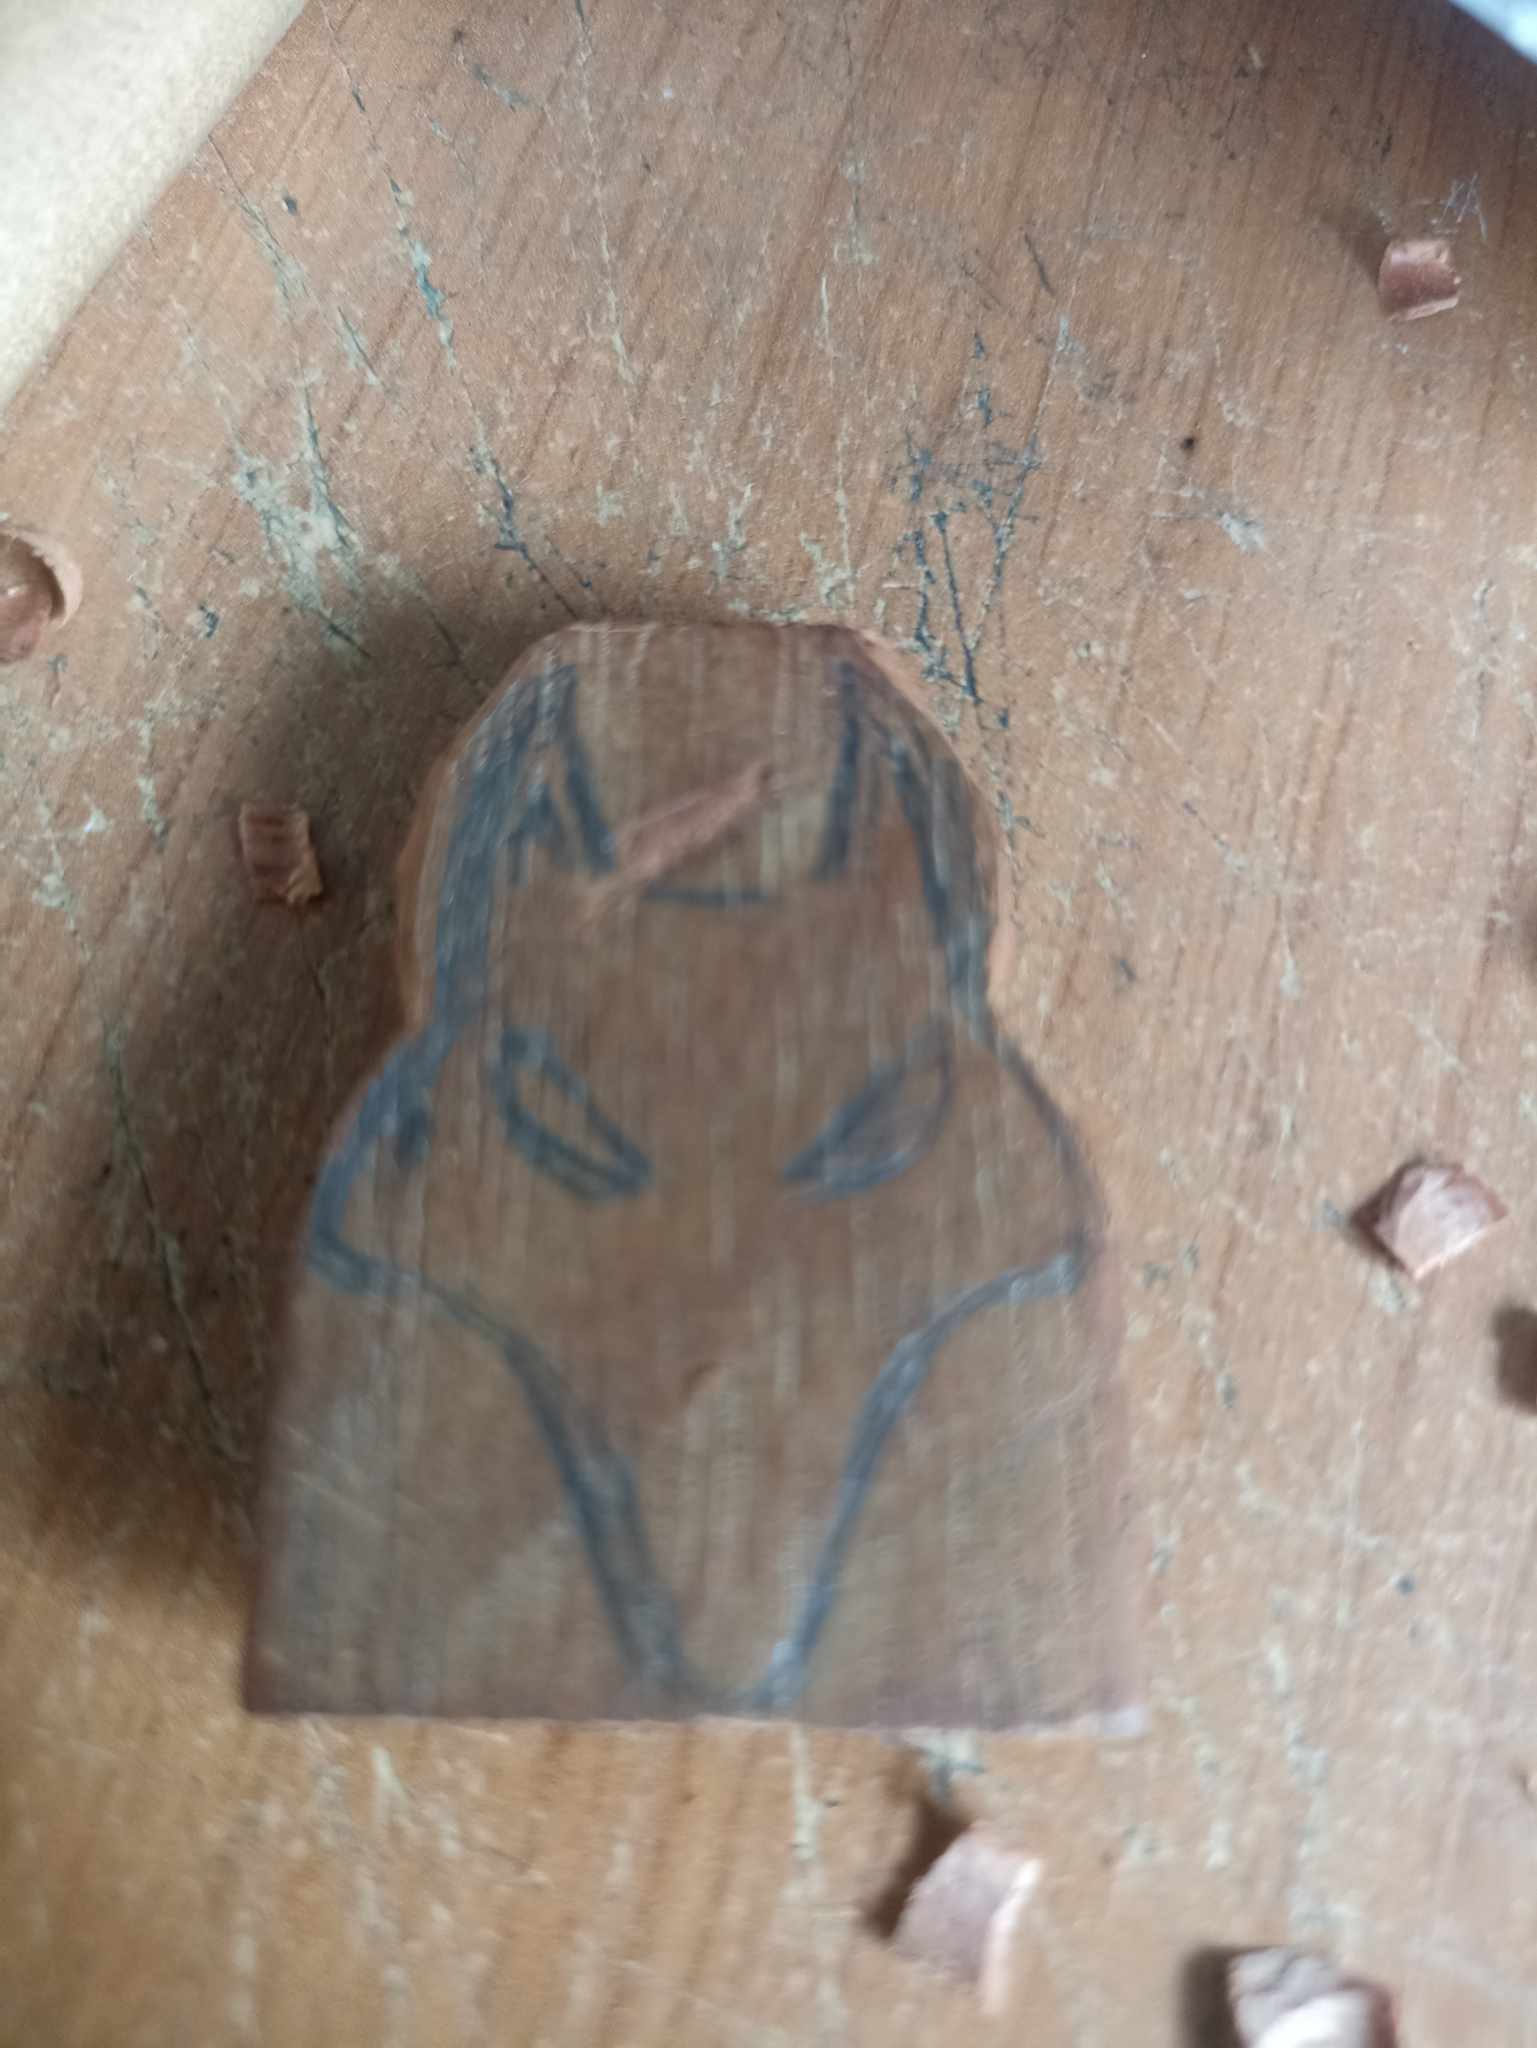
I took a piece of mahogany wood which is very soft to make wood carvings, which I have very little left so I took advantage of it for this occasion. I drew the silhouette of a wolf on it and then began to carve it little by little. To do so, I used this set of very useful tools for small pieces.
Tomé un trozo de madera caoba la cual es muy suave para hacer tallados de madera, la cual ya me queda muy poco así que la aproveché para esta ocasión. Dibujé sobre ella la silueta de un lobo para posteriormente comenzar a tallarlo poco a poco, para hacerlo he utilizado este set de herramientas muy útiles para piezas pequeñas.
 |  | |
|---|---|---|
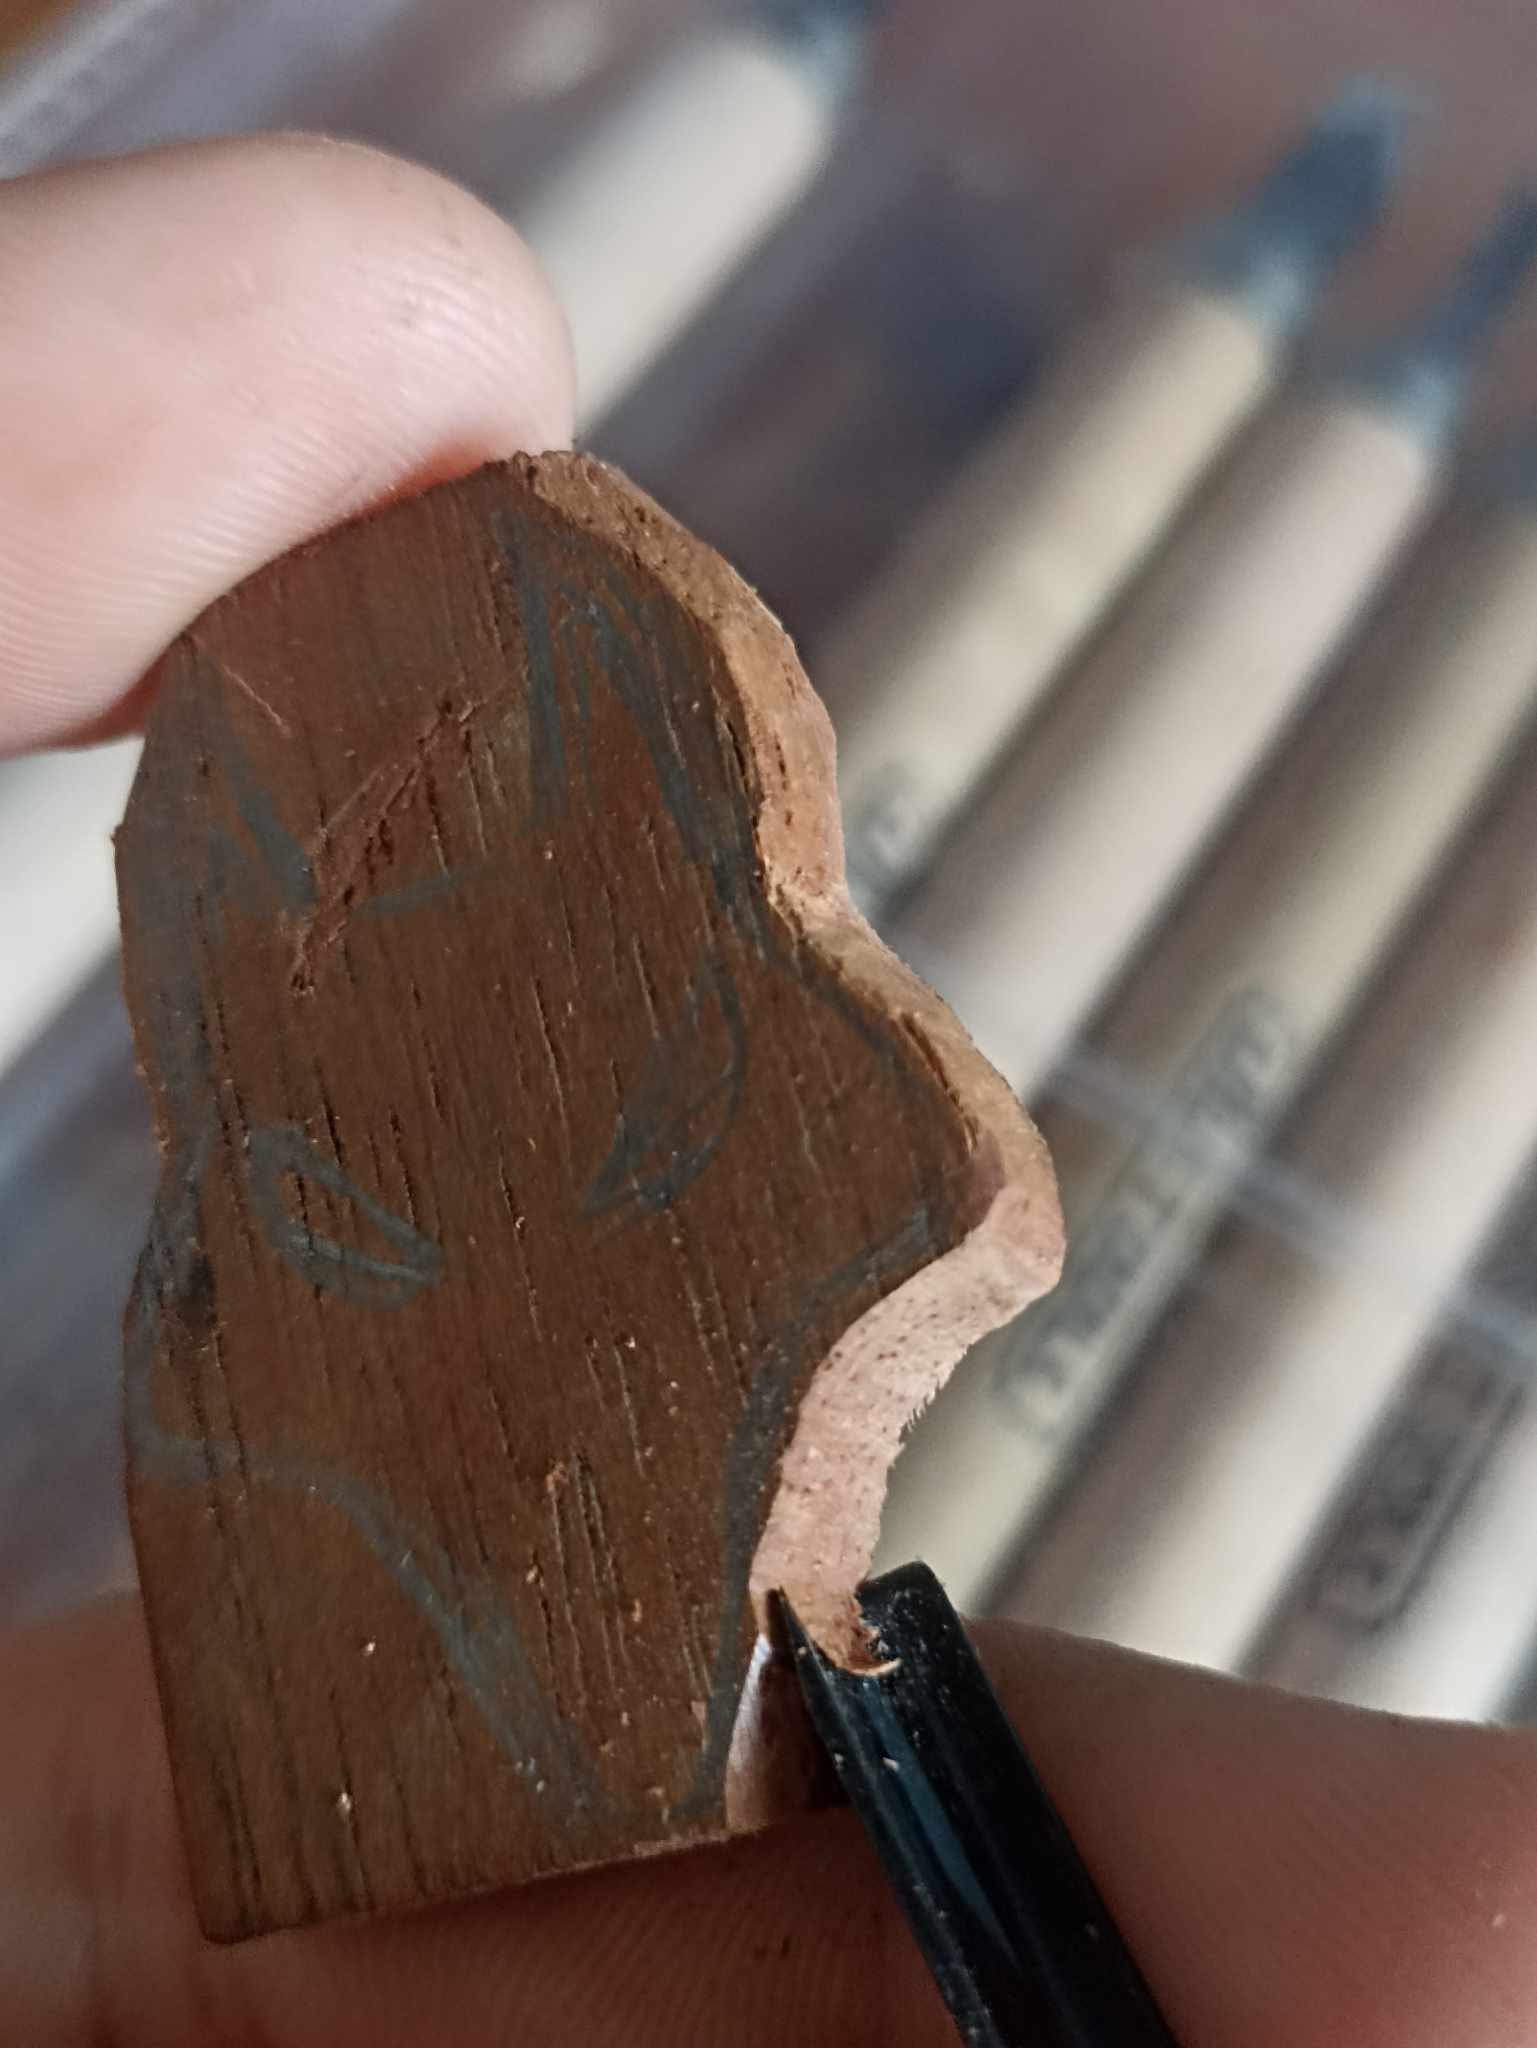 | |
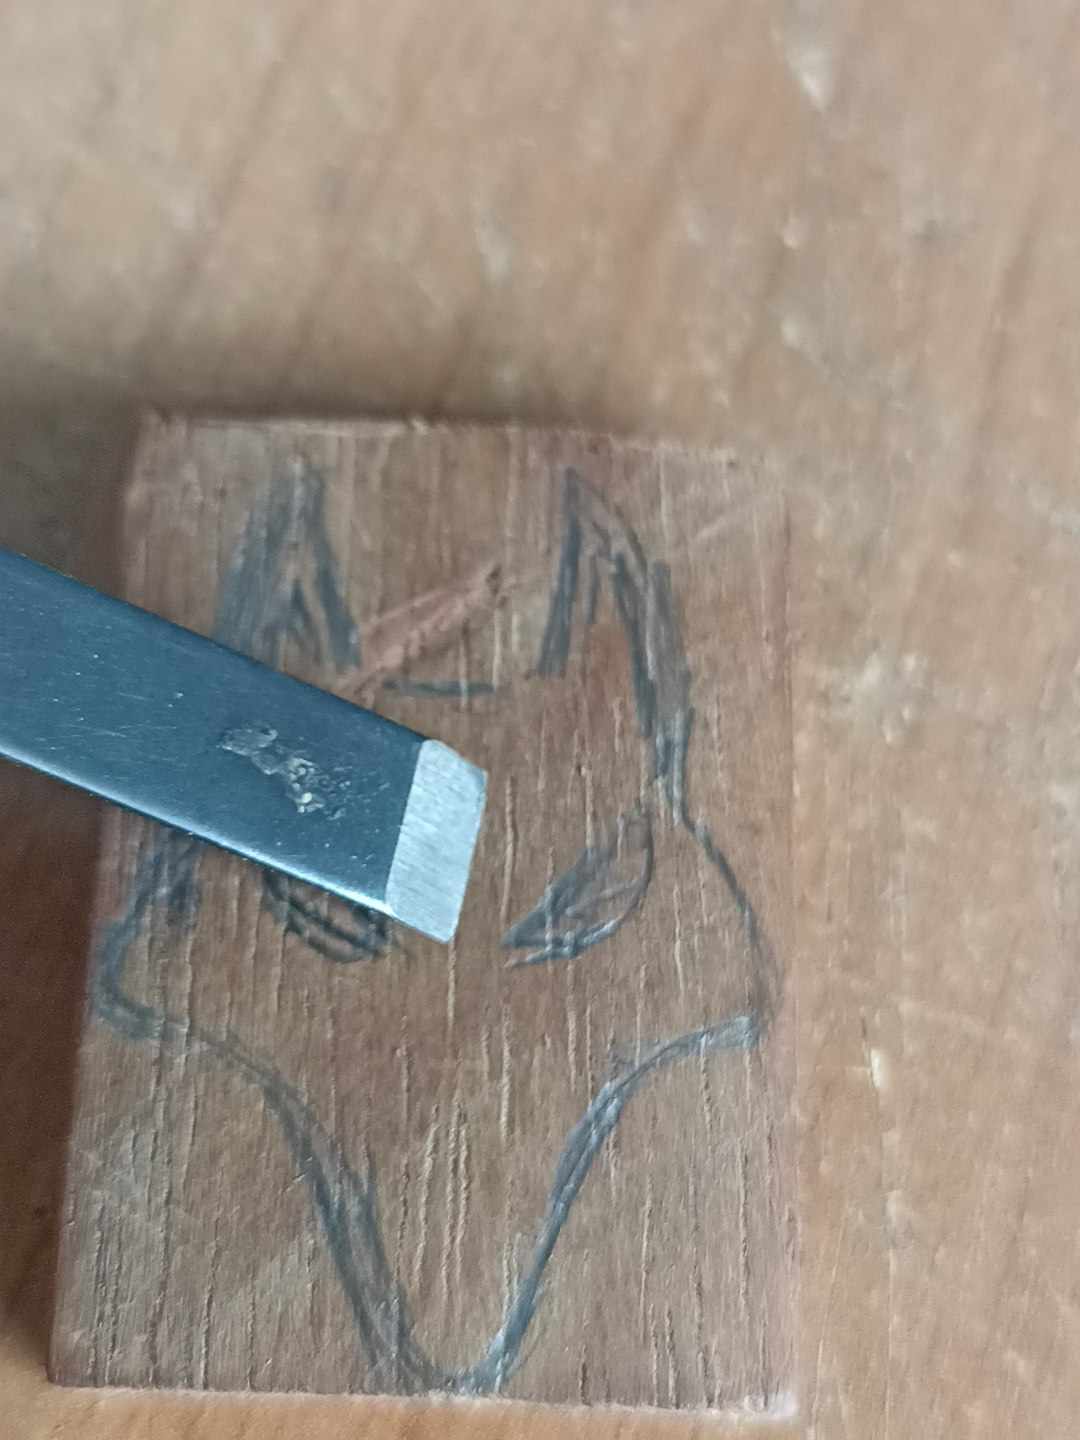
Next I used the gouges to extract wood and for cuts that are circular. I am not an expert in their use, but I am guided by the ease that each one presents to me when carving the wood, so I begin to realize what their functions are. . Here you can see how little by little the figure of this wolf that I made to represent the Razorhound card appears.
Seguidamente utilicé las gubias para extraer madera y para cortes que son circulares, no soy un experto en su uso, pero me guío por la facilidad que me presenta cada una al momento de tallar la madera, así me voy dando cuenta de cuales son sus funciones. Aquí pueden ver como poco a poco va apareciendo la figura de este lobo que he realizado para representar la carta Razorhound.
 |  | |
|---|---|---|
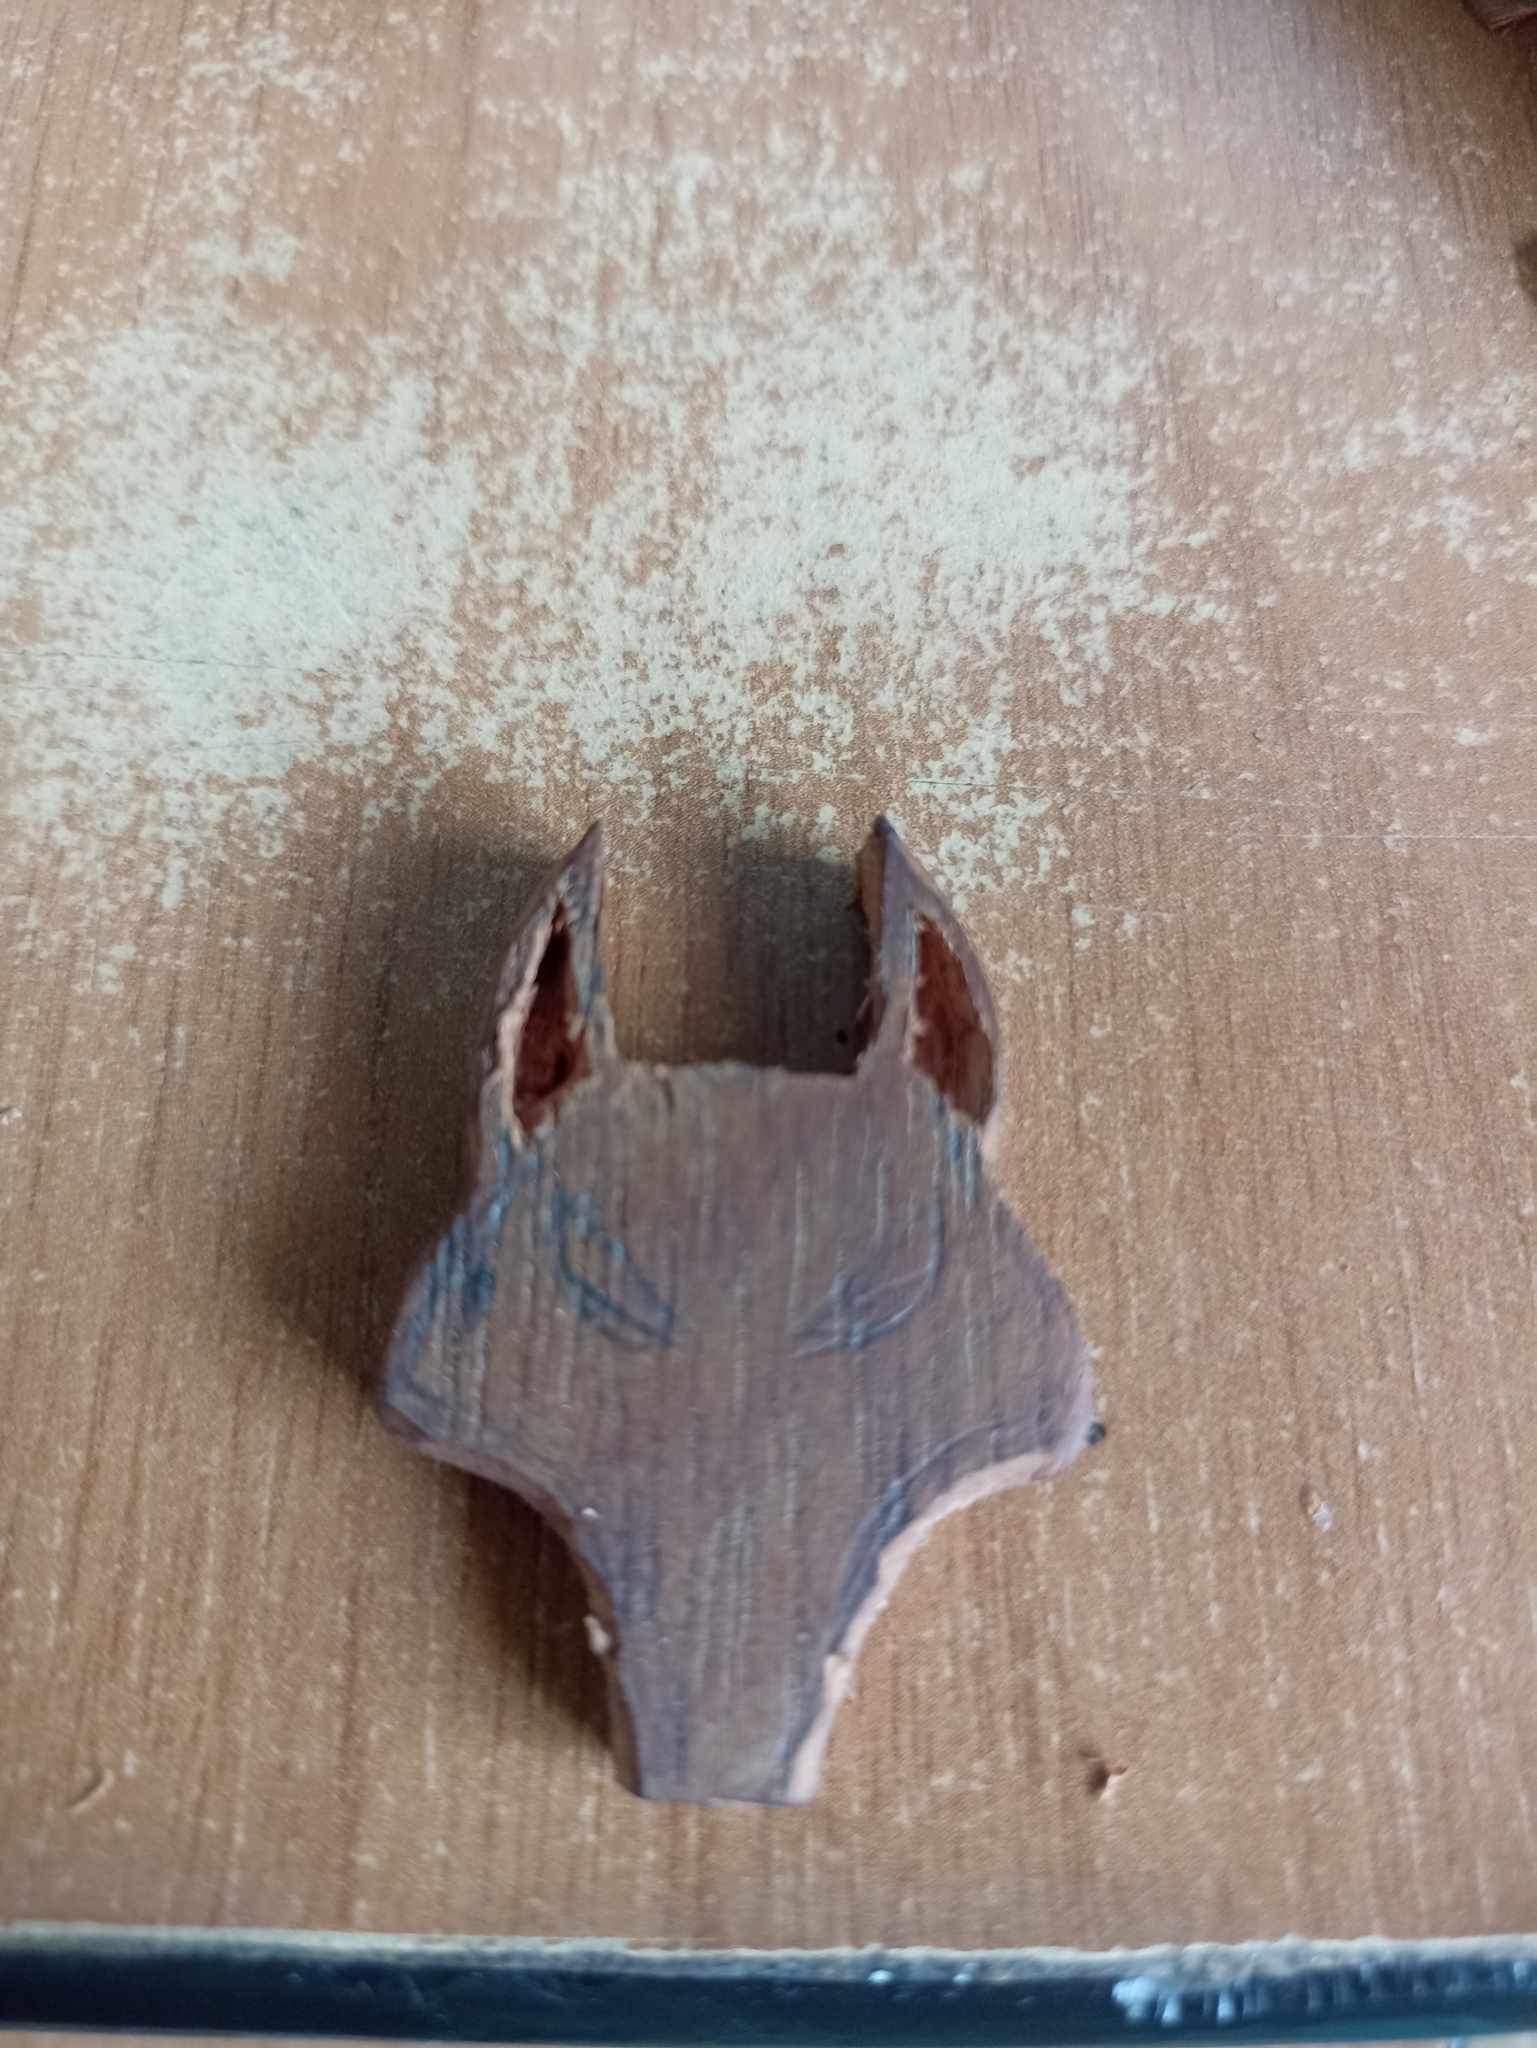 |  |
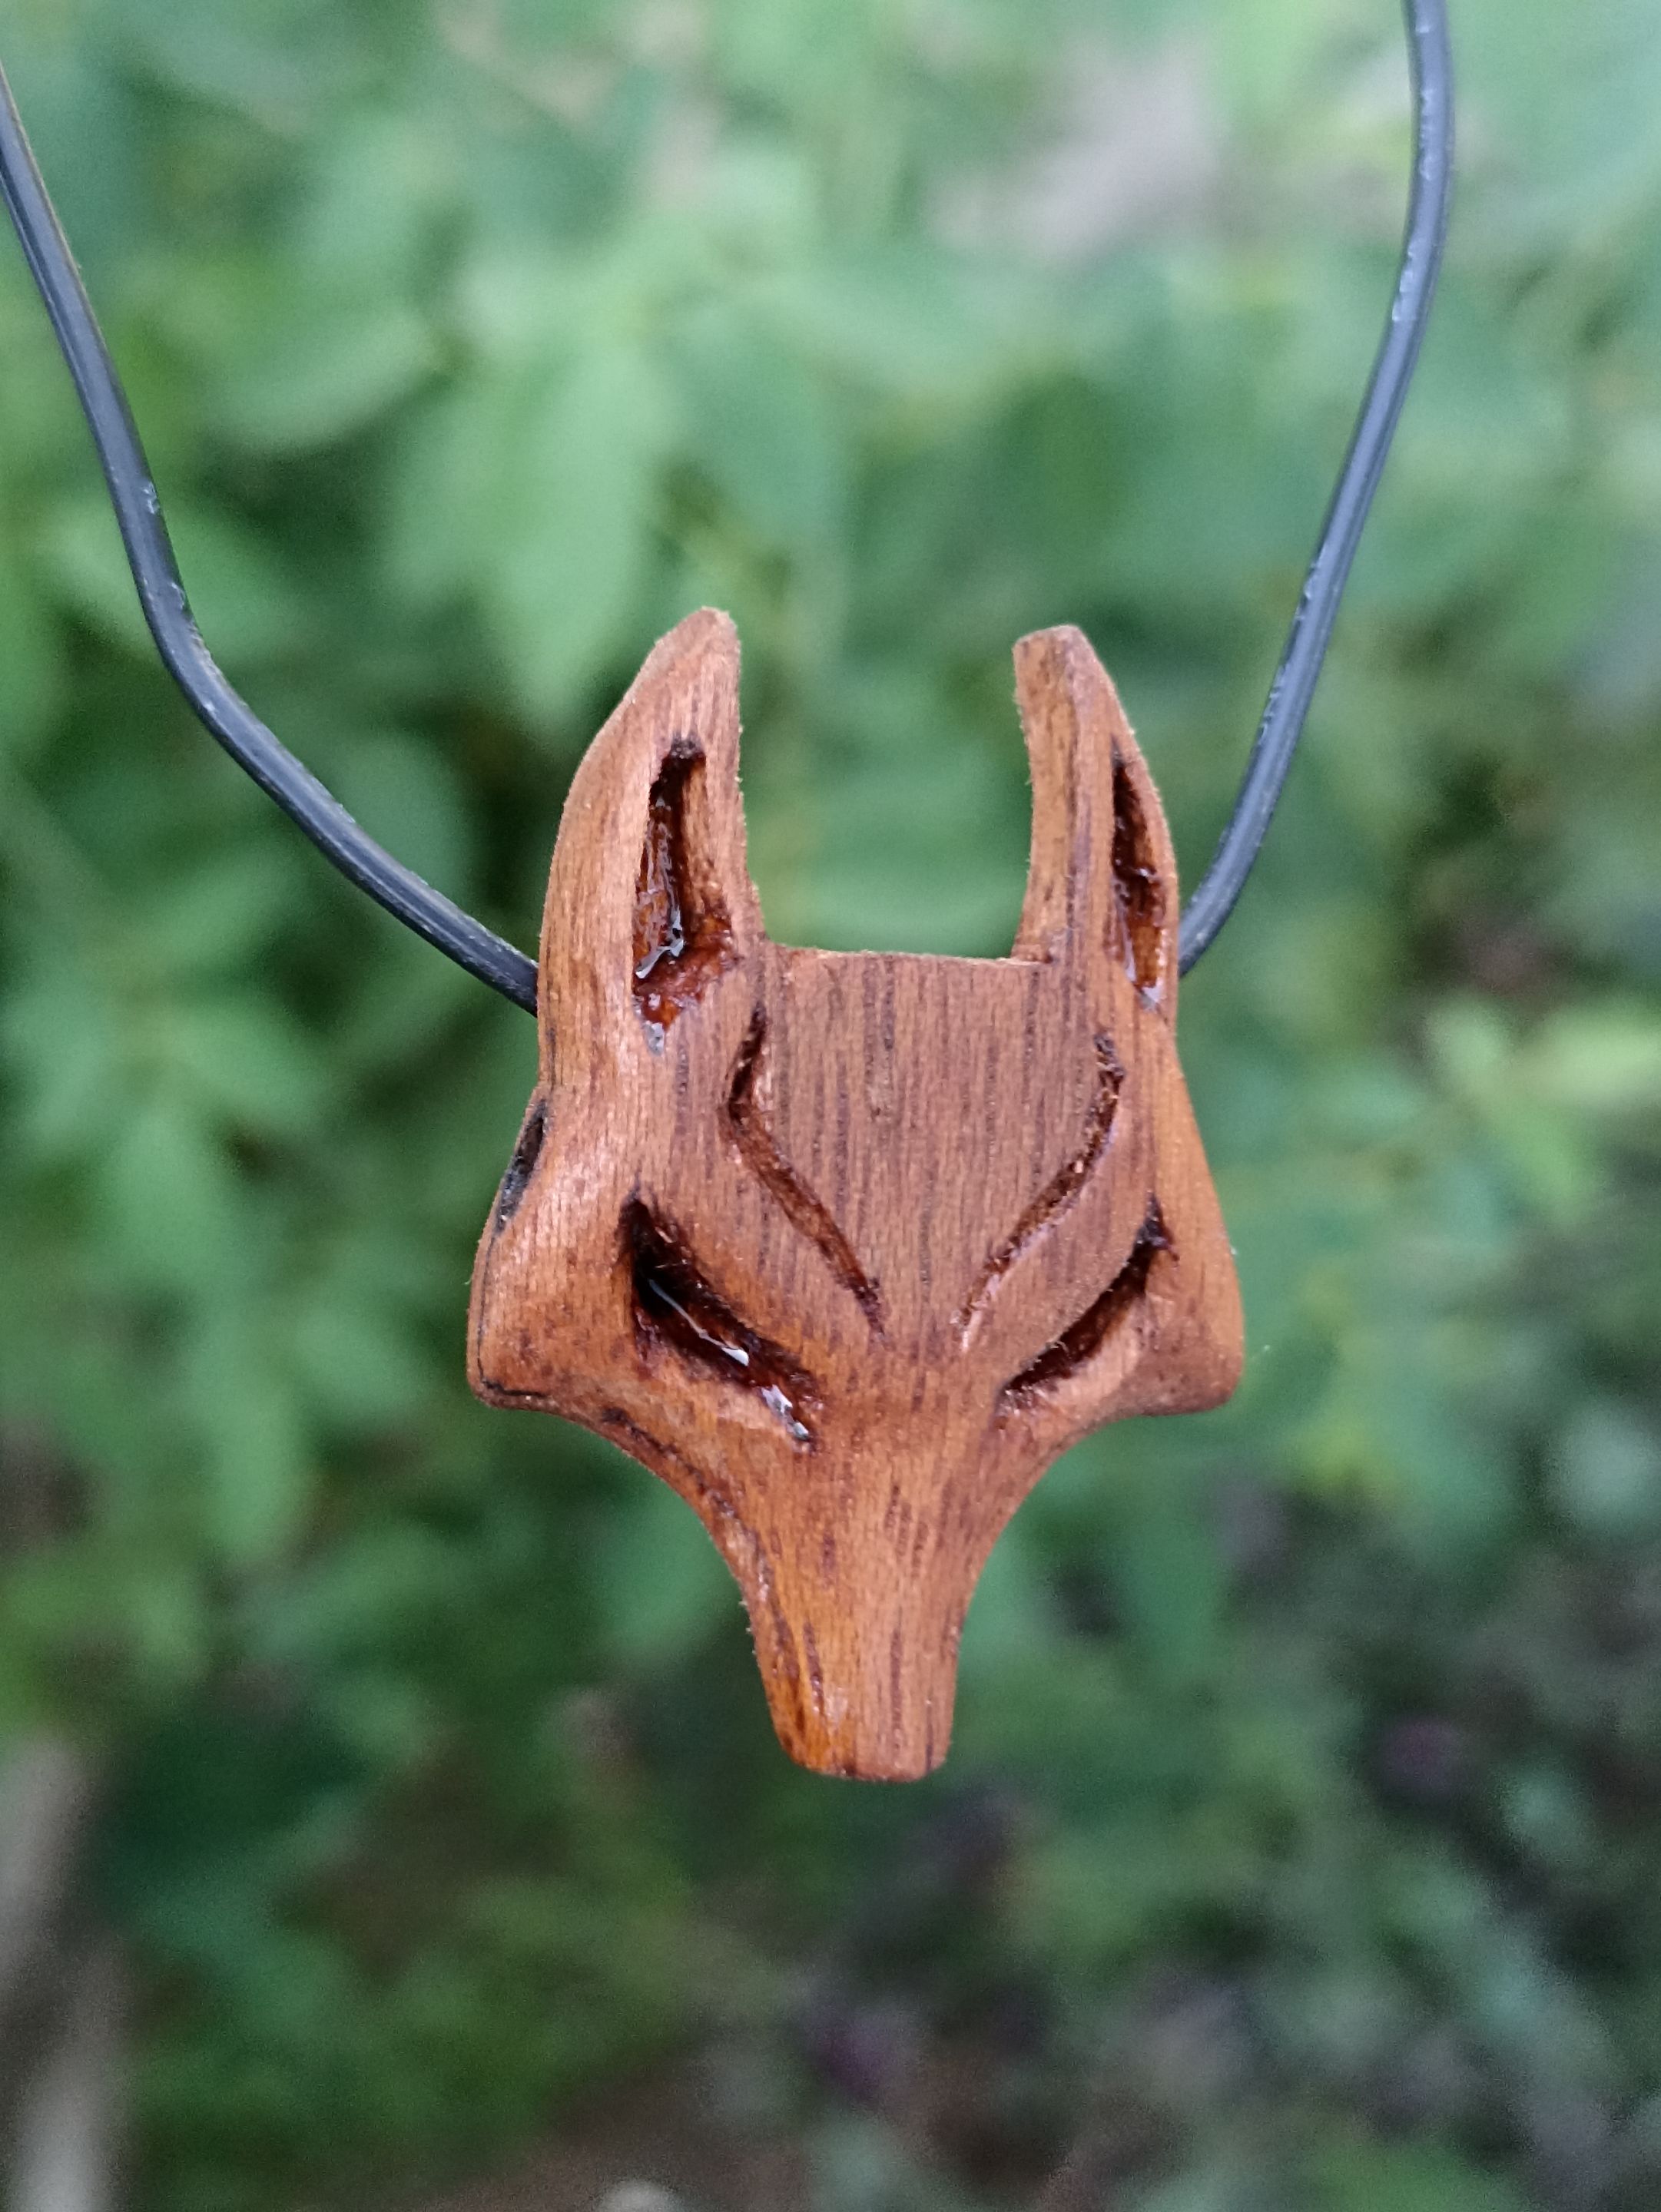
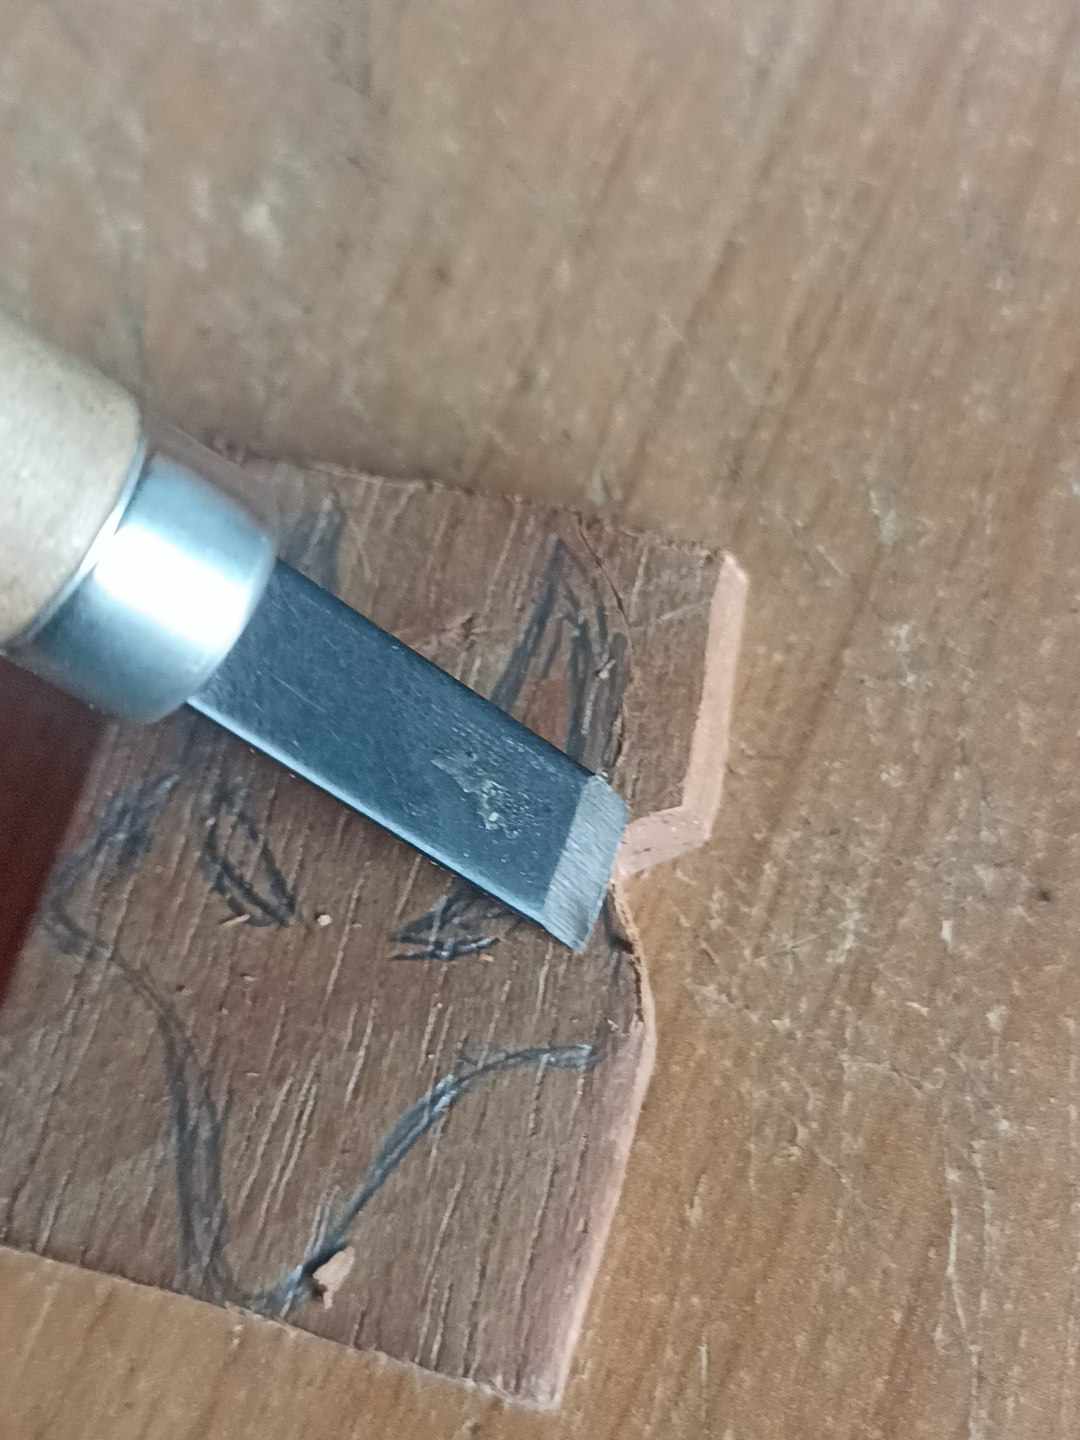
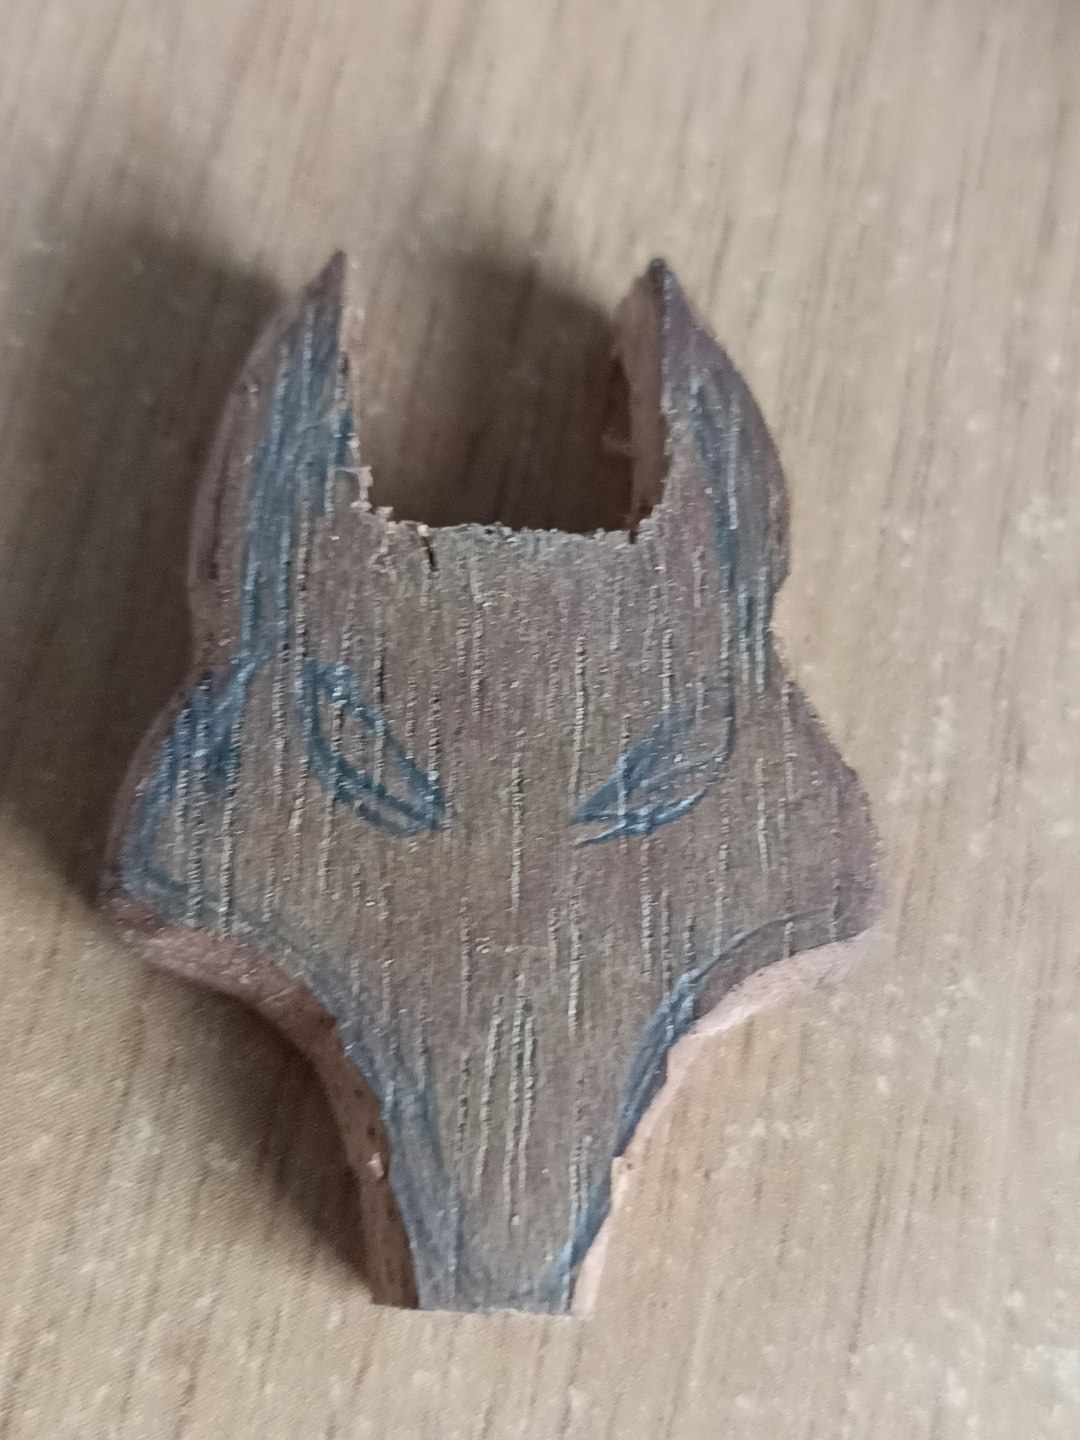
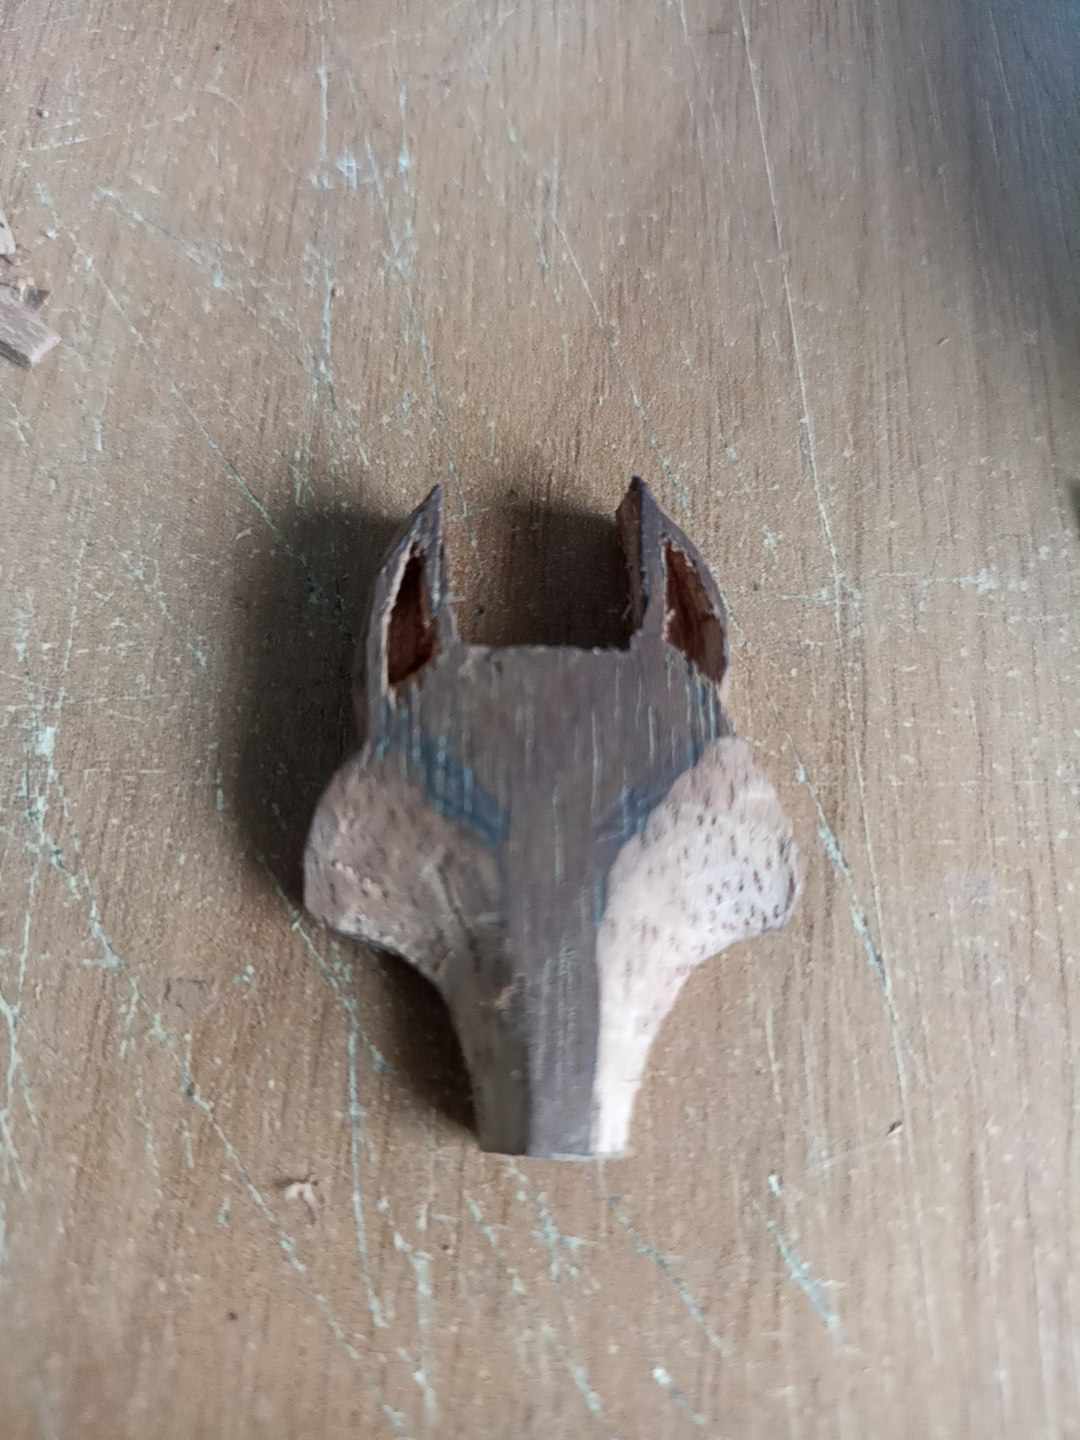
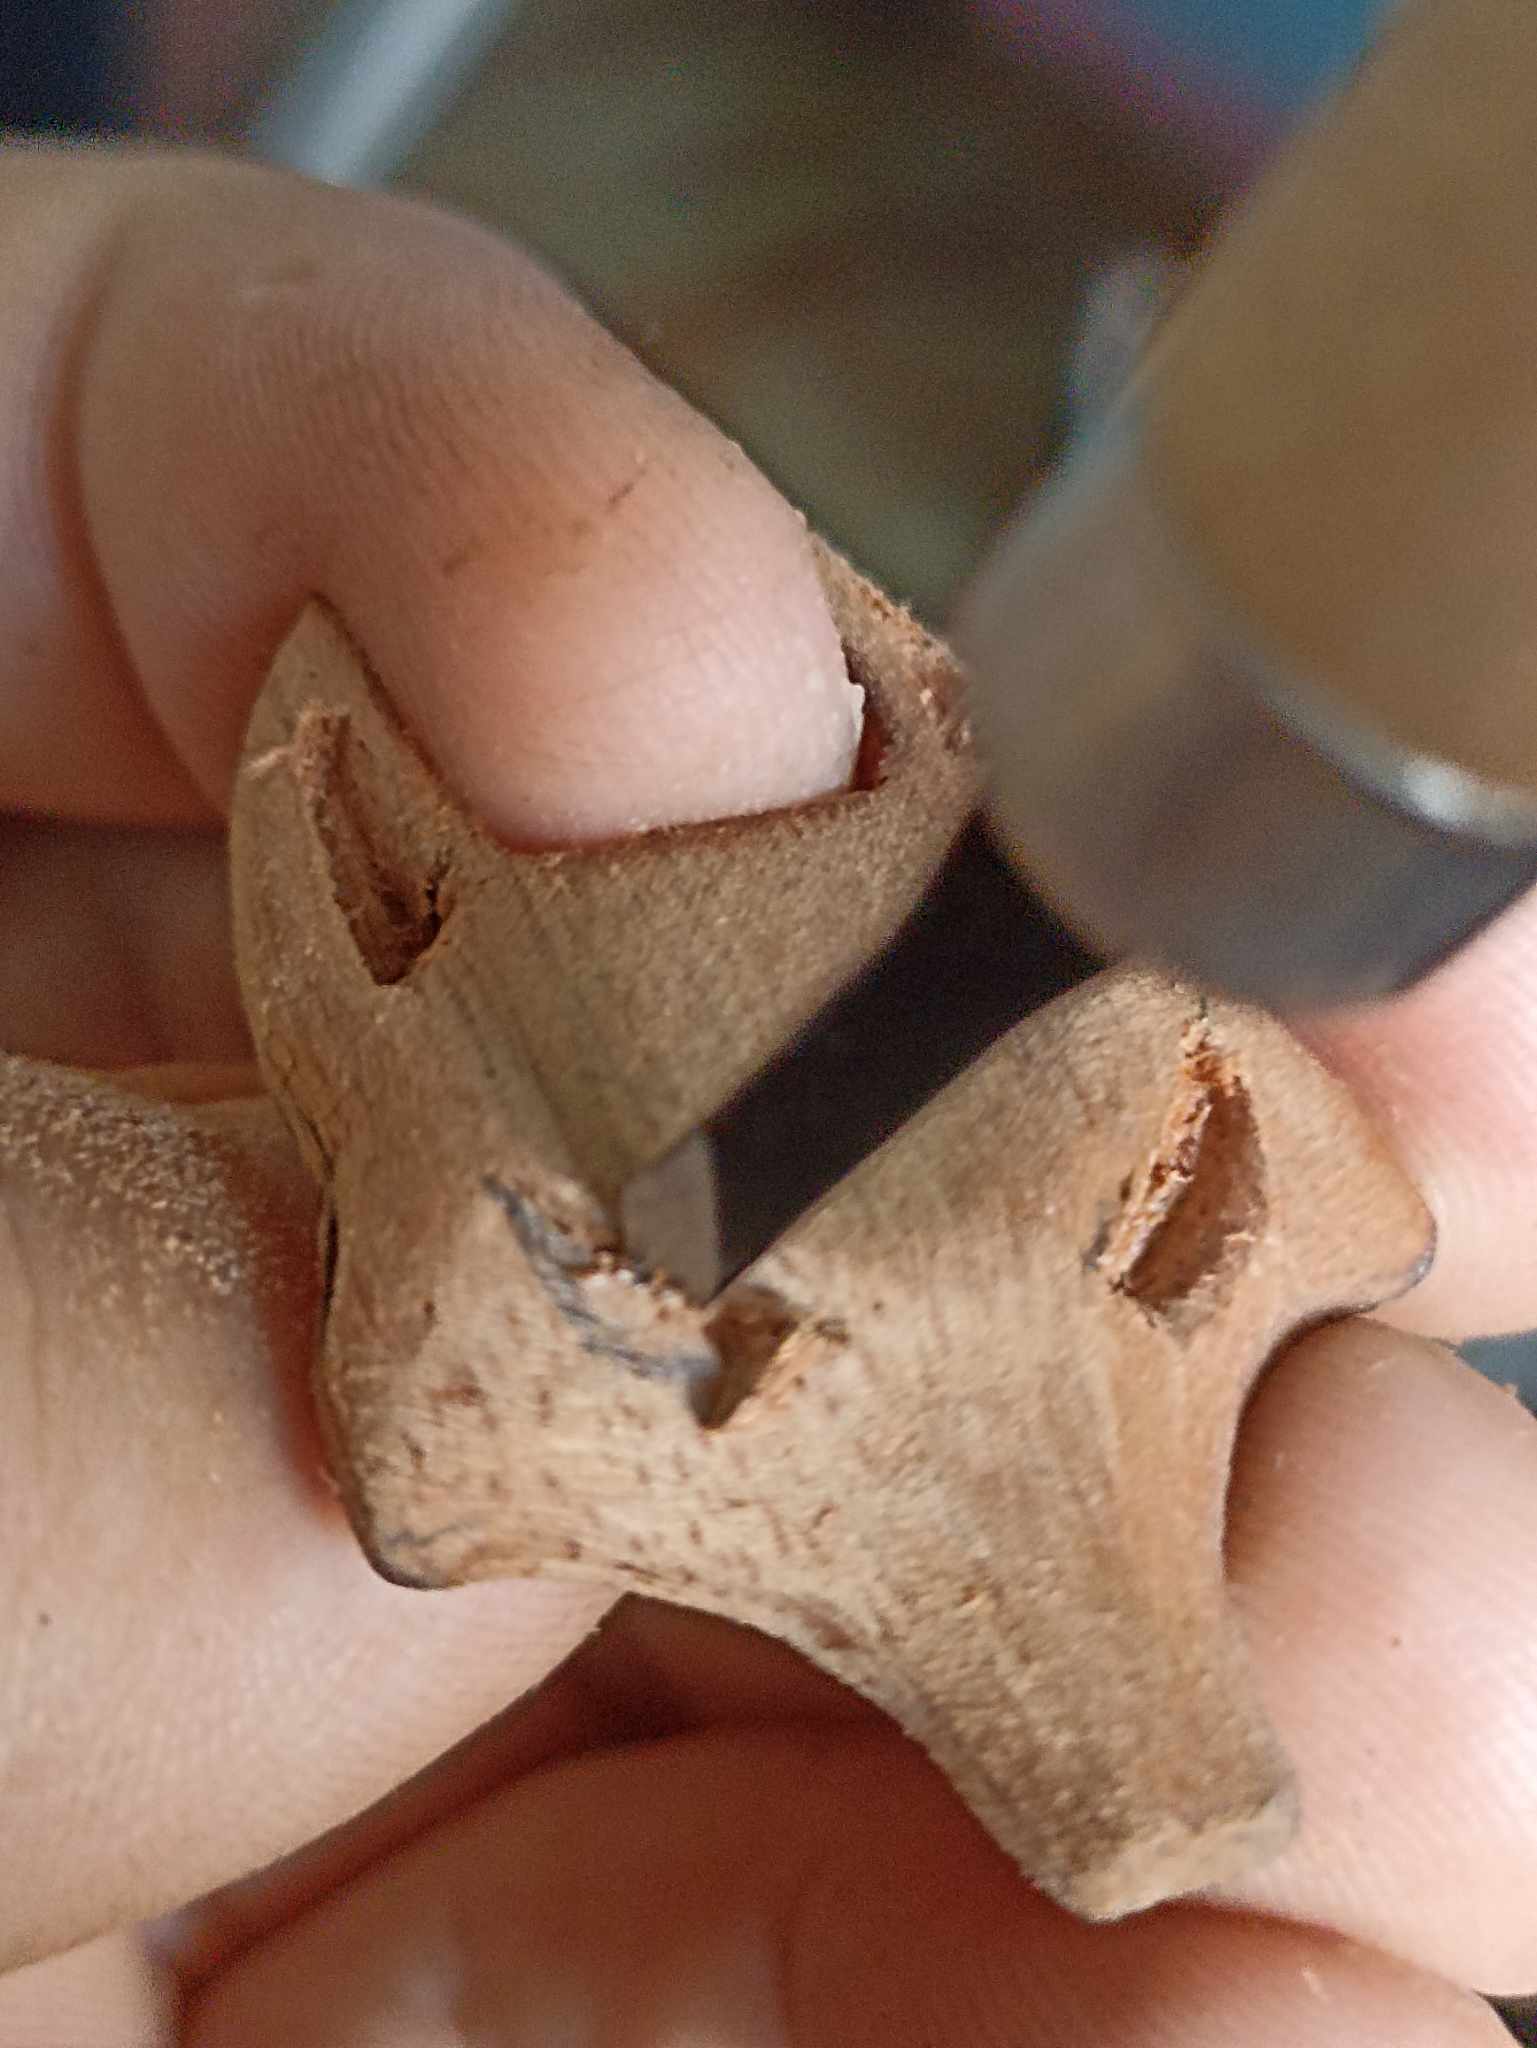
After finishing forming the Razorhound's face, I made some cuts in each of its ears to give it depth and relief. I began to do the same with part of the face so that this collar is not flat.
Después de terminar de formar el rostro de Razorhound hice unos cortes en cada una de sus orejas para darle profundidad y relieve, lo mismo comienzo a hacer con parte del rostro para que este collar no quede de una forma plana.
 |  | |
|---|---|---|
 | 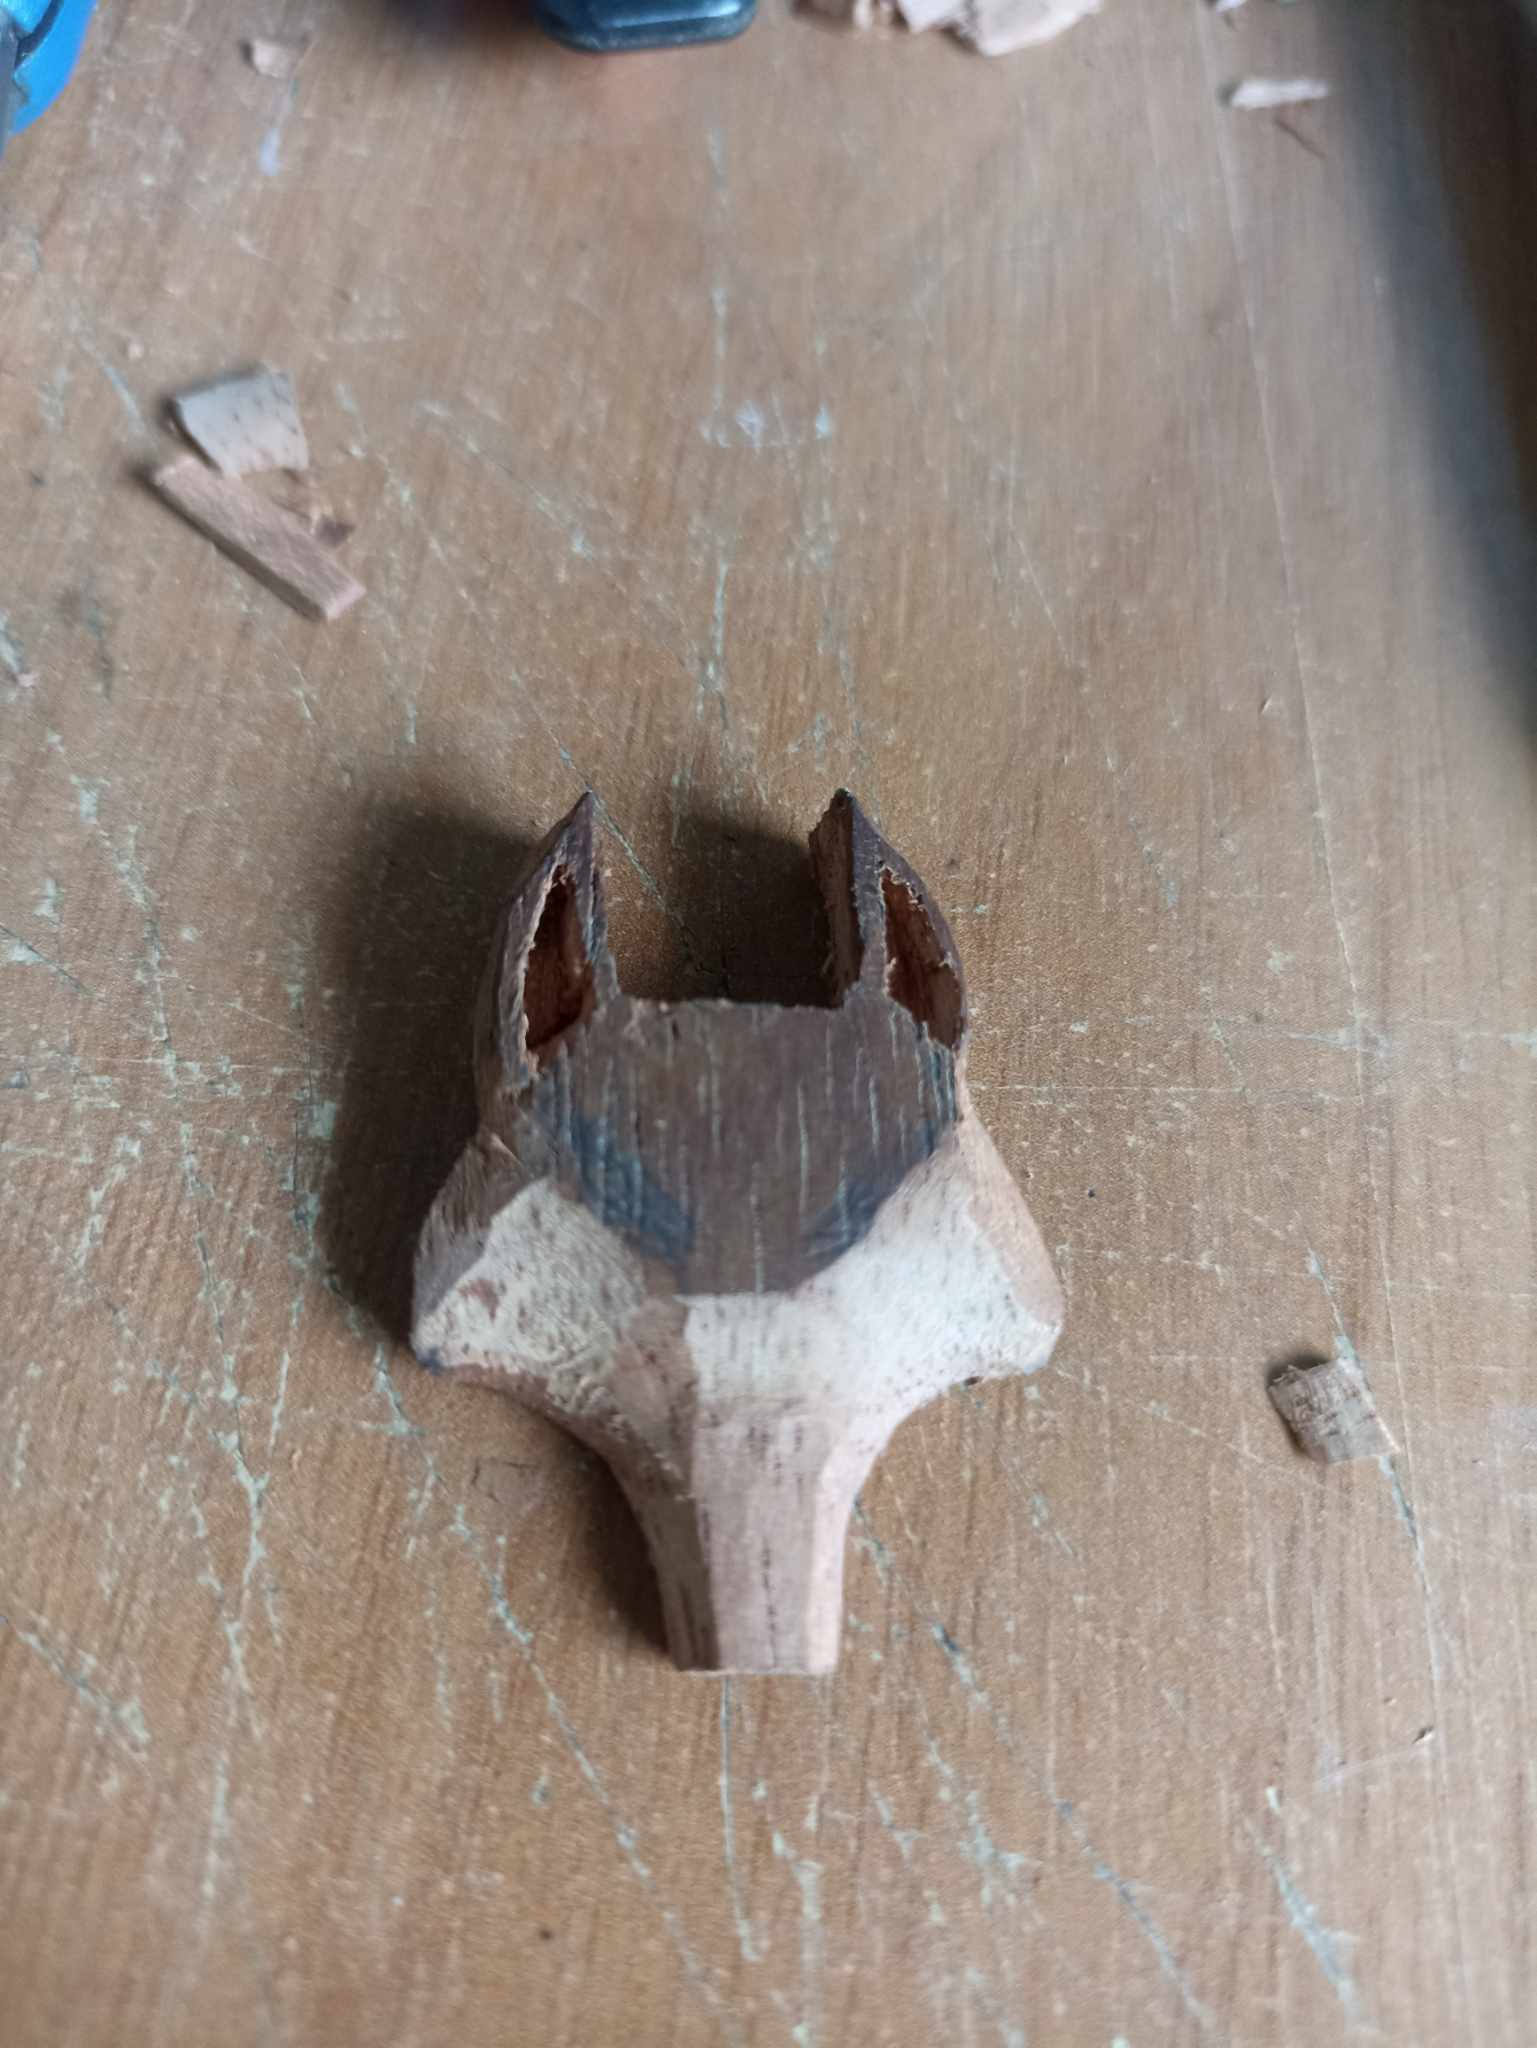 |
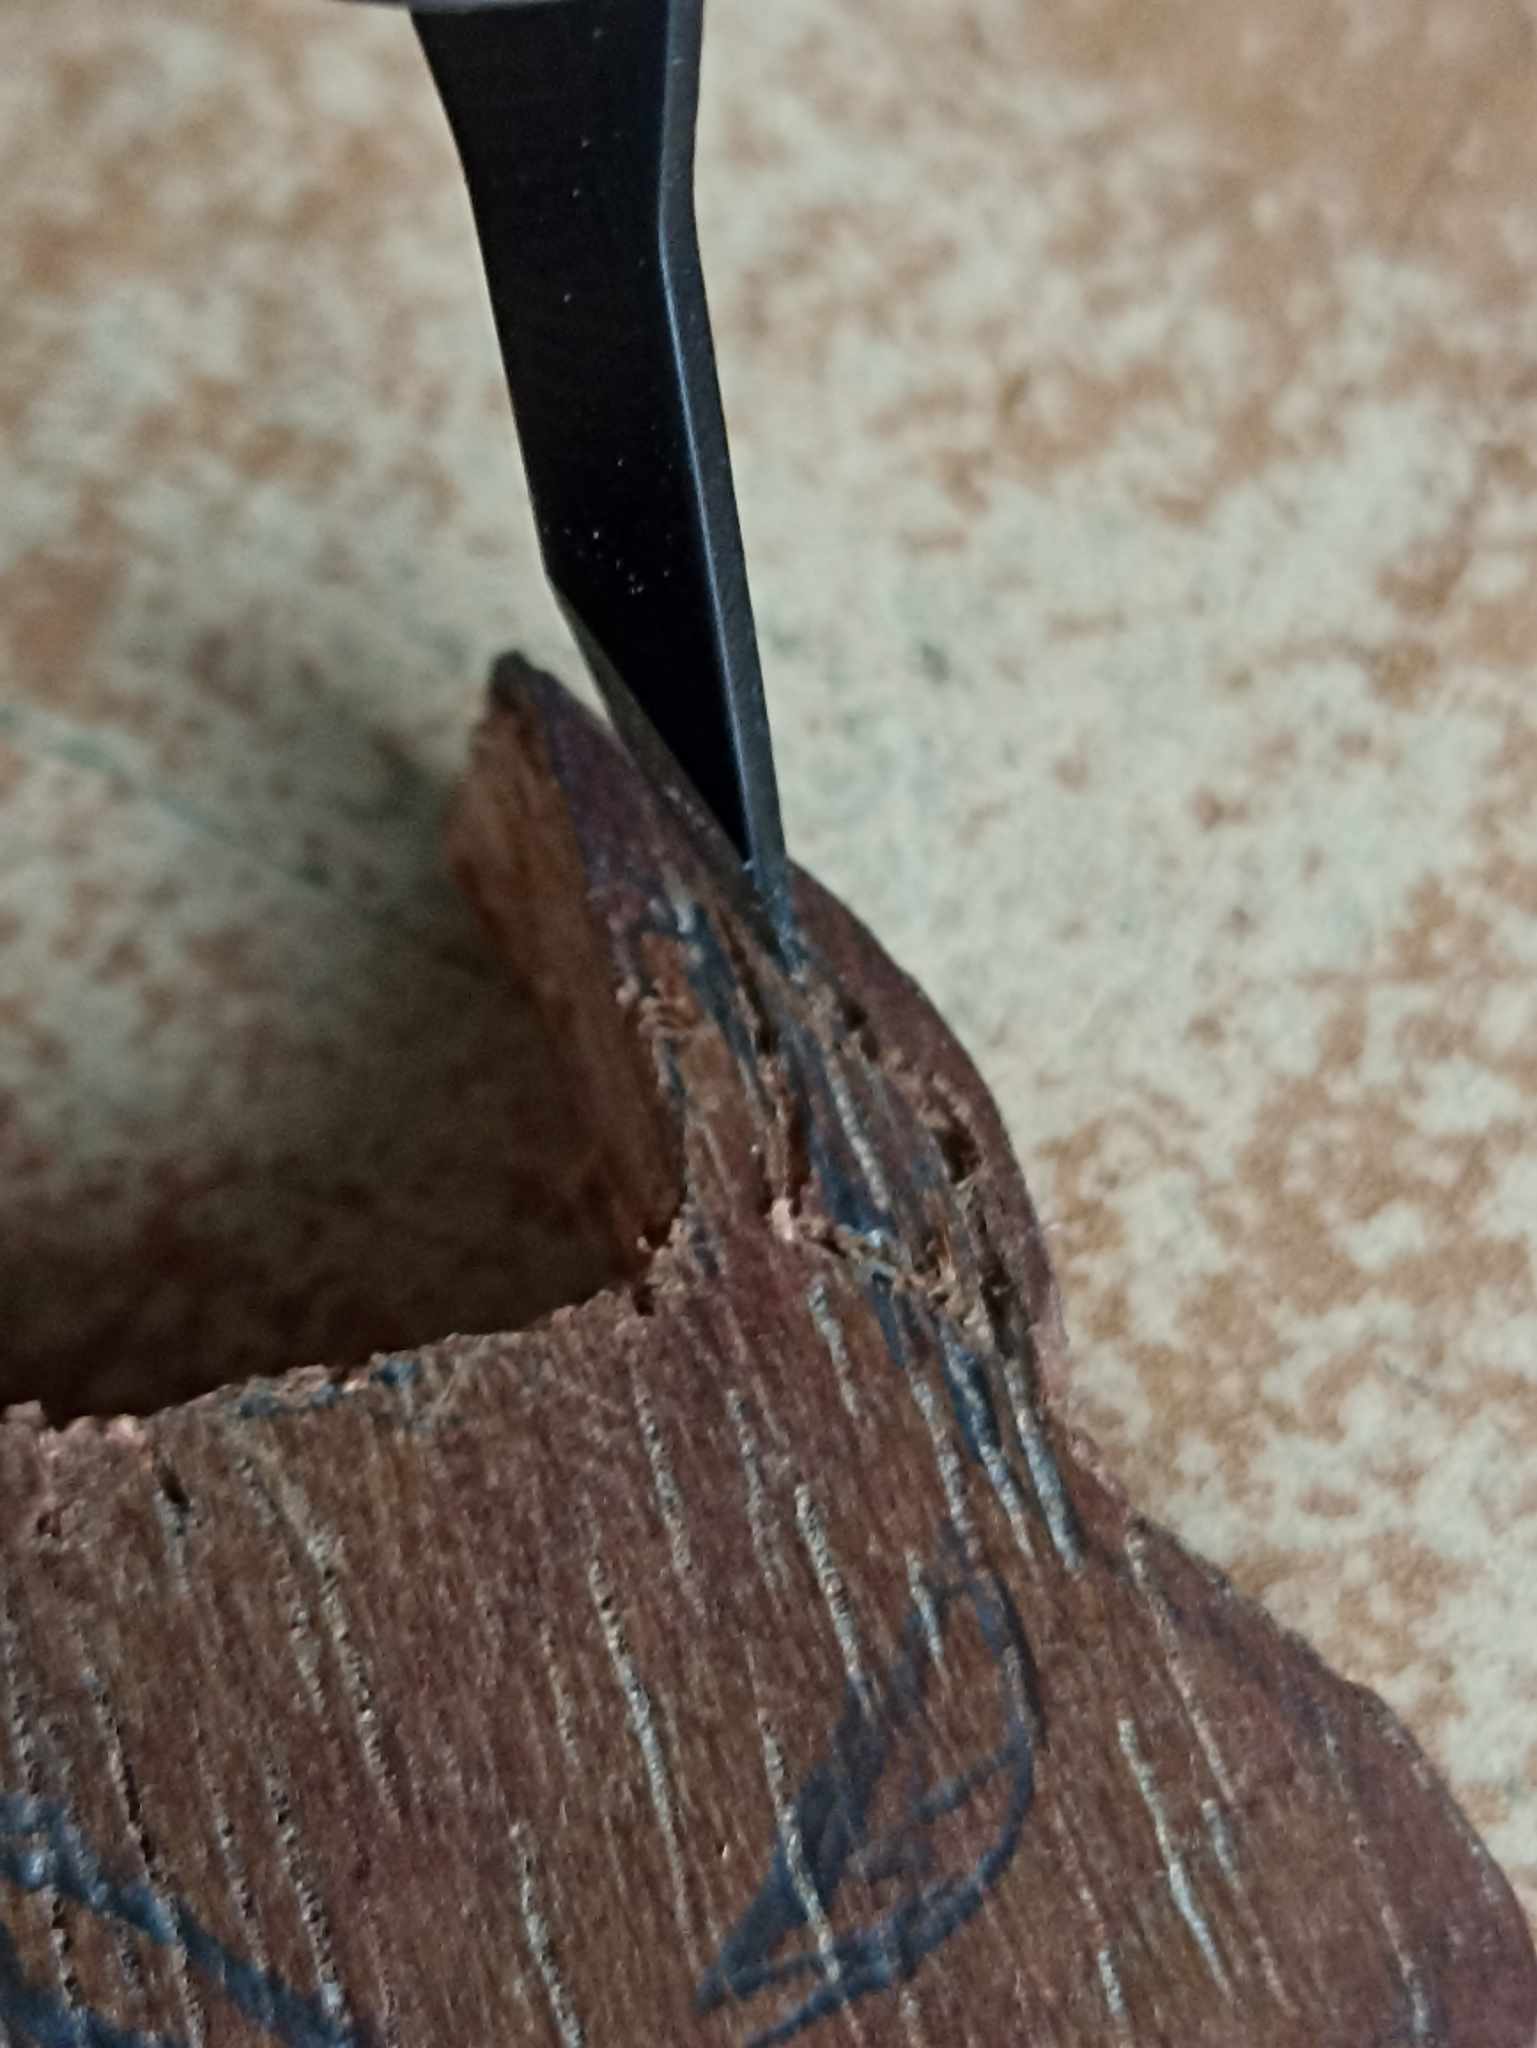
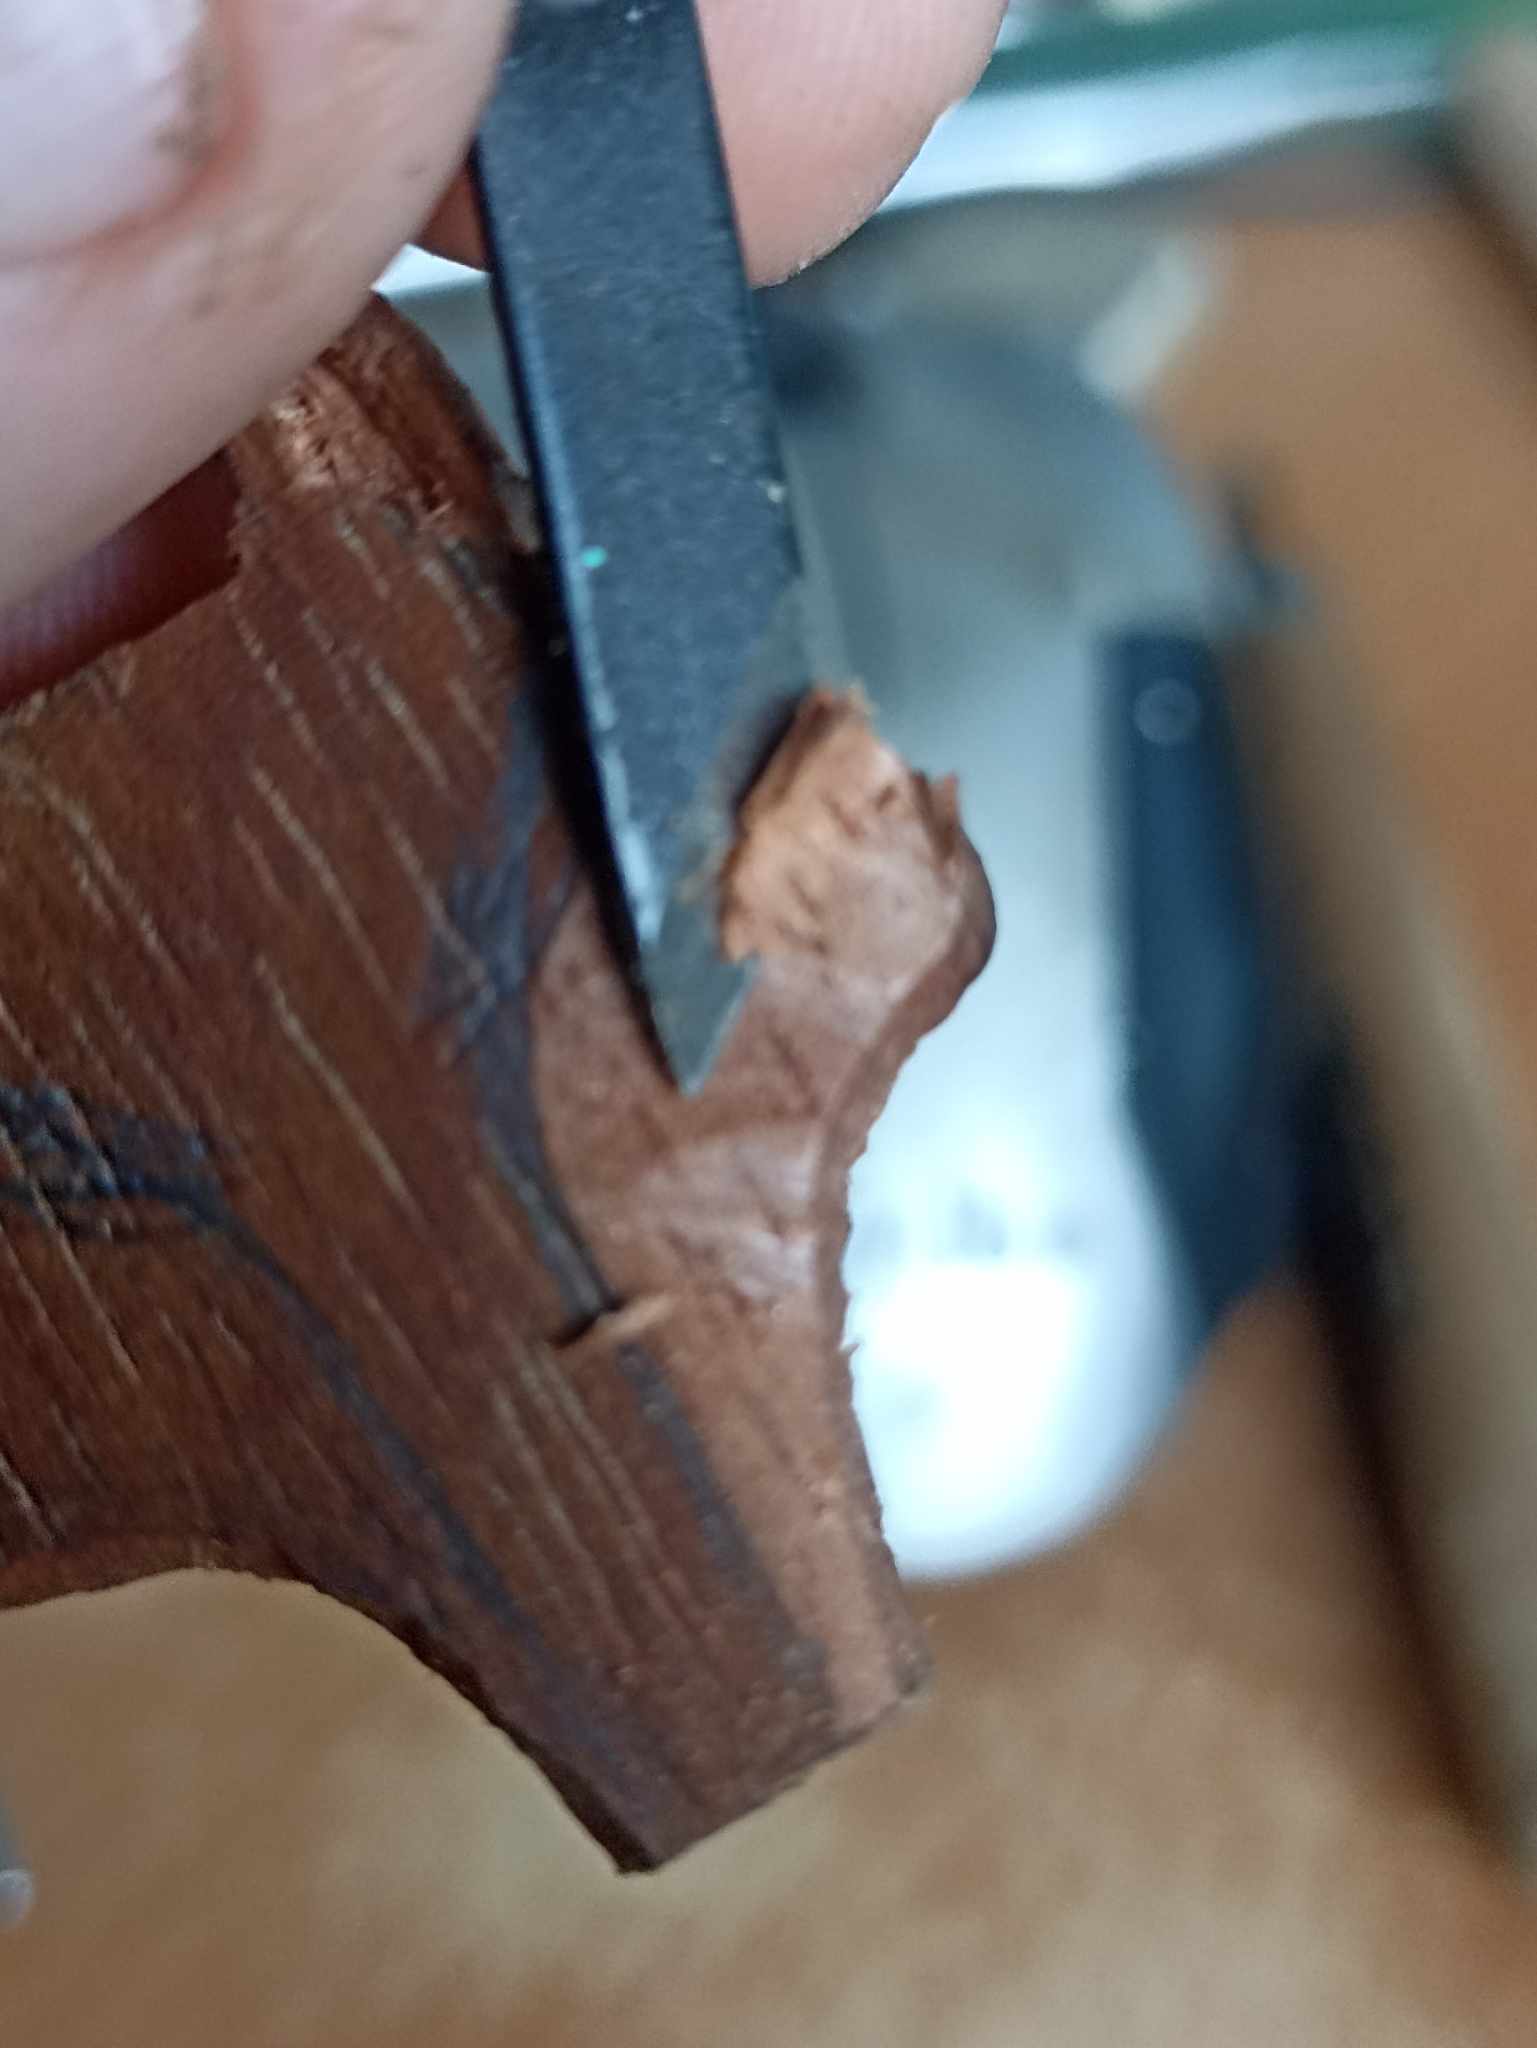
As you can see, using the different cutting tools I am giving it the shape that I talked about before, the truth is that it is exciting how it takes the shape that one has in mind and how the tools help a lot in the precision of the cuts. After making both cuts I begin to sand a little to finish giving the desired shape.
Como pueden observar, utilizando las distintas herramientas de corte le voy dando la forma que hablé anteriormente, la verdad es emocionante como va tomando la forma que uno tiene en la mente y como las herramientas ayudan mucho en la precisión de los cortes. Luego de hacer ambos cortes comienzo a lijar un poco para terminar de dar la forma deseada.
 |  | |
|---|---|---|
 |  |
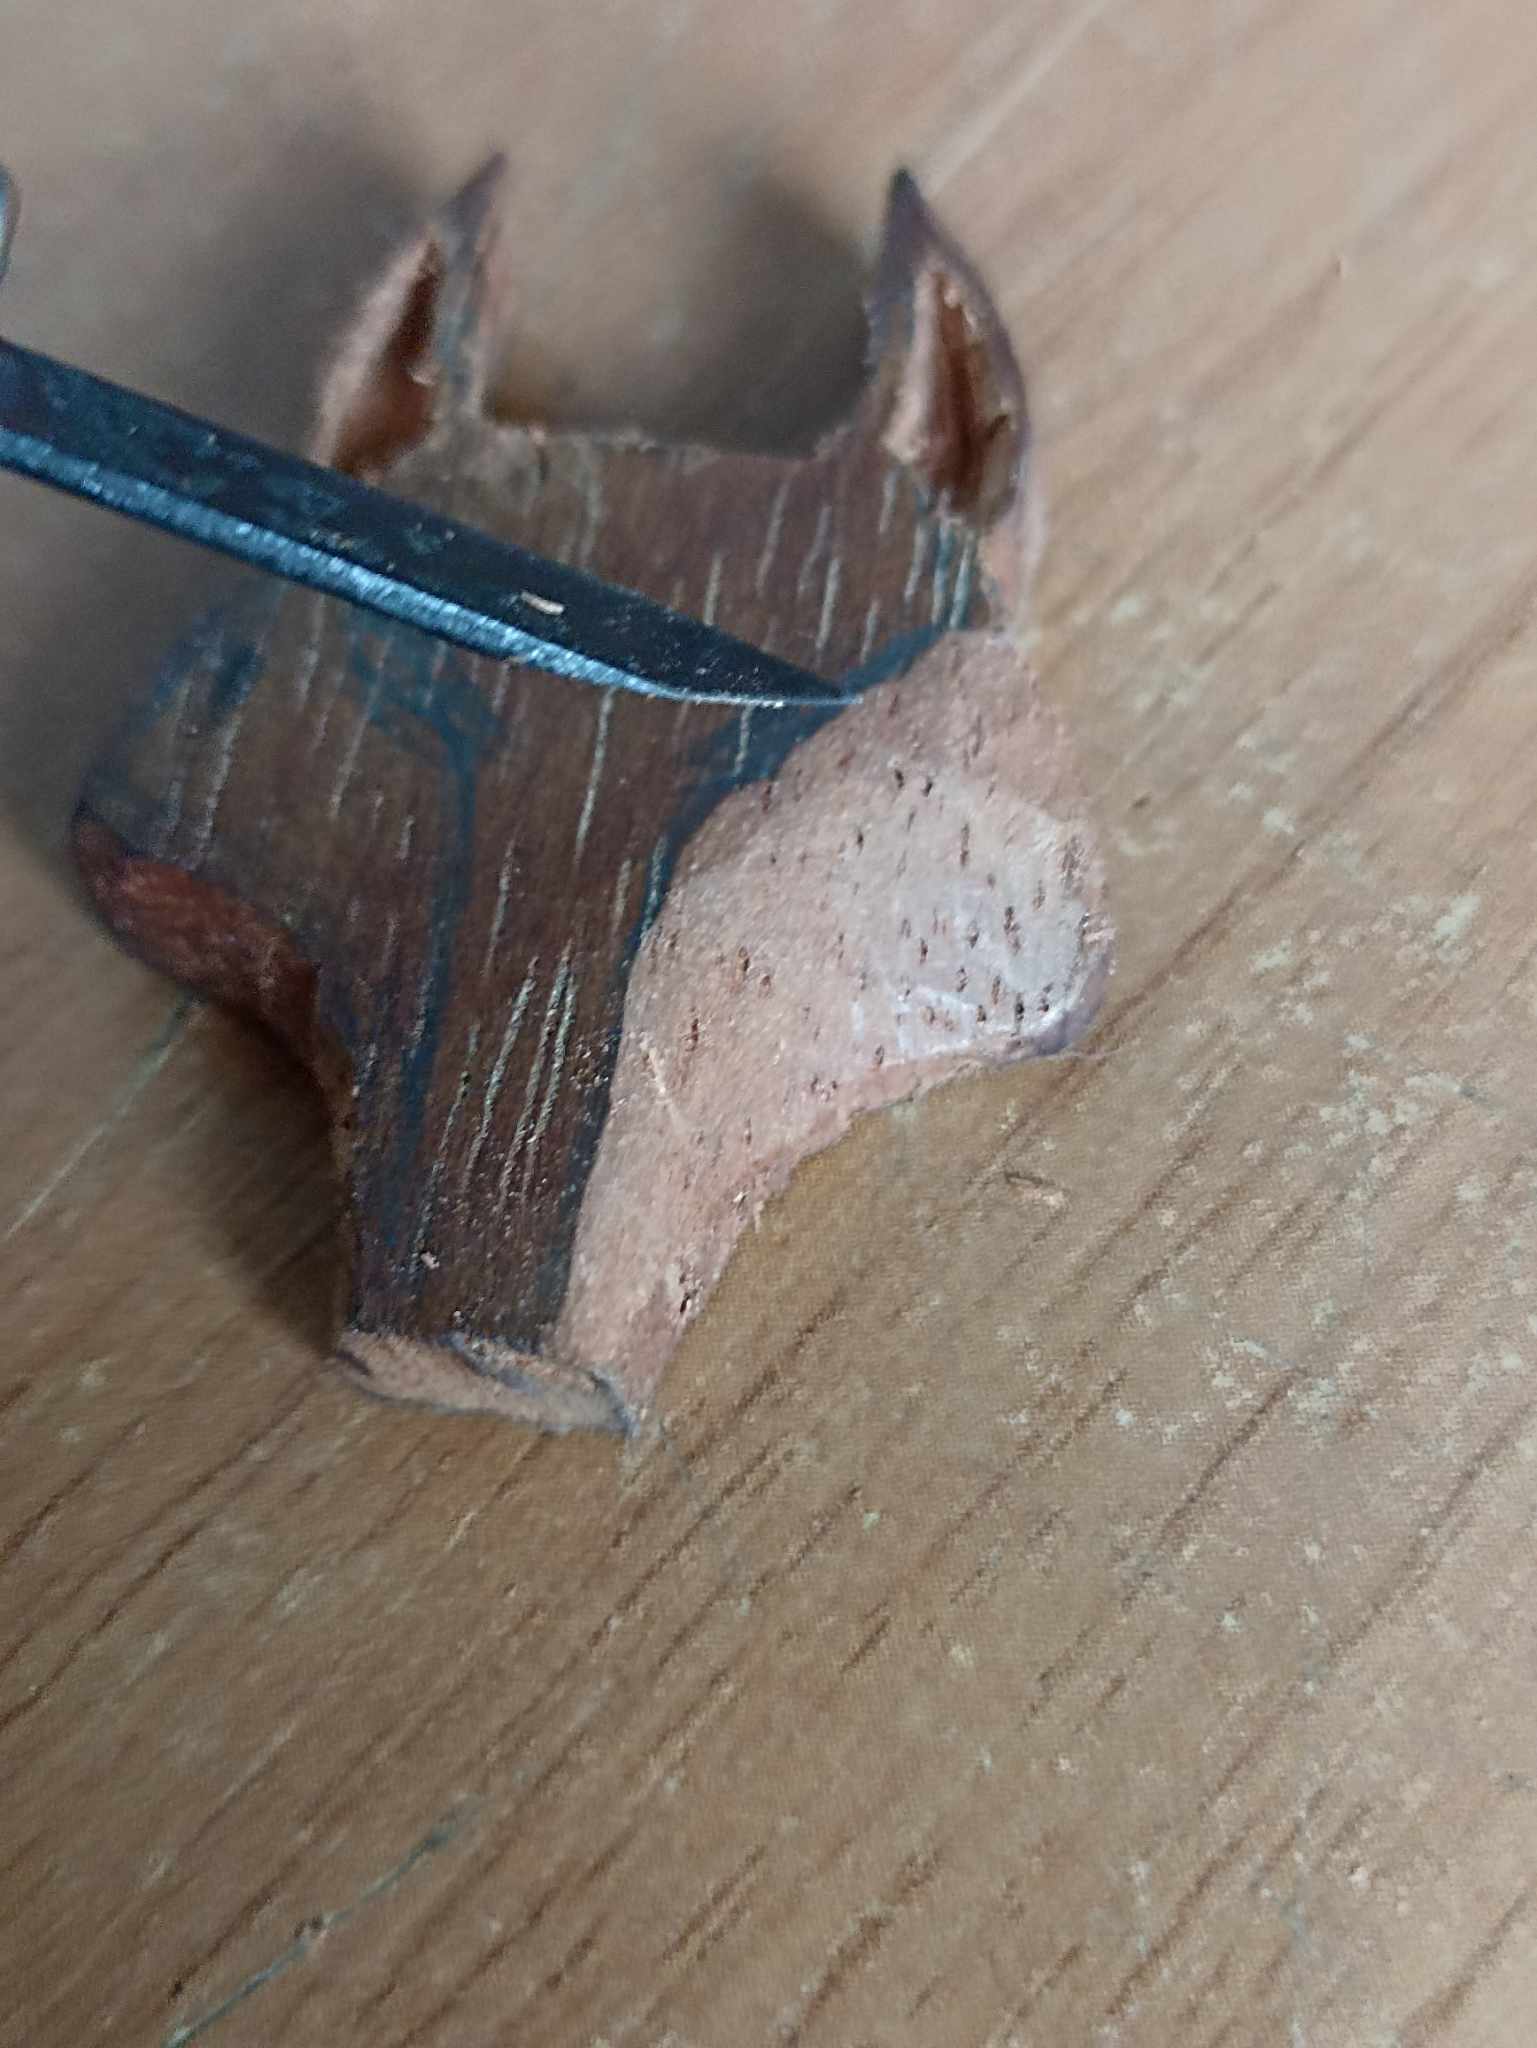
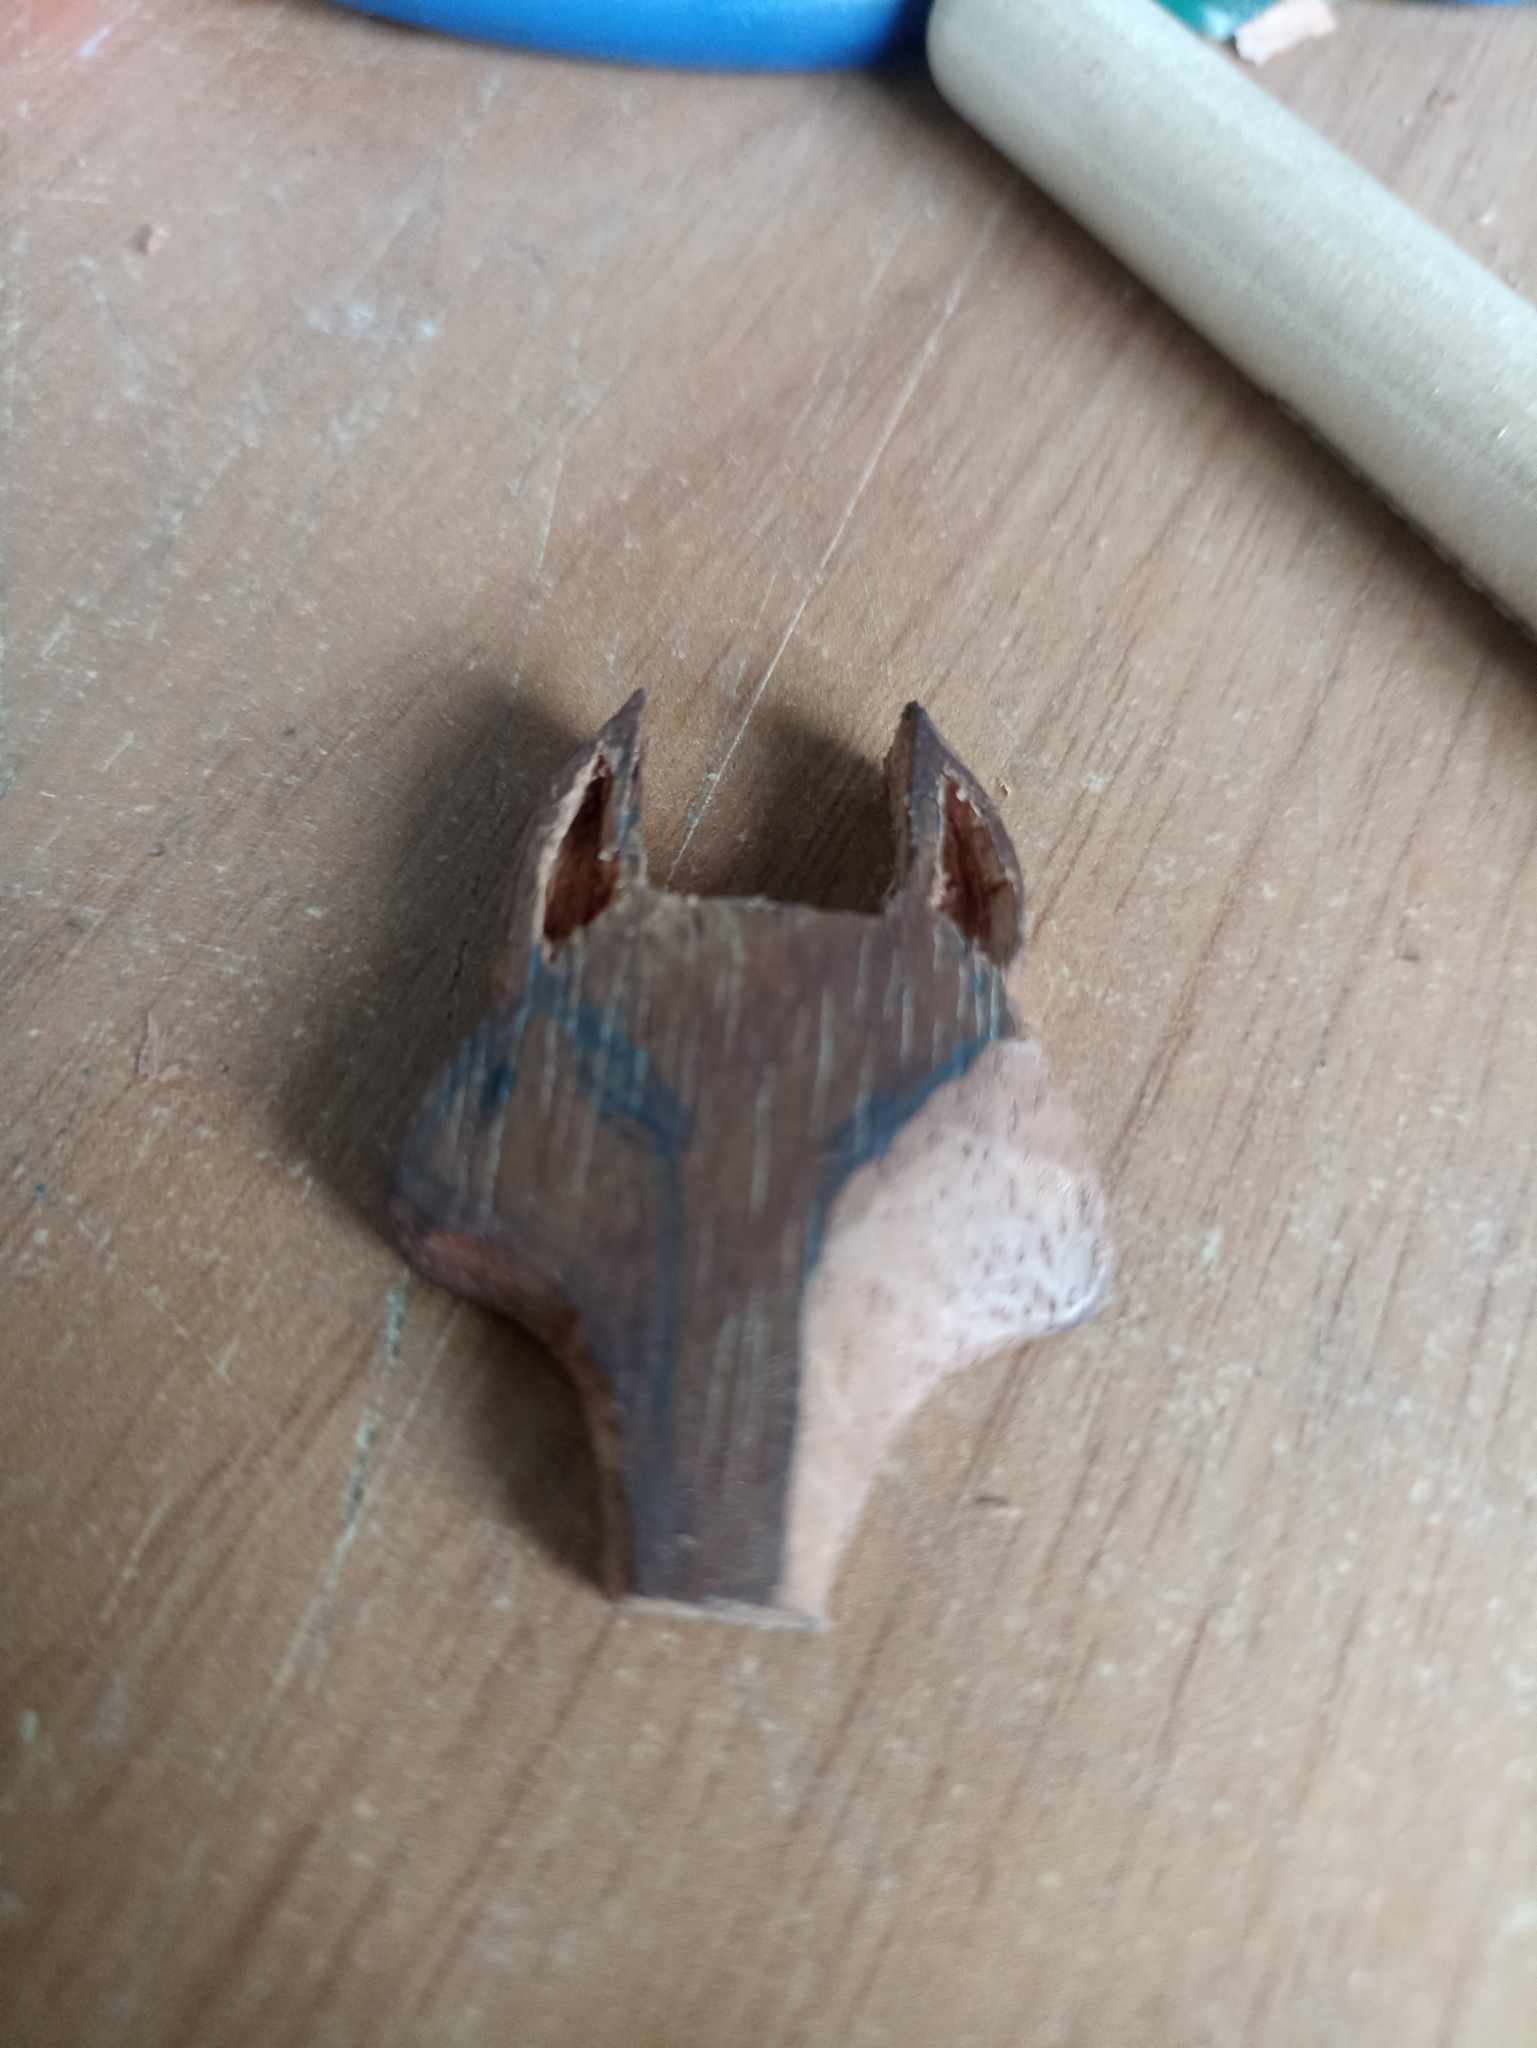
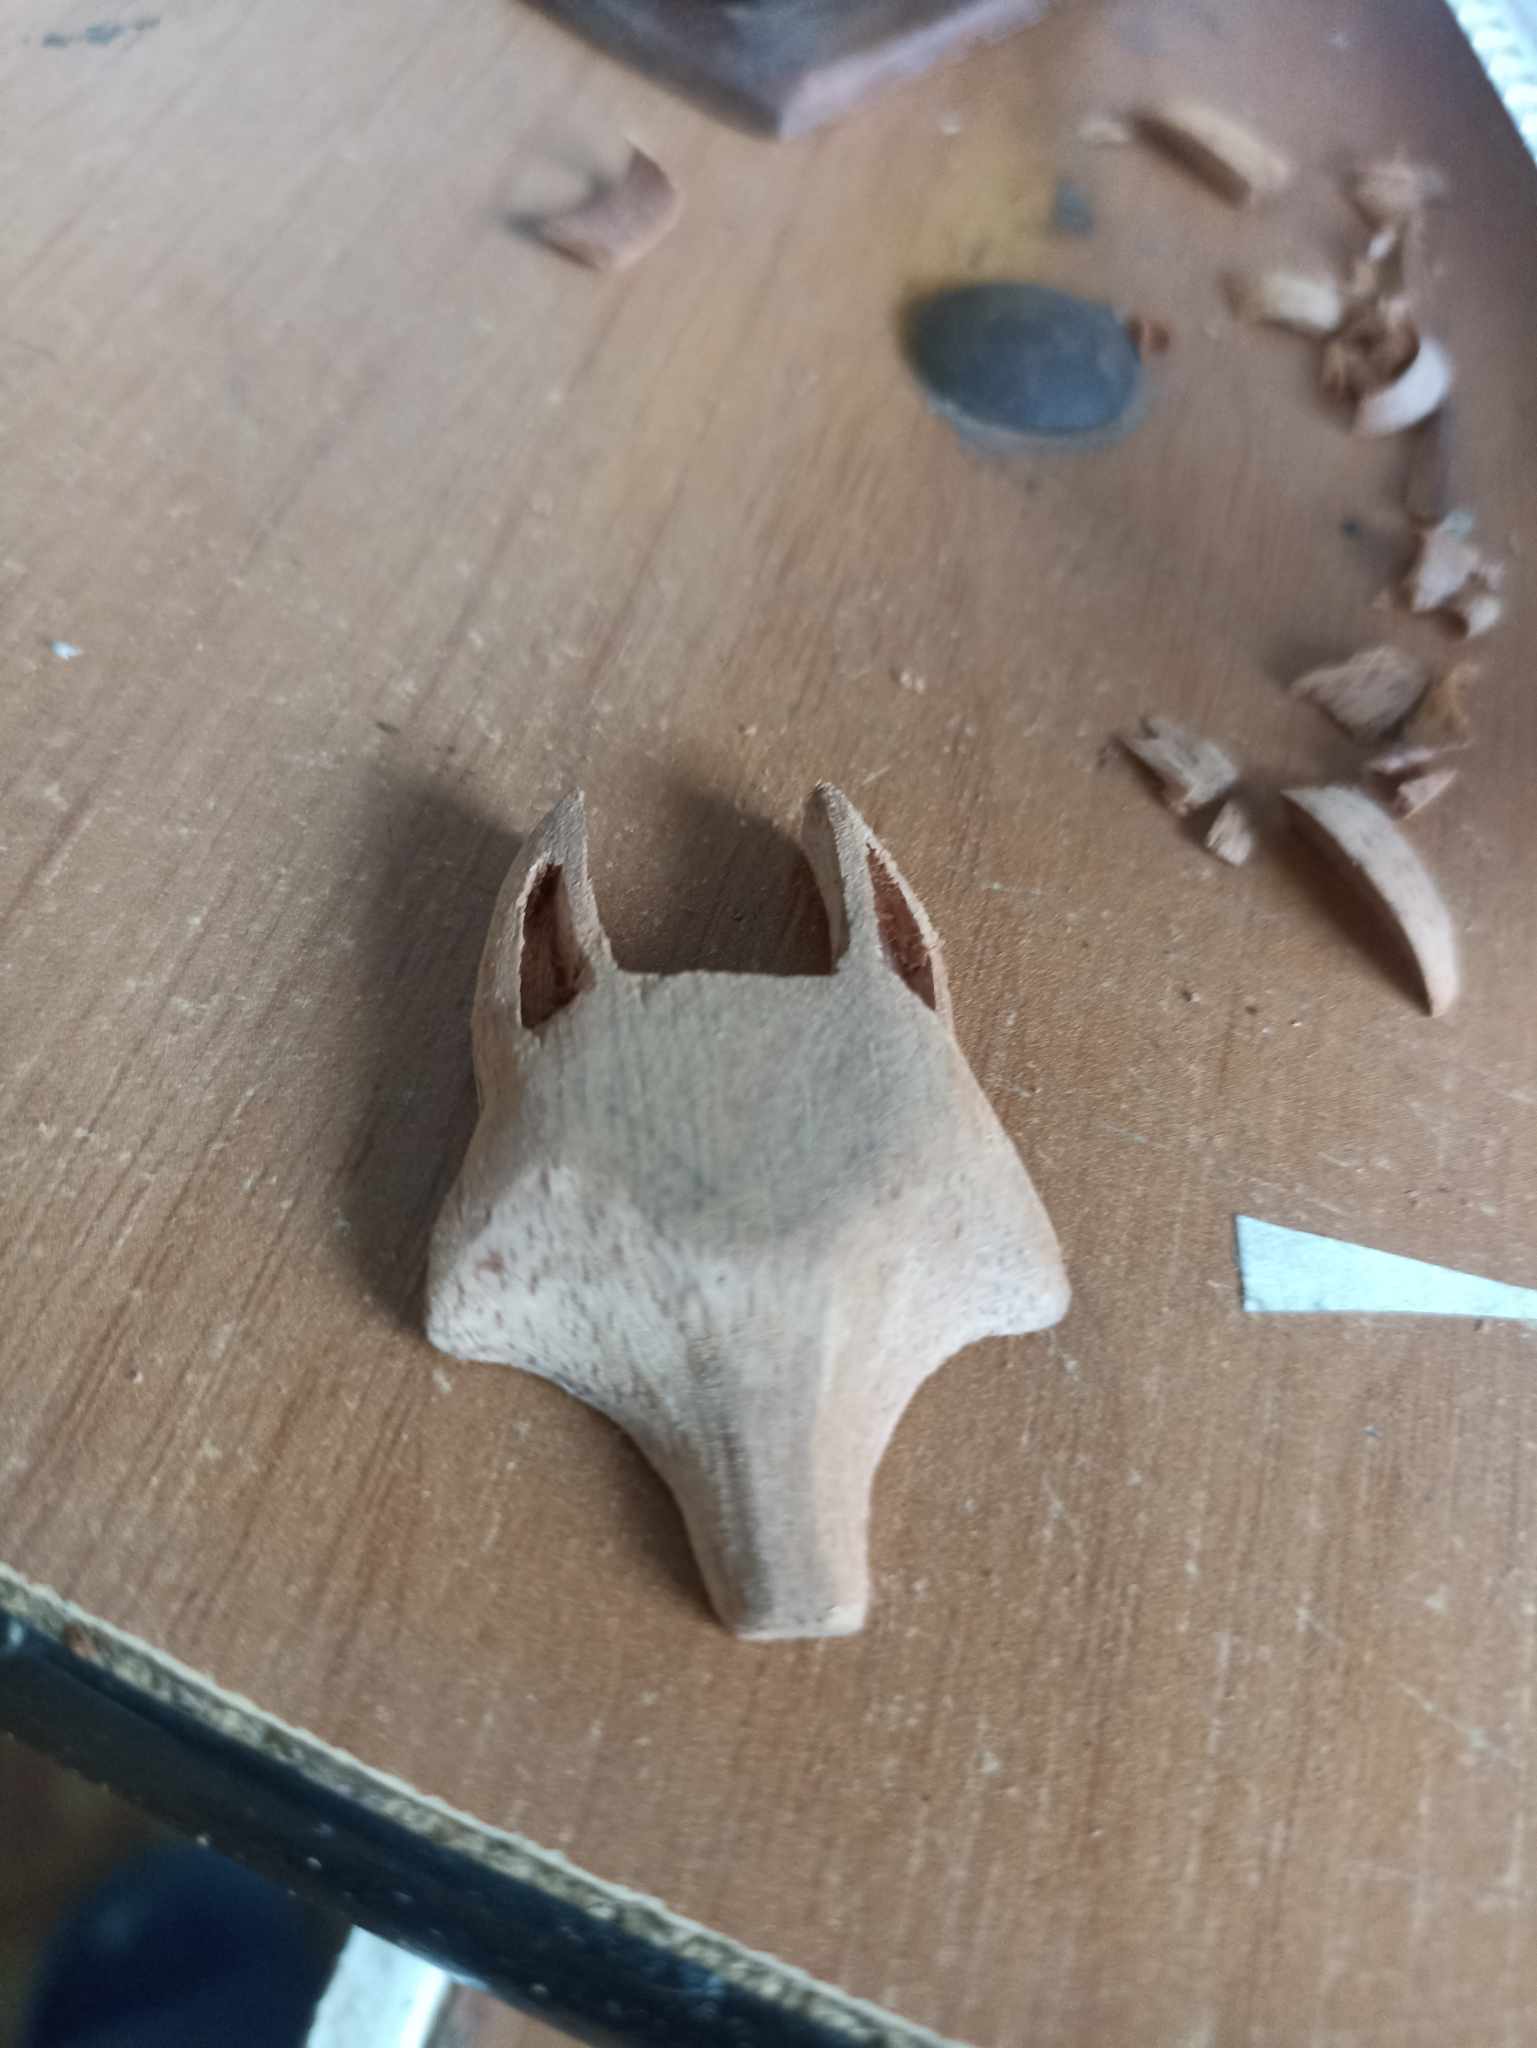
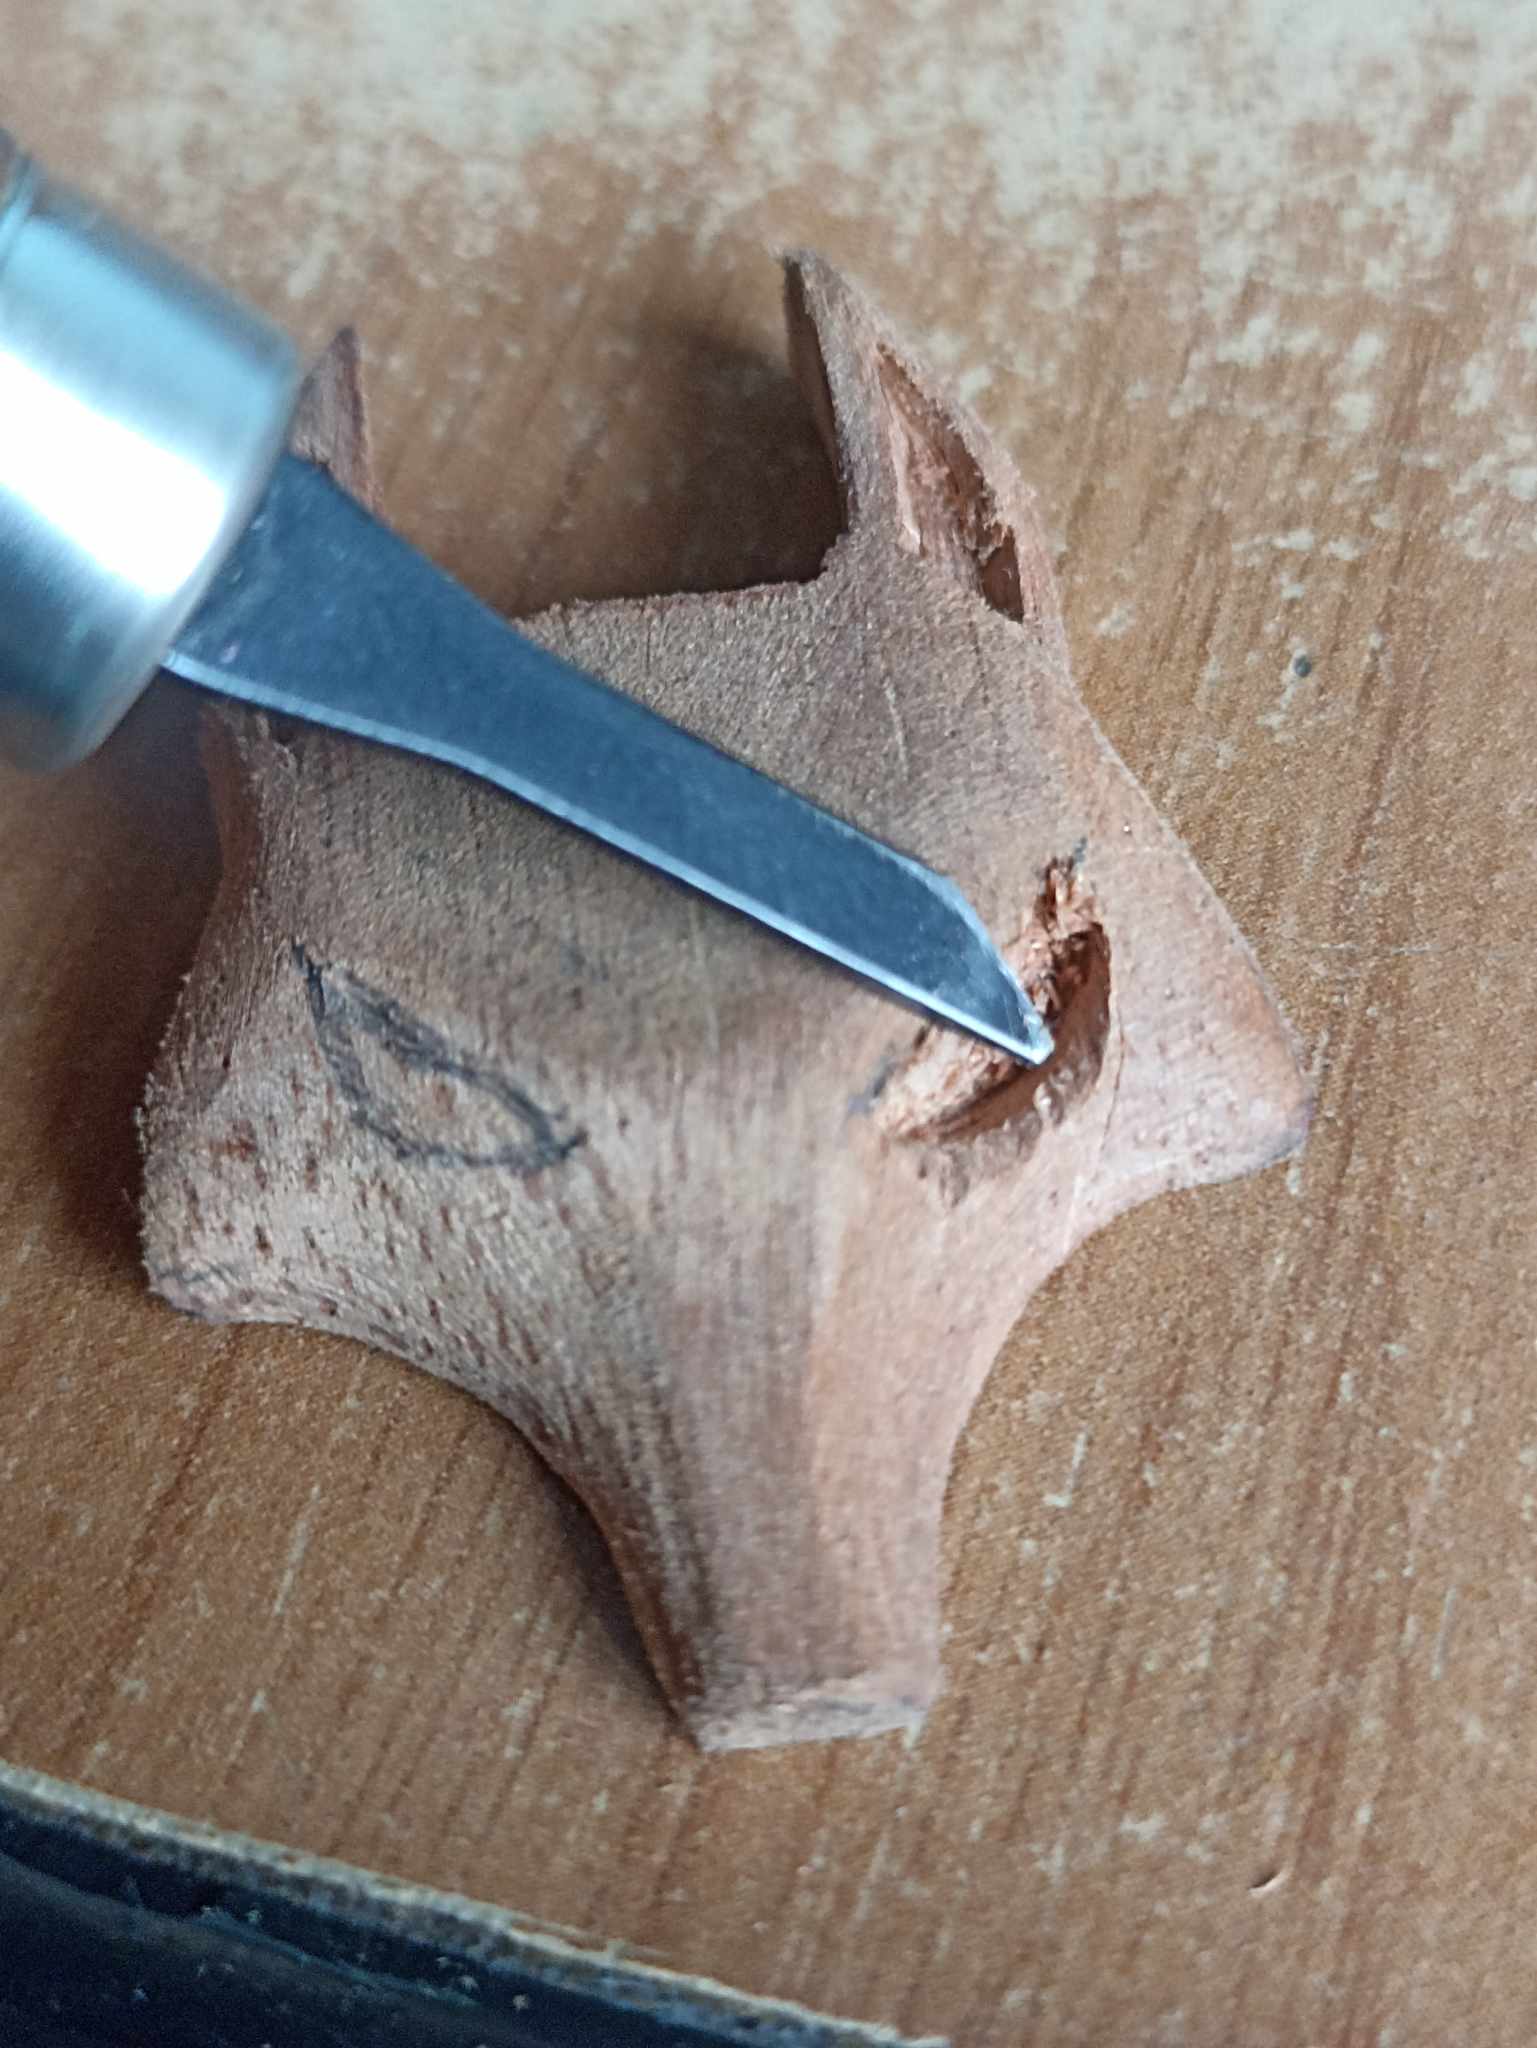
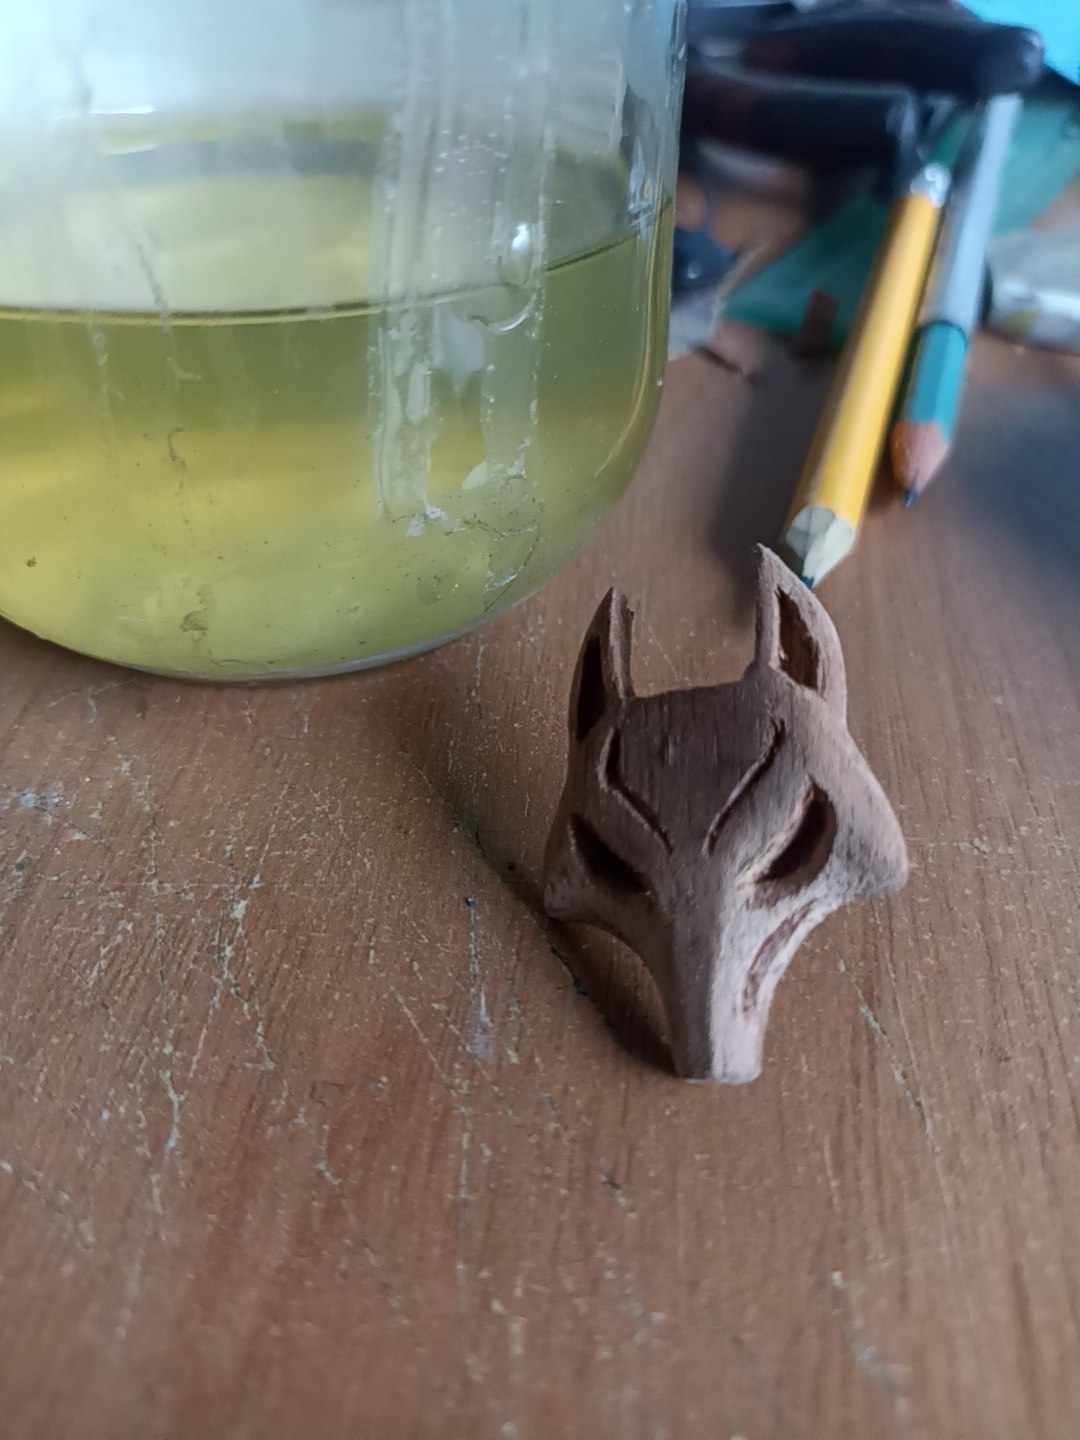
Next I start sanding until I leave the surface so polished that it allows me to draw the part where I will make the eyes. Once I have drawn each eye, with the smallest cutting tool I mark and remove the wood until each eye is very deep. In the same way I make some cuts at the top of the head and also at the bottom as extra details.
Seguidamente comienzo a lijar hasta dejar la superficie tan pulida que me permita dibujar la parte donde haré los ojos, una vez que he dibujado cada ojo, con la herramienta más pequeña de cortar voy marcando y sacando la madera hasta que cada ojo quede bien profundo. De la misma forma realizo unos cortes en la parte superior de la cabez ay también en la parte inferior como detalles extras.
 |  | |
|---|---|---|
 |  |
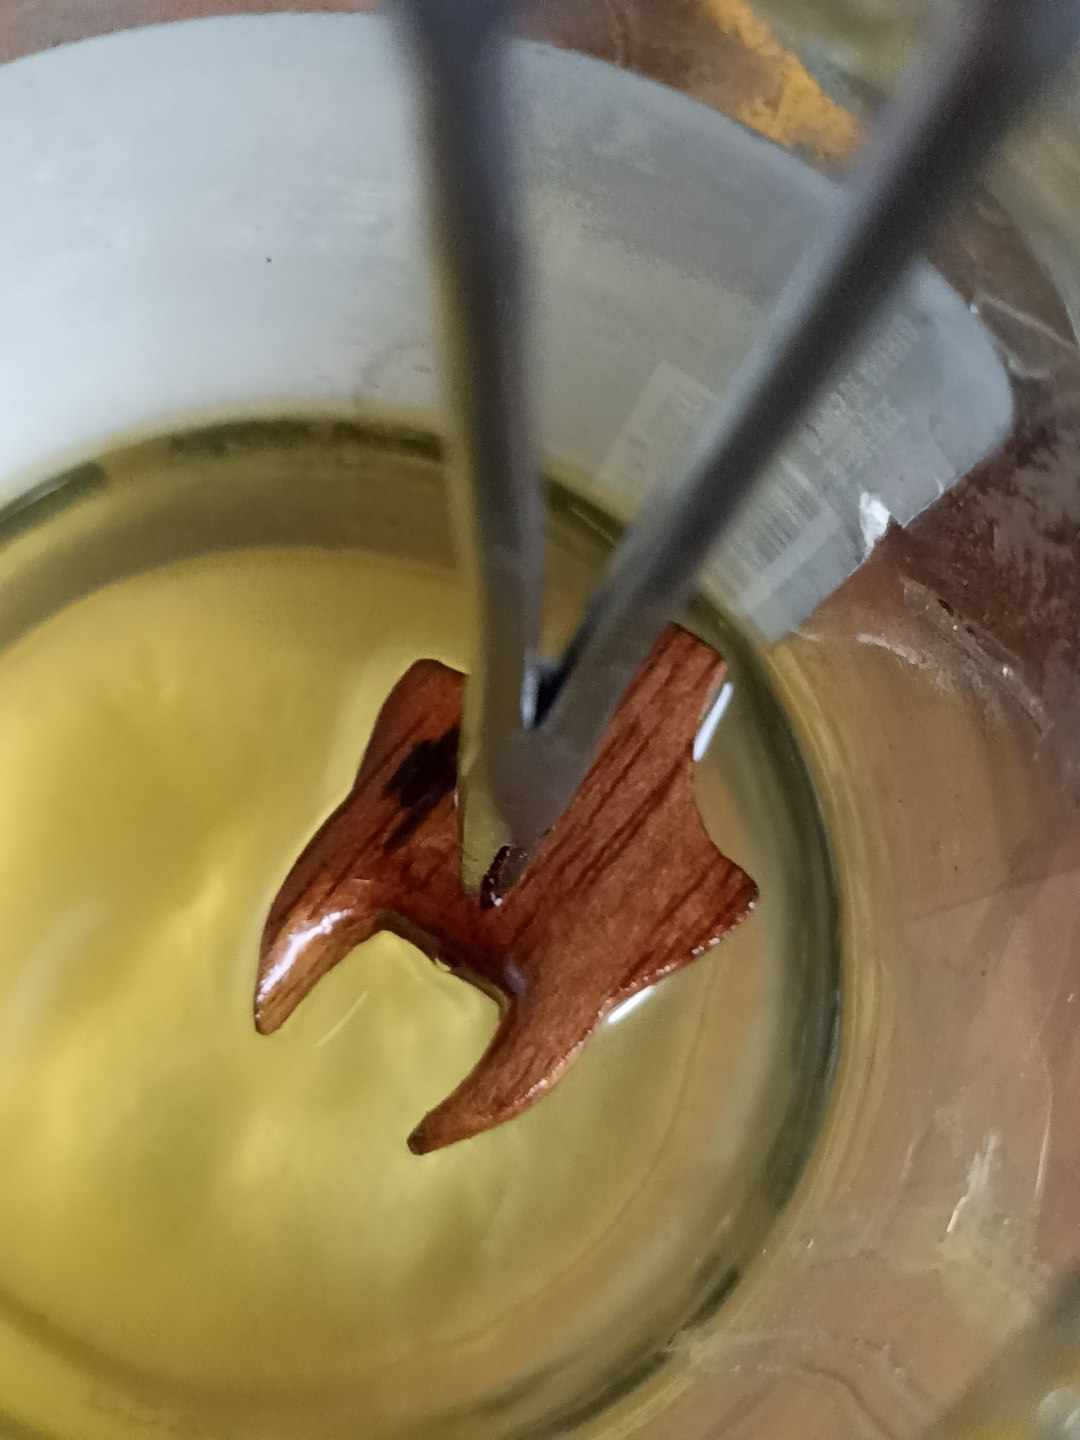
Last but not least, it is important to apply protective varnish, not without sanding very well until the wood is polished, after that, bathe the piece in varnish, let it dry and sand again to apply varnish again, in this way the piece of wood remains protected.
Por último no menos importante es aplicar barniz protector, no sin nates lijar muy bien hasta pulir la madera, luego de eso bañar la pieza en barníz, dejar secar y volver a lijar para otra vez aplicar barníz, de esta mandera la peiza de madera queda protejida.
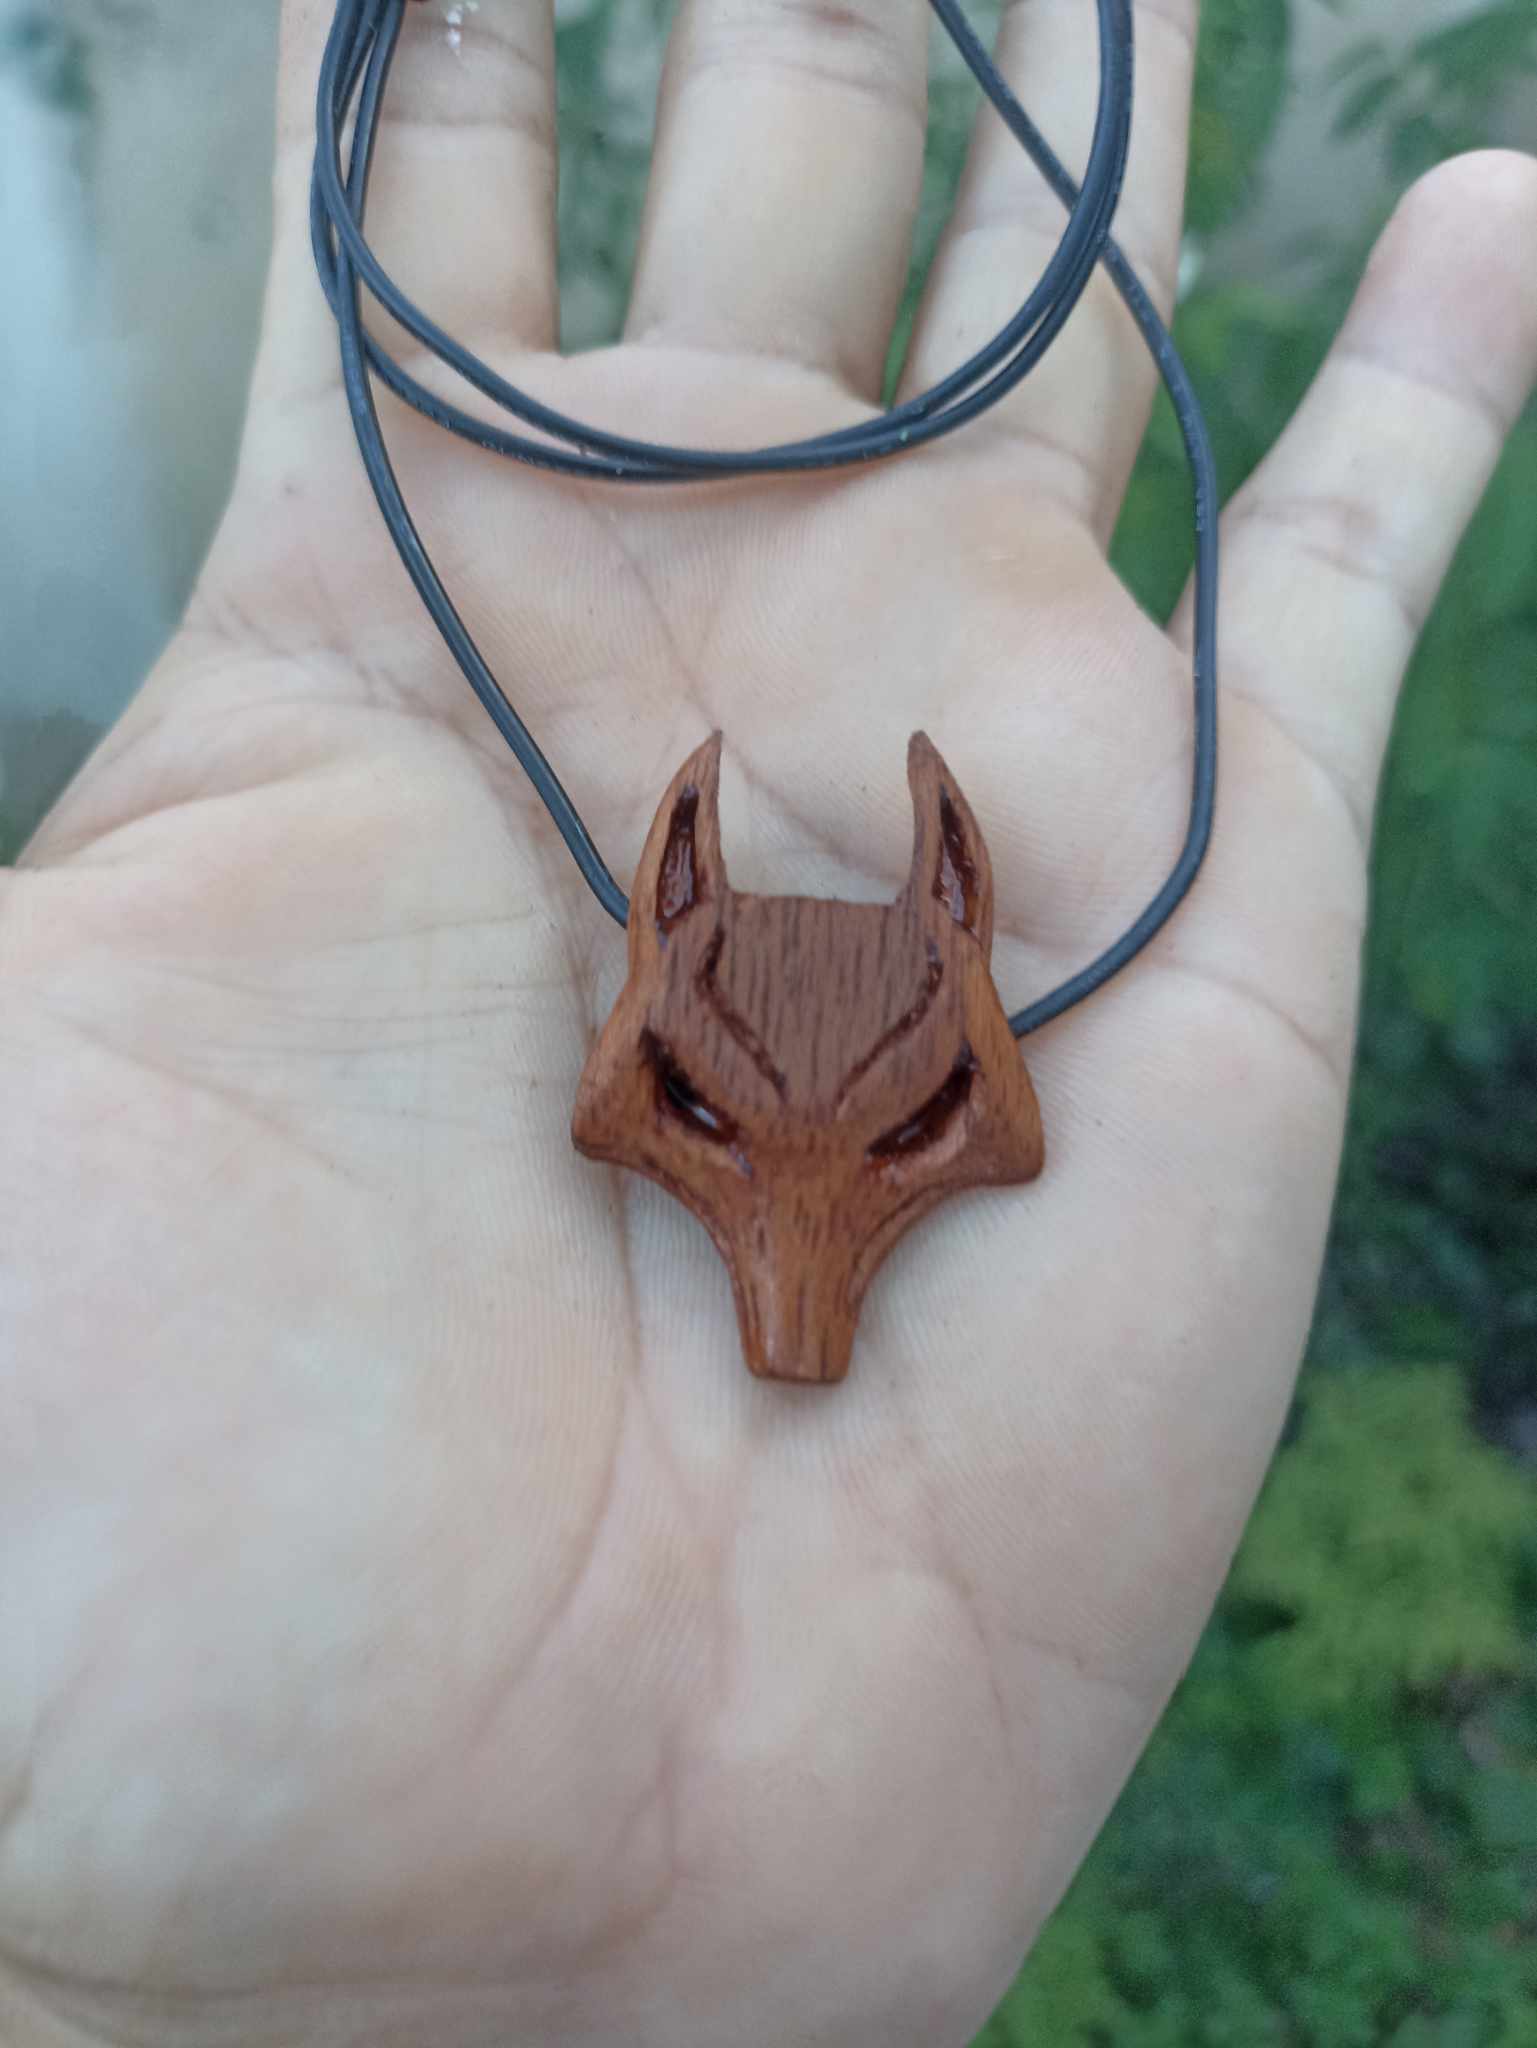
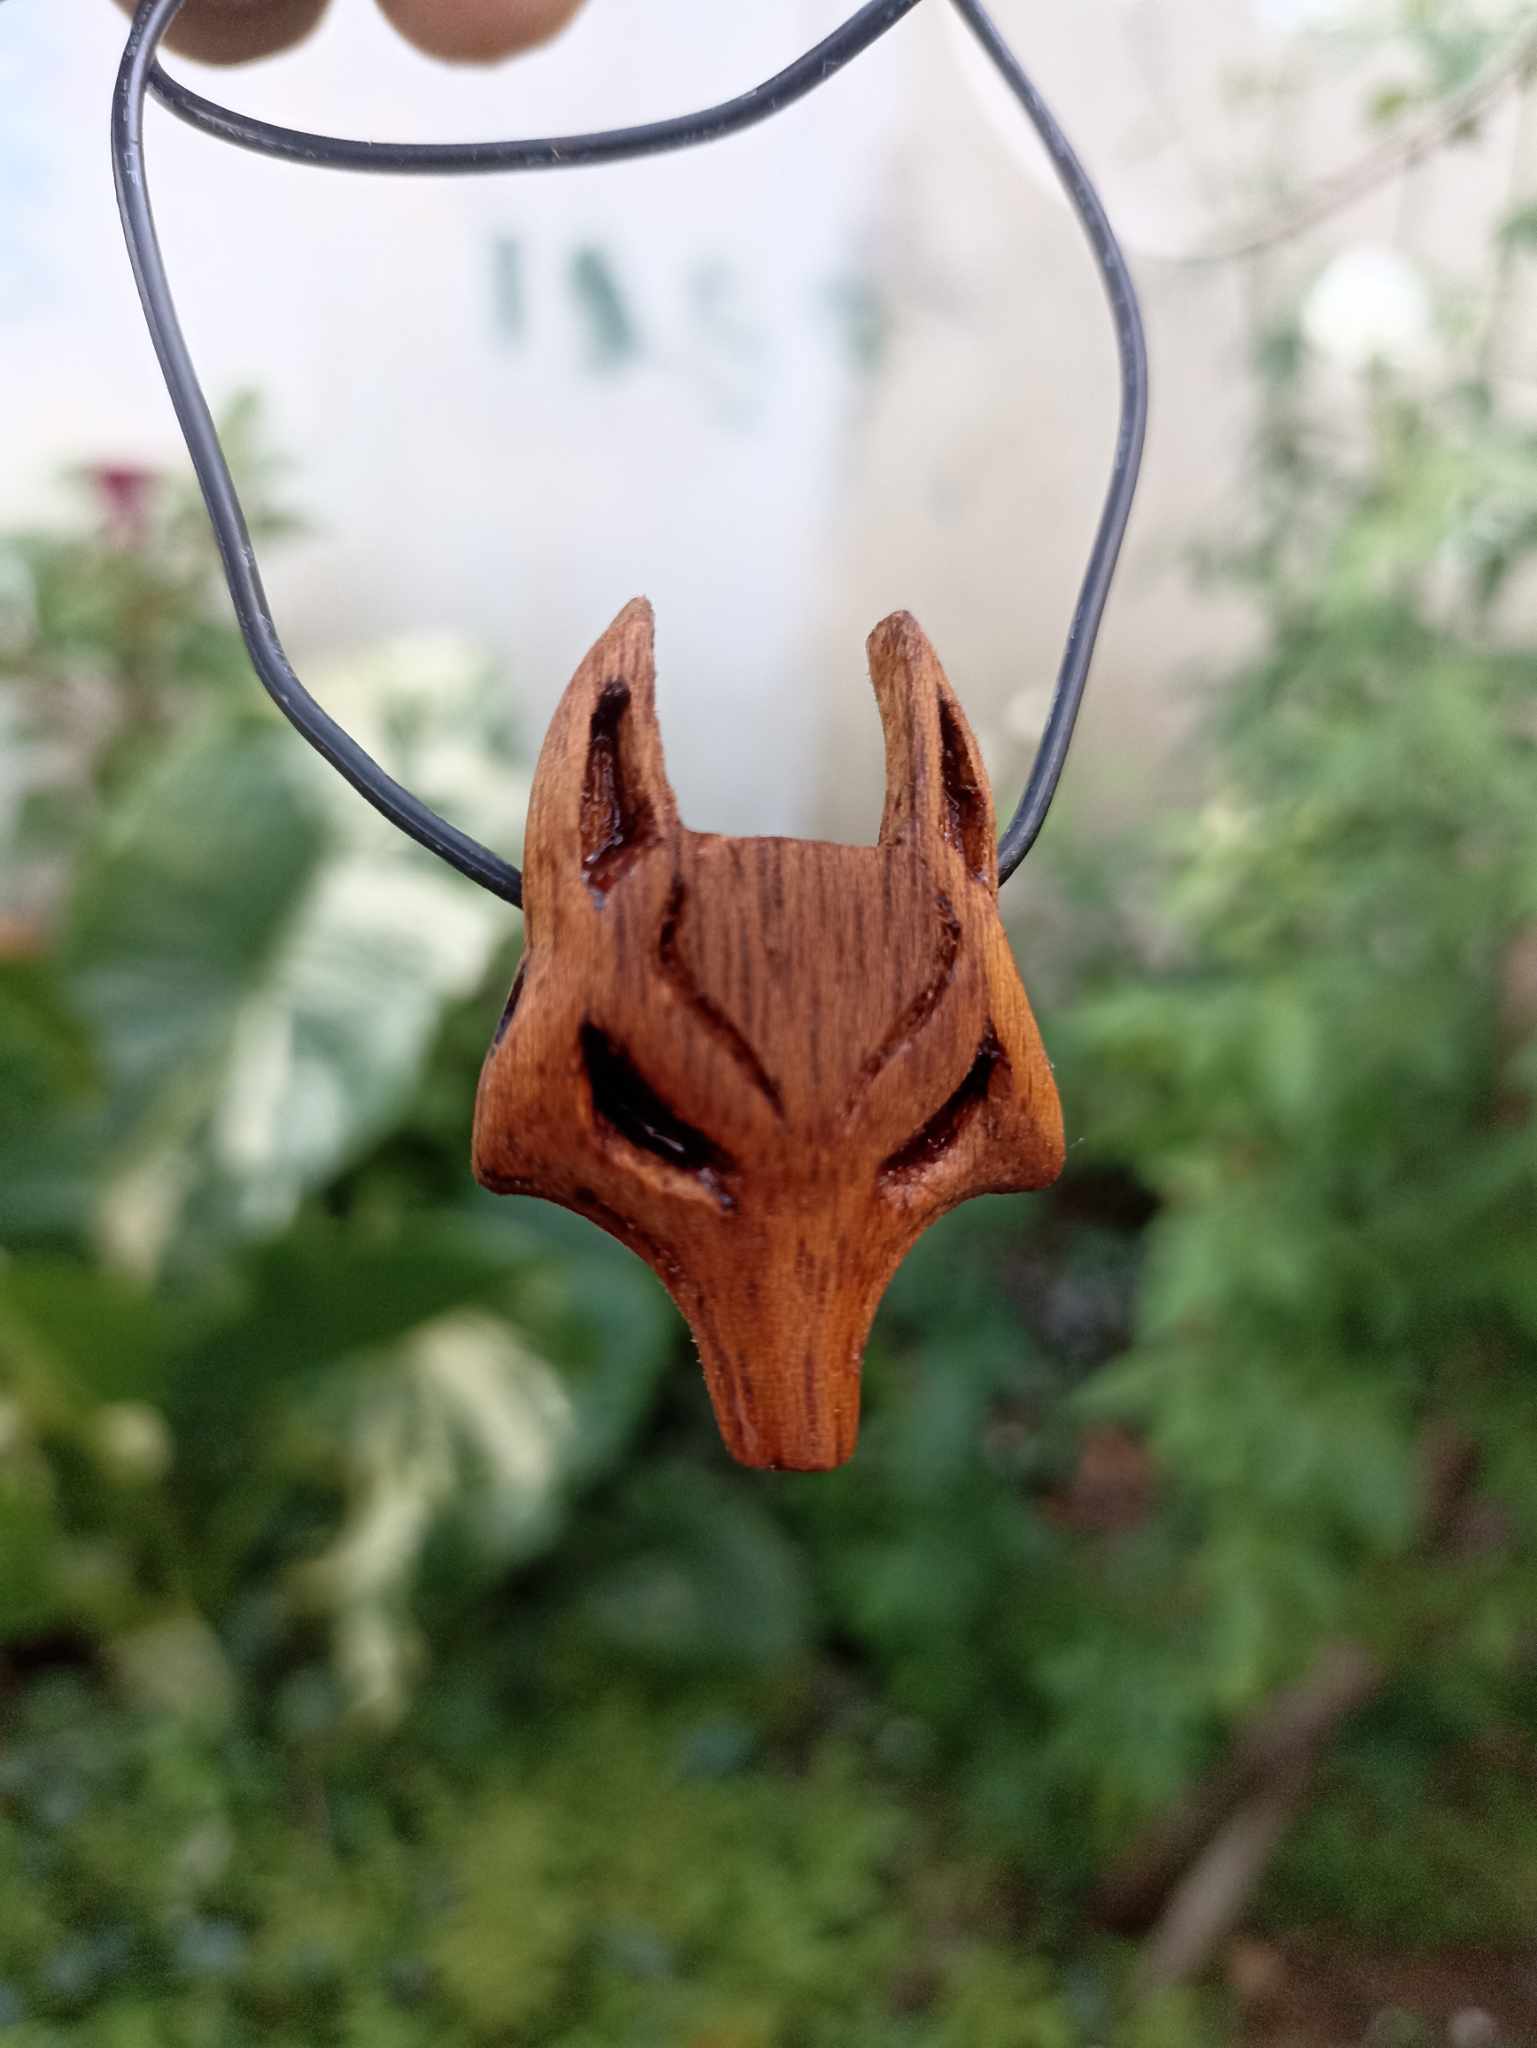
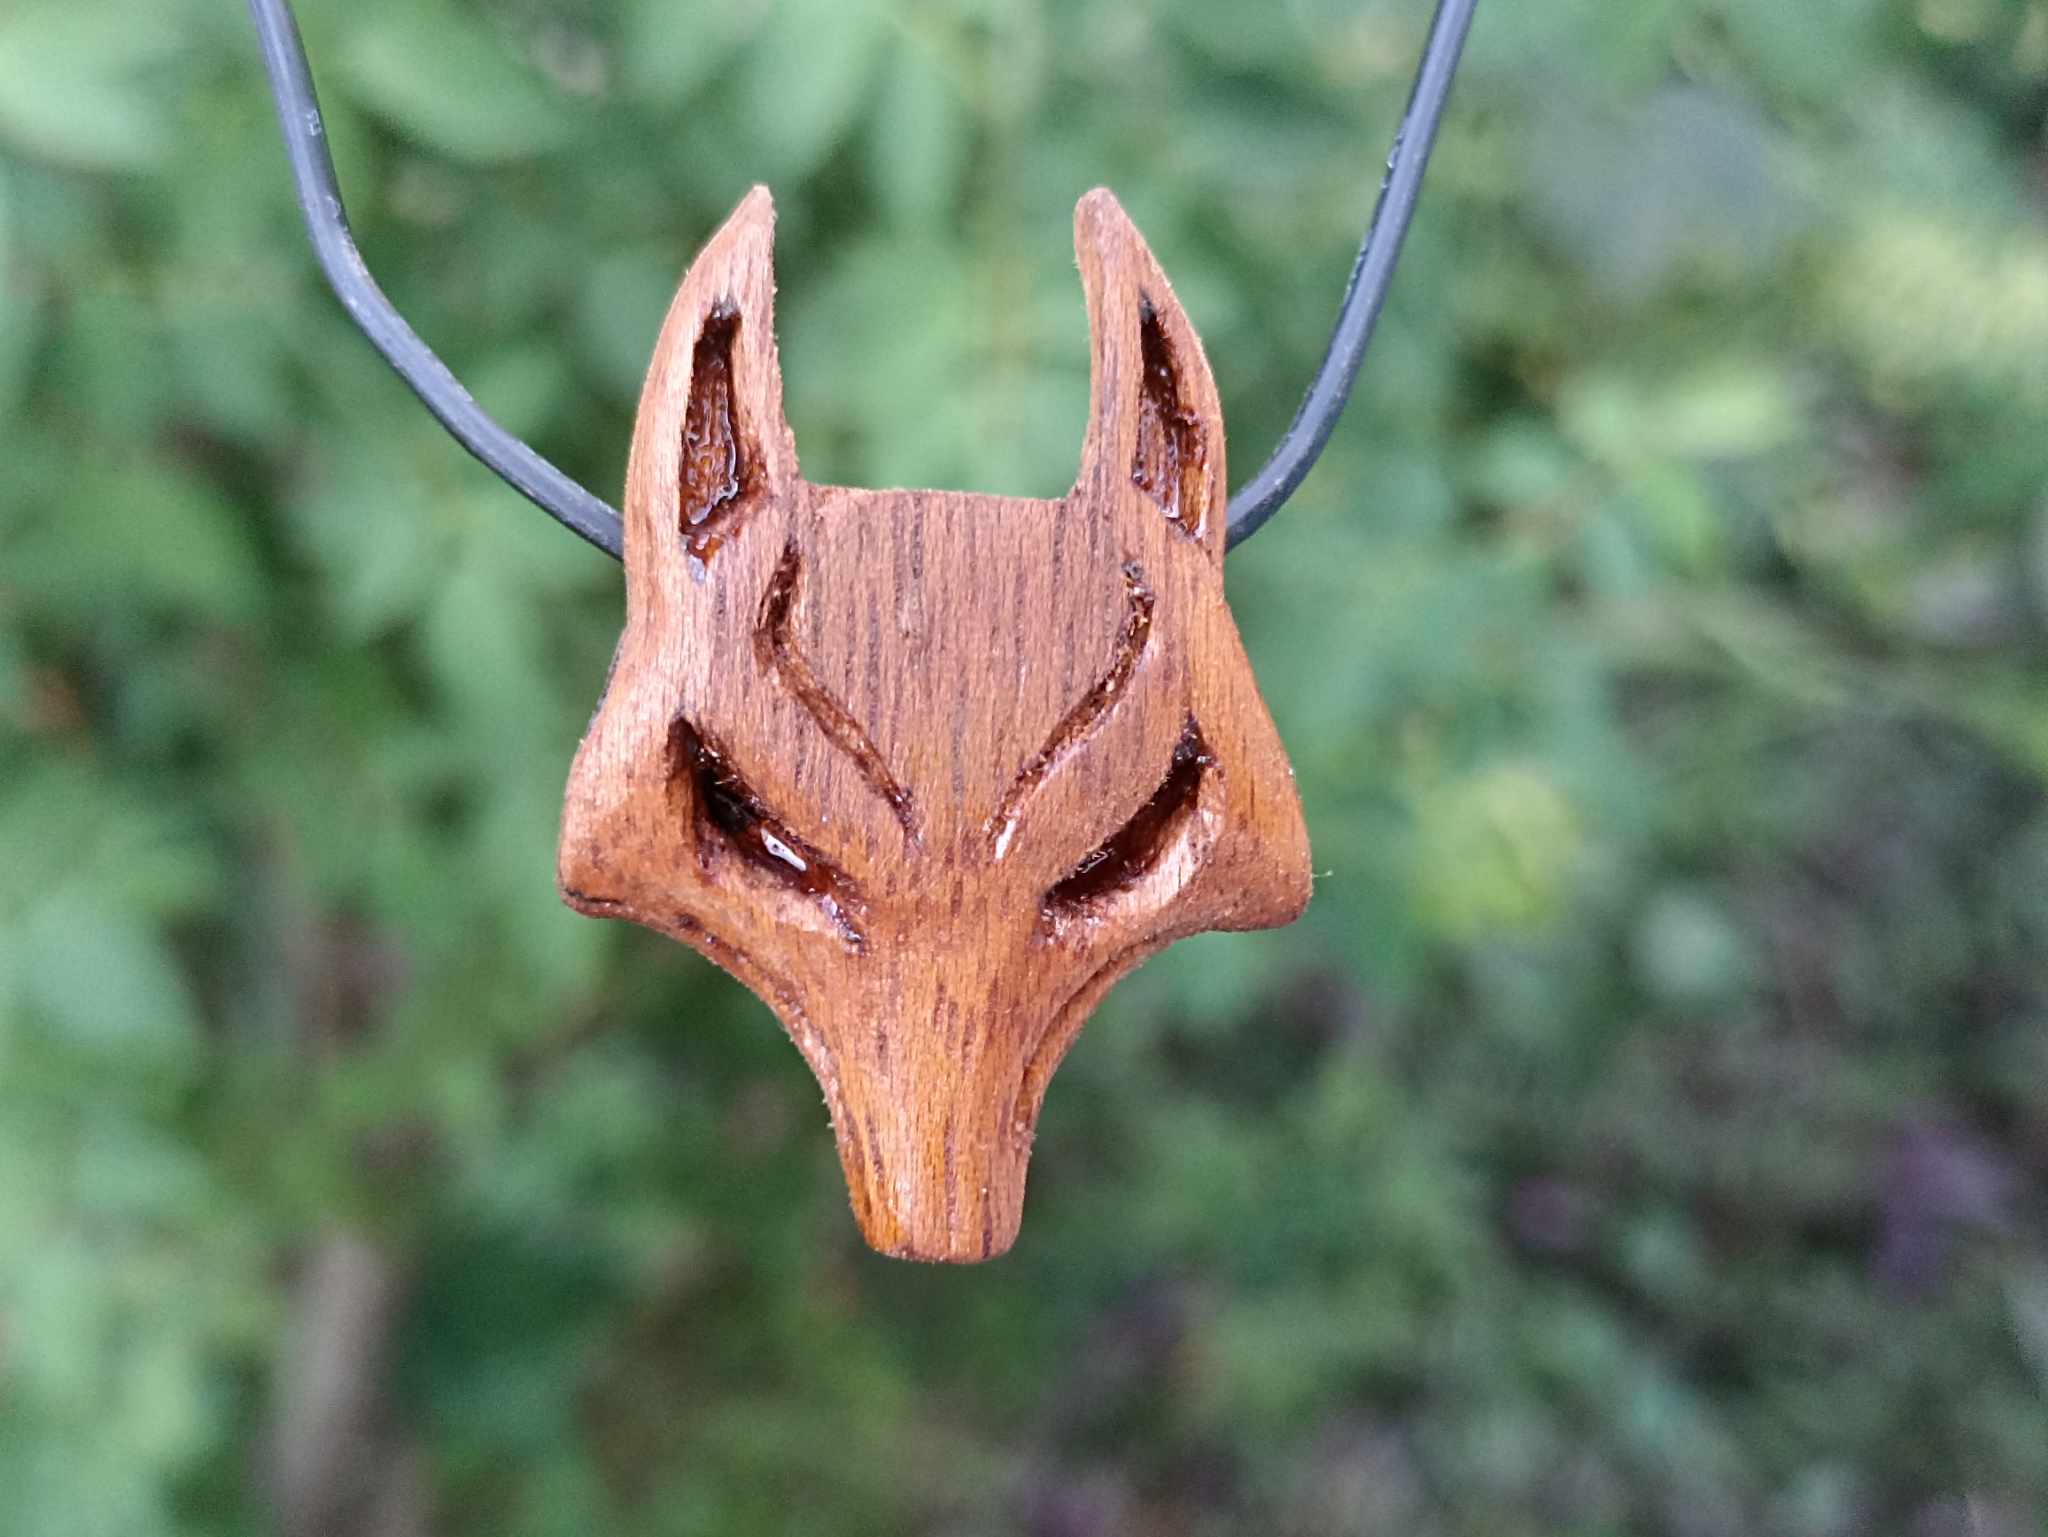
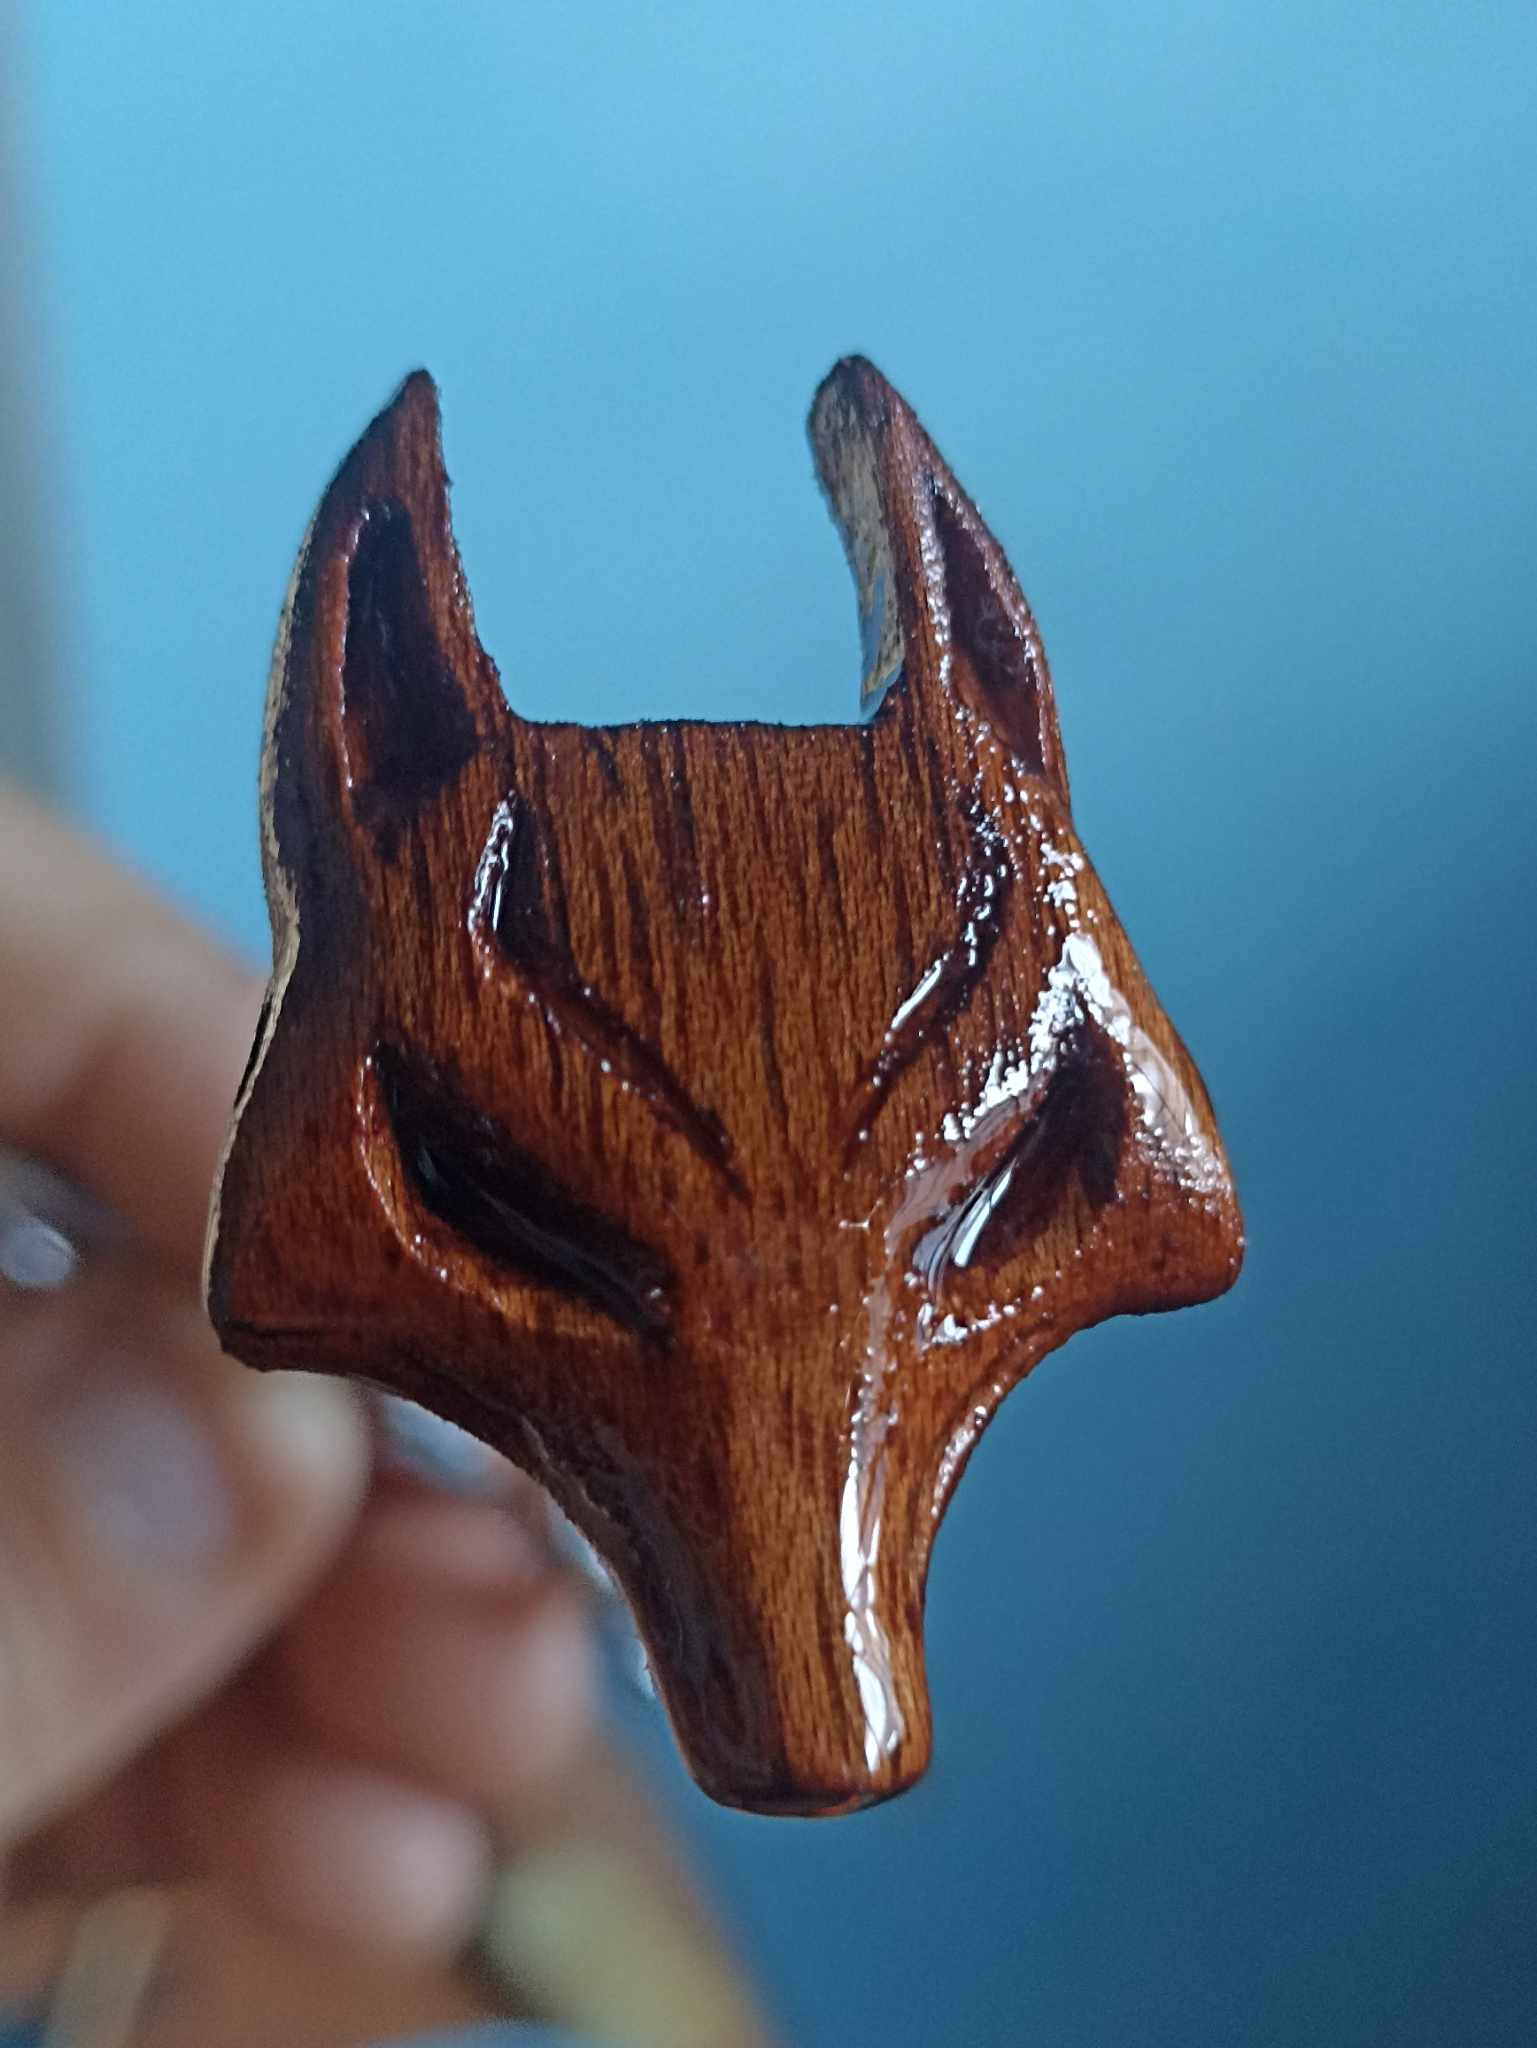
This is how this wood carving style fan art of the Razorhound card turned out, what do you think? I really liked it, this necklace can be worn at any time and place and when they ask what it means, talk about the game. I hope you liked it, I did it with great pleasure, I say goodbye until a new opportunity, greetings to all.
Así ha quedado este fan art estilo tallado de madera de la carta Razorhound, que tal les parece? a mi me gustó mucho, este collar puede lucirse en cualquier momento y lugar y cuando pregunten que significa, hablar del juego. Espero les haya gustado, lo he realizaco con mucho gusto, me despido hasta una nueva oportunidad, saludos para todos.