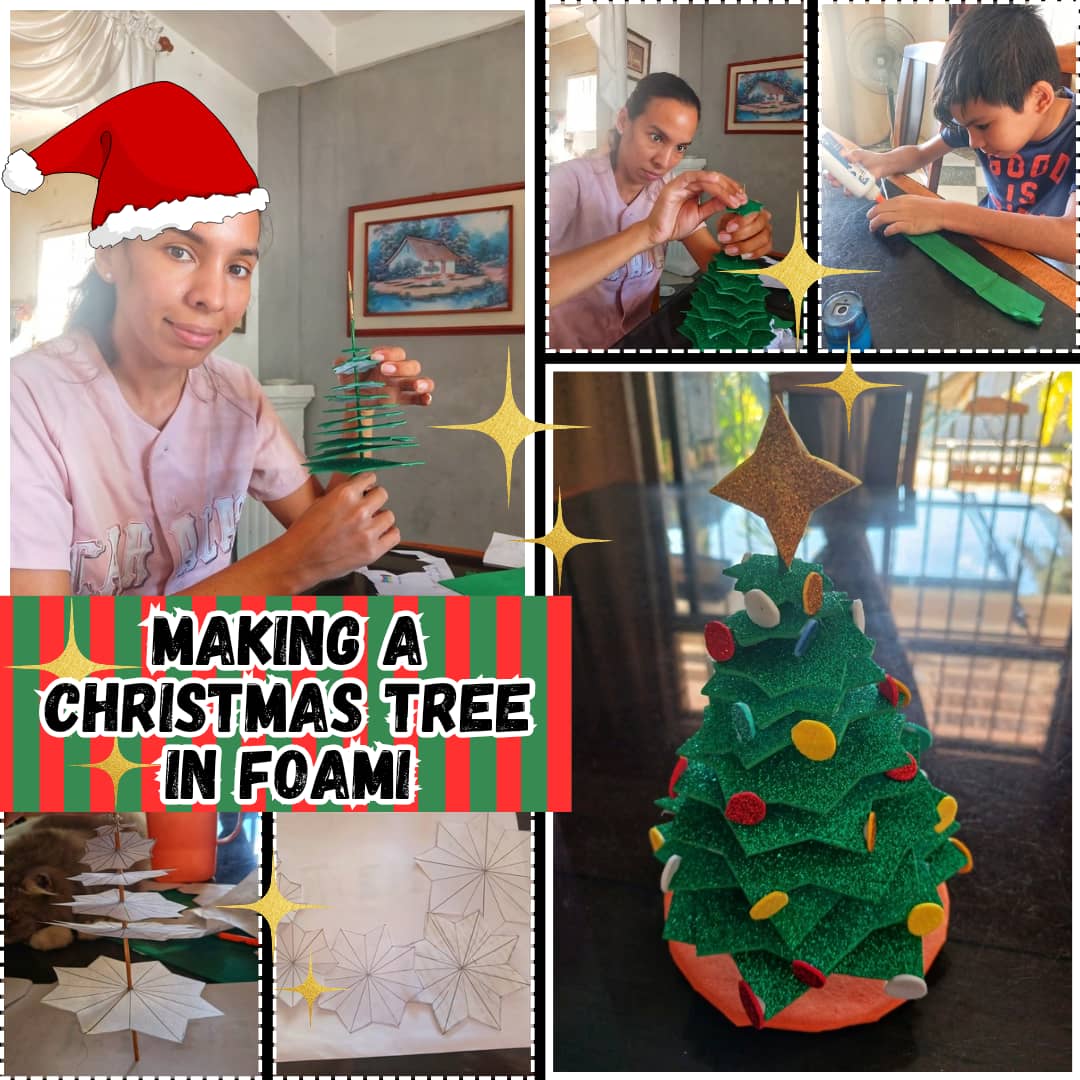
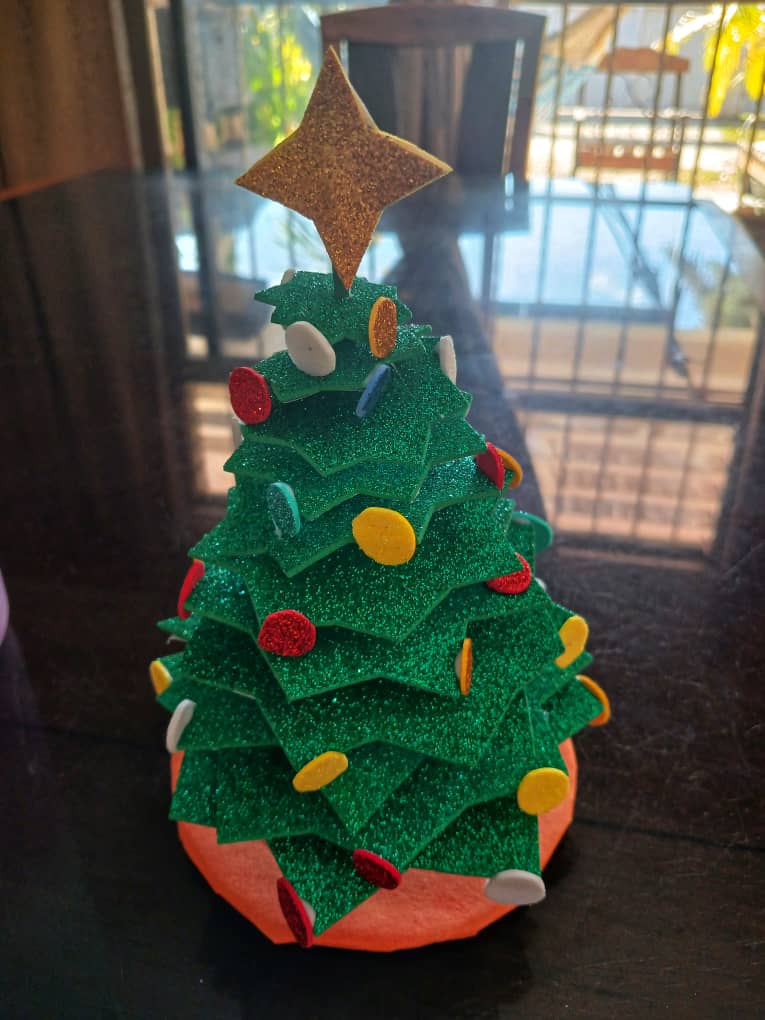
Hello, friends of this beautiful community, I hope you are all well. I tell you that I continue with my son's school activities. This time I had to make a Christmas tree with foami, and I really loved how it turned out, to make this Christmas tree I had to run out as always to buy the materials to use, because at home I only had yellow foami from the previous craft which was the parchita and some white and green tissue paper, but the most important thing was the foami did not have it at home, so you know my odyssey but this time I got it a little cheaper in a Chinese so I know where I will go next time to make the purchases.
Hola, amigos de esta hermosa comunidad, espero que todos estén bien. Les cuento que sigo con las actividades escolares de mi hijo. En esta oportunidad me tocó realizar un árbol de Navidad con foami, y de verdad que me encantó cómo me quedó, para realizar este árbol de Navidad me toco como siempre salir corriendo a comprar los materiales a utilizar, ya que en casa solo tenía foami amarillo de la manualidad anterior que era la parchita y un poco de blanco y papel de seda verde, pero lo más importante que era el foami no lo tenía en casa, así que ya saben mi odisea aunque esta vez lo conseguí un poco más económico en un chino así que ya sé donde iré la próxima vez a realizar las compras.

 |  |  |  |
|---|

Materials used:
1/4 green tissue paper
2 green frosted foami
White glue
1/4 yellow foami
1/4 red foami
1/4 white foami
Recycled cardboard
1 toothpick height
1 orange school cardboard (letter size)
hot silicone
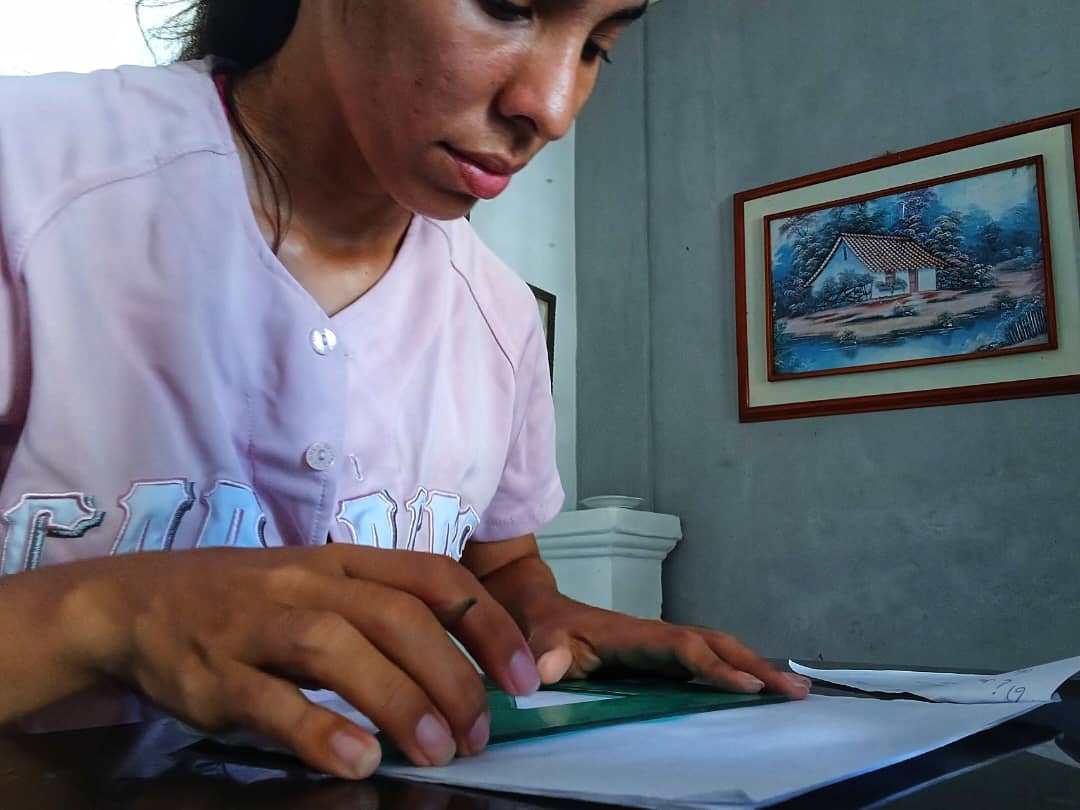
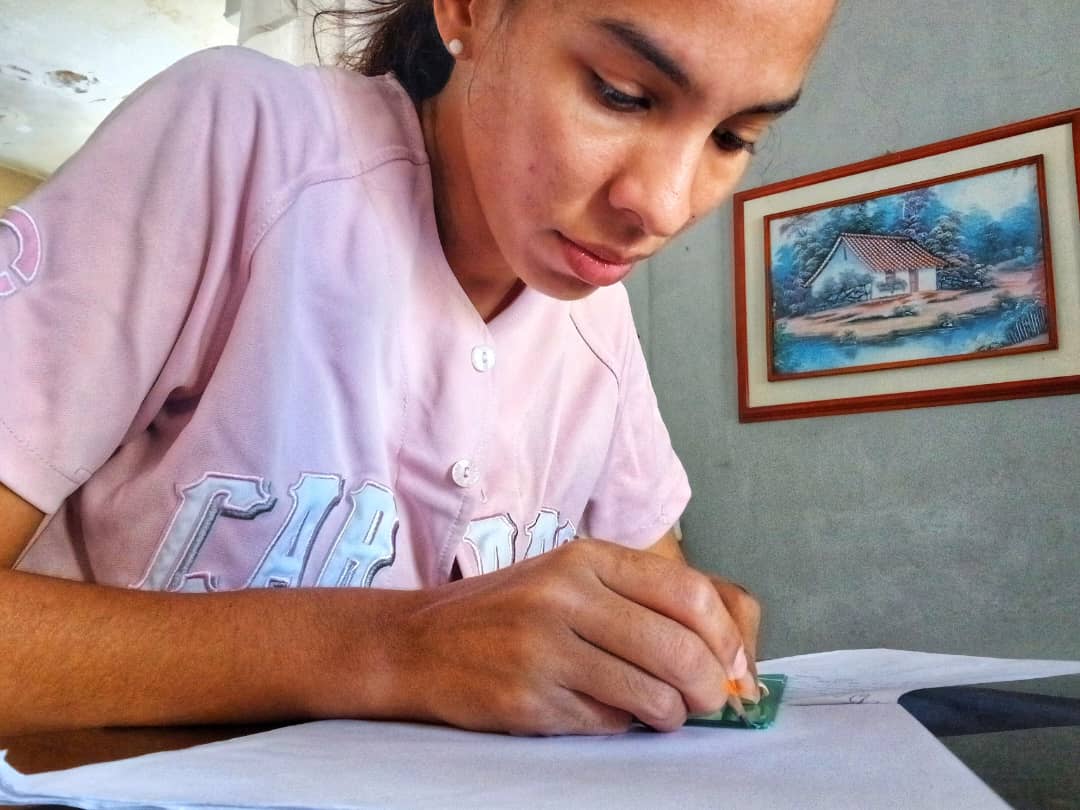
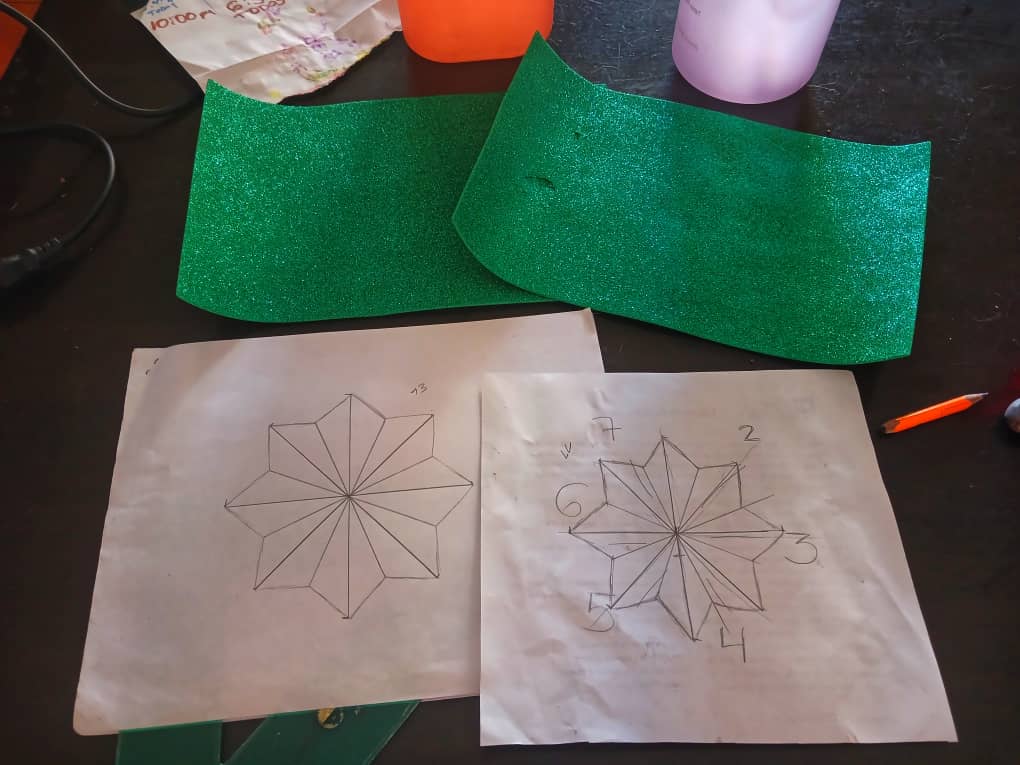
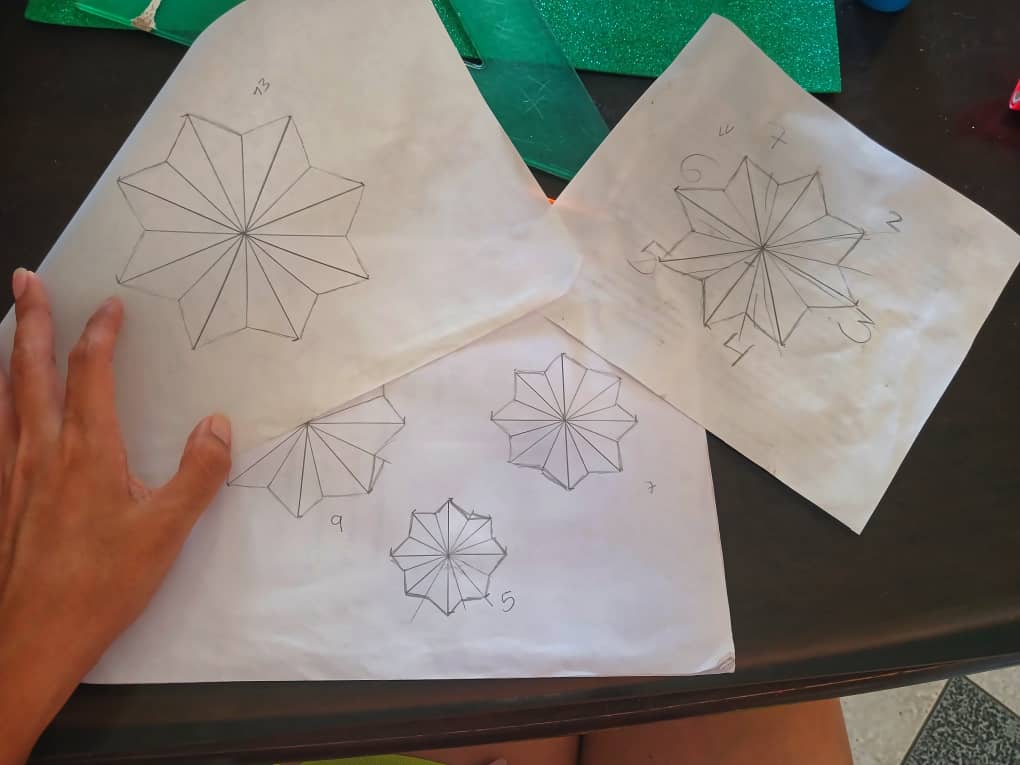
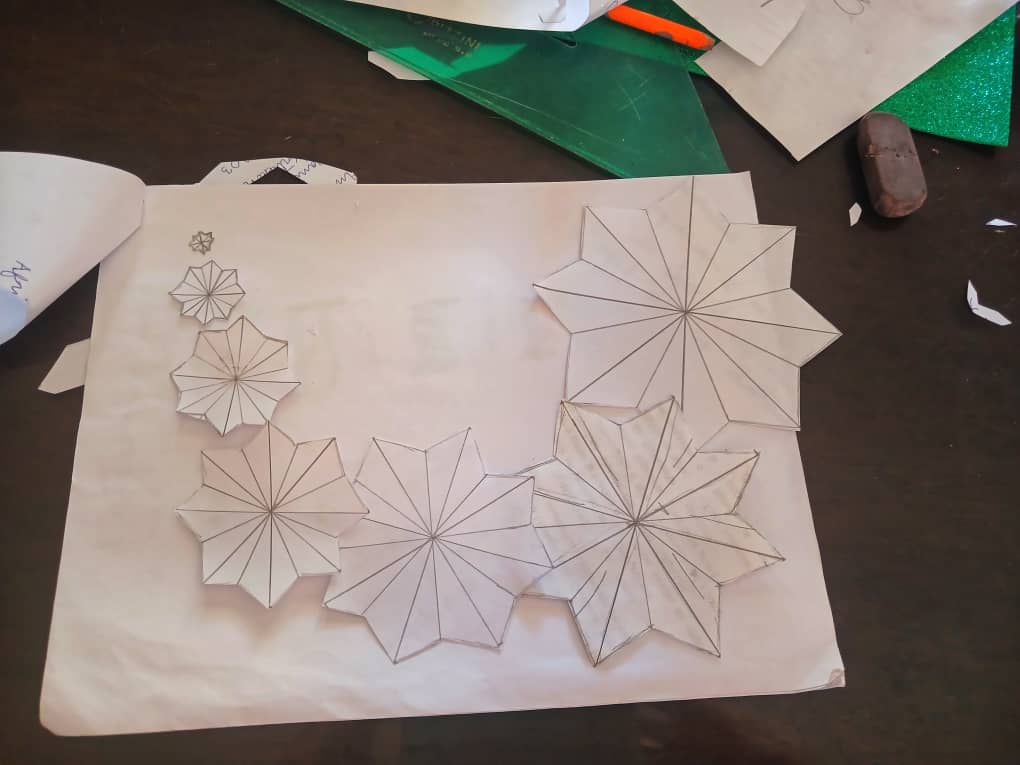
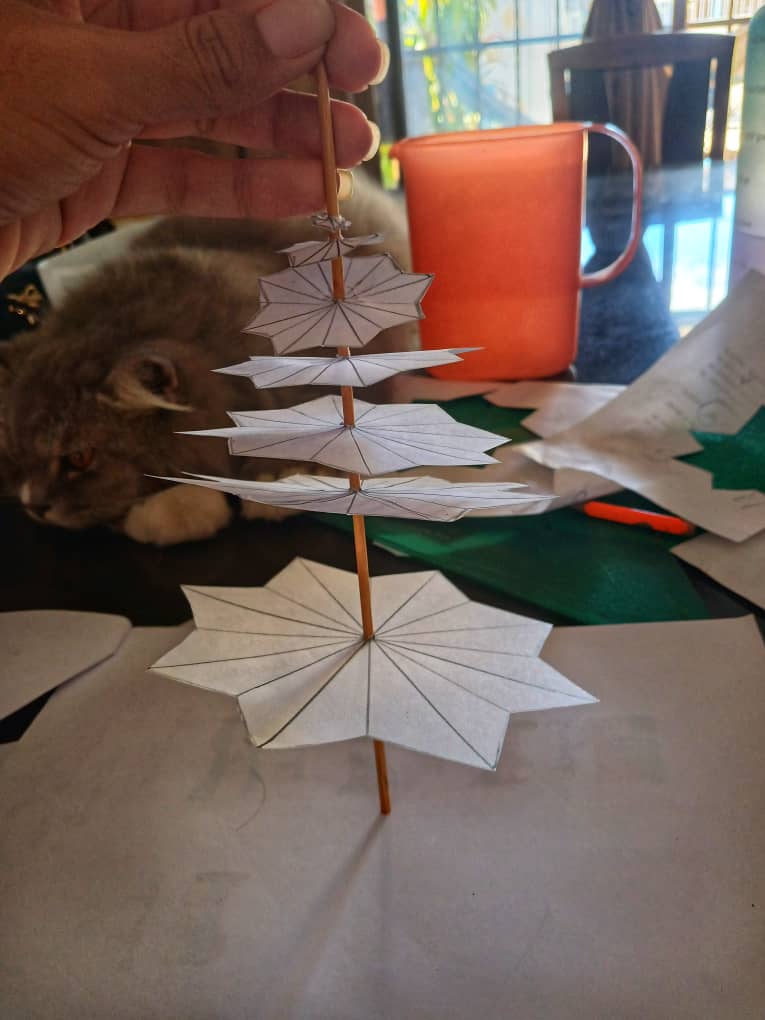
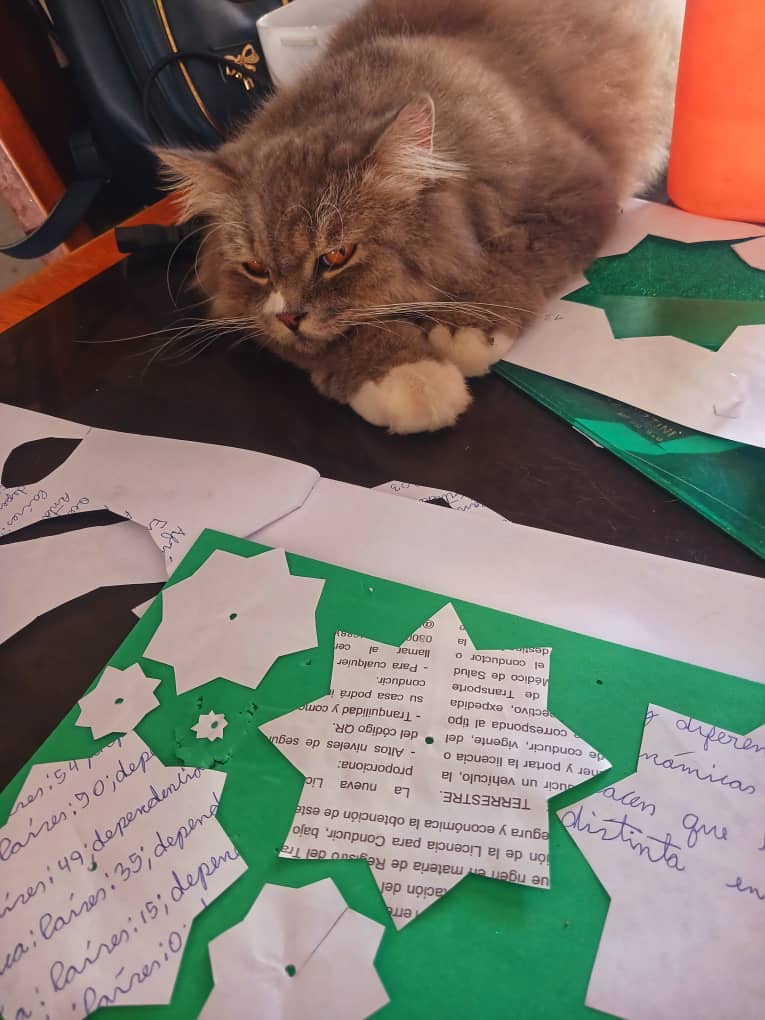
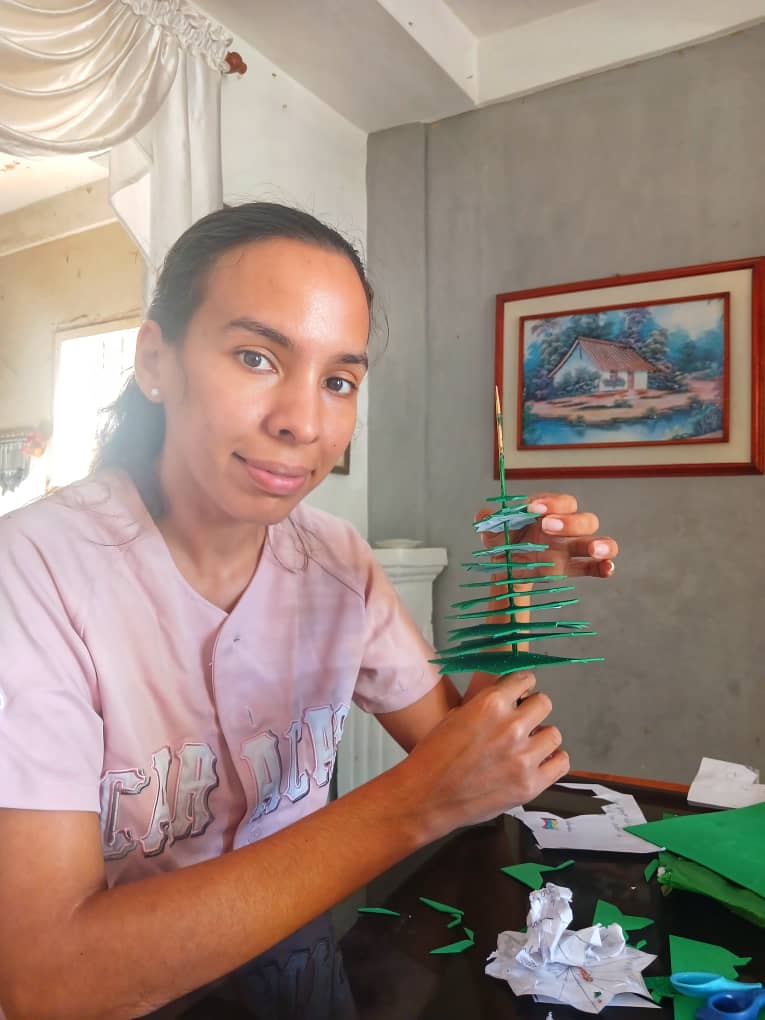
making this Christmas tree was a little complicated because I did everything with cm by cm measure each section of tree was made in the form of a star, which was measured cm by cm with the ruler to make it look good, I started making the star of 13 cm wide, and so I continued going down 12,11,10,9,9,8,7,6,5,4,3 cm which was the one that was already at the tip, when I had all the stars drawn I began to cut one by one and presented them on the height stick to see how it would be, then paste them on the foami sheet and then cut.
Materiales utilizado:
1/4 papel de seda verde
2 foami verdes escarchados
Pega blanca
1/4 foami amarillo
1/4 foami rojo
1/4 foami blanco
Cartón reciclado
1 palillo de altura
1 cartulina escolar tamaño carta color anaranjado
silicona caliente
realizar este árbol de Navidad fue un poco complicado debido a que todo lo hice con medida cm por cm cada tramo de árbol se realizó en forma de estrella, el cual fue medido cm por cm con la regla para que quedara bien, comencé realizando la estrella de 13 cm de ancho, y así continúe bajando 12,11,10,9,8,7,6,5,4,3 cm qué era el que ya iba en la punta, al tener todas las estrellas dibujadas comencé a recortar una por una y las presente en el palillo de altura para ver como quedaría, luego seguidamente pegarlas en la lámina de foami para luego recortar.

 |  |  |  |
|---|

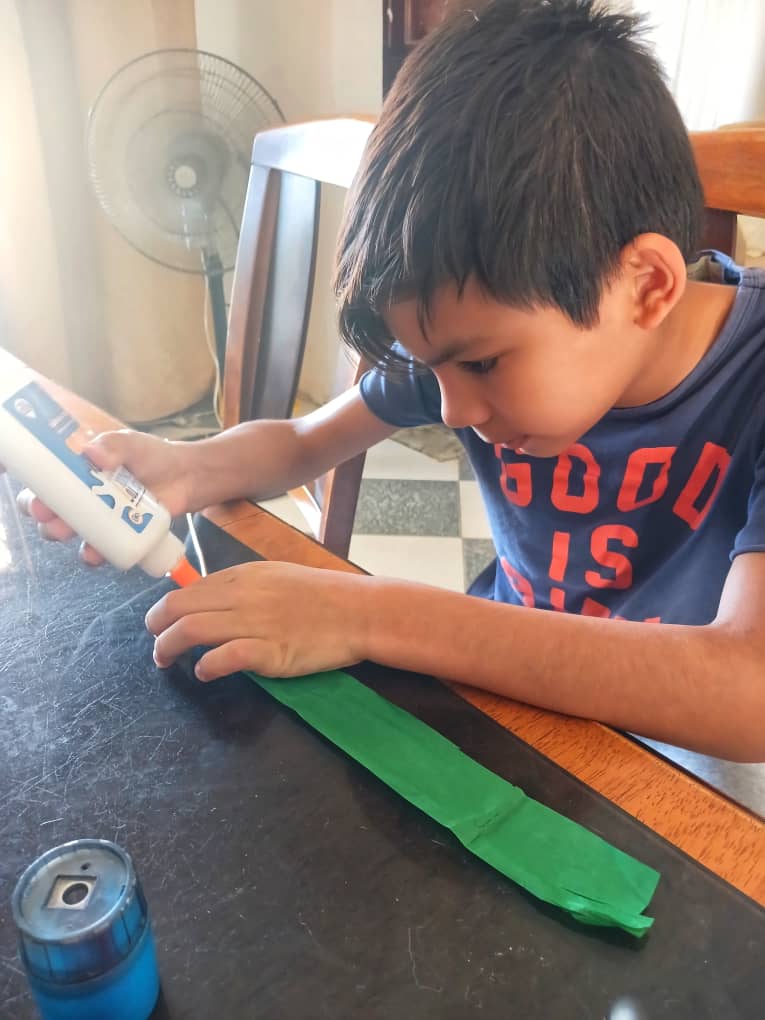
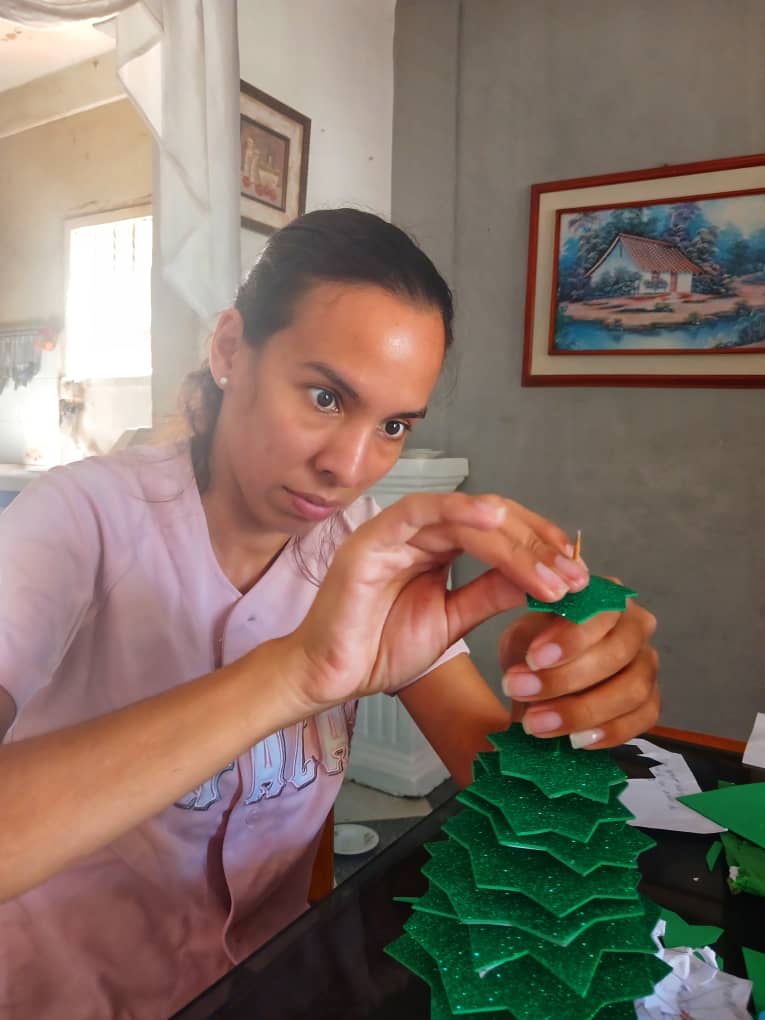
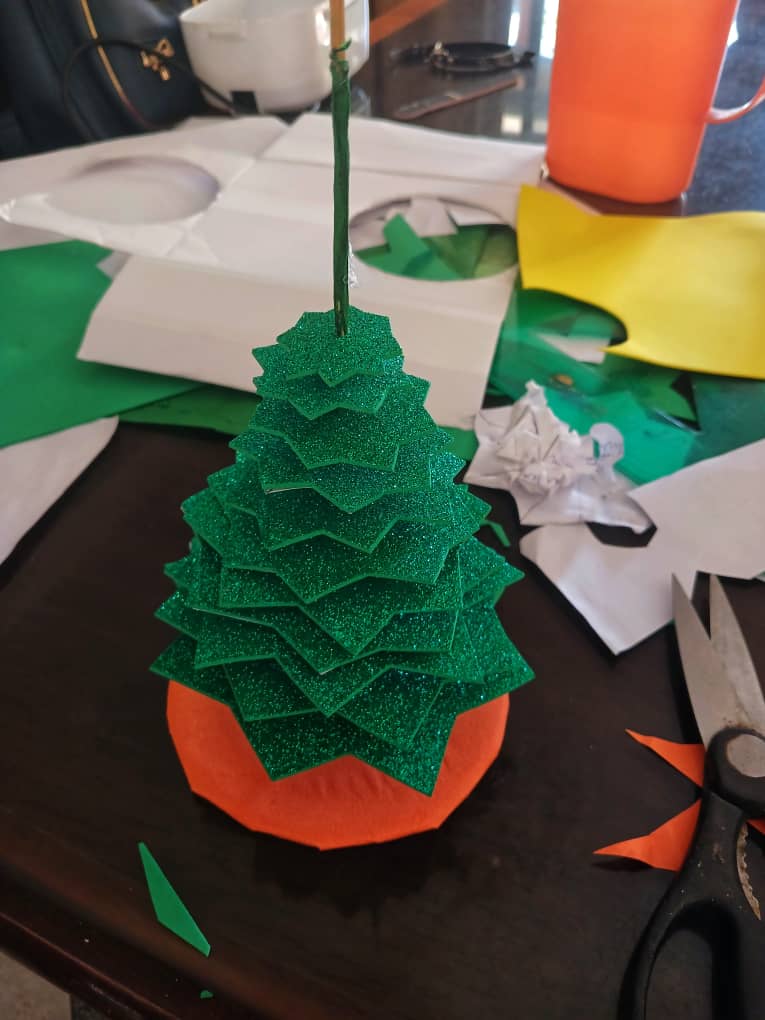
Having this already cut out I began to assemble the height stick, but before starting to place it on the height stick my son helped me to line the stick with green tissue paper so that the brown of the stick would not be seen, when this was ready we began to place the stars in foami one by one with great care so that the tissue paper stuck to the stick would not split, Once we have all of them in place we start to cut the base with recycled cardboard and we cover it with orange school cardboard, once the base is ready we place the tall stick in the center and we fix it with hot silicone to make sure it stays fixed.
Once the tree is ready, we begin to place the details such as the star and the pretty foami colors. And that's it, we have our beautiful Christmas tree for the school ready to be delivered for real. I was satisfied with the work, it was very nice and my son was delighted with his Christmas tree and that made me very happy, since it is the most important thing for me that my son is happy with the crafts I do for him and that he always participates even in something minimal, but he is always by my side accompanying me.
Al tener esto ya recortado comencé a armar en el palillo de la altura, pero antes de comenzar a colocar en el palillo de altura mi hijo me ayudó a forrar el palillo con papel de seda verde para que no se viera lo marrón del palillo, al tener esto listo comenzamos a colocar él las estrellas en foami una por una con sumo cuidado para que el papel de seda pegado al palillo no se partiera, al tener todas ya en su lugar comenzamos a recortar la base con cartón de reciclaje y lo forramos con cartulina escolar anaranjada, al tener lista la base colocamos el palillo de altura en el centro y lo fijamos con silicona caliente para mayor seguridad que quede fijo.
Al tener ya el árbol parado, comenzamos a colocar los detalles como lo era la estrella y las bonitas de colores de foami. Y listo, tenemos nuestro hermoso arbolito de Navidad para el colegio listo para su entrega de verdad. Quedé satisfecha con el trabajo, me quedo muy linda y mi hijo quedó encantando con su árbol de Navidad y eso me alegró mucho, ya que es lo más importante para mí que mi hijo quede contento con las manualidades que realizo para él y que él siempre participa así sea en algo mínimo, pero siempre está mi lado acompañándome.

 |  |  |  |
|---|

https://peakd.com/hive-148441/@ikasumanera/eng-es-i-made-hive-free-use-art-of-for-all-of-you-part-1-dividers-and-banners-or-hice-arte-de-libre-uso-para-todos-parte-1