
In today's video, we're going to walk you through how to get the most out of Stable Diffusion Forge UI, offering straightforward tips and advice. We start with the basics of updating your forge with .bat files, showing you where to find and how to use them. This guide covers everything from running updates to understanding the role of each batch file you'll come across.
We'll also show you how to work with different models to enhance your image generation, including how to save space by integrating models from Automatic1111, and where to find new models on websites like CivitAI.com. Additionally, you'll learn how to adjust the impact of Lora models on your images, ensuring you get exactly the kind of results you're looking for.
The video includes helpful information on using upscalers to improve image quality, how to add and manage ControlNet models for more detailed creations, and how to customize art styles in the Forge UI for unique image outputs.
We'll take you step-by-step through optimizing your Forge UI settings for a more efficient workflow, including how to create shortcuts for quick access and how to handle extensions for a better Forge experience. Plus, we offer tips on organizing your generated images to keep your projects neat and manageable.
You can watch the video on youtube:
Here are some useful information and links but watch the video to understand them better:
Stable Diffusion Forge UI
https://github.com/lllyasviel/stable-diffusion-webui-forge
A playlist of Forge Tutorials
https://www.youtube.com/playlist?list=PL-pohOSaL8P_VxpGxcay1EJFtqX4m8WqZ
After you installed forge you have this main folder
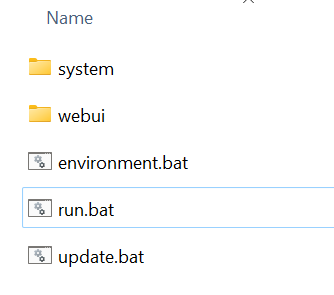
You can update the forge by running the update.bat
And you can run forge by running the run.bat
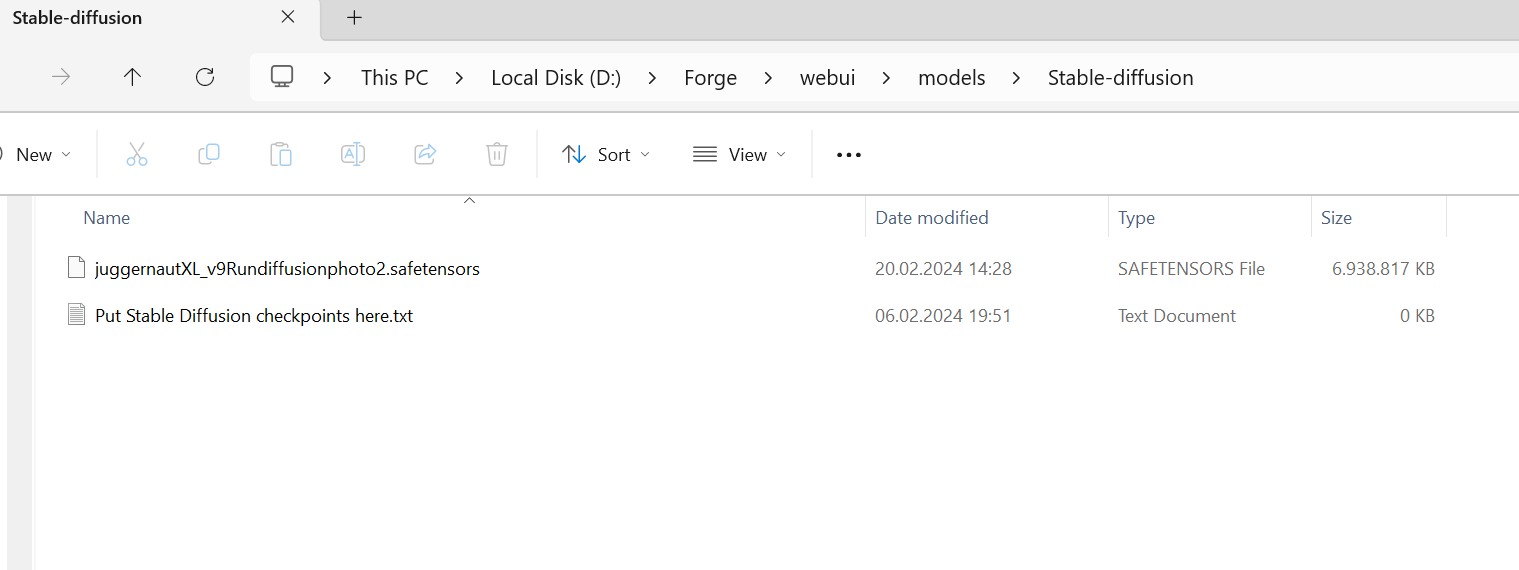
You can get stable diffusion checkpoints models from https://civitai.com/models
For example right now I am using Juggernaut XL Version 9, you can get it from here: https://civitai.com/models/133005?modelVersionId=348913
You place the checkpoints models in this folder: webui\models\Stable-diffusion
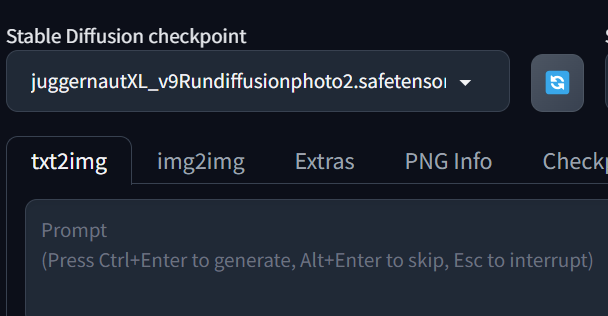
After restart your forge or if you hit refresh you can find them here in the interface
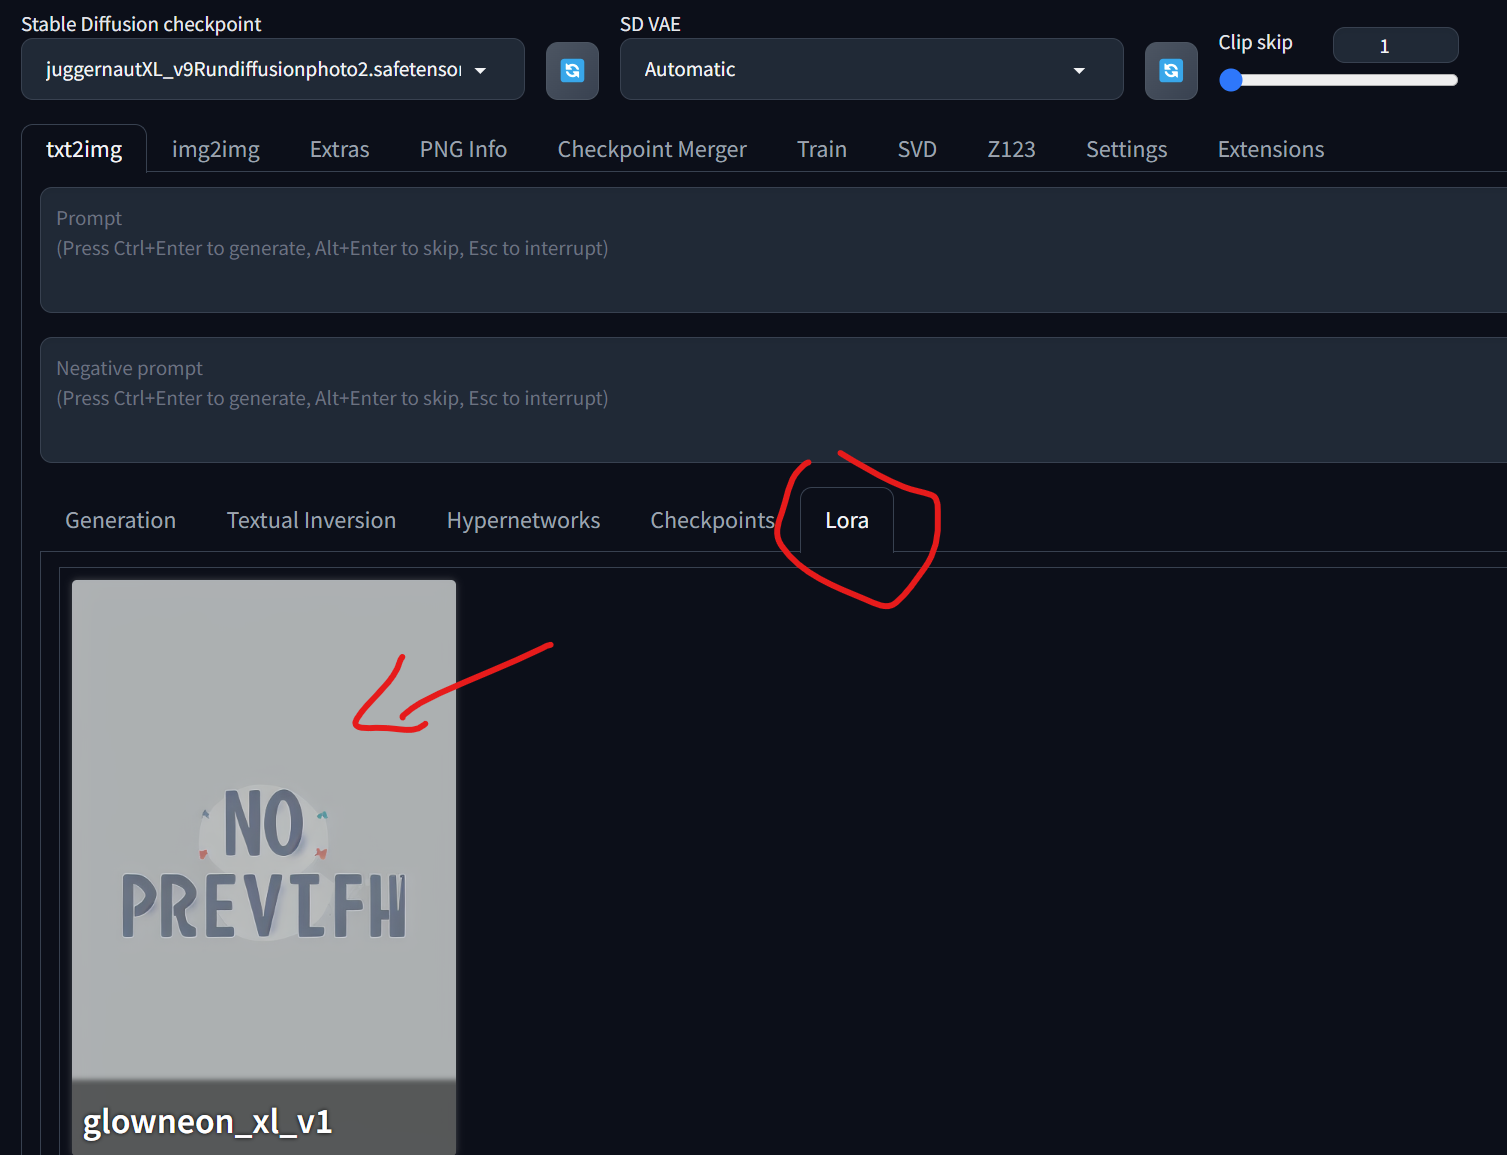
For lora you can download the same from CivitAi website and you place them in this folder: webui\models\Lora
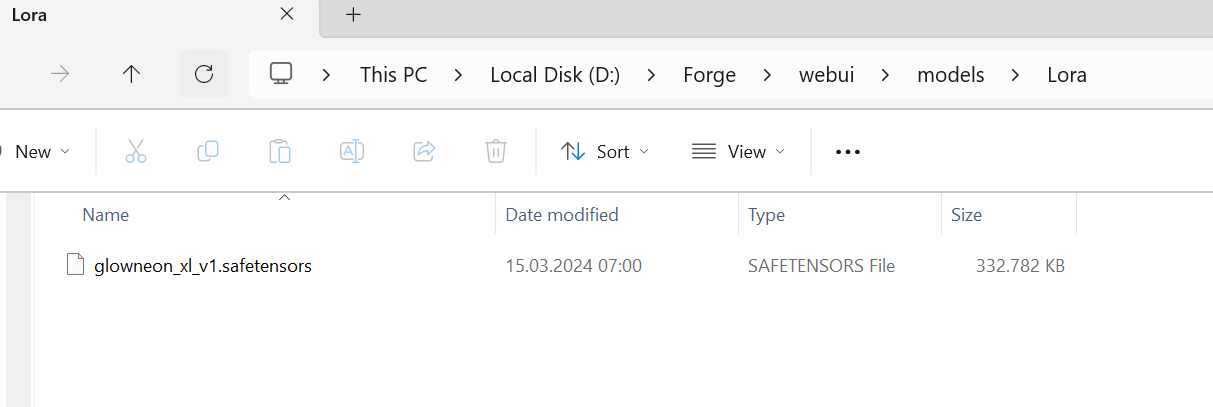
you can find them here in the interface
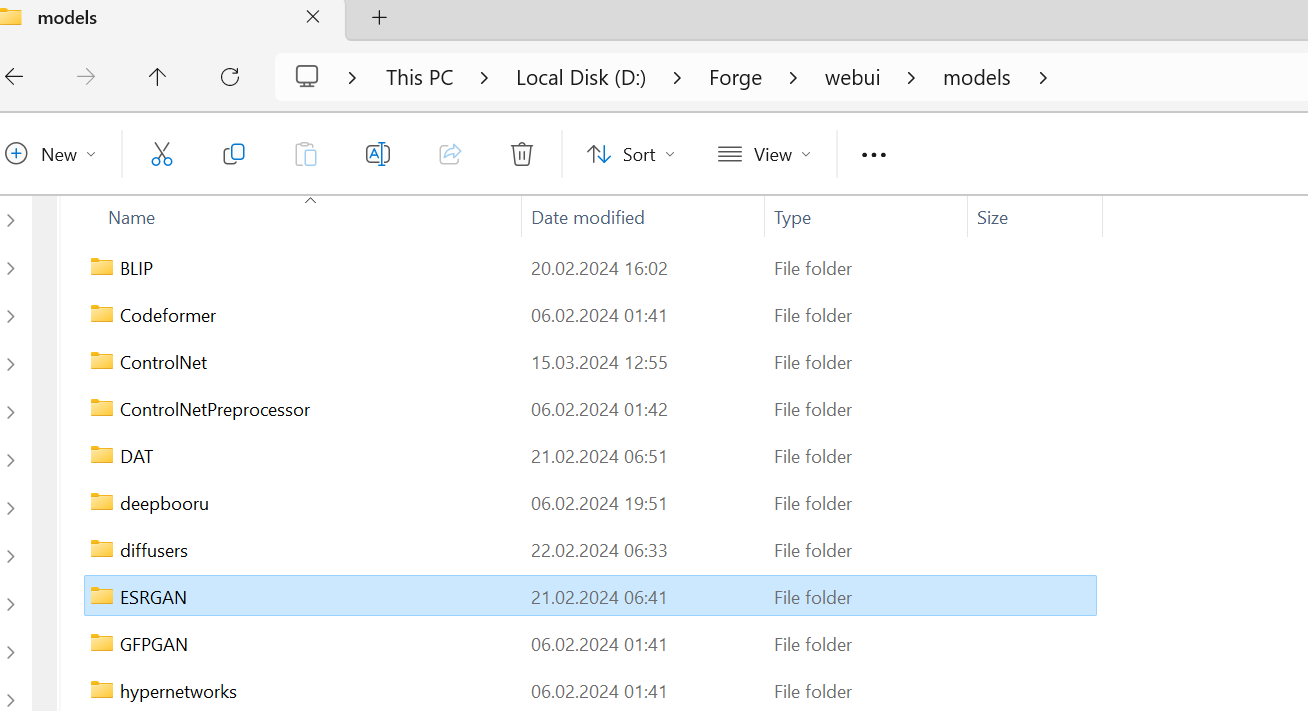
If you want to add an upscaler model then you can create a new folder in the \webui\models and name it ESRGAN and inside you place your upscaler models
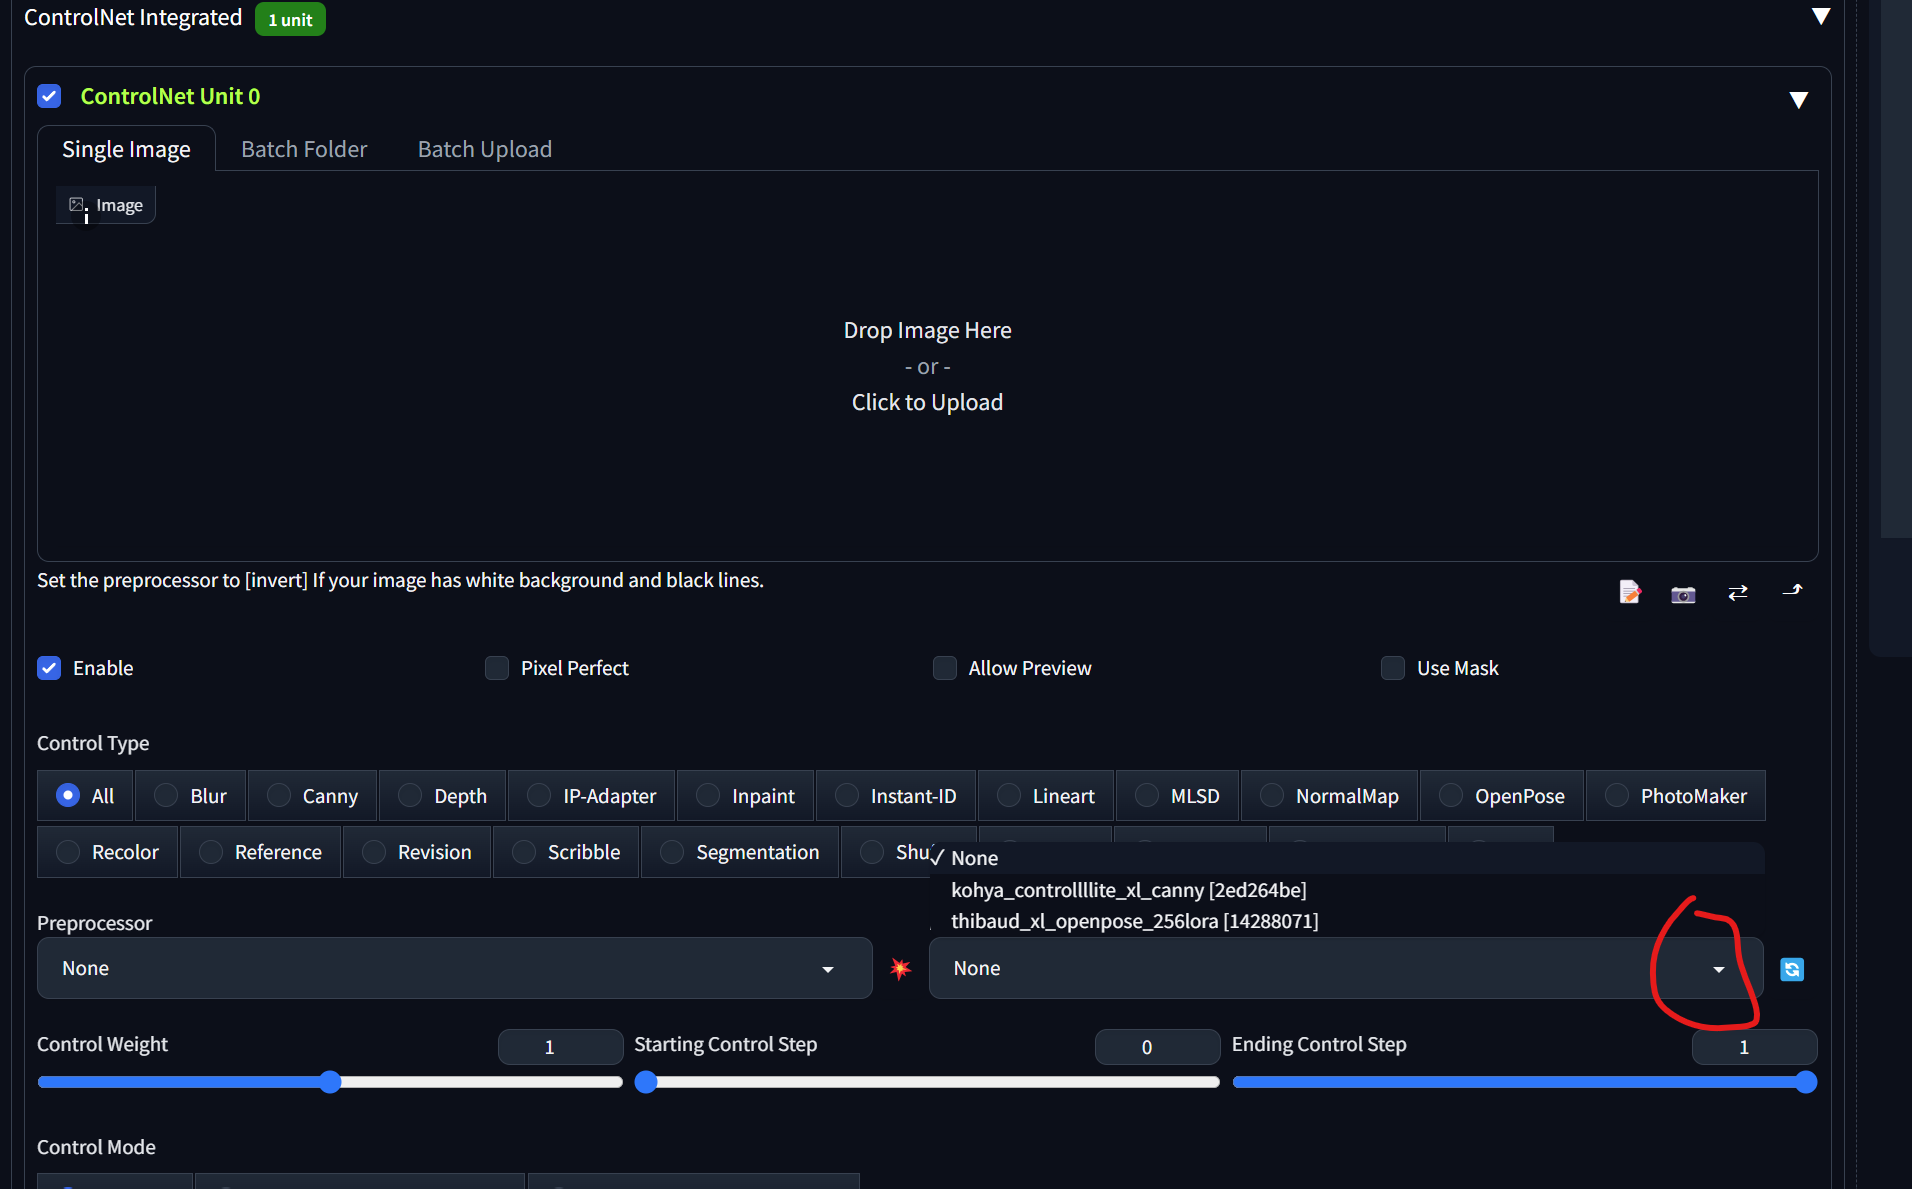
For control net, if you are using a sdxl model you need sdlx control net models, and if you are using V 1.5 stable diffusion models then you need the 1.5 control net models
ControlNet Model for SDXL
https://huggingface.co/lllyasviel/sd_control_collection/tree/main
or
https://civitai.com/models/136070/controlnetxl-cnxl
ControlNet Model for V1.5
https://huggingface.co/lllyasviel/ControlNet-v1-1/tree/main
or
https://civitai.com/models/38784/controlnet-11-models
Those appear here in the interface
All the defaults that you save on settings are saved in the ui-config.json
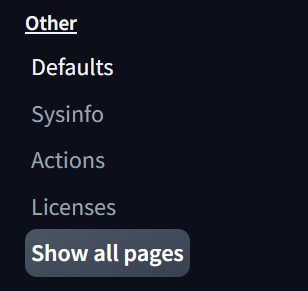
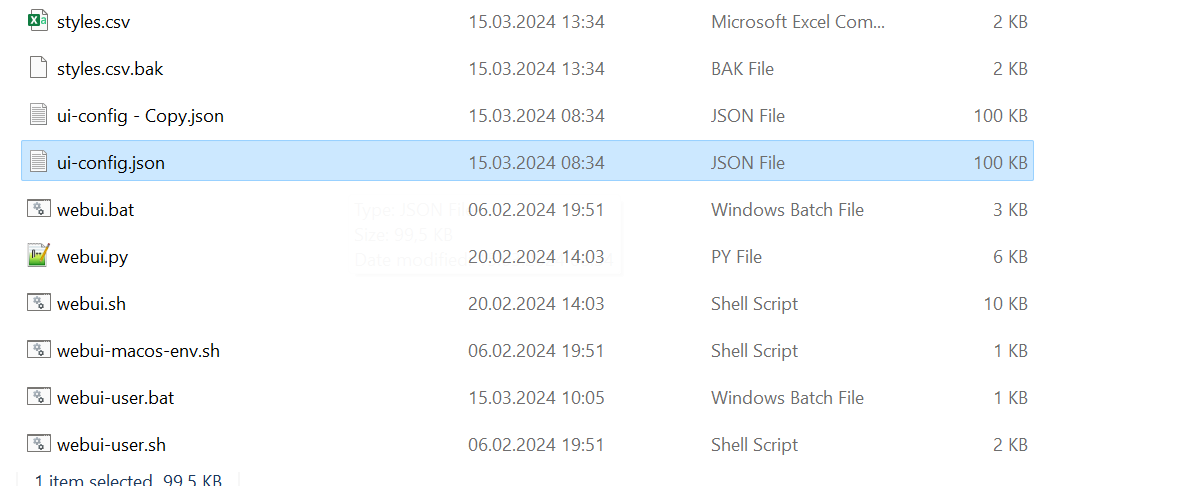
All the styles from that you saved in the styles
are going to styles.csv

If you have more questions you an join my community on facebook: https://www.facebook.com/groups/pixaromacommunity
Make sure to subscribe for more handy guides, and join our community for ongoing challenges and support!