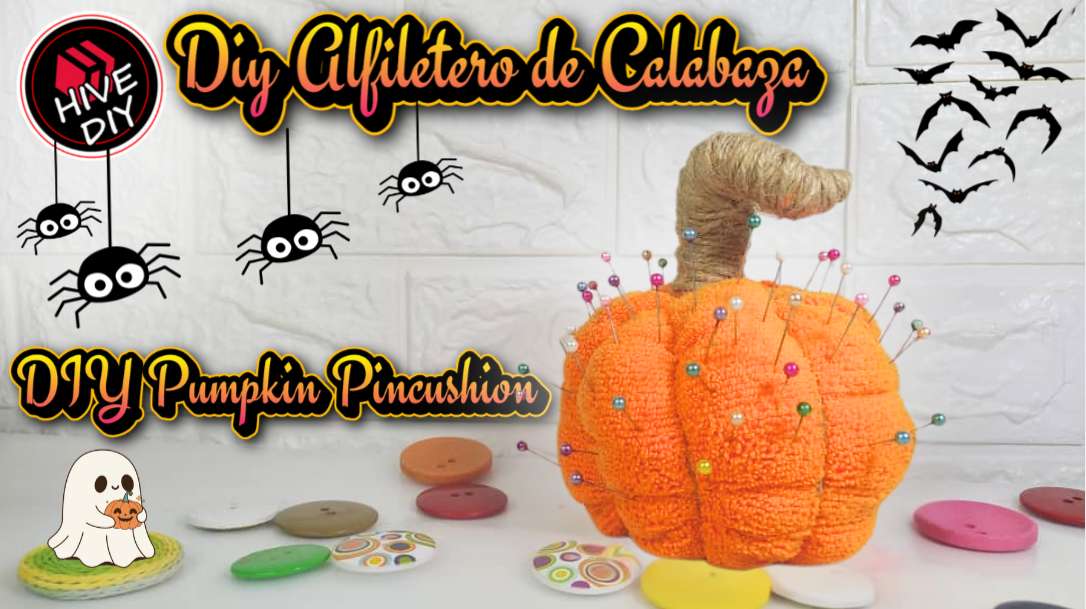
Saludos amigos de Hive. Este es mi primero proyecto para la Temporada de Halloween, como siempre me gusta decorar o darle un poco de estilo a mi escritorio de trabajo, el año pasado disfruté mucho hacer una Decoración de Halloween para mi escritorio, es una tradición que aunque no es propia de mi país, nos hemos adueñado principalmente porque es divertida tanto para grandes como para los más pequeños que tienen otra oportunidad de disfrazarse y jugar.
Este año quise realizar algunos elementos diferentes para no repetir, y pensé en este Alfiletero de Calabaza, que me encantó como se ve. Ya ha gustado demasiado a mis familiares que han pasado a mi área de trabajo donde siempre estoy cosiendo o creando contenido para Hive. Les quiero regalar el paso a paso, que es muy fácil y solo debemos contar con tres materiales de buena calidad para darle el color llamativo que tendrá nuestra Calabaza de Halloween.
Greetings friends of Hive. This is my first project for the Halloween Season, as always I like to decorate or give a little style to my work desk, last year I really enjoyed making a Halloween Decoration for my Desk, it is a tradition that although it is not native to my country, we have taken over mainly because it is fun for both adults and children who have another opportunity to dress up and play.
This year I wanted to make some different items so as not to repeat, and I thought of this Pumpkin Pincushion, which I loved how it looks. My relatives who have come to my work area where I am always sewing or creating content for Hive have already liked it too much. I want to give you the step by step, which is very easy and we only need to have three good quality materials to give it the striking color that our Halloween Pumpkin will have.

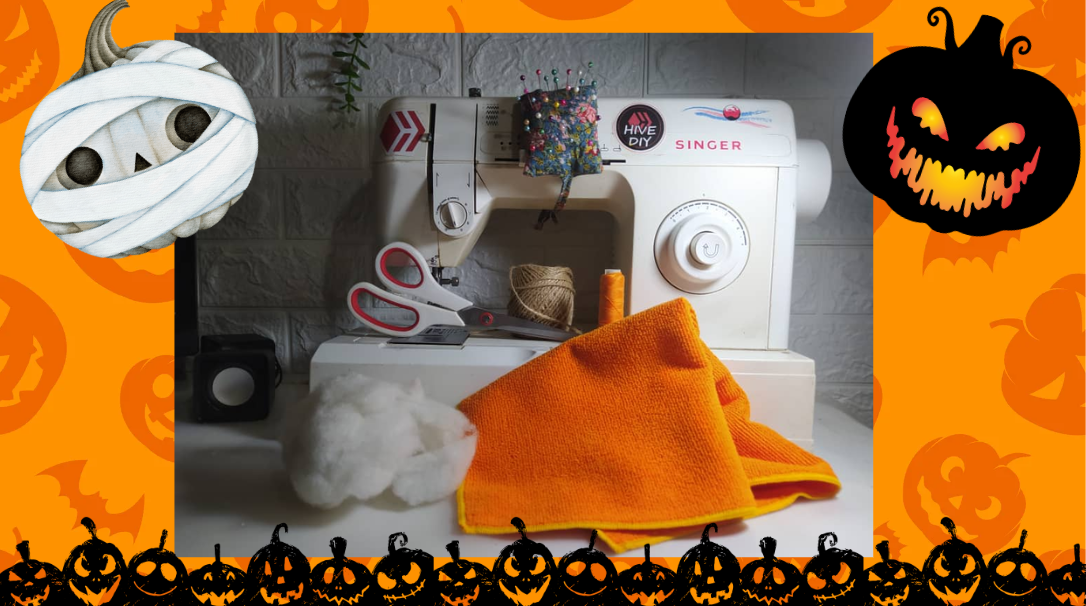
Los materiales son muy pocos, apenas tres como te mencioné arriba. La tela que utilicé es de una toallita multipropósito de microfibra que compré en un supermercado, a menos de un dólar. La usé porque su color naranja era muy vibrante, ideal para que destacara el diseño de la calabaza de Halloween.
El cordón de yute, lo tengo desde hace un tiempo, se necesita poca cantidad. Supongo que podría sustituirse por otro, pero el contraste del marrón claro del yute con el naranja de la toalla me gustó demasiado, lo veo ideal para este proyecto.
El relleno es el que dispongas, yo utilicé un relleno sintético que tenían unos cojines de unos muebles que boté, y afortunadamente se me ocurrió retirarles el relleno antes de deshacerme de ellos.
The materials are very few, just three as I mentioned above. The fabric I used is from a multipurpose microfiber towel that I bought at a supermarket, for less than a dollar. I used it because its orange color was very vibrant, ideal for making the Halloween pumpkin design stand out.
I've had the jute cord for a while, and only a small amount is needed. I suppose it could be replaced by another cord, but I really liked the contrast of the light brown jute with the orange of the towel, I think it's ideal for this project.
The stuffing is whatever you have available, I used a synthetic stuffing that some cushions from some furniture had that I threw away, and luckily I thought of removing the stuffing before getting rid of them.
- Toallita de microfibra
- Cordón de yute
- Relleno sintético
- Hilo de nylon color naranja, tijera y aguja
- Máquina de coser (no indispensable)
- Microfiber cloth
- Jute cord
- Synthetic filling
- Orange nylon thread, scissors and needle
- Sewing machine (not essential)

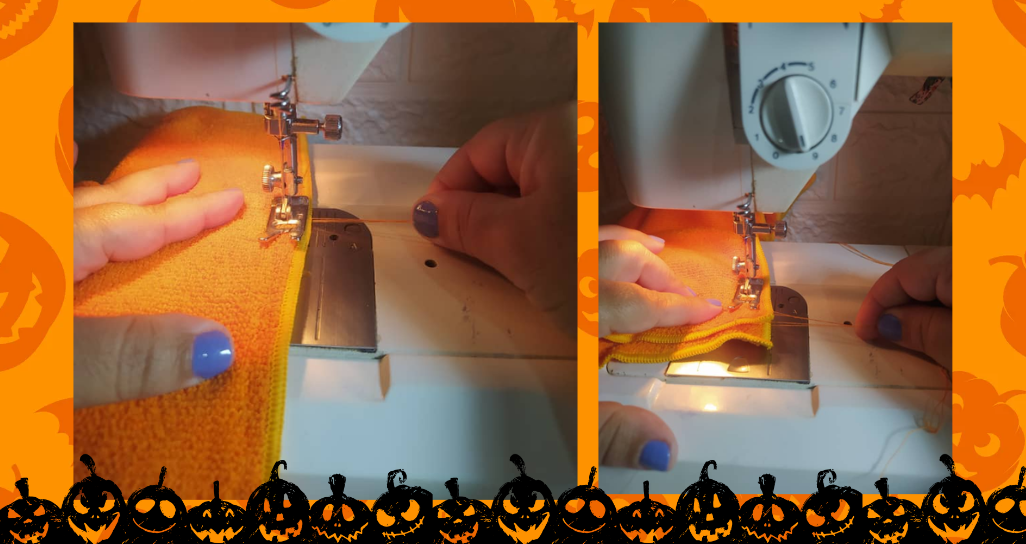
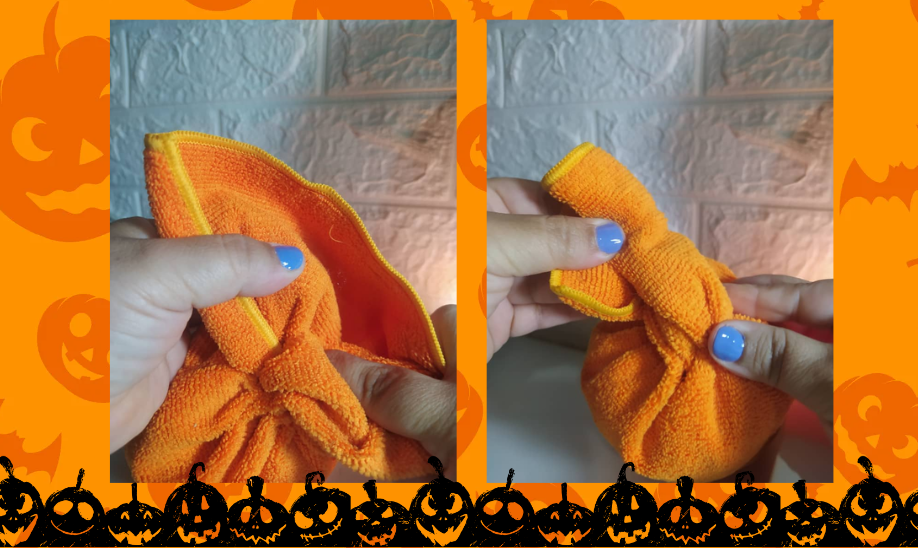
Este pañito que utilicé es cuadrado 30 cms x 30 cms. En uno de los extremos realicé una costura recta con la puntada más larga que tenga la máquina de coser, dejando como 10 cms de hilo antes de comenzar y al final.
Esto se puede realizar a mano, con una costura tipo basta e igualmente dejando los hilos sueltos antes y al terminar ese extremo.
This little cloth I used is square, 30 cm x 30 cm. At one end I made a straight seam with the longest stitch on my sewing machine, leaving about 10 cm of thread before starting and at the end.
This can be done by hand, with a hem seam and also leaving the threads loose before and at the end of that end.
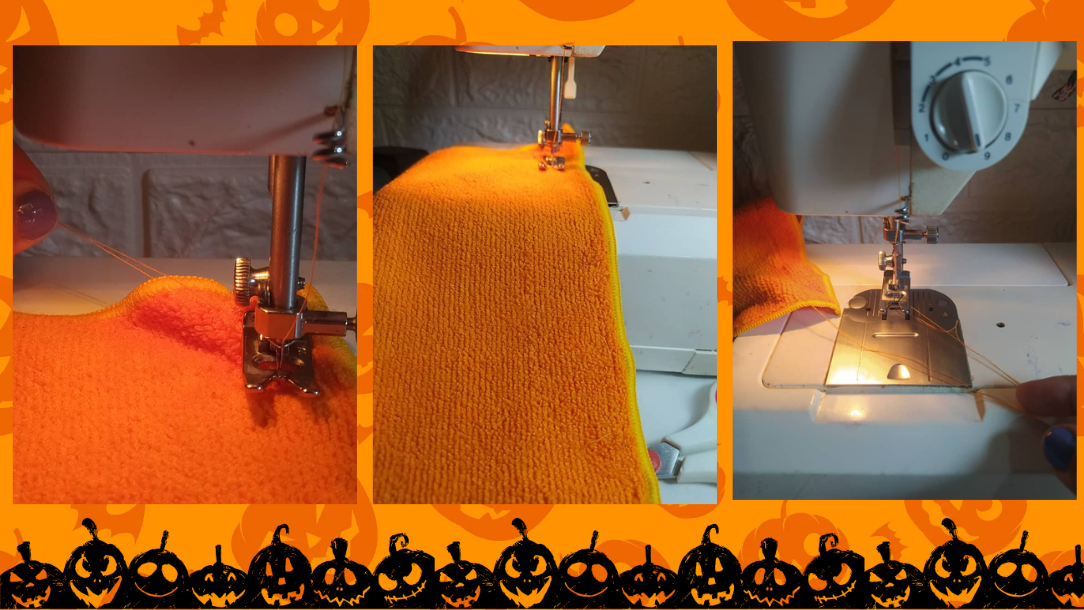
La segunda costura la realicé dejando esta distancia de la primera, son como 10 cms aproximadamente entre ambas. Con las mismas características de los hilos libres al comenzar y al terminar.
I made the second seam leaving this distance from the first, approximately 10 cm between both. With the same characteristics of the free threads at the beginning and at the end.
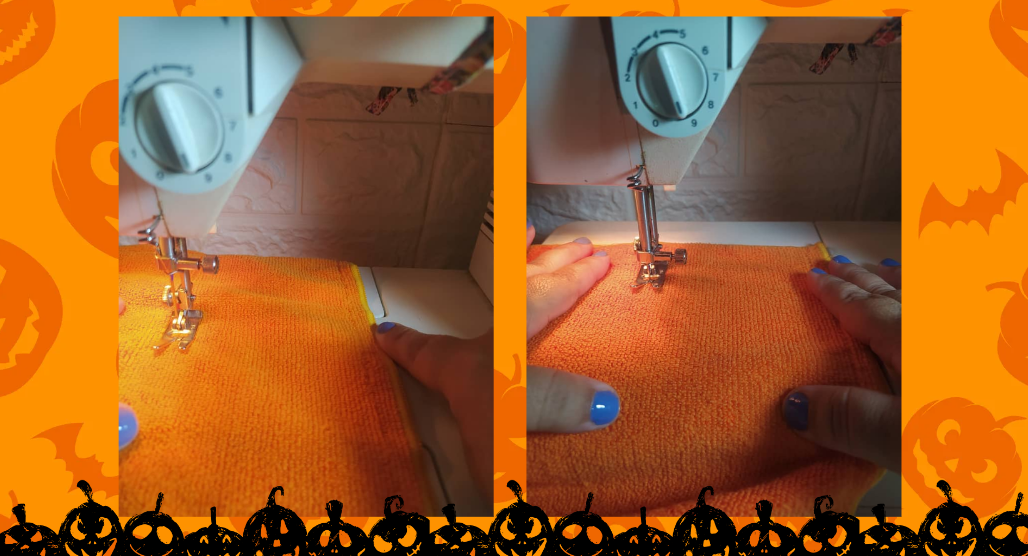
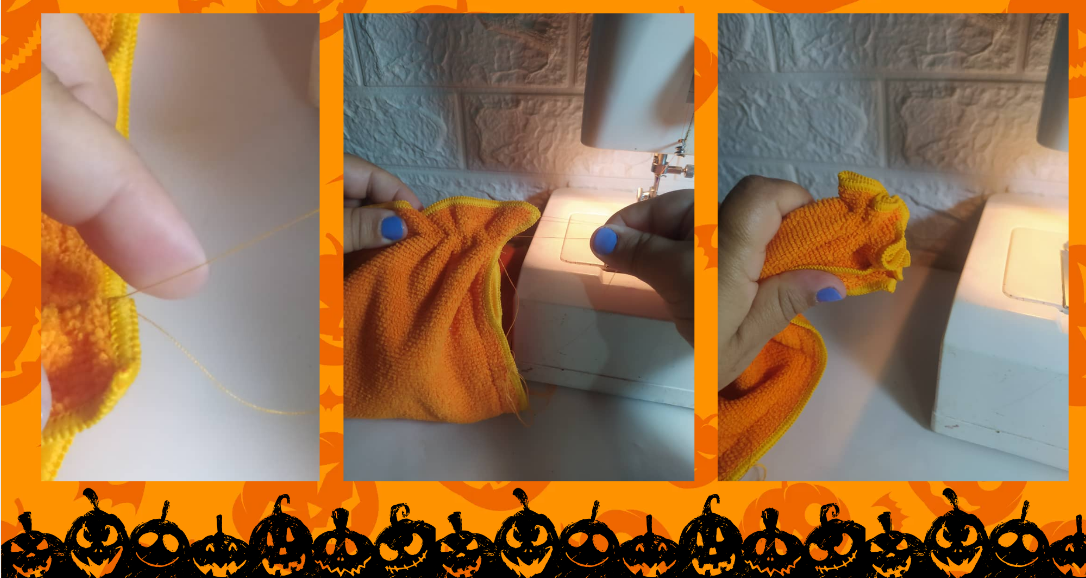
Ahora, doblo la tela dejando los hilos libres juntos a un lado y realizo una costura recta que empiece después de los hilos libres y termine antes de los otros hilos libres, es decir entre ambos.
Esta costura será el costado de la pieza y no debe tocar los hilos libres para posteriormente poder realizar los frunces sin problema.
Now, I fold the fabric leaving the loose threads together on one side and I make a straight seam that starts after the loose threads and ends before the other loose threads, that is, between both.
This seam will be the side of the piece and should not touch the loose threads so that later I can make the gathers without any problem.
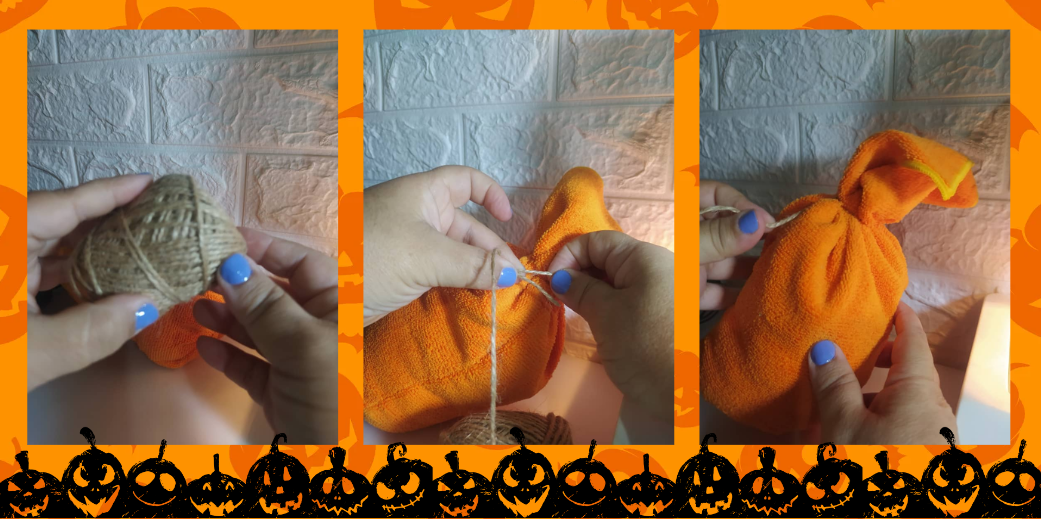
En el extremo que cosí al borde, tomo uno de los hilos sueltos y lo halo, esto con la finalidad de que se frunza la tela, y luego hago un nudo.
Para realizar esto es importante que el hilo que usemos sea de buena calidad para que no se rompa. Si se da el caso que se te rompa el hilo, puedes volver a realizar esta costura a mano, e intentar entonces el frunce y su nudo. La pieza debe verse así:
At the end that I sewed to the edge, I take one of the loose threads and pull it, this in order to make the fabric gather, and then I tie a knot.
To do this, it is important that the thread we use is of good quality so that it does not break. If it happens that the thread breaks, you can do this seam again by hand, and then try to gather and knot it. The piece should look like this:
Ahora volteamos, abajo puedes apreciar como se ve desde afuera el fondo fruncido, y se procede a rellenar con el relleno sintético, hasta justamente antes de los siguientes hilos libres.
Now we turn it over, below you can see how the gathered bottom looks from the outside, and we proceed to fill it with the synthetic filling, until just before the next free threads.
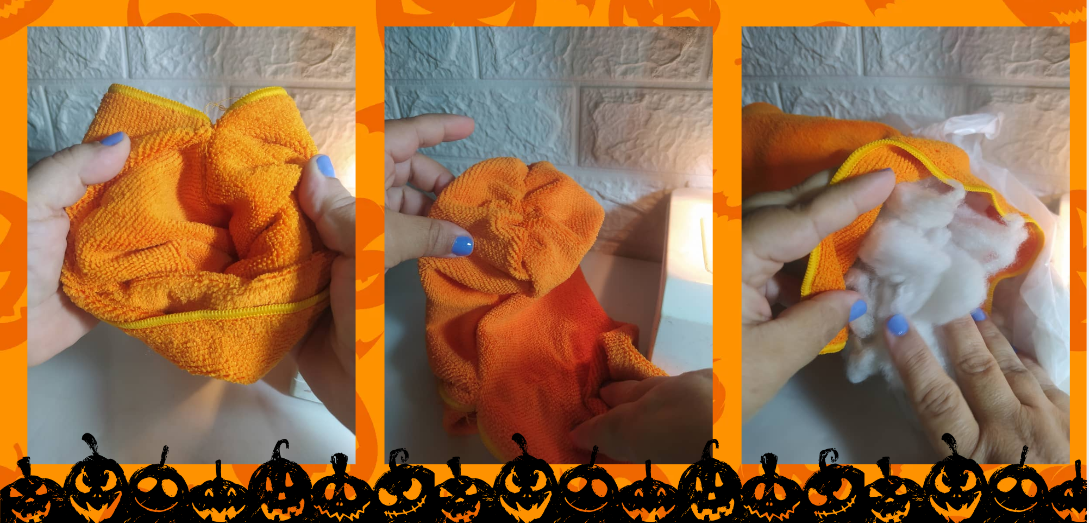
Con esos hilos libres realizamos el mismo proceso de fruncir y cerrar con un nudo. Nótese que se ve así desde afuera el centro de este segundo fruncido.
Este proyecto es así de sencillo, son dos costuras con hilos libres para fruncir y una costura lateral, eso es todo el trabajo de costura... es muy fácil.
With these free threads we carry out the same process of gathering and closing with a knot. Note that the center of this second gathering looks like this from the outside.
This project is that simple, it is two seams with free threads to gather and a side seam, that is all the sewing work... it is very easy.
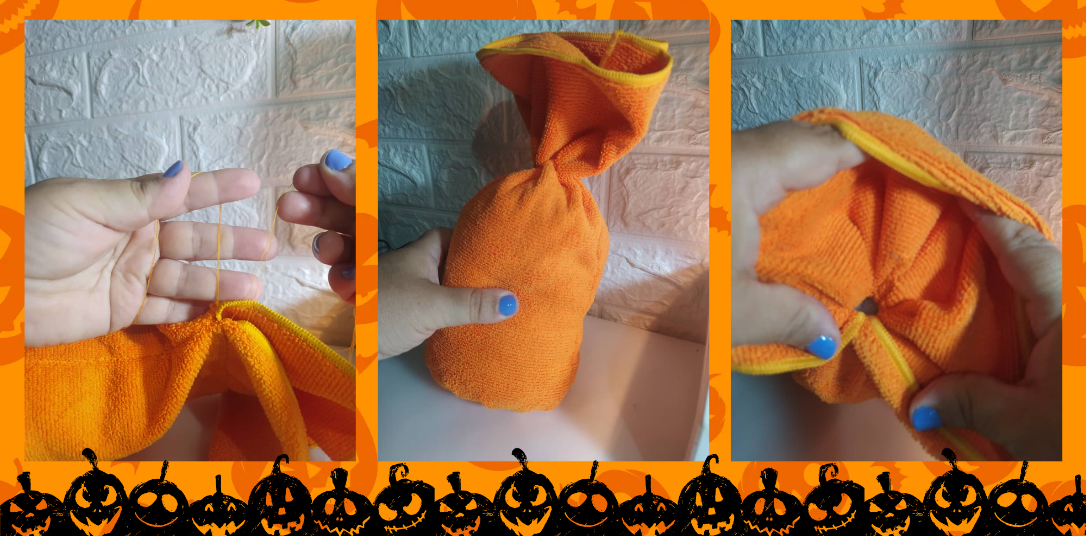
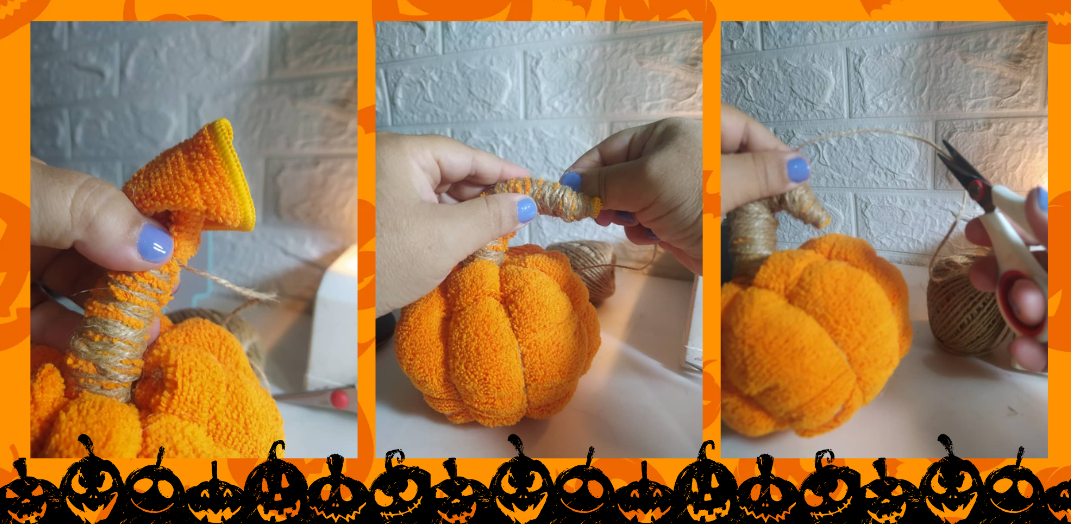
El extremo que habíamos dejado sin costura, será el tallo de la calabaza. Es mejor si una de las puntas la introducimos en el centro del arito que vemos en la foto de arriba, esto con la finalidad de que el tallo tenga mejor forma cuando lo decoremos.
The end that we left unstitched will be the stem of the pumpkin. It is better if we insert one of the ends into the center of the ring that we see in the photo above, so that the stem has a better shape when we decorate it.
Ahora vamos a realizar las divisiones o surcos característicos de las calabazas. Atamos el cordón de yute en el fruncido, asegúrate de atar bien al principio para que no se desate, y comenzamos bajando.
Now we are going to make the divisions or grooves that are characteristic of pumpkins. We tie the jute cord in the gathering, make sure to tie it well at the beginning so that it does not come undone, and we begin going down.
Bajamos el cordón de yute desde el nudo de arriba hasta la base, apretando bien para que se forme bien la calabaza. Luego, subimos hasta el nudo de arriba, damos una vuelta para asegurar y nuevamente bajamos tratando de que las vueltas sean simétricas o pares.
We lower the jute cord from the top knot to the base, tightening it well so that the pumpkin forms properly. Then, we go up to the top knot, make a turn to secure it and go down again, trying to make the turns symmetrical or even.

Ahora, sin cortar el yute subimos a lo que será el tallo de la calabaza, dando tantas vueltas como sean necesarias para que se vea bien cerrado. Que se vea solo el material de yute y no la tela en esta parte del tallo.
Cortamos al terminar este proceso, atamos y cortamos.
Now, without cutting the jute, we go up to what will be the stem of the pumpkin, making as many turns as necessary so that it looks well closed. Only the jute material and not the fabric should be visible in this part of the stem.
When this process is finished, we cut it, tie it and cut it.
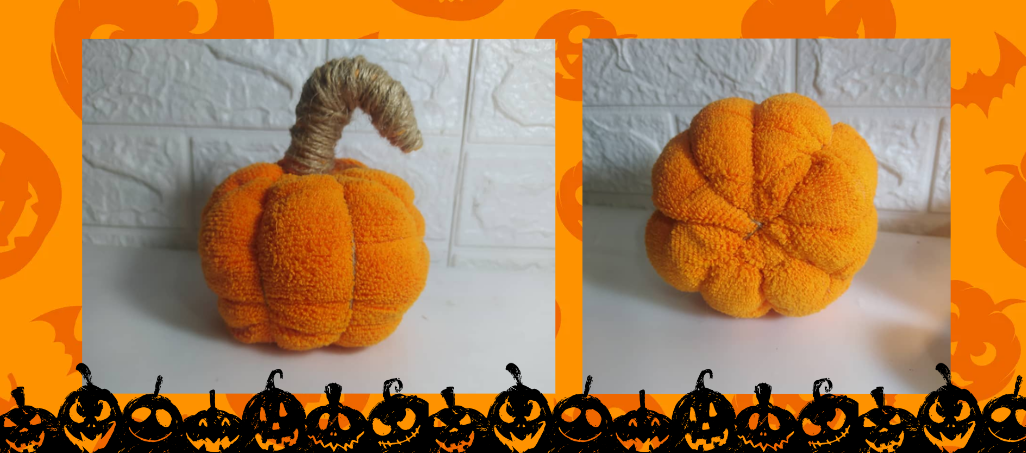
Ya este Alfiletero de Calabaza está listo. Así luce y pueden ver la parte de abajo con las vueltas que di en la tela para formar los surcos de esta calabaza.
El relleno sintético es ideal para esta manualidad, se deja apretar bien para lograr este acolchado que podemos ver, y muy parejo prácticamente.
This Pumpkin Pincushion is now ready. This is what it looks like and you can see the bottom with the turns I made in the fabric to form the grooves of this pumpkin.
Synthetic stuffing is ideal for this craft, it can be pressed well to achieve the quilting that we can see, and it is practically very even.
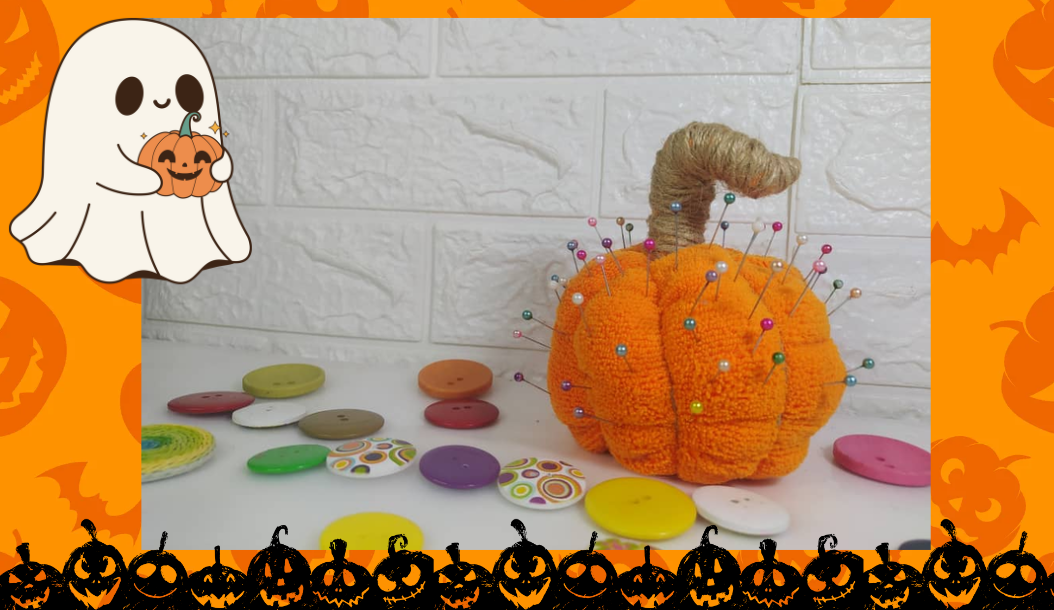
Aquí está ya con los alfileres, se ve genial y es muy fácil pinchar los alfileres en esta calabaza, como les dije ya que el relleno sintético es muy suave.
Lo difícil será guardar esta bella calabaza luego que termine esta temporada de Halloween.
Here it is with the pins, it looks great and it is very easy to stick the pins into this pumpkin, as I said since the synthetic filling is very soft.
The hard part will be storing this beautiful pumpkin after this Halloween season is over.
Bueno amigos, deseo que les haya gusta este Diy con pocos materiales y pocos pasos, ya saben las costuras fueron solo tres, dos para fruncir y una lateral, todo lo podemos hacer a mano.
Estos detalles le dan otro aire a nuestro lugar de trabajo para coser, eso nos anima y alegra al ver diferente y divertido ese espacio que al final es para nosotras, para trabajar y ser felices con la costura.
Well friends, I hope you liked this DIY with few materials and few steps, you know there were only three seams, two for gathering and one on the side, we can do everything by hand.
These details give another air to our sewing workplace, that encourages and makes us happy to see that space different and fun, which in the end is for us, to work and be happy with sewing.

I took the photos with my phone Redmi Note 8
Apps I used:
Canva Pro for Cover, Collage and Banners
I used Deepl Translator
My social networks:
Discord: YennysYaneth#0189
Twitter: @yennysferm
Instagram: @yennysyaneth
Las fotos las tomé con mi teléfono Redmi Note 8
Apps que utilicé:
Canva Pro para la Portada, Collage y Banners
Utilicé el Traductor Deepl
Mi redes sociales:
Discord: YennysYaneth#0189
Twitter: @yennysferm
Instagram: @yennysyaneth