
Recortar, pegar, crear algo nuevo, dar rienda suelta a la creatividad siempre será una actividad que elija hacer. Hola comunidad creativa de hive, no les pasa que a veces olvidan anotar en su correo alguna información, crear un respaldo digital se nos pasa y terminamos olvidando aquello que era importante, en lo personal estoy de acuerdo con el avance tecnológico, pero soy de esas personas que les gusta usar agendas para anotar cosas, y más ganas de anotar tengo si es una agenda que se amolde a mis gustos, que tenga una apariencia tierna que den ganas de usar.
Cutting, pasting, creating something new, giving free rein to creativity will always be an activity I choose to do. Hello hive creative community, don't you sometimes forget to write down in your mail some information, create a digital backup and we end up forgetting what was important, personally I agree with technological progress, but I am one of those people who like to use agendas to write things down, and more desire to write down I have if it is an agenda that fits my tastes, which has a tender appearance that make you want to use.
Hoy les brindo está idea Kawaii para crear una agenda en casa, con poco materiales y siendo un tutorial sumamente sencillo, además, es una actividad que los pequeños de la casa querrán hacer, sigan leyendo más de este paso a paso.
Today I bring you this Kawaii idea to create an agenda at home, with few materials and being an extremely simple tutorial, besides, it is an activity that the little ones at home will want to do, read more of this step by step.


MATERIALES:
MATERIALS:
Cartulina amarilla, hojas de papel (10), hilo y aguja, cartulina blanca, foami negro, rojo, azul, marcadores negros y rojo, silicón líquido.
Yellow cardboard, sheets of paper (10), thread and needle, white cardboard, black, red and blue foami, black and red markers, liquid silicone.
PASO A PASO:
STEP BY STEP:
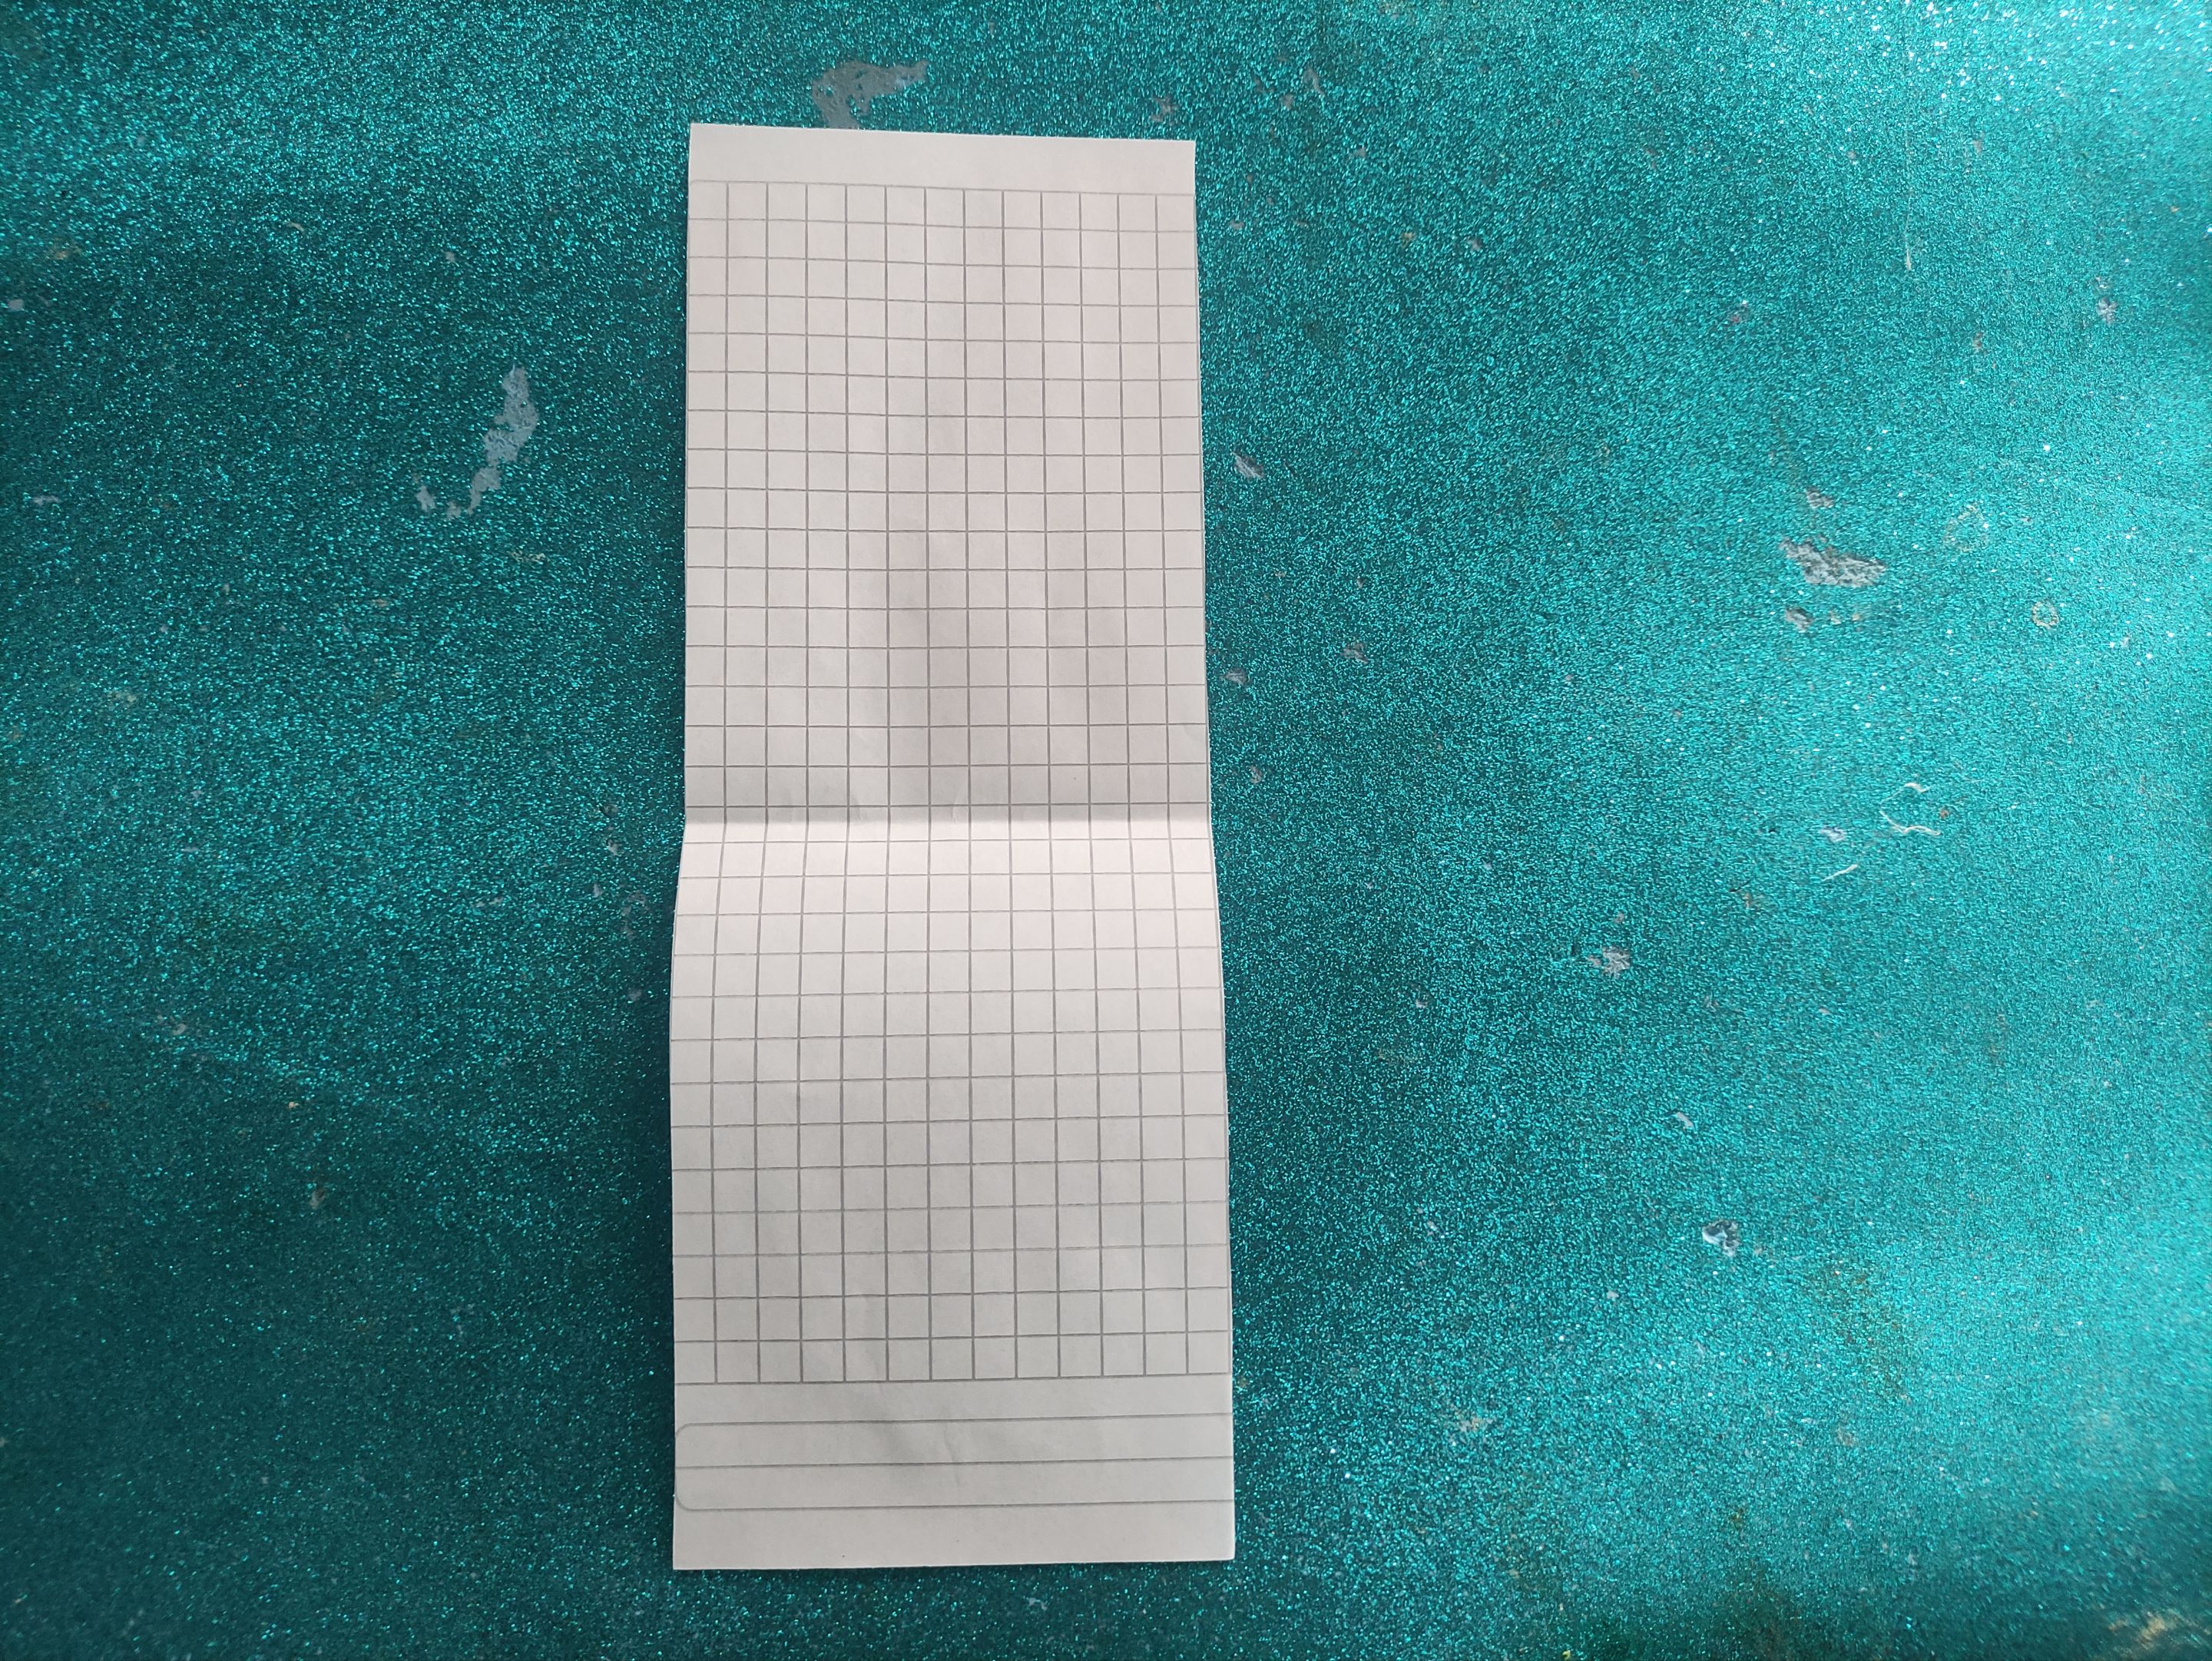
Lo primero que haremos es crear las hojas del mini blog de notas, para ello necesitamos trazar en las hojas de papel varias tiras de 30 cm de largo y 10 de ancho, en mi caso tracé 15 tiras las cuales junté y doblé, en la línea que queda marcada en el centro hice una costura para evitar que las hojas se dispersen.
The first thing we will do is to create the sheets of the mini blog of notes, for this we need to trace on the sheets of paper several strips of 30 cm long and 10 cm wide, in my case I traced 15 strips which I put together and folded, in the line that is marked in the center I made a seam to prevent the sheets from scattering.

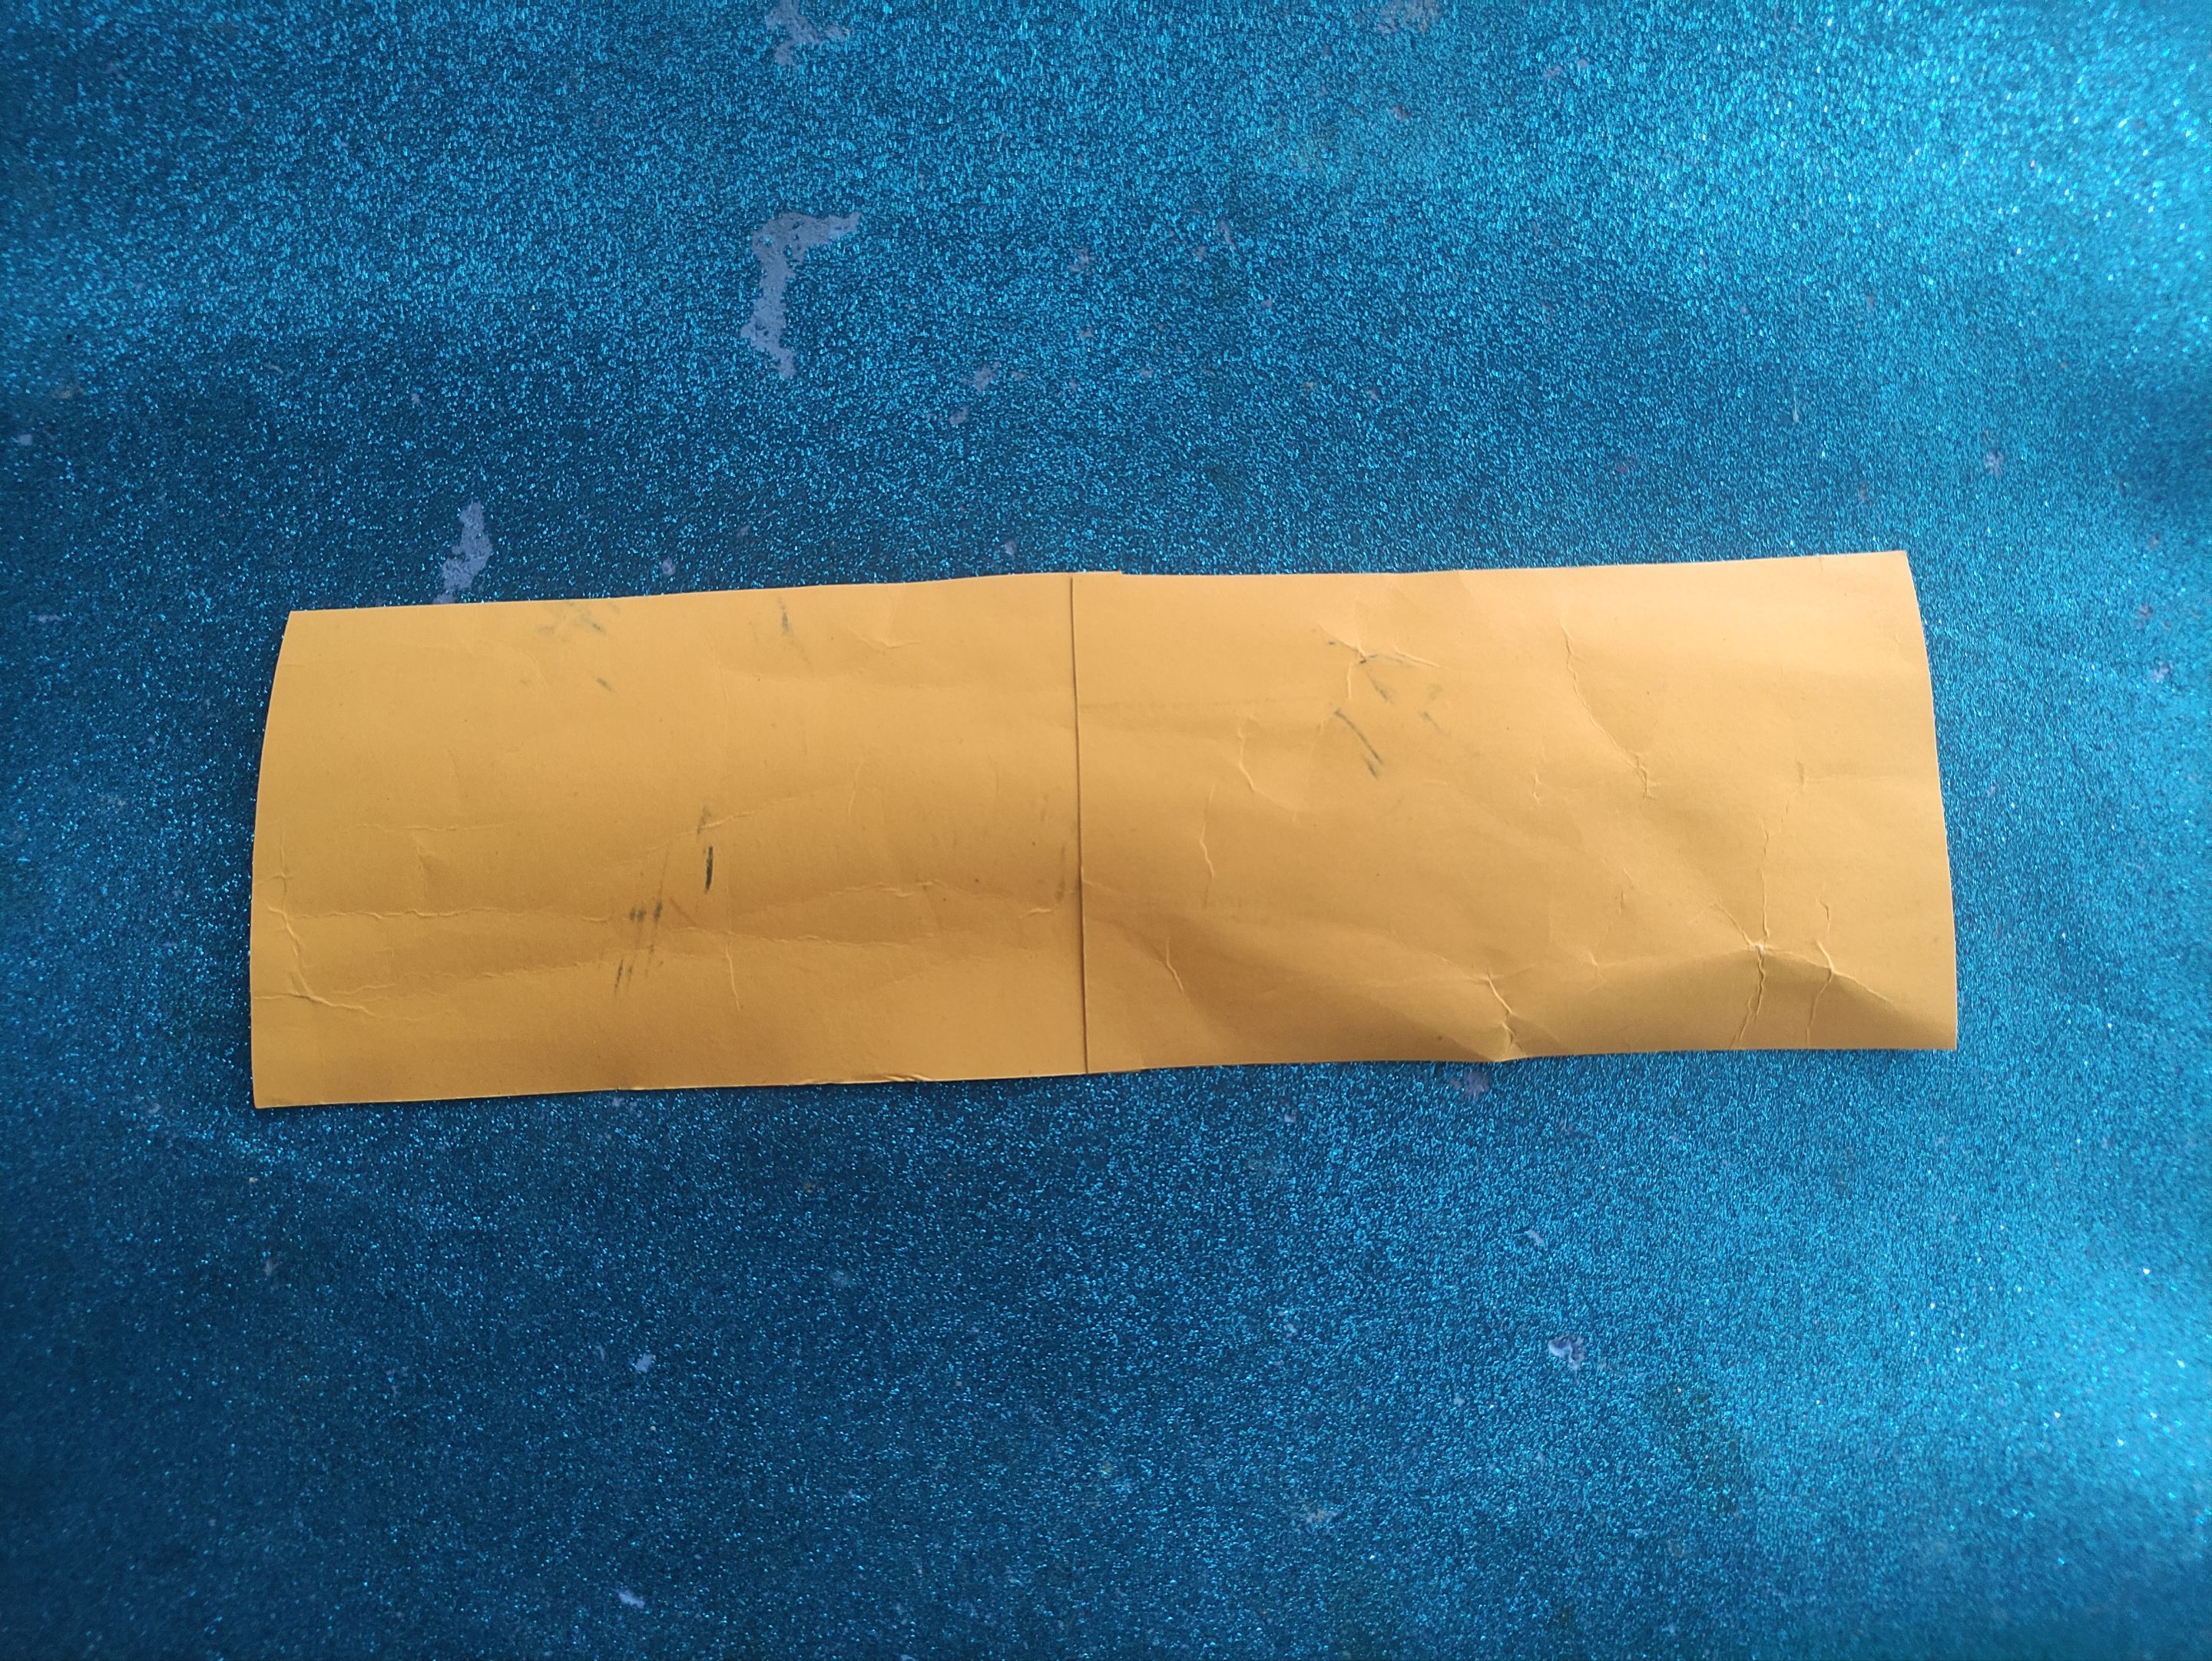
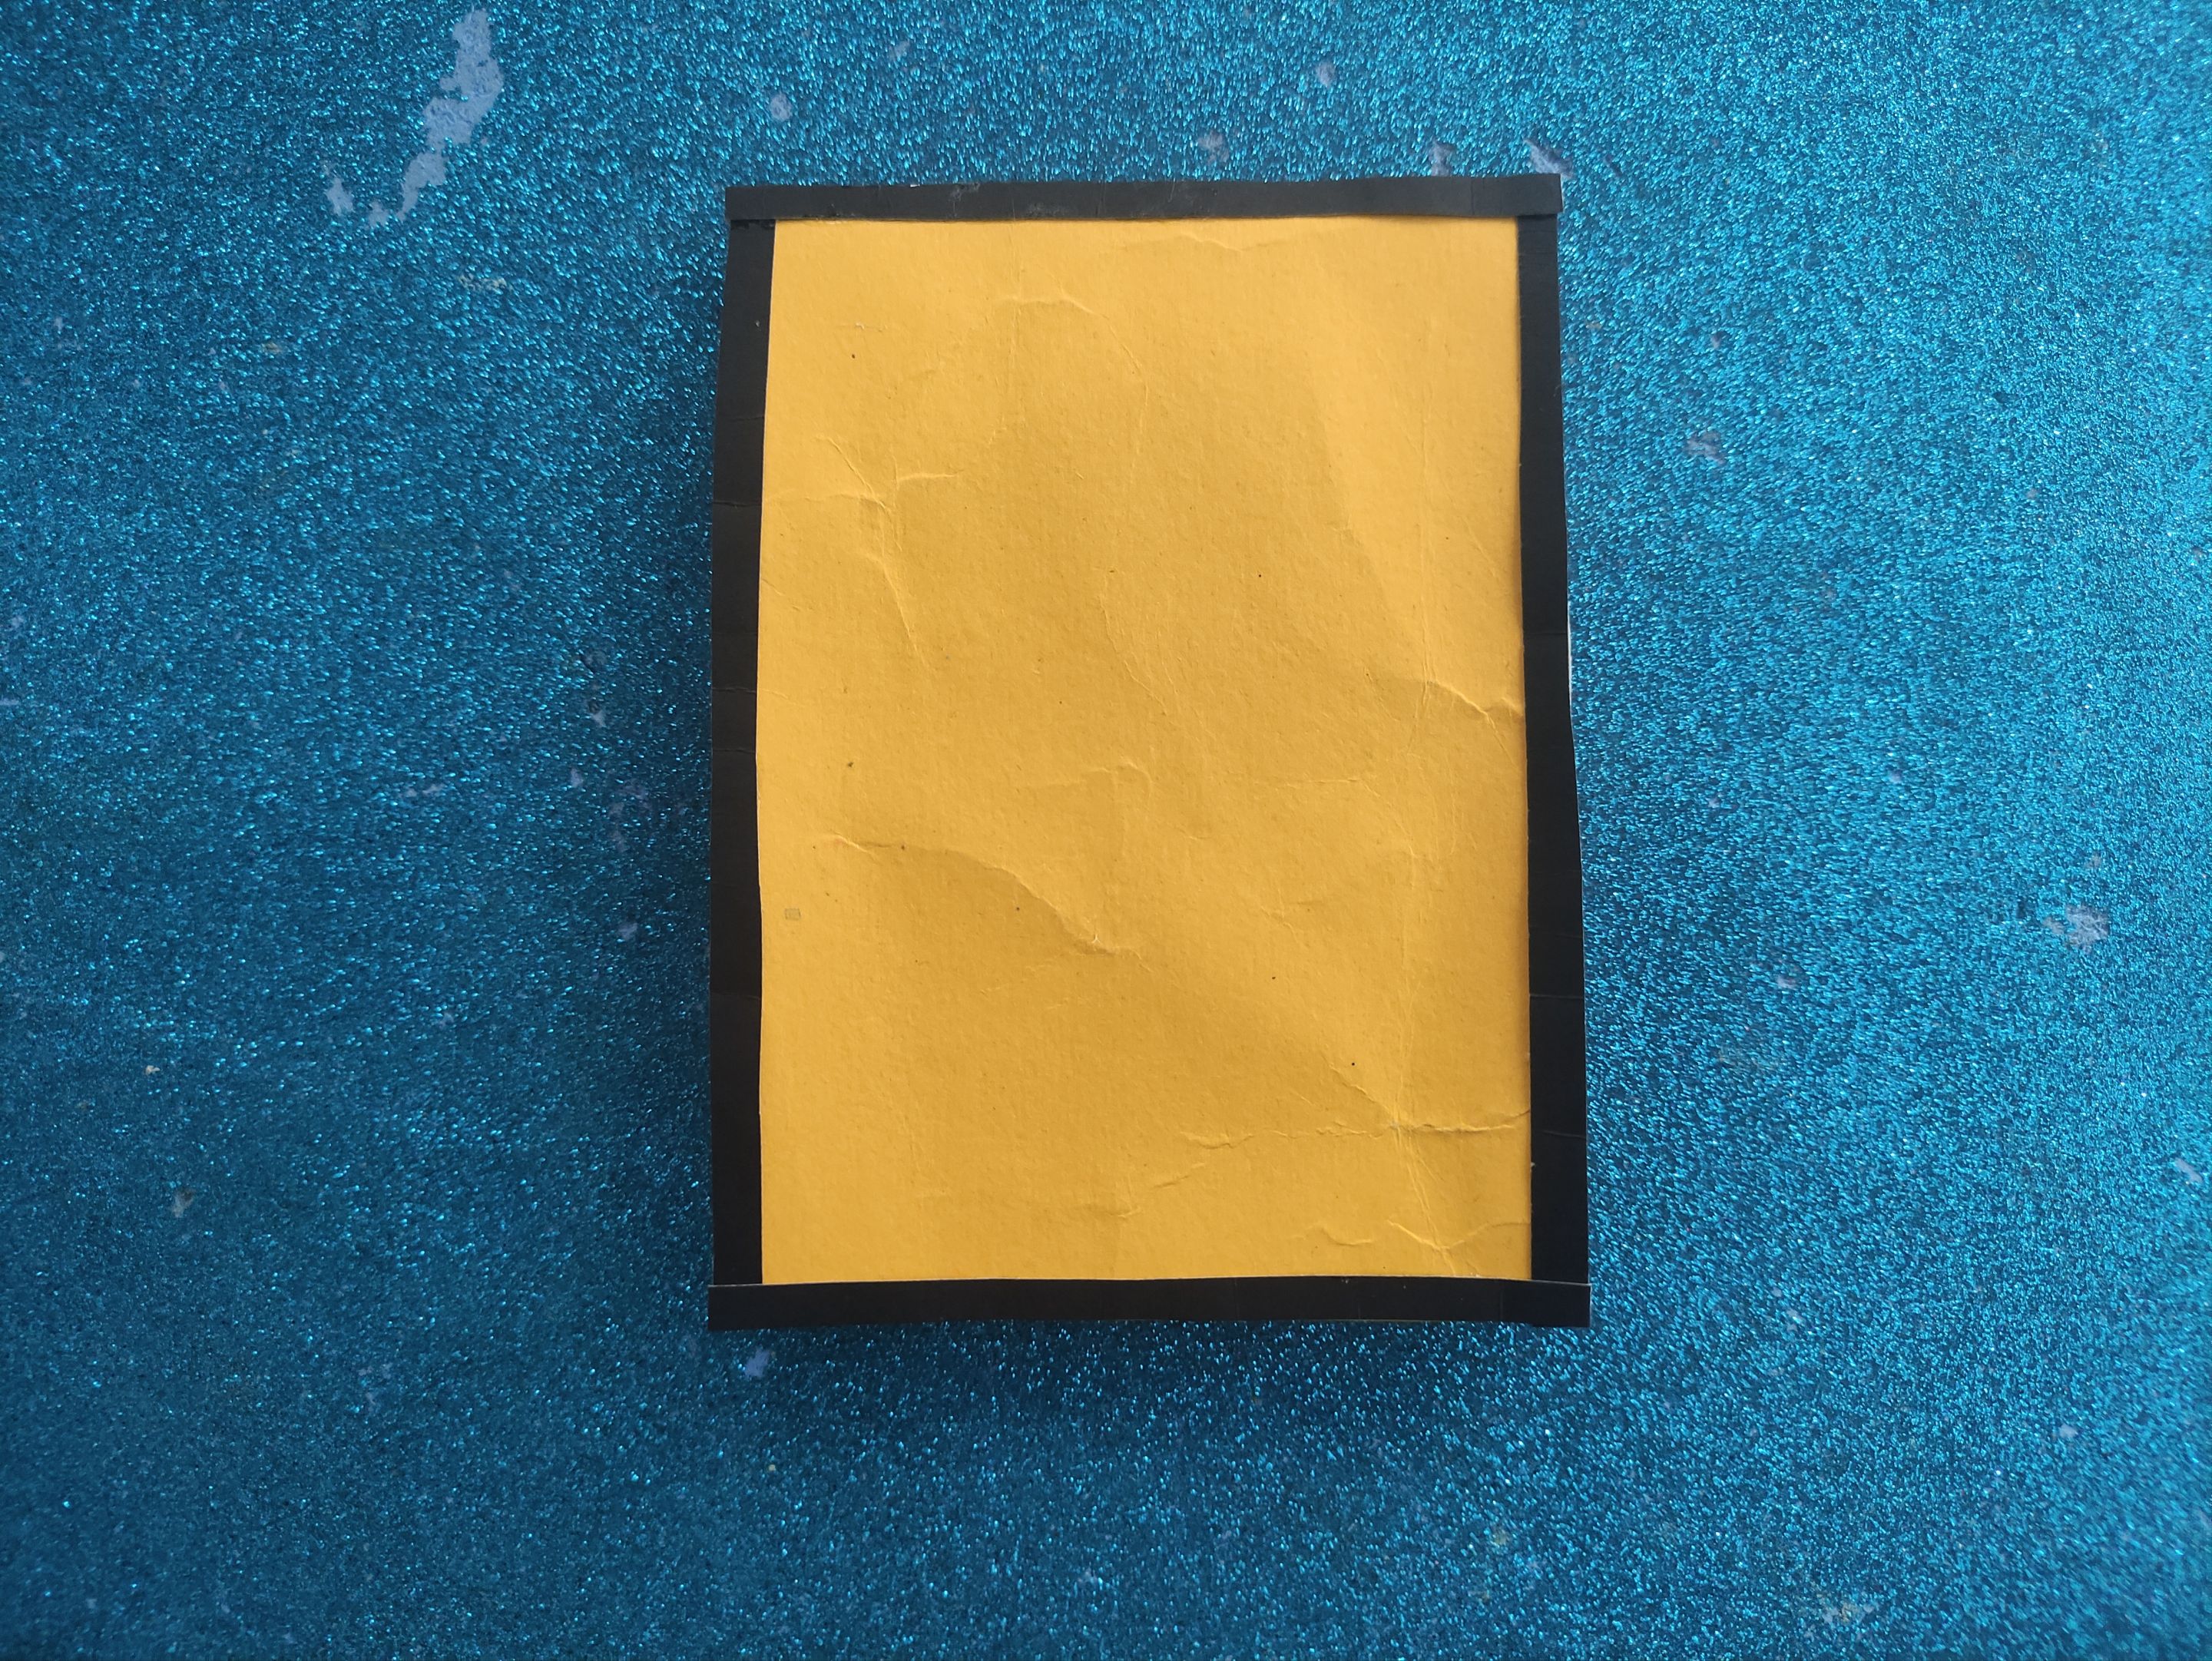
El siguiente paso es crear la cobertura del blog, usamos cartulina amarilla para este paso, tracen una tira con las medidas de las hojas, la ideas es cubrirlas por completo, peguen está tira de cartulina usando silicón líquido.
The next step is to create the cover of the blog, we use yellow cardboard for this step, draw a strip with the measures of the leaves, the ideas is to cover them completely, glue this strip of cardboard using liquid silicone.
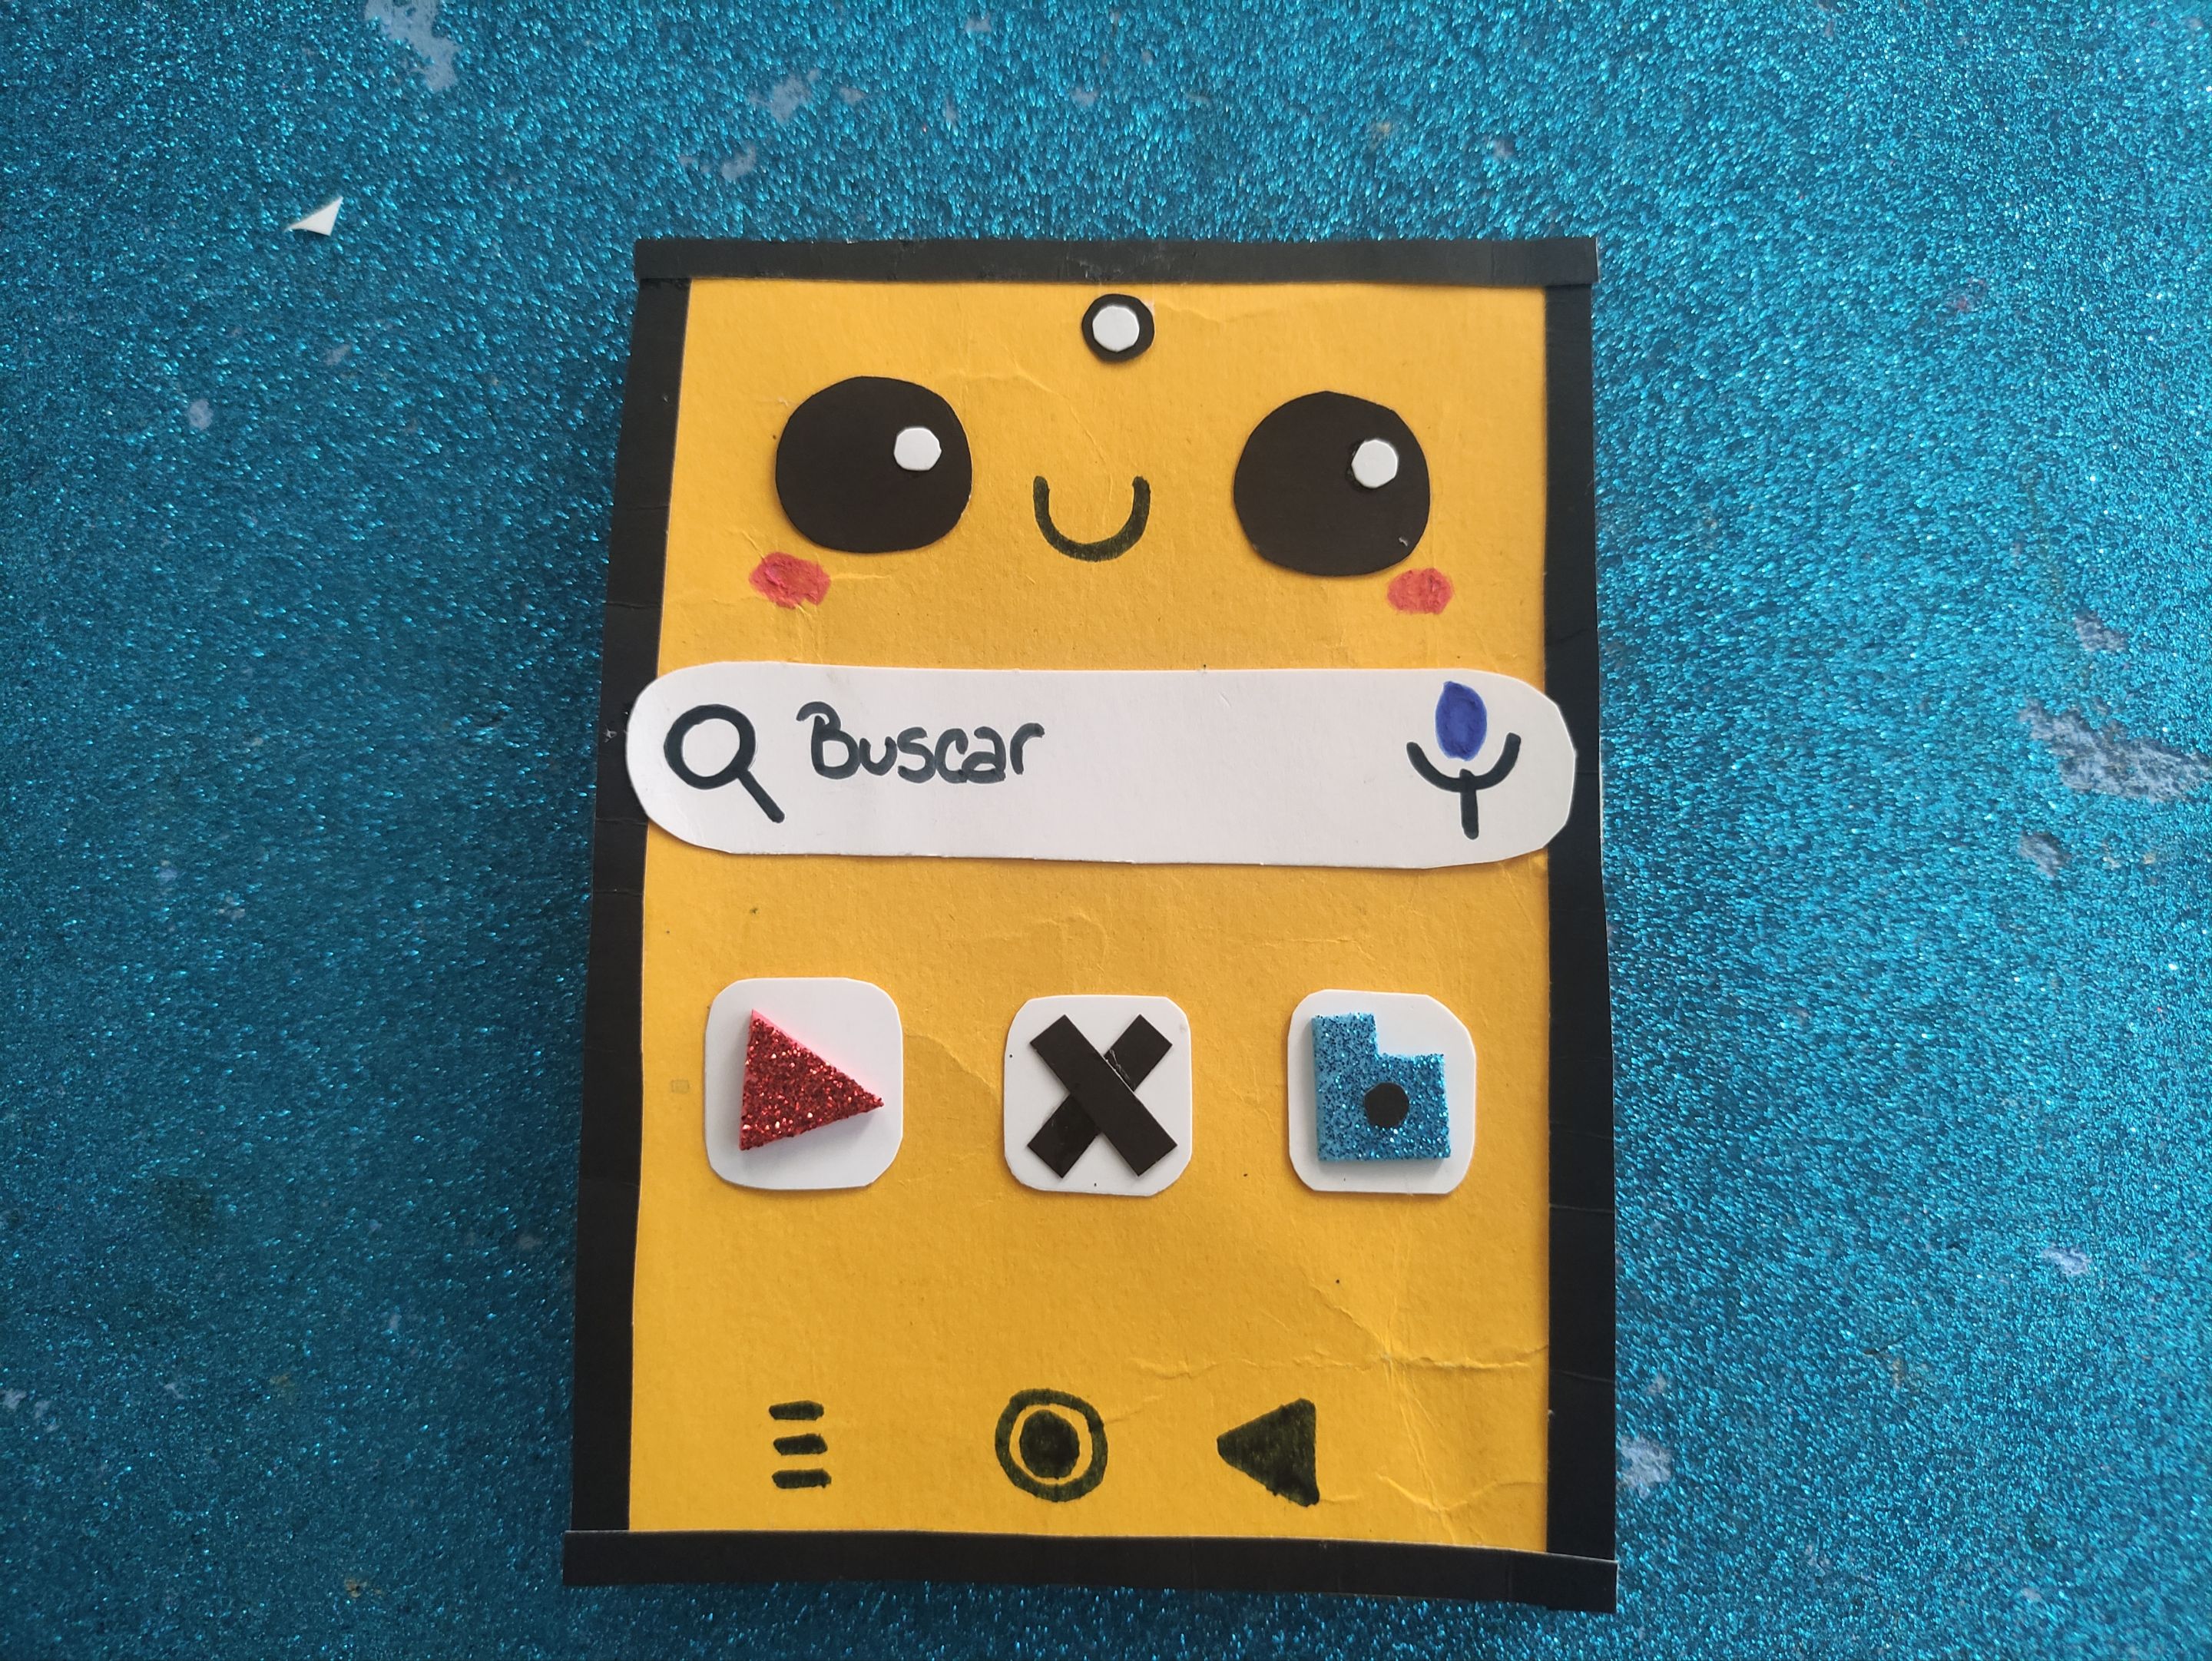
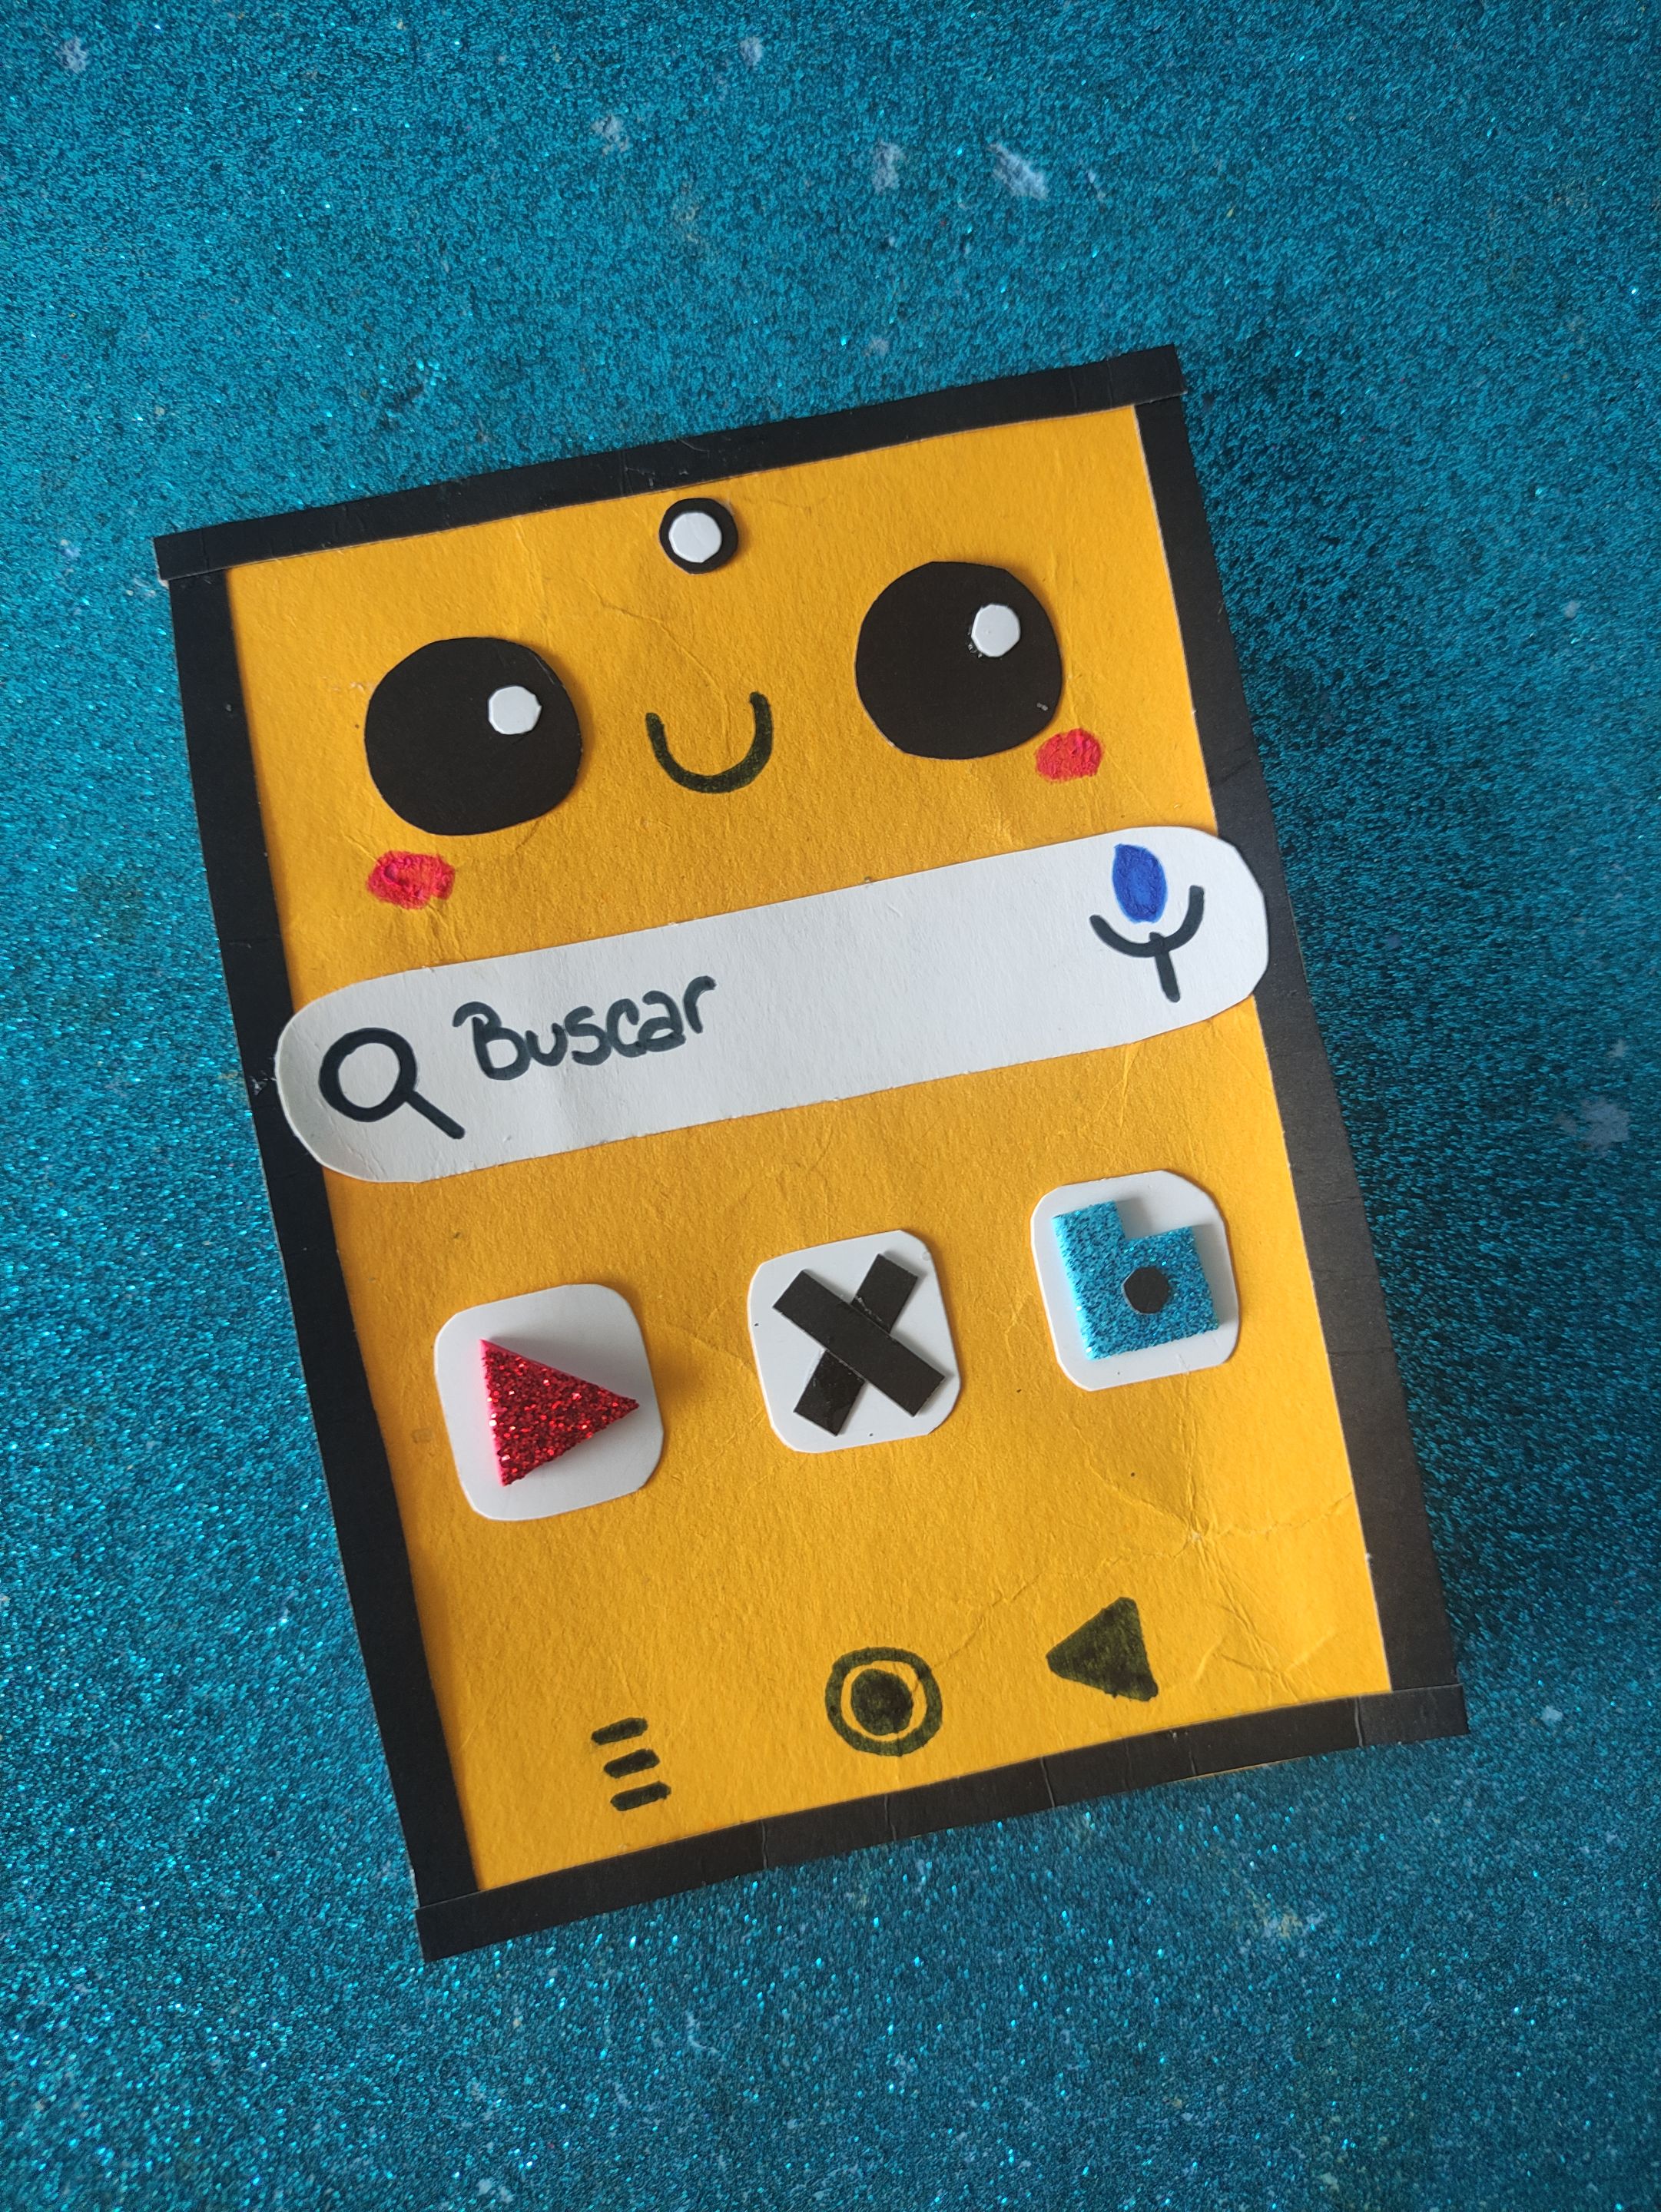
Lo último que resta es decorar nuestro mini blog de notas, está parte es libre aunque pueden tomar como referencia la idea que muestro en el paso a paso, cree una cara Kawaii para dar ese toque tierno al blog, también añadí elementos que semejan un navegador digital, hice en foami los logos de ciertas aplicaciones y todo lo pegué al blog usando silicón líquido.
The last thing left is to decorate our mini blog of notes, this part is free although you can take as a reference the idea that I show in the step by step, I created a Kawaii face to give that cute touch to the blog, I also added elements that resemble a digital browser, I made in foami the logos of certain applications and I glued it all to the blog using liquid silicone.
Como ven es sumamente sencillo hacer este blog lleno de estilo y ternura, pueden hacer el blog del tamaño que prefieran, usar los colores que más les gusten, decorar a su estilo, que su creatividad tenga libertad de fluir, espero que haya sido de su agrado este corto paso a paso, gracias por llegar hasta aquí.
As you can see it is very easy to make this blog full of style and tenderness, you can make the blog the size you prefer, use the colors you like, decorate your style, let your creativity be free to flow, I hope you have enjoyed this short step by step, thank you for coming here.
Imágenes tomadas desde mi POCO X3. || Images taken from my POCO X3.
Separadores hechos en Canva. || Dividers made in Canva.
Ediciones hechas en Canva. || Editions made in Canva.
Vídeos convertidos en gif || Videos converted to gif IMG2GO
Translator Deepl.