Hello everyone 🦋.
I'm really excited to be here again. I have always thought I could pull this out, because I started this craft just yesterday, and today I want to take you guys through my next journey. To be honest, I never knew I had it in me to do this. Just a little bit of encouragement, motivation, and passion had me pulling some serious string while making paper flowers.
So I'm going to show you step-by-step how to make this flower.
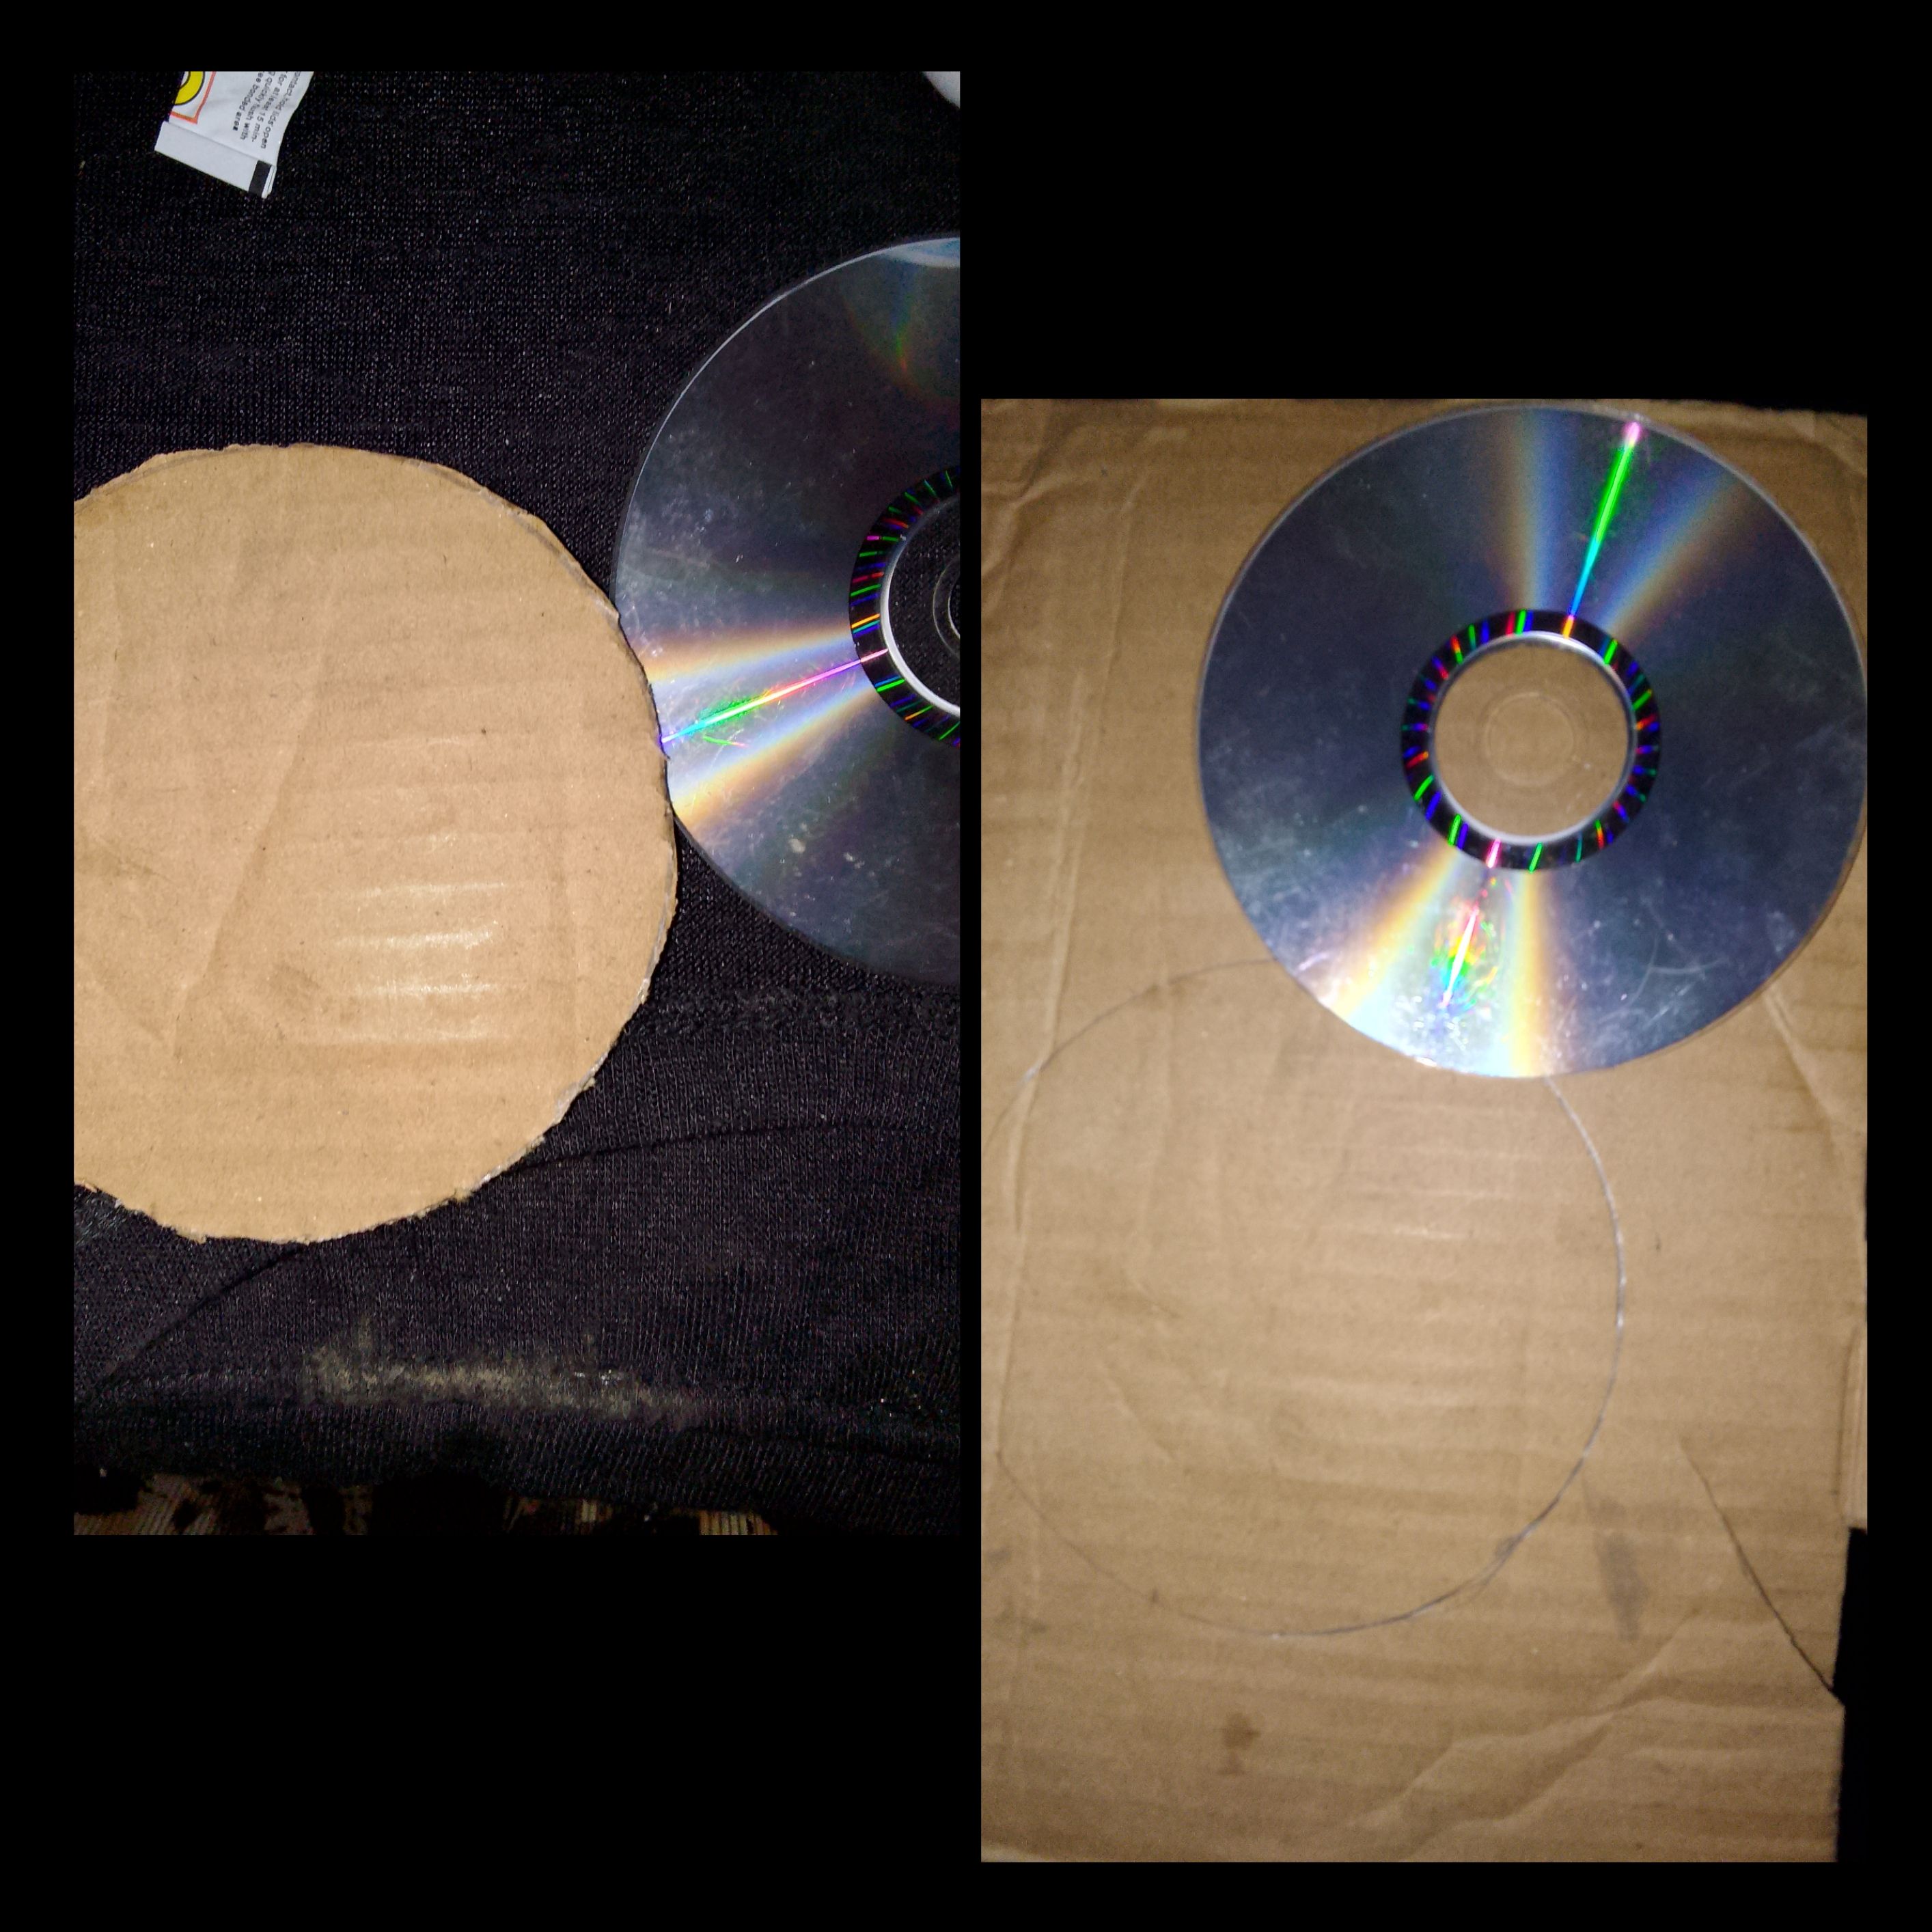
• The first stage is to get an empty or unused carton, a CD, your scissors, your pencil, a rule, your colored paper (in this case, pink and lemon colors), top gum, and don't forget a chill drink🥰.

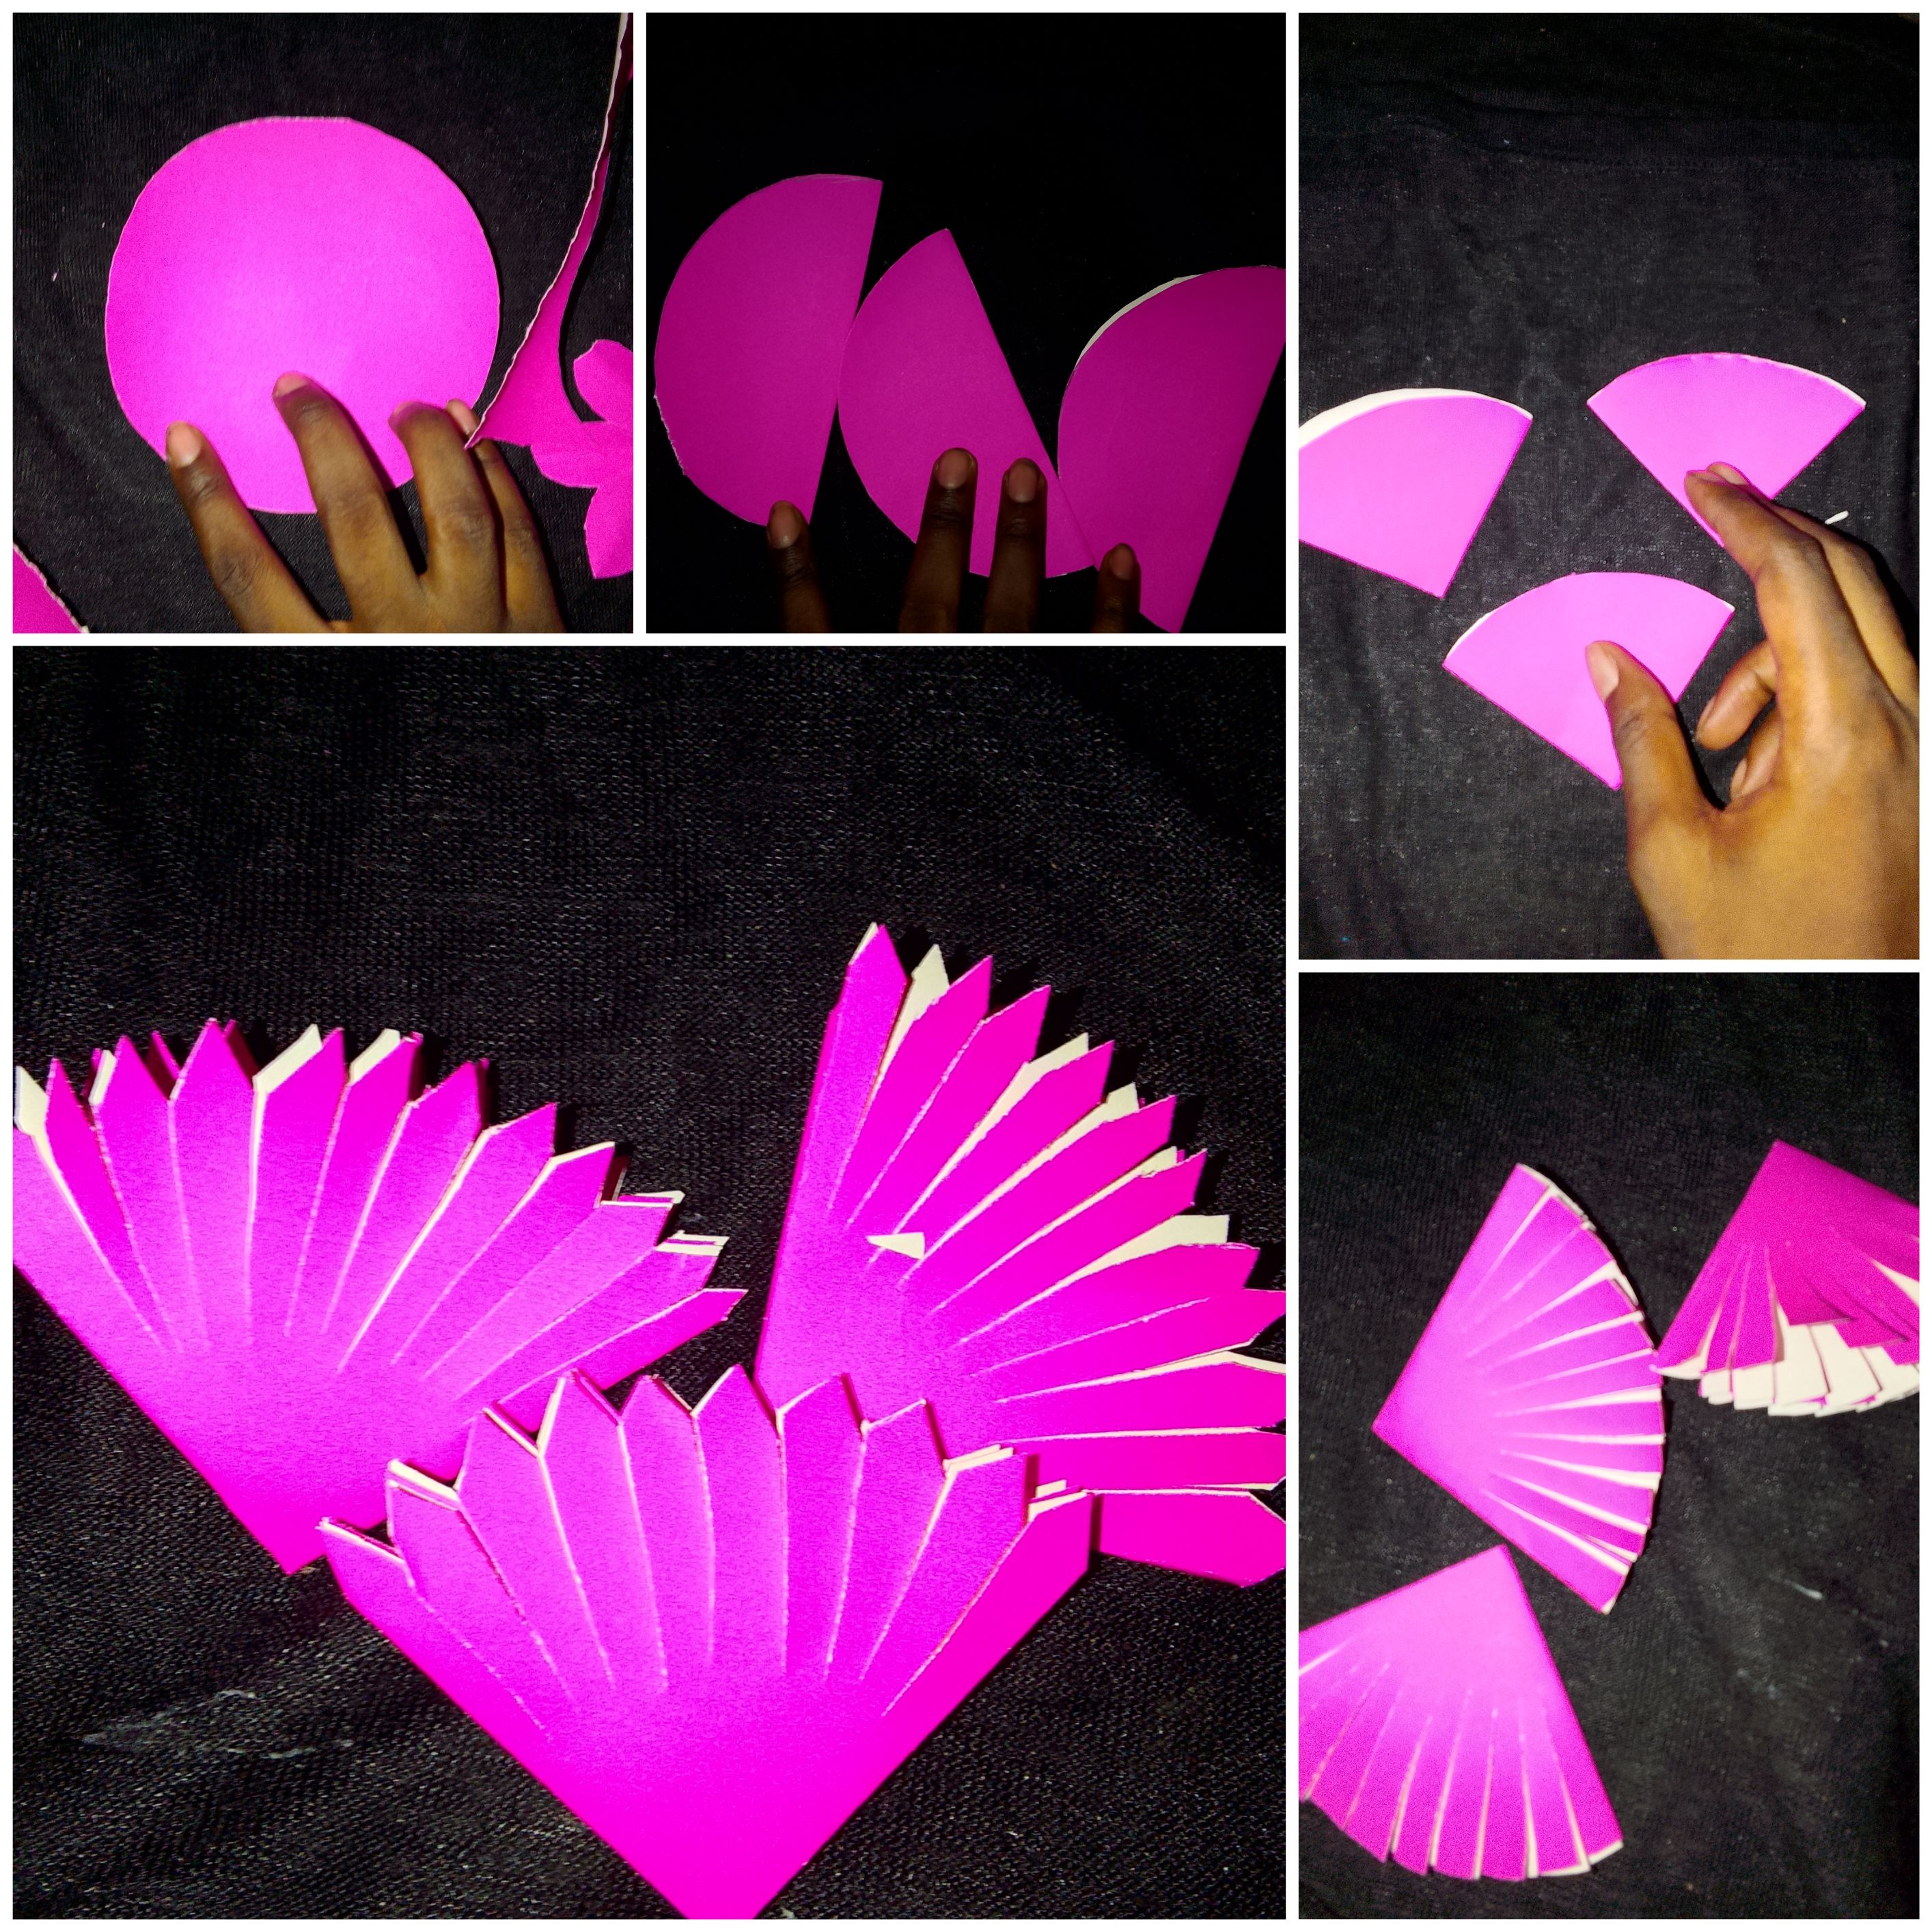
• Then the next step is to use the CD to draw a perfect circle on the carton, then use your scissors to cut out the circle.
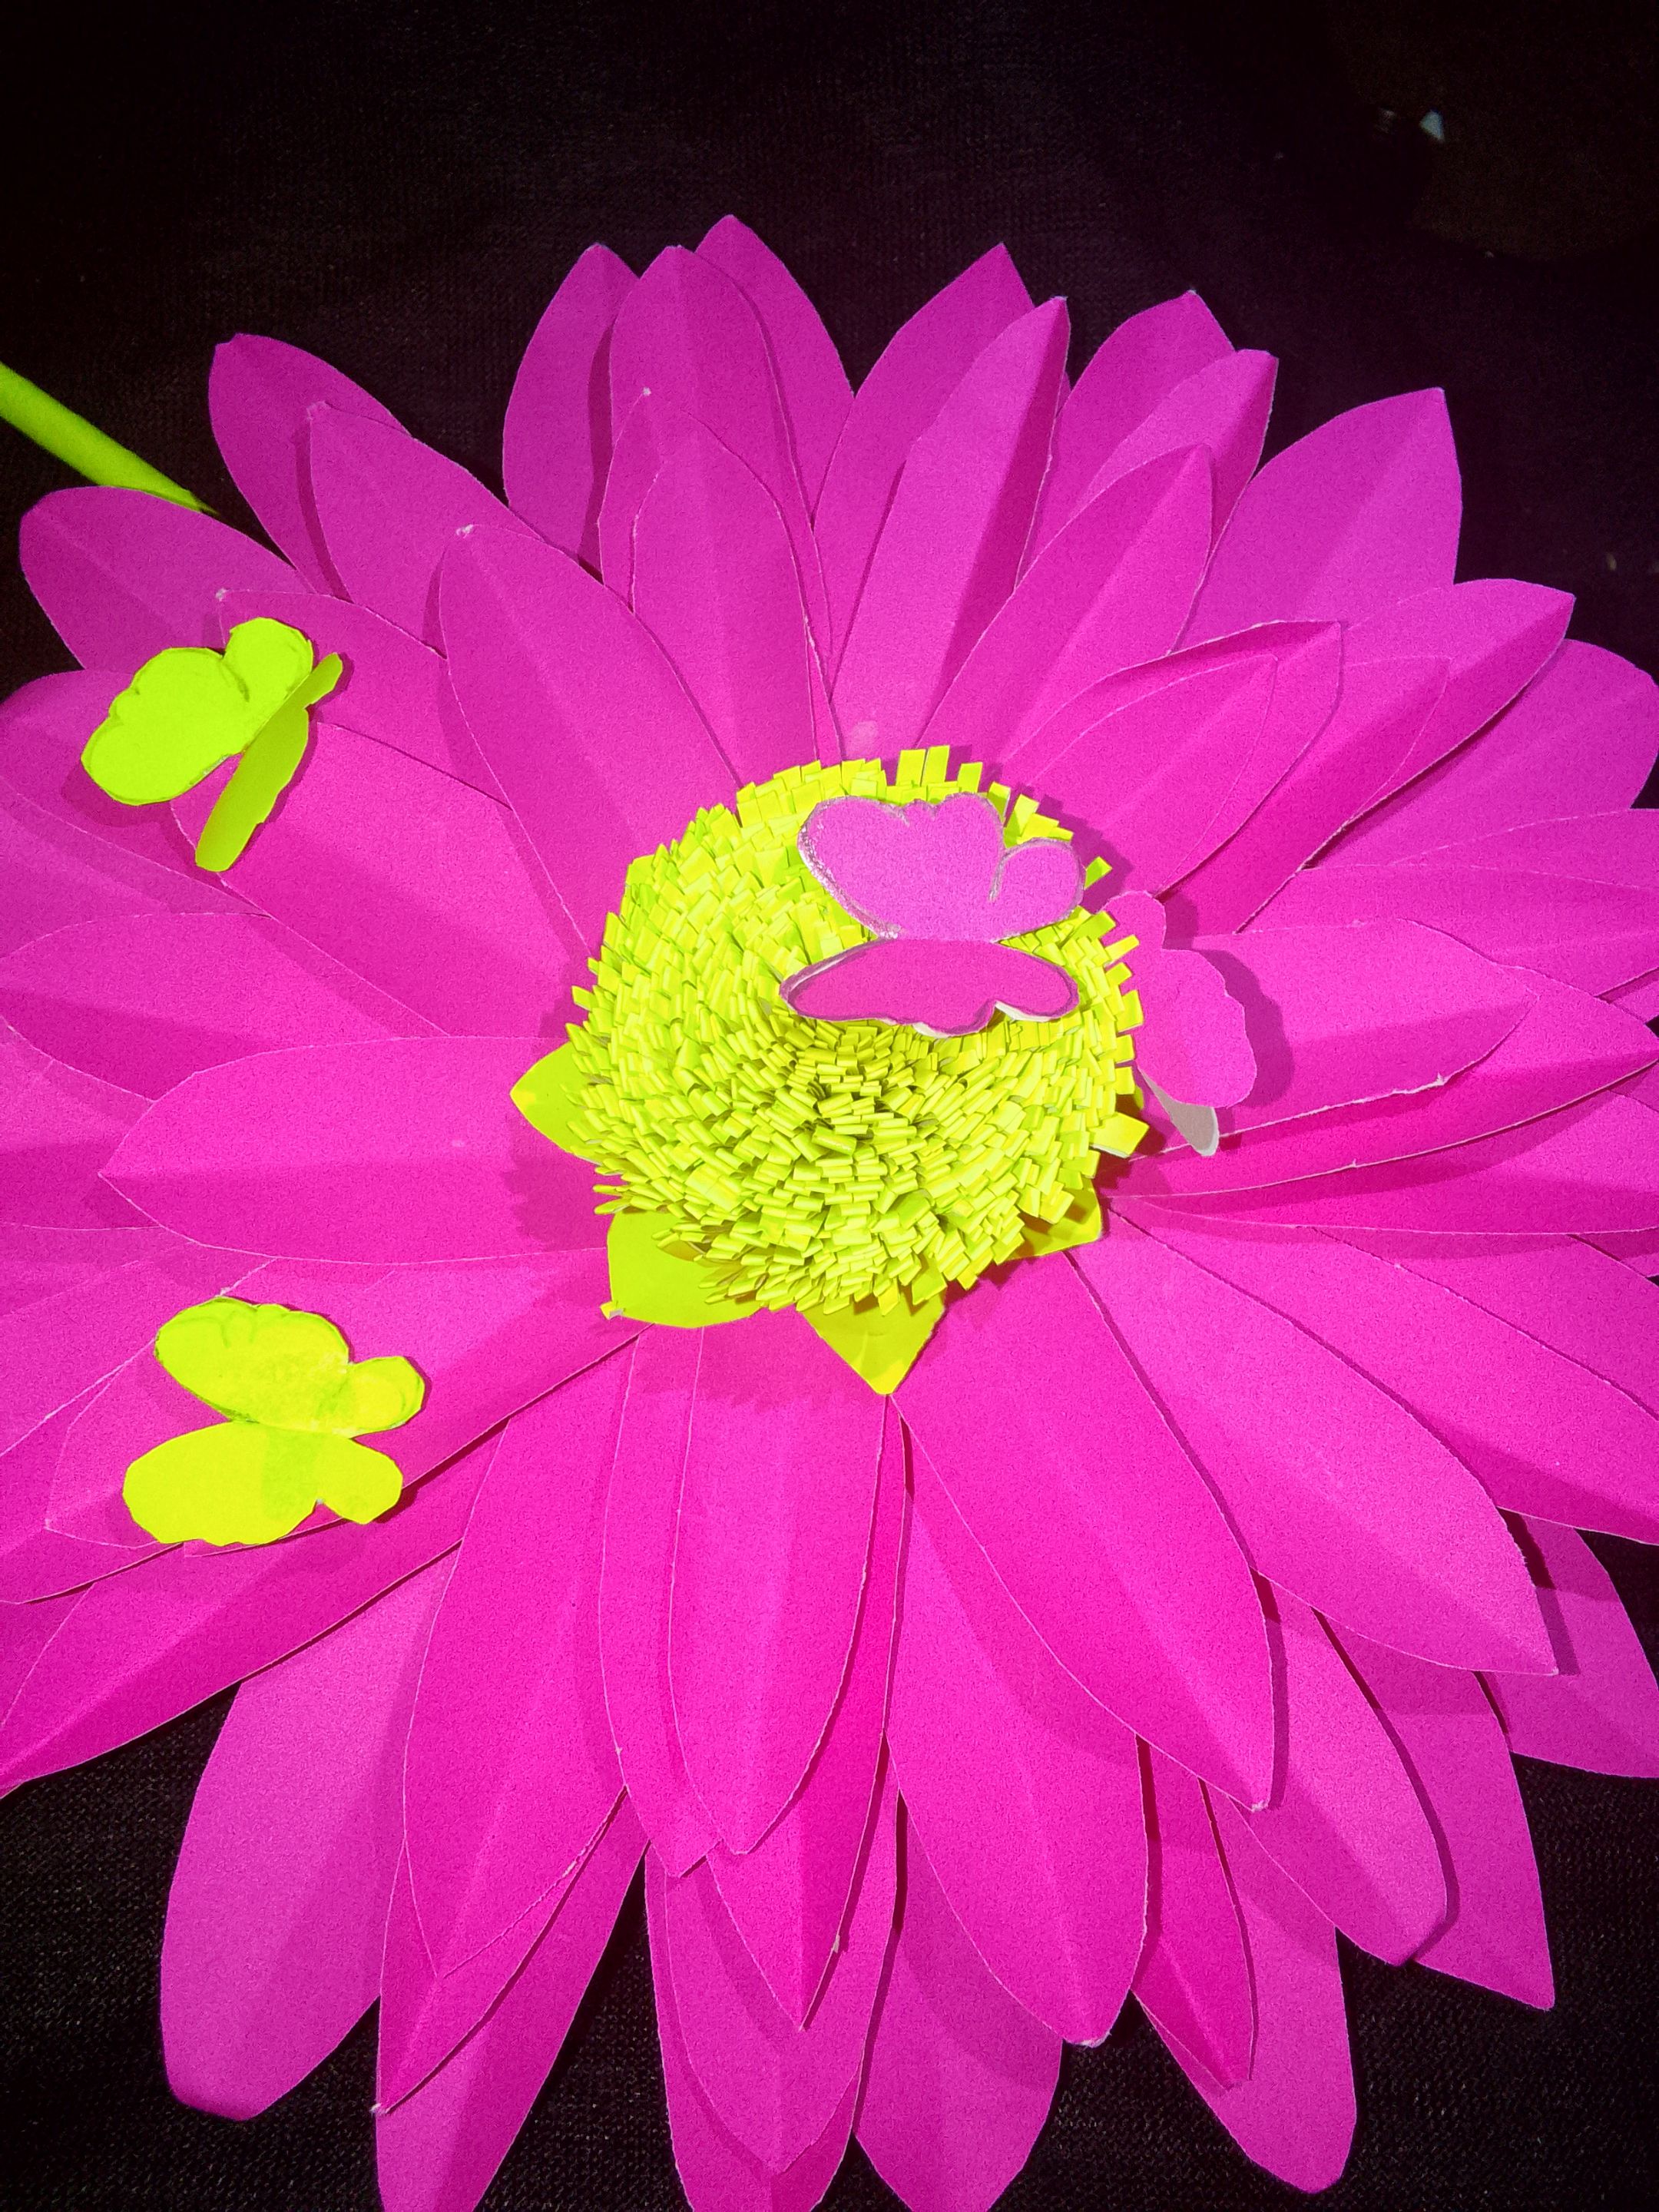
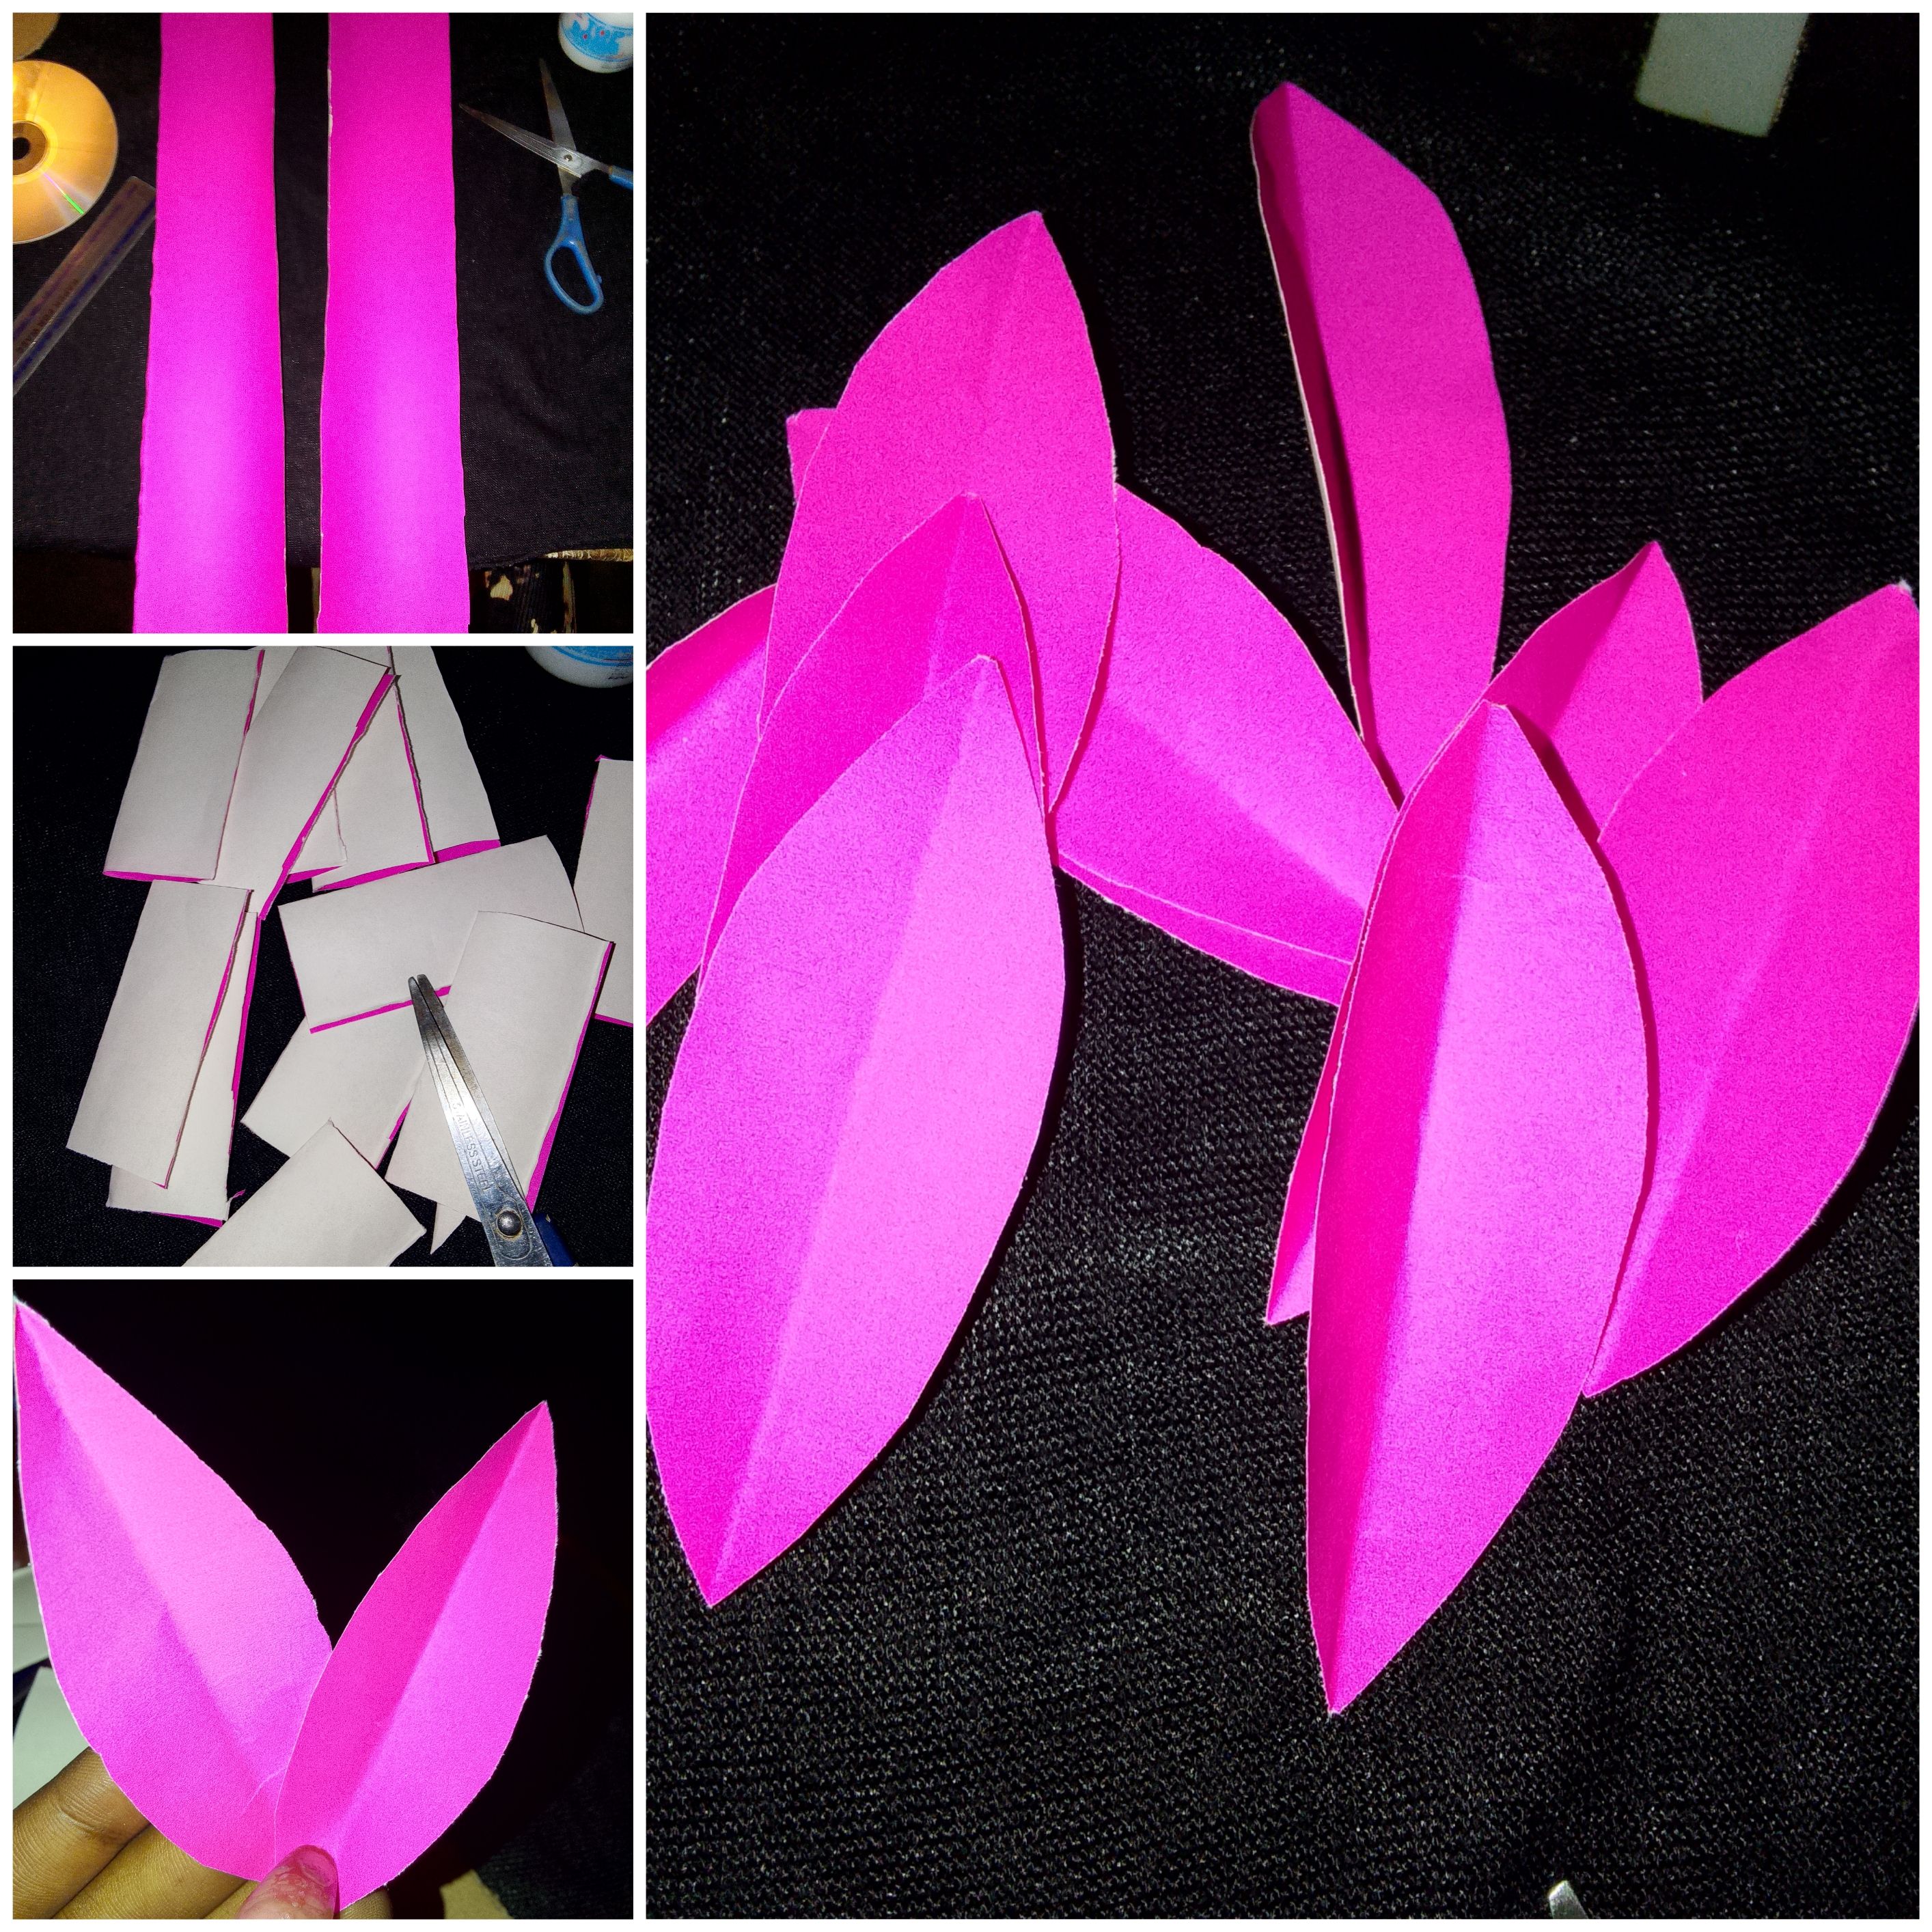
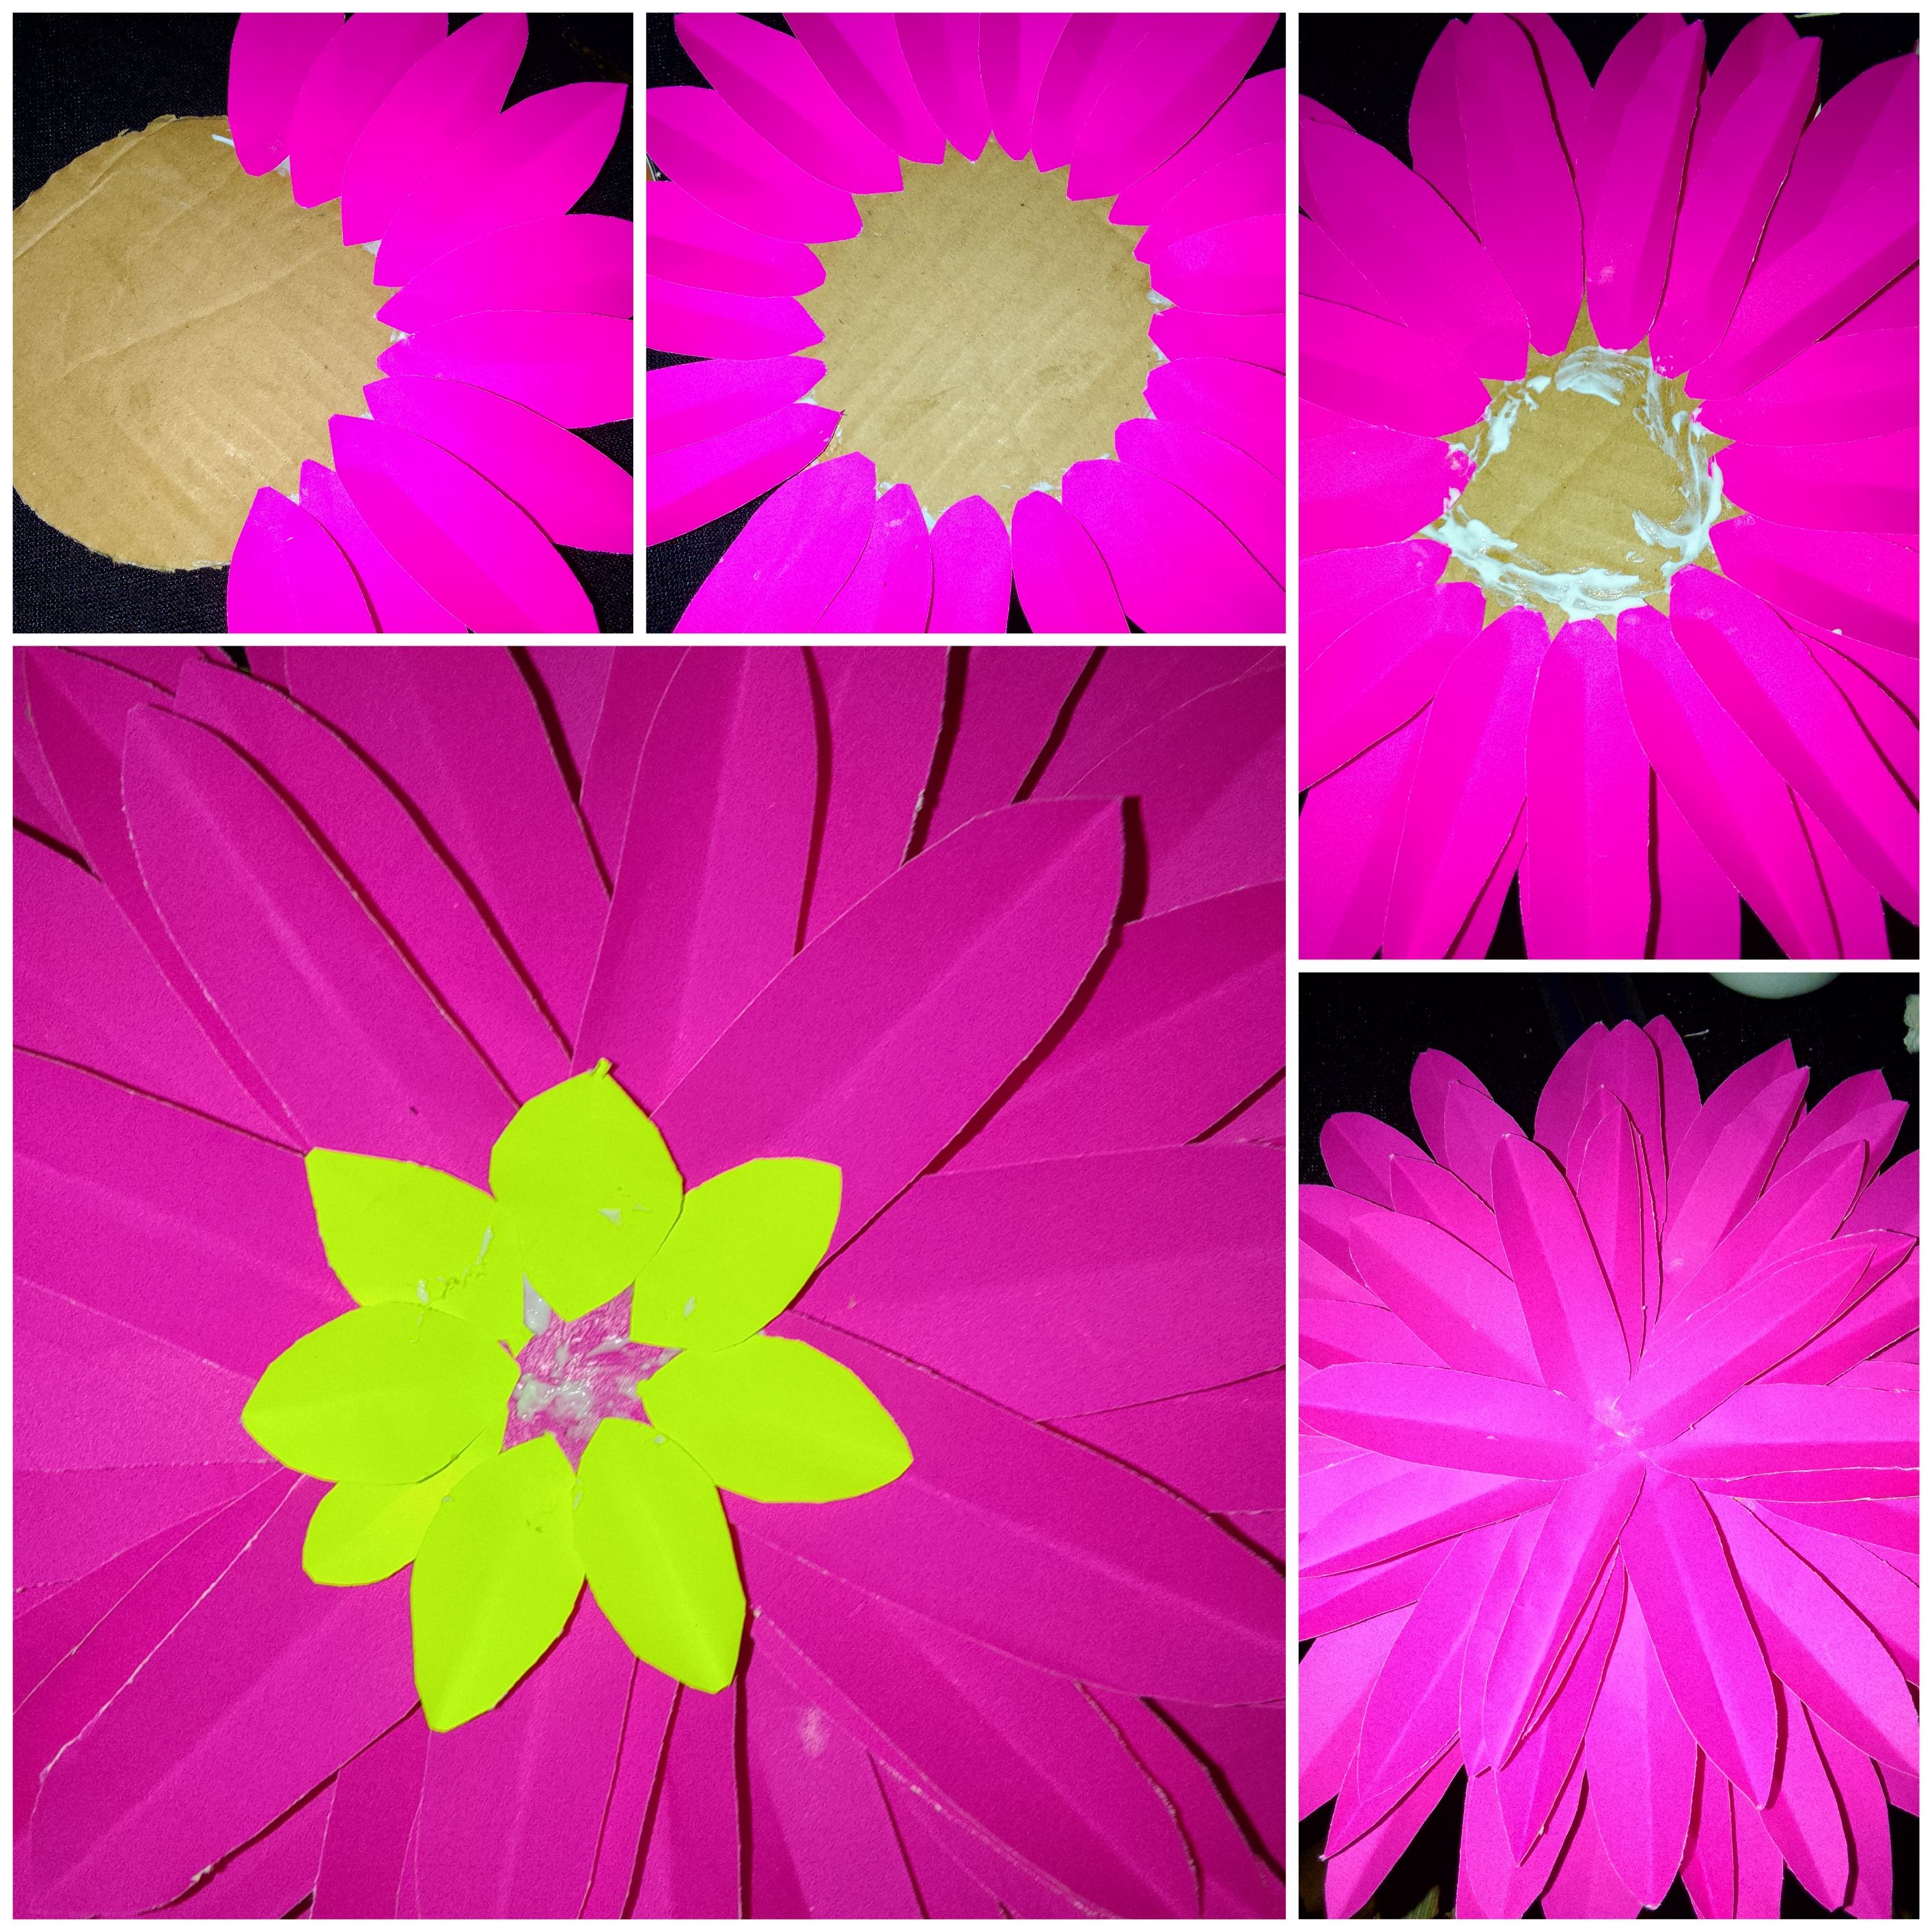
• Then proceed to the pink sheet paper and cut them into petals for the flower. As for me, I had also cut some lemon paper sheets into small petals just for the inner decoration. The next step is to gum the petals on the round circle you had already cut. You do that till the whole petals have covered up the carton layer, then you can add the lemon petals at the center of the flower.
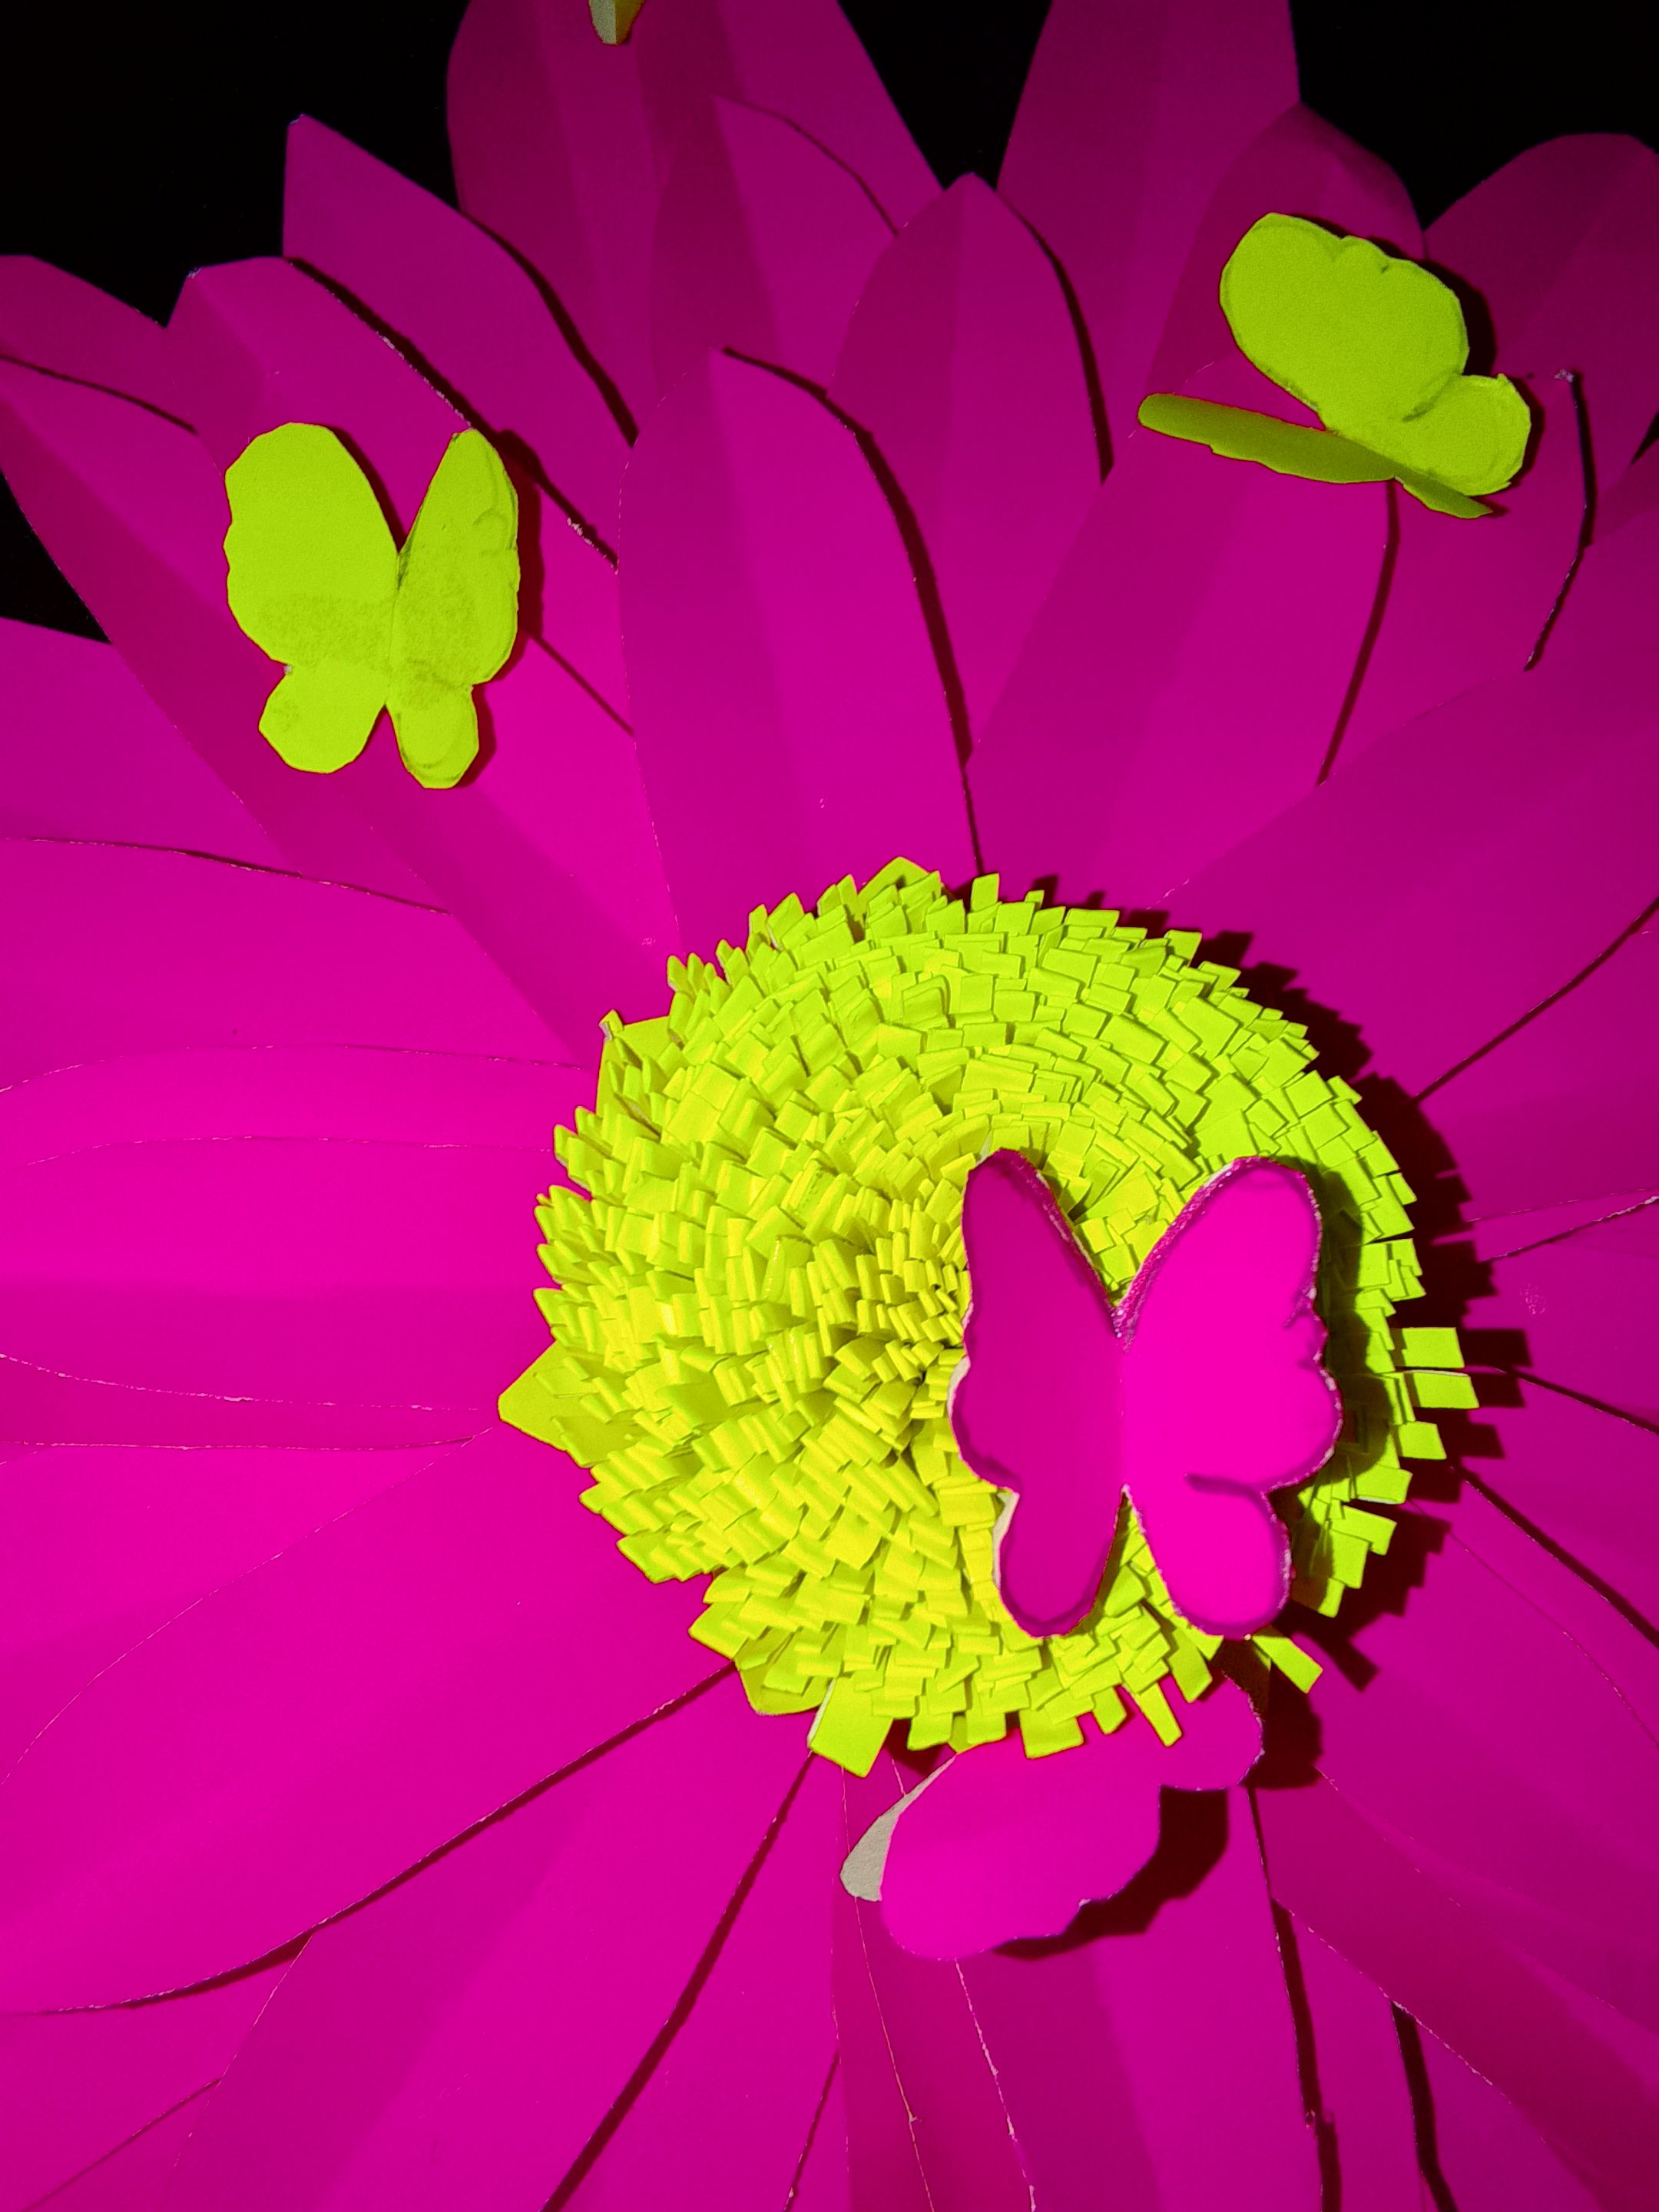
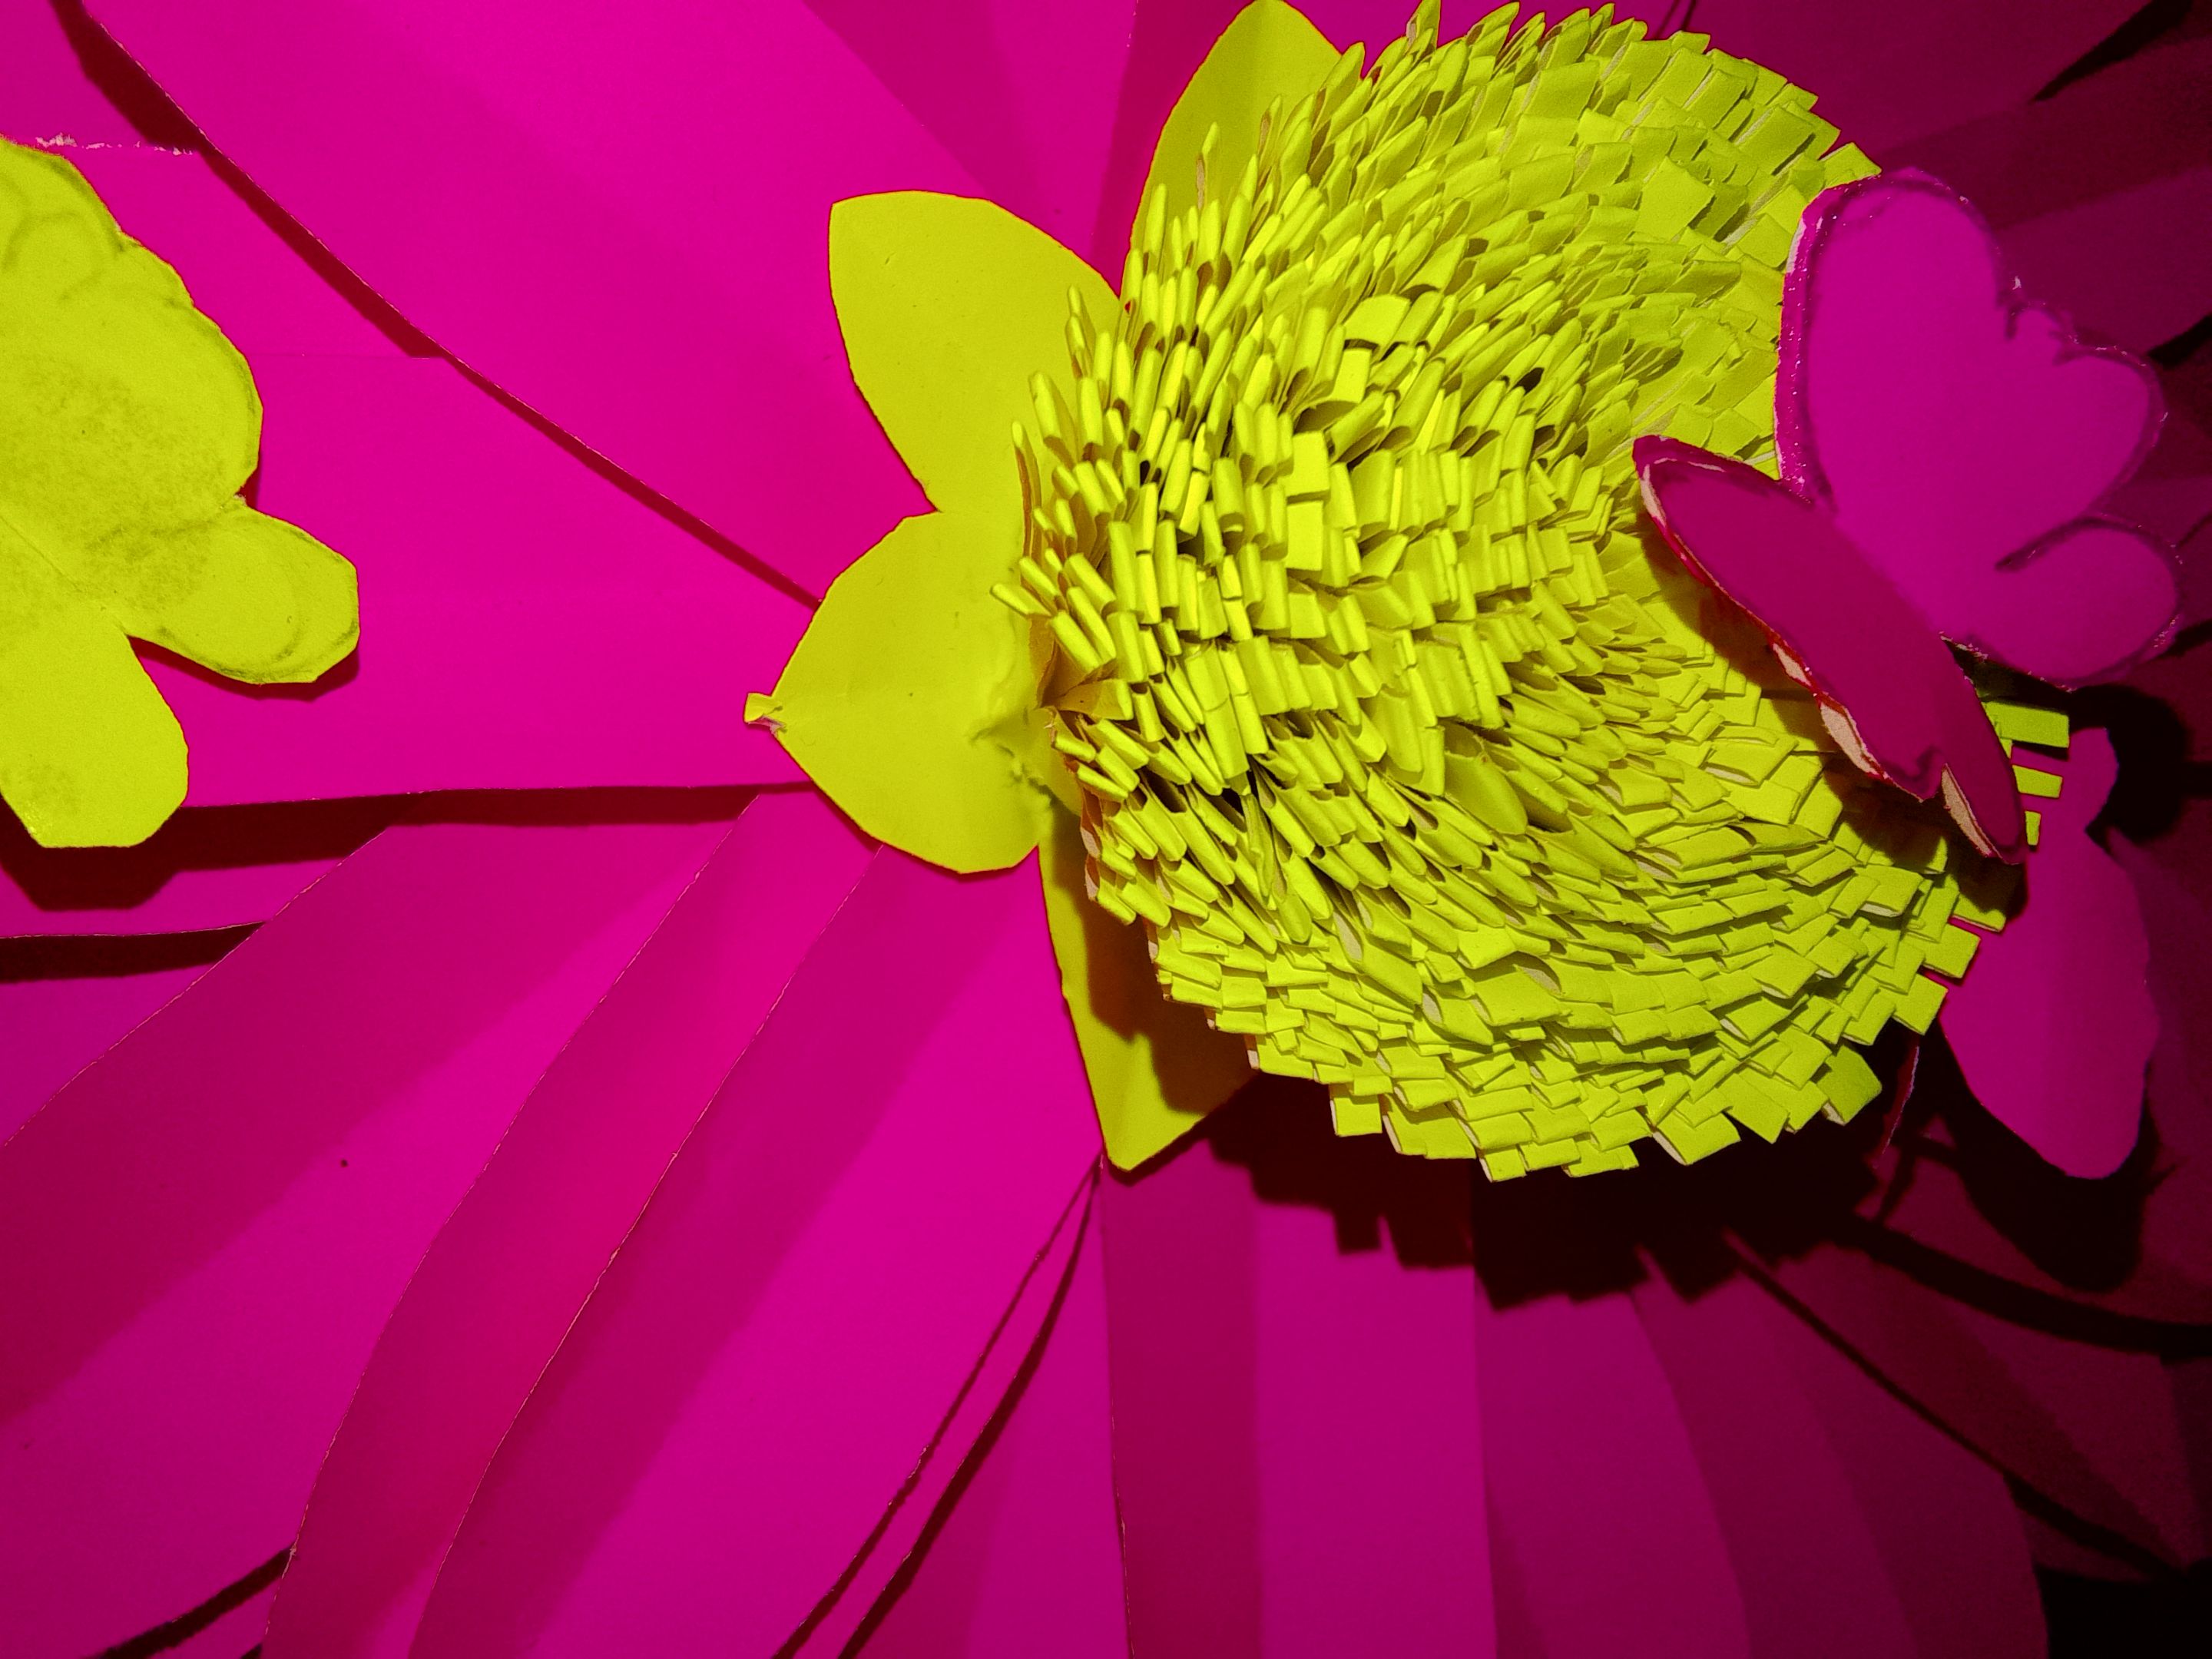
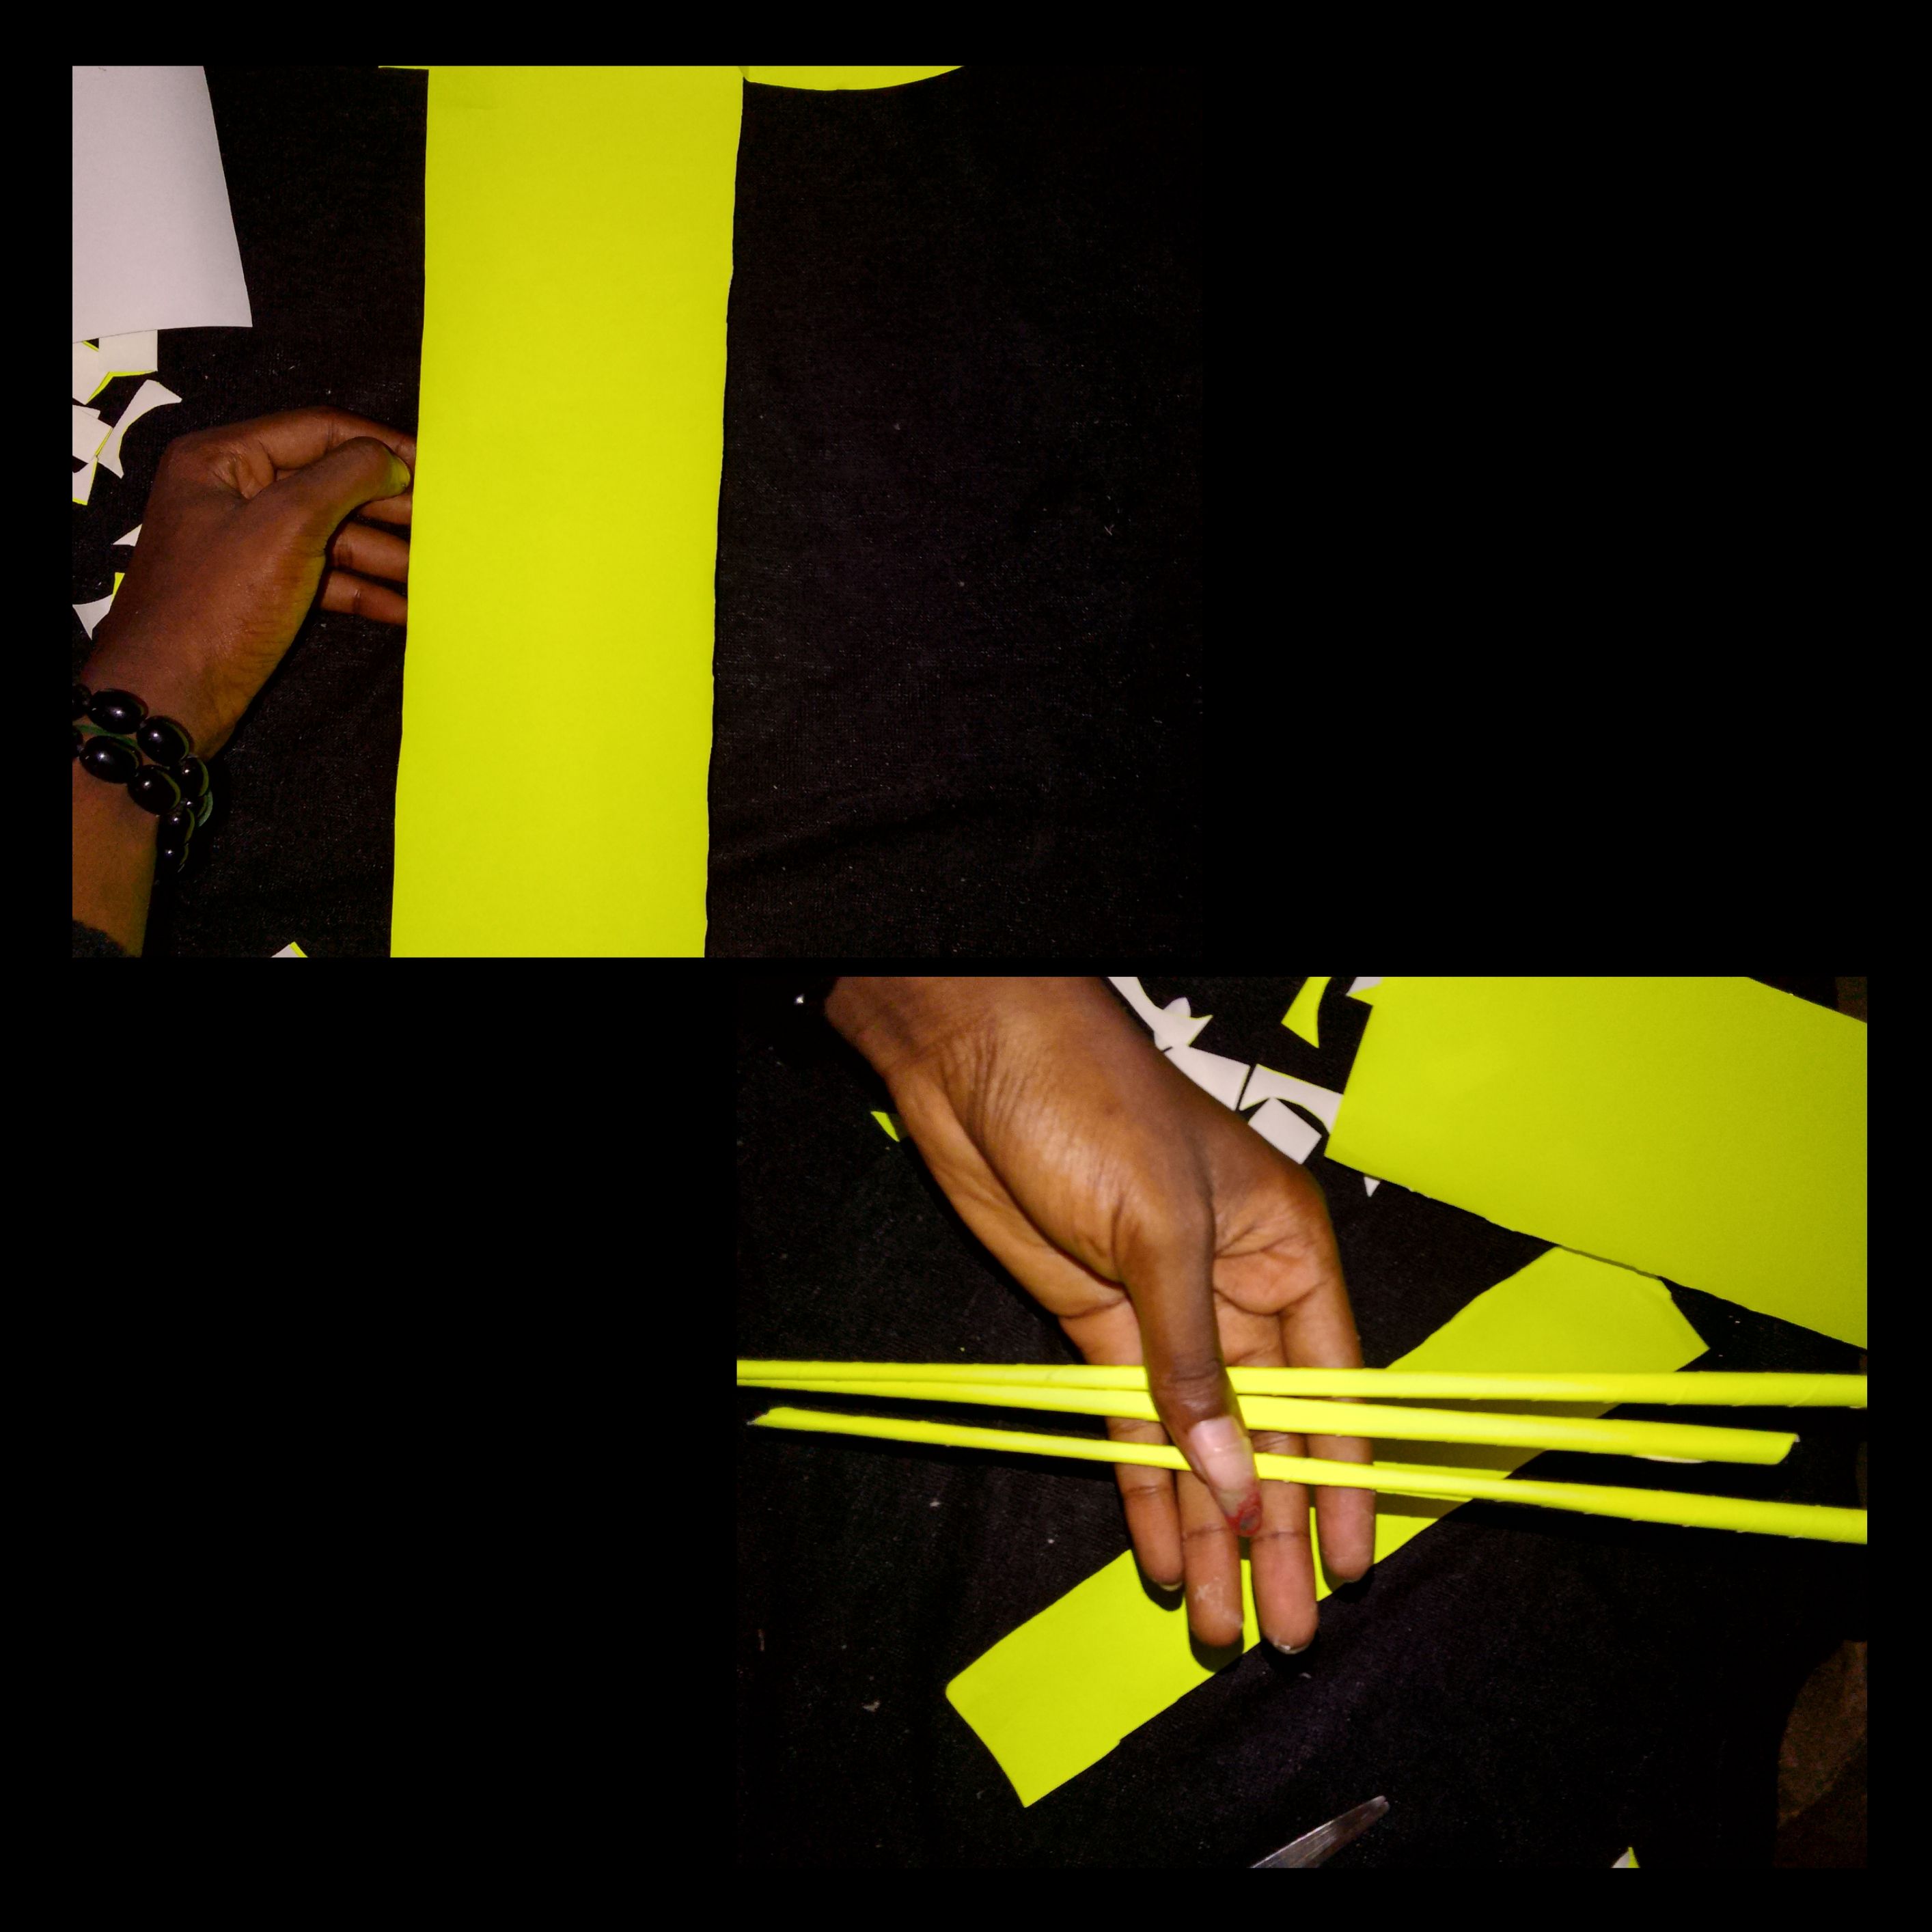
• The next stage is a little time-consuming, but it's also the best part of the flower. Since the flower has some similarities to a sunflower, the disc florets (the center or middle of the flower) would be used in place of the disc florets. We would use the sheet paper, the lemon color, to cut a long sheet and fold it in half before using your scissors to cut from the edge, tiny little lines.
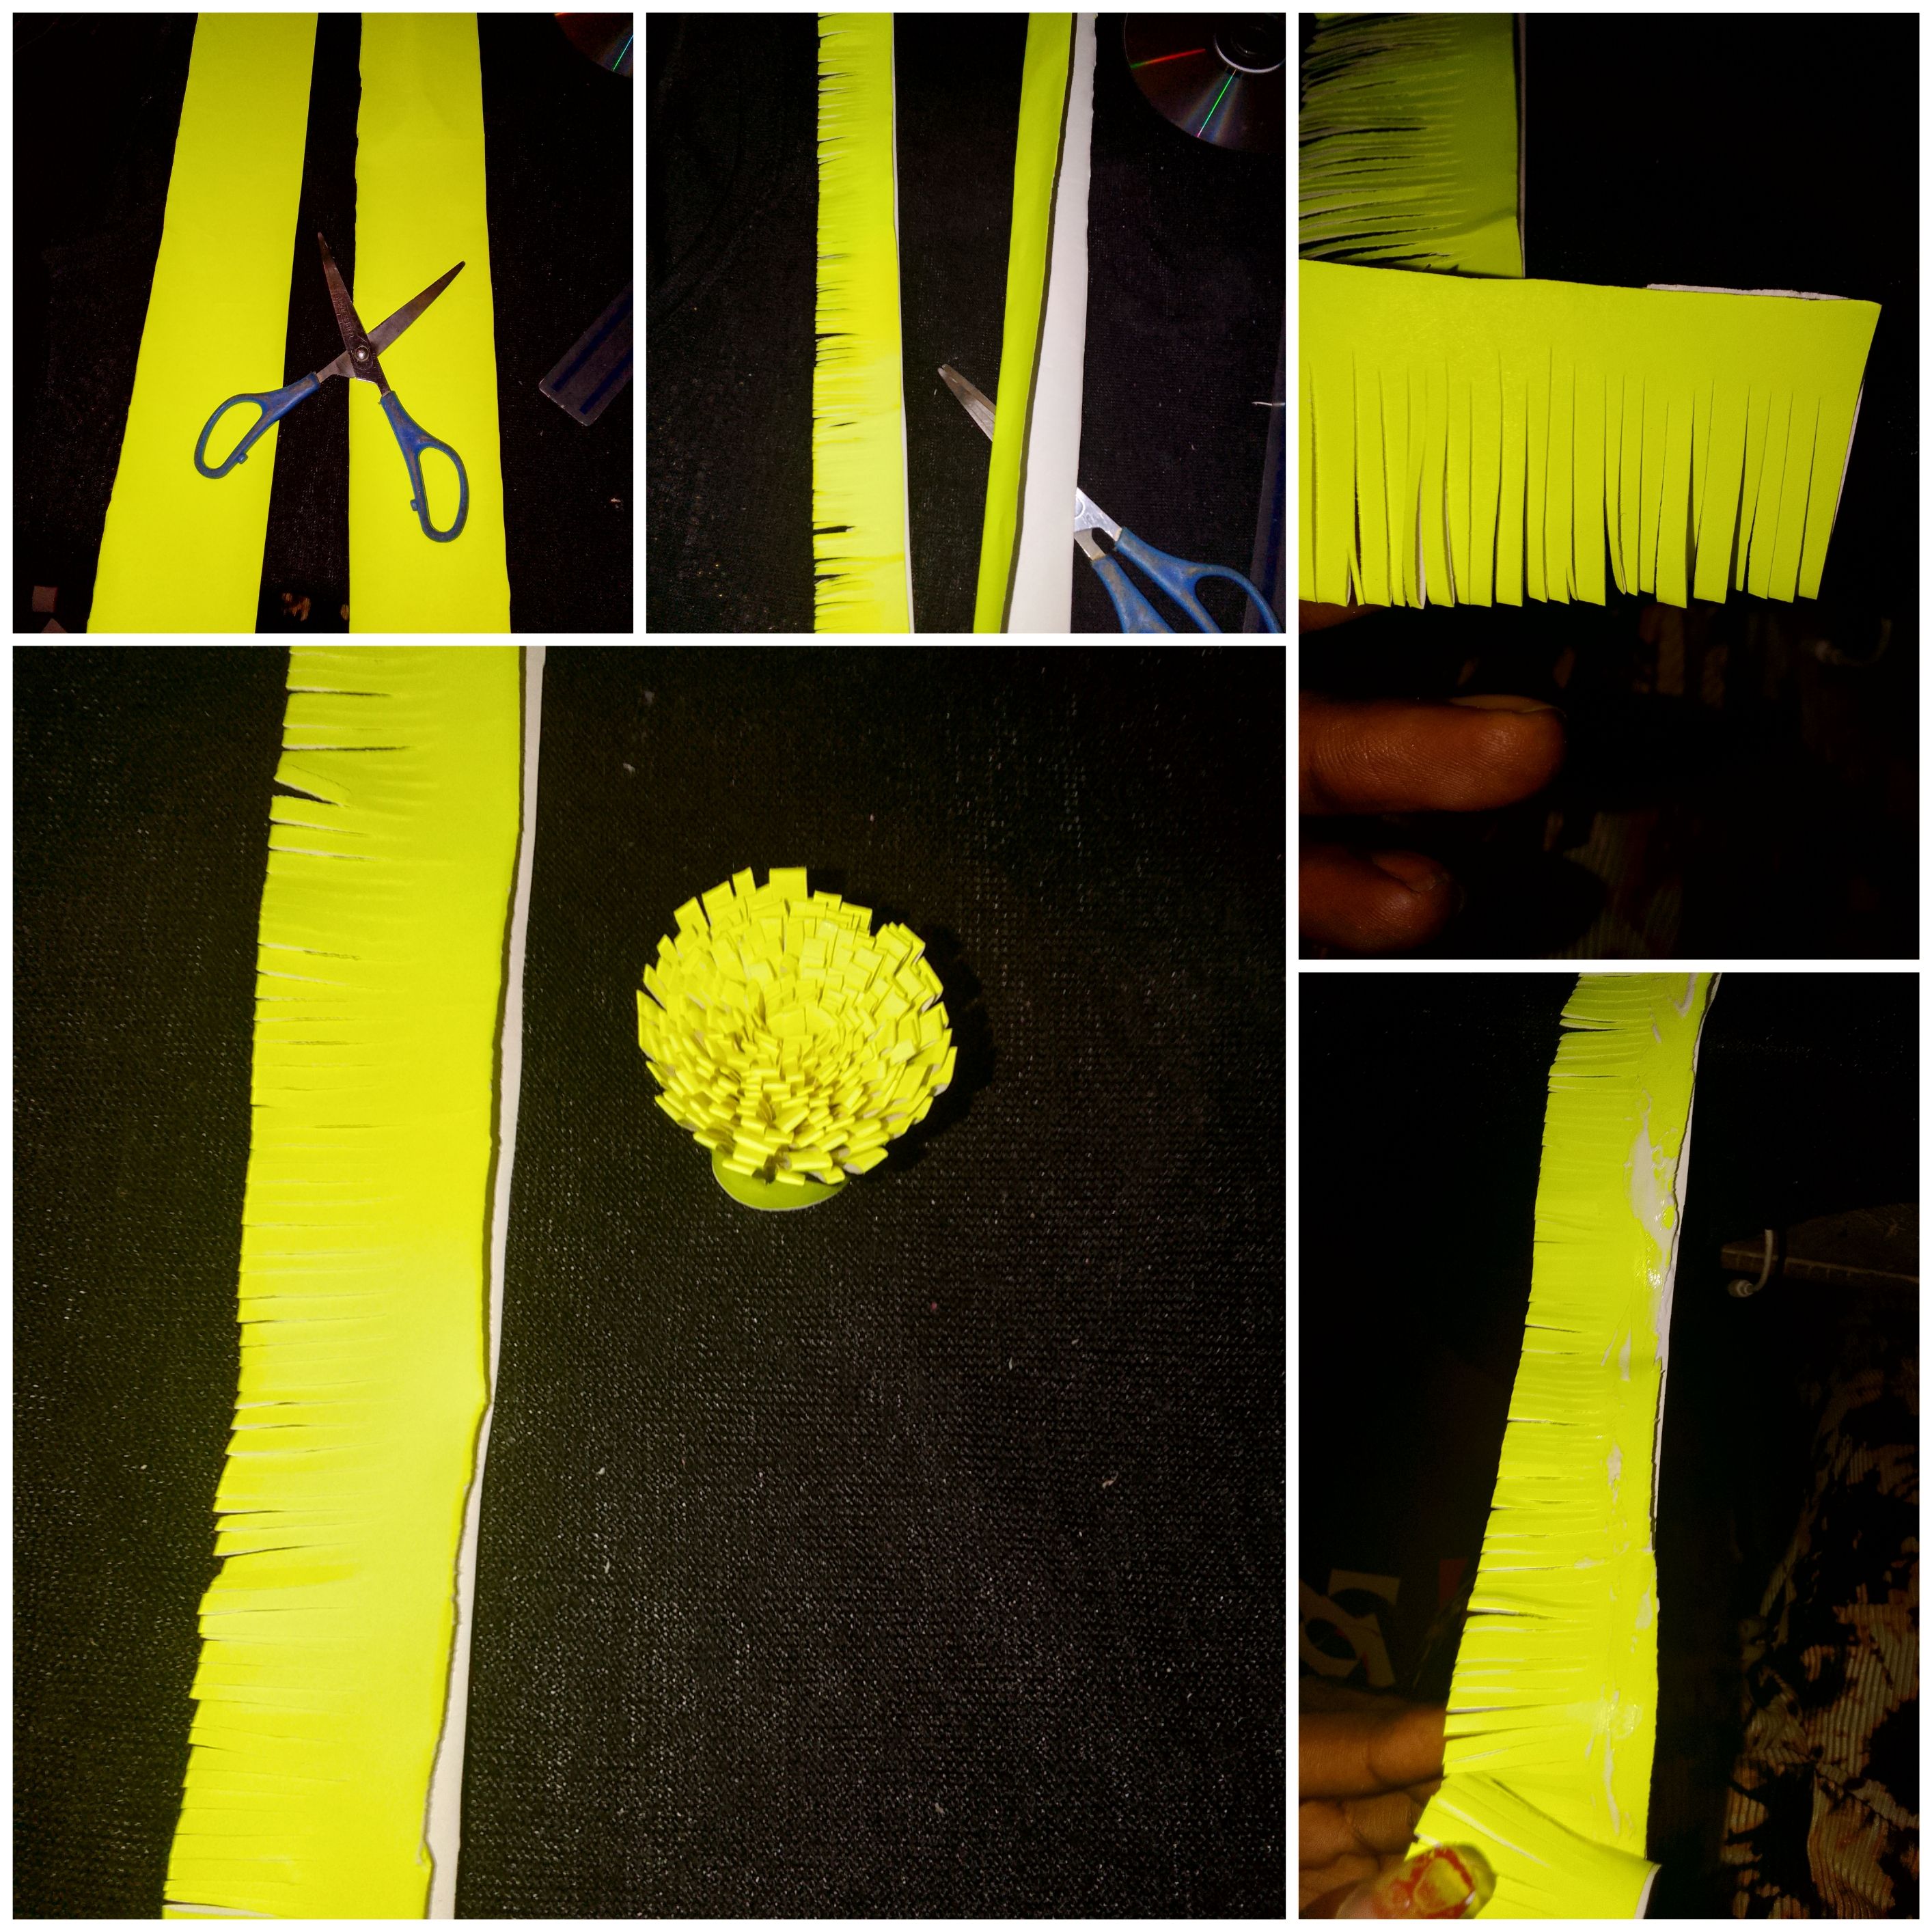
• Then you proceed to make at least four or five pieces of the lemon sheet paper, repeating the process, and then you roll them together to make the middle of the flower.
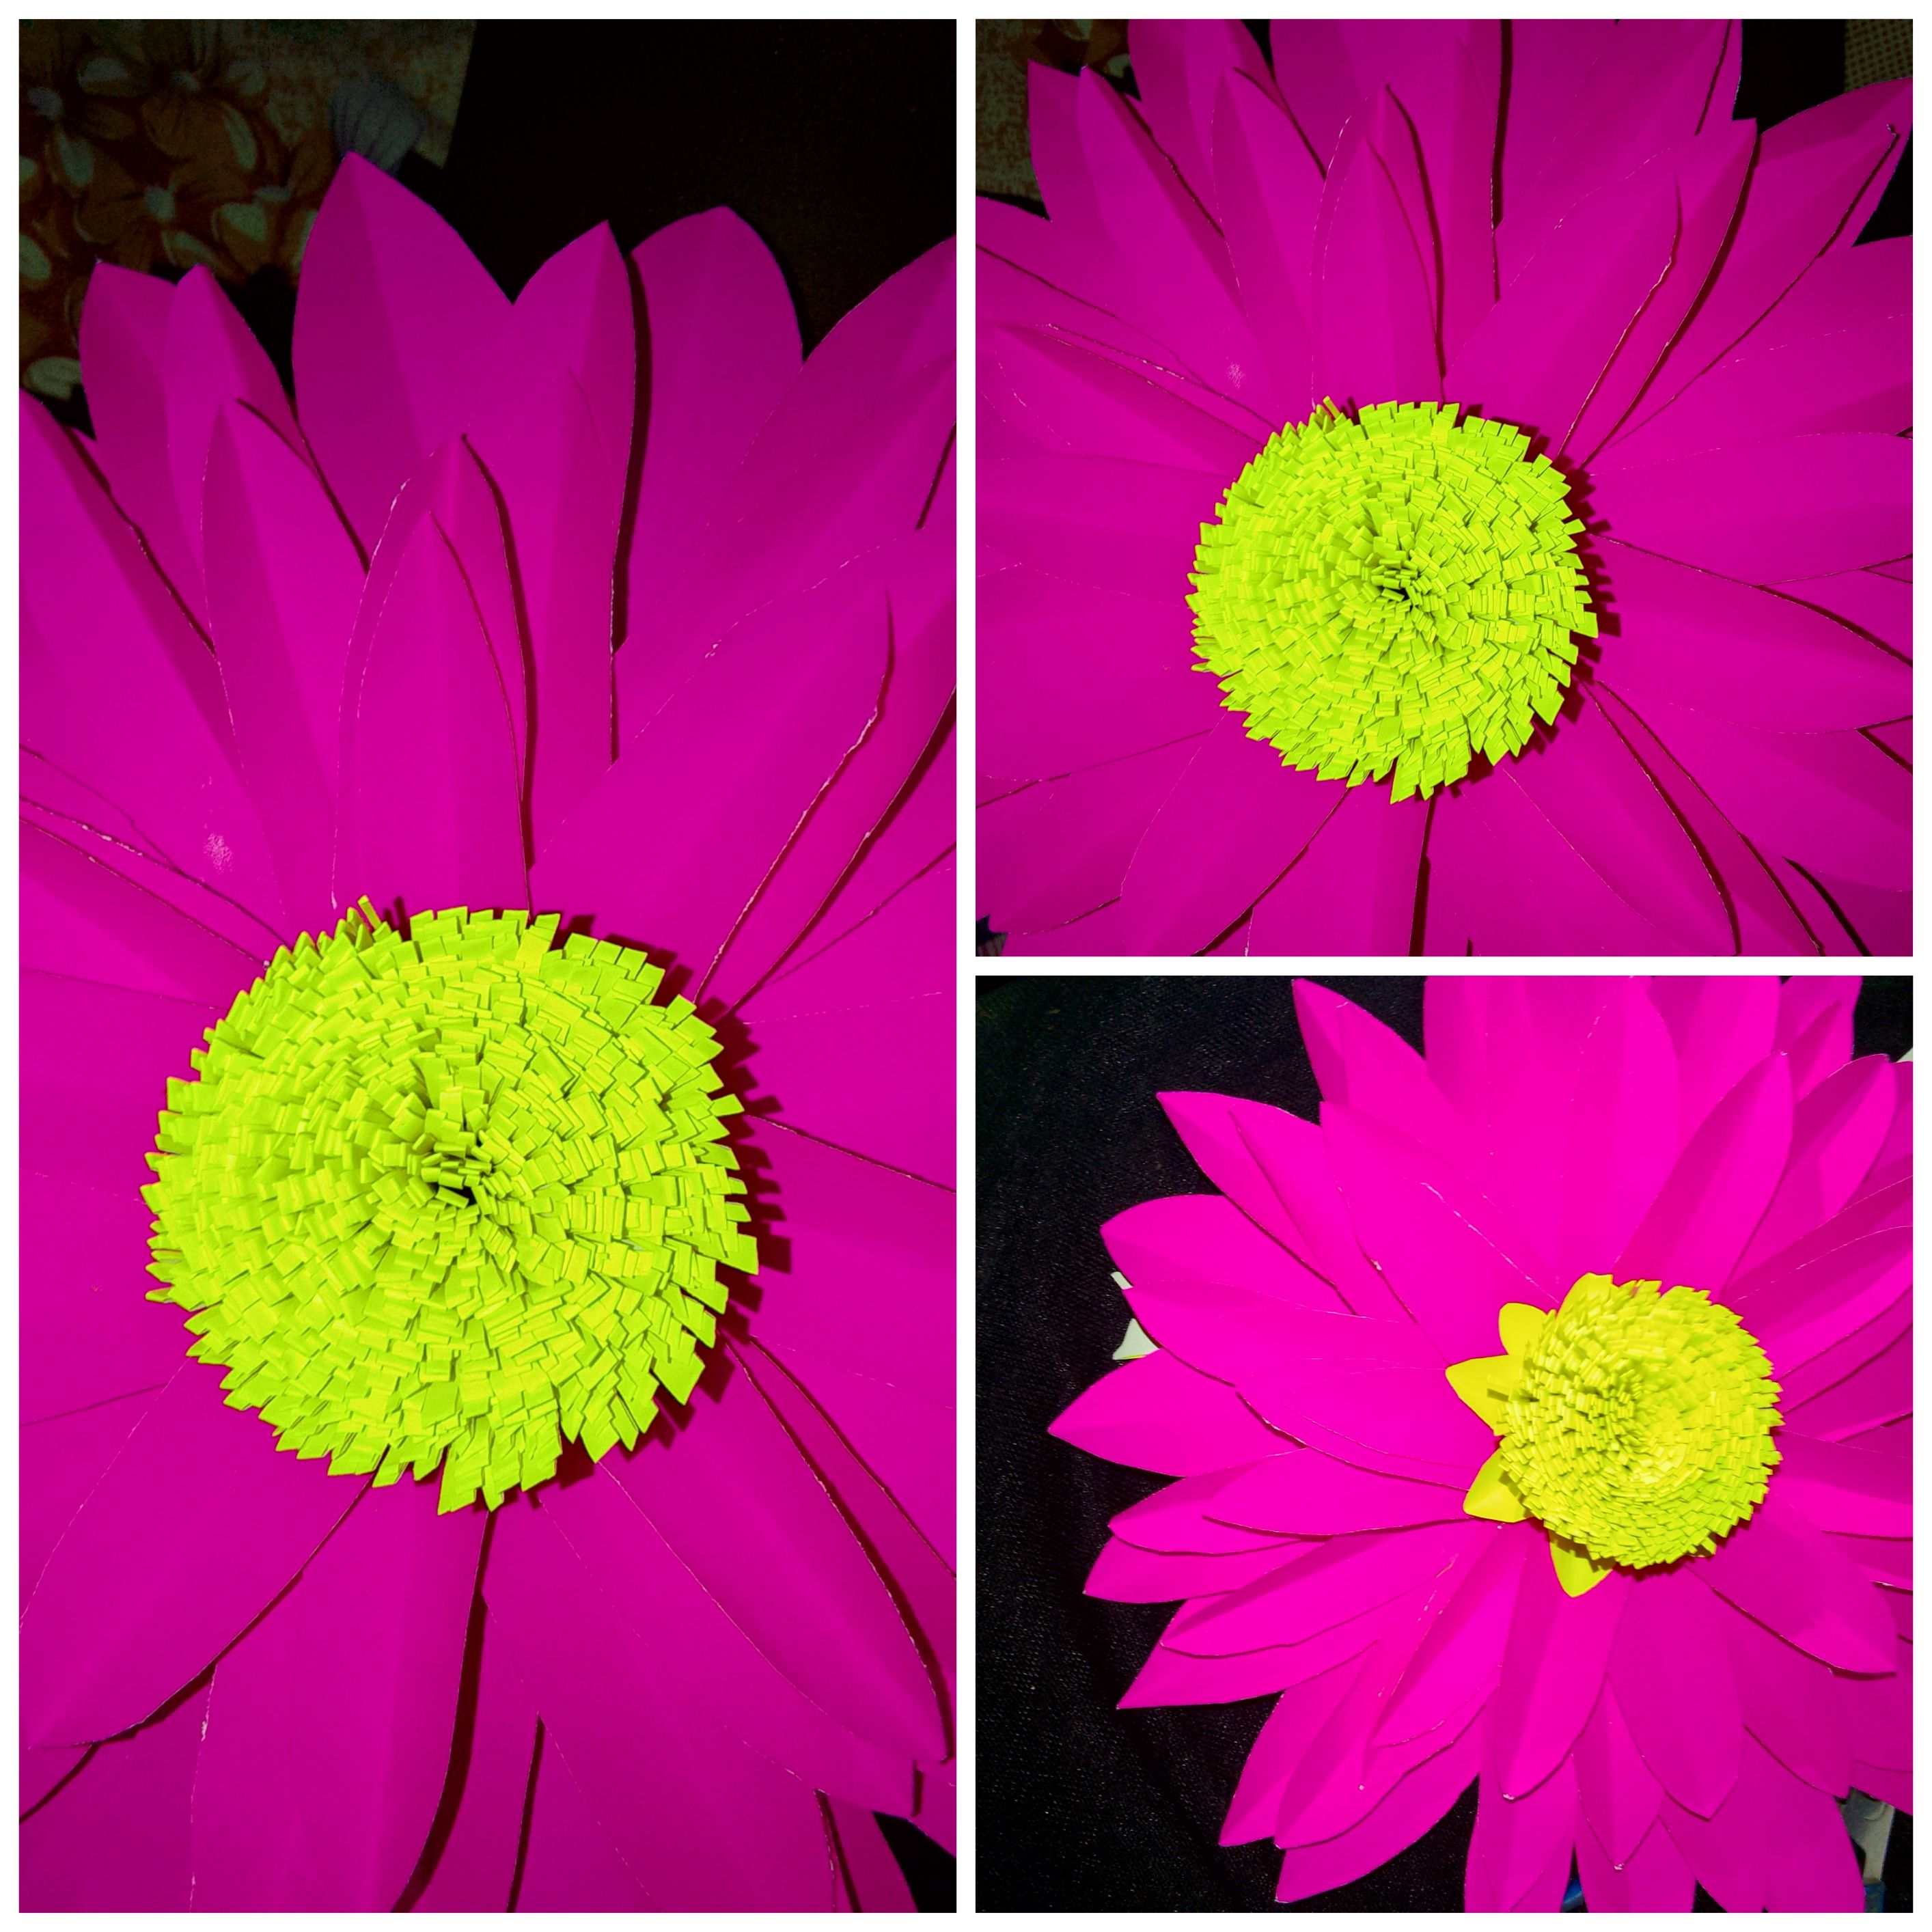
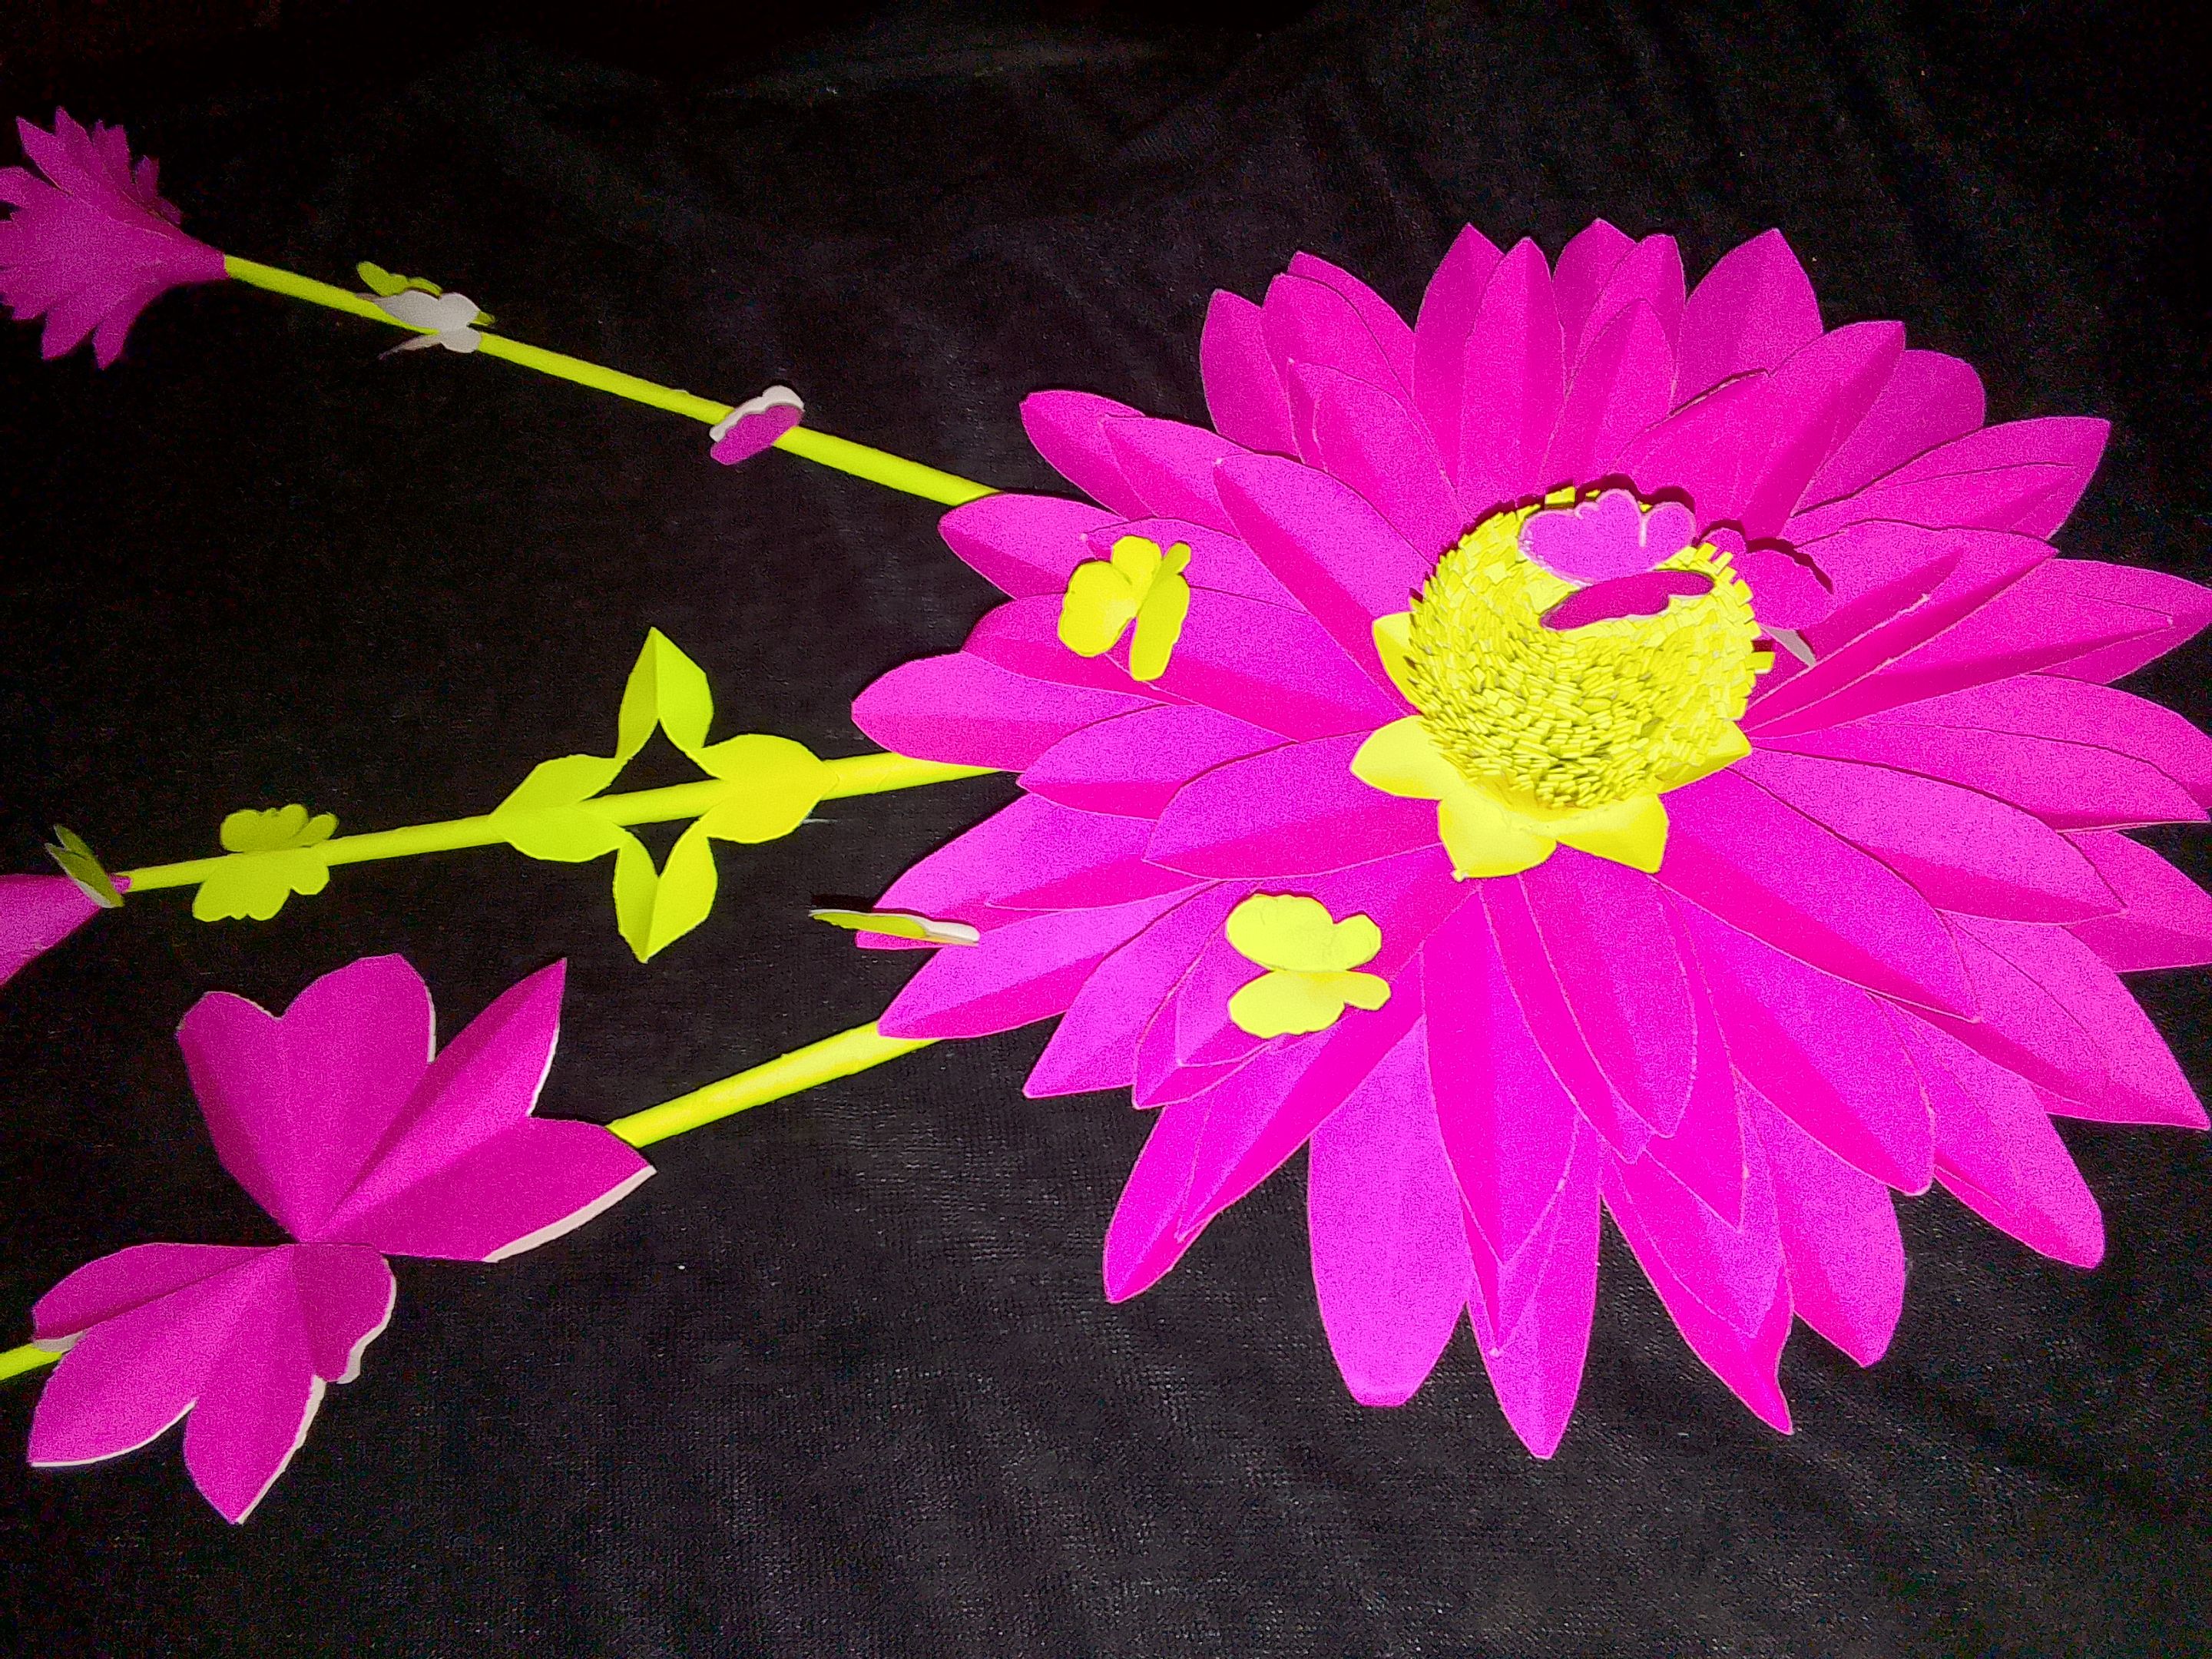
• The next step is to make three stems or sticks to attach to the back of the flower. Well, in actuality, this isn't the stem, just part of the design. You gum them at the back of the flower.
• The next step is the butterflies. Making the butterflies was one of the earliest for me; you just have to draw your desired butterfly on the sheet paper, then cut it off carefully.

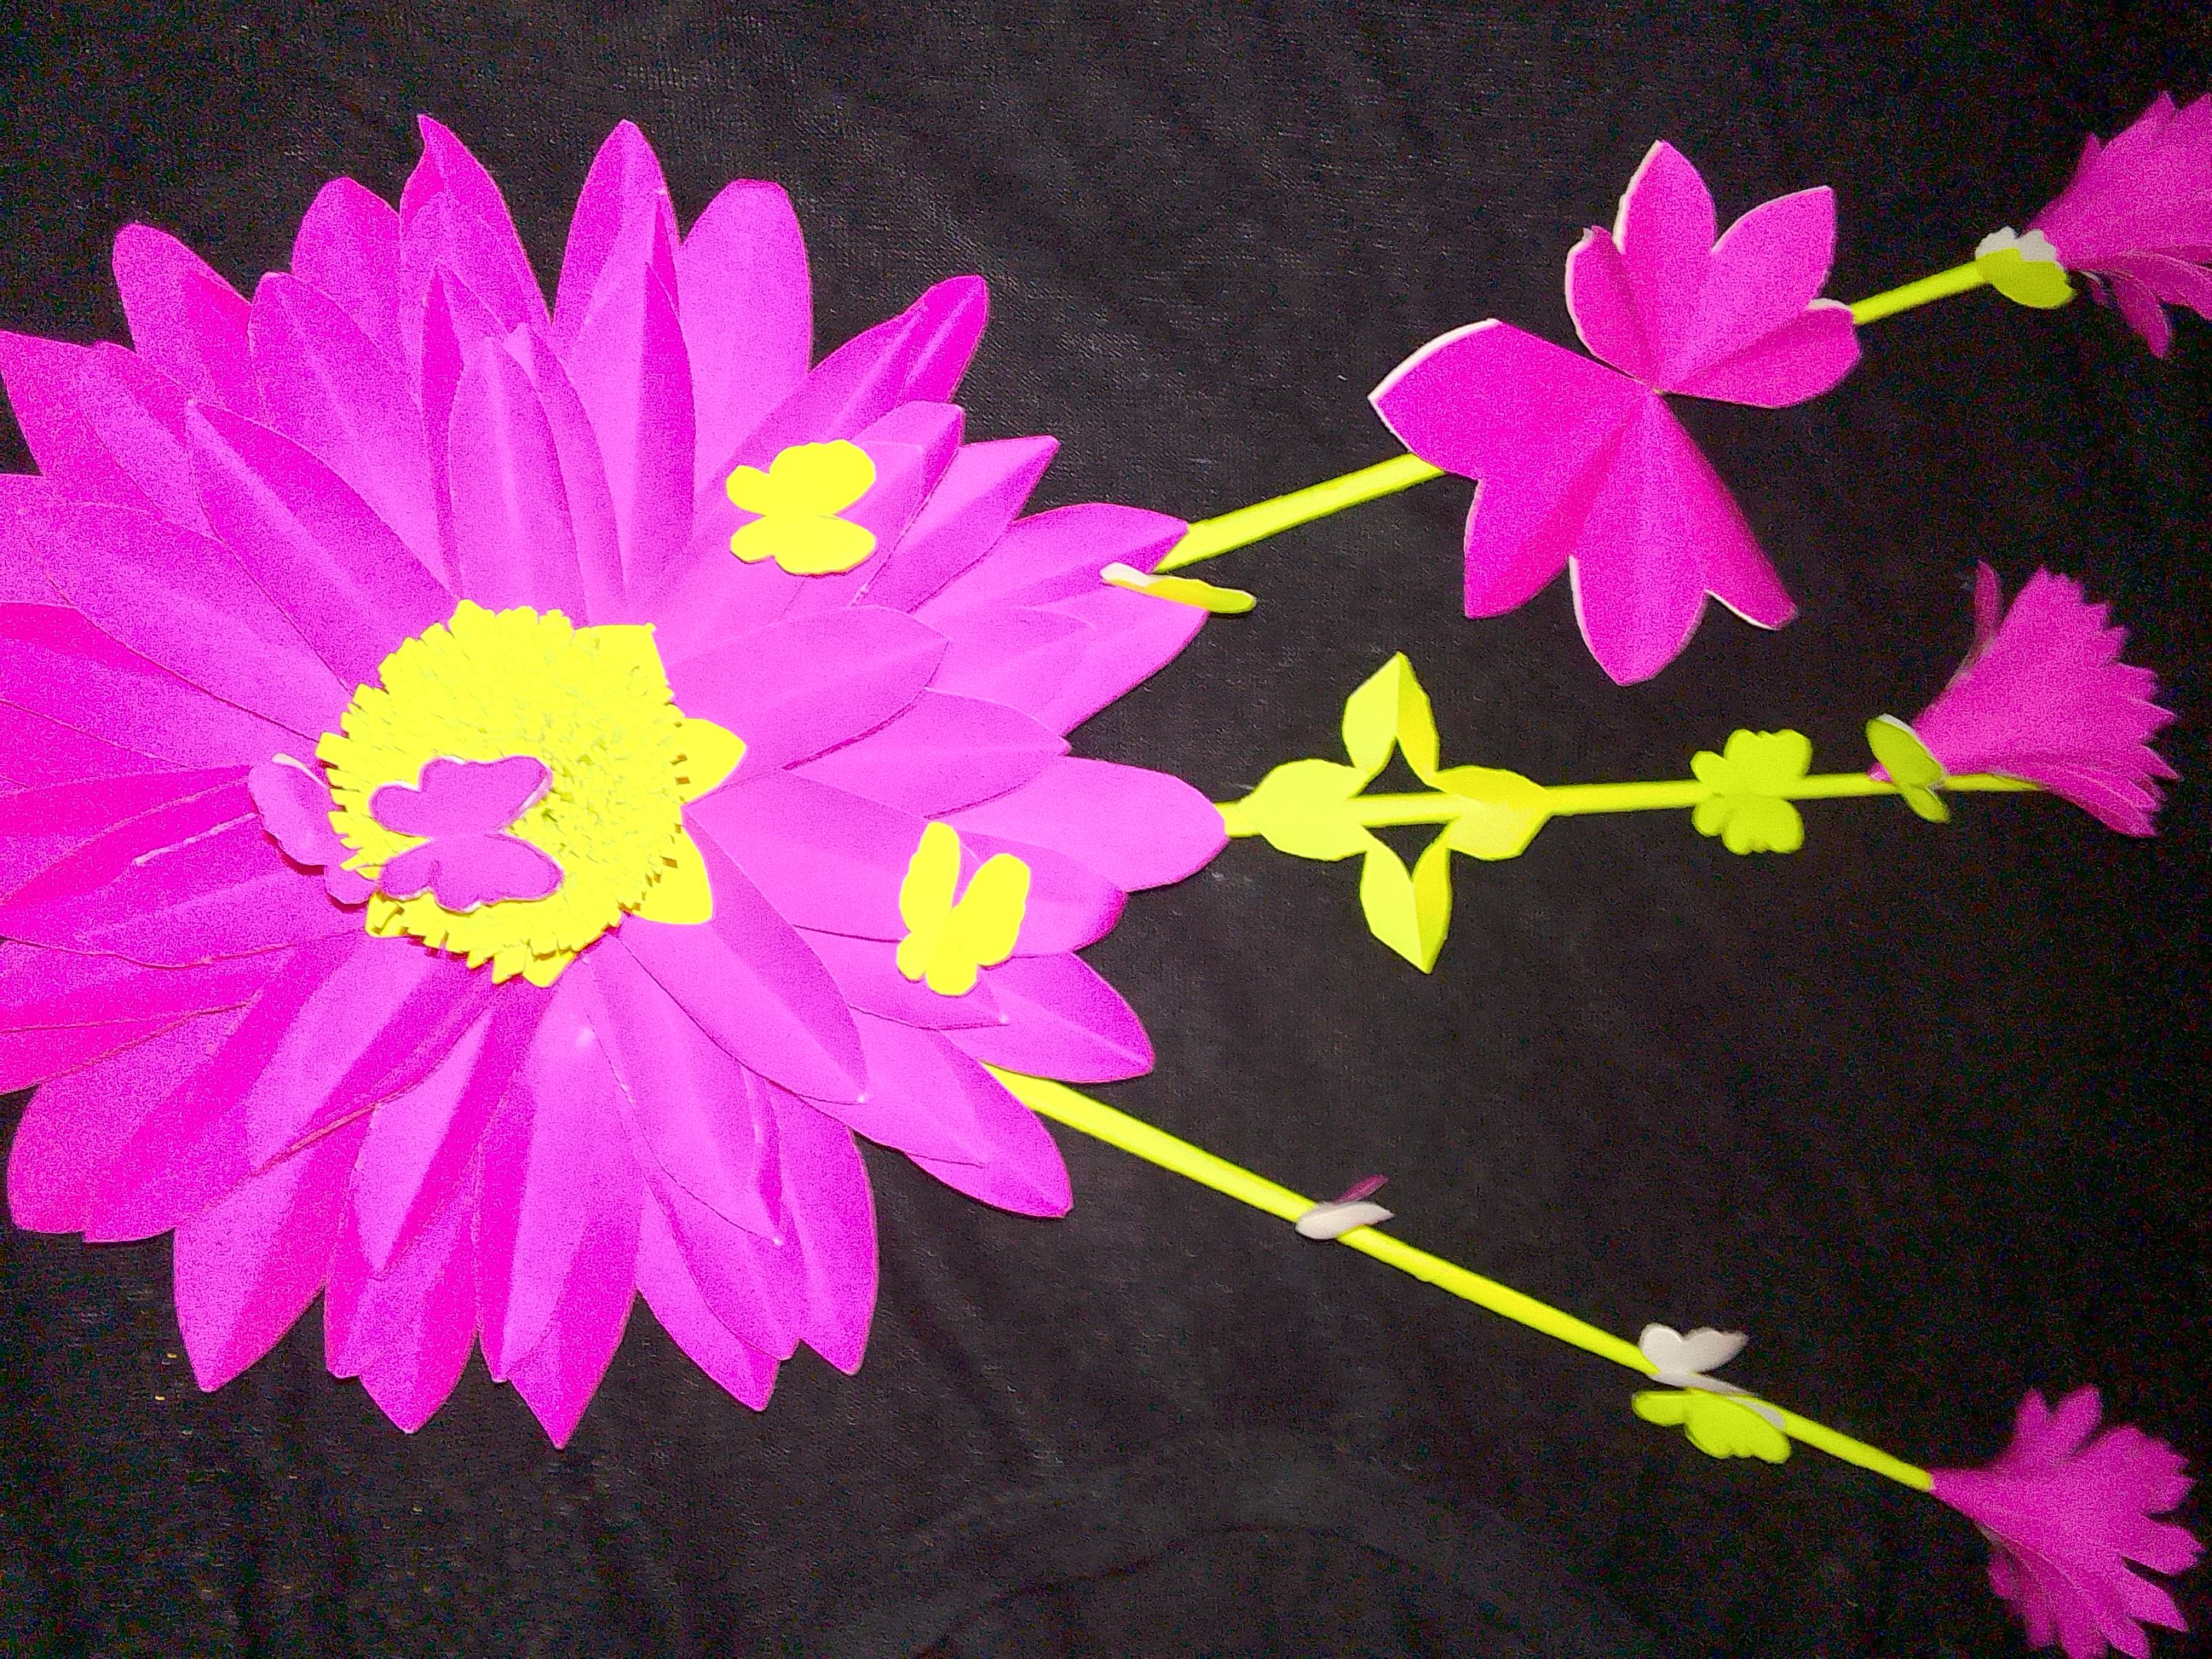
• I wanted to add another design to the stems or sticks, so I ended up making another type of flower. First, you used your CD to draw the perfect circle on the paper sheet; I used pink in my case. First, you cut out the drawn circle, then you proceed to fold it in two. You fold it again, and at the edge or the end of the paper, you cut small lines and make them pointy at the end. This part is the trickier part where you have to spread those lines. You spread them out till they look like this.
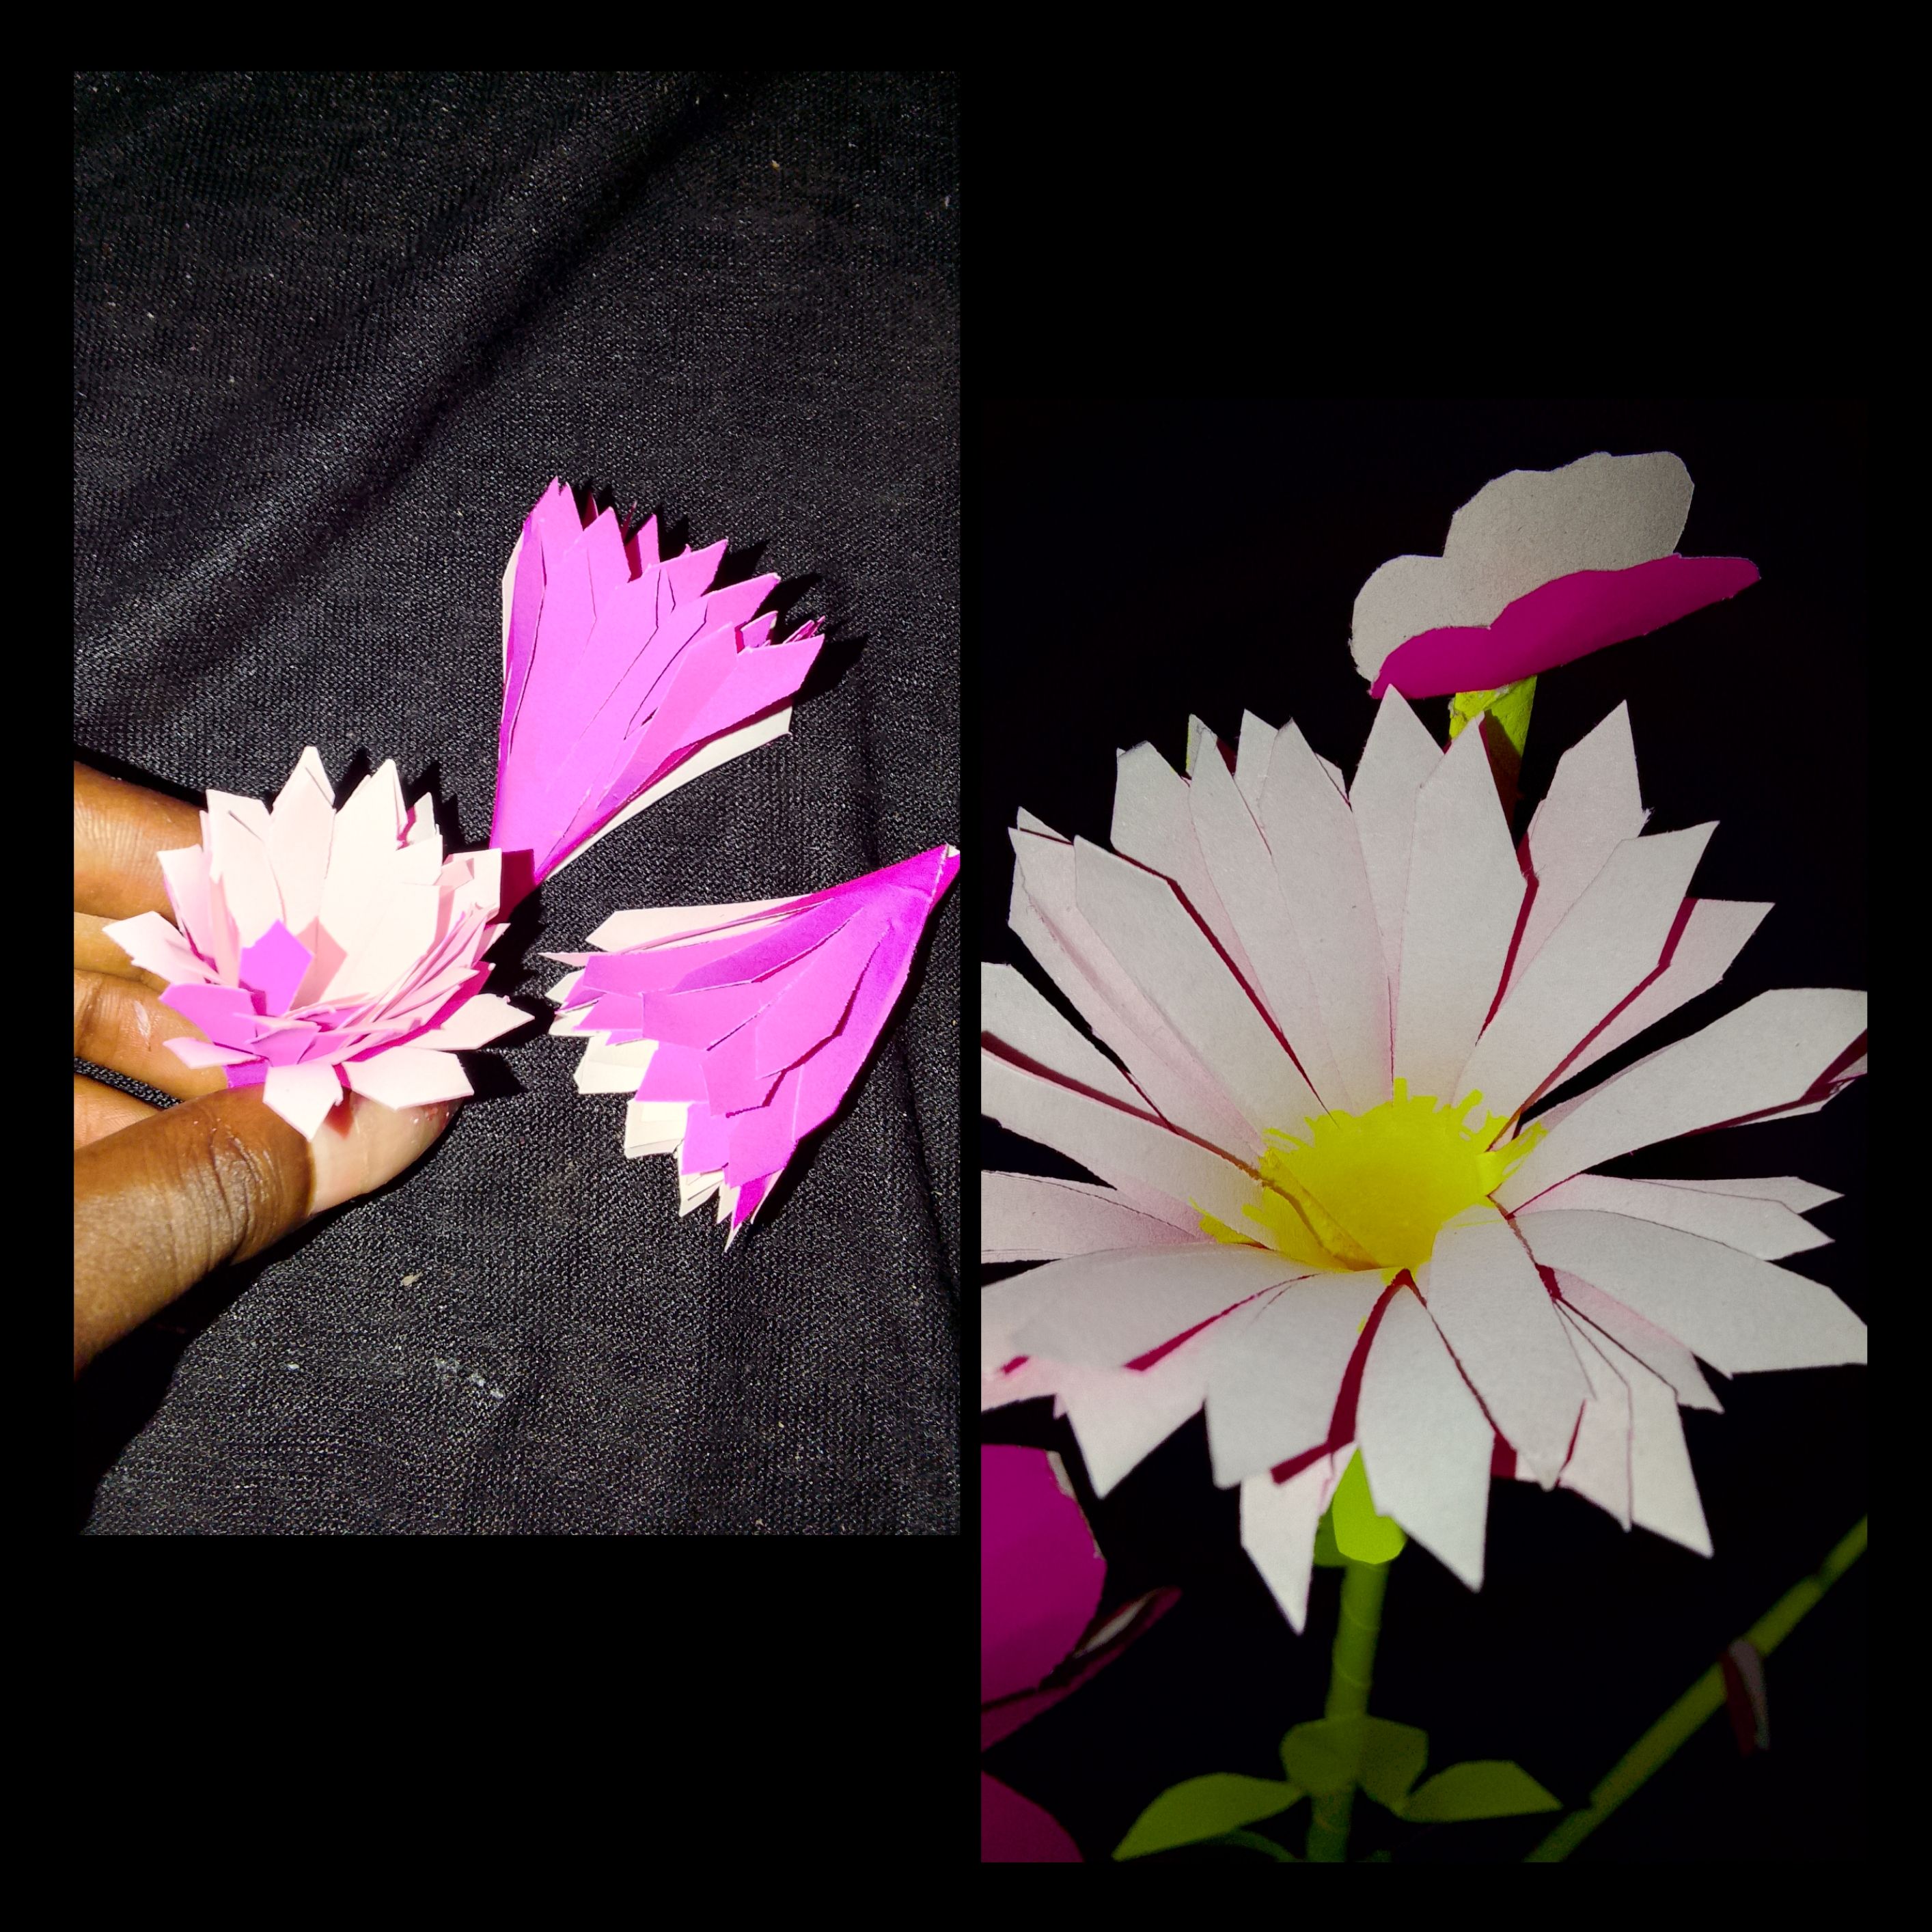
Afterwards, I did a little finishing touch, adding the butterflies on each side of the stems.
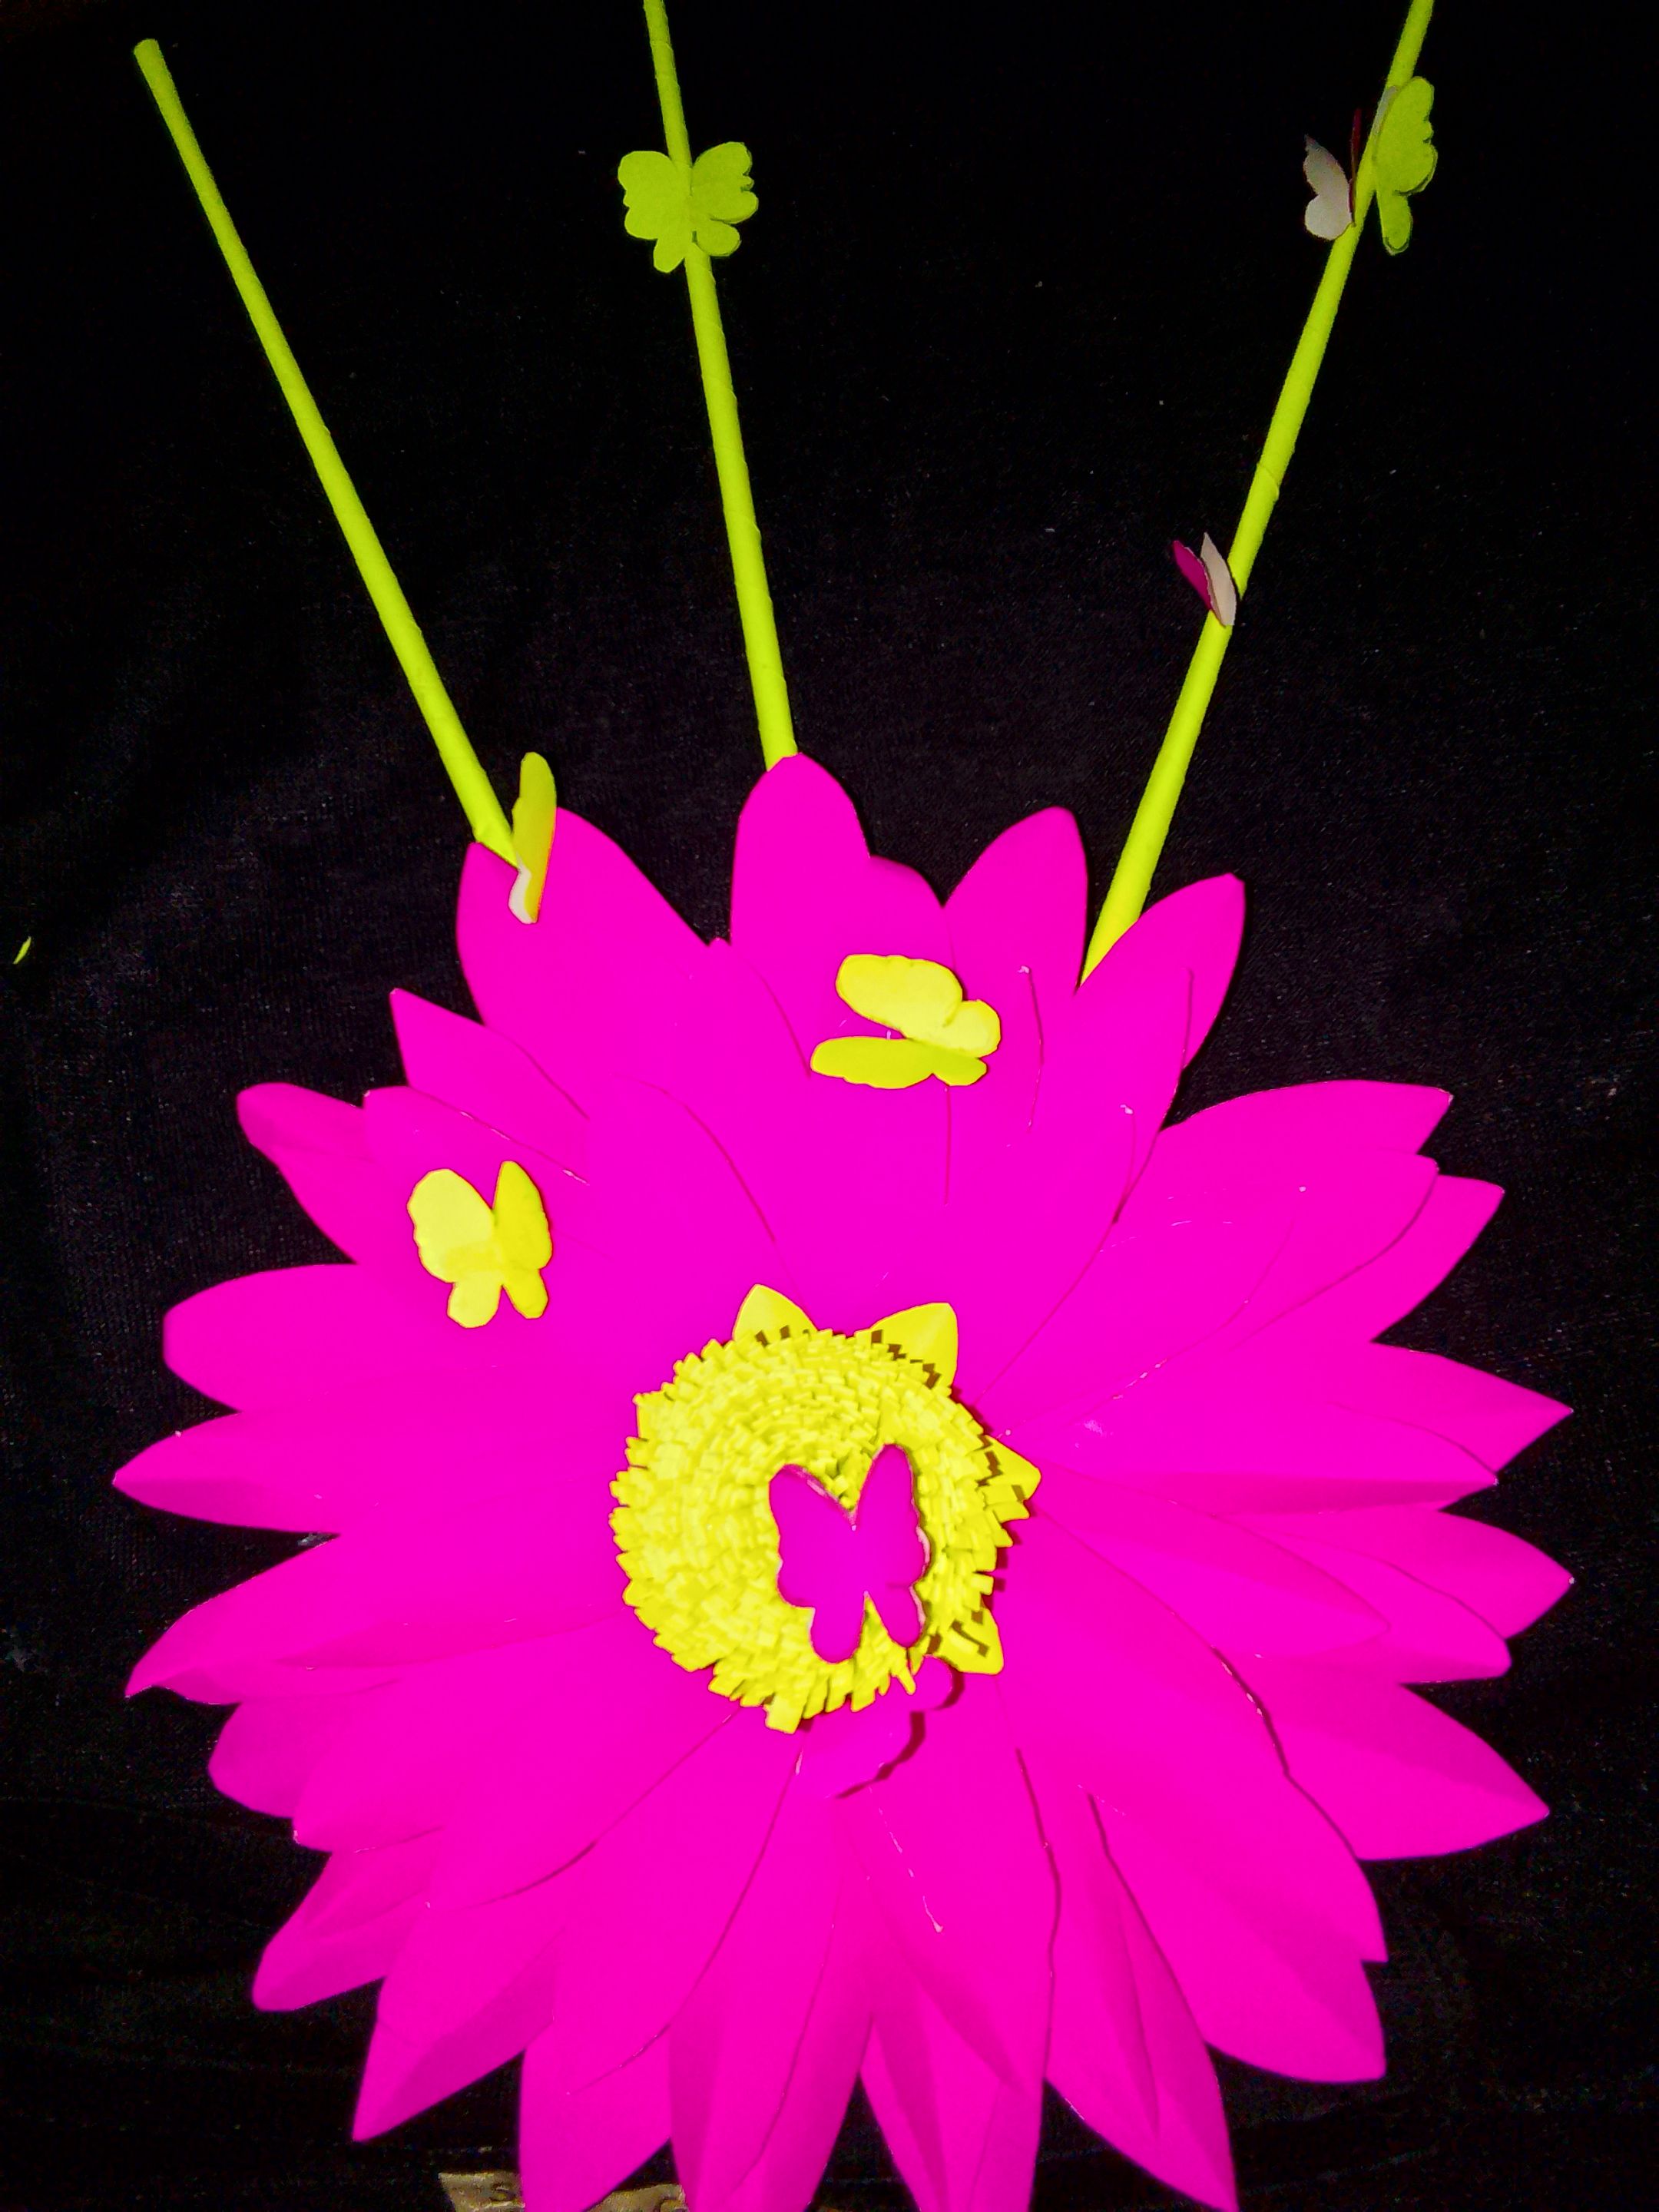

And there you have it—you have something to beautify your room. I hope y'all like the progress.