


Hello my dear readers, I hope you have had or will have a great day. We always have an occasion where we have to give a gift, or we want to give a present to that special someone or just to brighten their day. And it turns out that we don't have time to go buy something, or we don't have much money, so I'll tell you what we can do to solve that, if you have some materials at home and want to do it yourself.
I tell you that for the day of love and friendship, a case like this occurred to me at my daughter's school. Schools do not want to be left behind on this issue, they always want children to participate in all these celebrations, which for some are new and for others they have already been through this and are aware of what the matter is like.
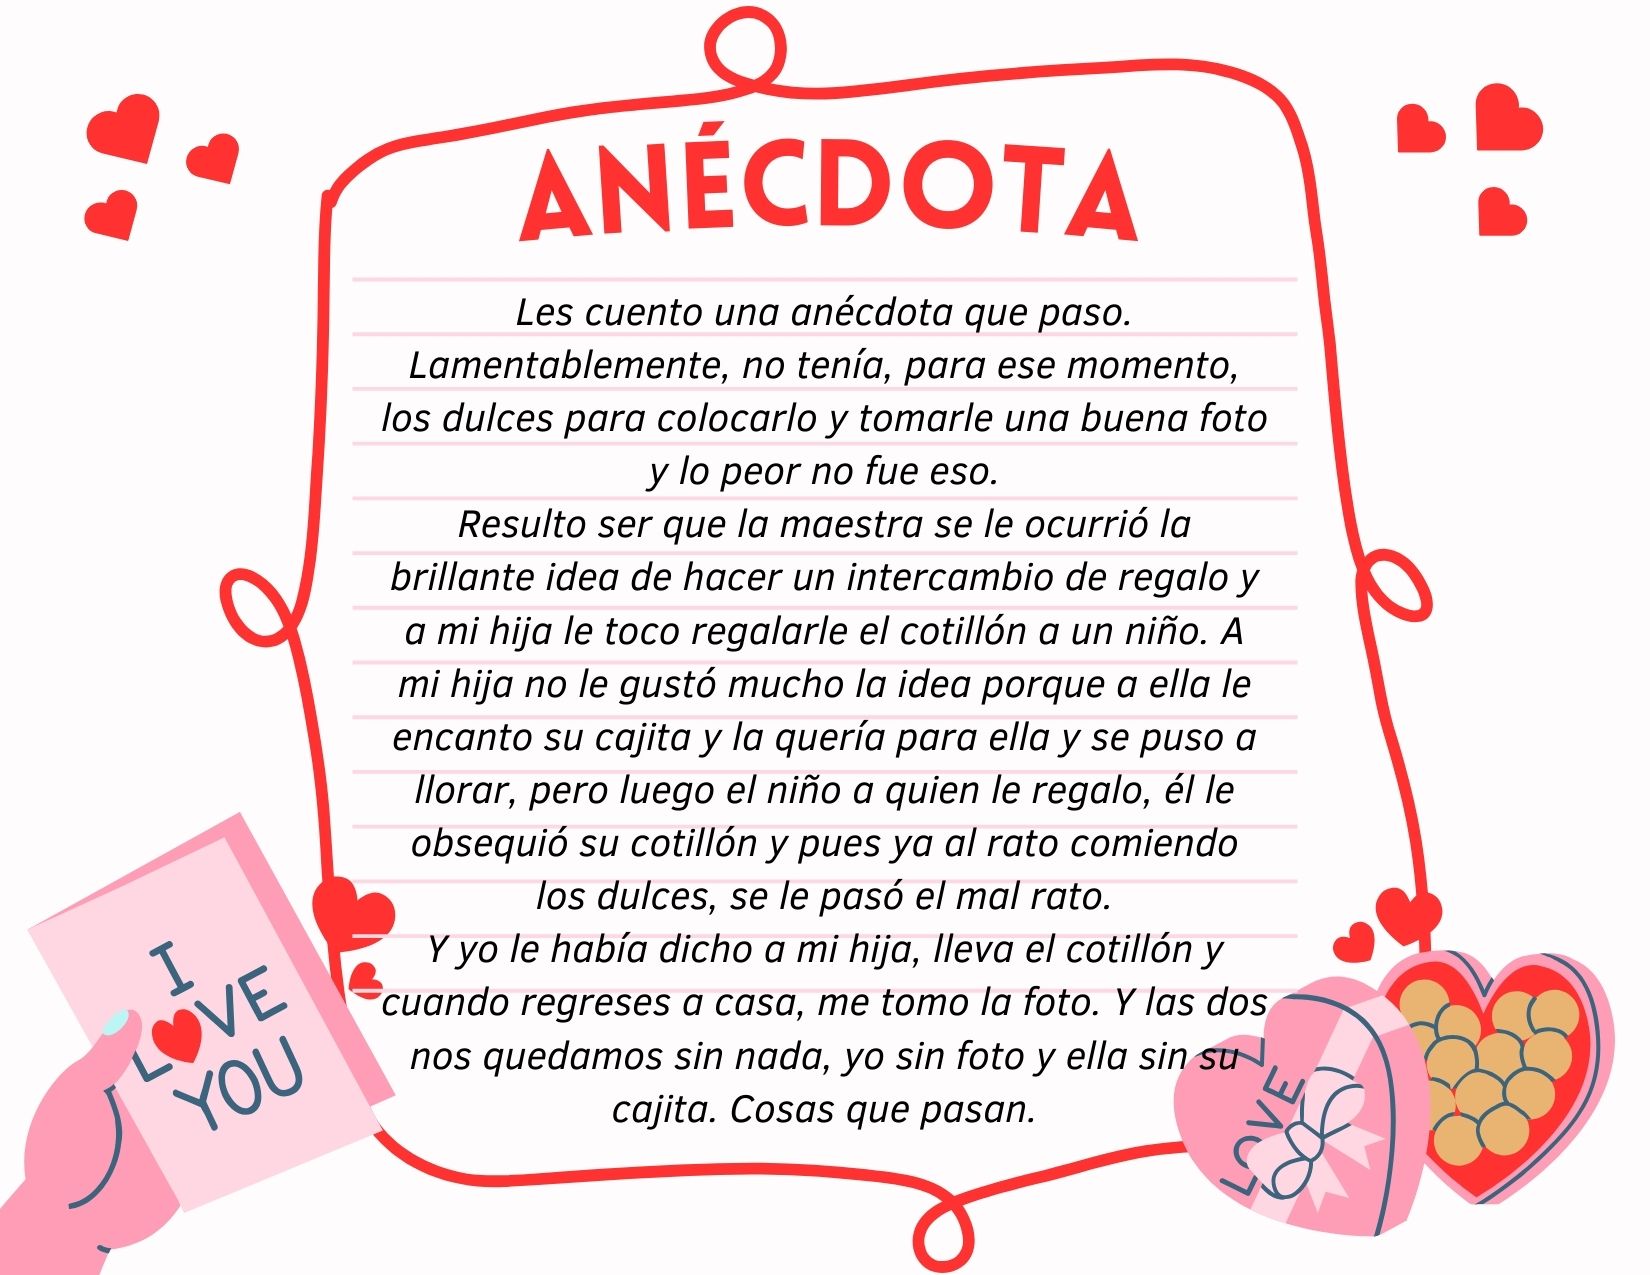
At my daughter's school, (typical of the teacher who requests things from one day to the next) they asked her to bring a party favor to celebrate the Day of Love and Friendship. So I had to come up with something that was super easy to do, that was done quickly and with few materials, since I didn't have any new material at that time.
So with recycled material that I have left over from other jobs, I said to myself: let's get to work and make this little box that I show you with details below.
STEP BY STEP:
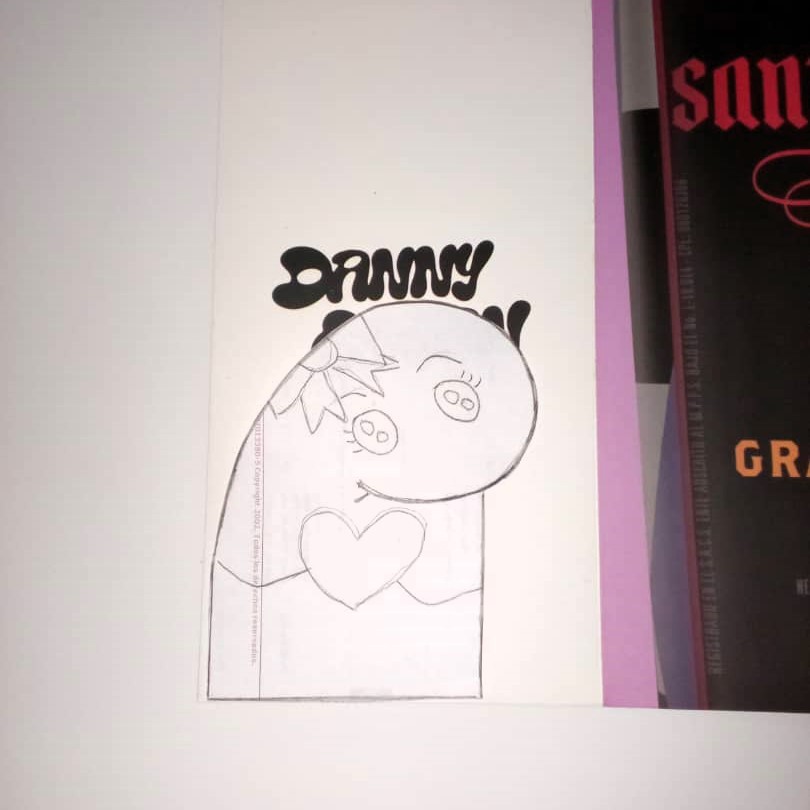
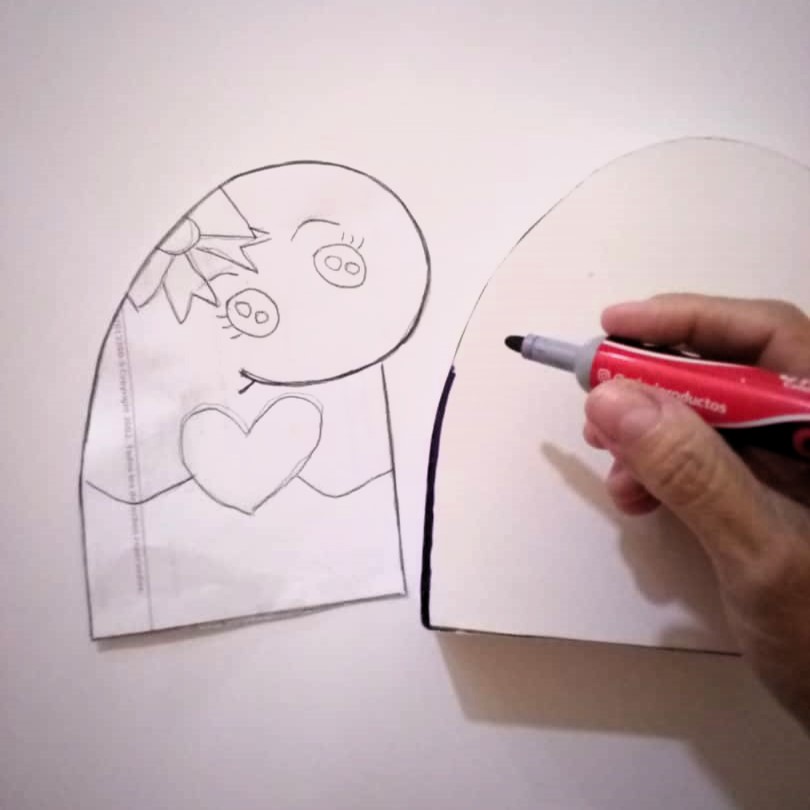
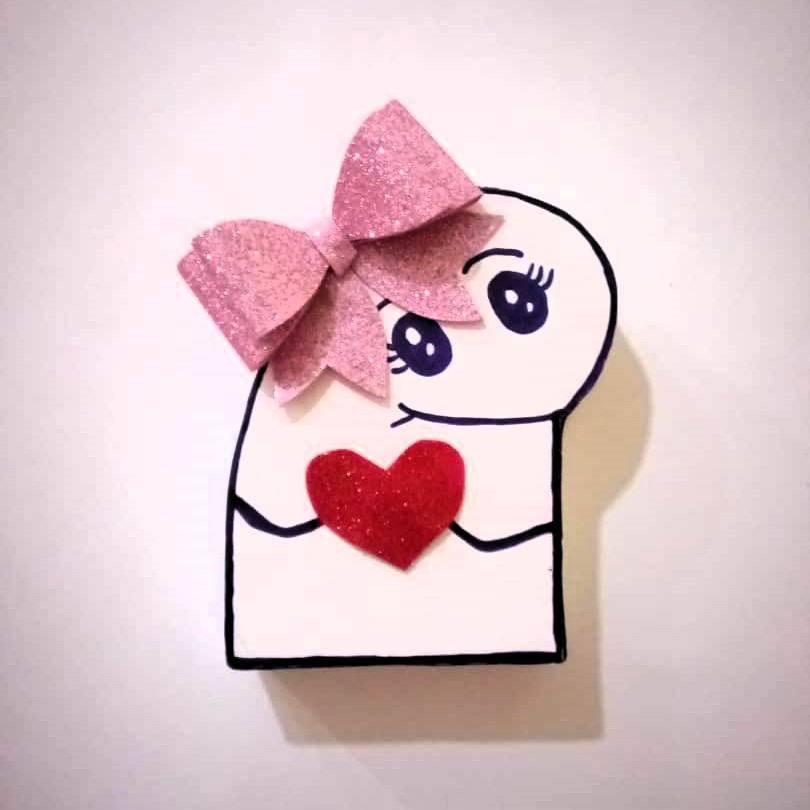
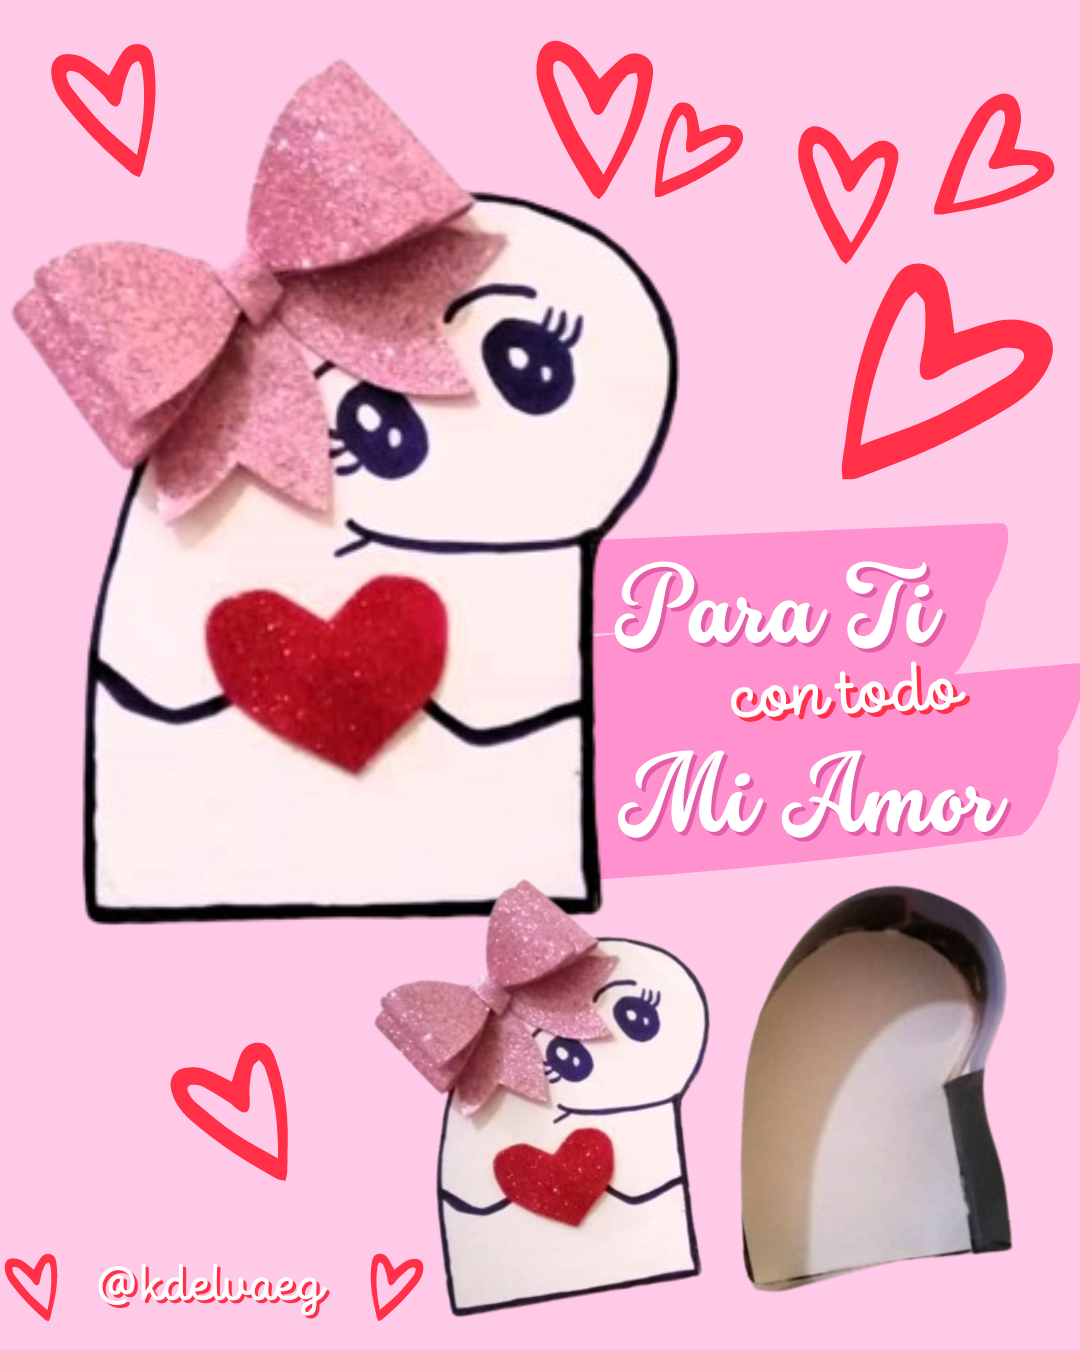
On a recycled sheet, I made a sketch of a very well-known drawing today, it is called Flork or Deformitos, as they also call it. The design is nothing complicated, it will only have a heart and a bow as decoration.
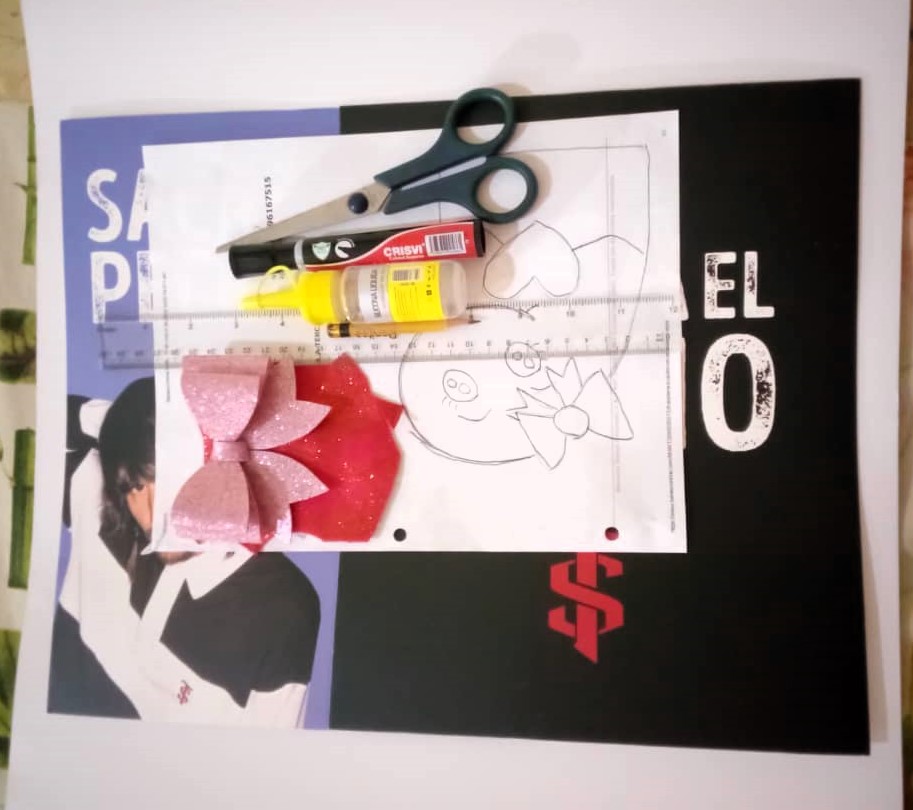
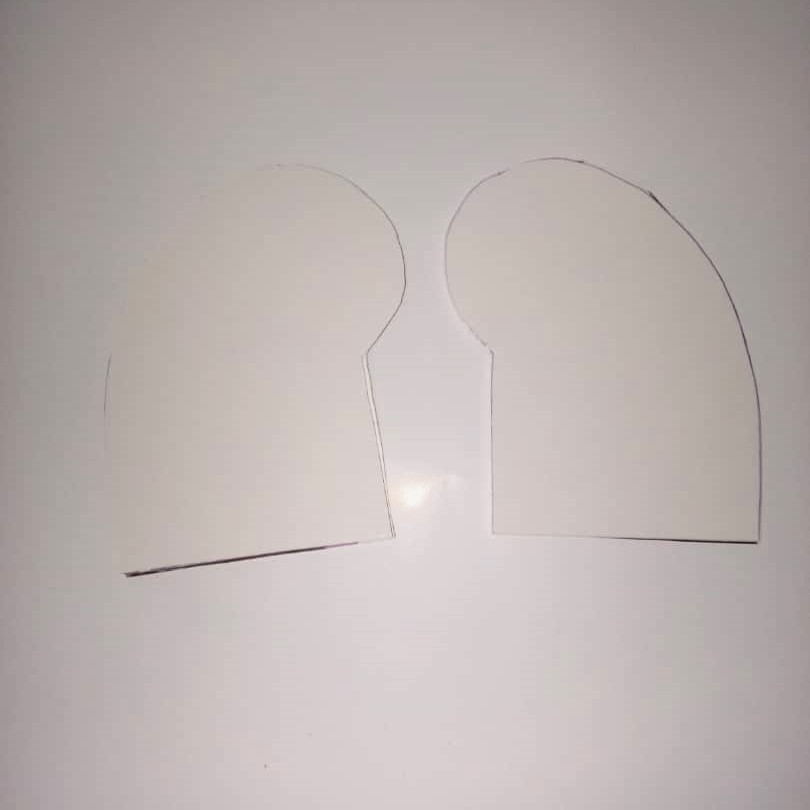
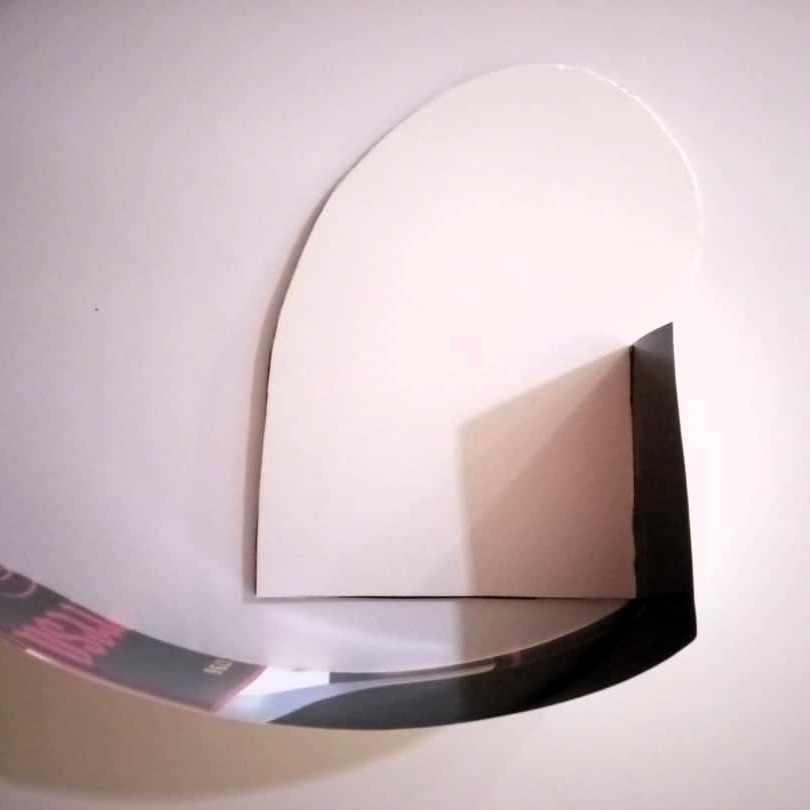
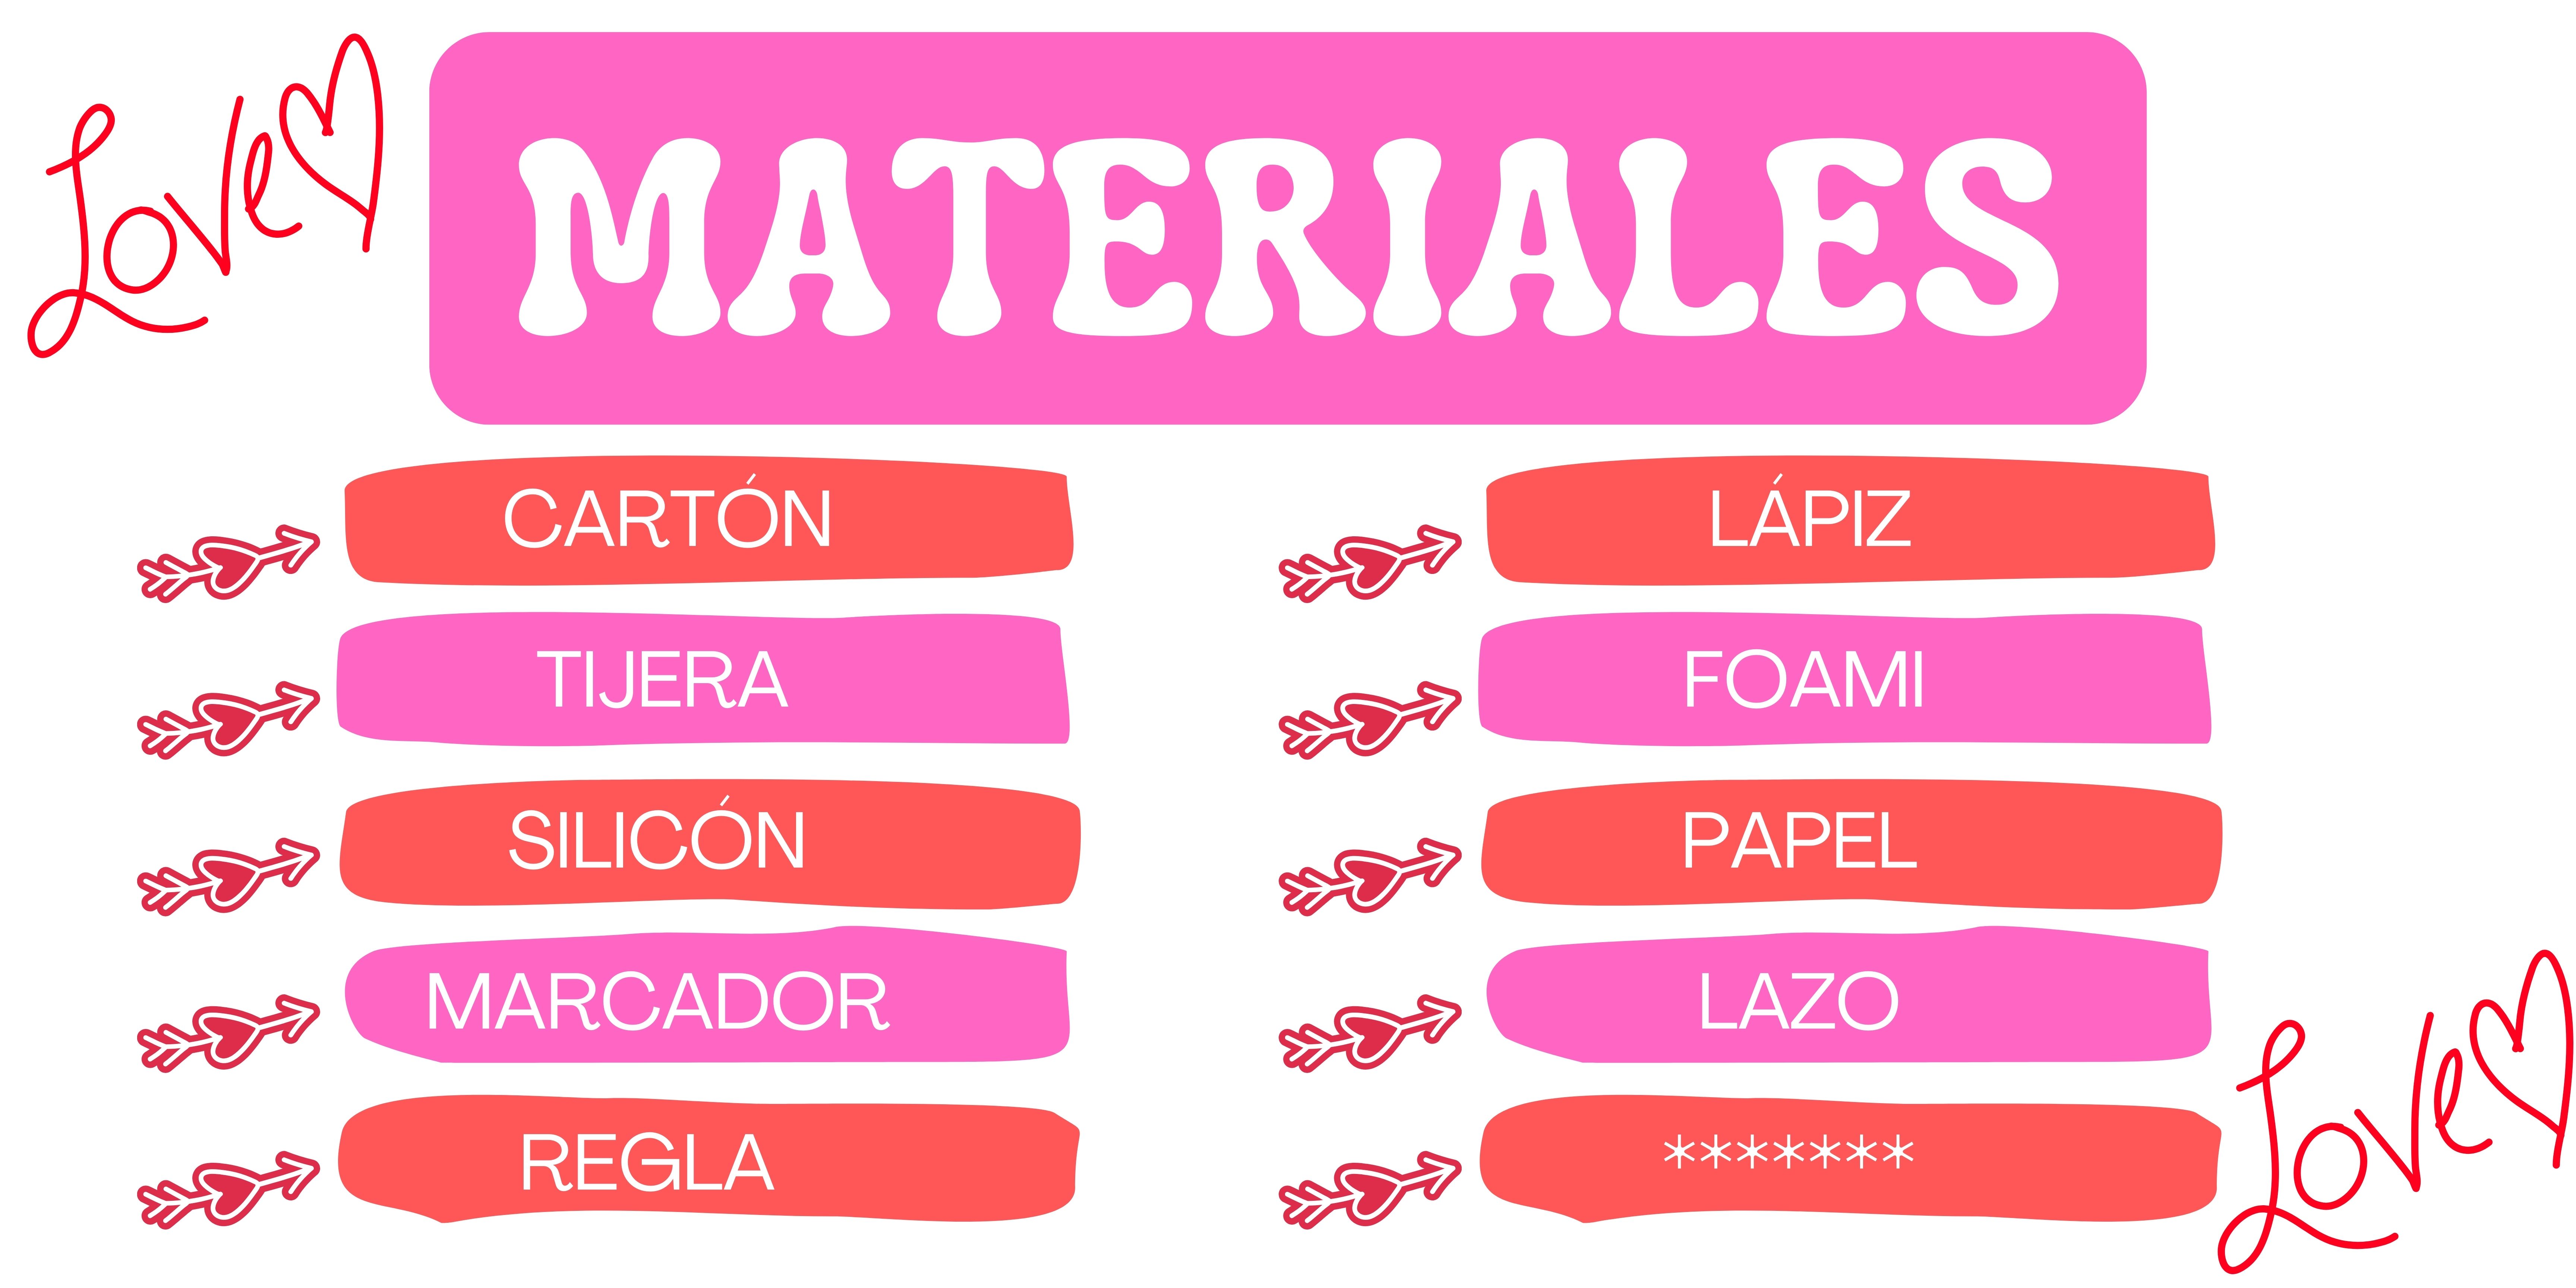
Since what I want is to take a mold of the drawing, I will cut it out and place it on a piece of cardboard. Unfortunately, I didn't have thick cardstock, only thin cardstock, so I will cut out several molds to later glue them together to make it thicker.
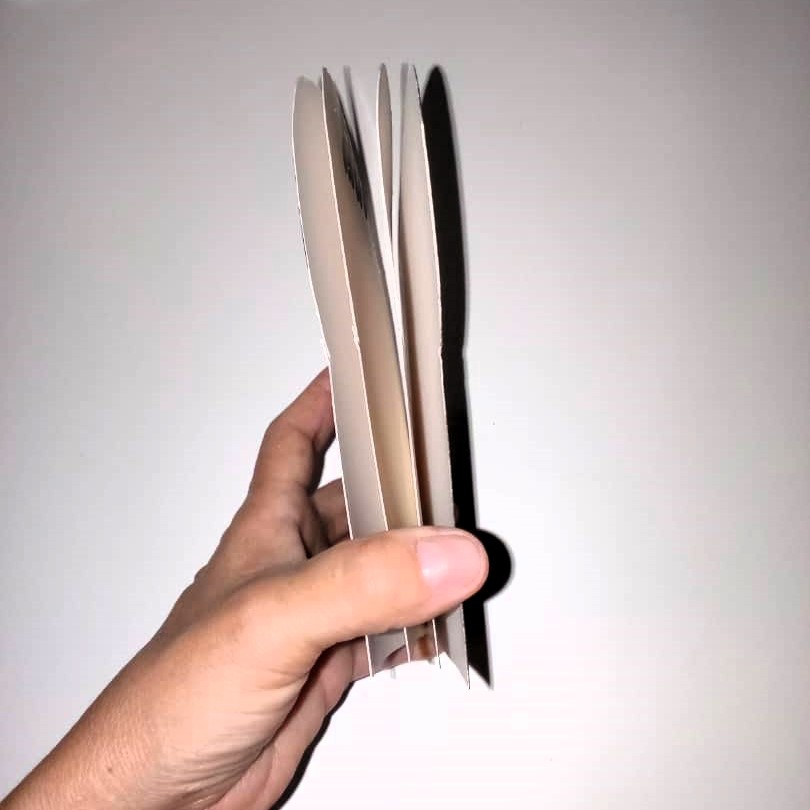
Once I have glued several, I am left with approximately 3 mm, so that I can glue the strip that I will glue along the edges.
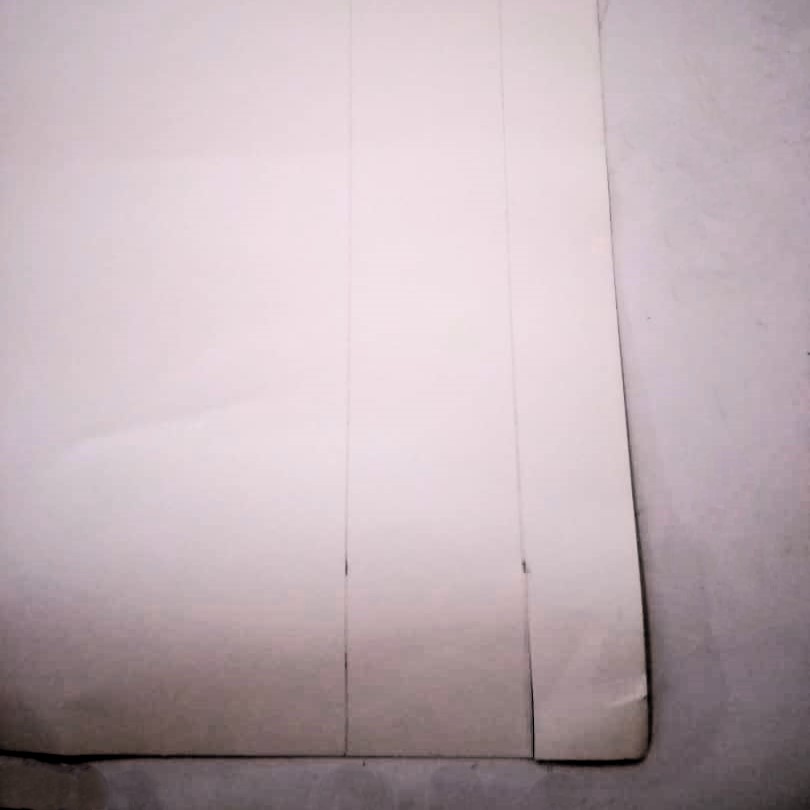
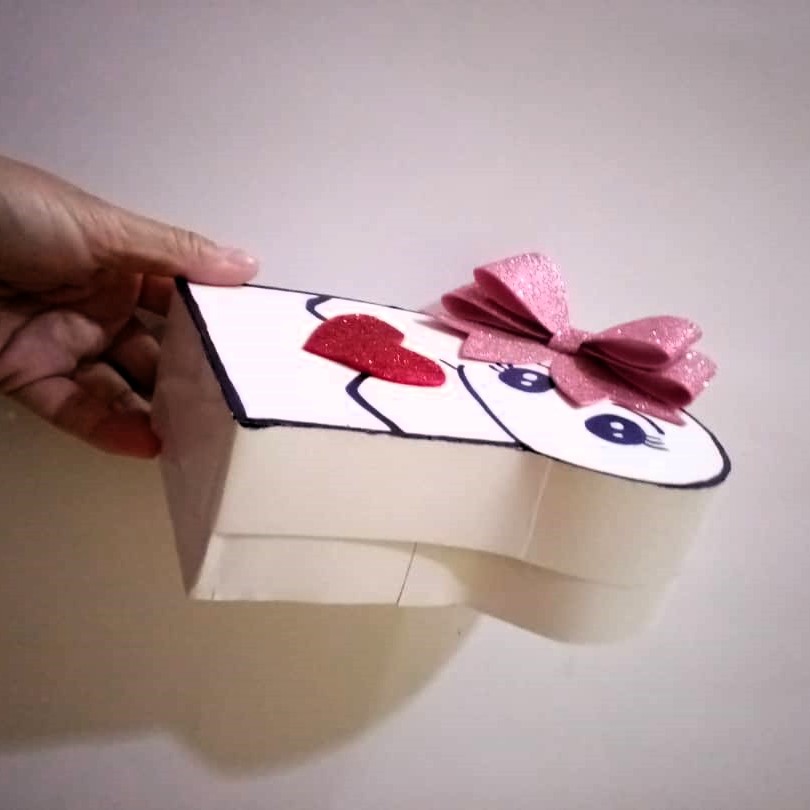
With a thin piece of cardboard, I will cut out two long strips, which I will glue along the entire edge of the mold and thus form the little box. One strip of 5 cm and the other of 3 cm.
Then, very carefully, I will glue it along the entire edge, shaping it in the corners so that it fits well.
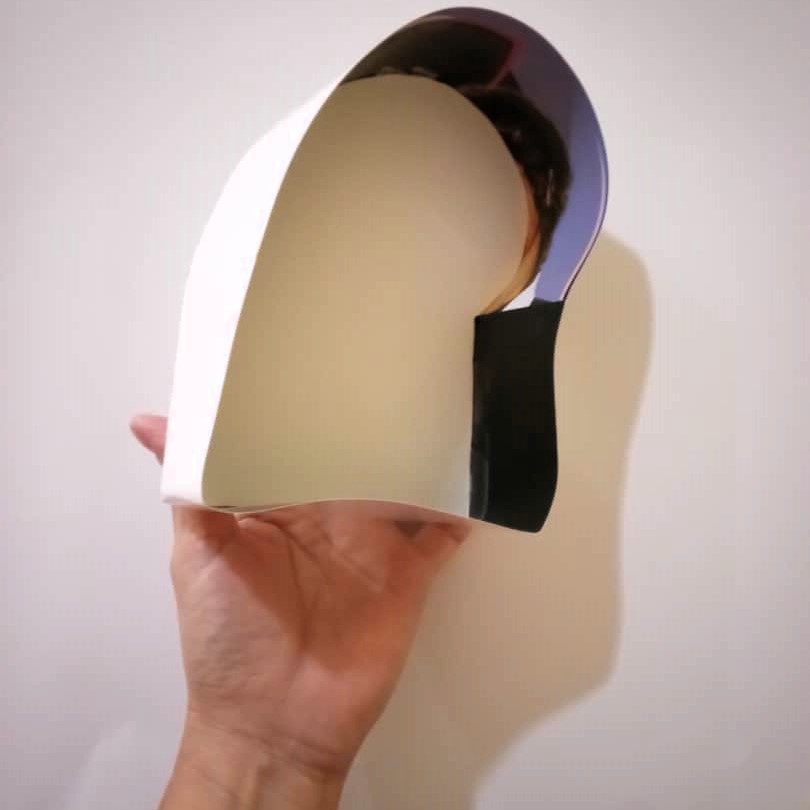
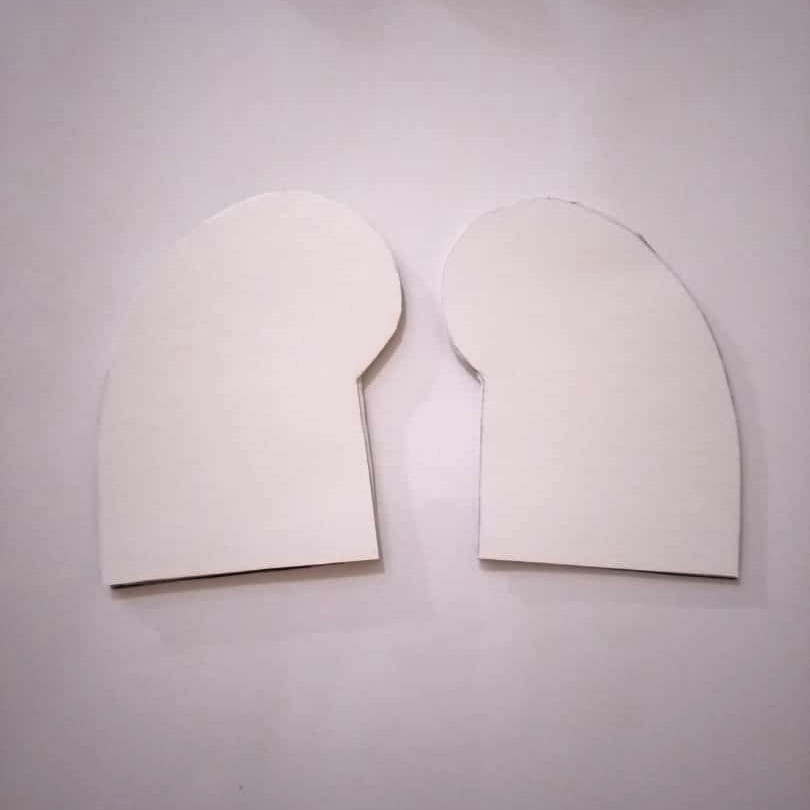
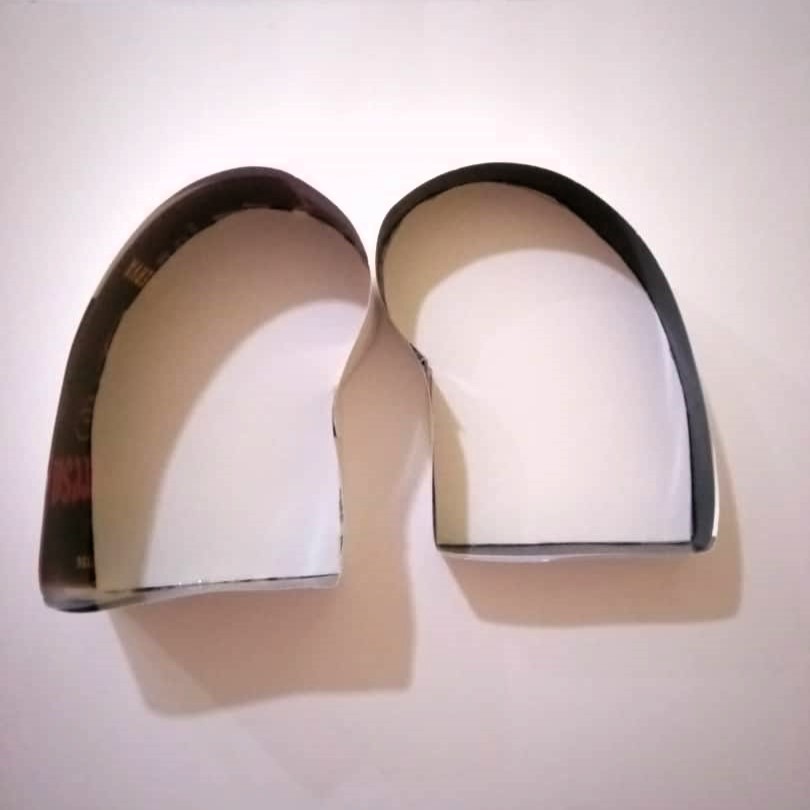
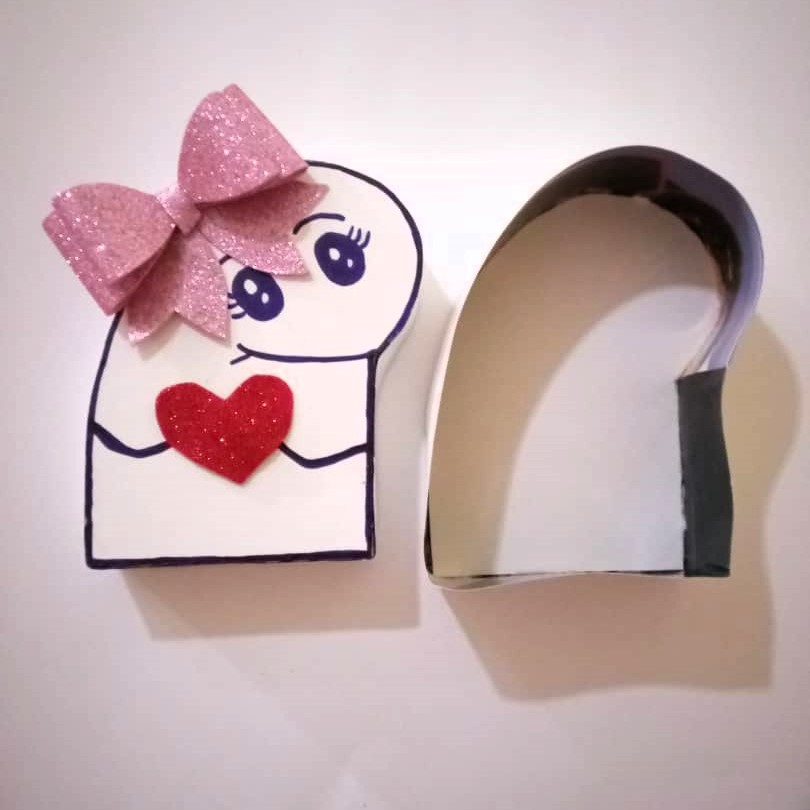
And I did this in both molds, leaving it this way, one will be the box and the other will be the lid.
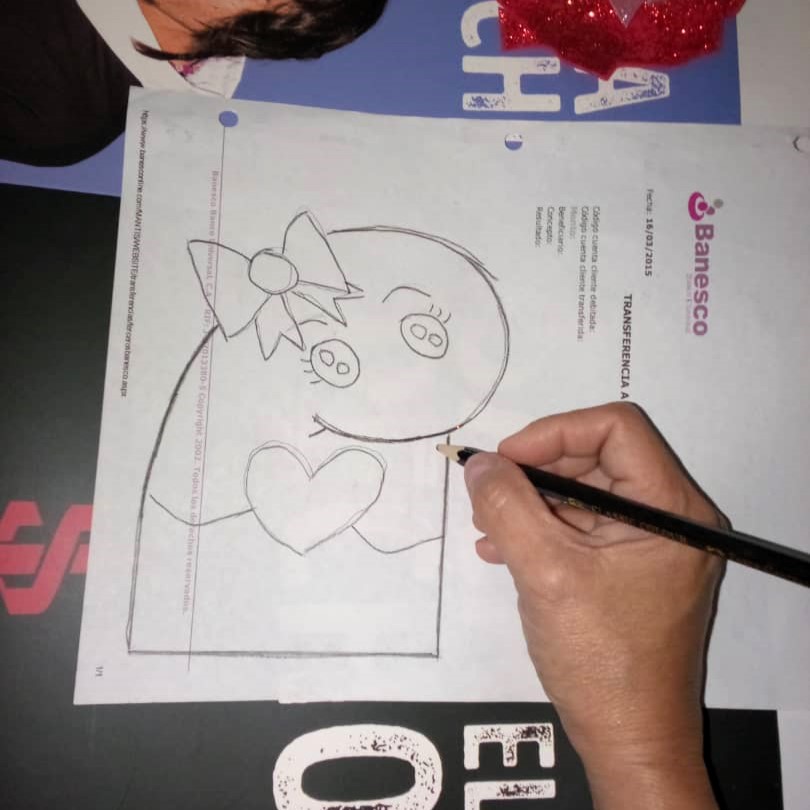
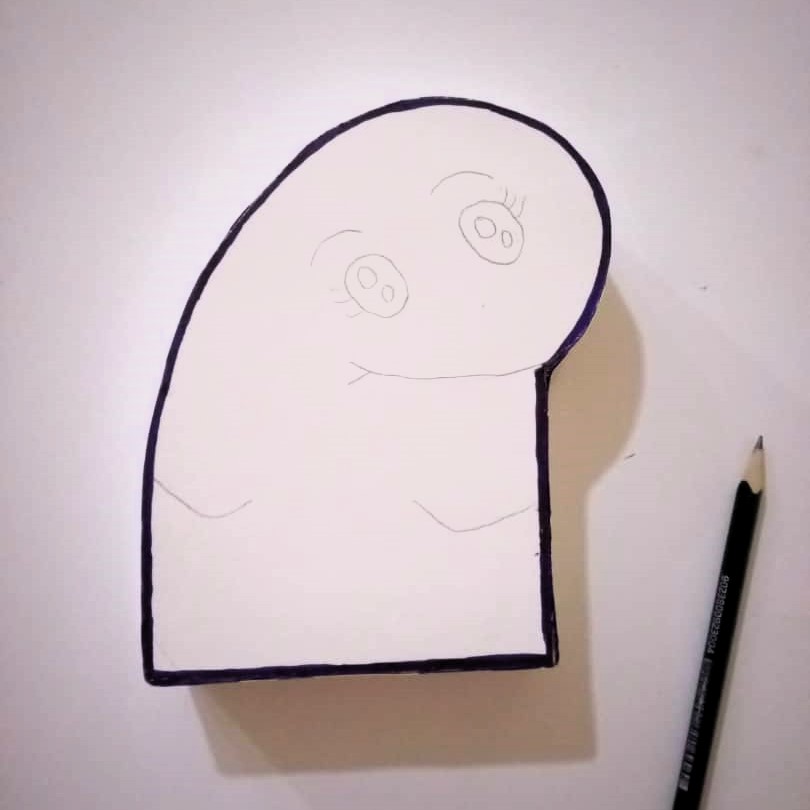
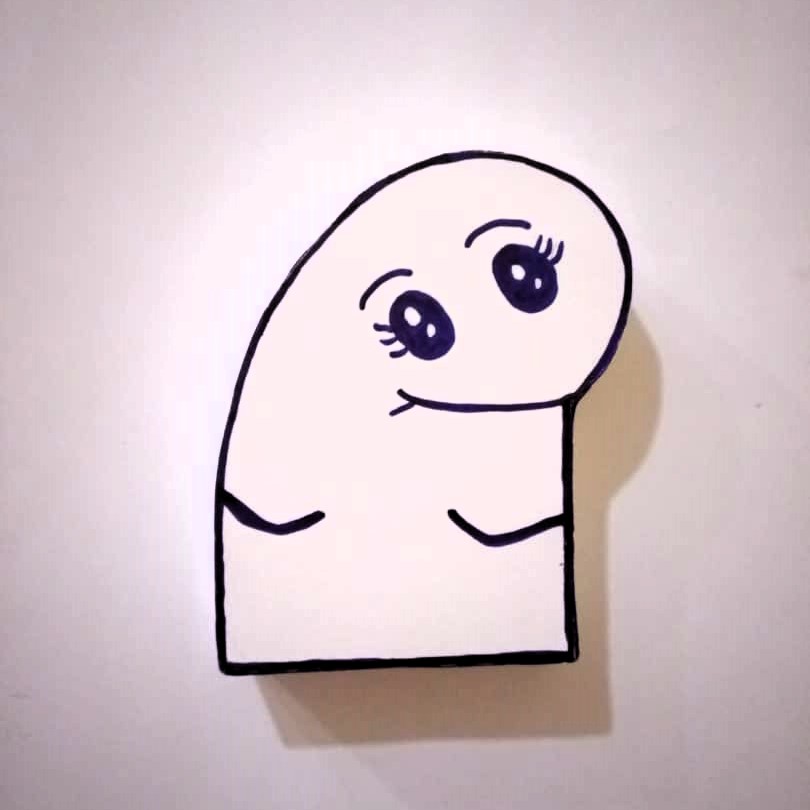
Now, with the marker, I will draw a line along the entire edge, making it thick, so that it can be seen well.
With the pencil mark where the eyes, mouth and hands will go, and then go over it with the marker.
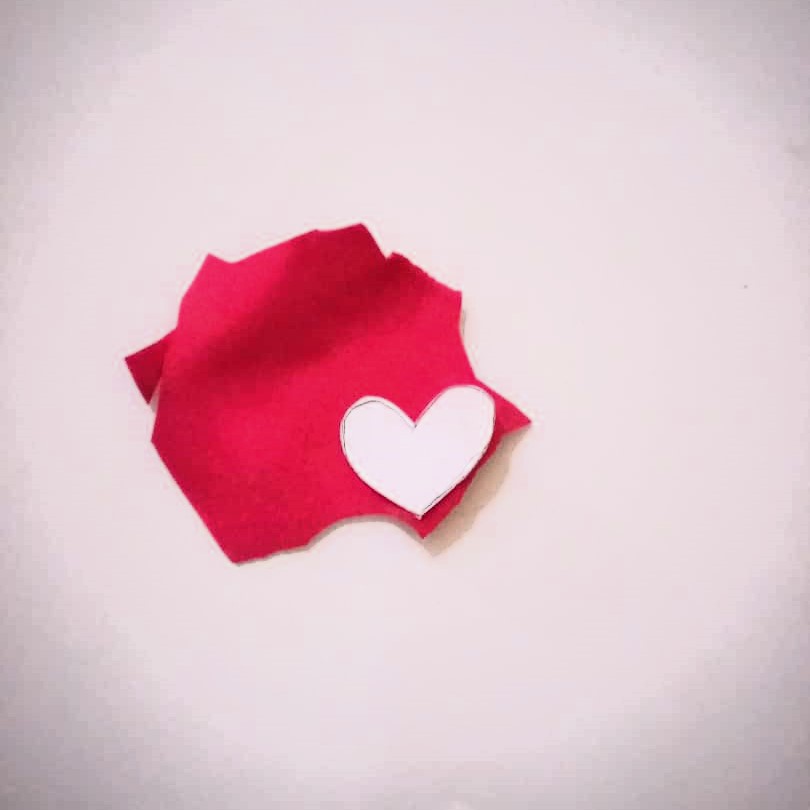
I will make a heart as a decoration, so I used a bright red foam and cut out the heart to a size of approximately 4 cm.
Since I no longer had foam, I remembered that I had a foam bow, which I gave to my daughter as a gift in December, so I will use that bow for this party favor.
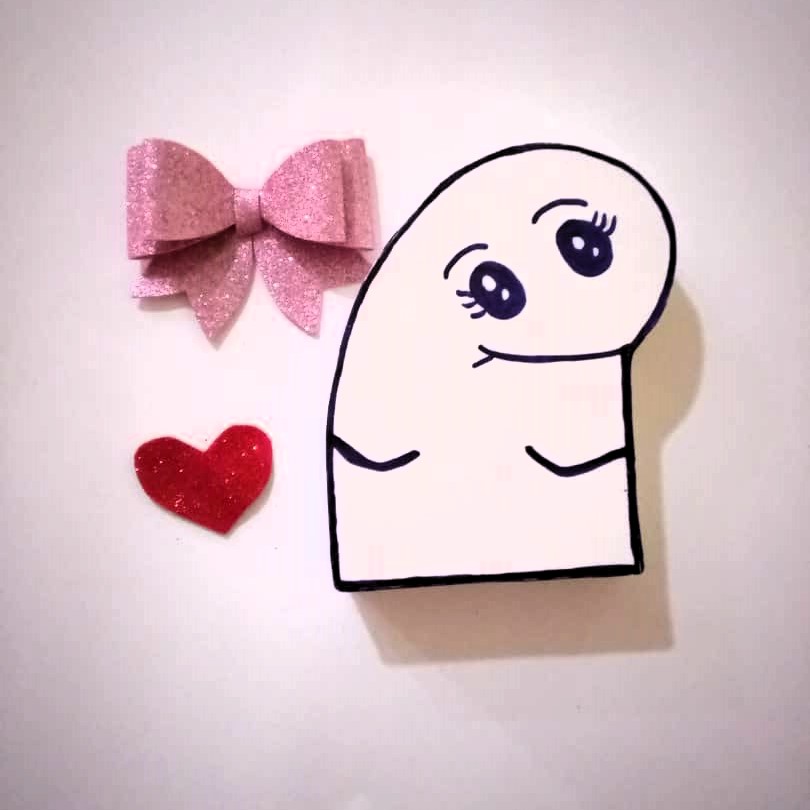
And what's left is to glue the bow on the head and the heart in the middle of the hands.

And now I have the party favors ready, to be filled with the sweets I want. As I mentioned, I did this party favor at night and I needed to take it to school the next day, so it was quite rushed.
I hope you liked this tutorial that I gladly prepared for you. I say goodbye as always, but not before thanking you for taking part of your valuable time to visit my blog and support me. And as the saying goes: "Do good, without looking at whom."
Original creation content:
❤️ All photos are mine, taken and edited with my Alcatel phone.
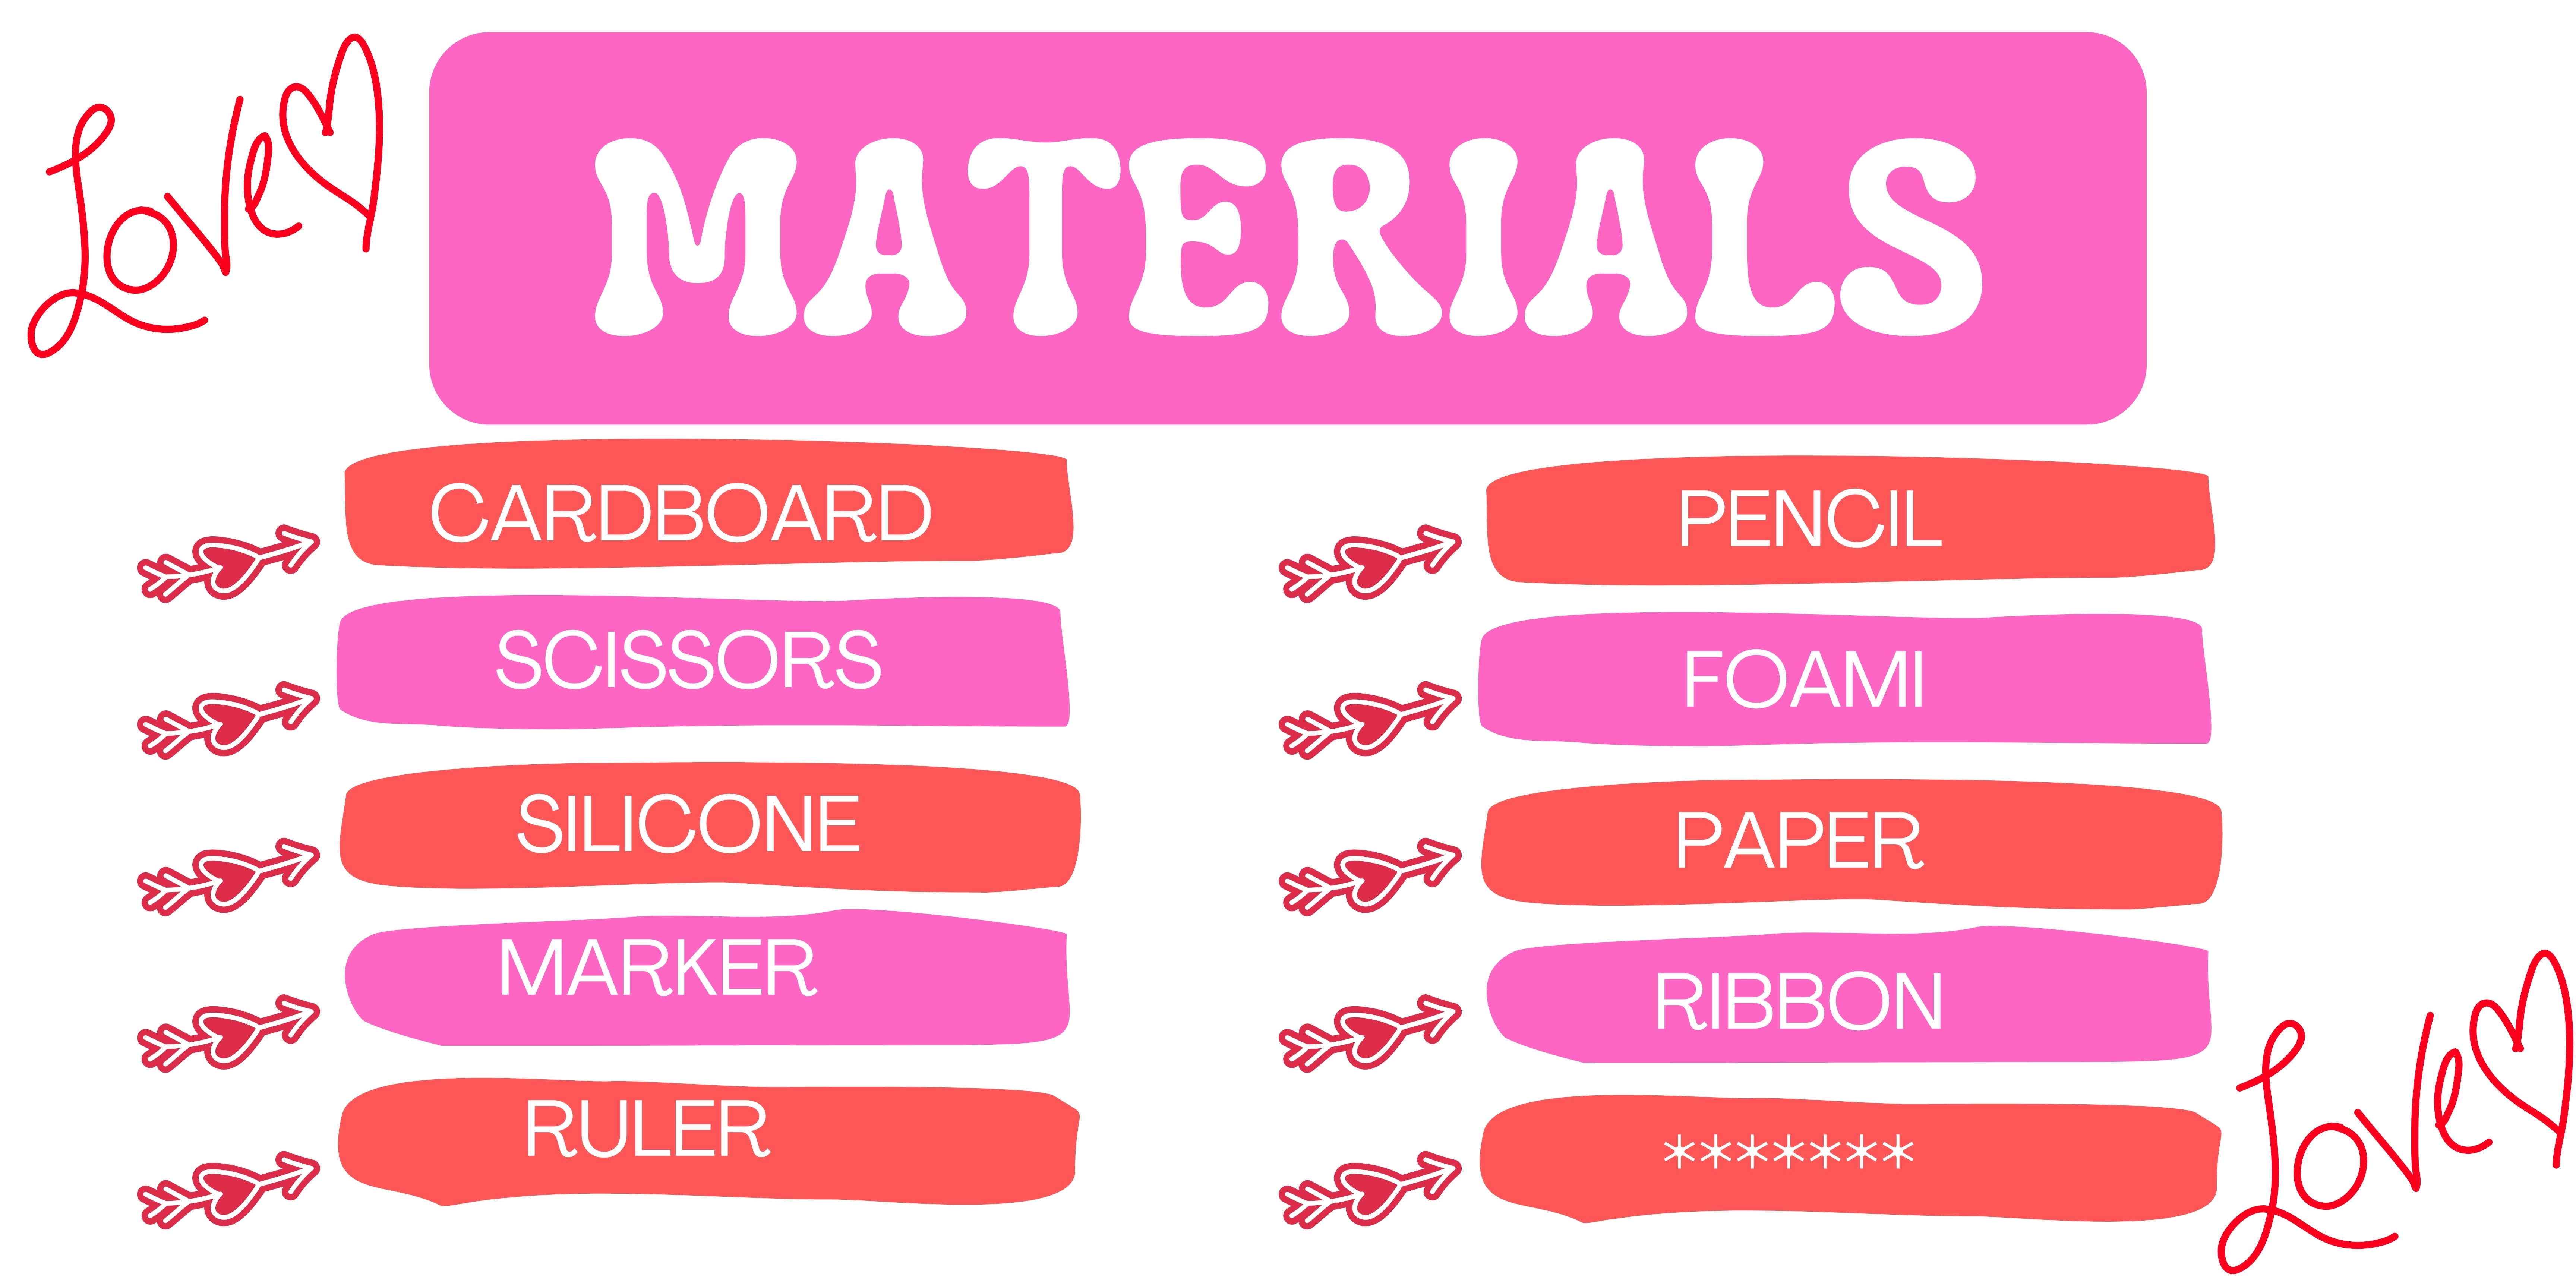
💛 The cover image, anecdote and materials were made with the Canva application and edited by me.
💜 The images of the divider were taken from glitter-graphics.com.
💚 The English translation was done with the help of Translate.google.com
🧡 The letters that indicate the languages were taken from cooltext.com

Hola mis queridos lectores, espero que hayan tenido o tengan un excelente día. Siempre se nos presenta alguna ocasión, donde tenemos que dar algún obsequio, o queremos darle un presente a ese alguien especial o solo para alegrarle el día. Y resulta ser, que no tenemos tiempo para ir a comprar algo, o no disponemos de mucho dinero, pues te cuento que podemos hacer para solucionar eso, si tienes algunos materiales en casa y ganas de hacerlo tú mismo(a).
Les cuento que para el día del amor y la amistad, se me presento un caso así en la escuela de mi hija. Las escuelas no se quieren quedar atrás en este tema, siempre andan queriendo que los niños sean partícipe de todas estas celebraciones, que para algunos son nuevas y para otros ya han pasado por esto y tienen conocimiento de cómo es el asunto.
En la escuela de mi hija, (típico de la maestra de solicitar las cosas de un día para otro) le pidieron que llevaran un cotillón, para celebrar el Día del amor y la amistad. Así que me tuve que idear algo que sea súper fácil de hacer, que se haga rápido y con pocos materiales, pues no contaba para ese entonces de material nuevo.
Así que con material reciclado que me han quedado de otros trabajo, me dije: manos a la obra y realice esta cajita que les muestro con detalles a continuación.
PASO A PASO:
En una hoja reciclada, hice un boceto de un dibujo muy conocido actualmente, se llama Flork o Deformitos, como también le dicen. El diseño no tiene nada de complicado, solo va a llevar de decoración un corazón y un lazo.
Como lo que quiero es sacar un molde del dibujo, lo recortaré y lo colocaré en una cartulina. Lamentablemente, no tenía una cartulina gruesa, solo cartulina fina, así que recortaré varios moldes para luego pegarlos y quede más grueso.
Una vez que haya pegado varios, me quedo como de 3 mm aproximadamente, así me dará para pegar la tira que pegaré por los bordes.
Con una cartulina fina, recortaré dos tiras largas, que pegaré por todo el borde del molde y así formar la cajita. Una tira de 5 cm y la otra de 3 cm.
Luego, con mucho cuidado, la iré pegando por todo el borde, dándole la forma en las esquinas para que se adapte bien.
Y así hice en los dos moldes, quedando de esta manera, una será la caja y la otra será la tapa.
Ahora, con el marcador, dibujaré una línea por todo el borde, que quede grueso, para que se pueda ver bien.
Con el lápiz marque donde irán los ojos, la boca y las manos, para luego repasarlo con el marcador.
Haré de decoración un corazón, así que use un foami rojo brillante y recorte el corazón de un tamaño de 4 cm aproximadamente,
Como ya no tenía más foami, me acordé de que tenía un lazo de foami, que le di a mi hija en un regalo, en diciembre, así que usaré ese lazo para este cotillón.
Y ya lo que falta es pegar el lazo en la cabeza y el corazón en medio de las manos.
Y ahora si ya tengo listo el cotillón, para ser rellenado con los dulces que desee. Como les comente, este cotillón lo realice en la noche y lo necesitaba llevar al colegio al día siguiente, así que fue bastante apresurado.
Espero que te haya gustado este tutorial que con mucho gusto preparé para ustedes. Me despido como siempre, no sin antes agradecerte por tomar parte de tu valioso tiempo en visitar mi blog y apoyarme. Y como dice el refrán: "Haz el bien, sin mirar a quién".
Contenido de la creación original:
❤️ Todas las fotos son mías, tomadas y editadas con mi teléfono Alcatel.
💛 La imagen de portada, anecdota y materiales fueron hecha con la aplicación Canva y editada por mí.
💜 Las imágenes del divisor fueron tomadas de glitter-graphics.com.
💚 La traducción al inglés se realizó con la ayuda de translate.google.com
🧡 Las letras que indican los idiomas fueron tomadas de cooltext.com