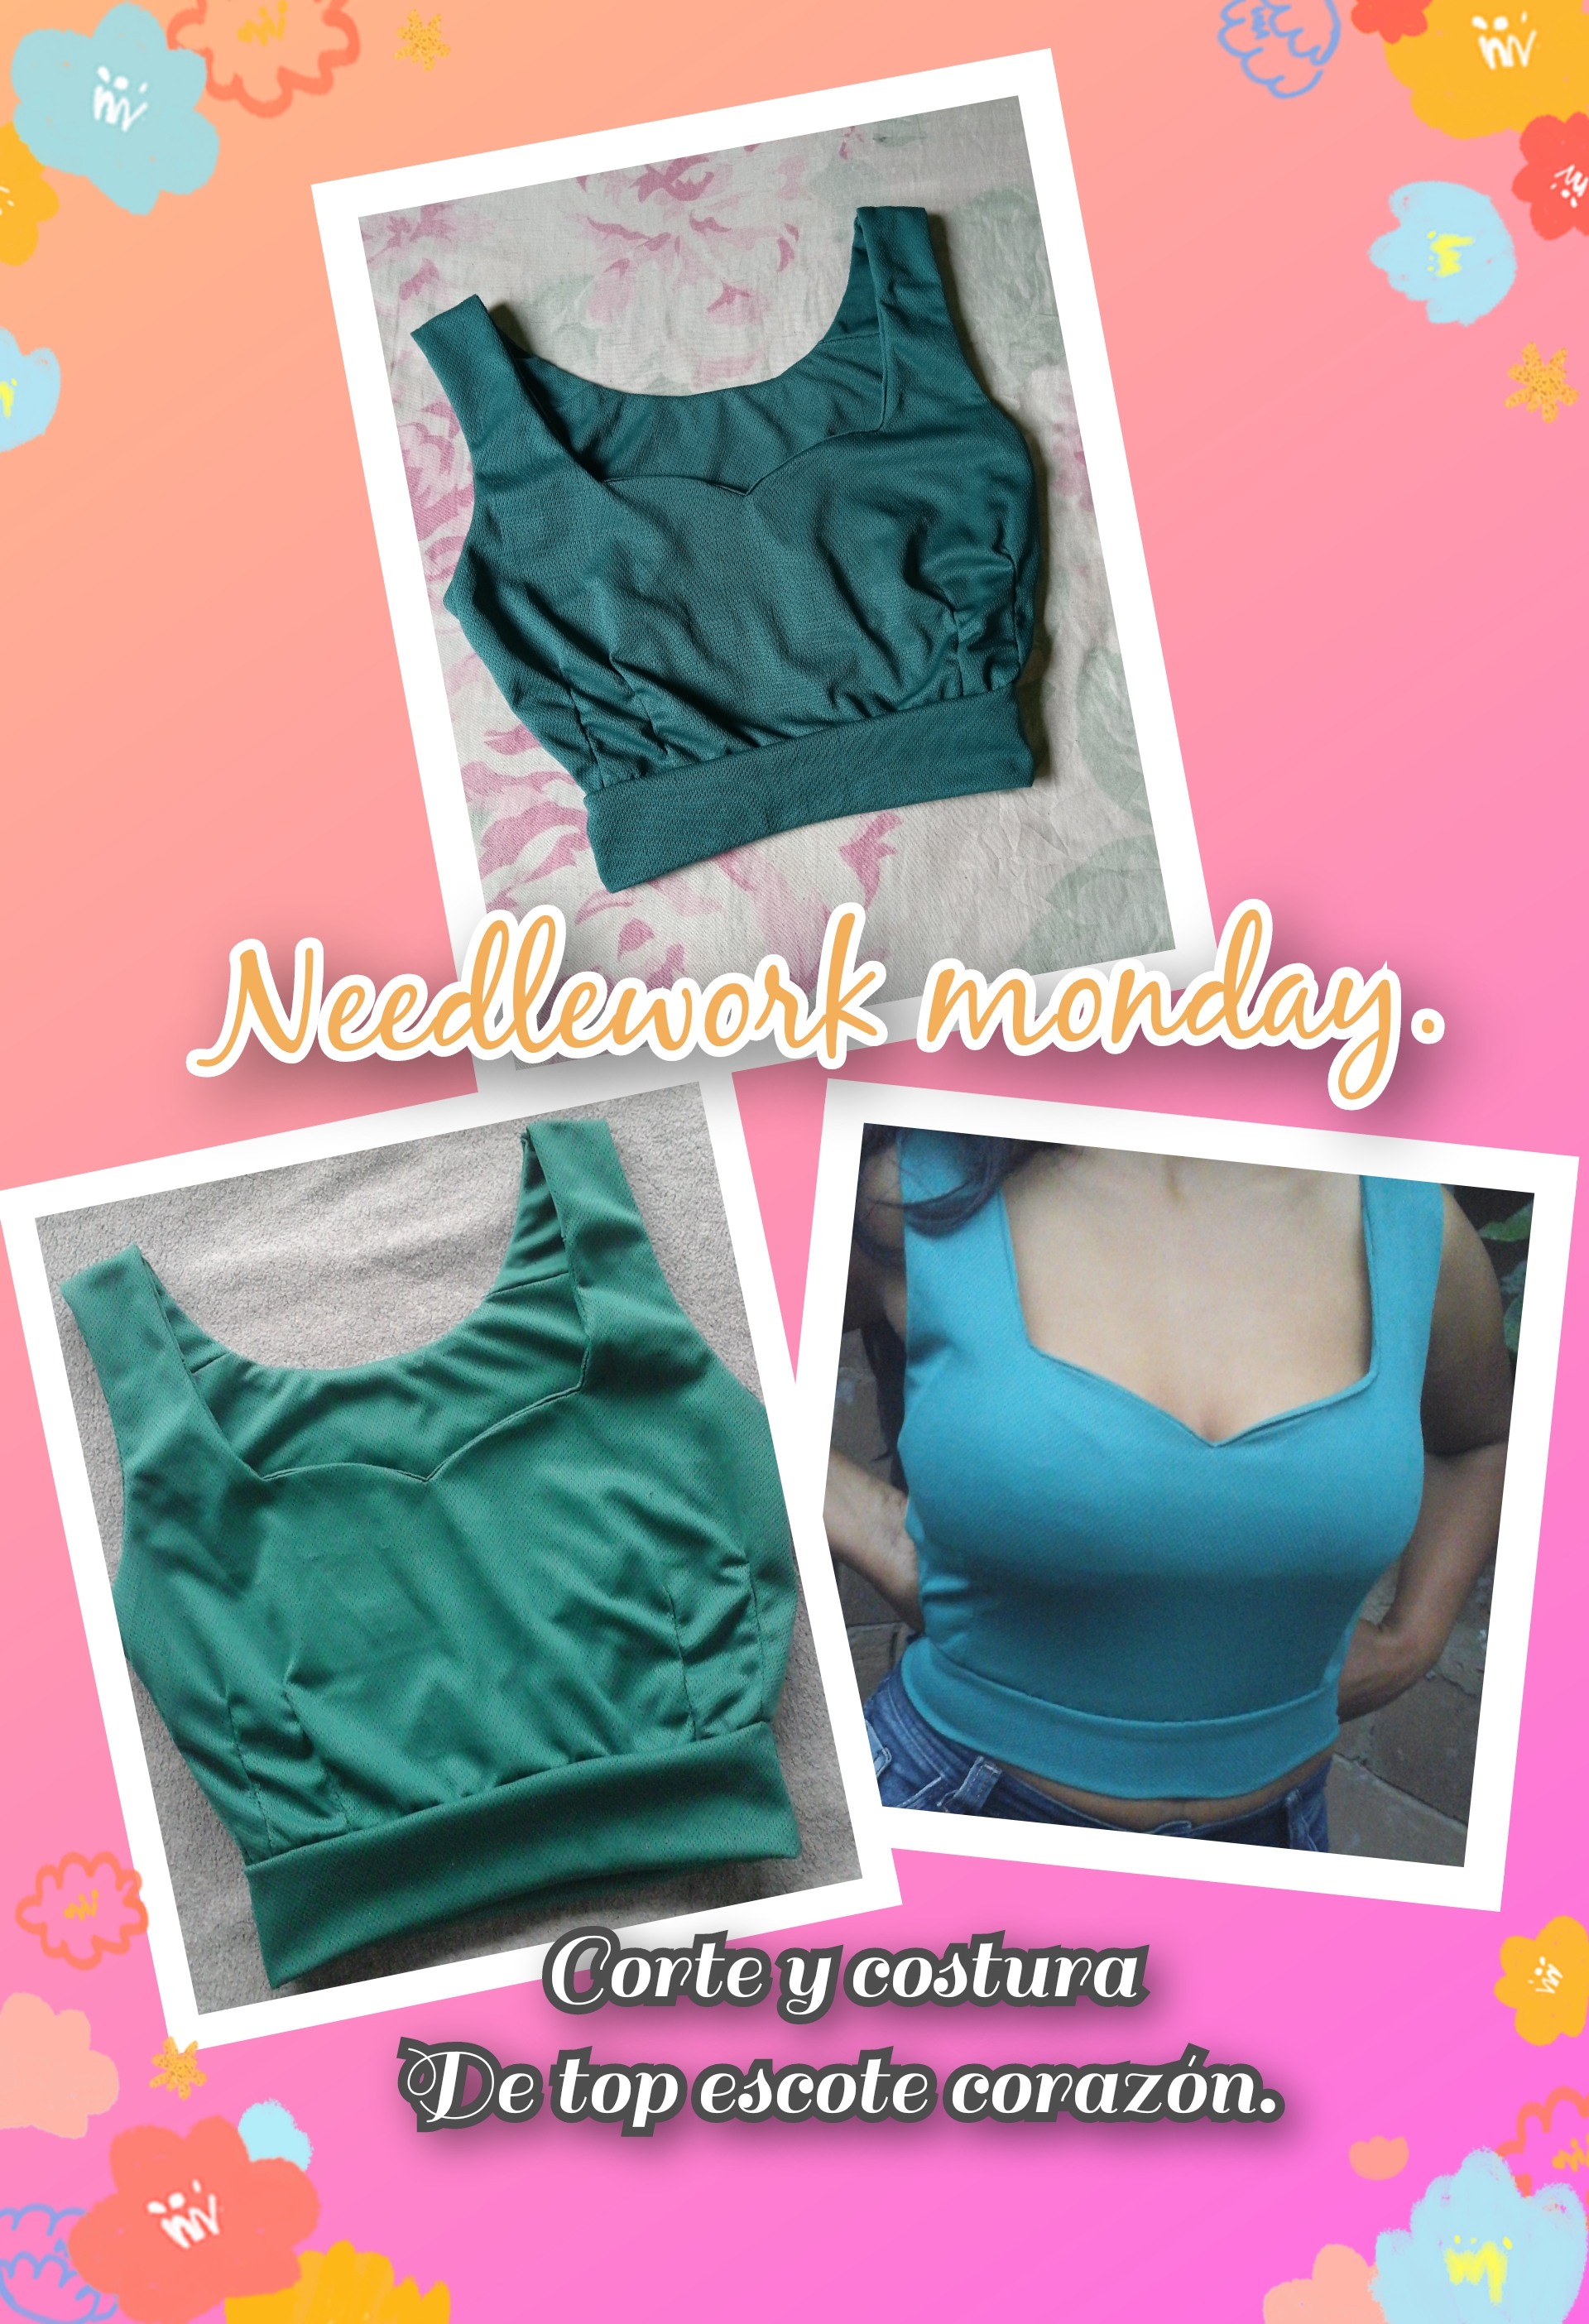
Feliz y bendecido día para toda la comunidad costurera, los saludo con mucho cariño deseándoles un excelente día de la mano de Dios y que esten disfrutando de un delicioso almuerzo. Primero agradecer a Dios por darnos un día más, fresco y muy nublado😊 como esperabamos. Empezamos el día con mucho entusiasmo y cariño para todos los que nos rodean. Les cuento que ayer estuvo muy lluvioso en mi pueblo impidiéndome salir de casa, ocasión que aproveché para ver algunos videos ya que no tenía nuevas ideas para confeccionar. Buscando por aquí y por allá vi una linda blusa con escote corazón y mangas pero como sufro de calor 😁 Me pregunte si podría hacer un top con este hermoso escote, sin mangas y de color verde, fue entonces cuando busqué mis materiales de costura y comencé a Diseñar a mi gusto y comodidad. Este top es fácil de hacer y combinará bien con una chaqueta si hace frío. Sin perder más tiempo, te invito a leer el procedimiento, comencemos.
Happy and blessed day to the entire sewing community, I greet you with love, wishing you an excellent day from the hand of God and a delicious lunch. First, thank God for giving us another day, cool and very cloudy😊. We started the day with great enthusiasm and love for everyone. Yesterday it was very rainy in my town, preventing me from leaving the house. I tell you that I took the opportunity to watch some videos since I didn't have new ideas to make some clothes. Searching here and there I saw a cute blouse with a sweetheart neckline and sleeves but since I suffer from heat I wanted to ask myself if I could make a top with this beautiful green neckline and sleeveless, that's when I looked for my sewing materials and started designing on my own. taste and comfort. This top is easy to make and will pair well with a jacket if it's cold. Without wasting any more time, I invite you to read the procedure, let's get started.
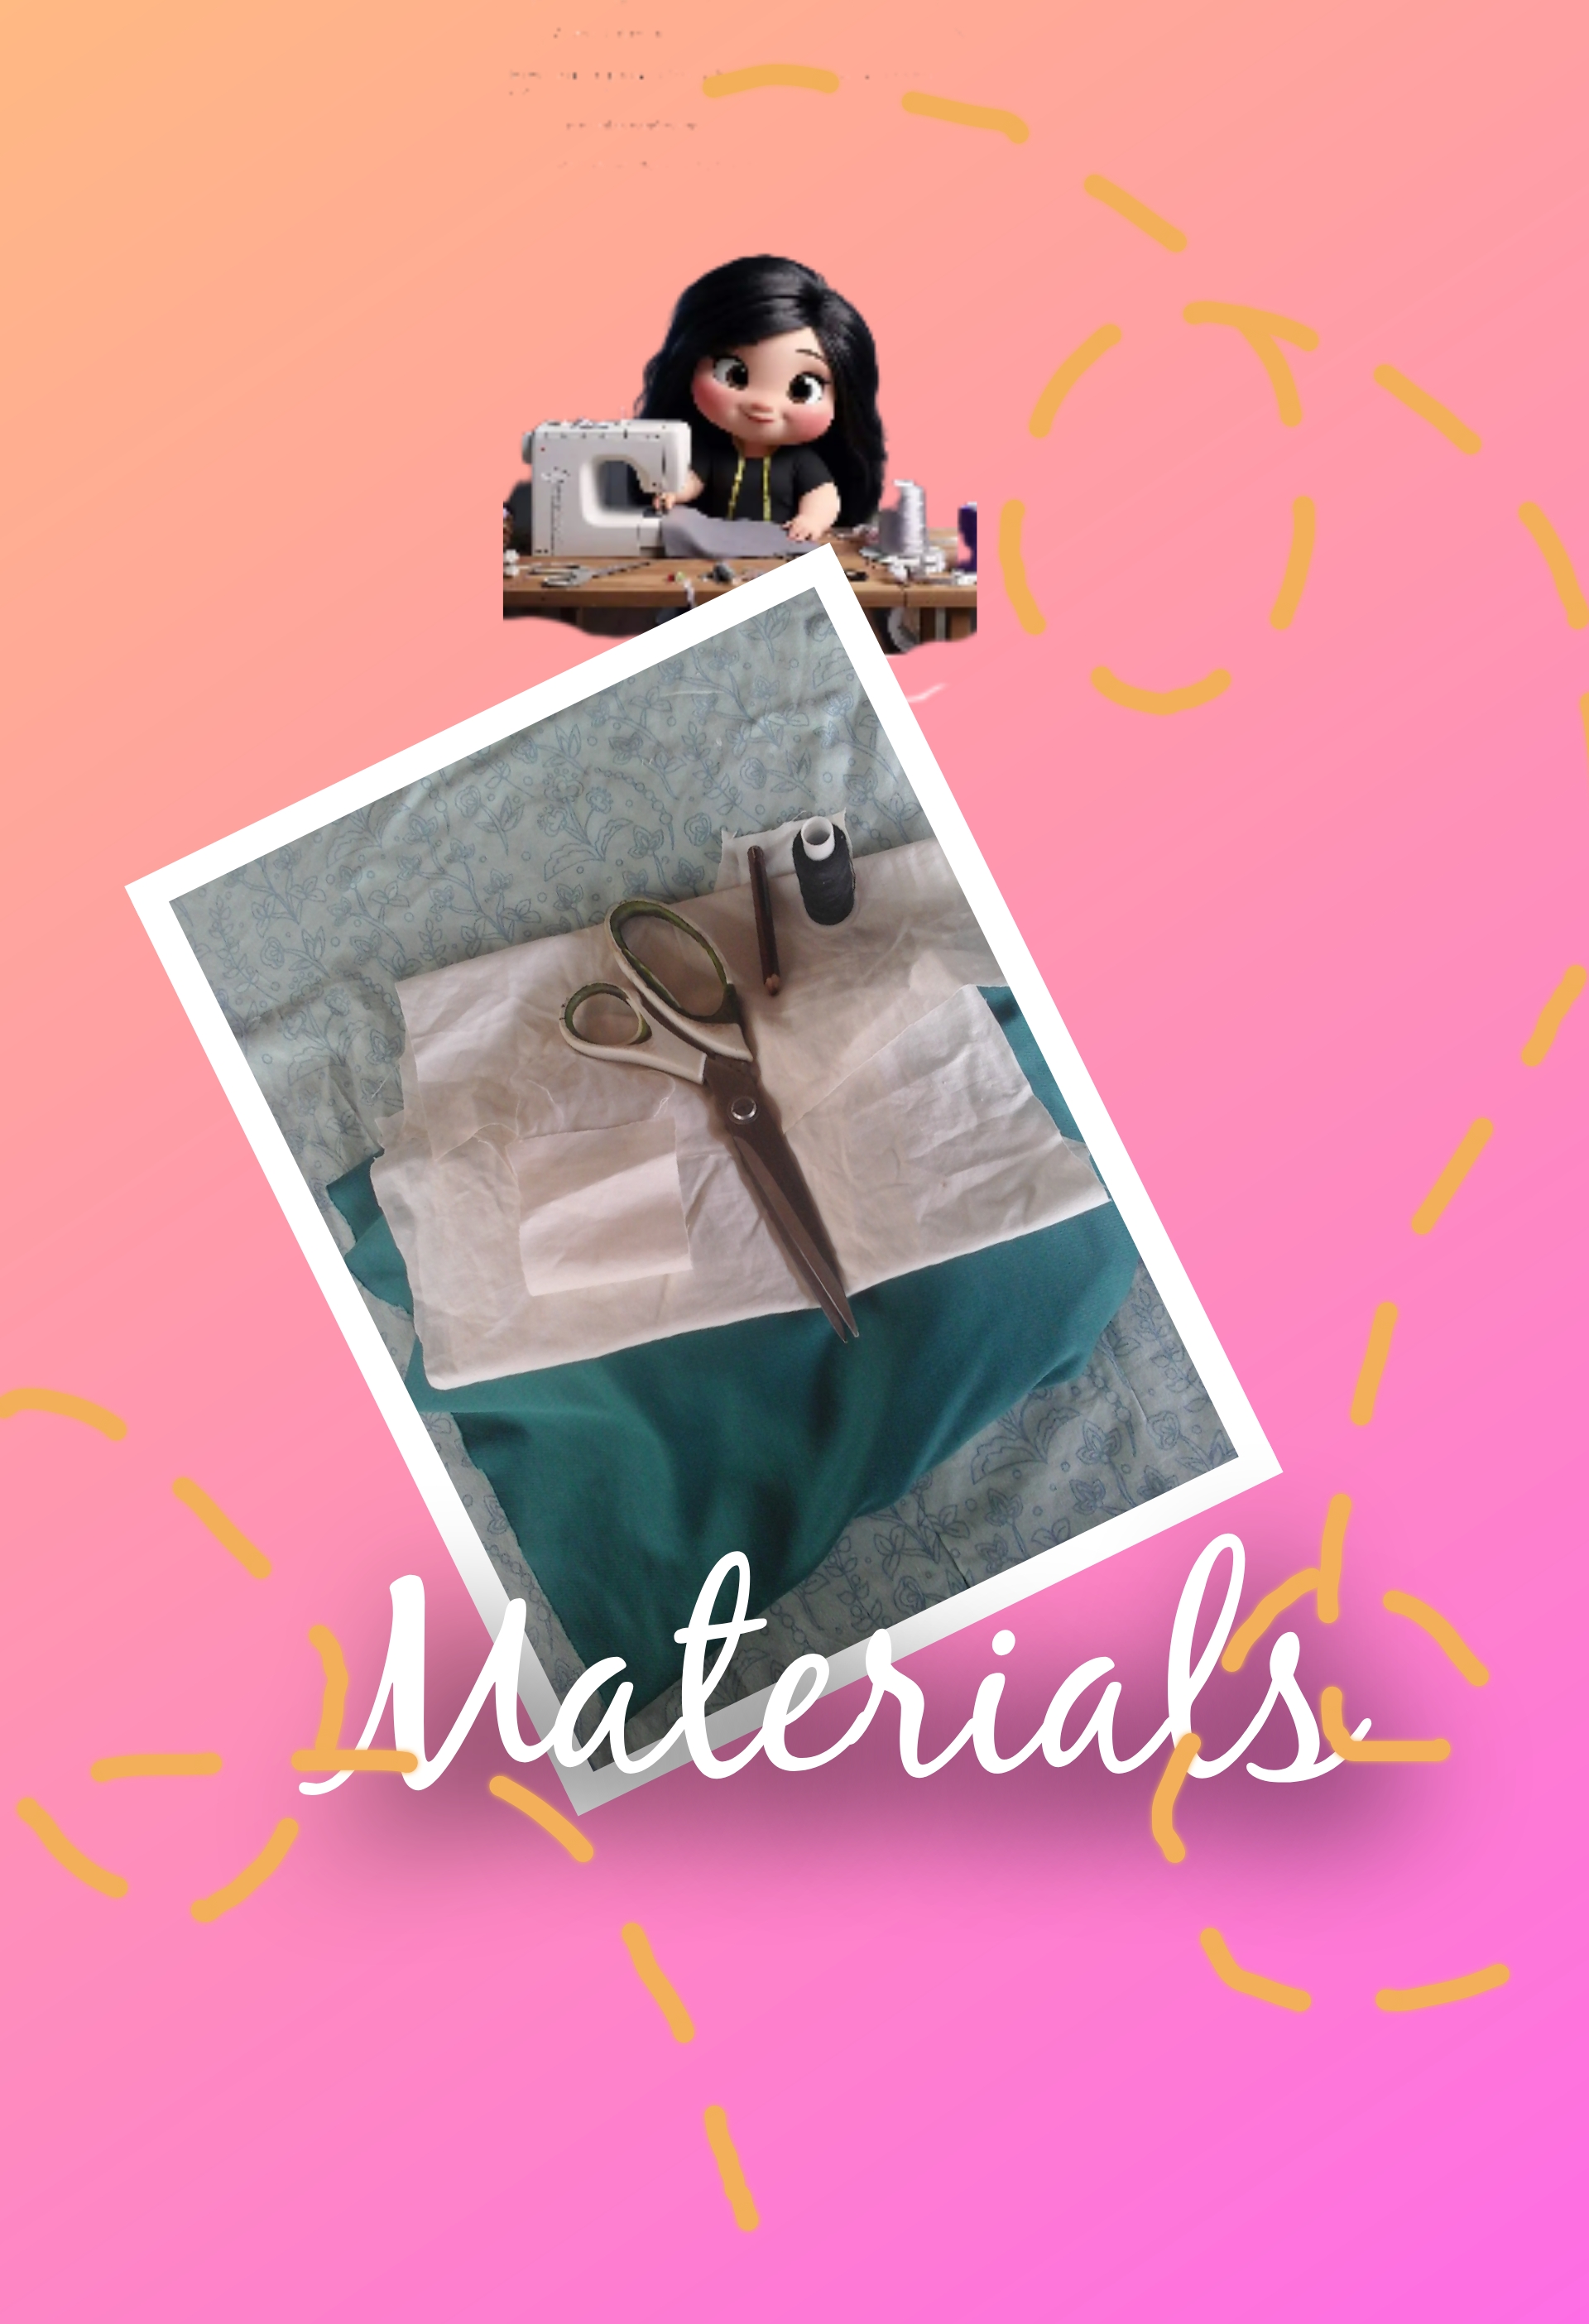
Materiales que necesitaremos.
- 80 cm de tela piel de durazno, algodón o alguna tela que estire un poco.
- Esto es un tipo de tela de dry fit.
- Tijera, agujas, hilos, regla y patrones.
Materials we will need.
- 80 cm of peach skin fabric, cotton or some fabric that stretches a little.
- Dry fit fabric.
- Scissors, needles, threads, ruler and patterns.
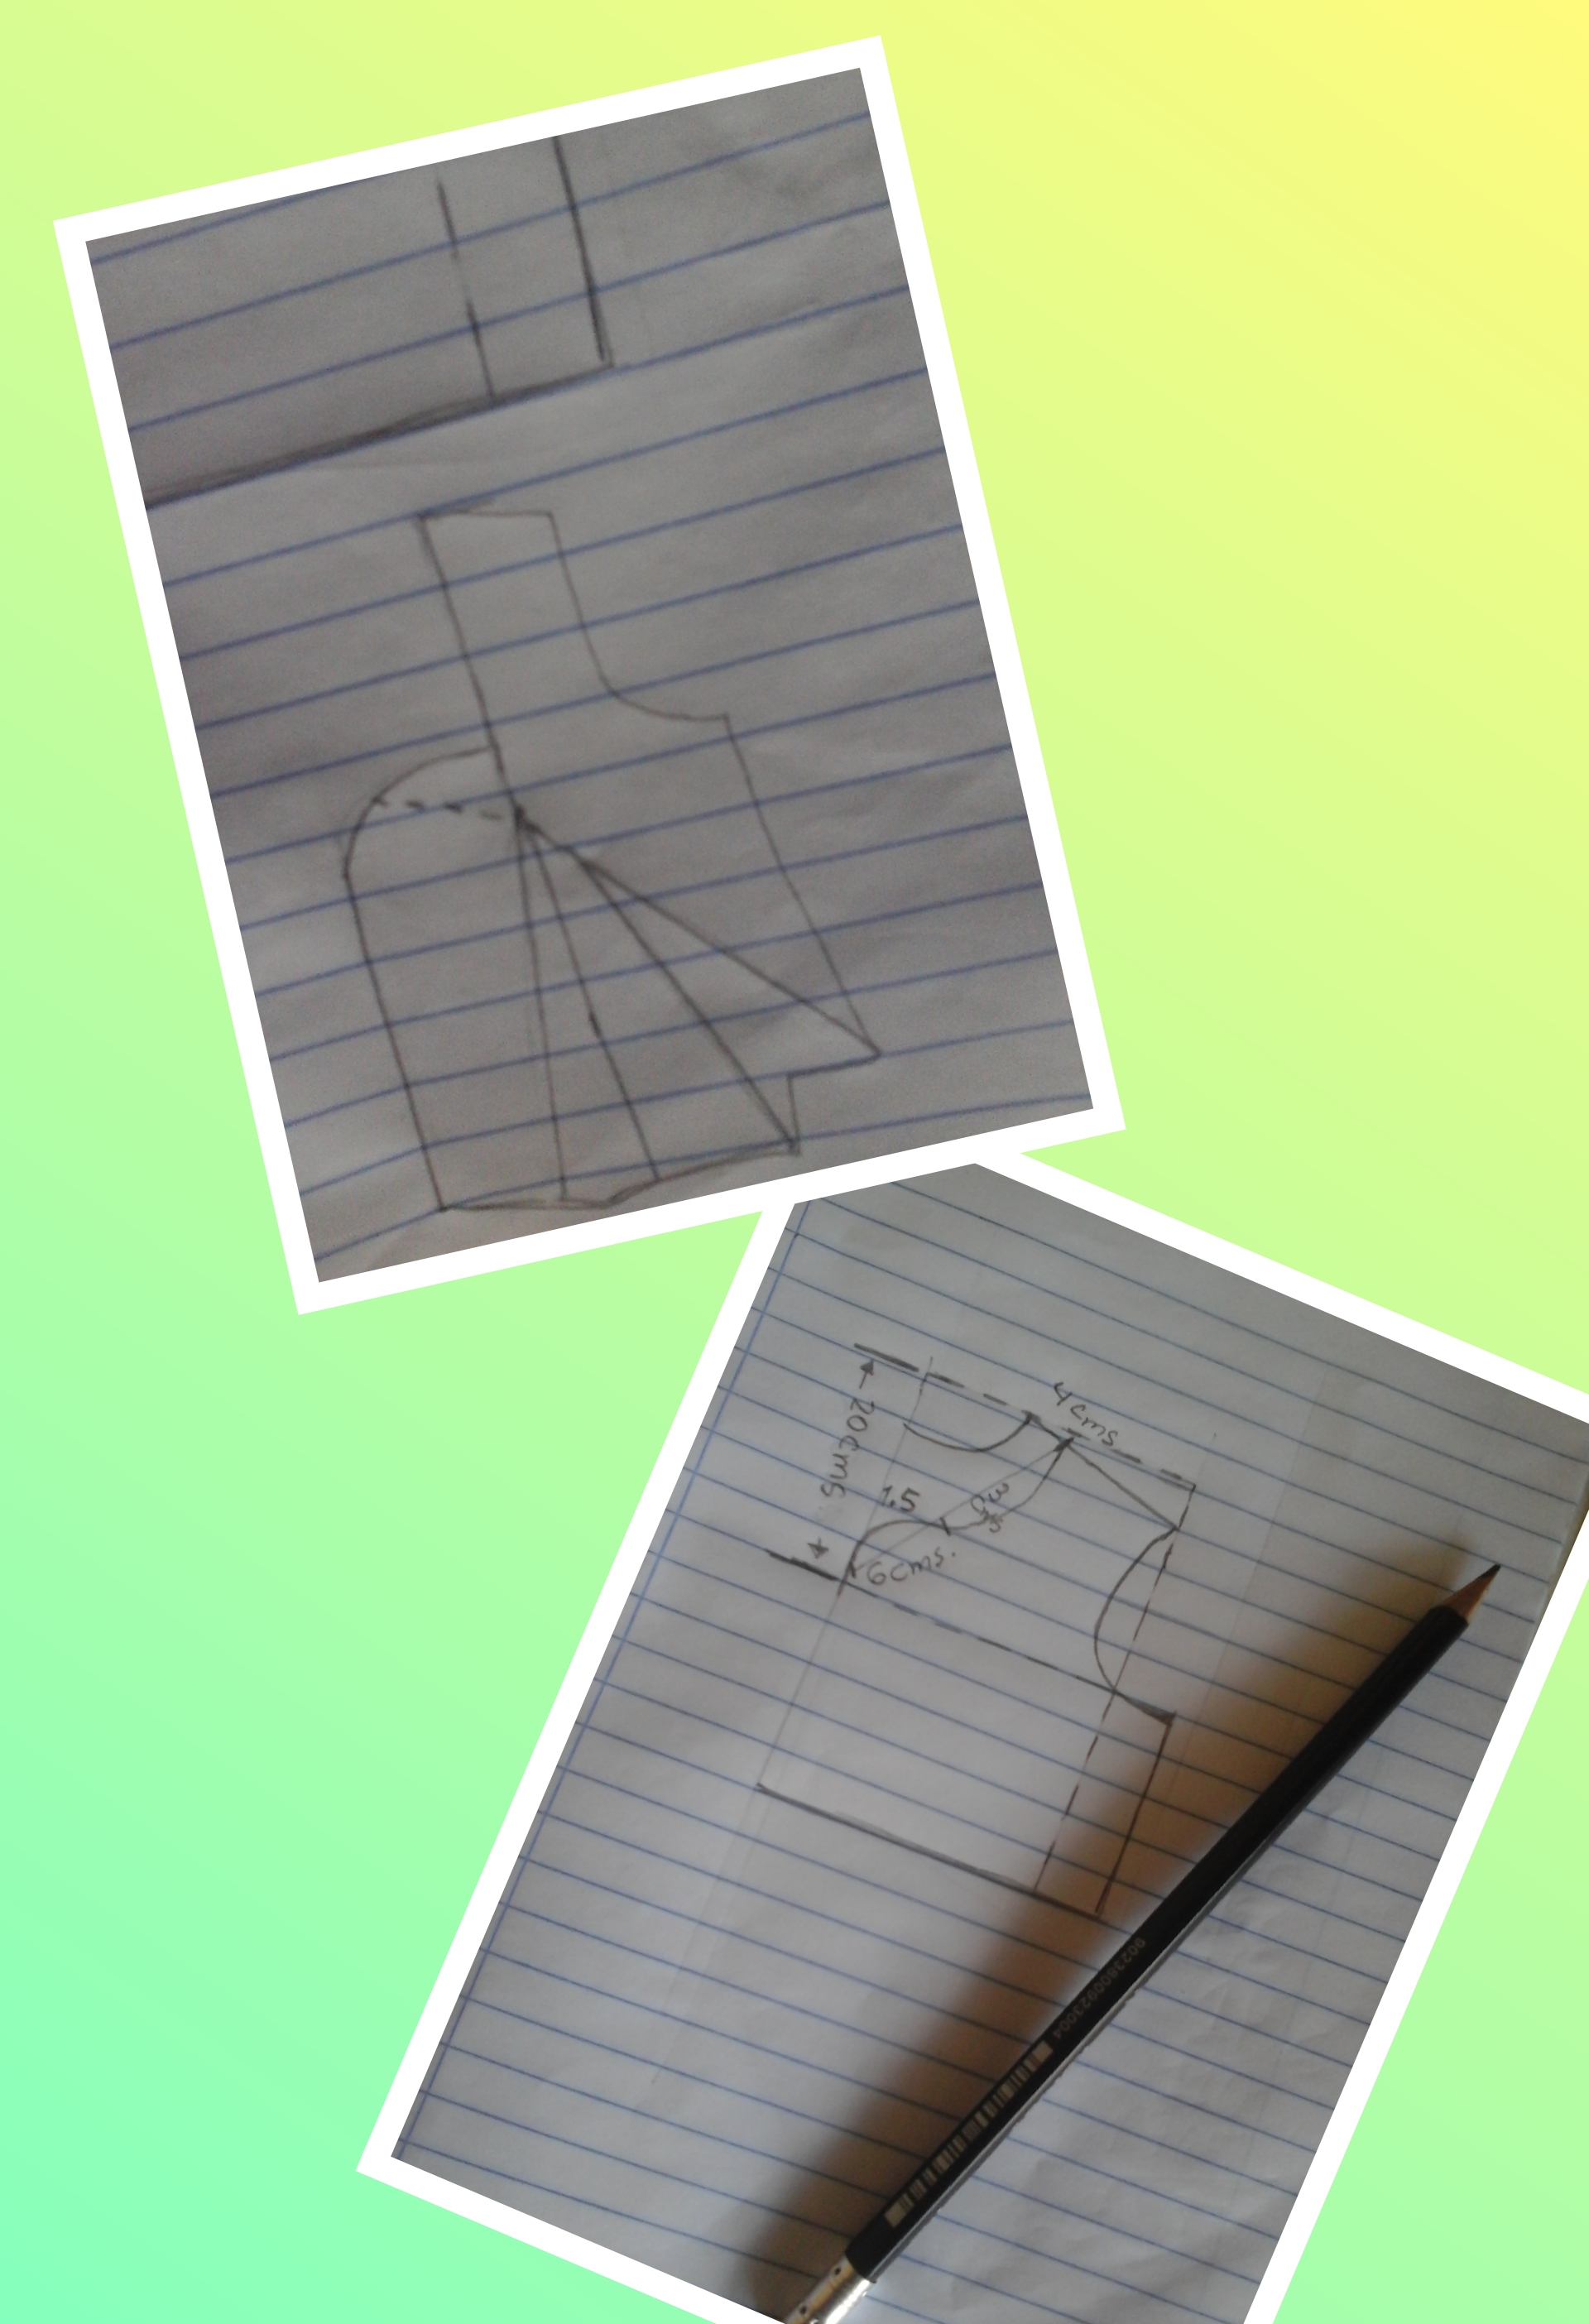
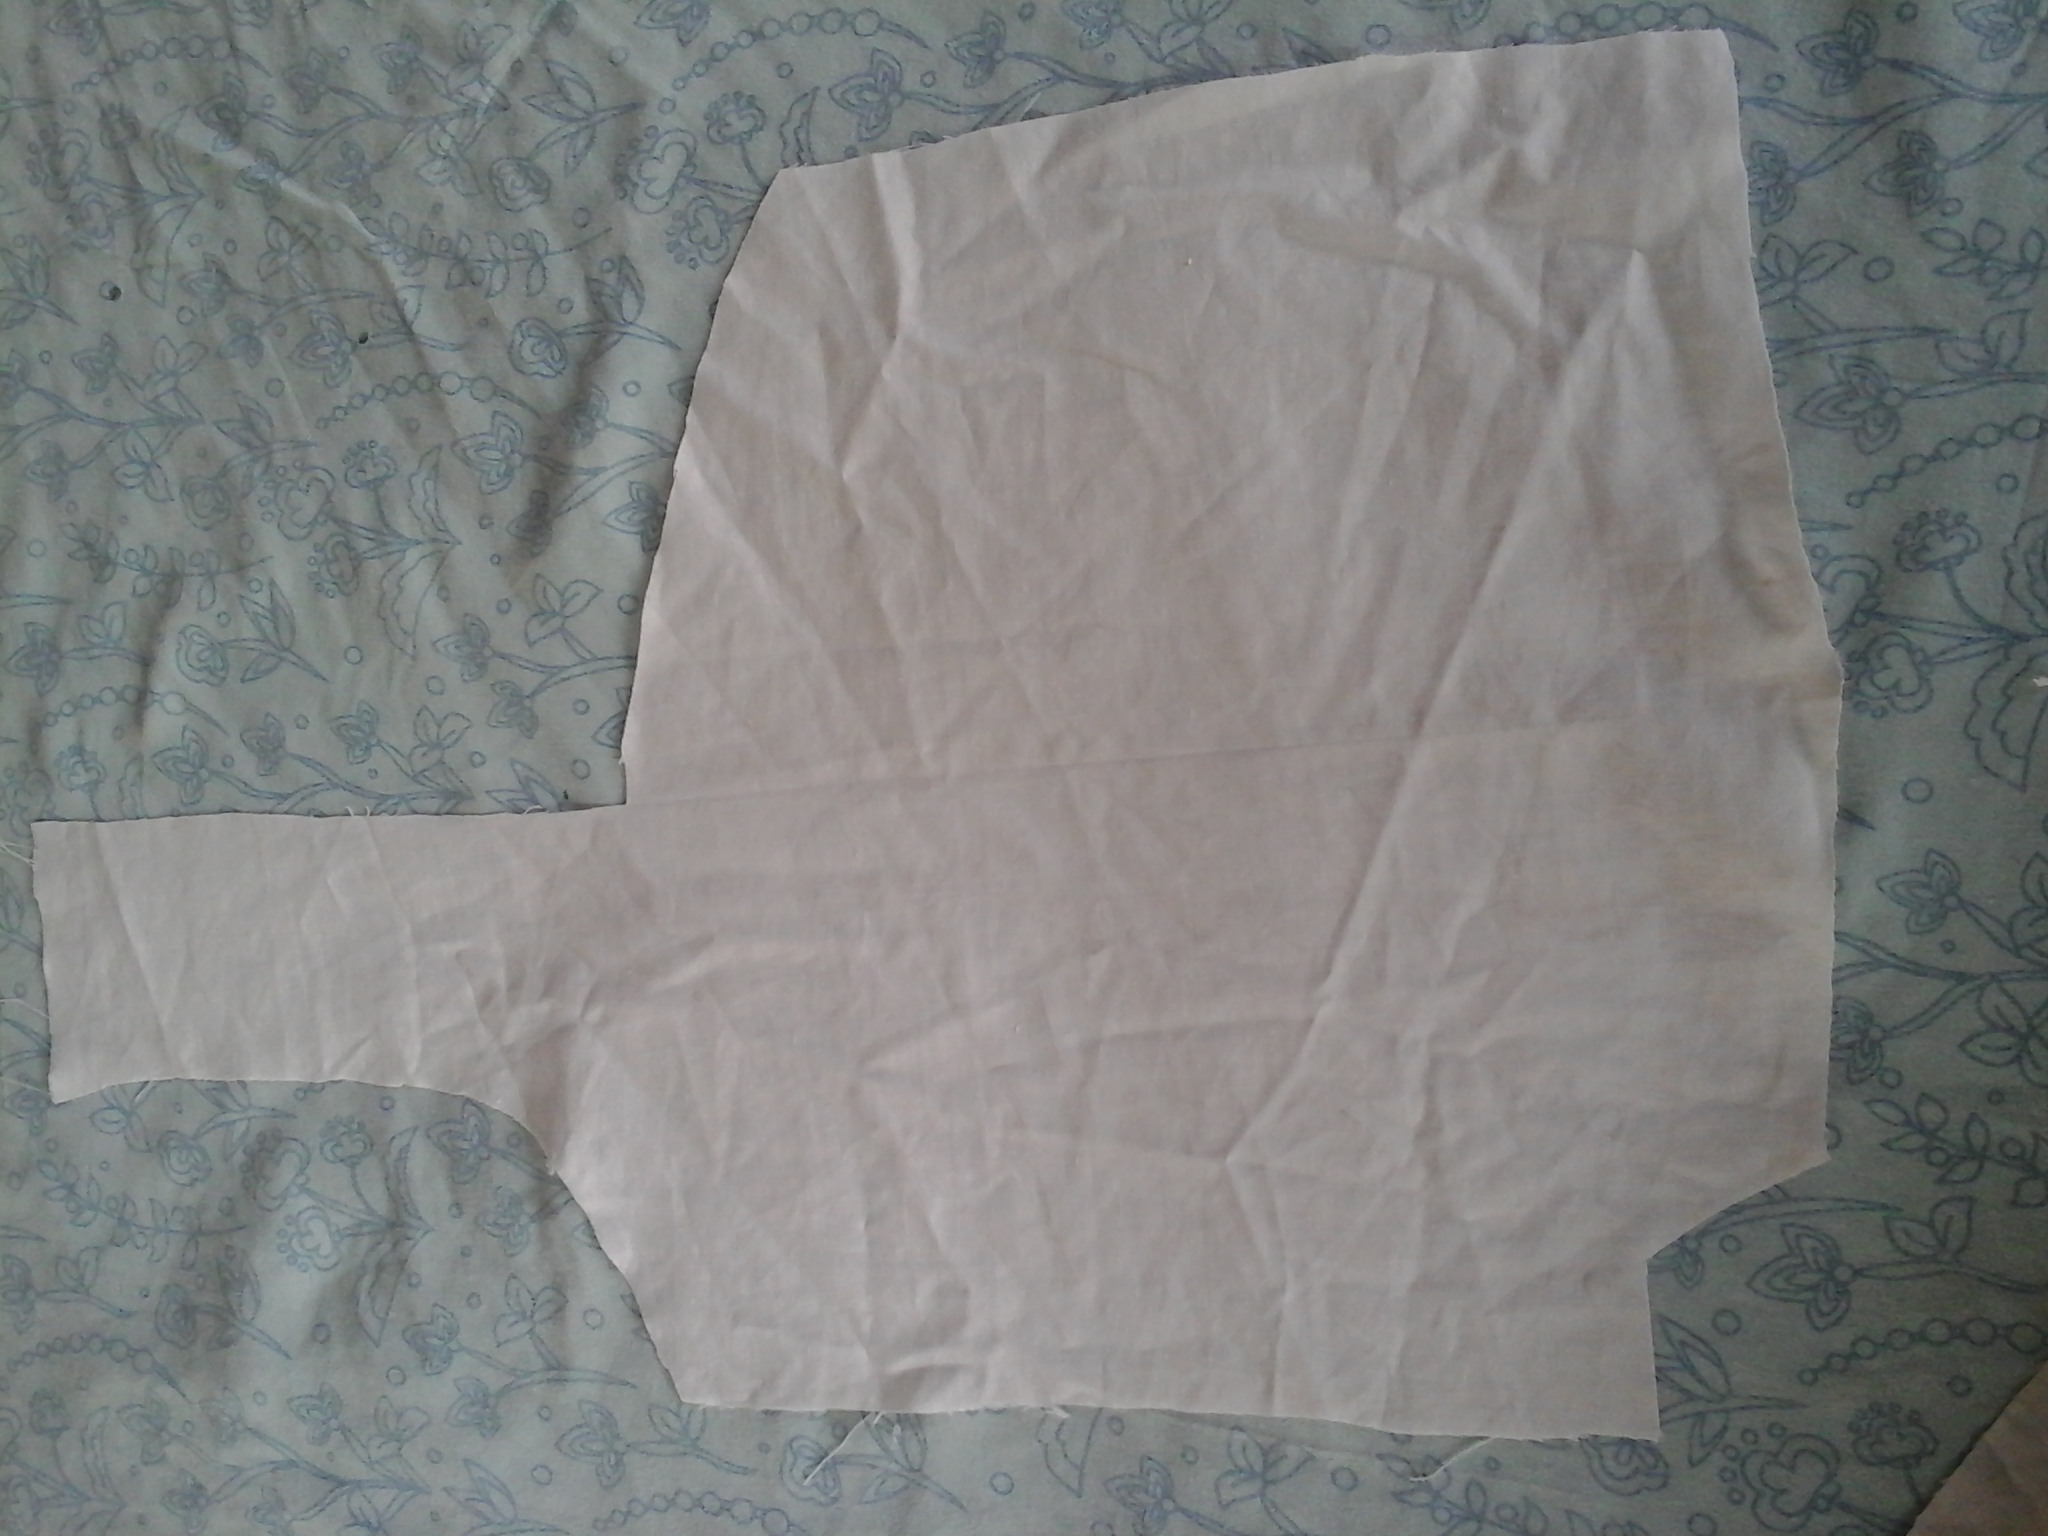
Paso 1.
Iniciaremos con el corte de los patrones, estos los he conseguido en Internet y me sirvieron mucho. Yo los hice en una hoja de cuaderno luego los plasme en tela reciclada para conservarlos muy bien. Estos patrones se ven un poco diferentes pero de las dos formas obtendrás el diseño corazón.
Step 1.
We will start with cutting the patterns, I found these on the Internet and they helped me a lot. I drew them on a notebook page then made them on recycled fabric to preserve them very well. These patterns look a little different but in both ways you will get the heart design.
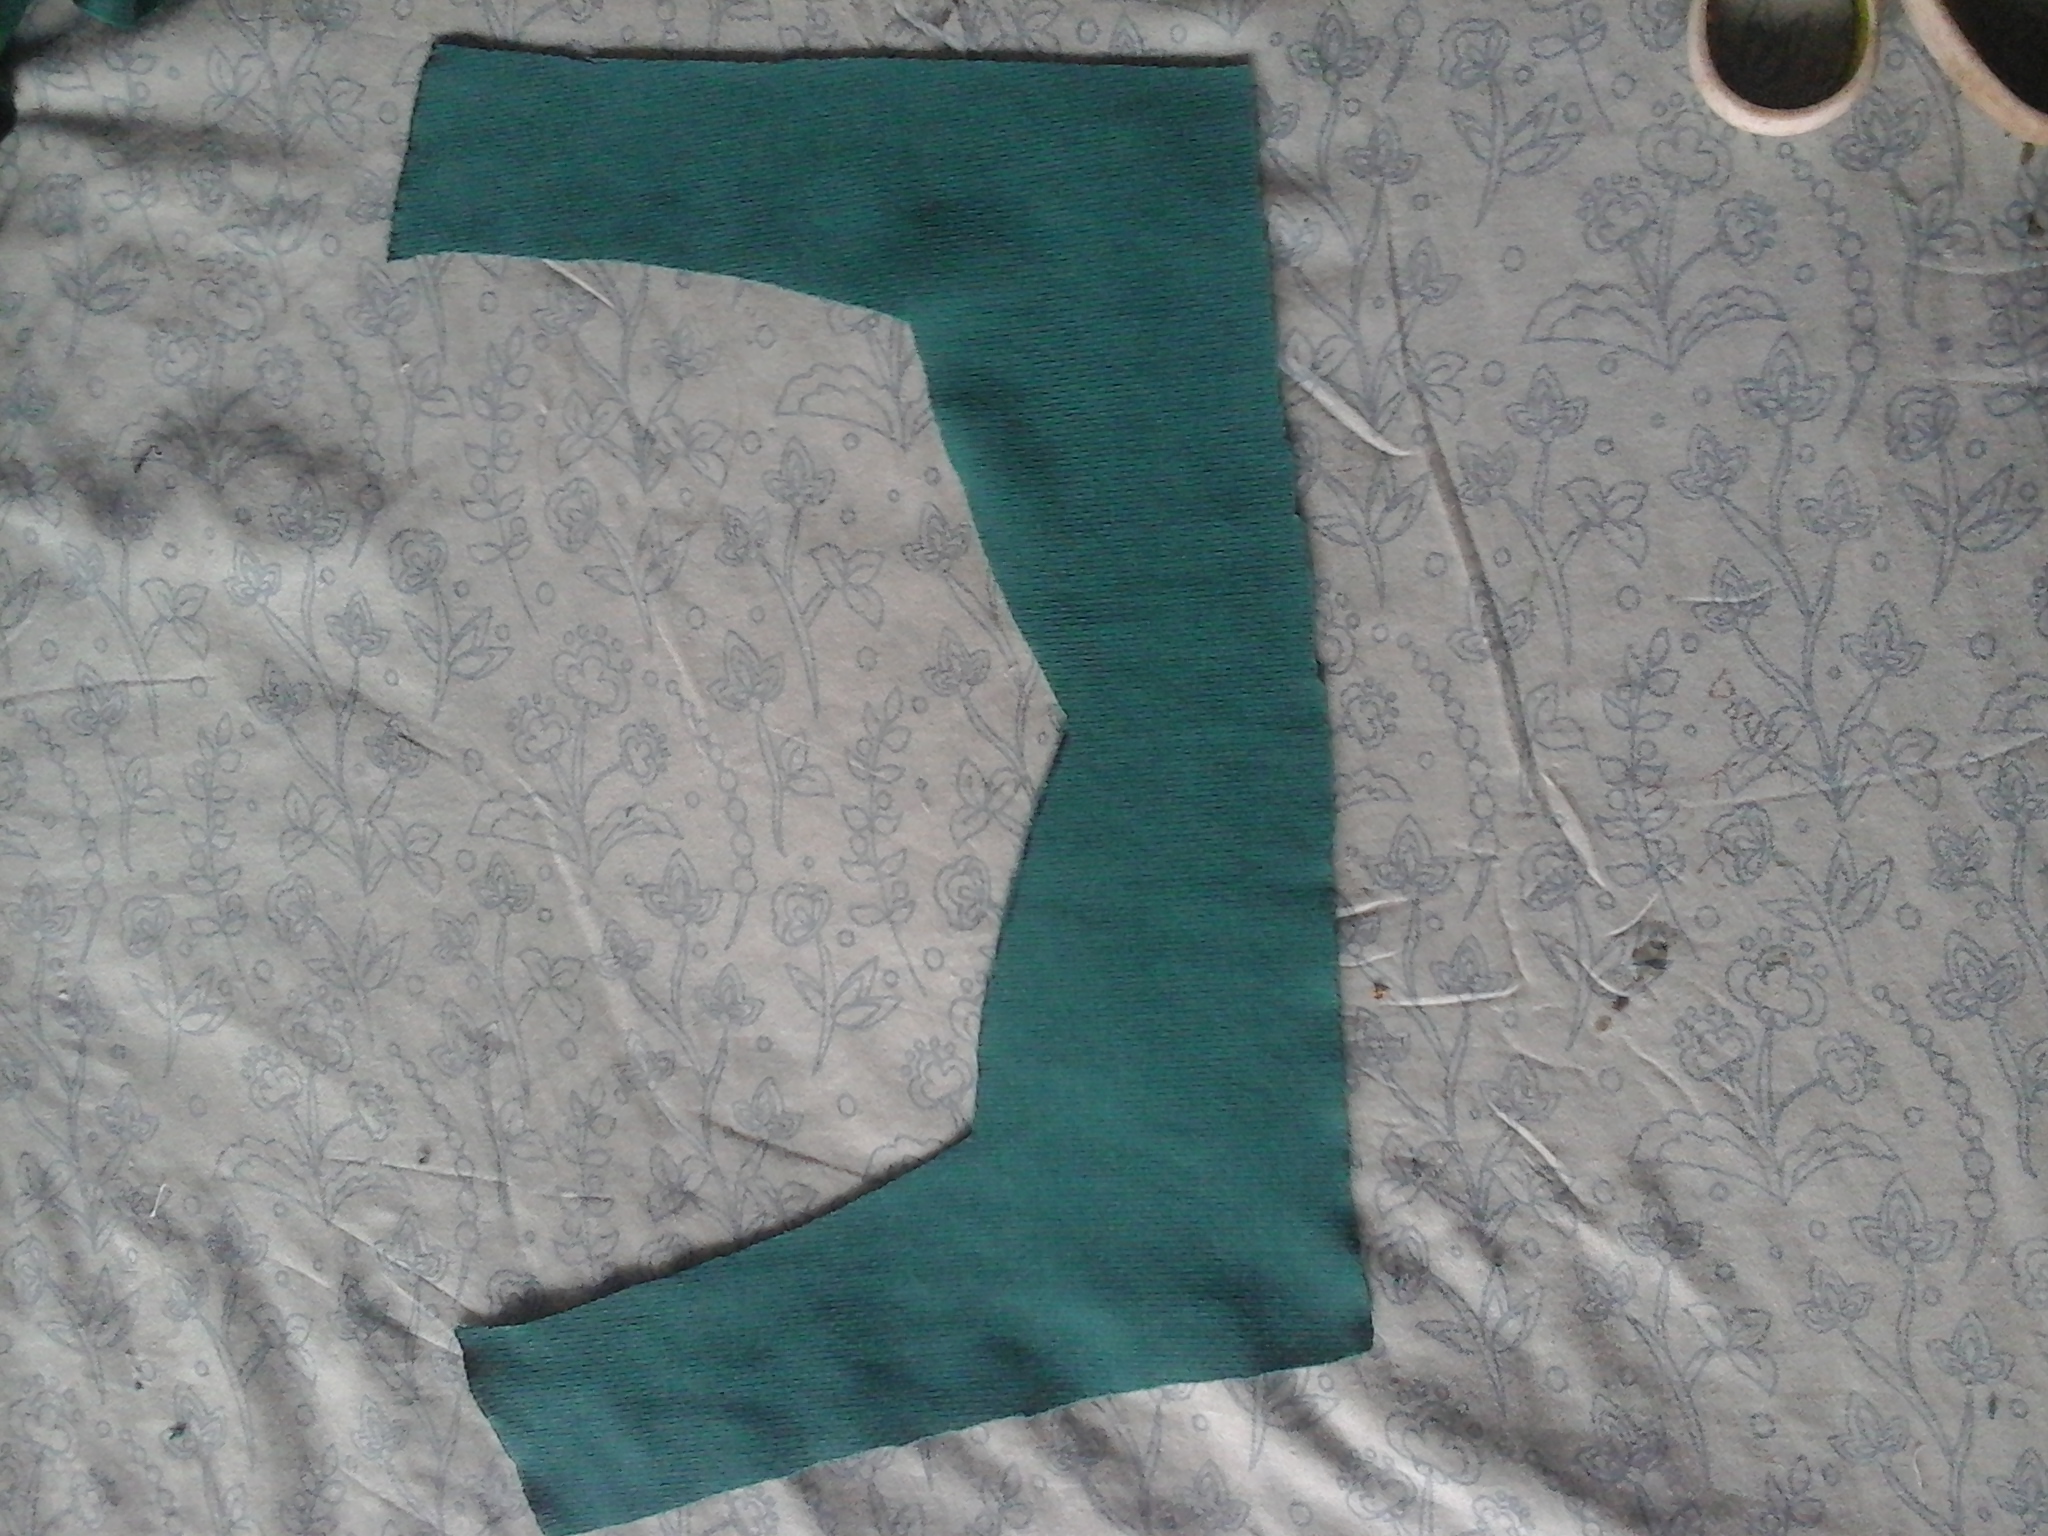
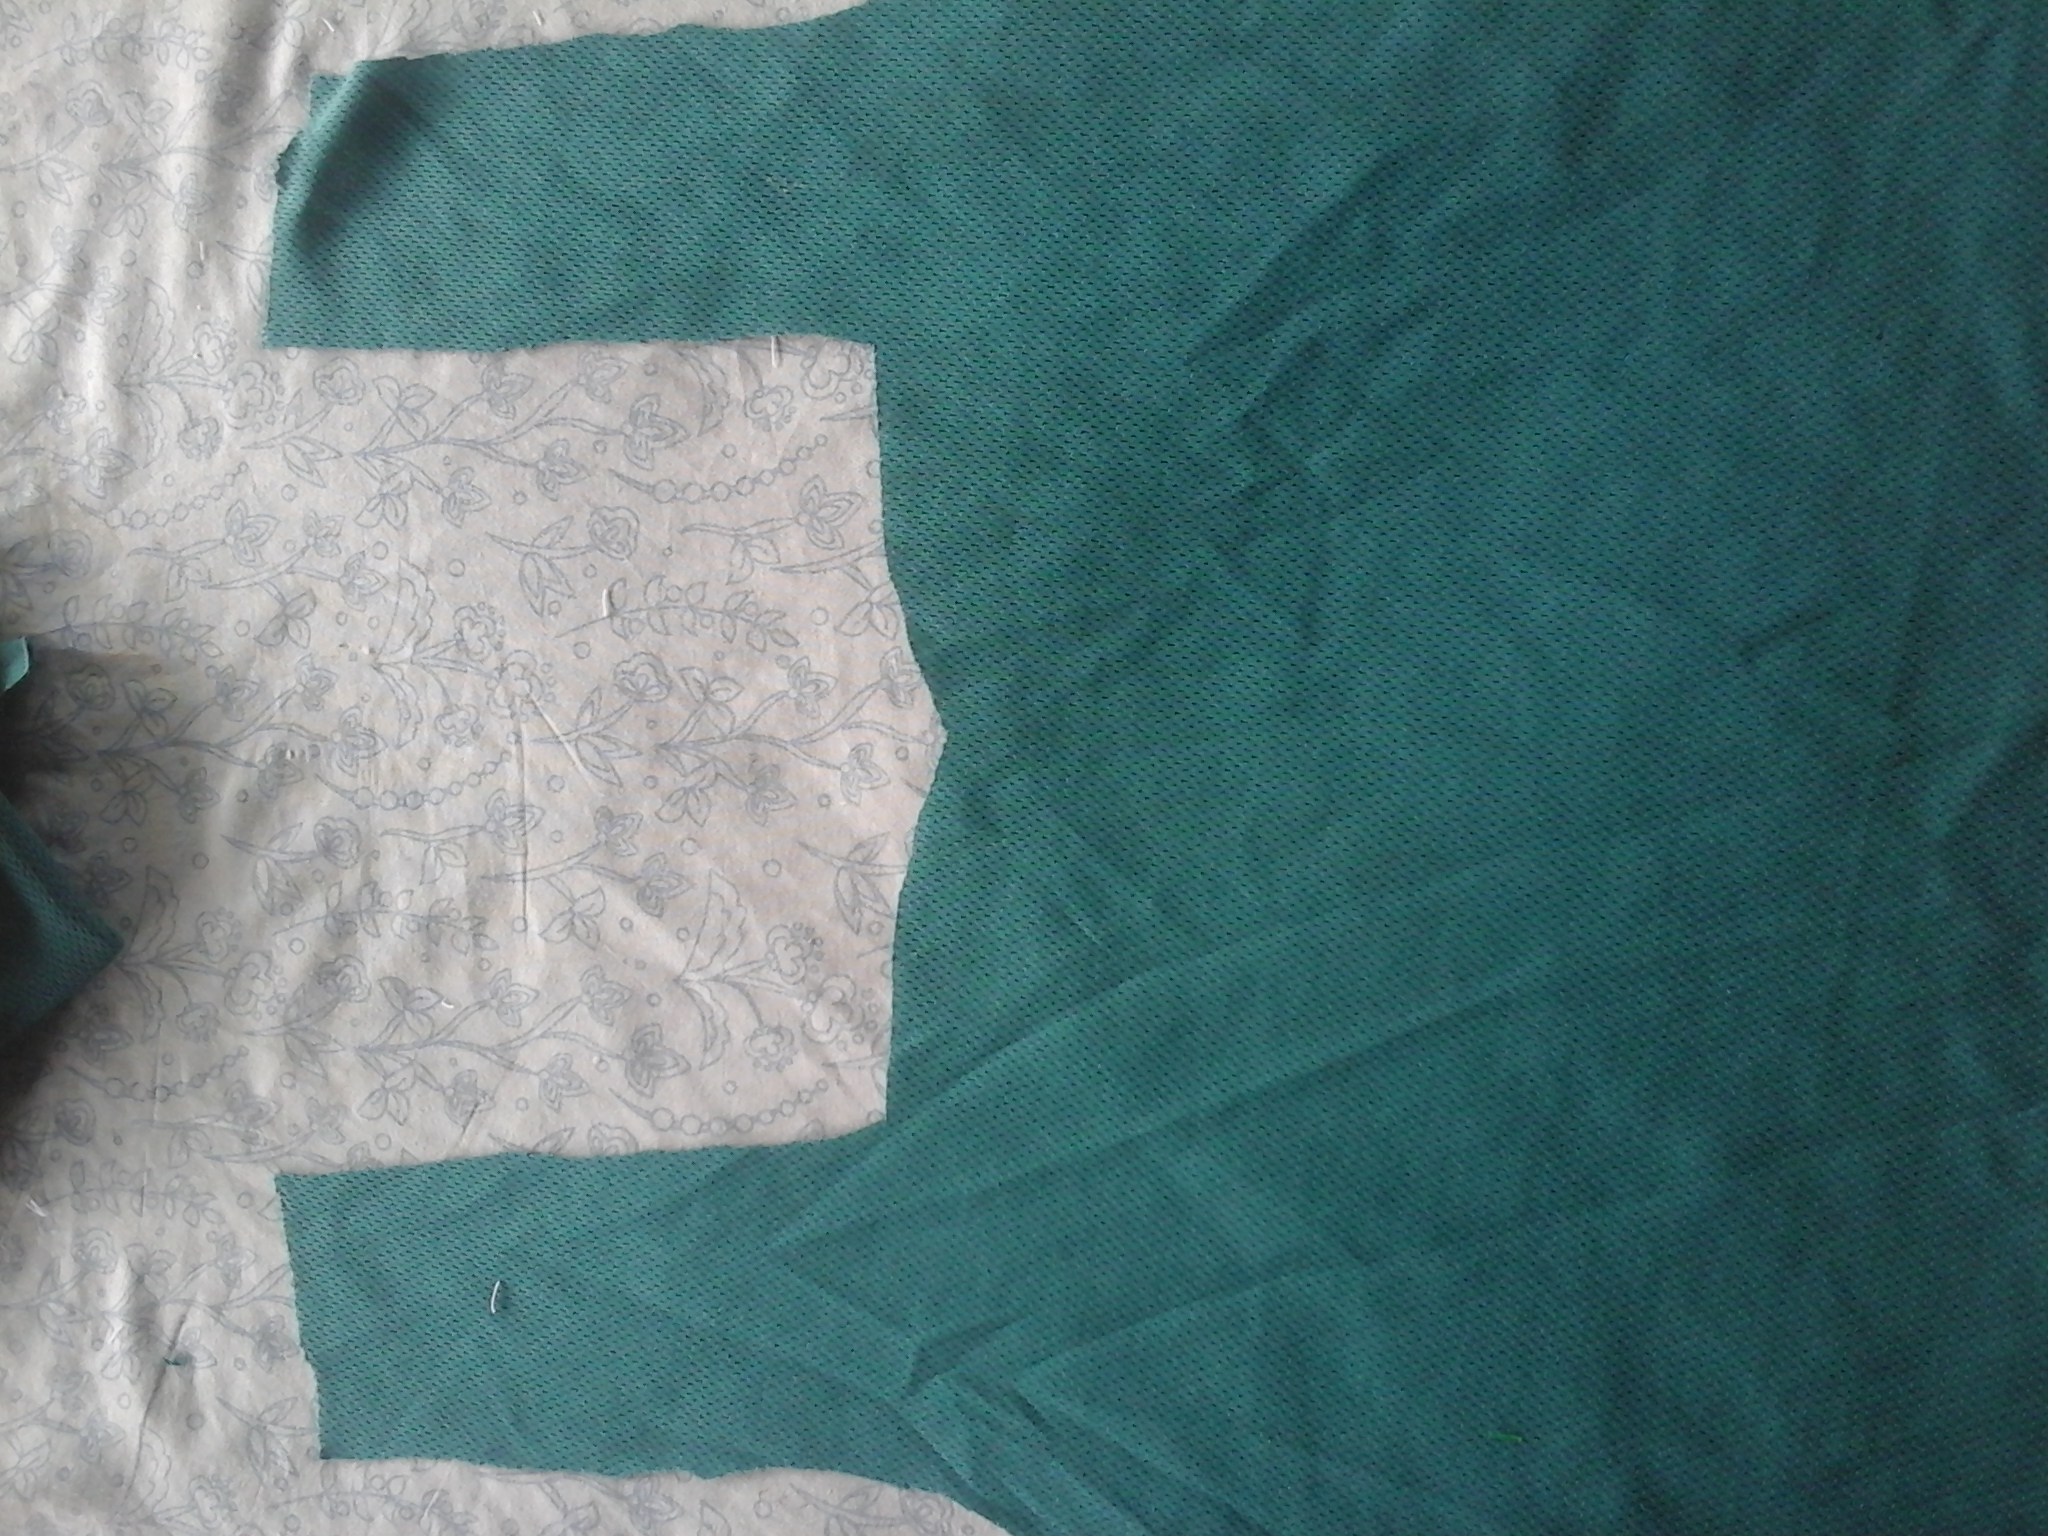
Paso 2.
En una superficie cómoda colocamos la tela y sobre ella los patrones de la parte delantera y espalda, marcamos por el contorno y recortamos las piezas, estas ya tienen mis medidas y las pinzas que les haré. Luego utilizamos dichas piezas para poder recortar los refuerzos que irán en la parte interna. Puedes recortar estos refuerzos hasta el busto.
Step 2.
On a comfortable surface we place the fabric and on it the patterns of the front and back, we mark along the contour and cut out the pieces, these already have my measurements and the tweezers that I will make for them. Then we use these pieces to be able to cut out the reinforcements that will go on the inside. You can trim these gussets up to the bust.
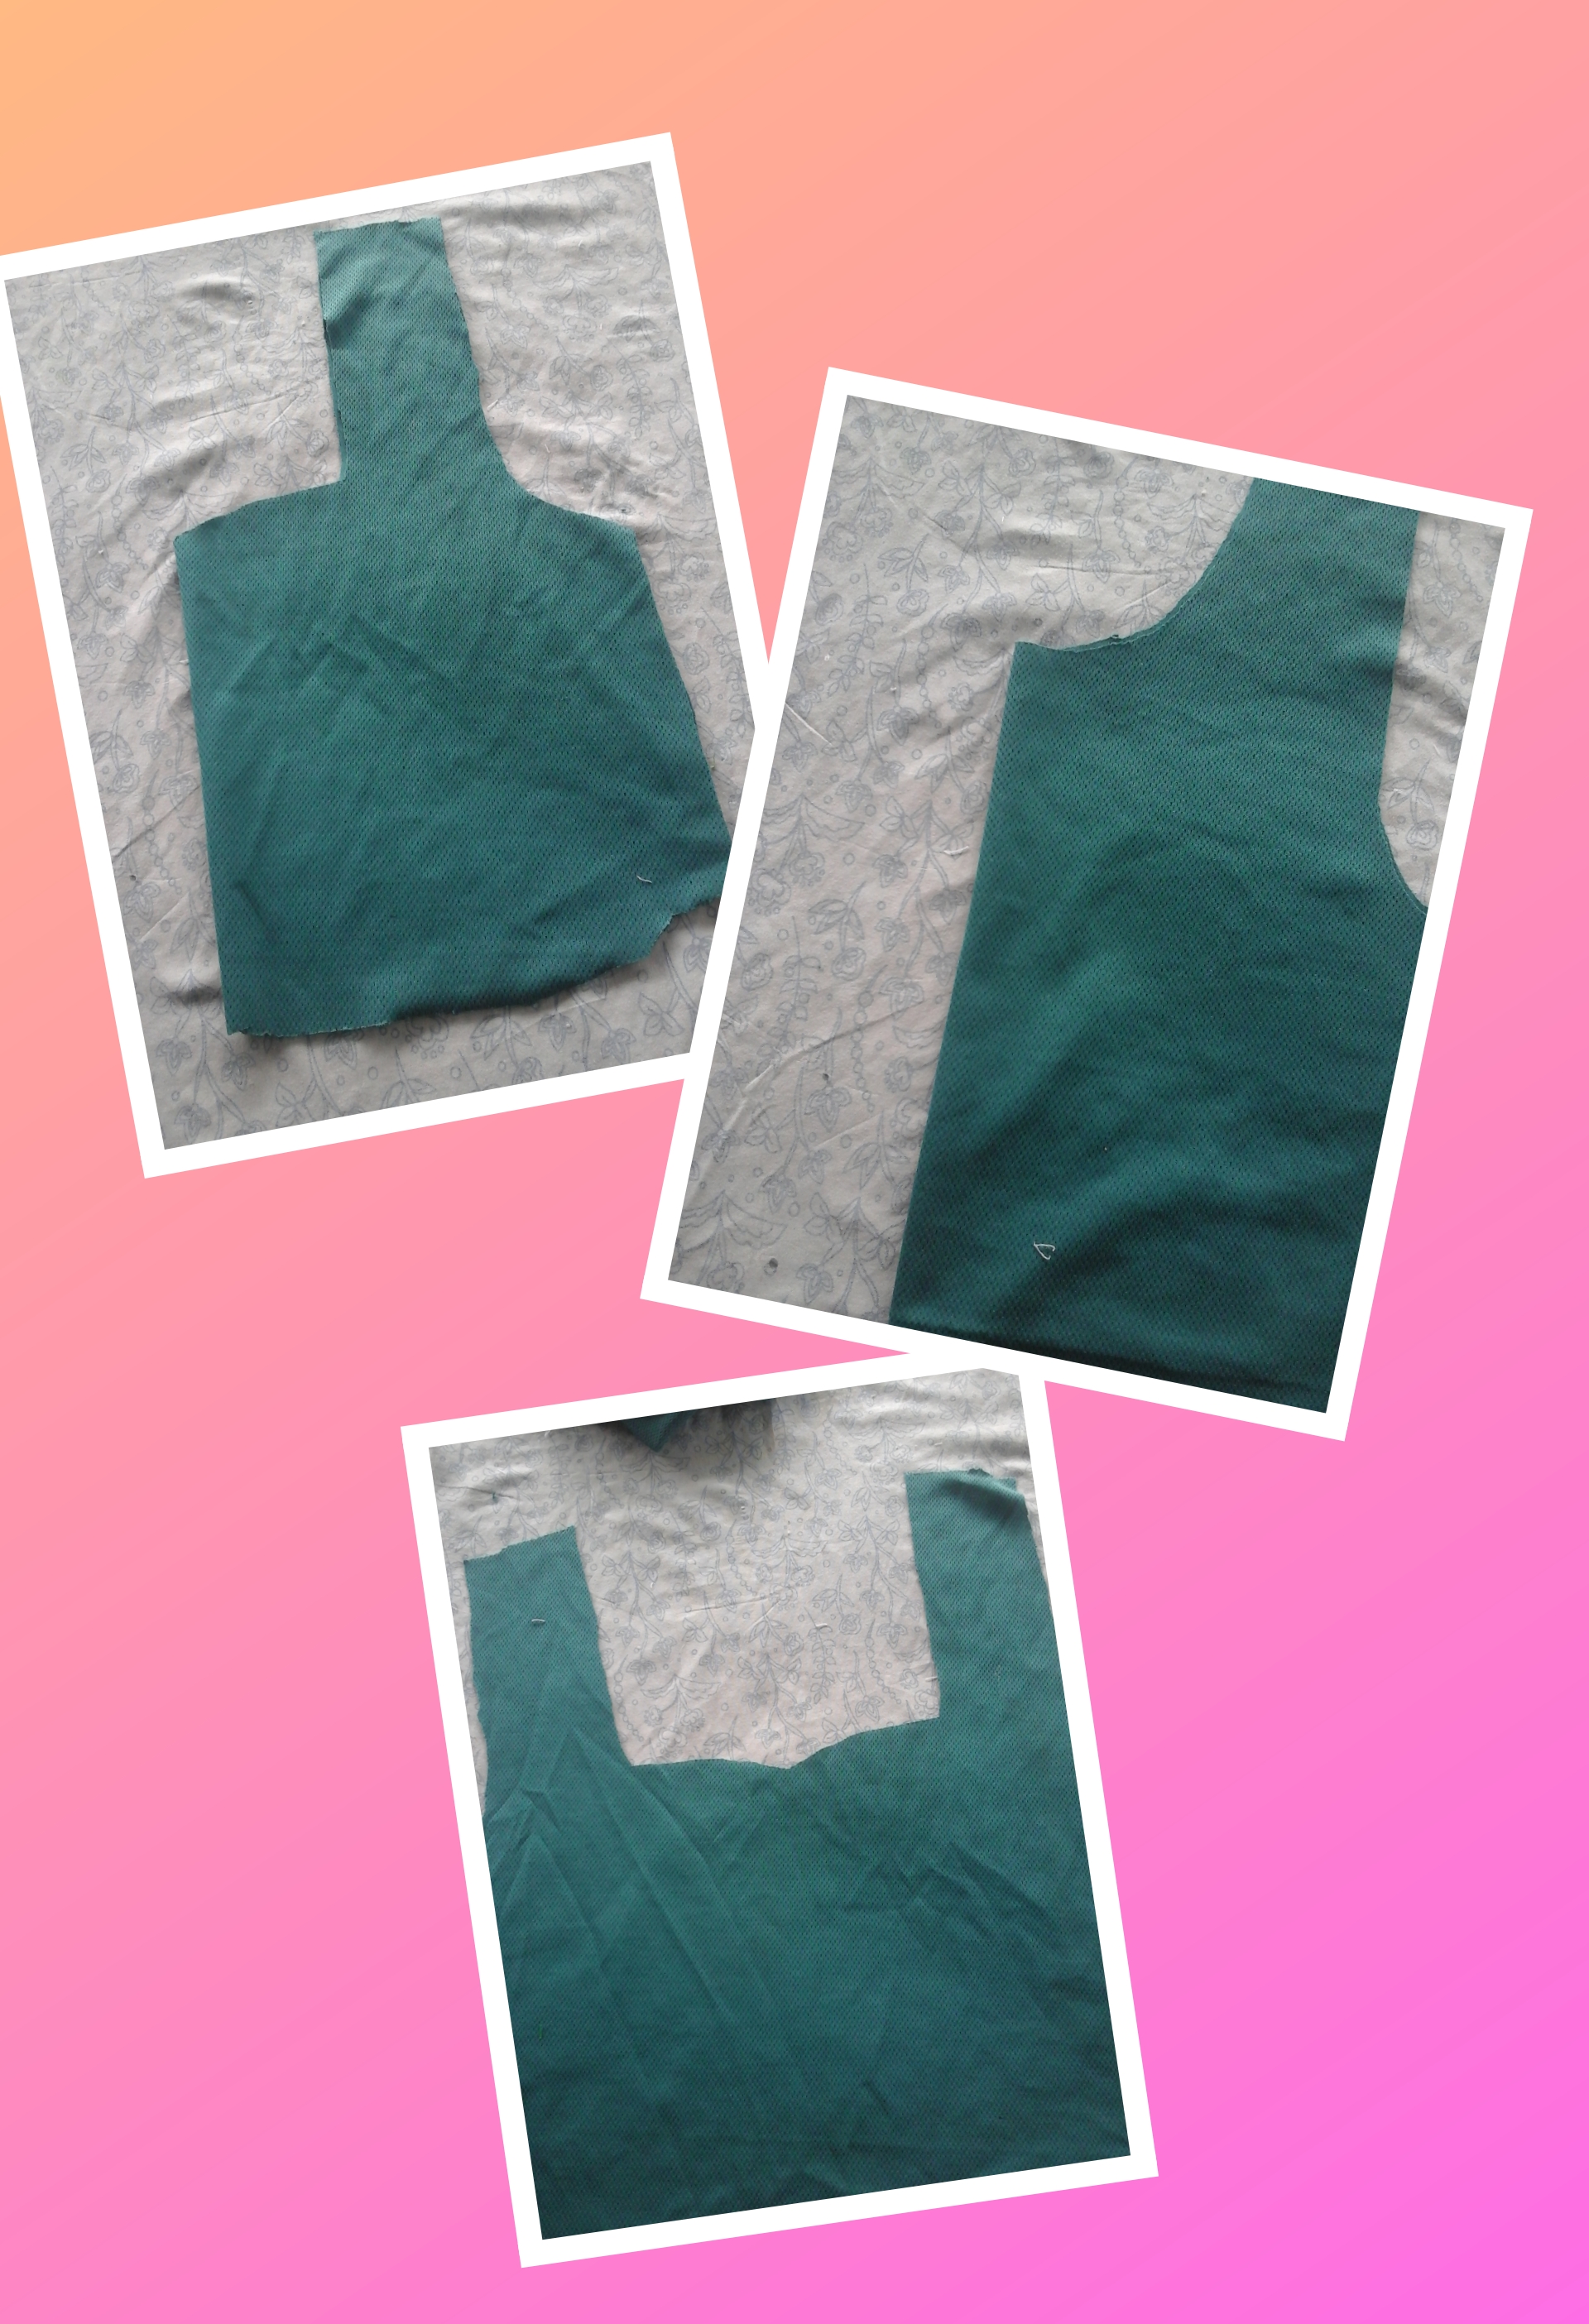
Refuerzos cortos, para top con mangas.
Short gussets, for top with sleeves.
Refuerzos hasta el busto para top sin mangas.
Reinforcements up to the bust for sleeveless top.
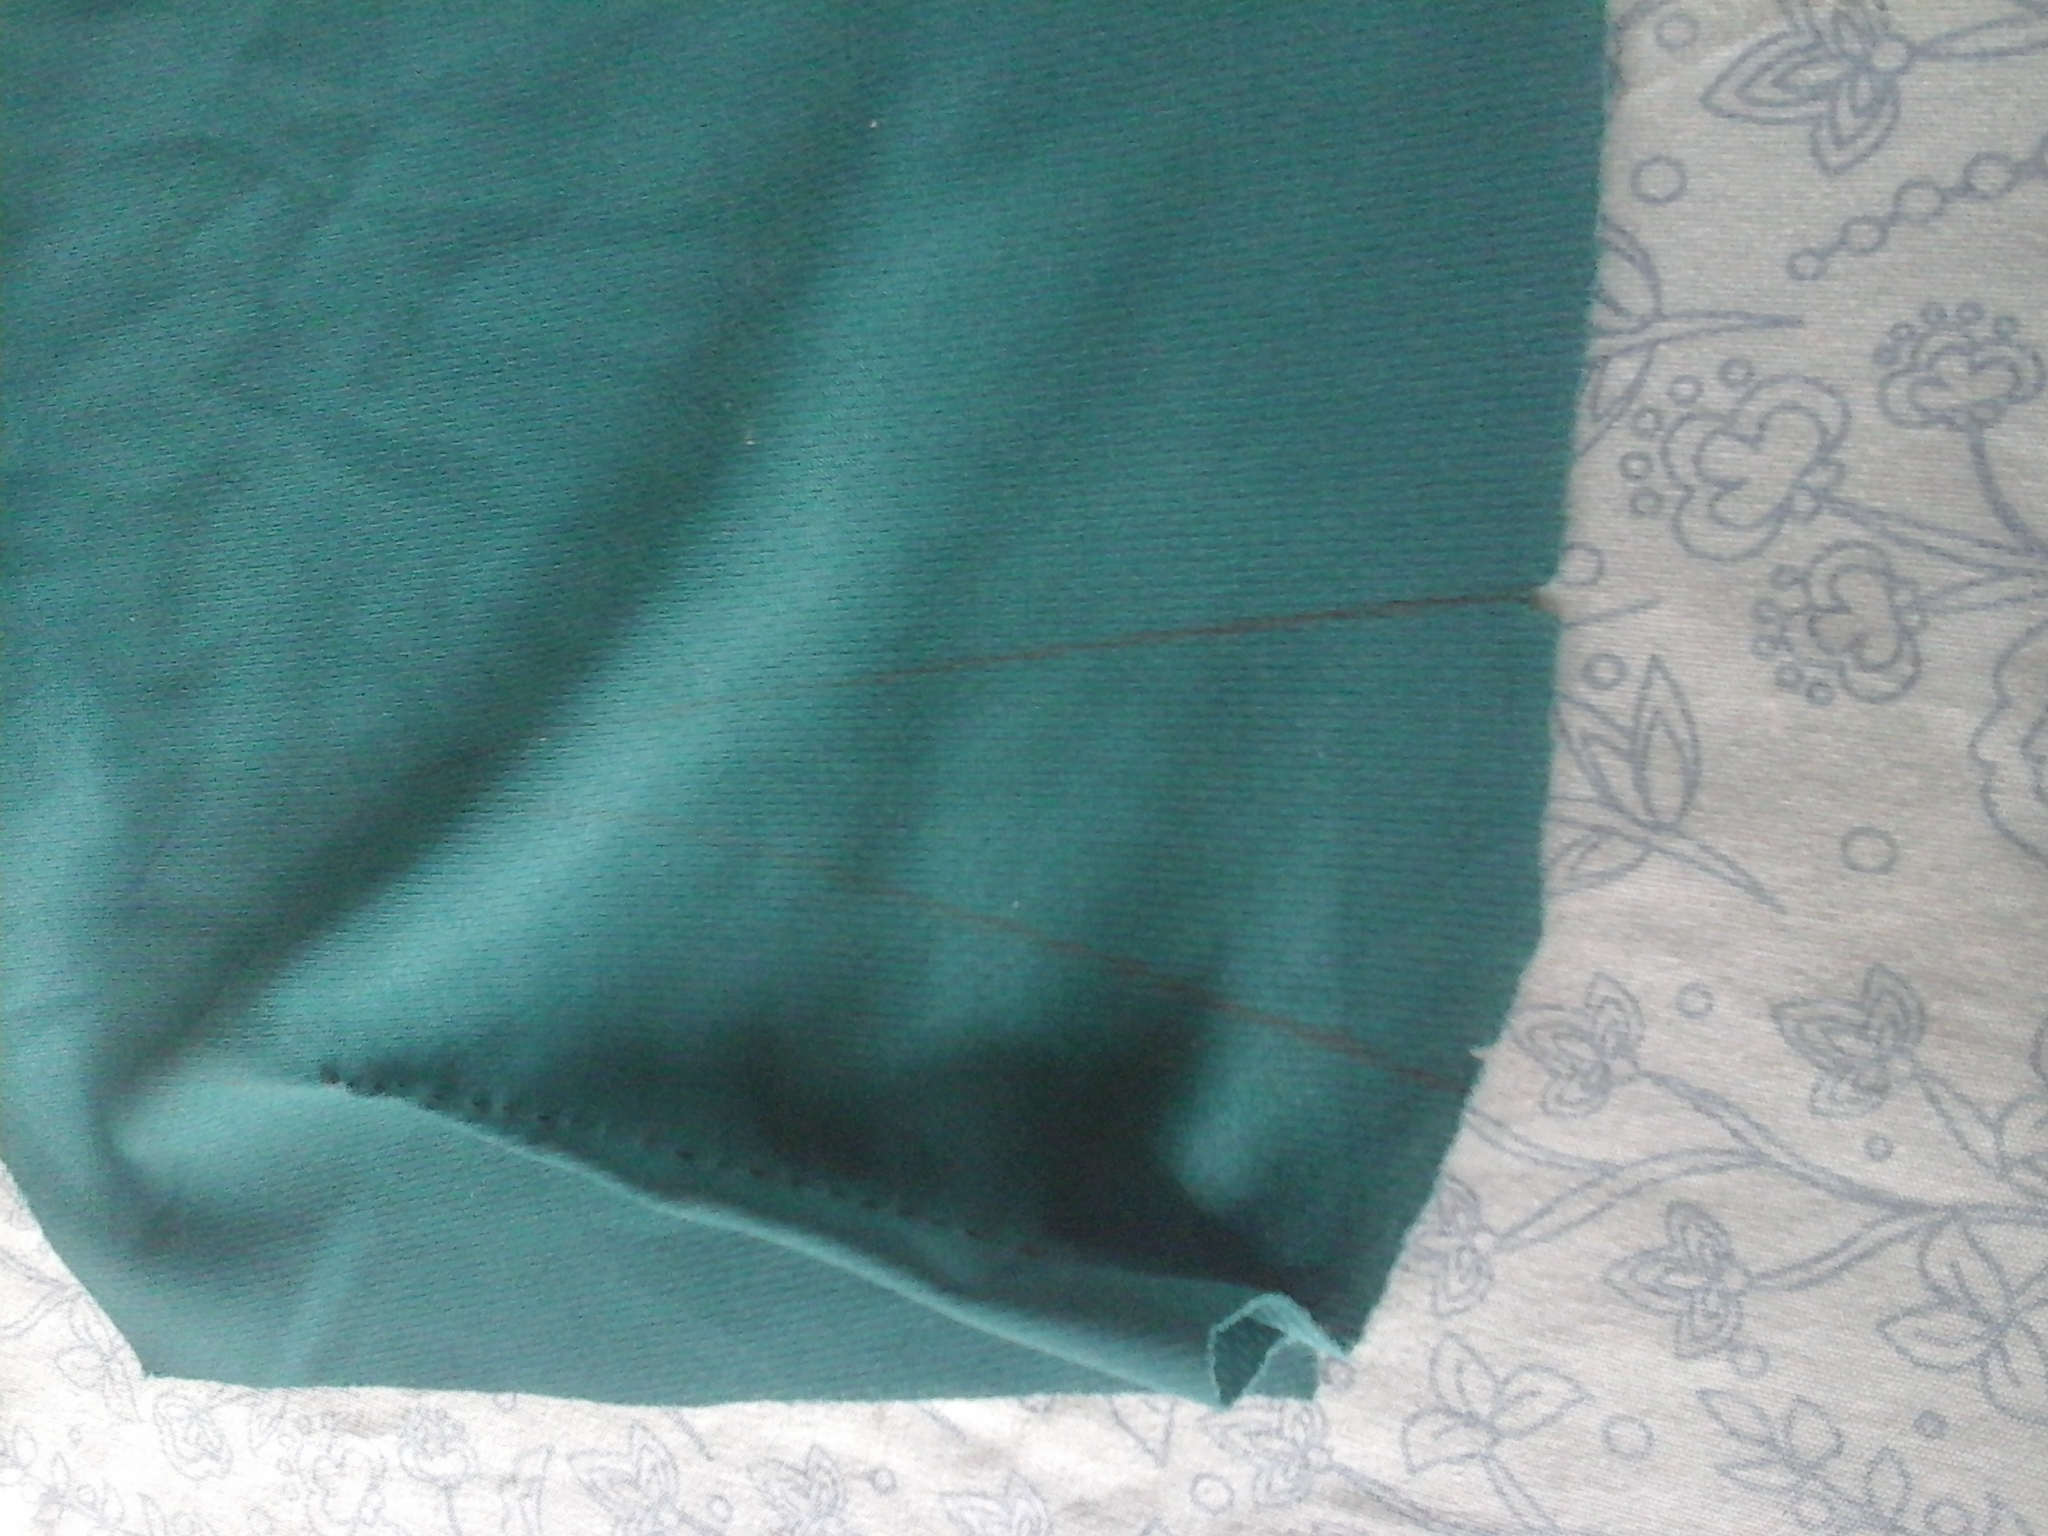
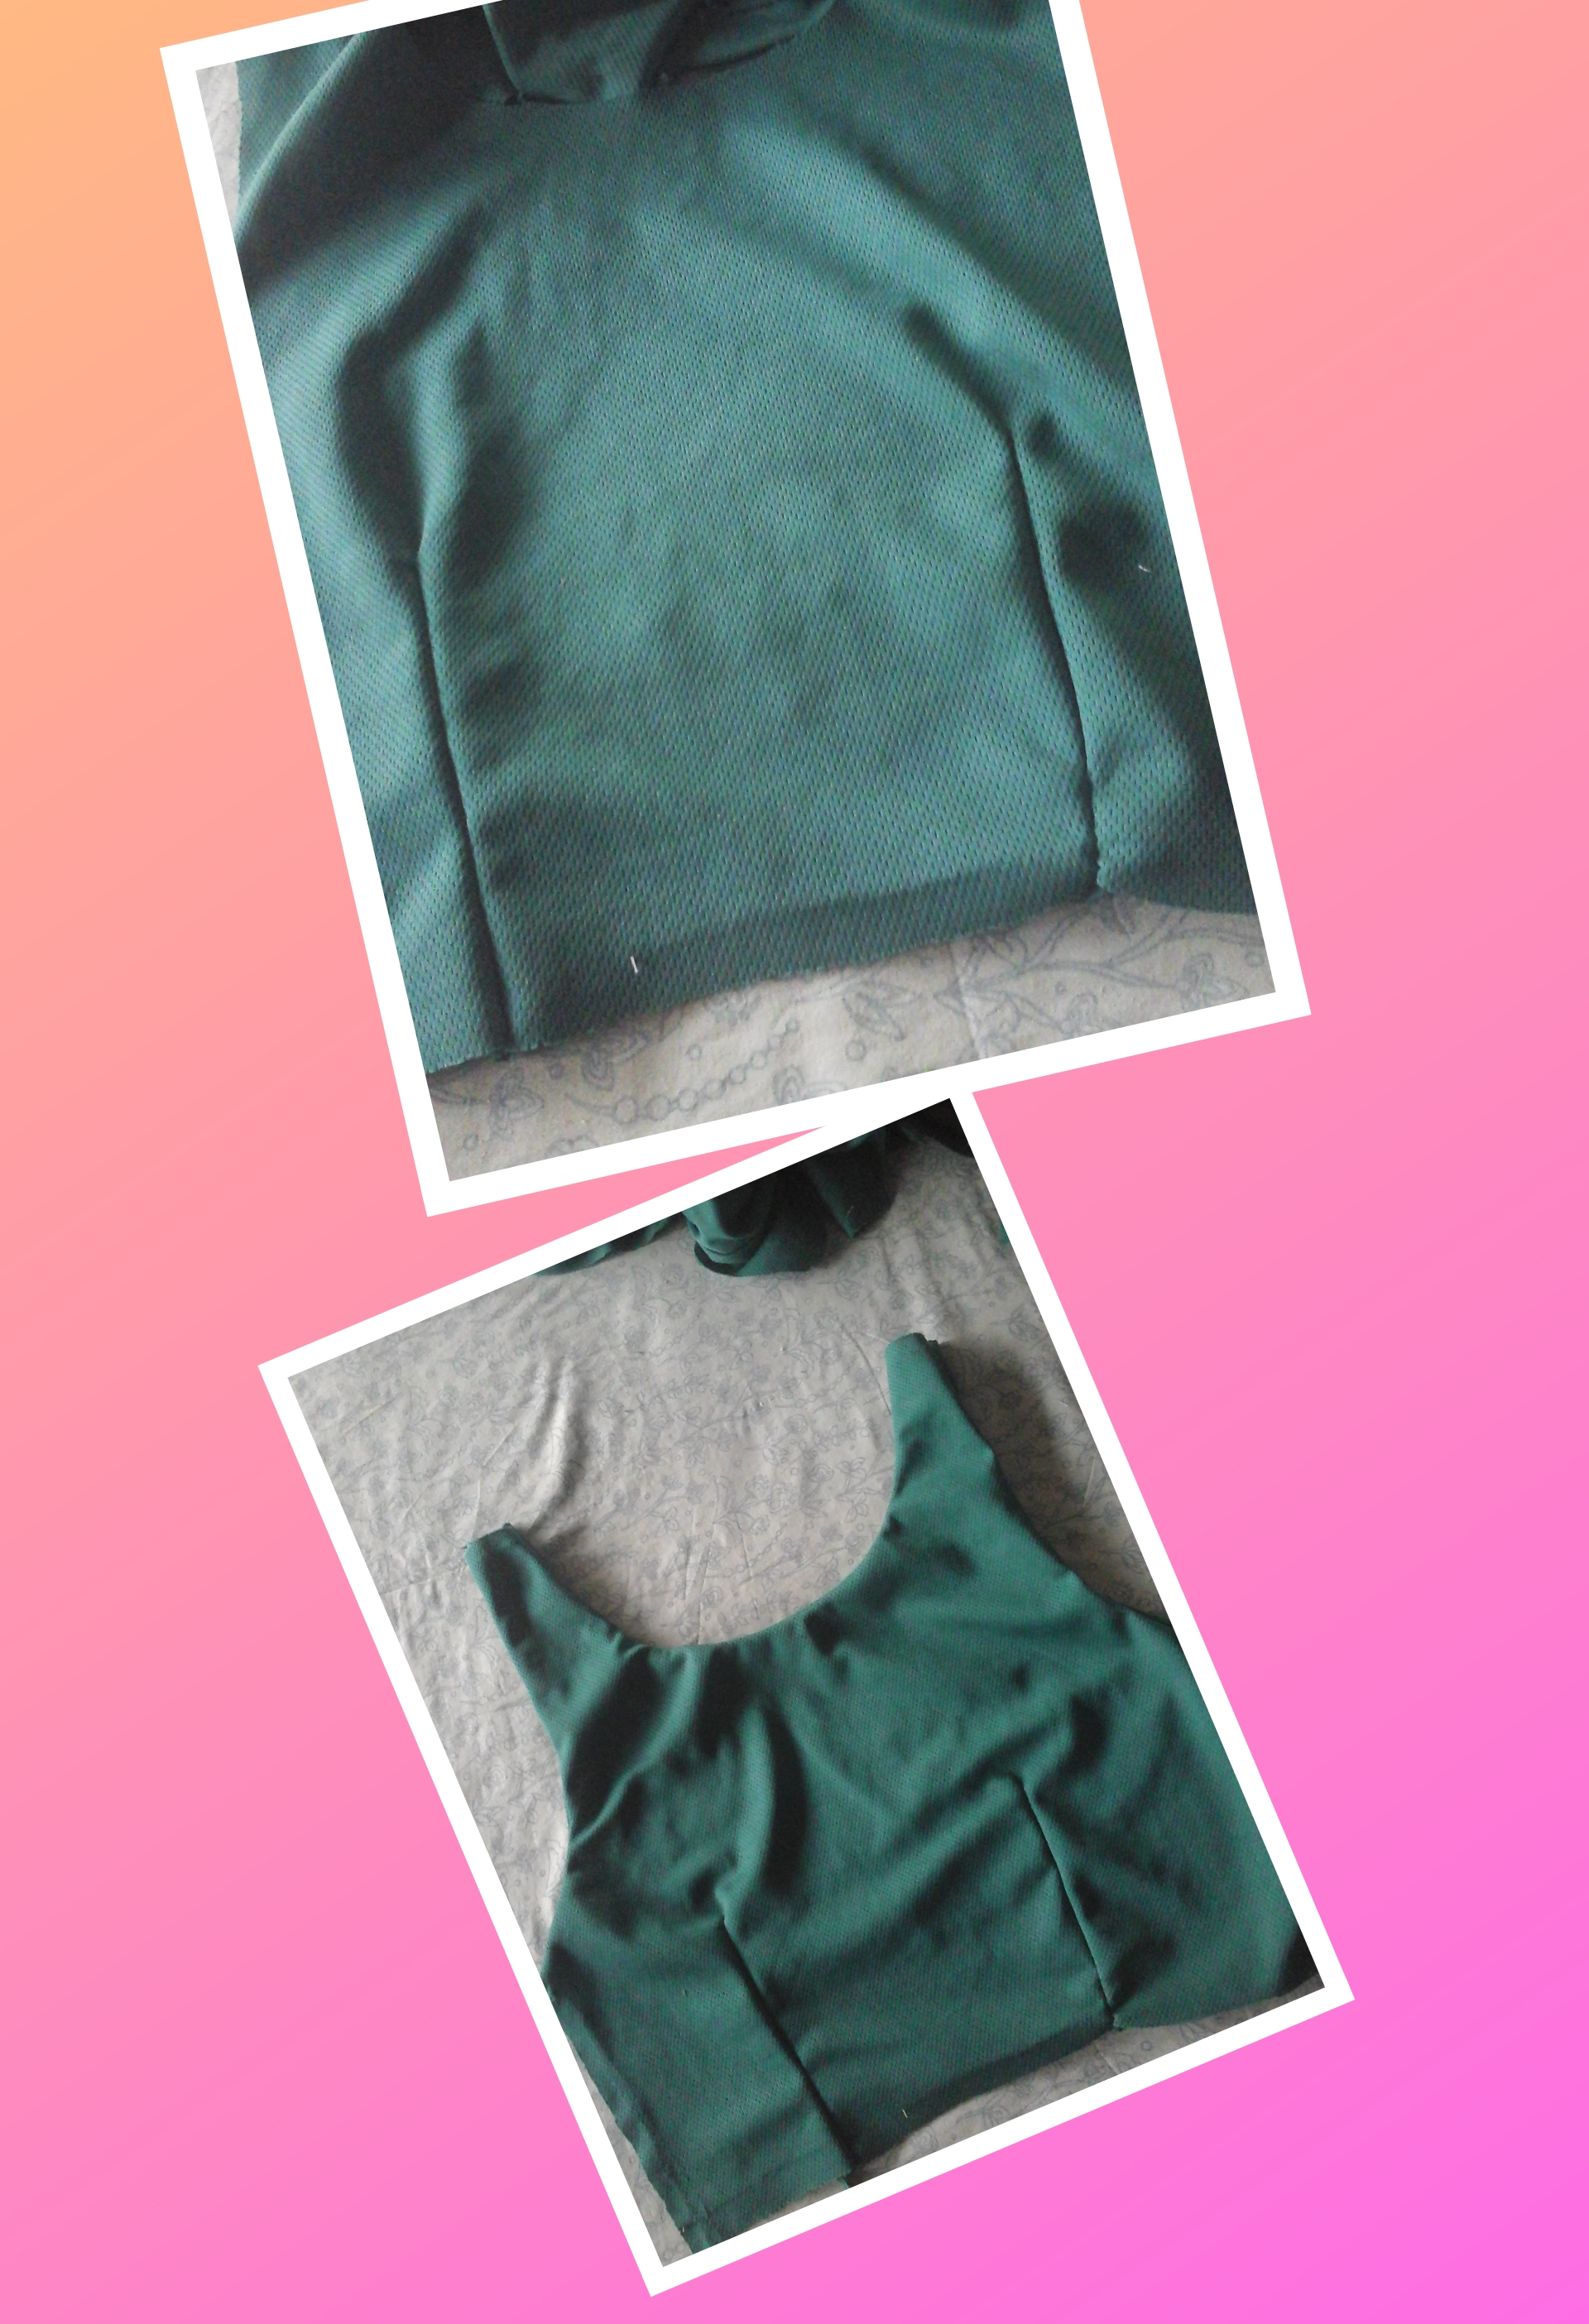
Paso 3.
Como pueden observar yo opte por el primer diseño que les mostre anteriormente. Seguidamente les muestro las pinzas correctivas de la parte delantera. También hice unos pequeños piquetes con la tijera en cada línea para guiarme, ahora unimos piquete con piquete y cosemos con pespunte.
Step 3.
As you can see, I opted for the first design that I showed you previously. Next I show you the corrective clips on the front. I also made some small notches with the scissors on each line to guide me, now we join notch with notch and sew with backstitch.
Paso 4.
Continuamos con la confección, vamos a colocar el refuerzo de la parte delantera, colocamos frente con frente y hacemos pespunte.
Step 4.
We continue with the preparation, we are going to place the reinforcement on the front part, place it face to face and topstitch.
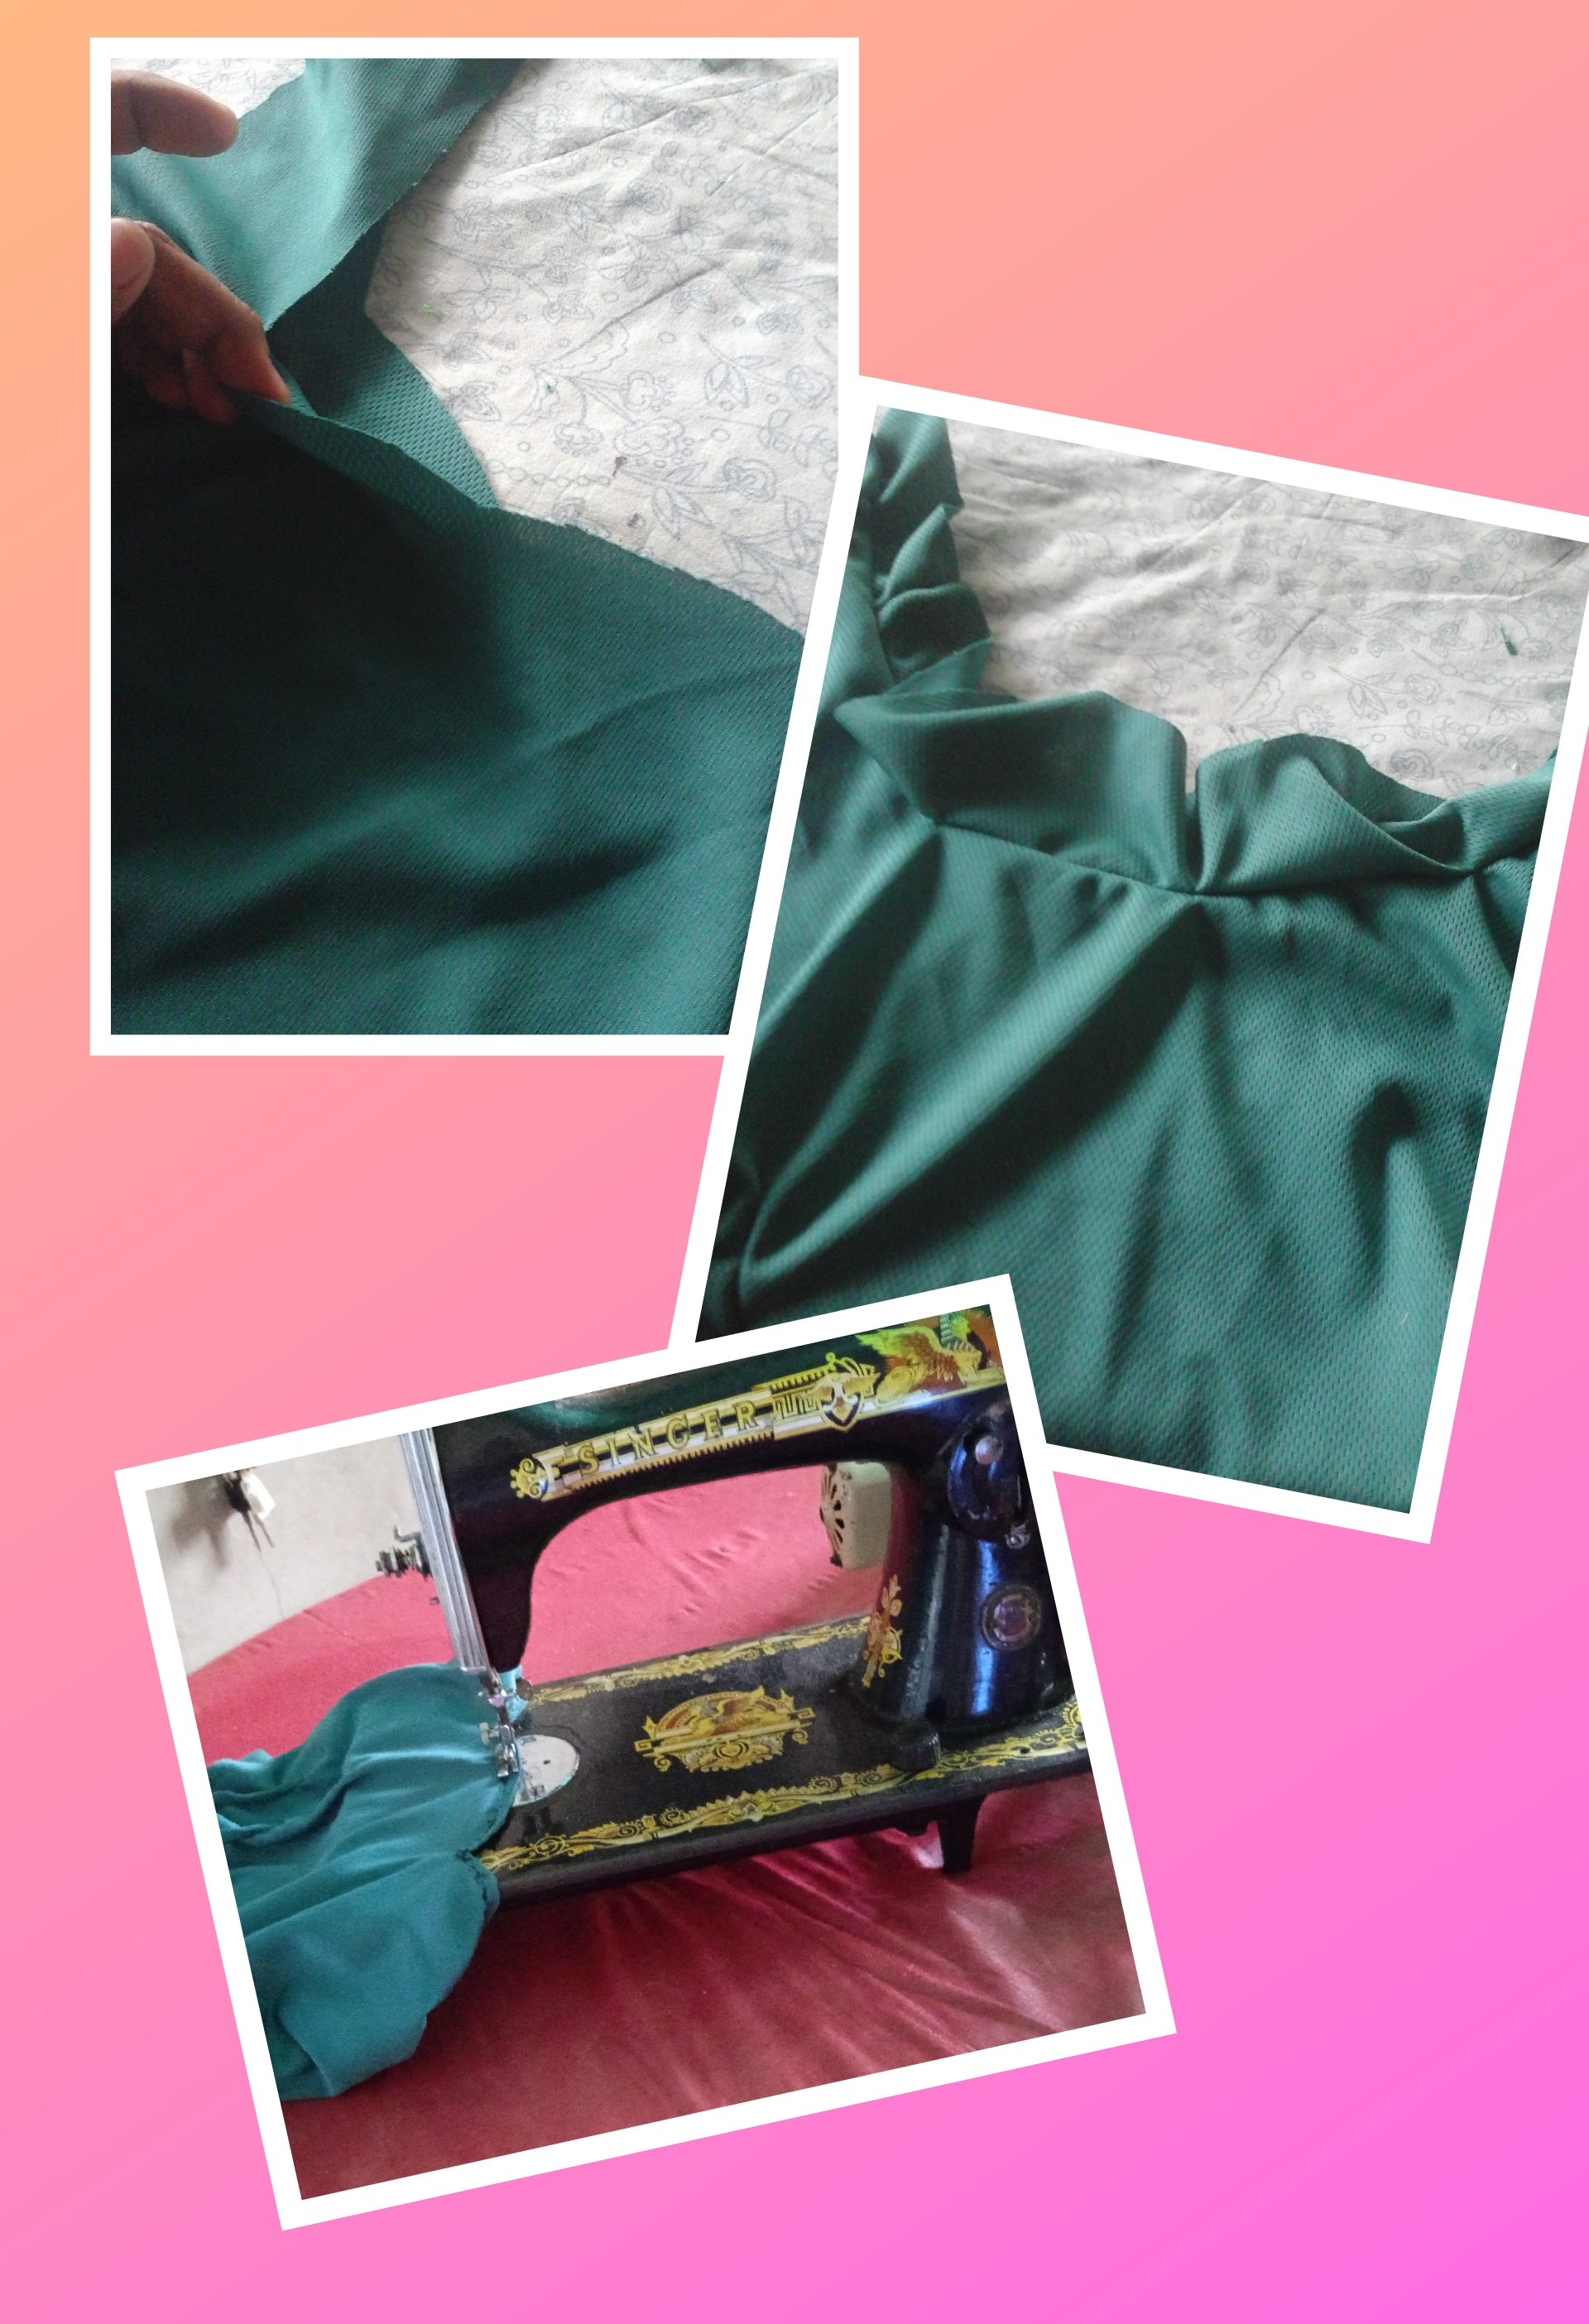
Paso 5.
Ahora vamos a coser el refuerzo de la espalda y al terminar volteamos por la parte derecha y no olvidemos coser las pinzas, puedes hacer cuatro pinzas o simplemente dos como este.
Step 5.
Now we are going to sew the back reinforcement and when finished we turn to the right side and don't forget to sew the darts, you can make four darts or just two like this.
Paso 6.
Aqui les muestro la parte delantera y espalda, ahora unimos por los hombros y costados.
Step 6.
Here I show you the front and back, now we join the shoulders and sides.
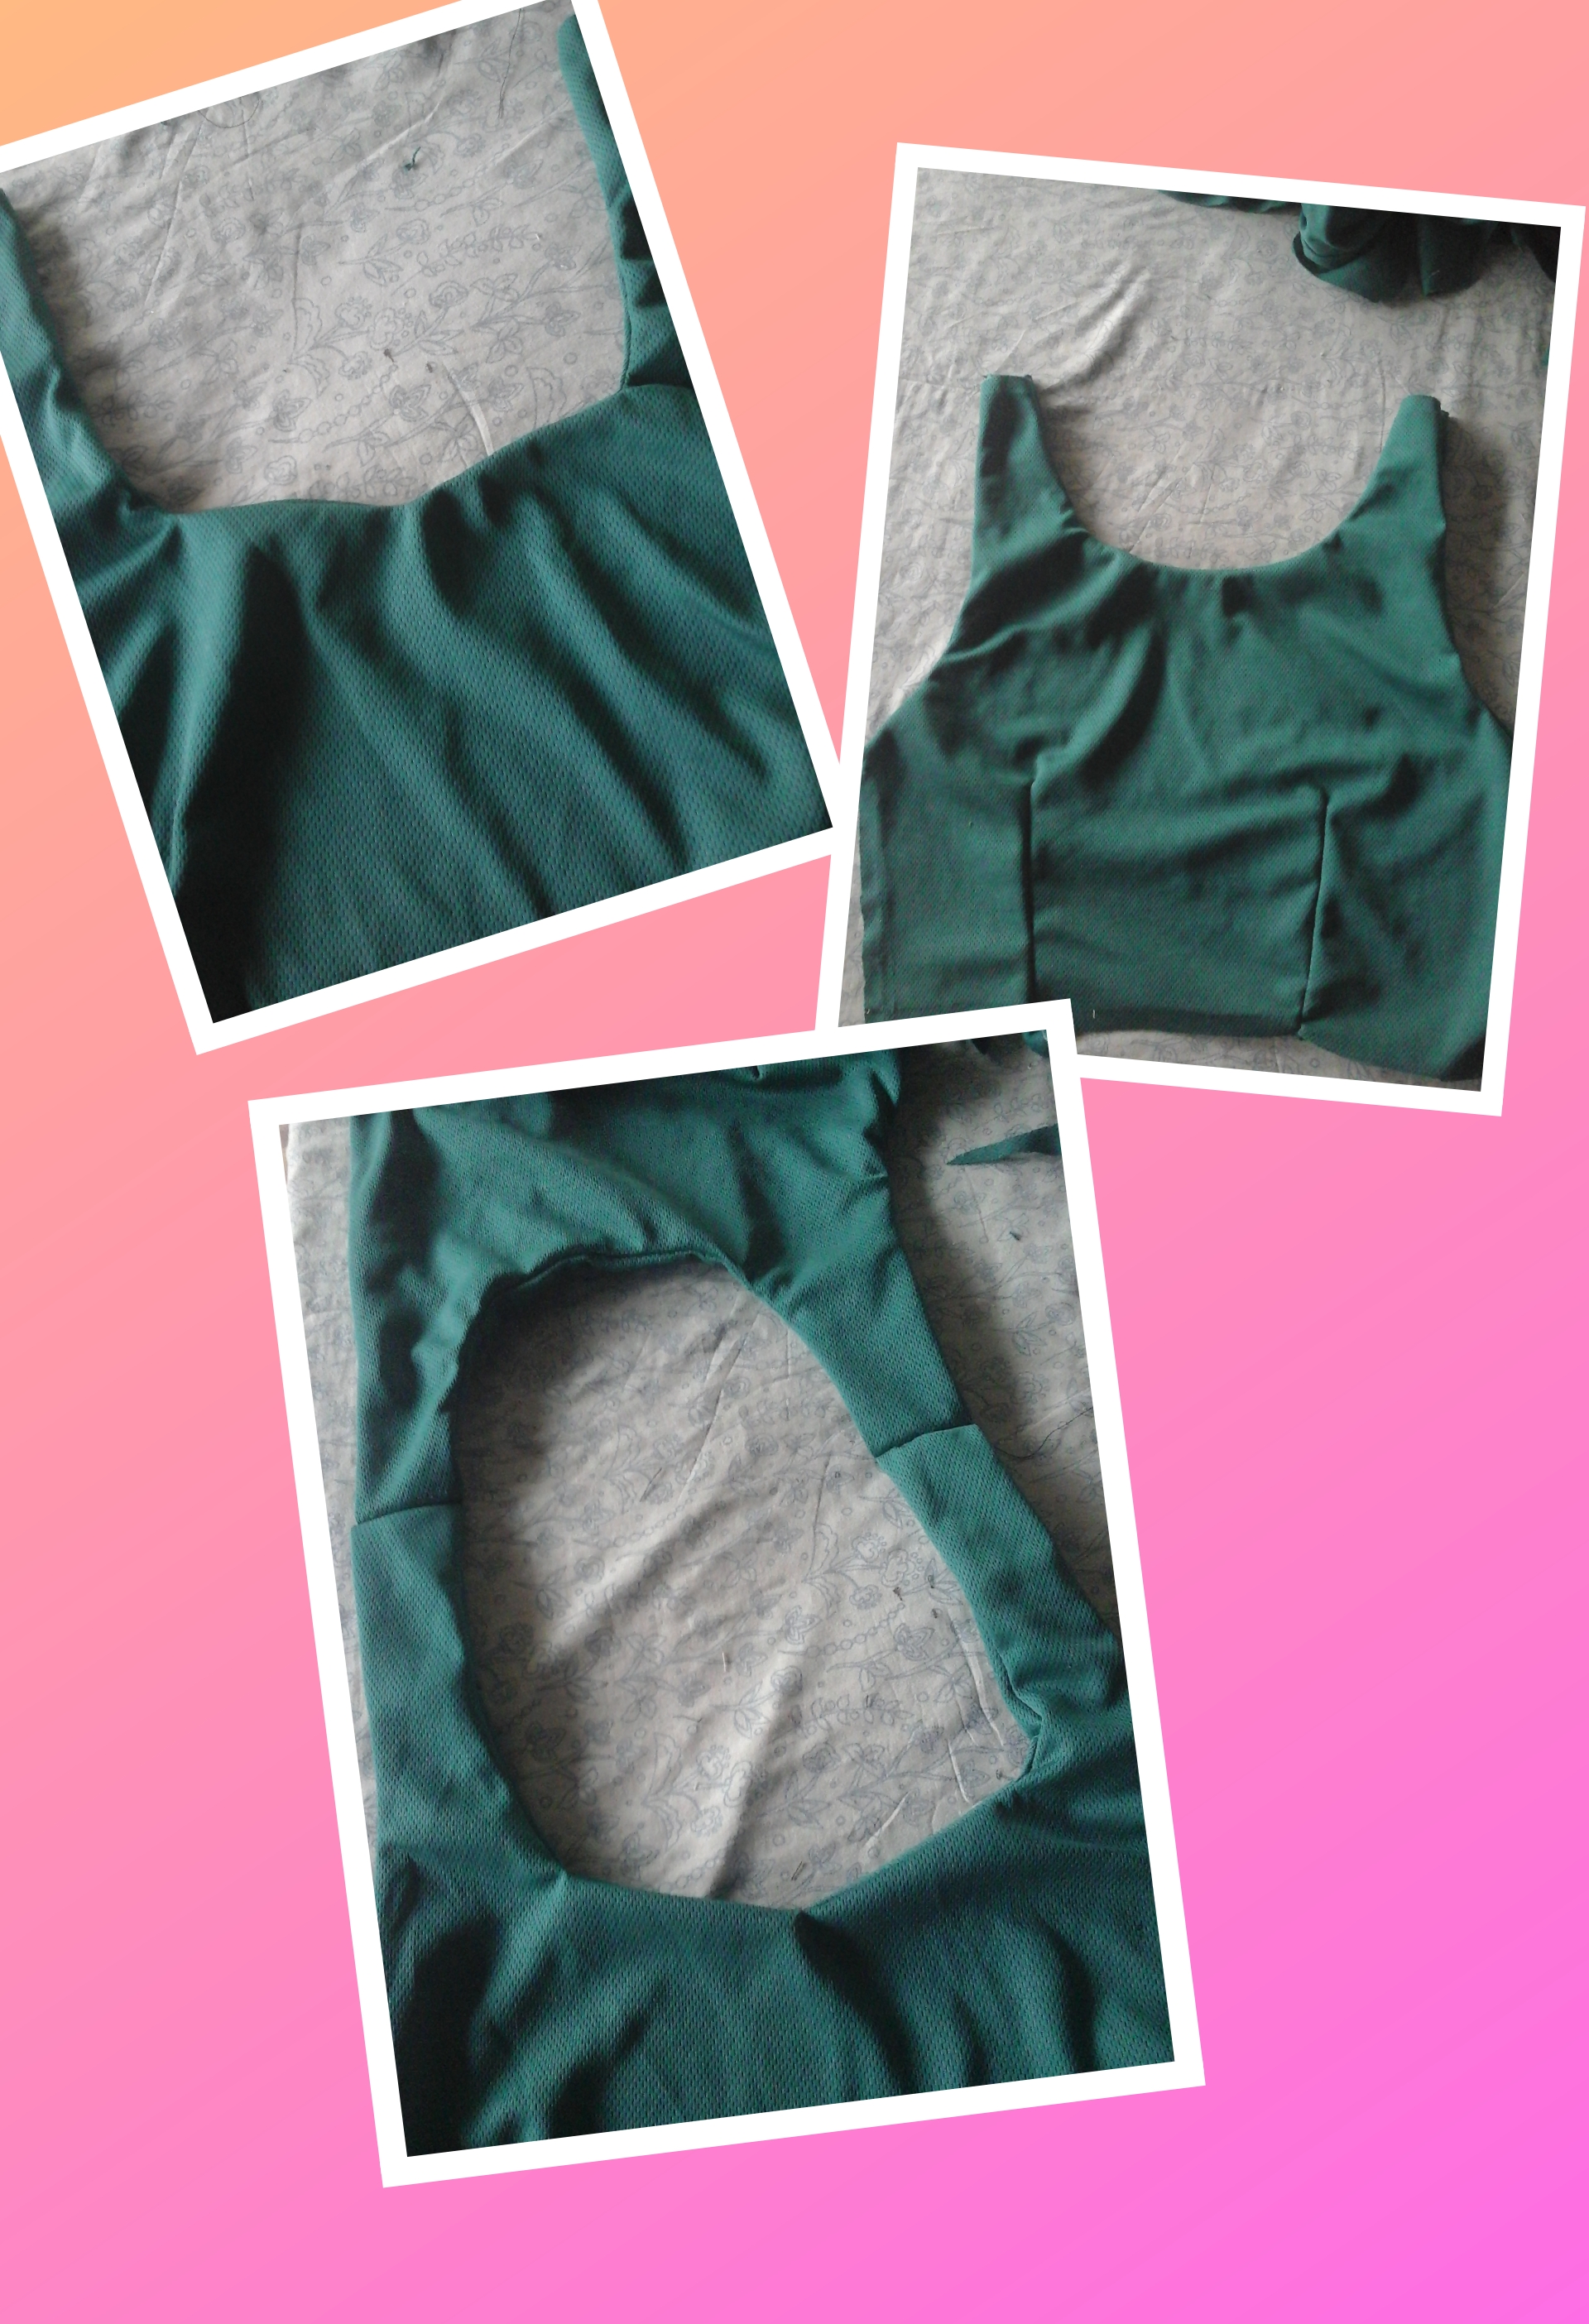
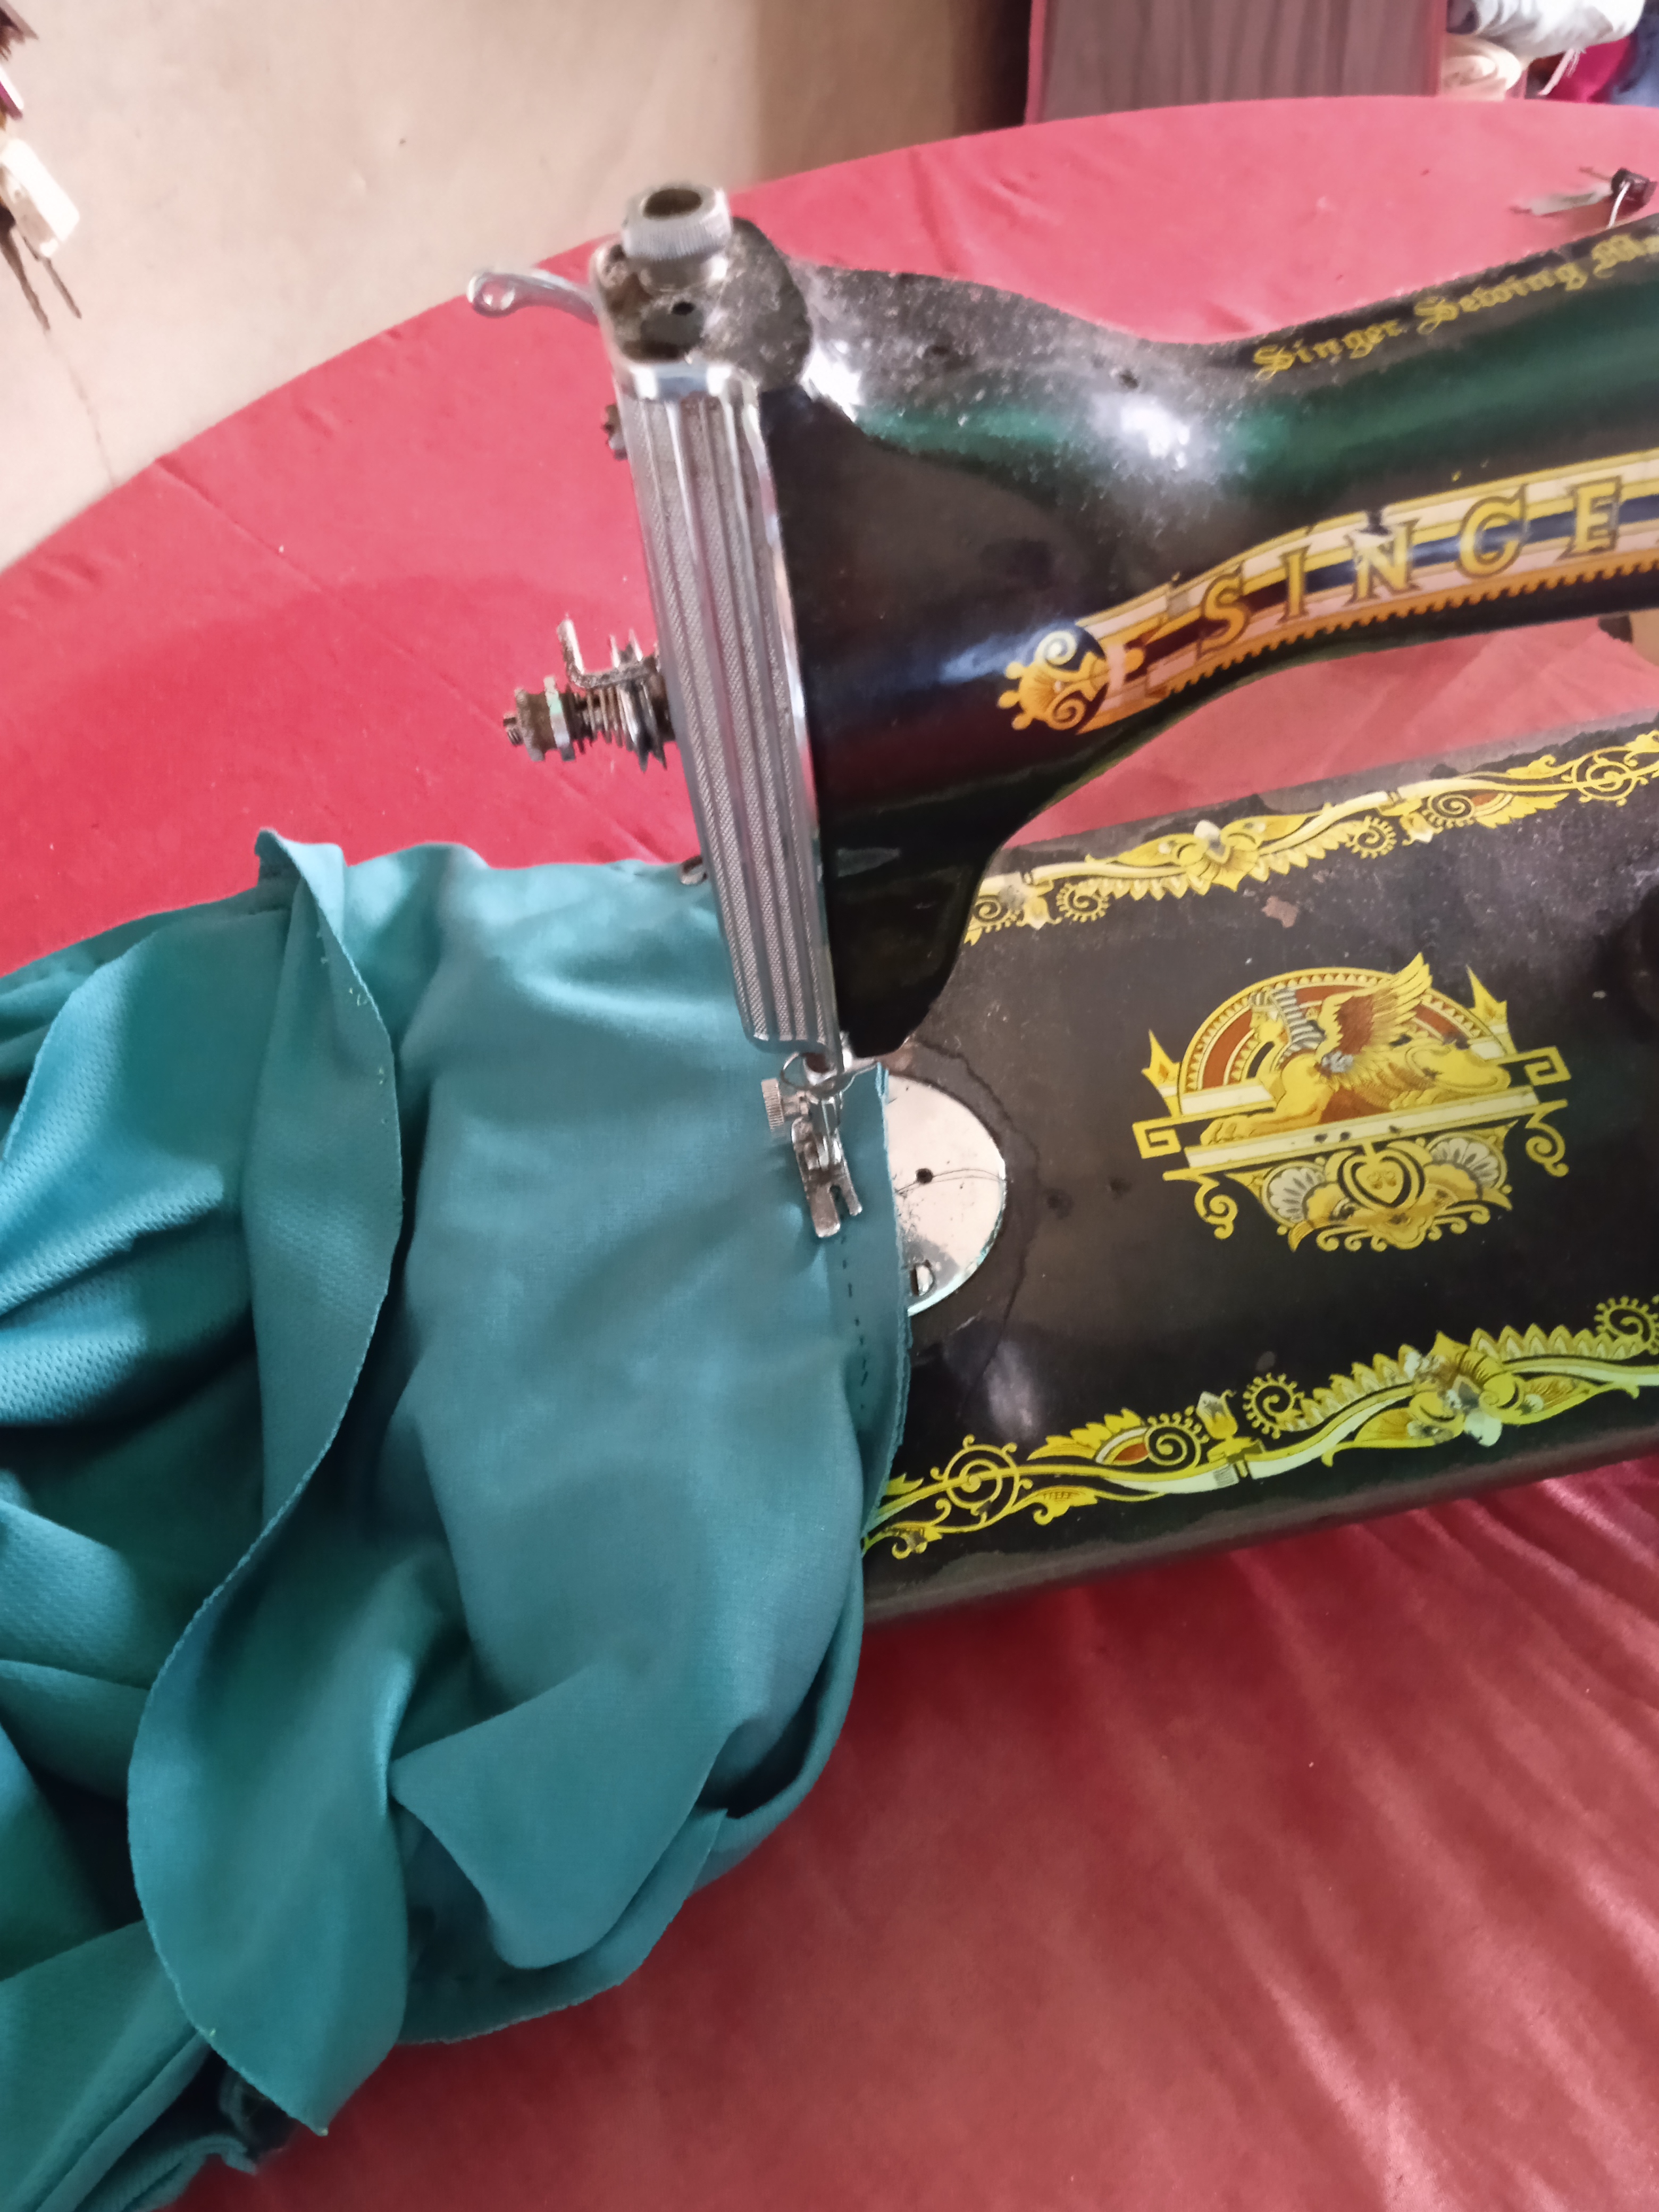
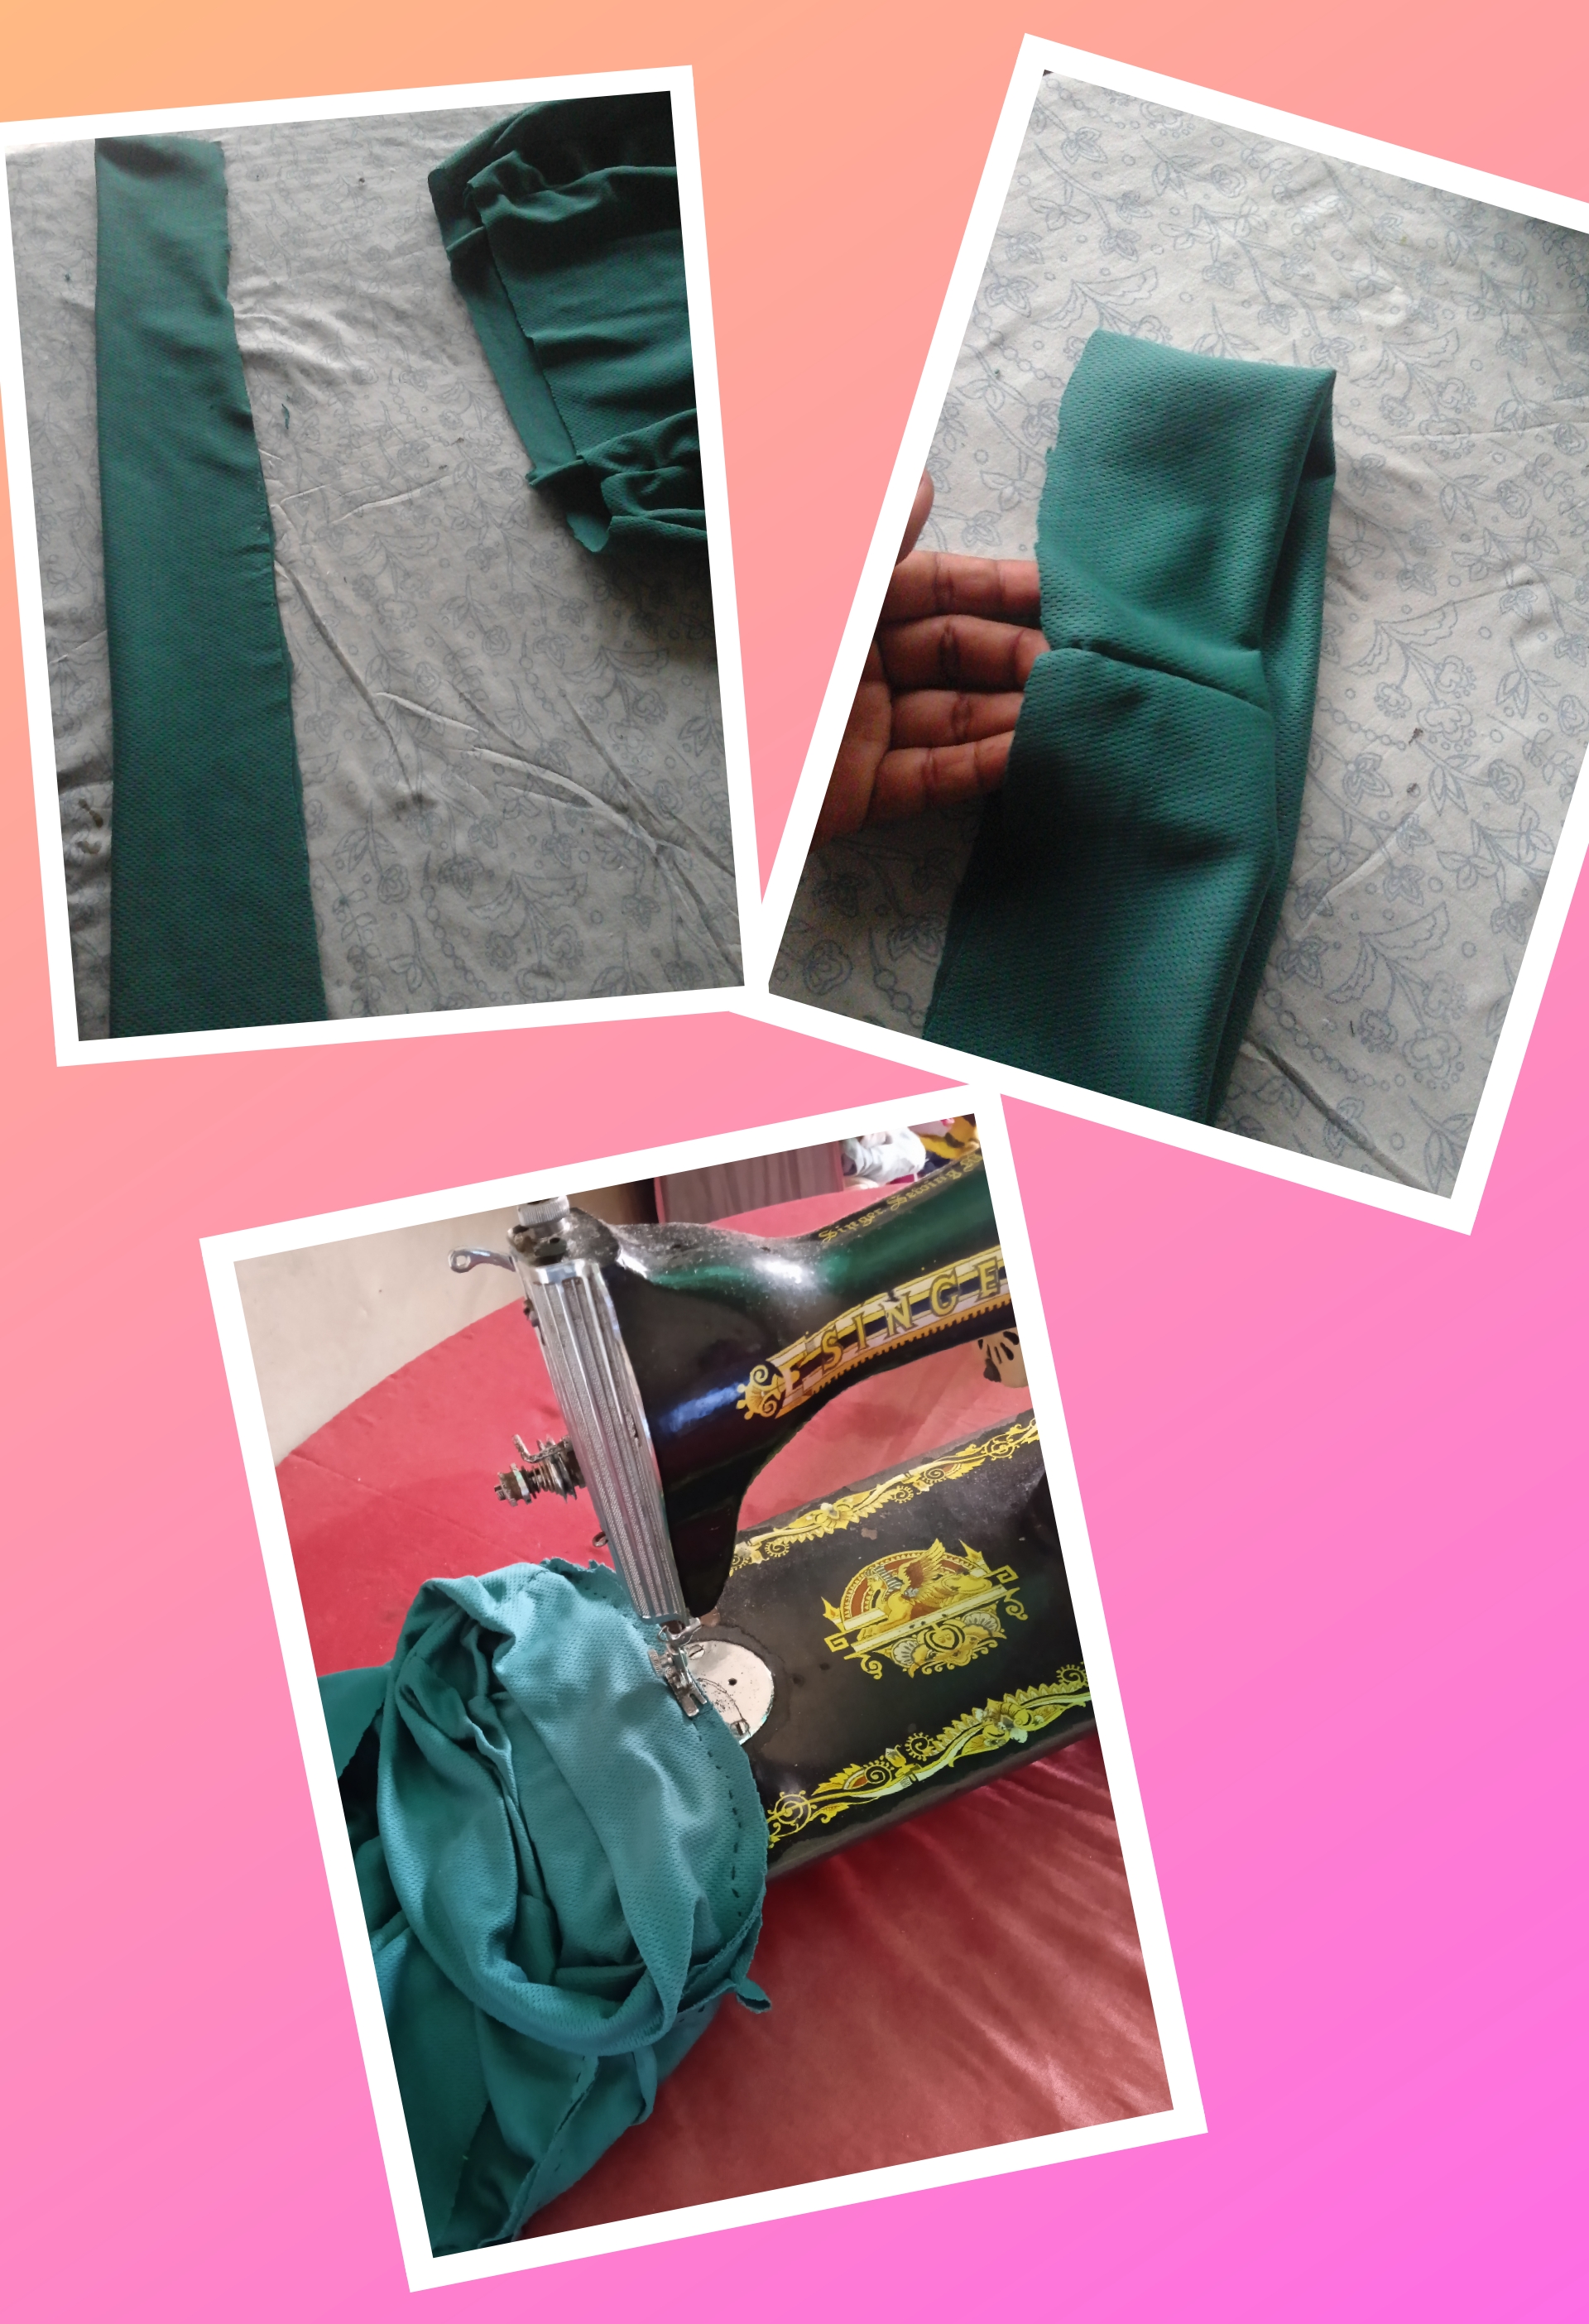
Paso 7.
Ahora solo nos queda coser la parte inferior así que, recortamos una tira de aproximadamente 7cm x 25cm, cosemos los extremos y finalmente cosemos en la parte inferior del top. No olvidemos planchar con mucho cuidado la prenda ya terminada.
Step 7.
Now we only have to sew the bottom part so, we cut a strip of approximately 7cm x 25cm, sew the ends and finally sew on the bottom part of the top. Let's not forget to iron the finished garment very carefully.
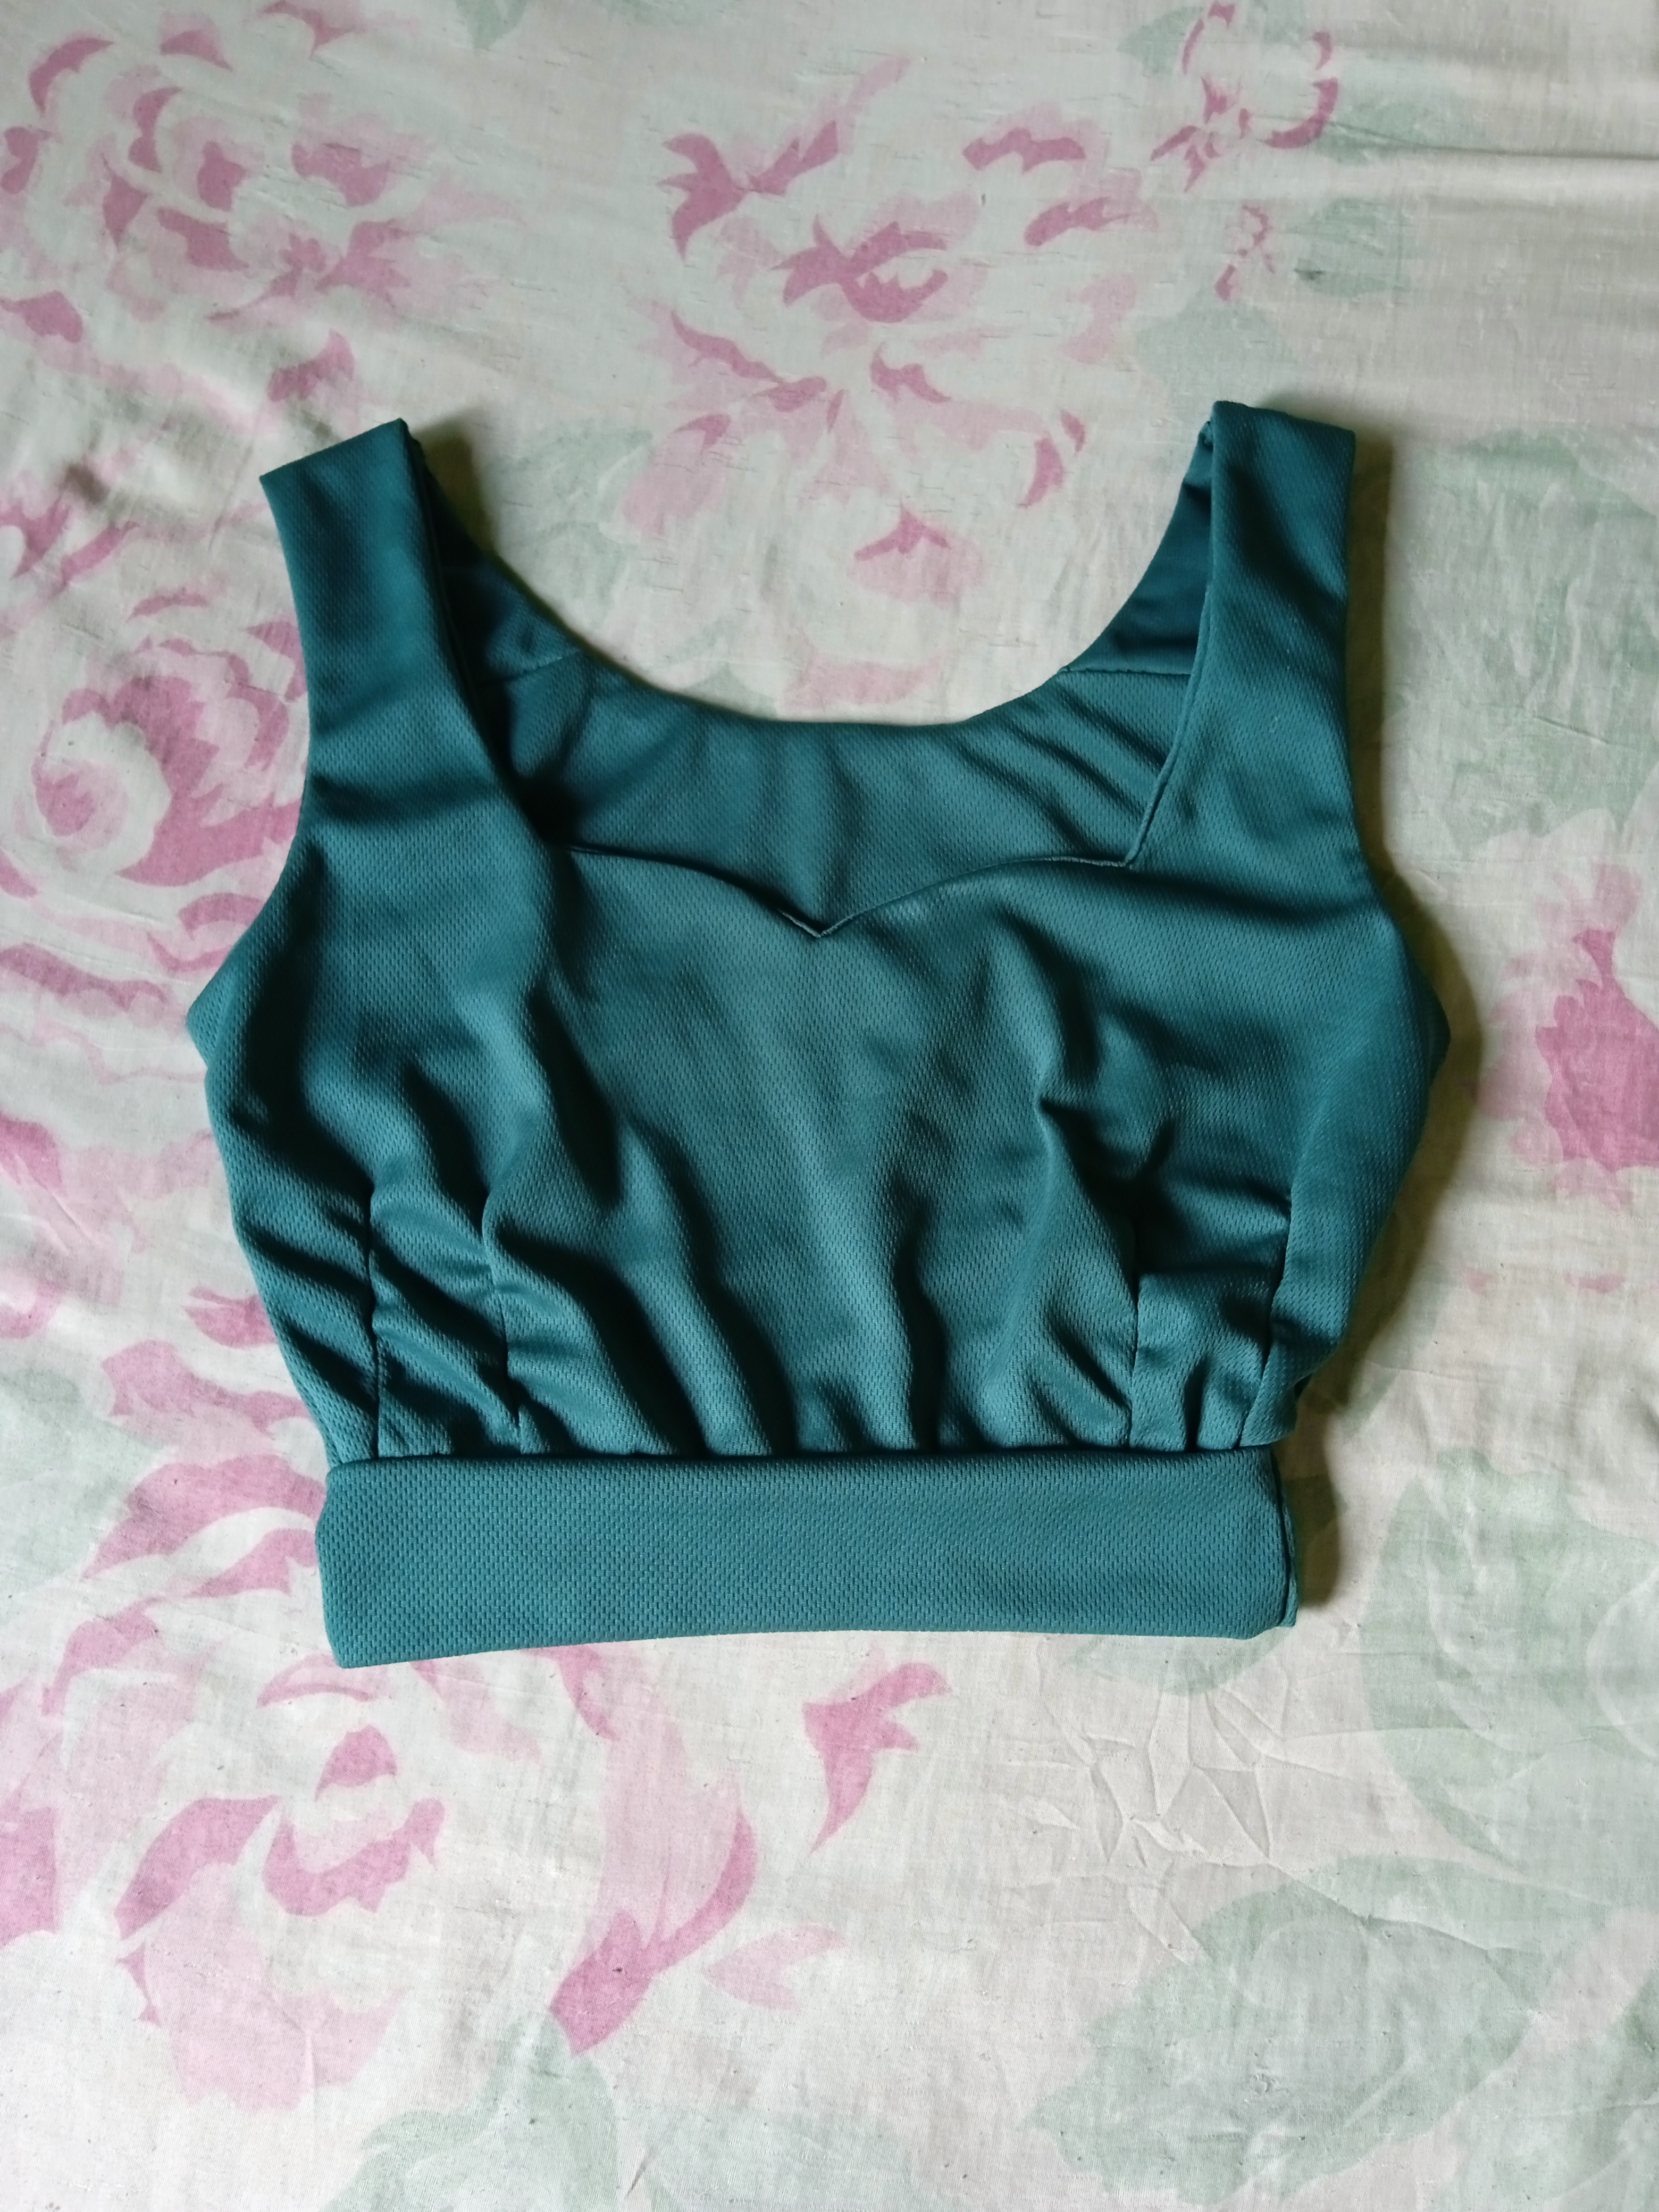
Finalmente tenemos como resultado este precioso y coqueto top con escote corazón, espero les guste mucho como a mi, Disfrutenlo.
Finally we have as a result this beautiful and flirty top with a sweetheart neckline, I hope you like it as much as I do, Enjoy it.
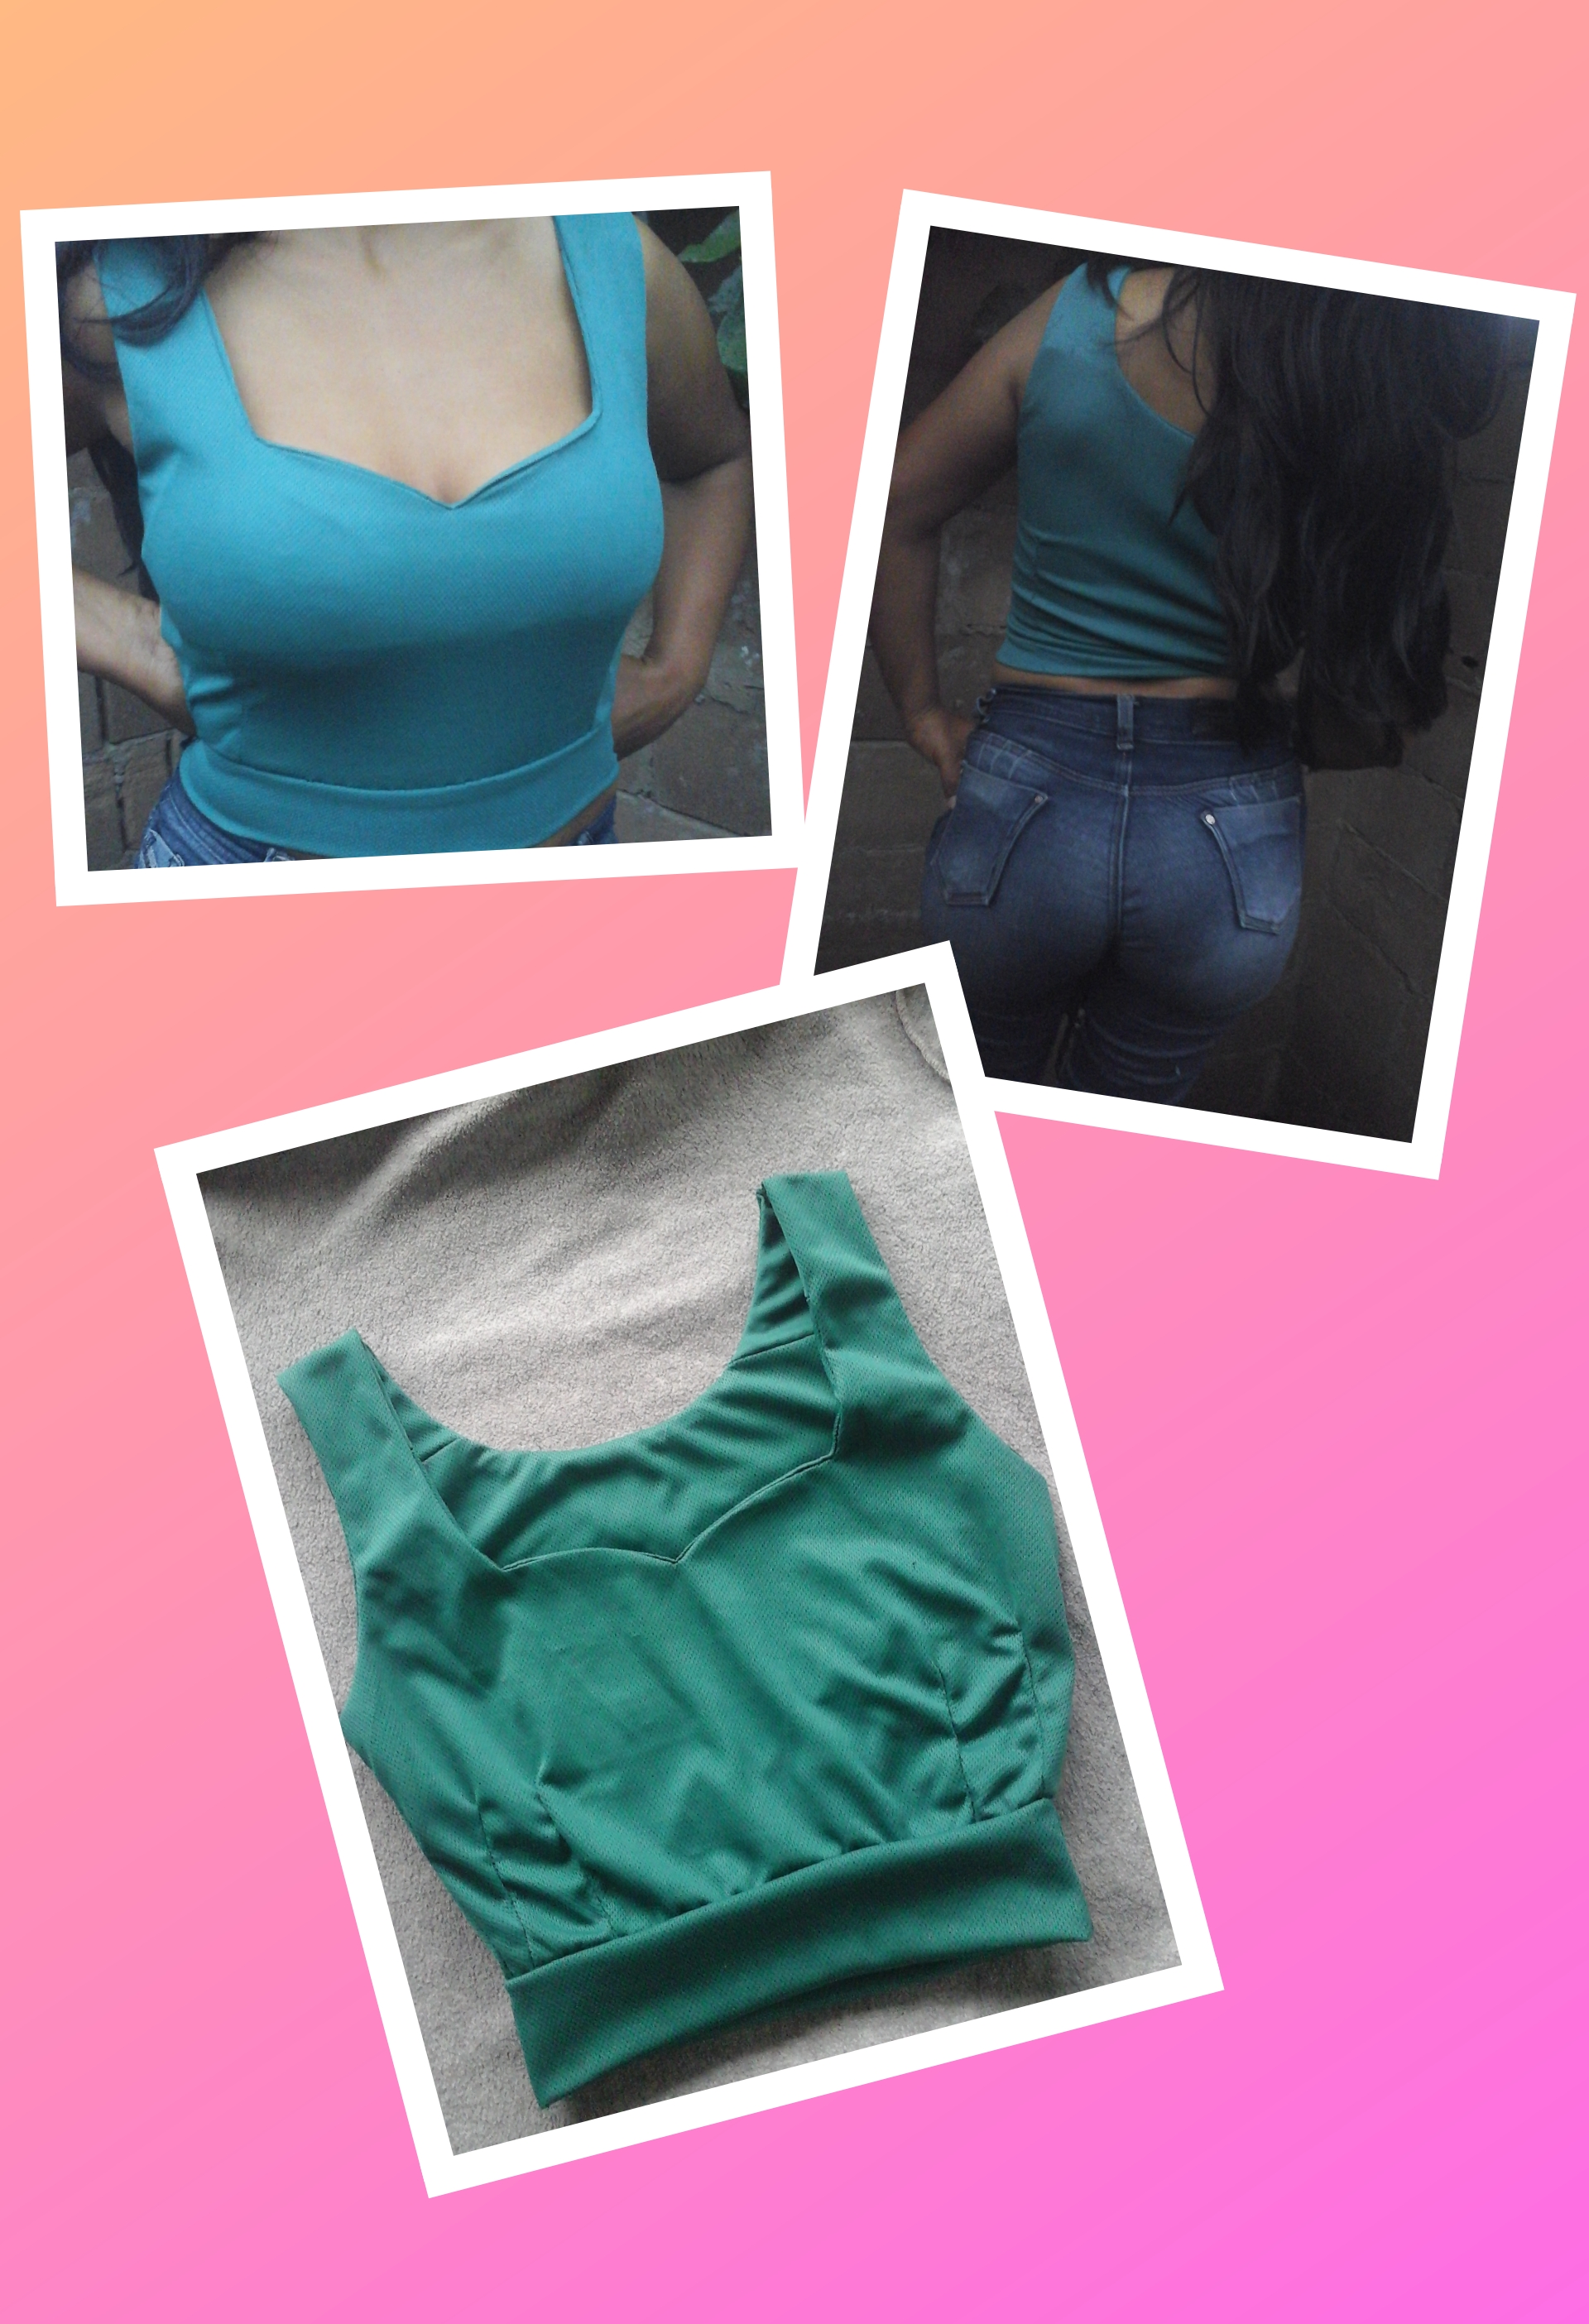
Amigos encantada de compartir esta hermosa confección con todos, siempre es satisfactorio poder mostrarles cada proyecto por que lo hago con mucho cariño para todos. Sin más, les deseo lo mejor en este precioso día, pasenla bien y disfruten cada momento. Se les quiere😙
Friends, I am delighted to share this beautiful creation with everyone, it is always satisfying to be able to show you each project, because I do it with great love for everyone. Without further ado, I wish you the best on this beautiful day, have a good time and enjoy every moment. They are loved😙

Contenido y fotos de mi autoria.
Edición: GriadArt y Photocollage.
Traductor: Google.com
Content and photos of my authorship.
Edition: GriadArt and Photocollage.
Translator: Google.com