
Buenas tardes! amigos de jewelry, en este nuevo post quise hacer un tutorial sobre un cordon hecho con mostacillas y perlitas tornasoladas para mis lentes, es un simple adorno no soy muy amiga de estos cordones pero este me gustó mucho y quizas me anime a usarlo.
Good afternoon! friends of jewelry, in this new post I wanted to make a tutorial on a cord made with beads and iridescent pearls for my glasses, it is a simple ornament, I am not a big friend of these cords but I really liked this one friends and maybe I will be encouraged to use it.
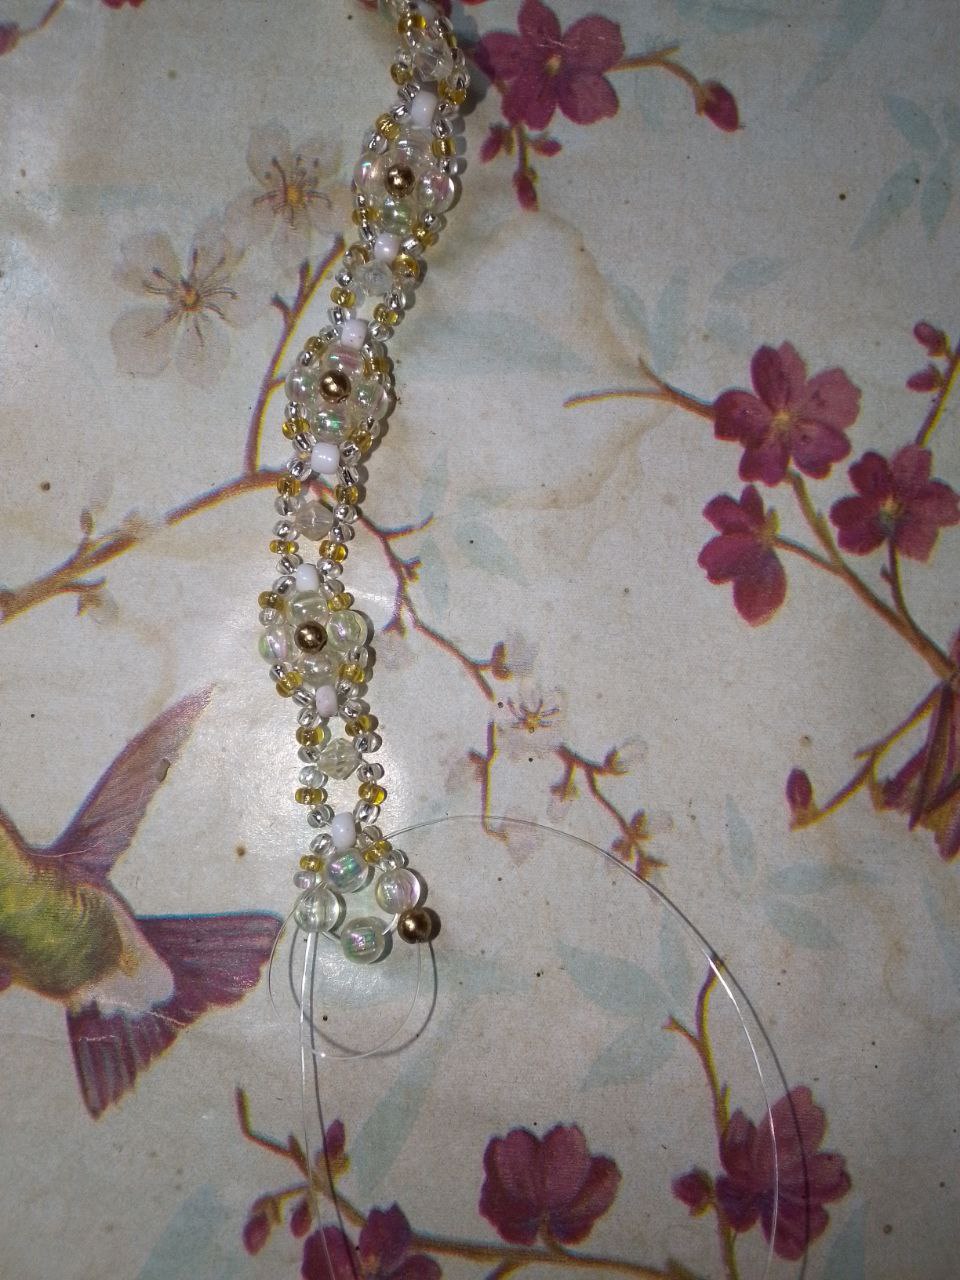
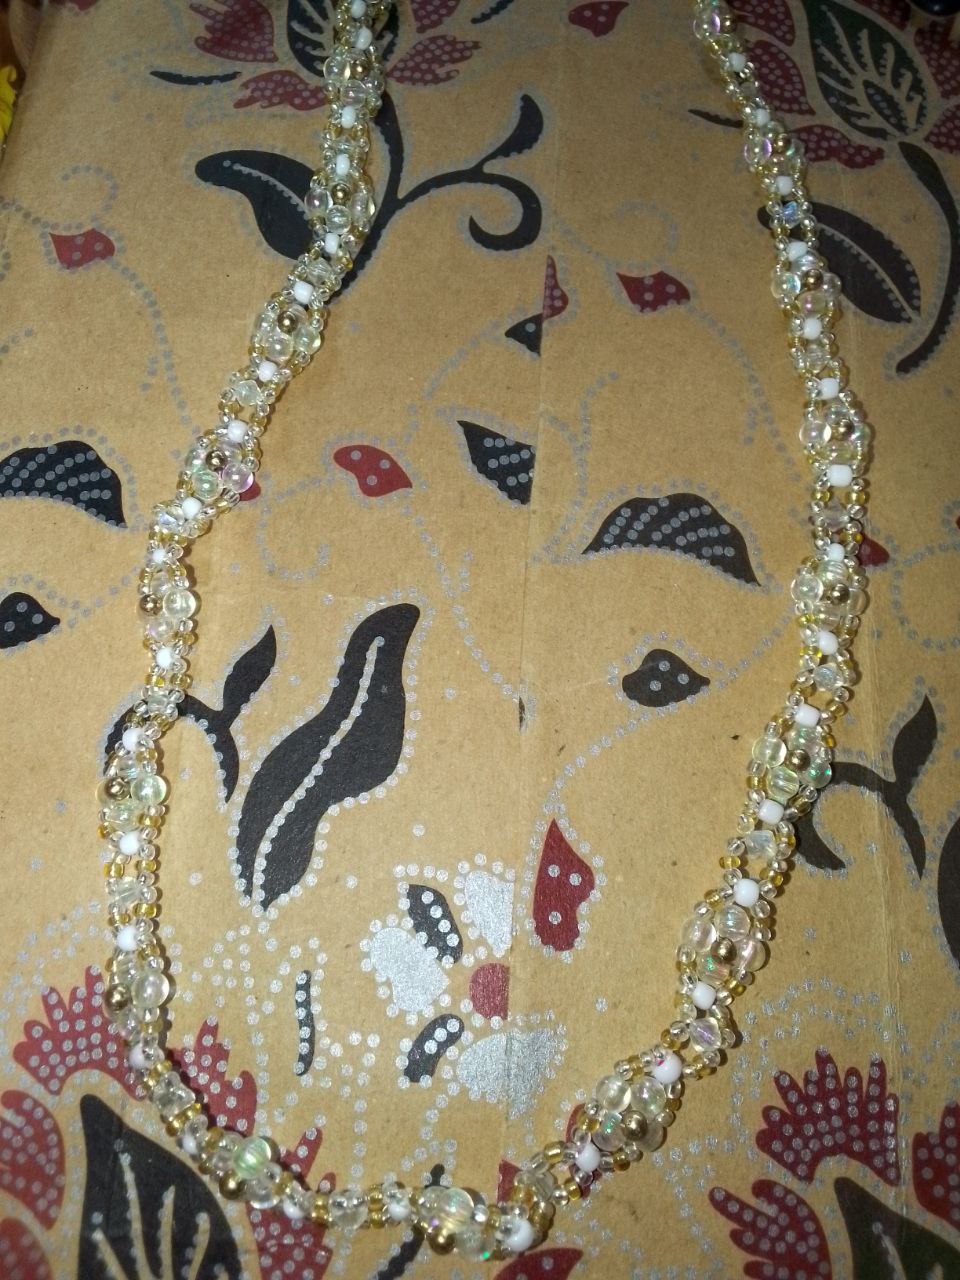
Bueno, les cuento que empecé haciendo el cordón de una m anera y termine haciendolo de otra, es que salio bien luego, al principio me etaba quedando chueco y las florecitas no me convencian, asi que verán como lo estaba haciendo al principio y como lo termine dejando.
Well, I tell you that I started making the cord in one way and ended up doing it in another, it turned out well later, at first it was looking crooked and the little flowers did not convince me, so you will see how I was doing it at the beginning and how I finished it leaving.
|
|
|
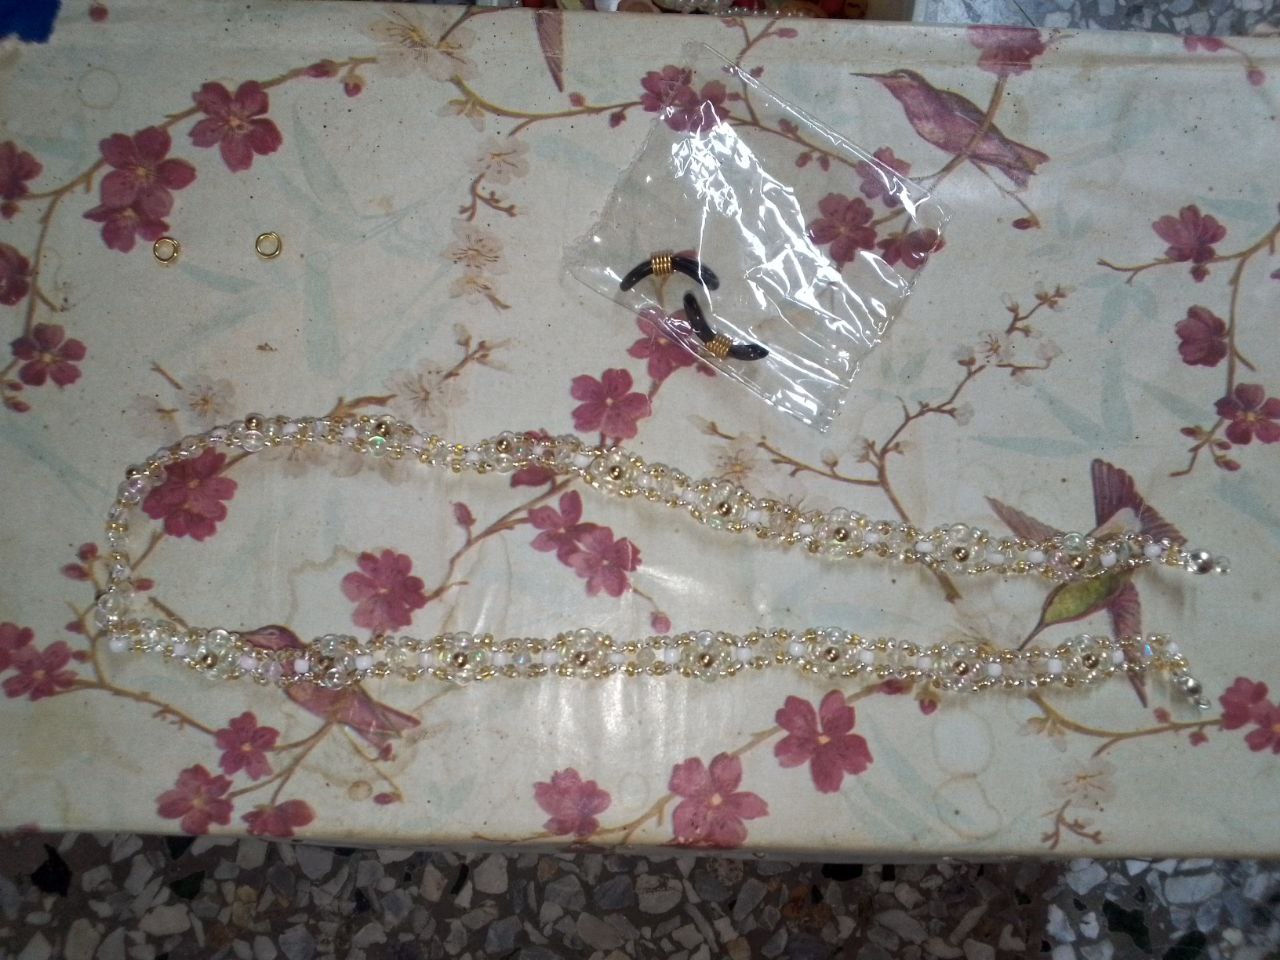
Materiales | Materials
- 2 m de hilo nylon de 0.25
- Mostacillas doradas y plateadas
- Pinzas de punta larga
- 2 Aros
- 2 Arandelitas para lentes, las mias son negras
- 2 Tapanudos
- Perlas tornasol
- Separadores dorados
- Swarovskis
- Mostacillón
- 2 m of 0.25 nylon thread
- Gold and silver beads
- Long nose tweezers
- 2 Hoops
- 2 Washers for lenses, mine are black
- 2 Knockers
- Litmus pearls
- Golden dividers
- Swarovskis
- Big beads
|
|
|
Procedimiento | Procedure
Paso 1 | Step 1
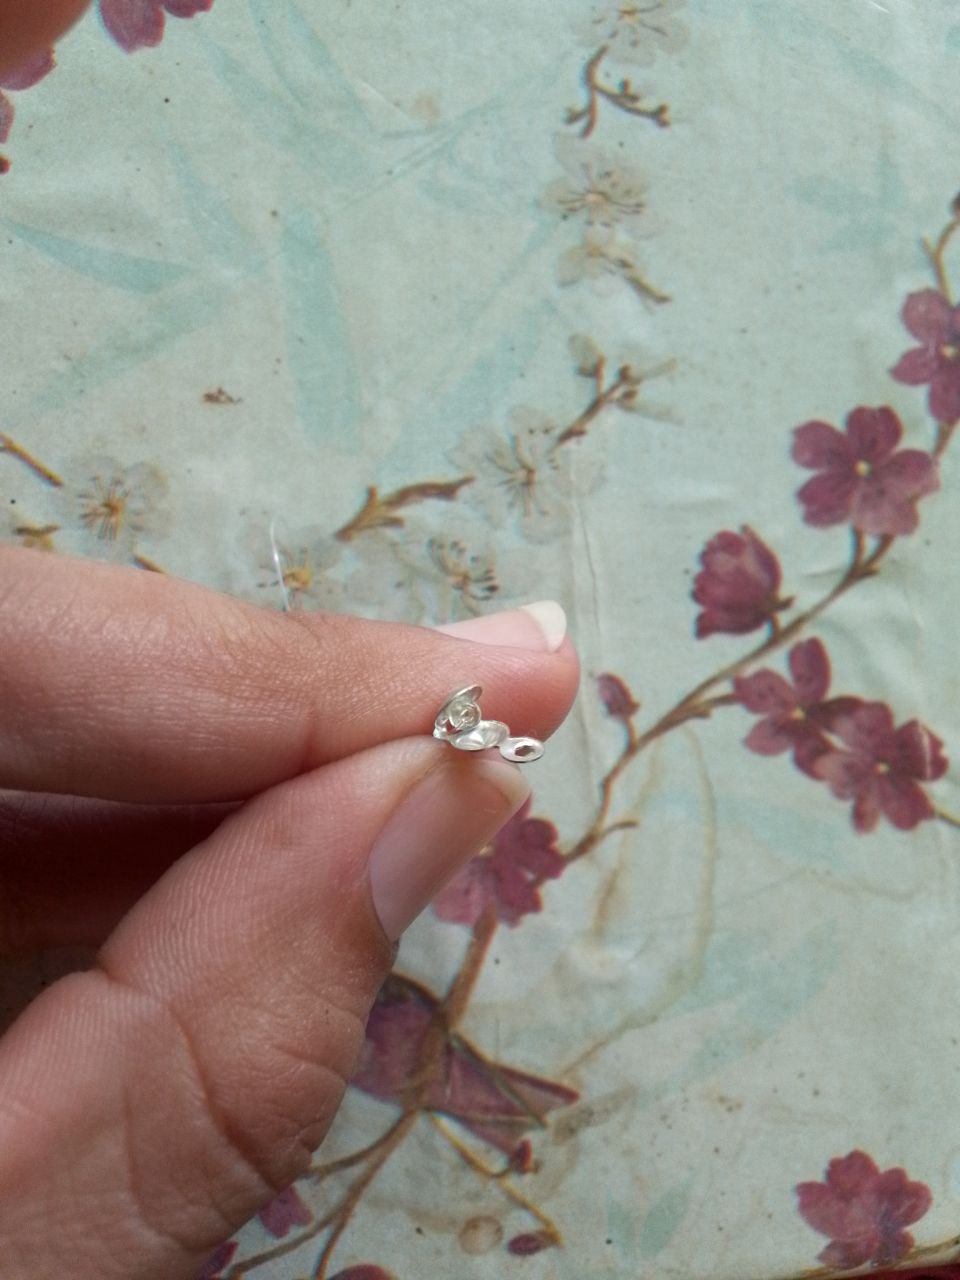
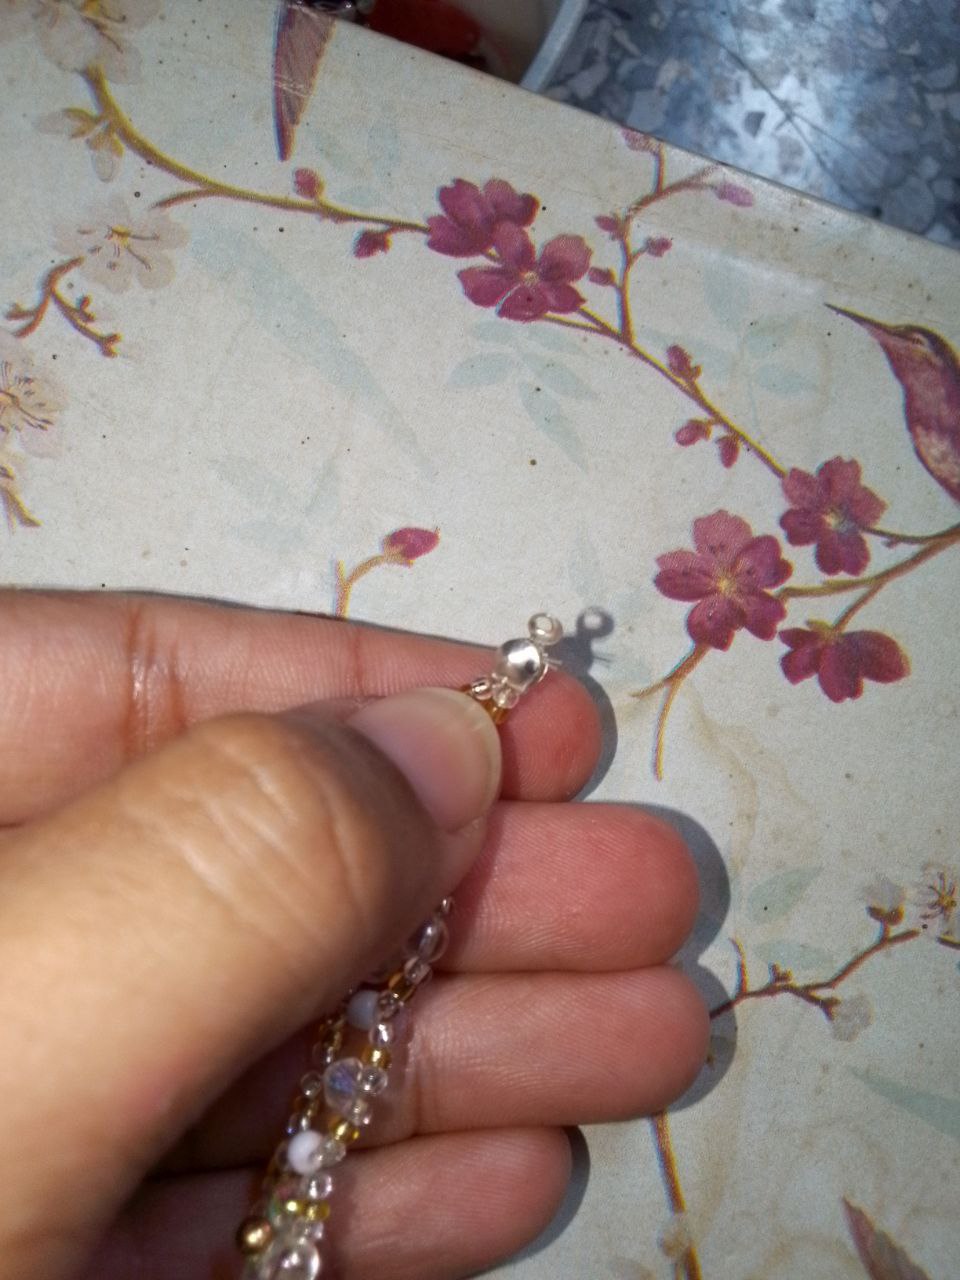
Pasamos las dos puntas del nylon por el tapanudos, le colocamos una mostacilla, la mas pequeña que encontremos, hacemos varios nudos y uno completo, si gustas puedes quemar con un yesquero.
We pass the two ends of the nylon through the knot stopper, we put a bead on it, the smallest one we can find, we make several knots and one complete one, if you like you can burn it with a tinder box.
|
|
|
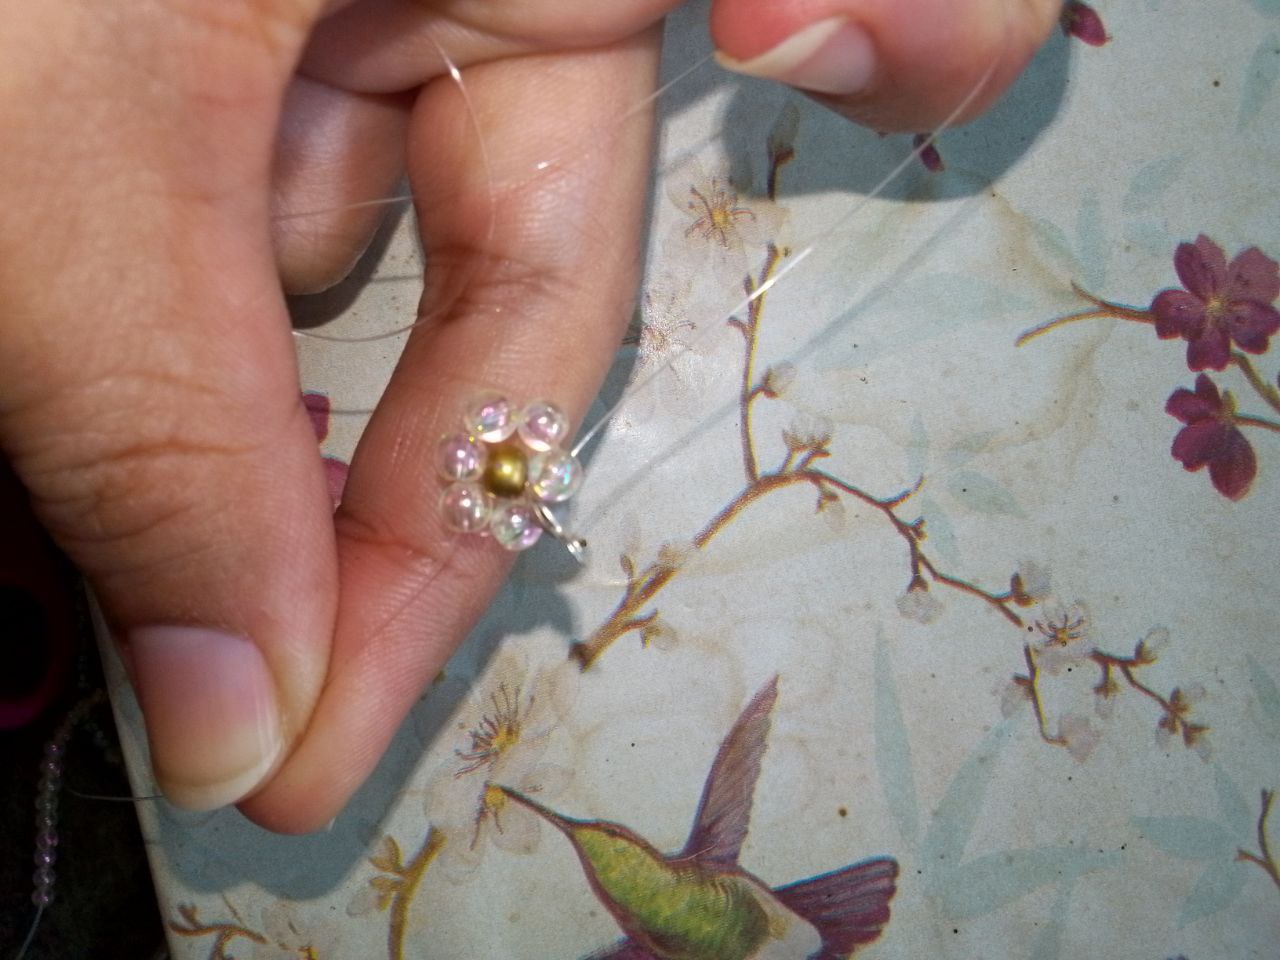
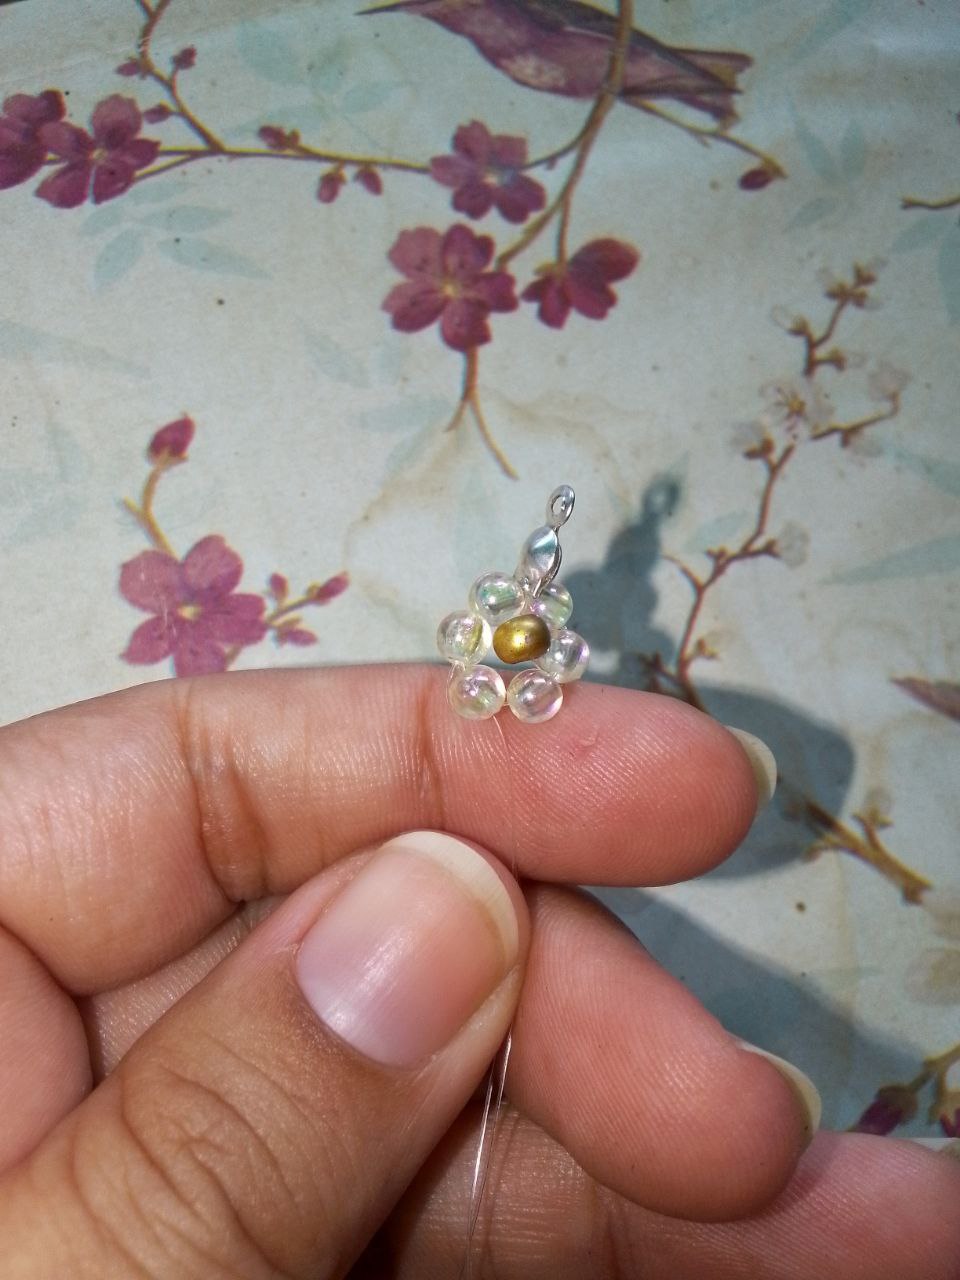
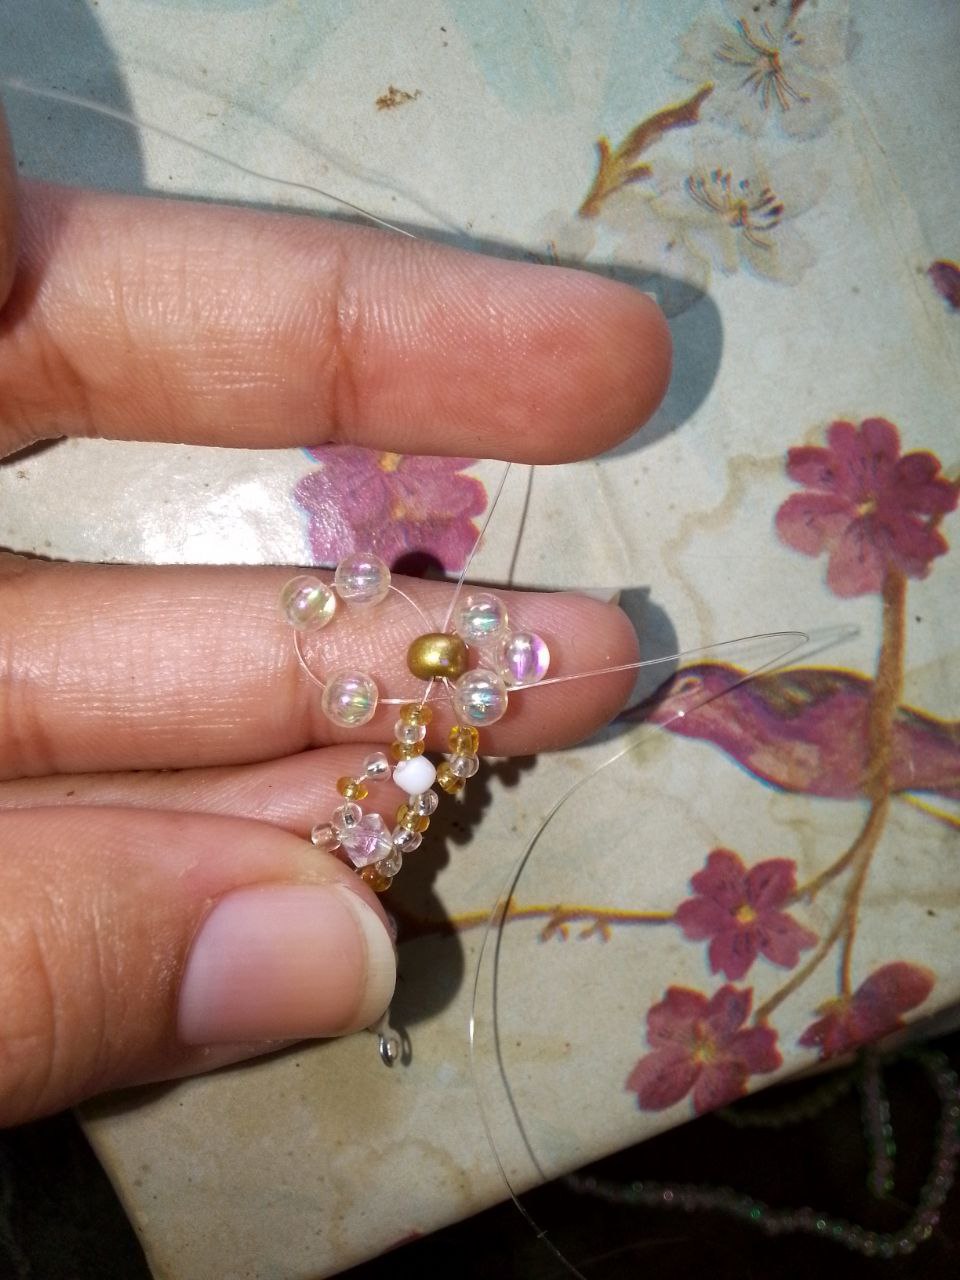
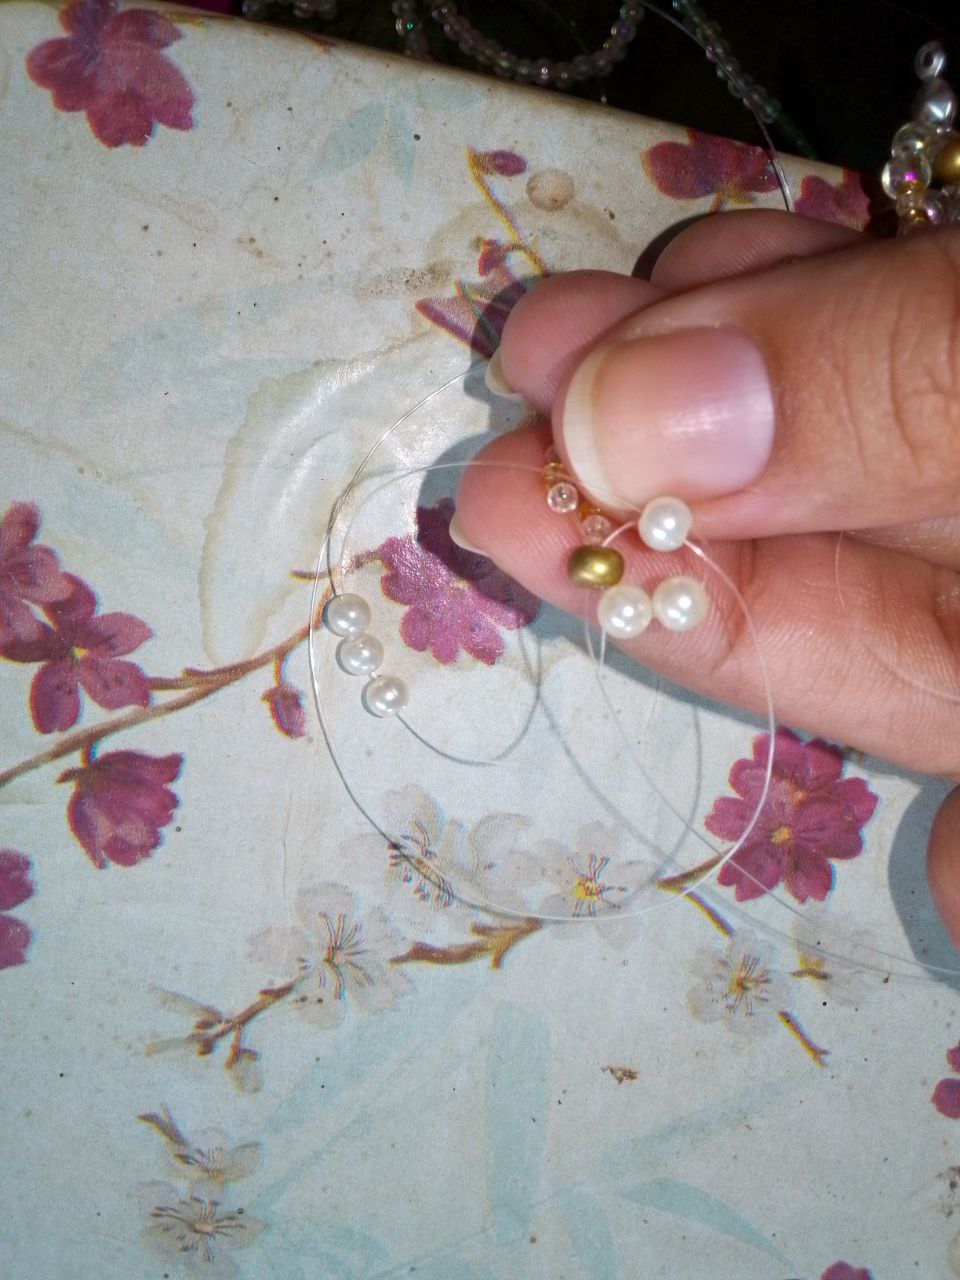
Paso 2 | Step 2
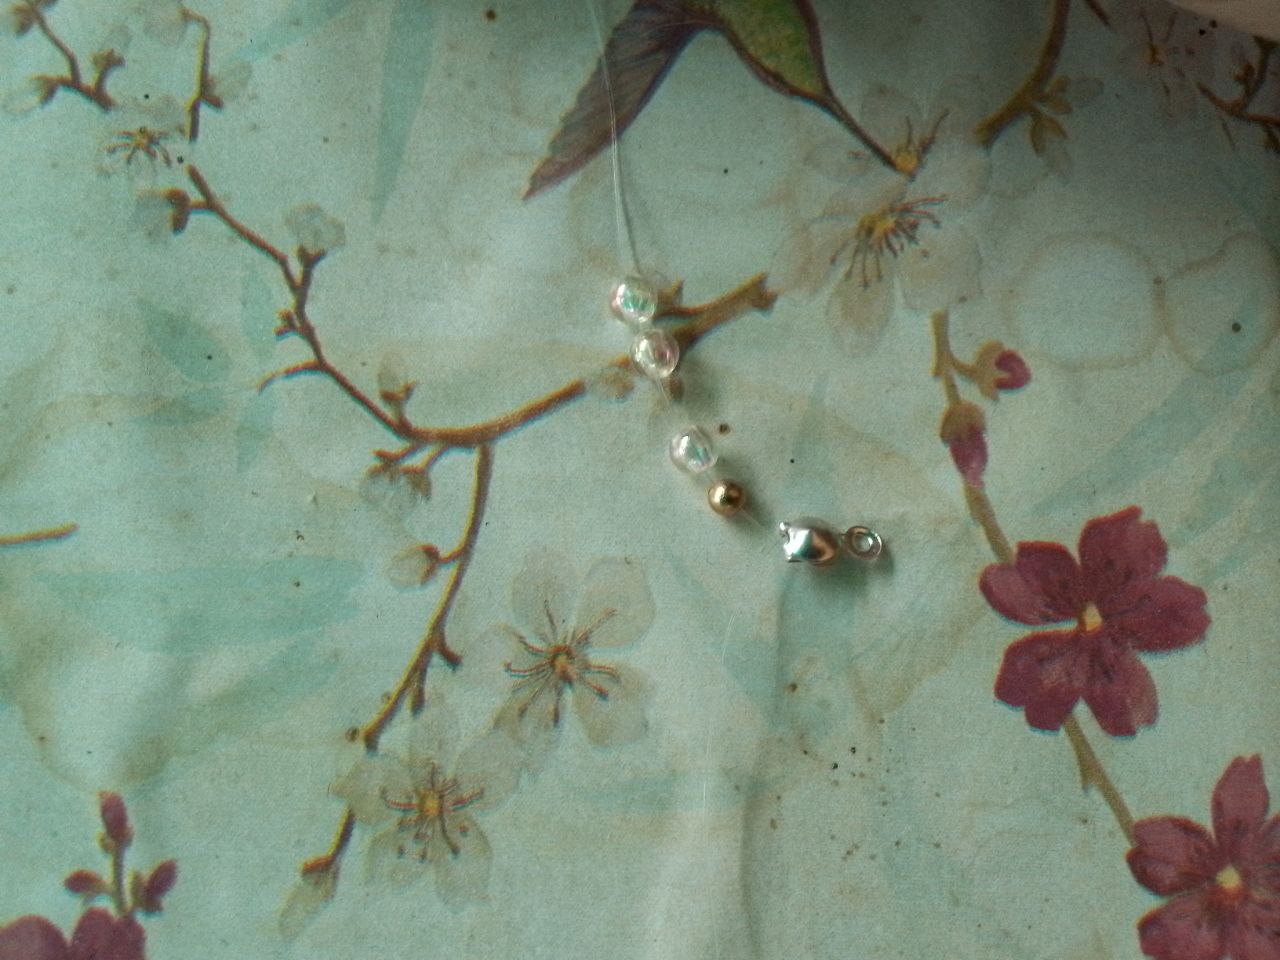
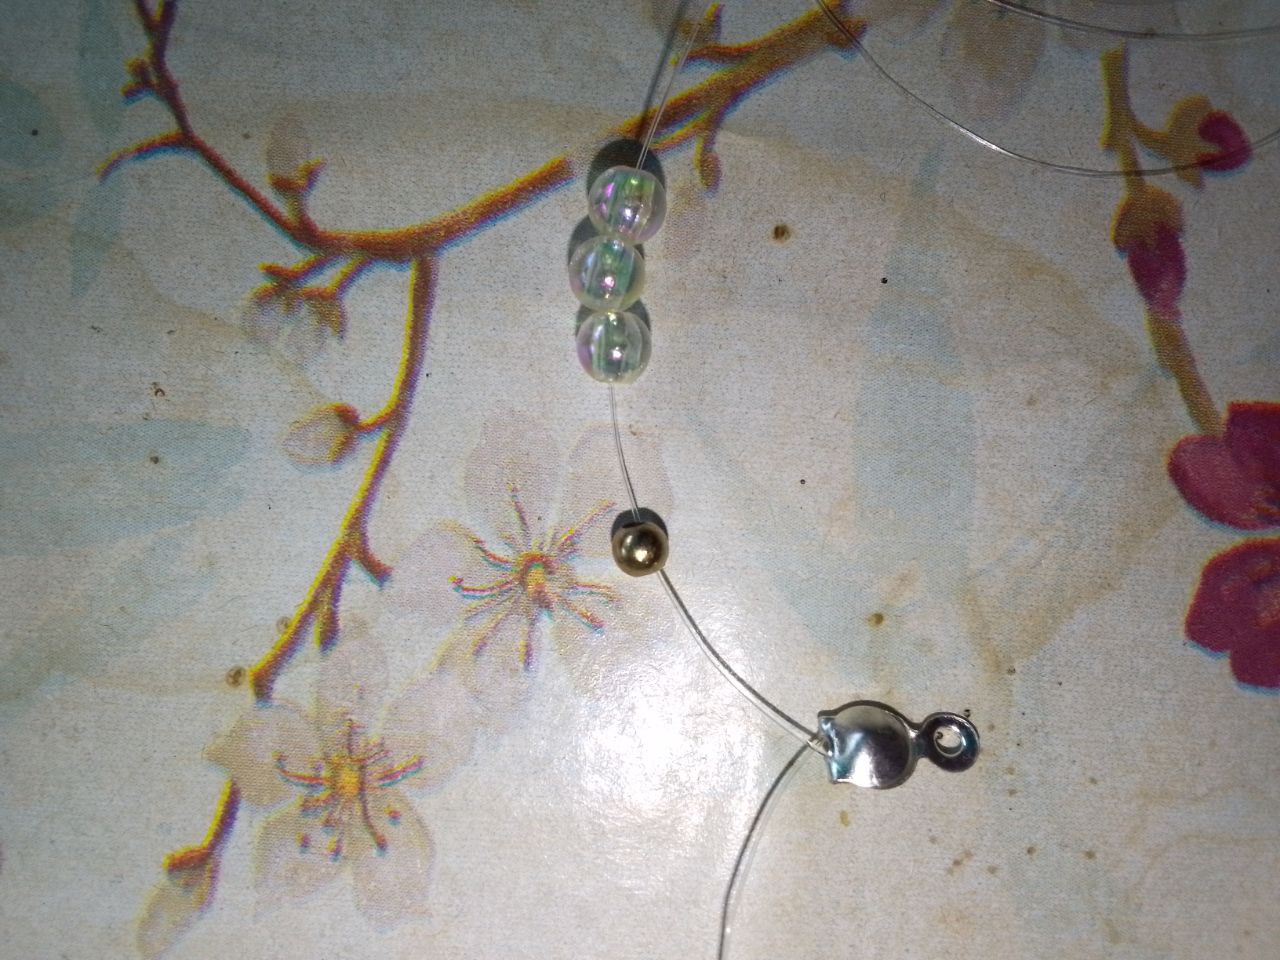
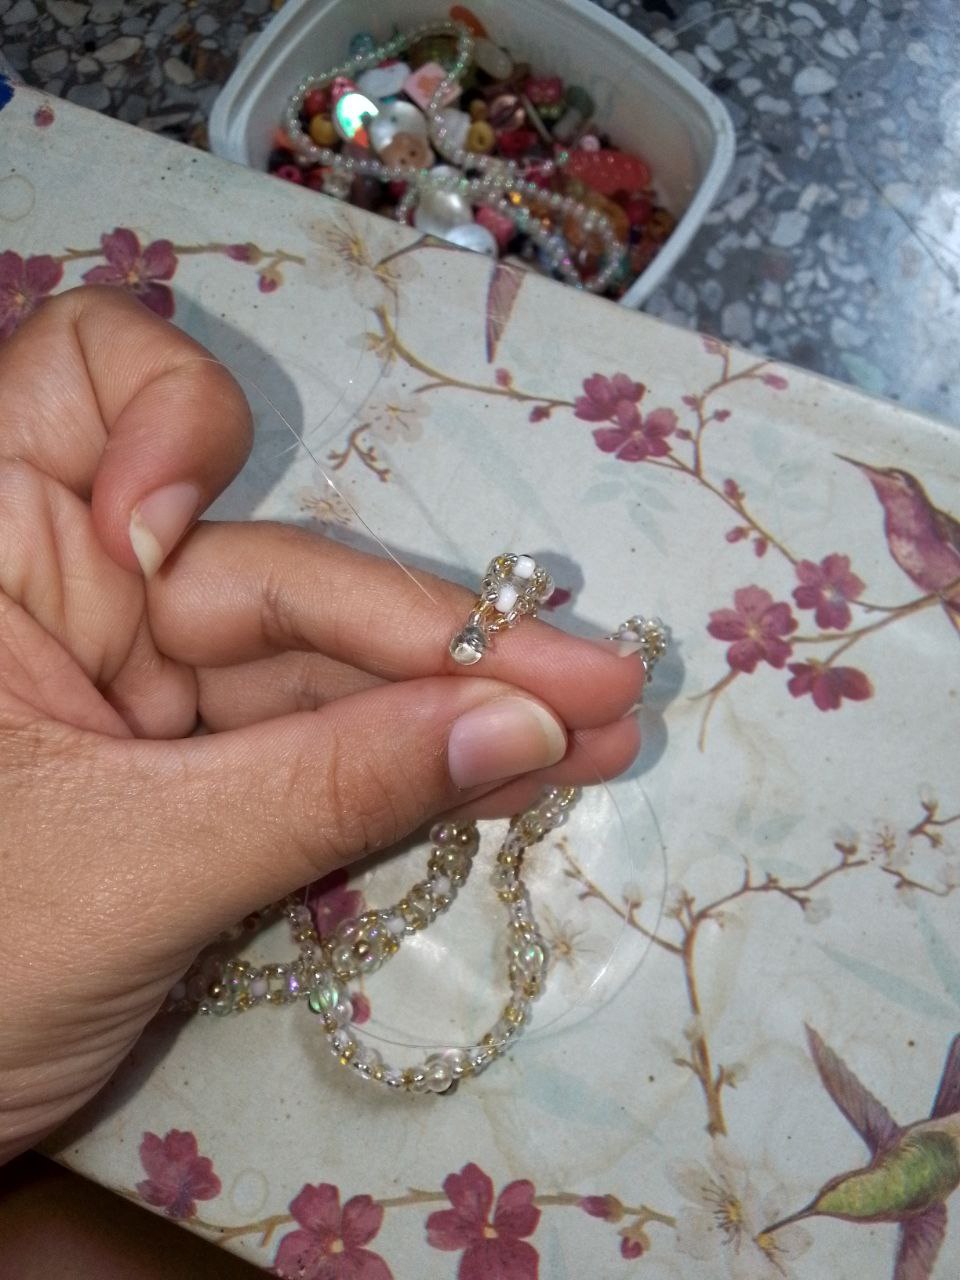
Colocamos primero por un hilo un separador dorado, luego las 3 perlas tornasol, el otro hilo lo pasamos de la forma en la que vemos en la imagen, y por el otro hilocolocamos 3 perlas mas y pasamos el hilo alrededor del resto de las perlas, y hacemos nudo de cada lado, ya alli hicimos una flor de 3 petalos con un centro dorado. Sacamos cada hilo a cada lado de una perla y agregamos mostacillas a nuestro gusto, yo coloqué tres de cada lado.
We first place a golden separator on one thread, then the 3 iridescent pearls, we pass the other thread in the way we see in the image, and on the other thread we place 3 more pearls and pass the thread around the rest of the pearls, and we tie a knot on each side, and there we made a flower with 3 petals with a golden center. We took out each thread on each side of a pearl and added beads to our liking, I placed three on each side.
|
|
|
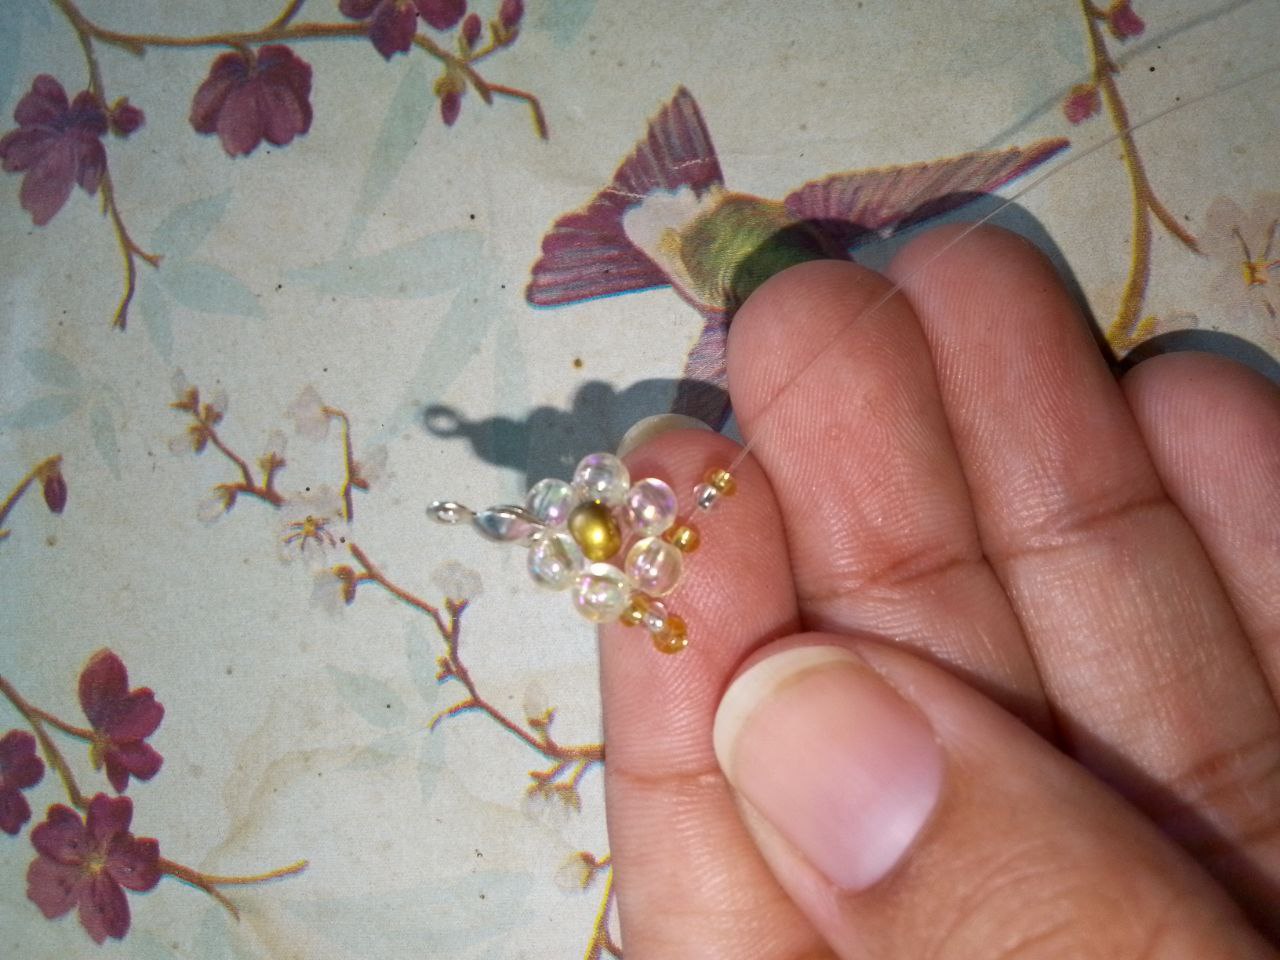
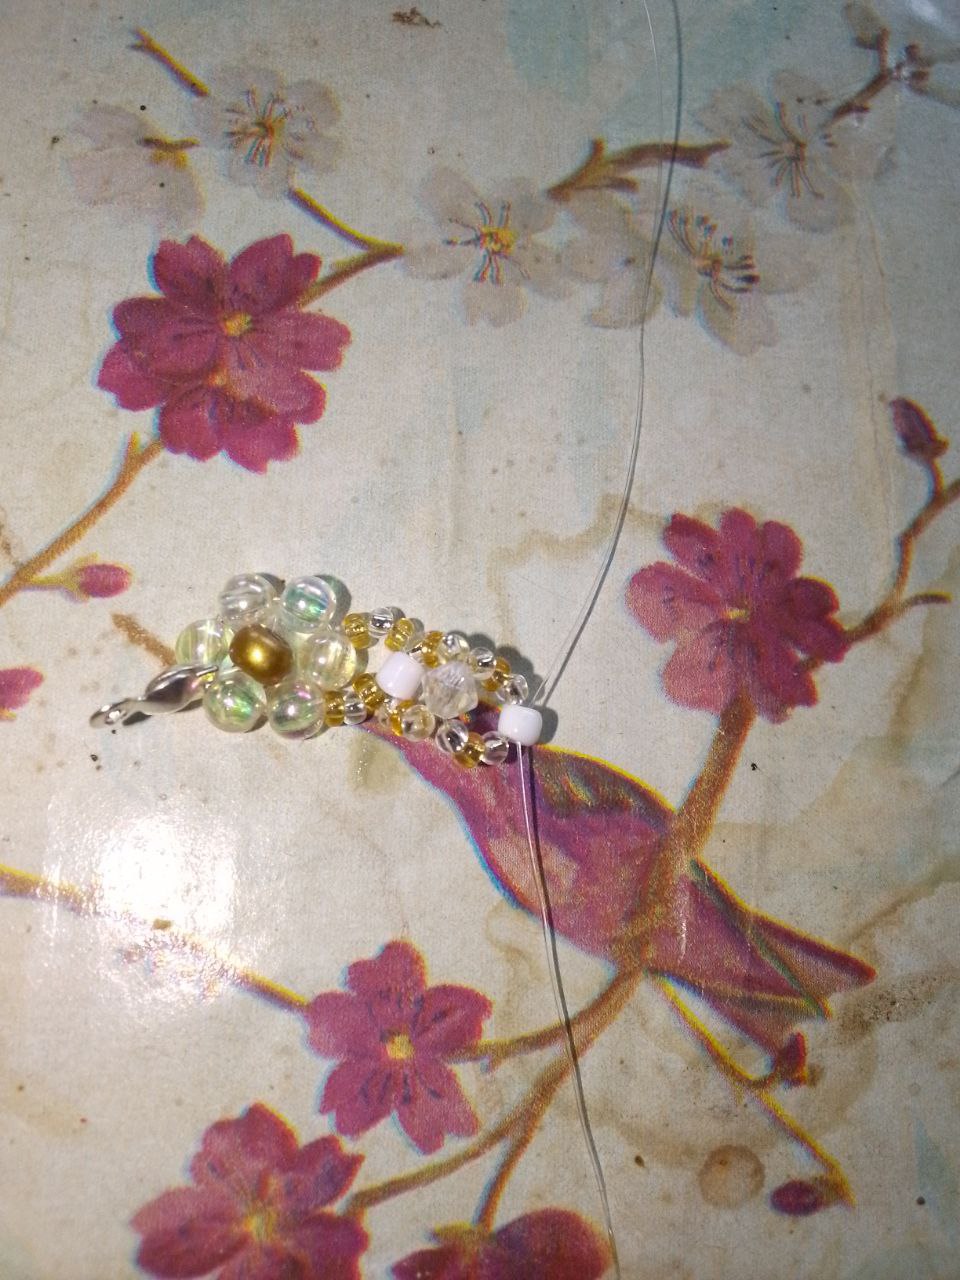
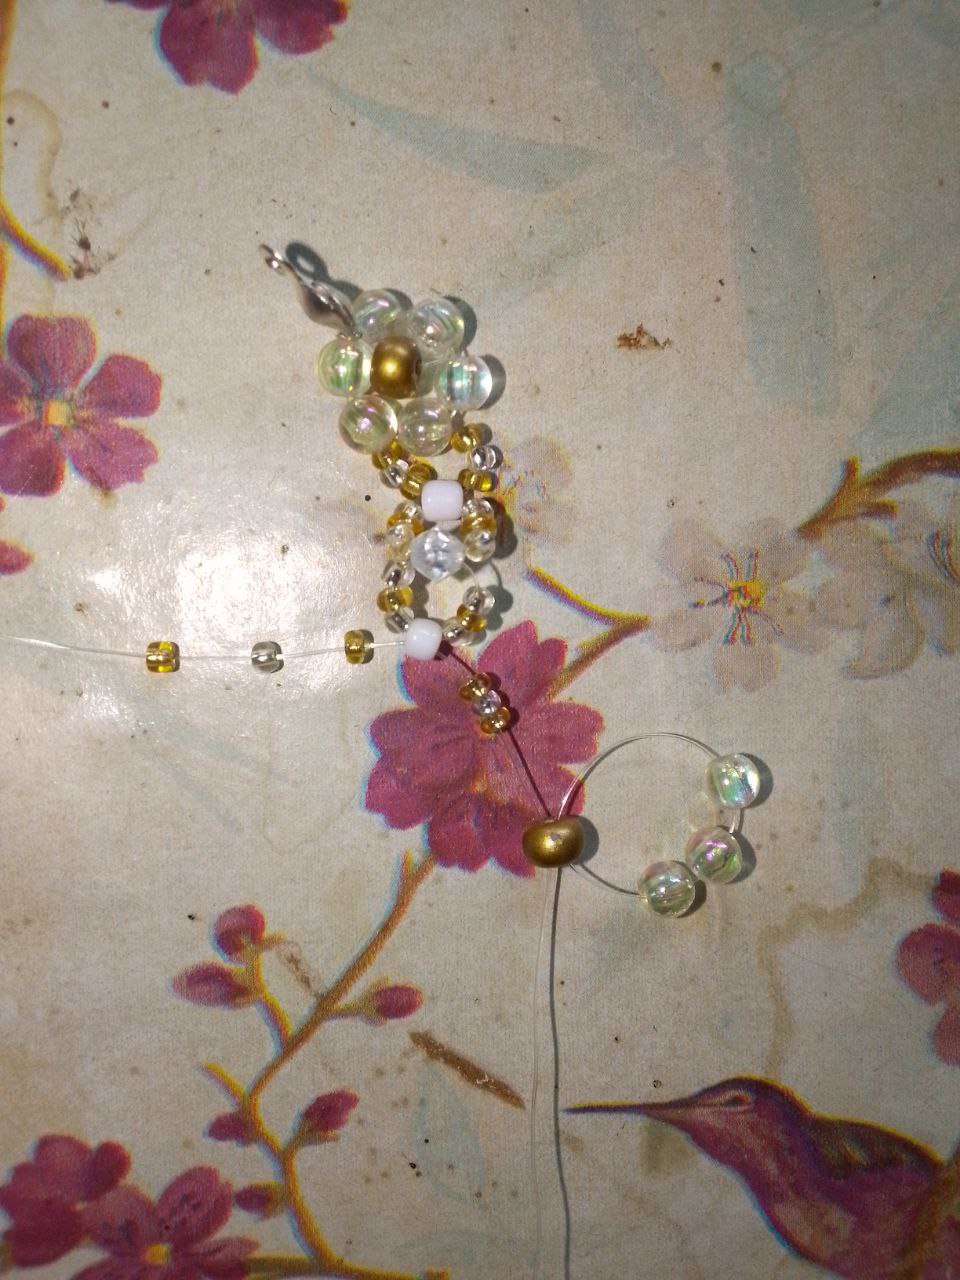
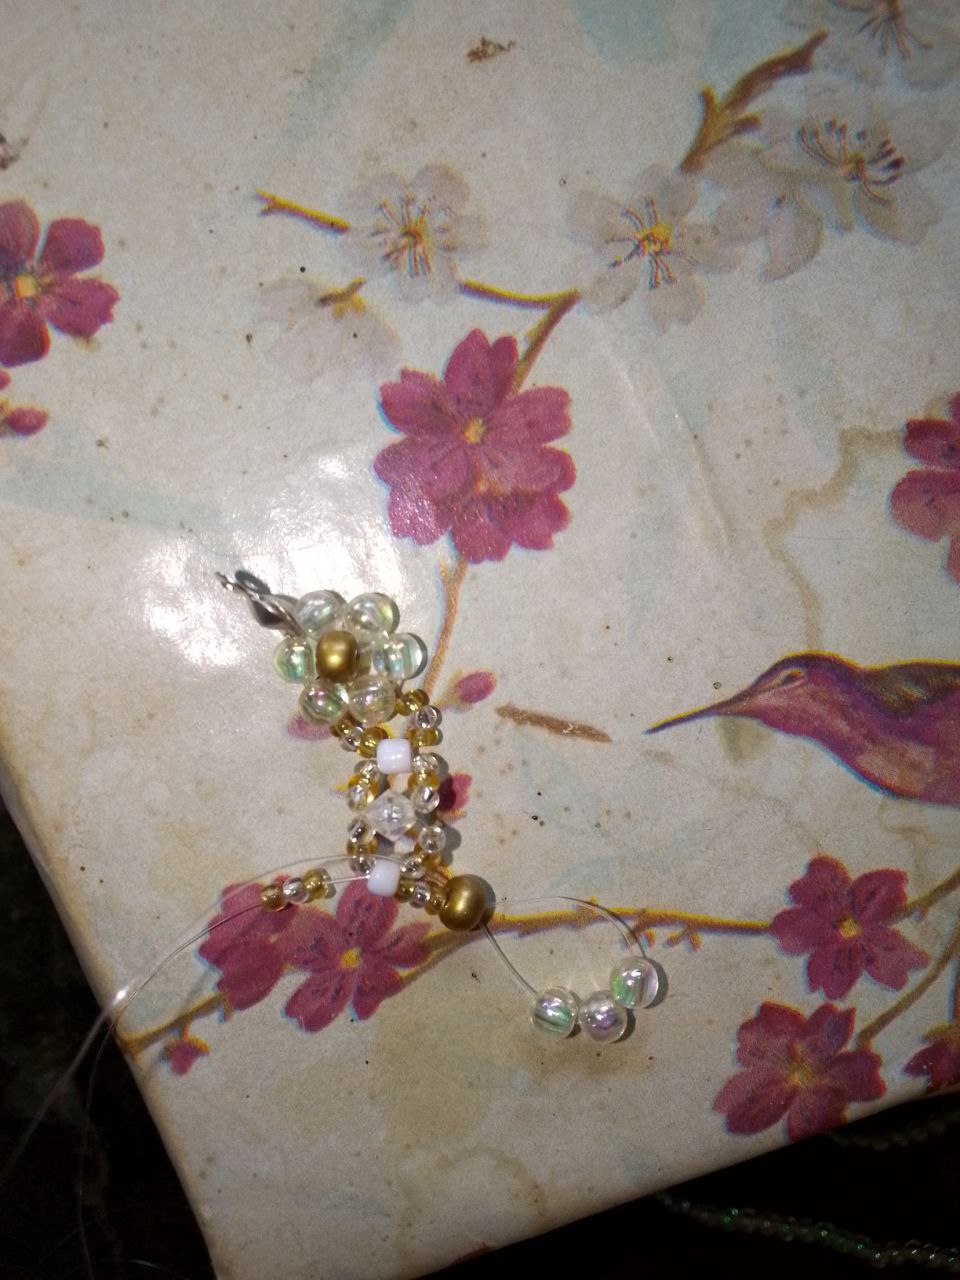
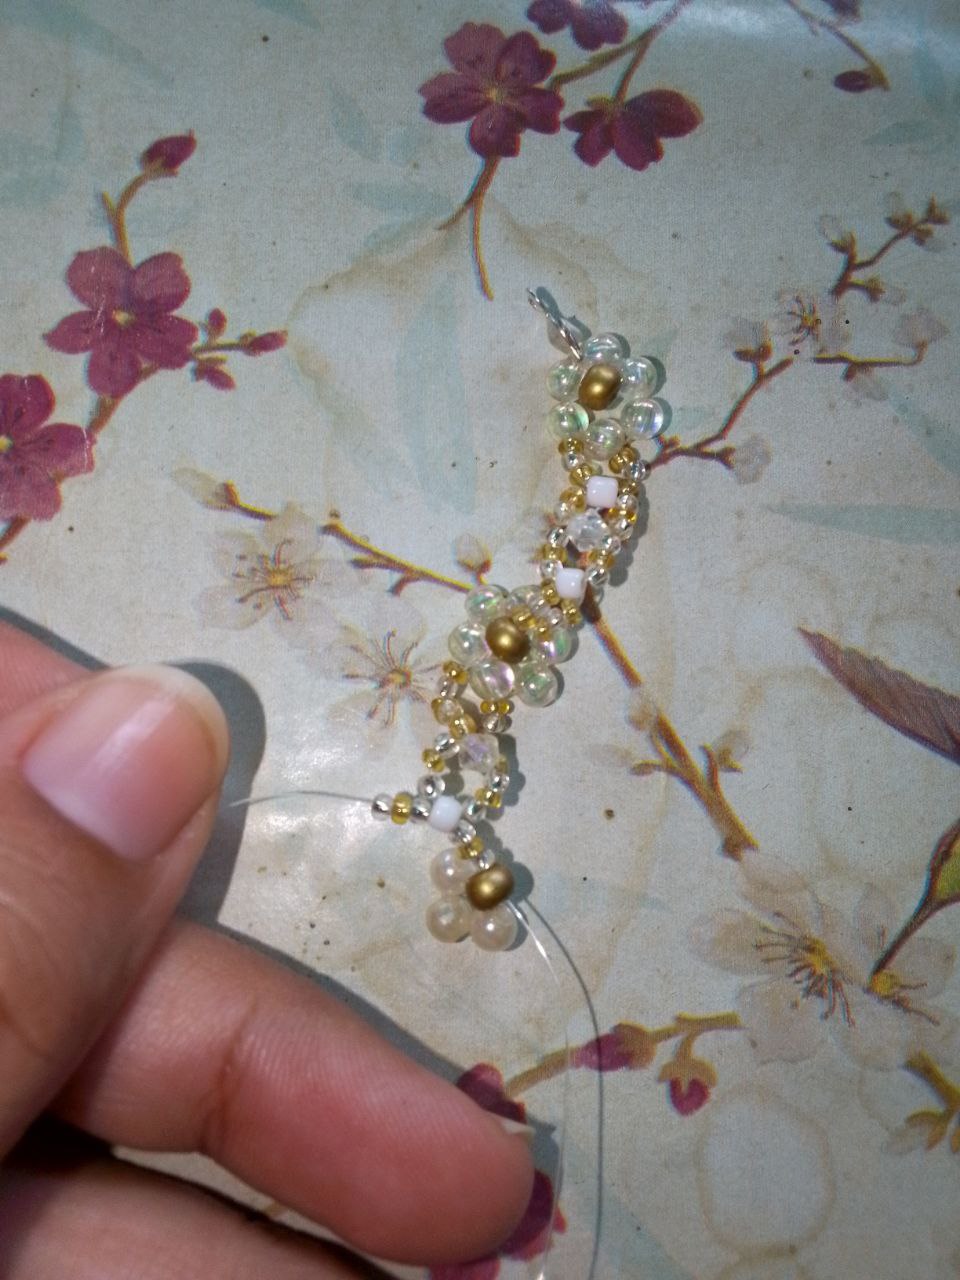
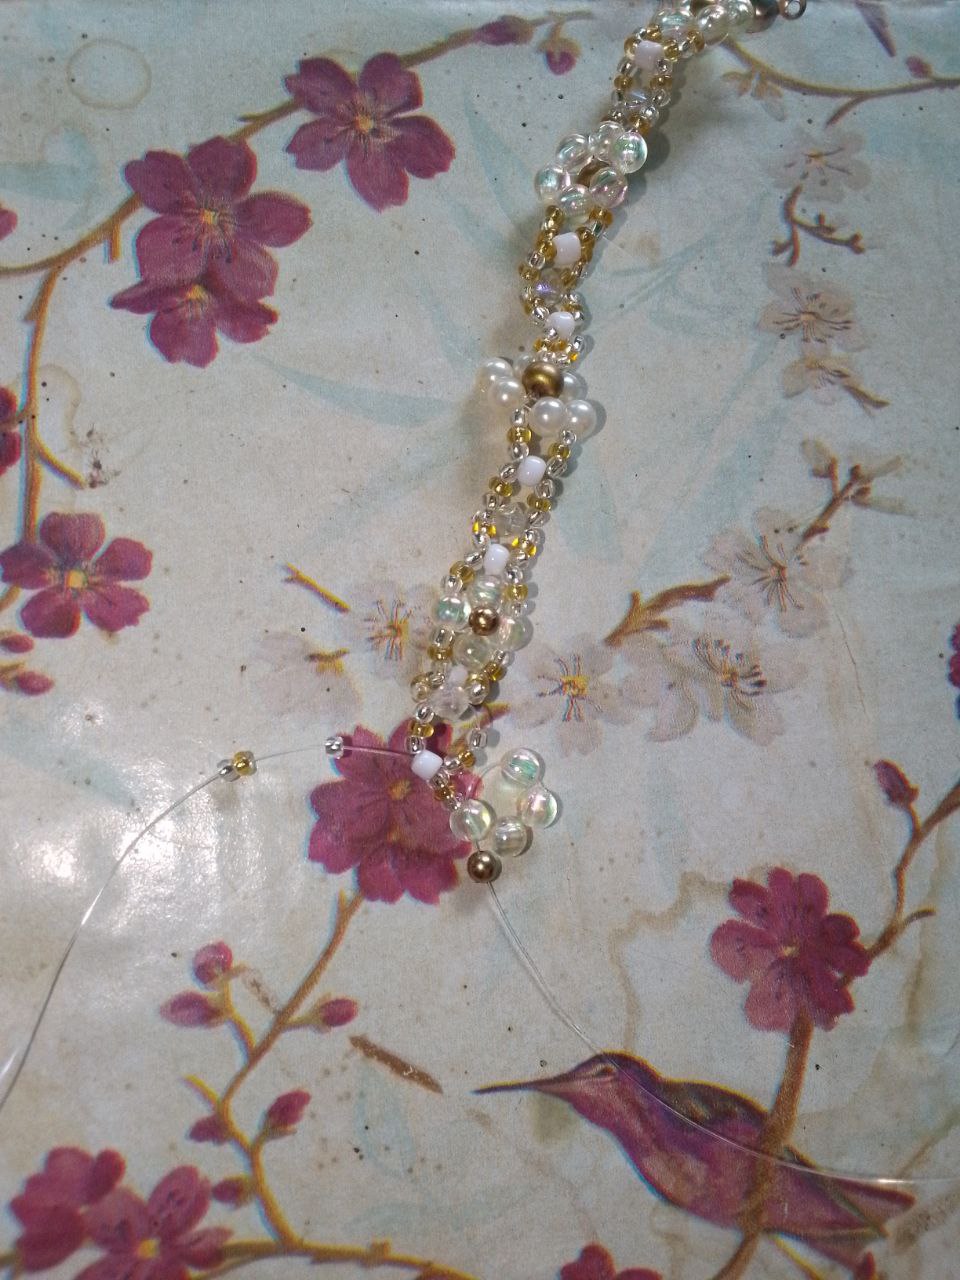
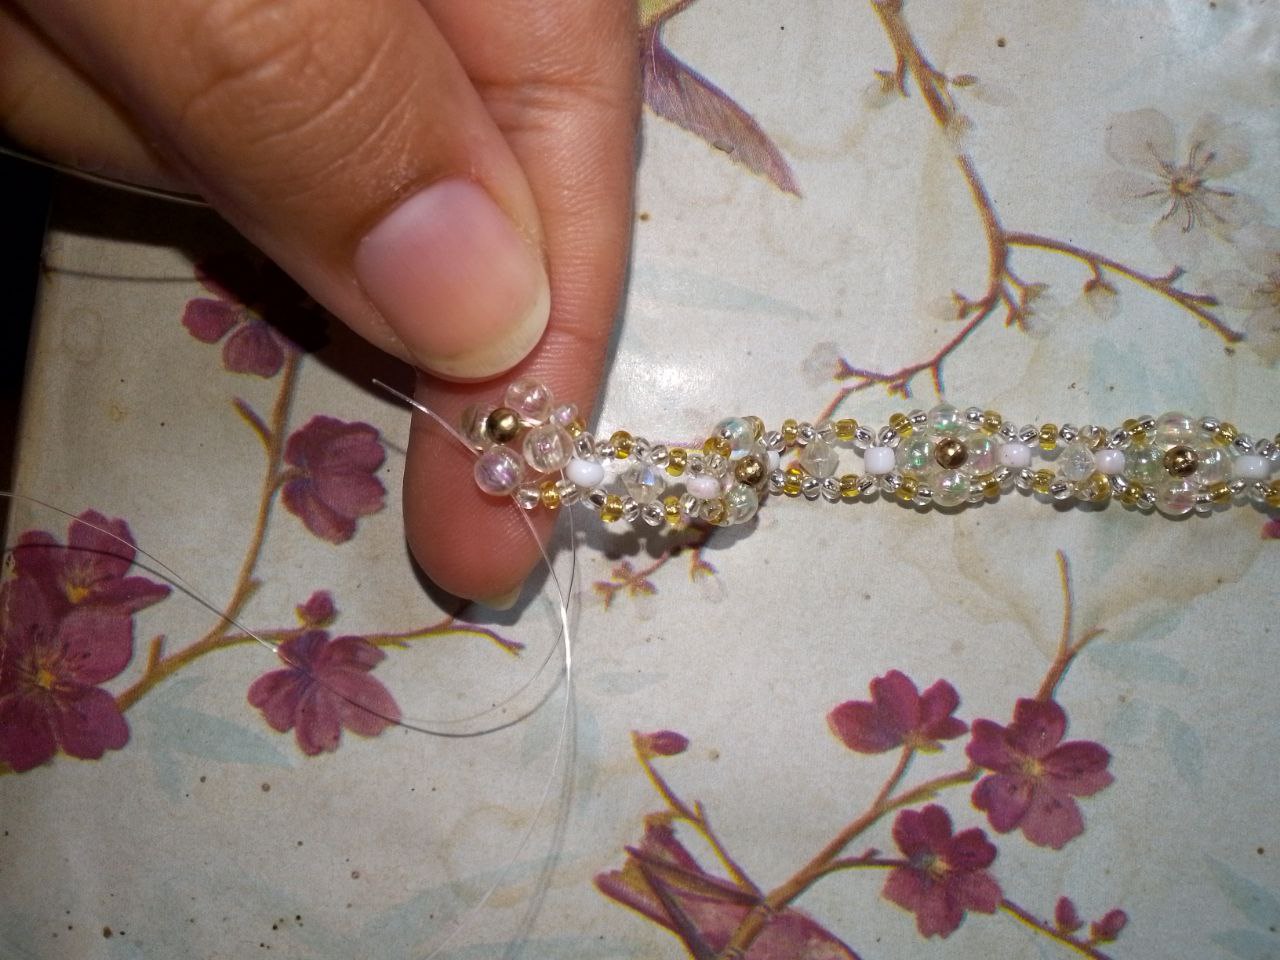
Paso 3 | Step 3
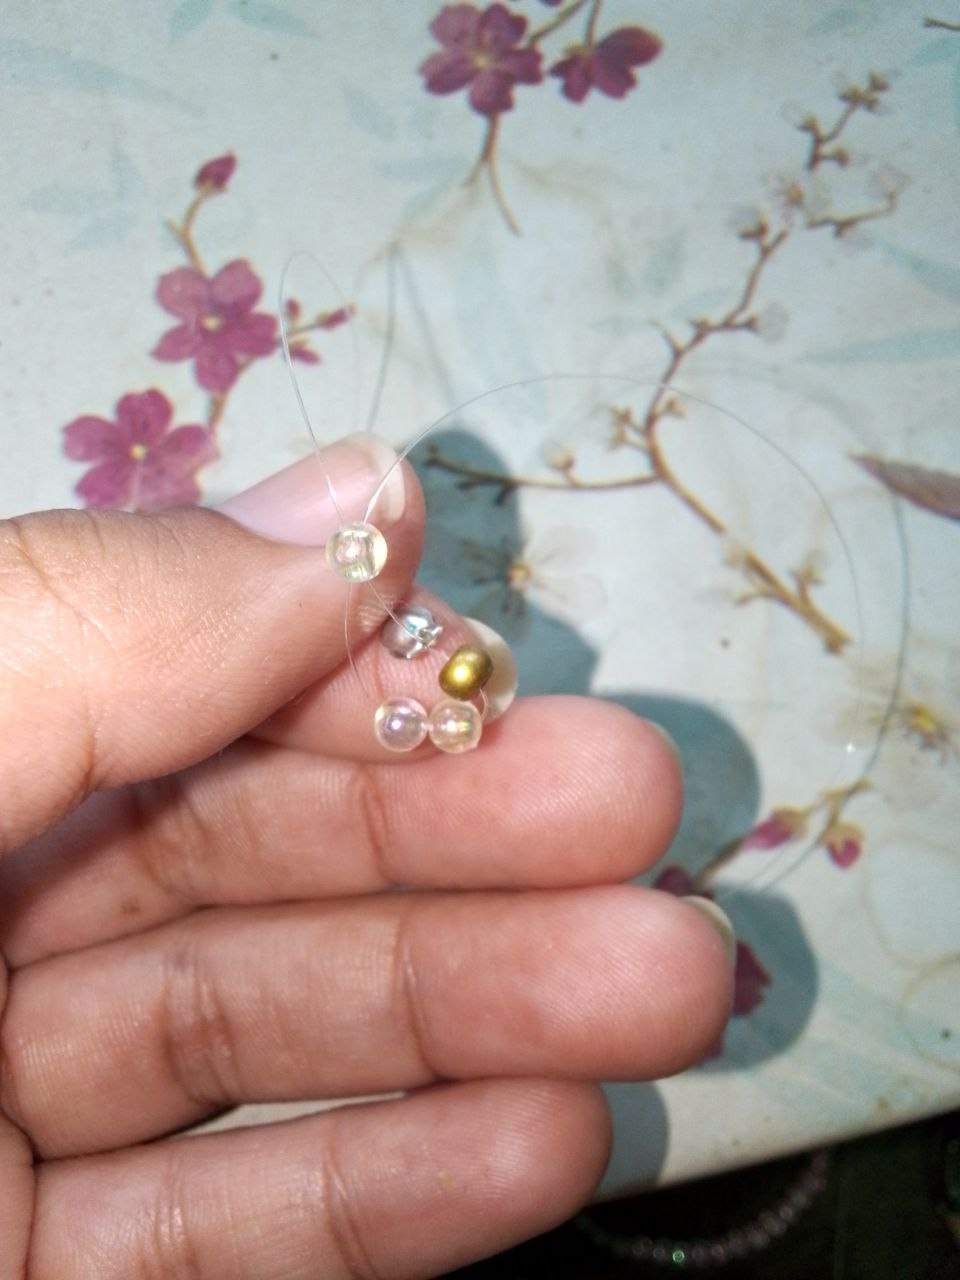
Luego agergamos un mostacillón blanco y cruzamos los hilos por el mostacillón, agregamos nuevamente tres mosatcillas de cada lado y ahora colocamos un swarovski y cruzamos los hilo y volvemos a agregar mostacillas y volvemos a agregar mostacillon, cruzamos y agregamos mostacillas y finalmente agregamos cuatro perlas y cruzamos por la ultima perla con el mismo hilo , del otro lado pasamos el hilo por una de las perlas y agregamos un separador dorado y lo pasamos alrededor de la perla de arriba y la de al lado quedando el hilo del mismo lado por el que salia. Este proceso se repite consecutivamente.
Then we add a white bead and cross the threads through the bead, we add three more beads on each side and now we place a swarovski and cross the threads and add beads again and add more beads, we cross and add beads and finally we add four pearls and We cross over the last pearl with the same thread, on the other side we pass the thread through one of the pearls and we add a gold separator and we pass it around the top pearl and the one next to it, leaving the thread on the same side from which it came out. . This process is repeated consecutively.
|
|
|
|
|
|
|
|
|
|
|
|
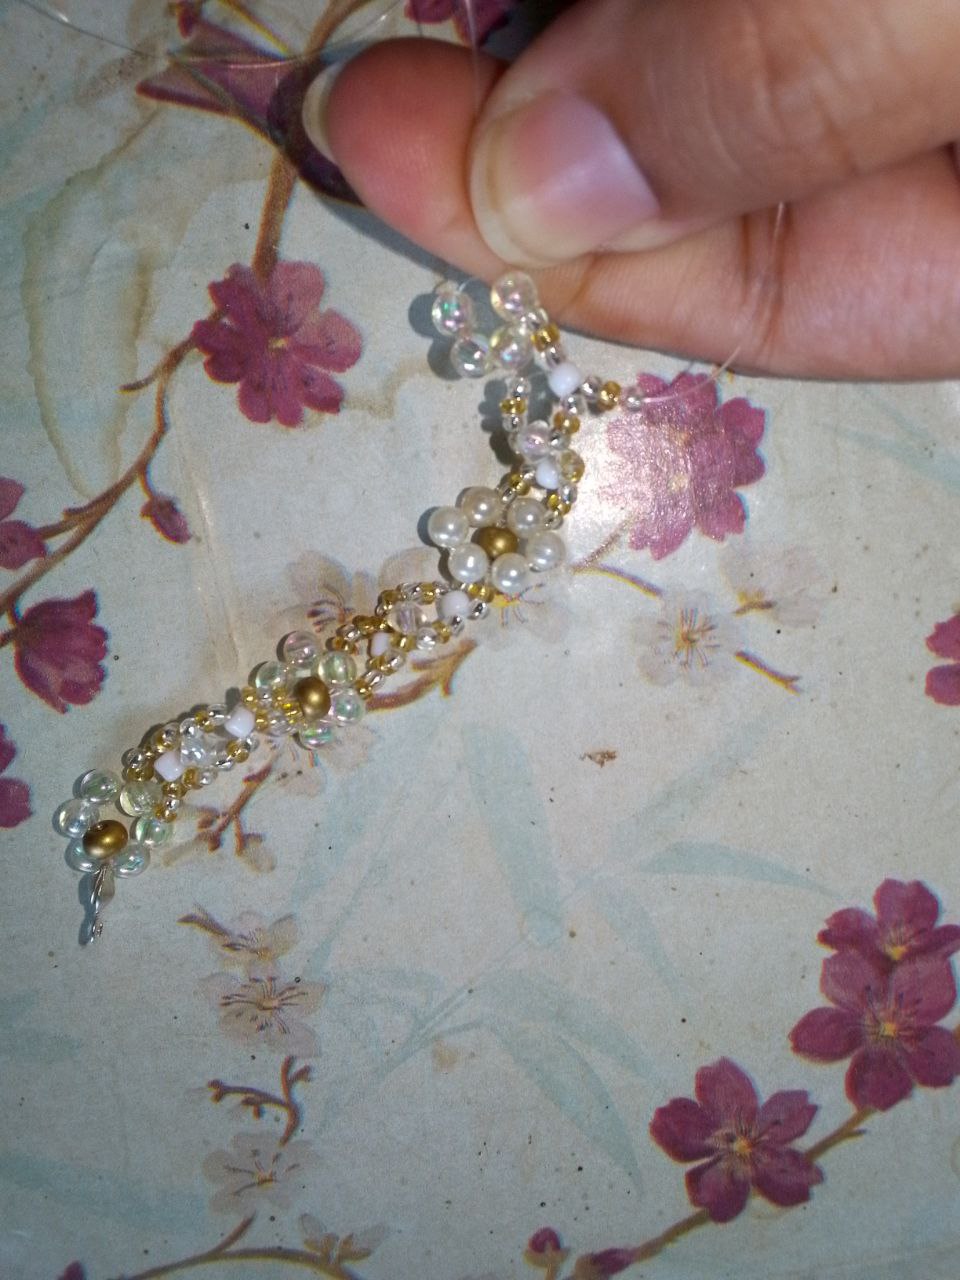
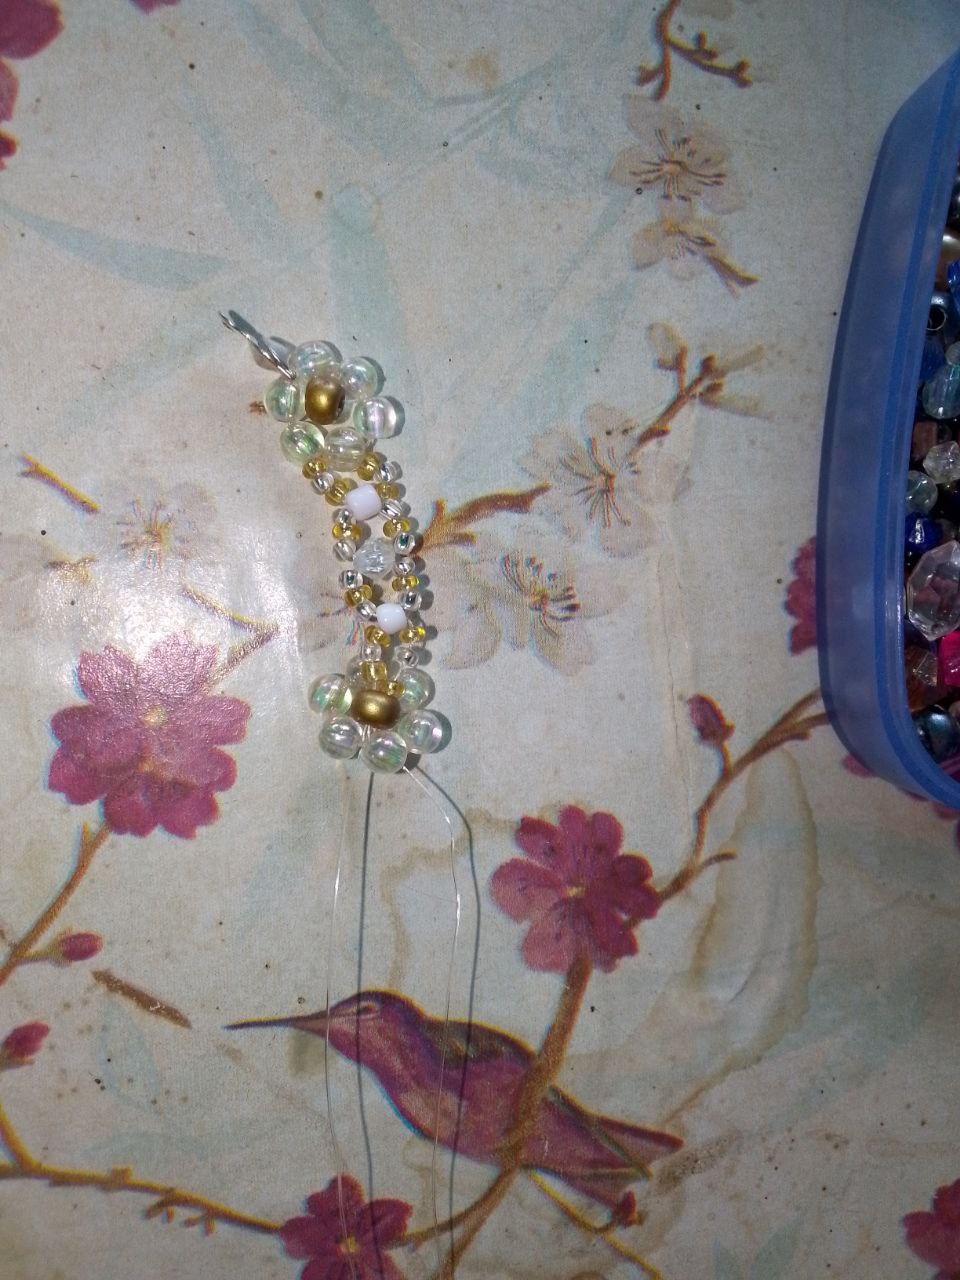
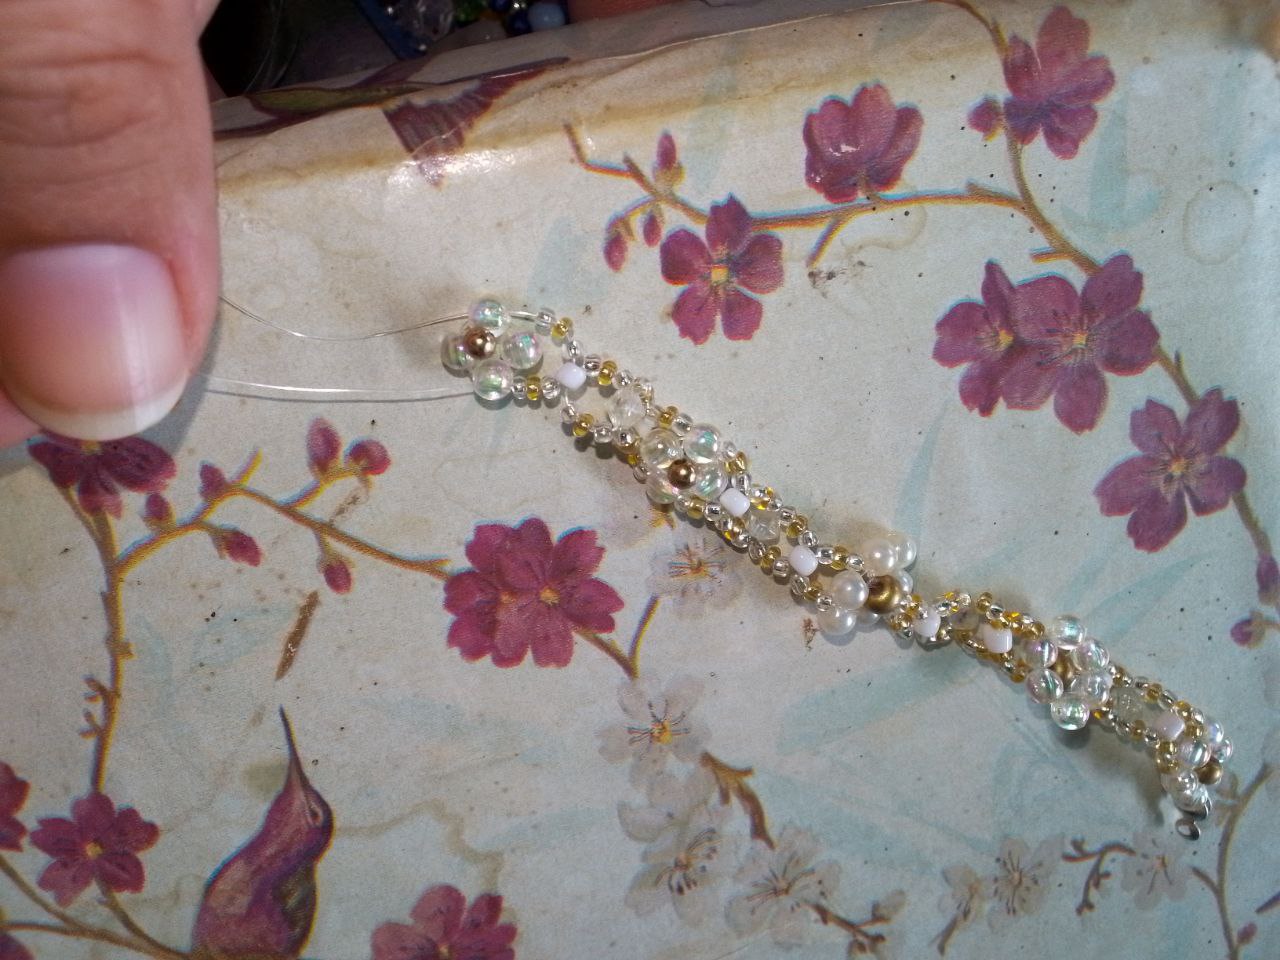
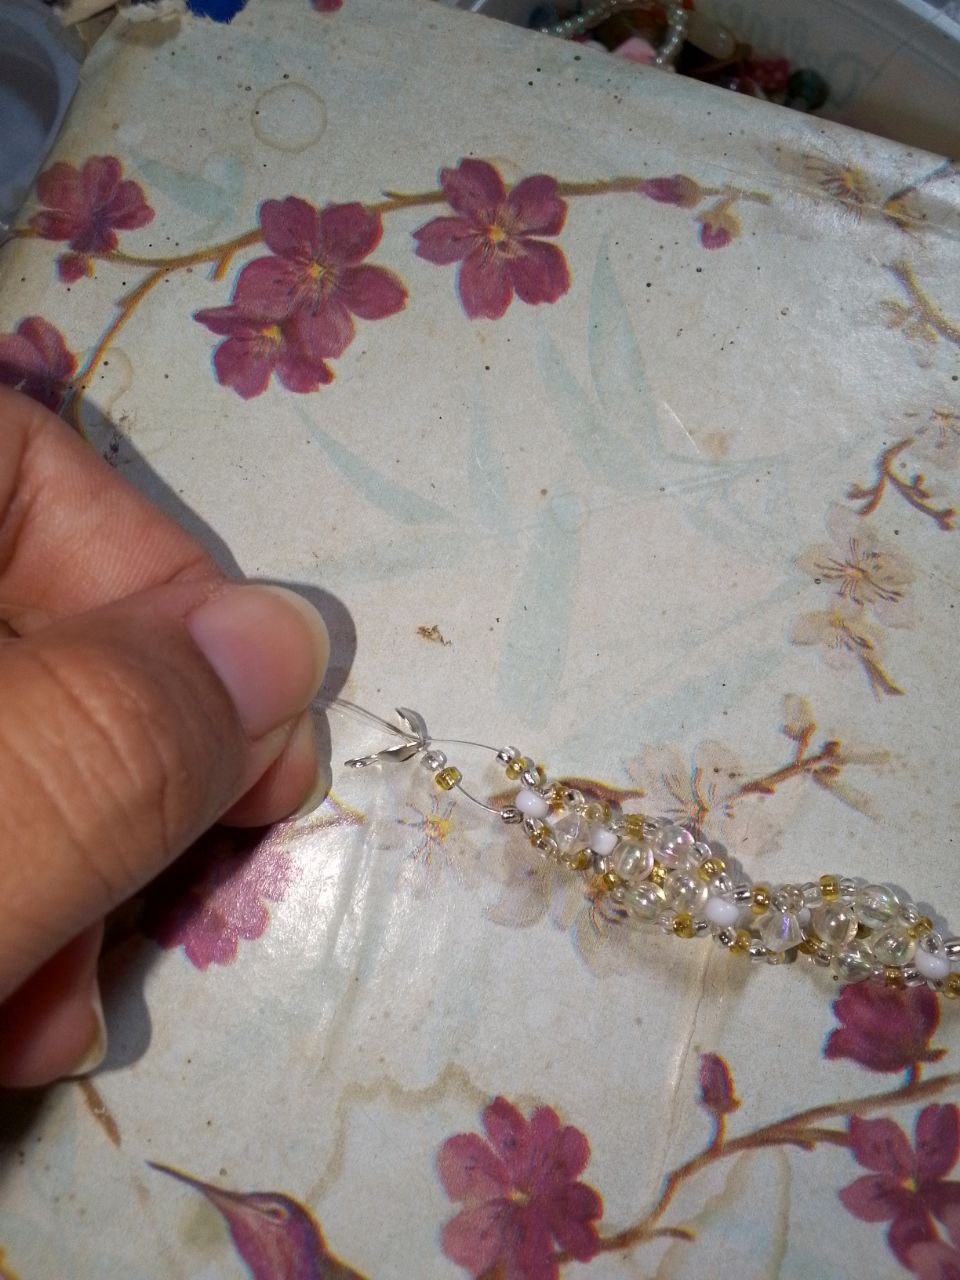
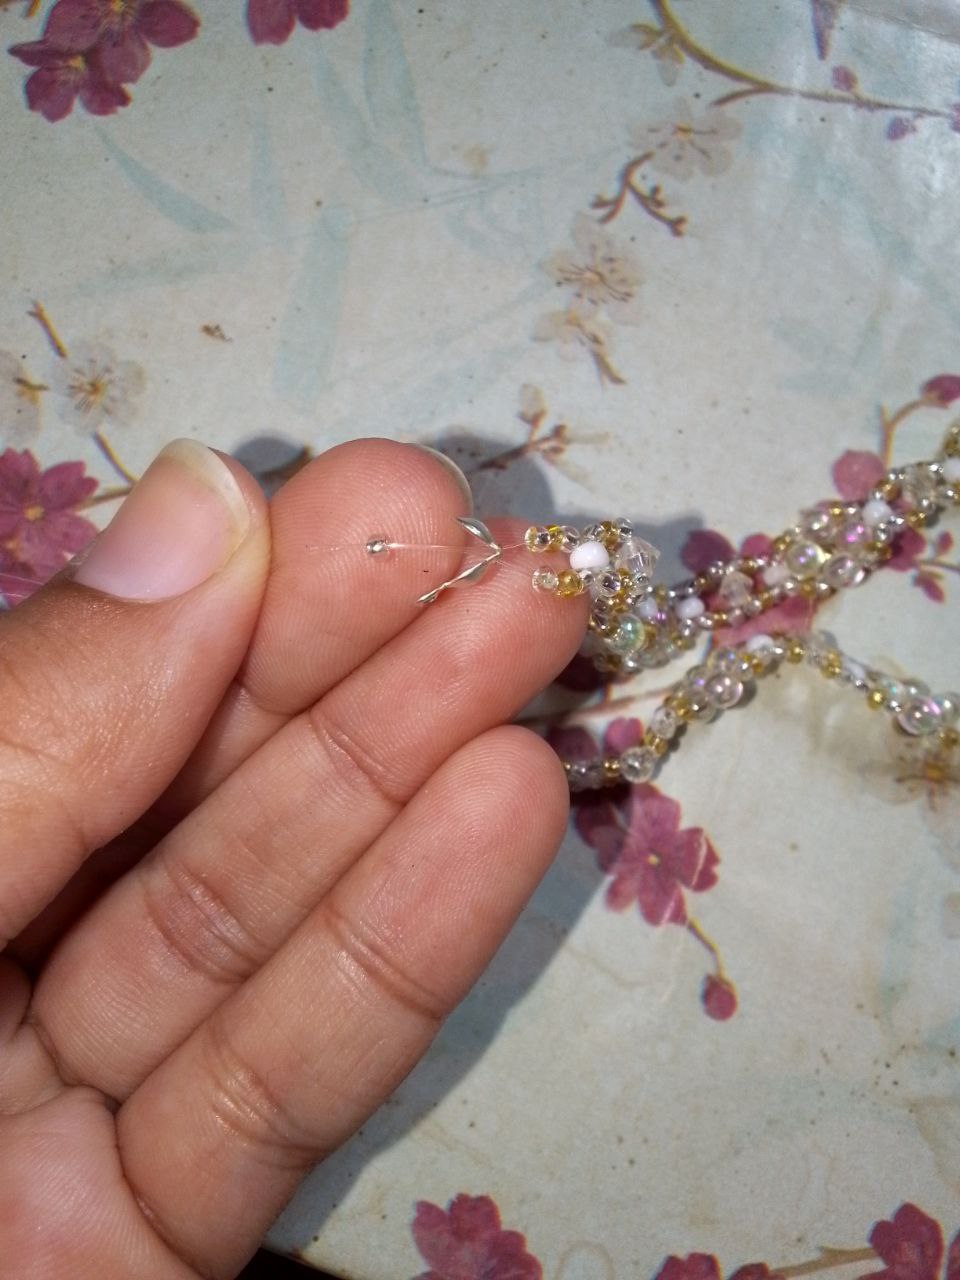
Paso 4 | Step 4
Luego, repetimos el paso 3 cuantas veces querramos hasa llegar al largo que desamos para repetir el paso 1 para cerrar el nudo, el paso 2 nos lo podemos saltar , finalmente agregamos los aros y los colocamos a las arendelitas apretamos y dejamos la arandelita mas angosta del lado que vamos a colocarle a los lentes.
Then, we repeat step 3 as many times as we want until we reach the length we want to repeat step 1 to close the knot, we can skip step 2, finally we add the rings and place them on the sandals, tighten and leave the washer narrower. on the side that we are going to place the lenses on.
|
|
|
|
|
|

|
|
|

|
|
|
|
|
|
|
|
|
|
|
|

|
|
|
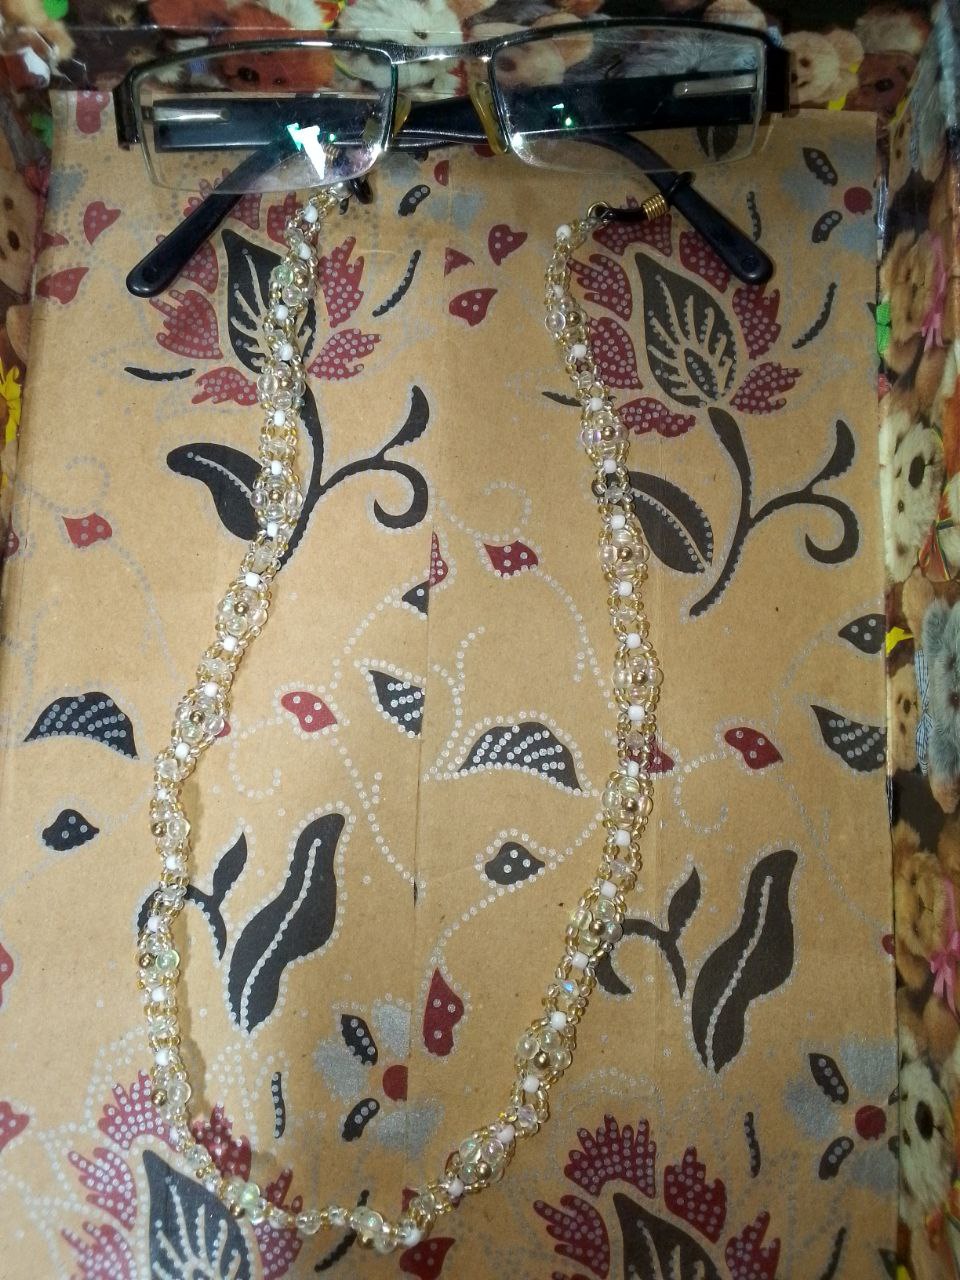
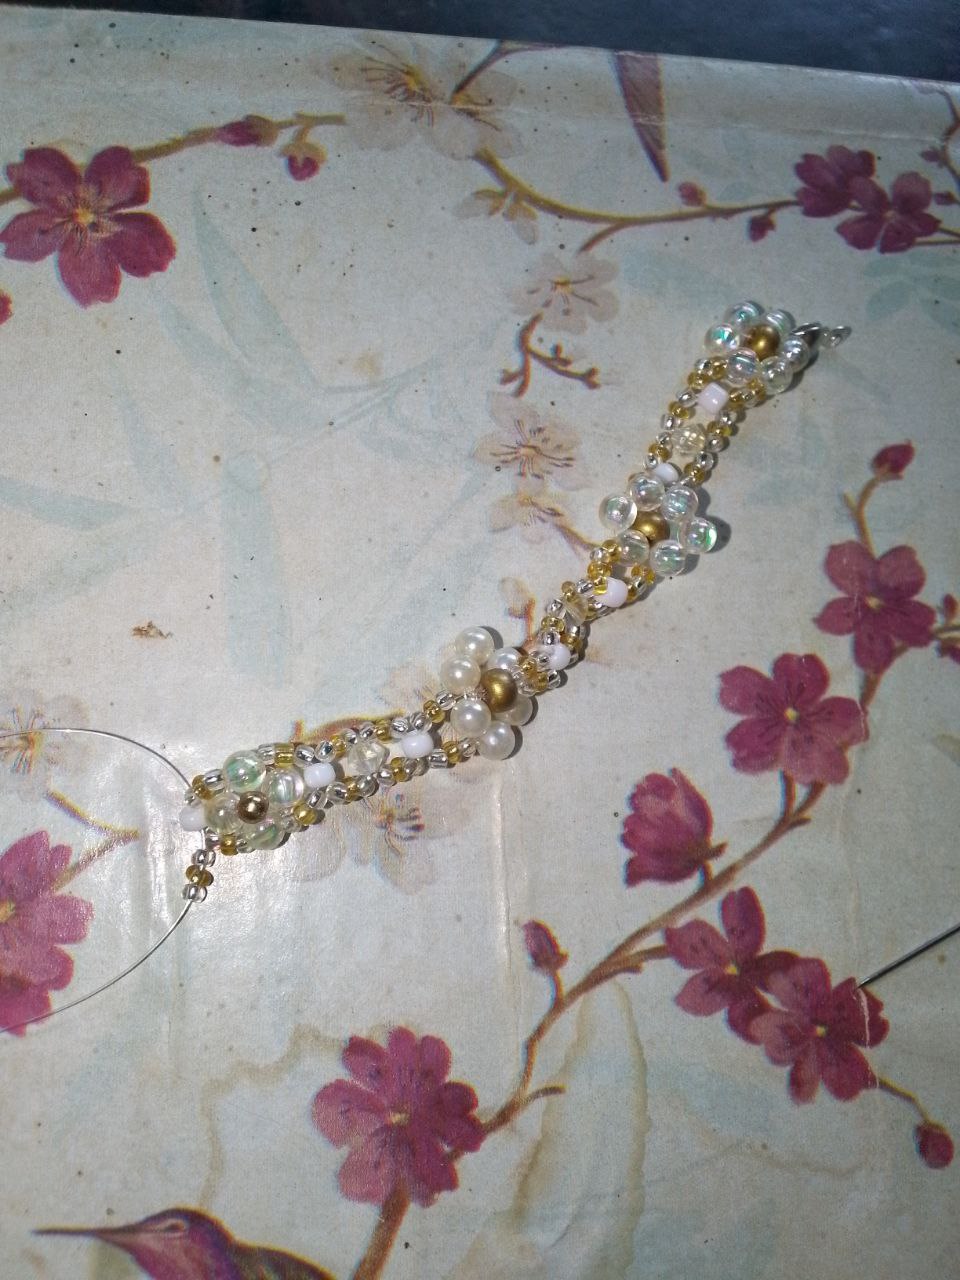
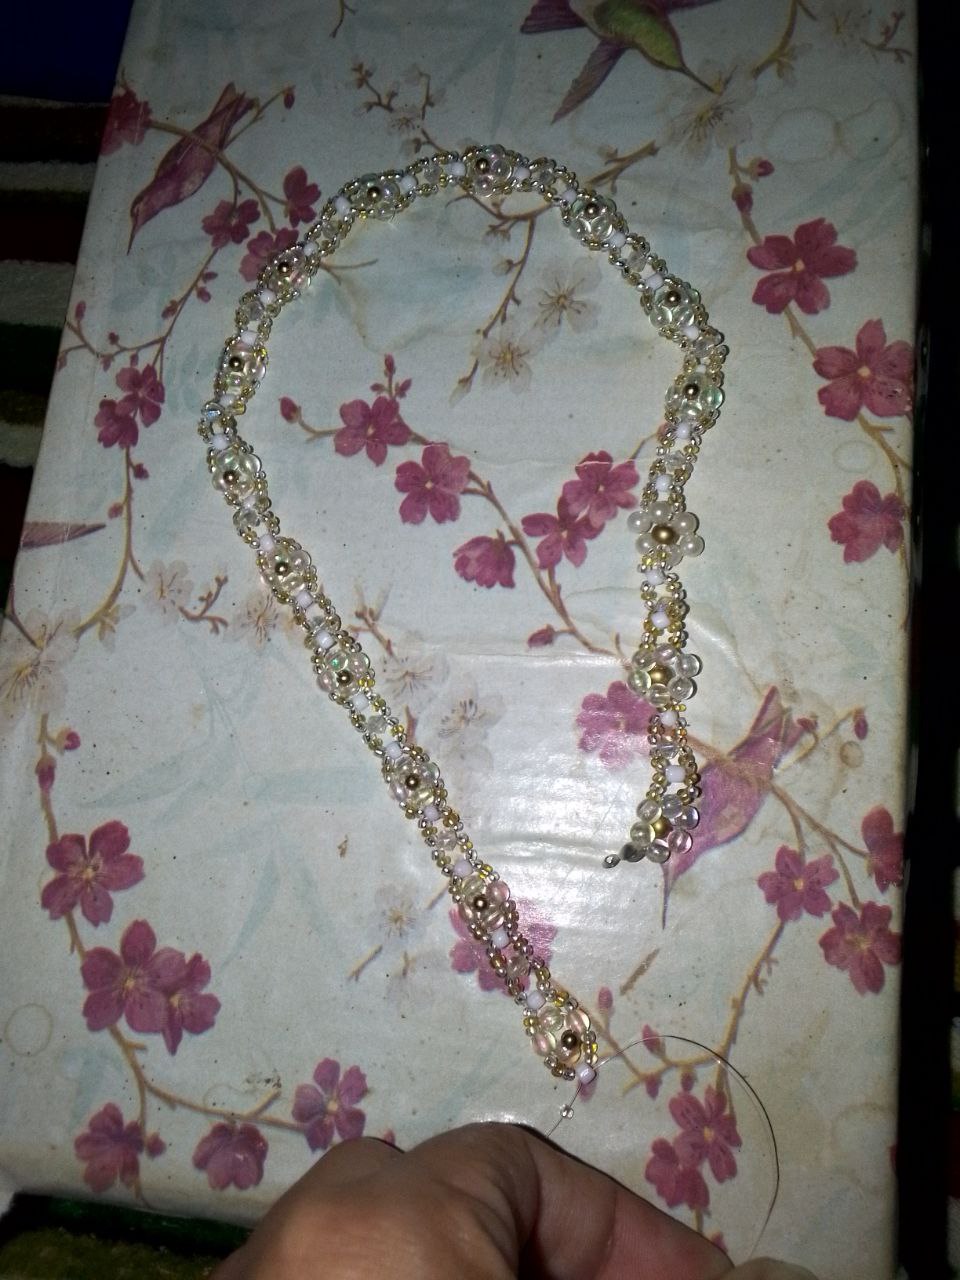
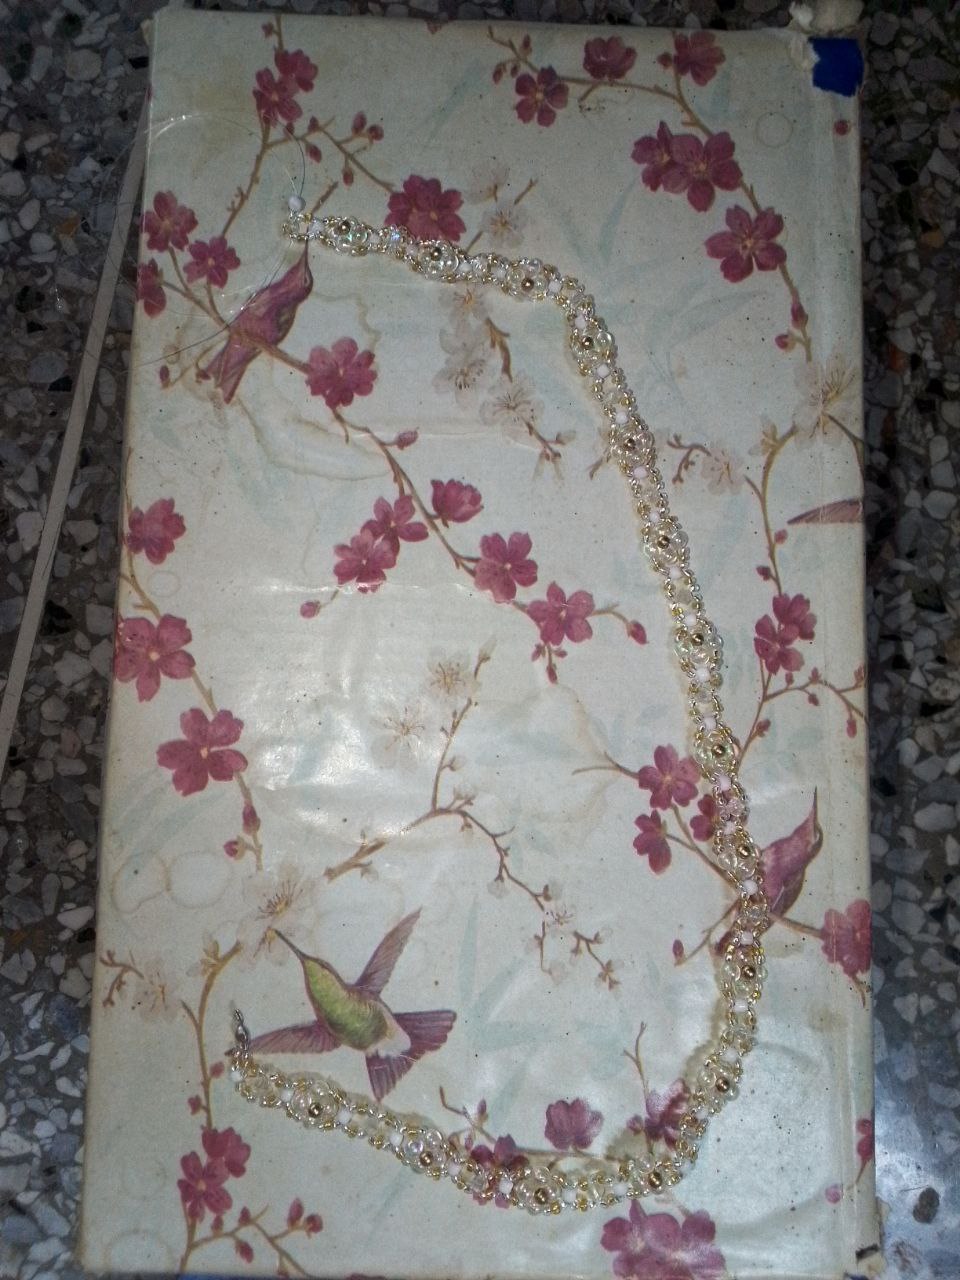
Resultado | Rresult
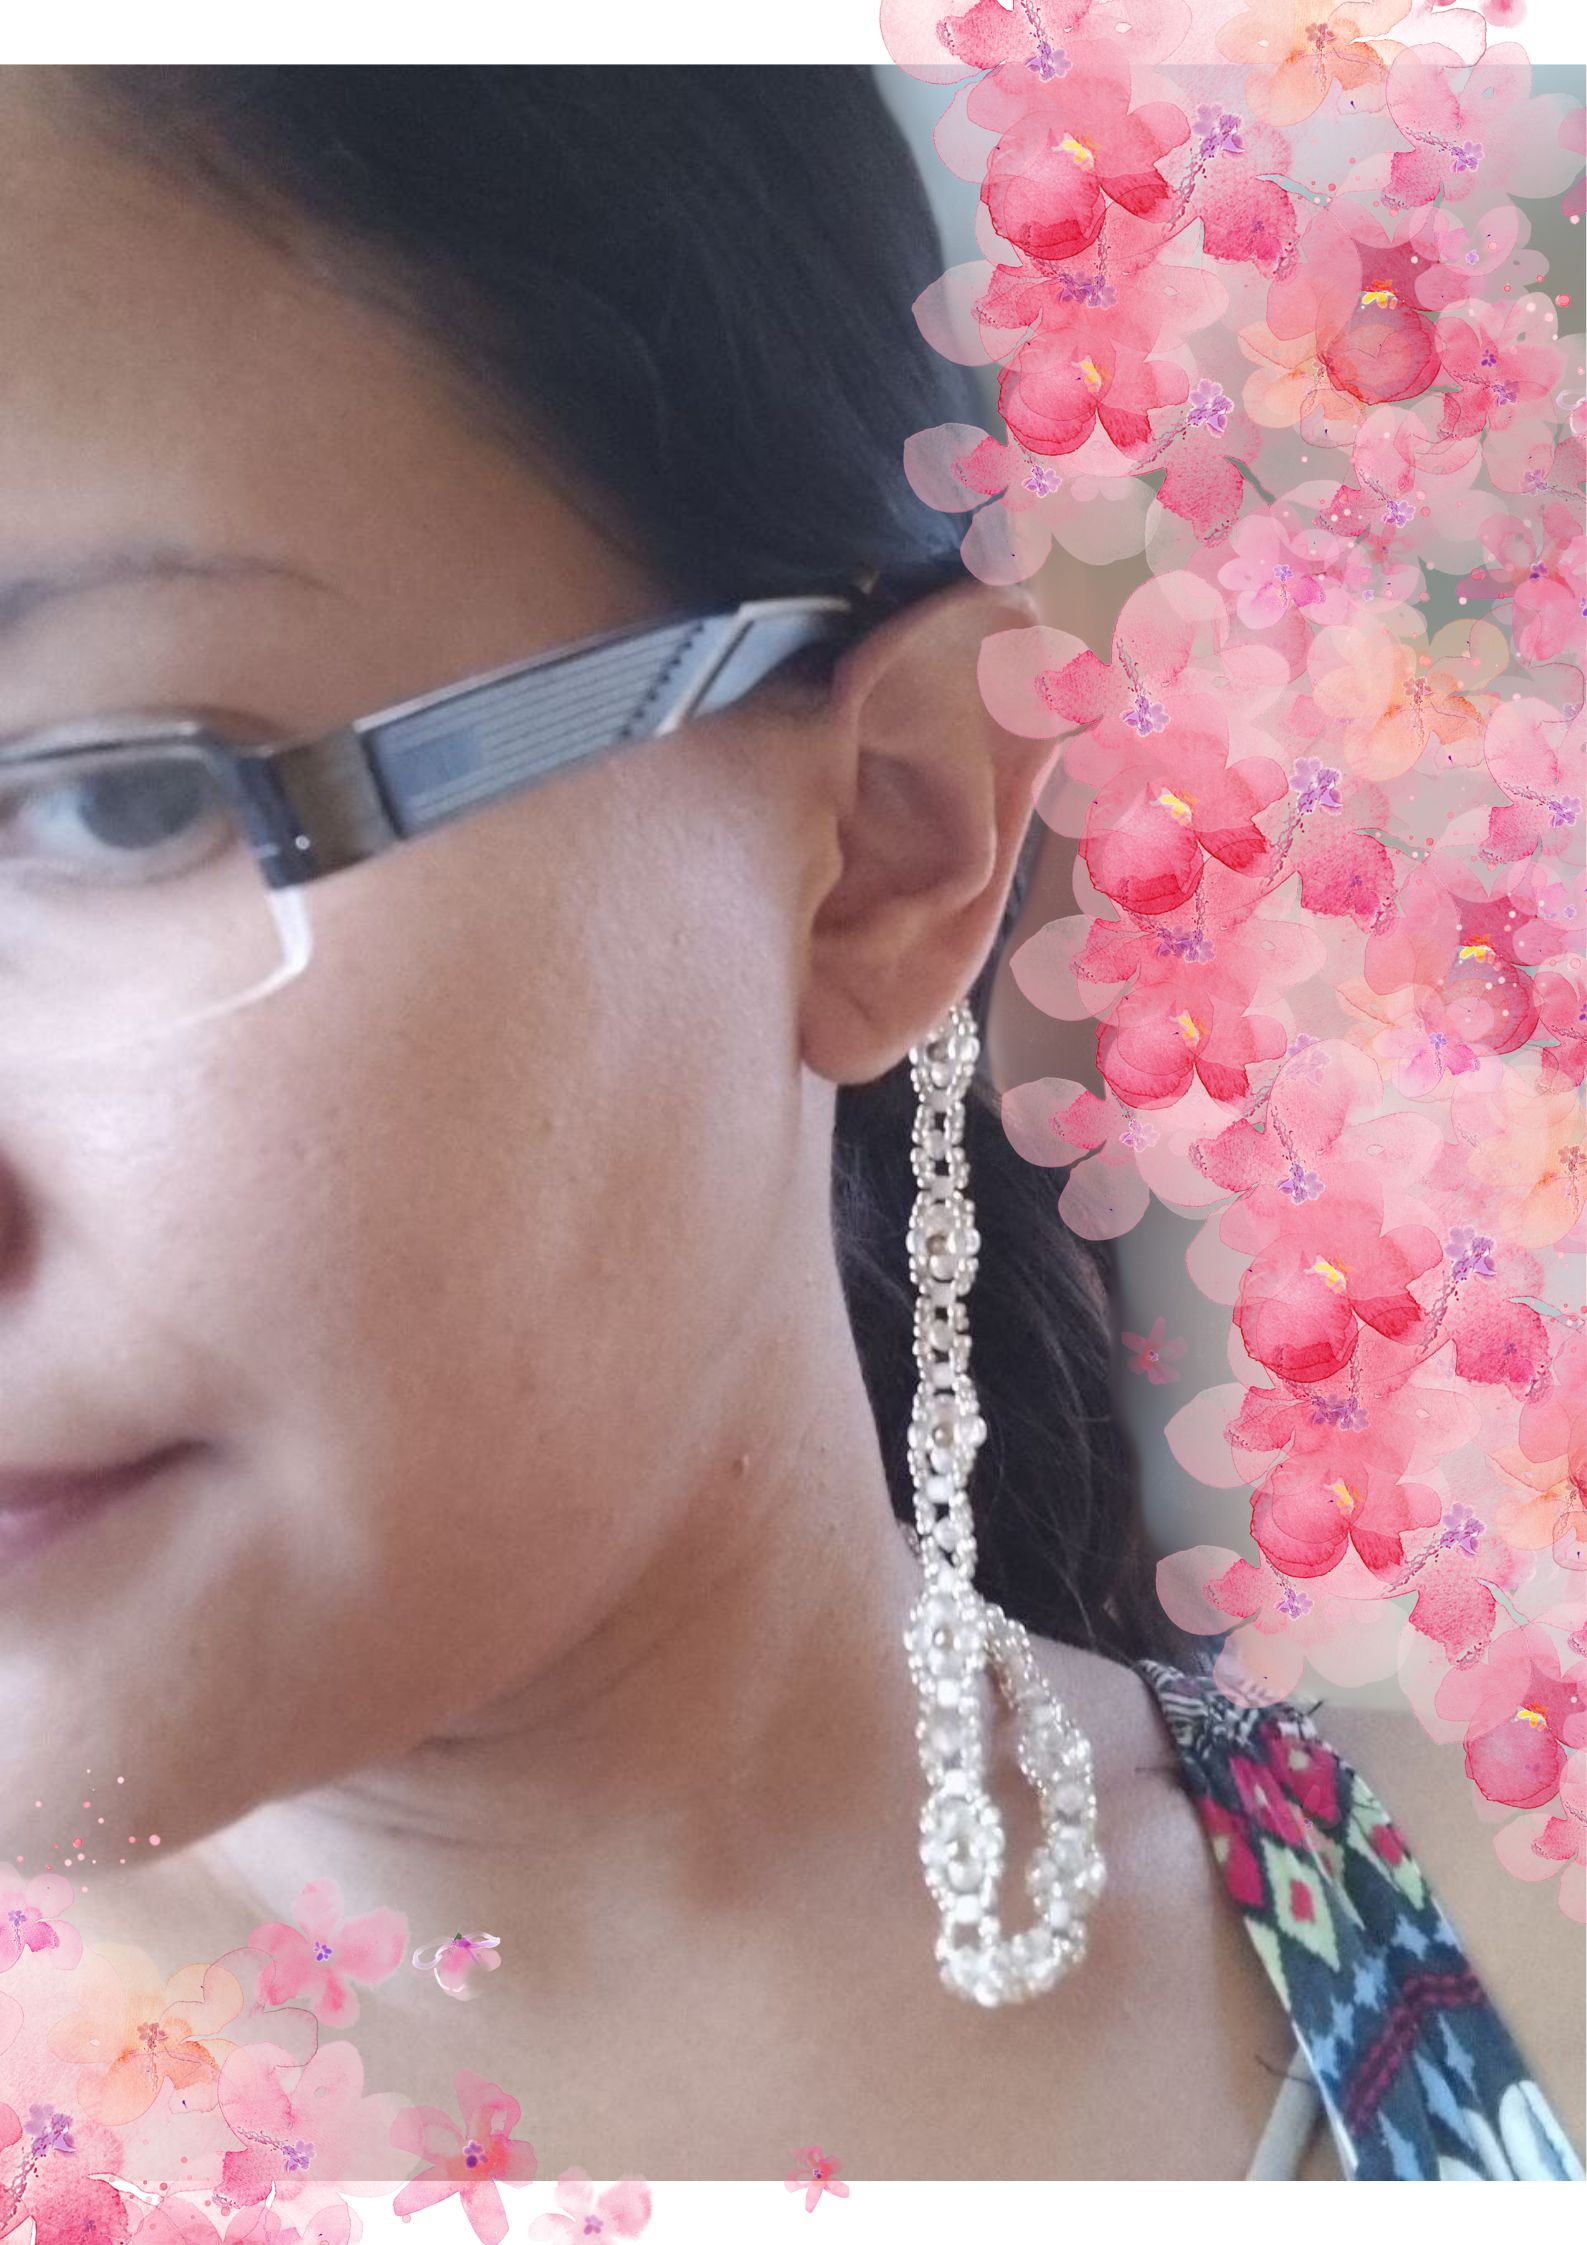
Y bueno amigos asi es como queda puesto el cordón, me gustó mucho como se ve le da un toque de delicadeza la combinacion de dorado, plateado y transparente.
Y bueno amigos asi es como queda puesto el cordón, me gustó mucho como se ve le da un toque de delicadeza la combinación de dorado, plateado y transparente.
|
|
|


Thanks for visiting my blog
Gracias por visitar mi blog
No te detengas, no dejes de creer en ti y de buscar ideas y opciones para salir adelante.
Don't stop, don't stop believing in yourself and looking for ideas and options to get ahead.
Créditos | Credits
Utilicé una plantilla de https://www.canva.com/ con herramientas gratuitas
I used a template from https://www.canva.com/ using free tools
Usé google traductor para la traducción.
I used google traductor to traduction.
Las imagenes son propias.
The images are my own.