ENGLISH.
Greetings dear creative cooking community, happy start of the week 😊
Today I woke up wanting to eat freshly baked bread, you know what I mean, that smell that comes out of the kitchen when a loaf of bread is baking is deliciously irresistible.
I had already seen a recipe on the internet that I loved, it was the right one for me, who am not at all an expert in making bread, so today I decided to try to see if I was really going to get a bread that I liked.
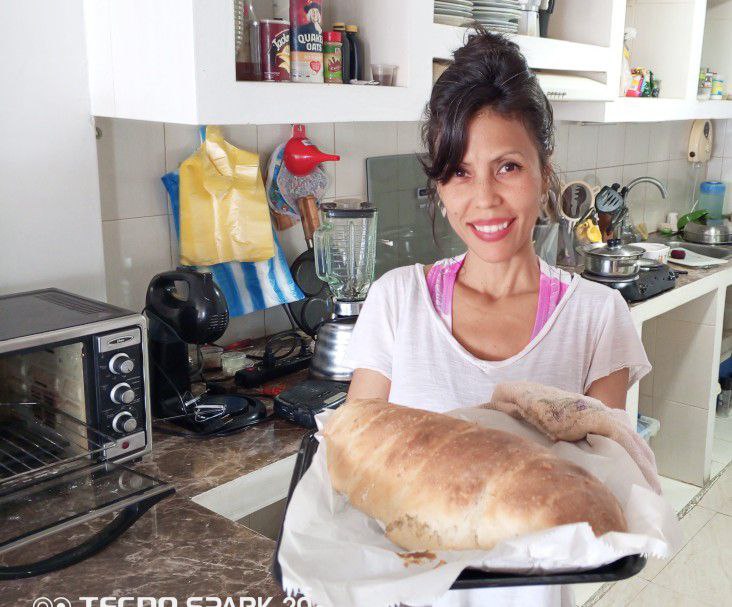
I was definitely very satisfied with the result obtained, because despite being a very easy recipe and with few ingredients, this bread was very tasty, its thin crust was crispy and that is something I look for a lot in a Bread.
As I liked the recipe, here I am very excited to share it with all of you.
The credits for this recipe are for: YouTube channel, Liza's Delicious recipe ❤️
Now I invite you to make it together Let's make this exquisite Bread.
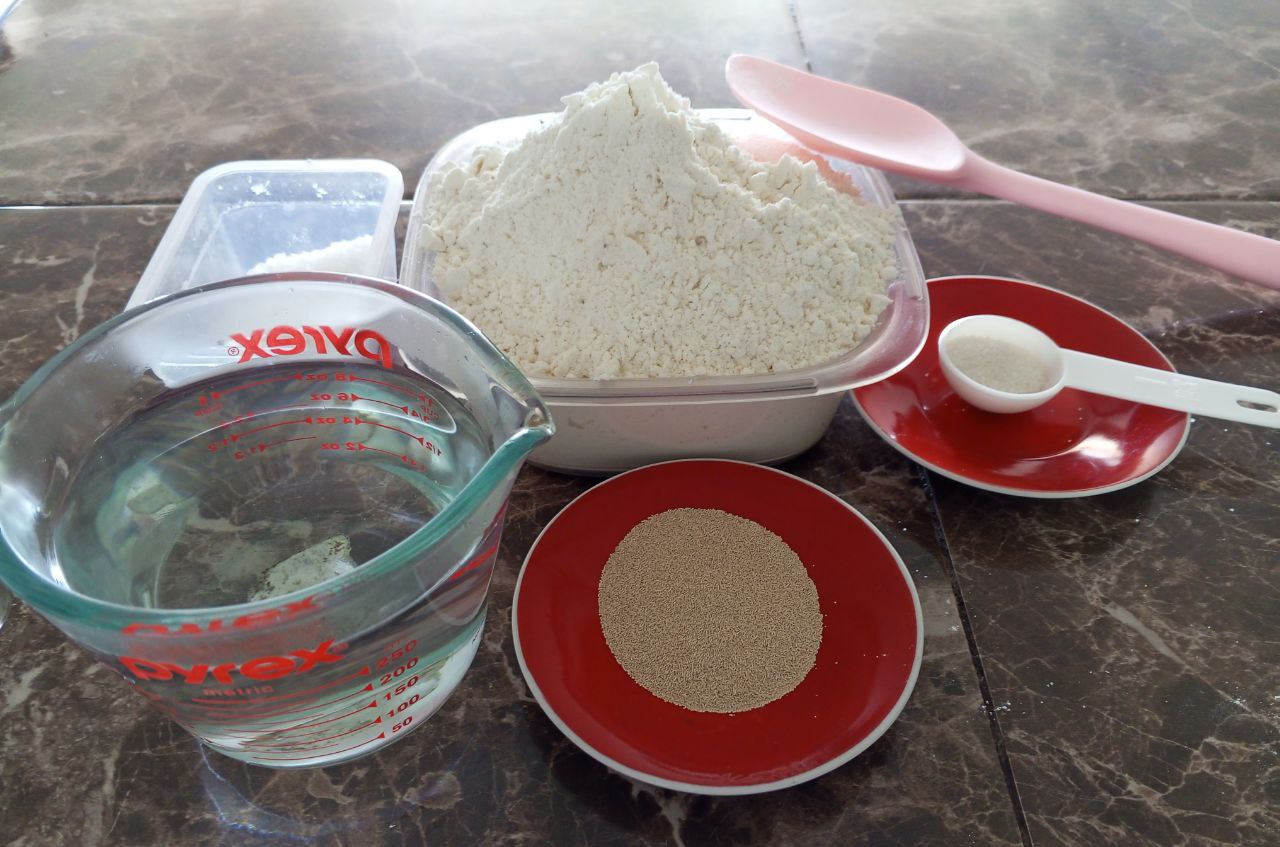
Ingredients:
- 350 ml of warm water.
- 7 grams of dry yeast.
- 480 grams of all-purpose wheat flour.
- 1 teaspoon of salt.
- 1 tablespoon of sugar.
- wax paper.
- pastry spatula.
Let's get started with the preparation:
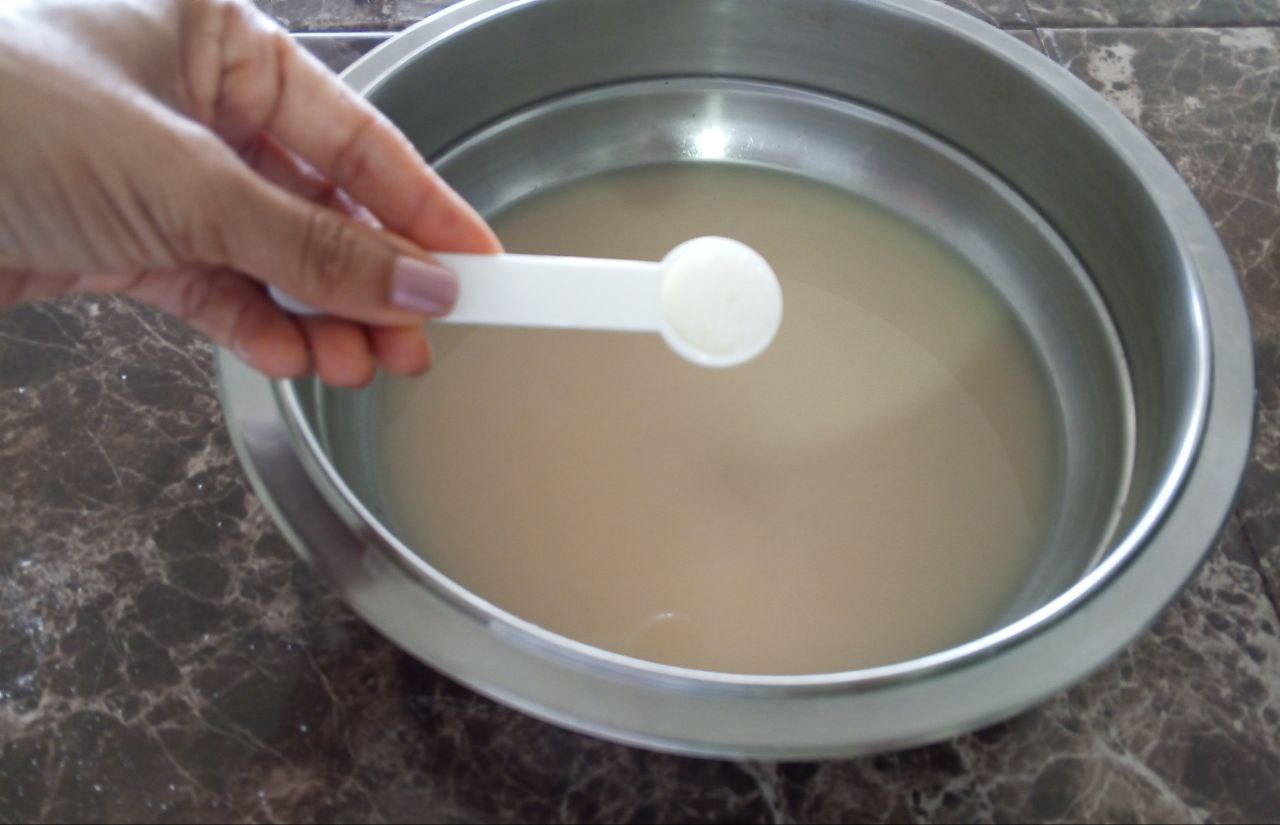
In a container we start by pouring the water and yeast.
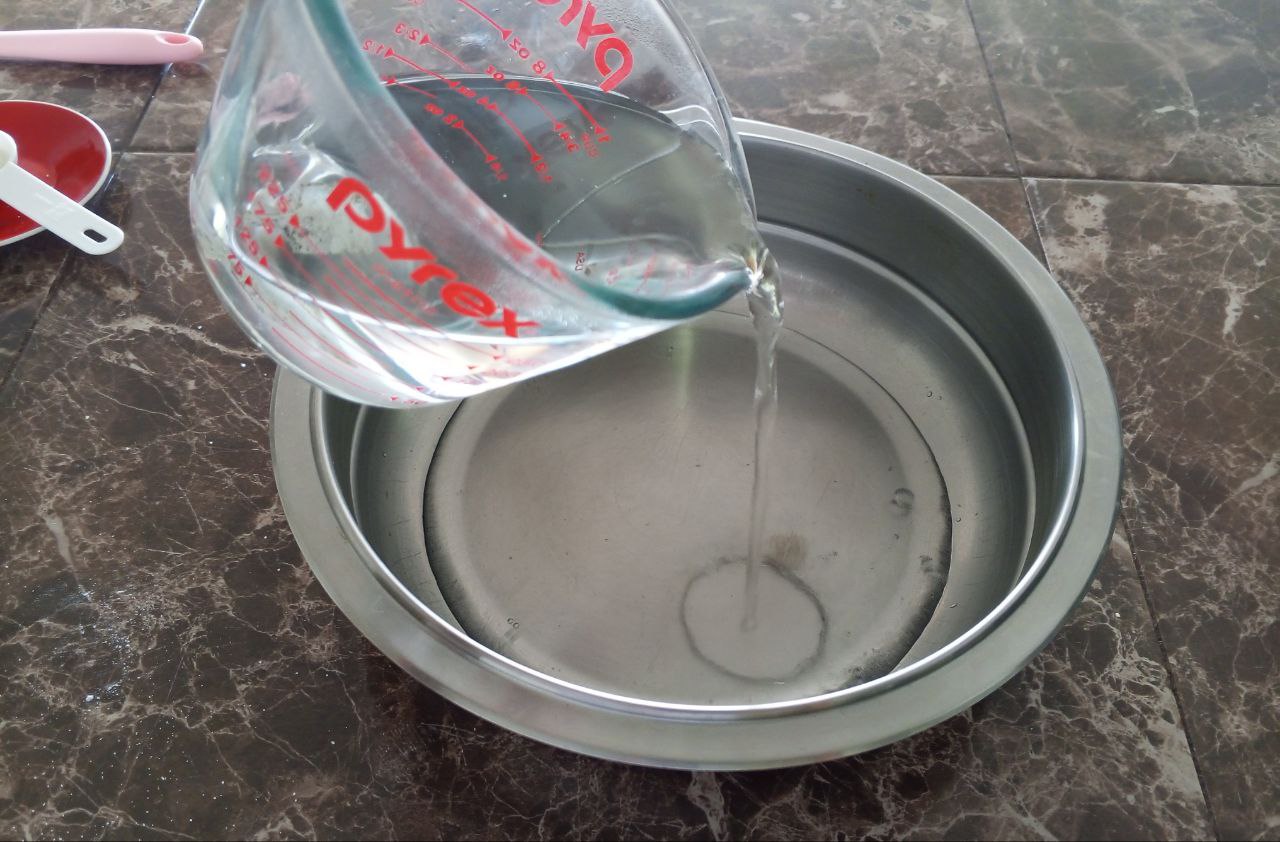
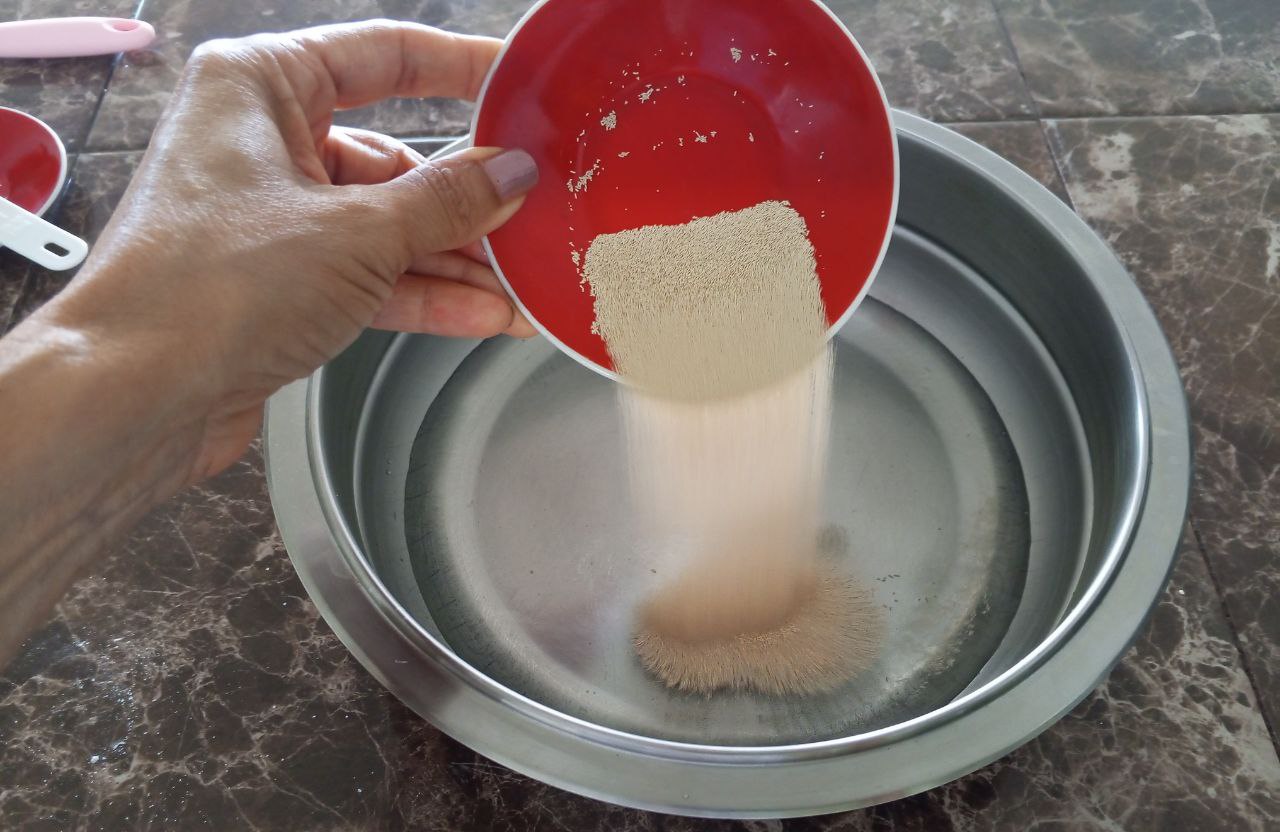
We mix.
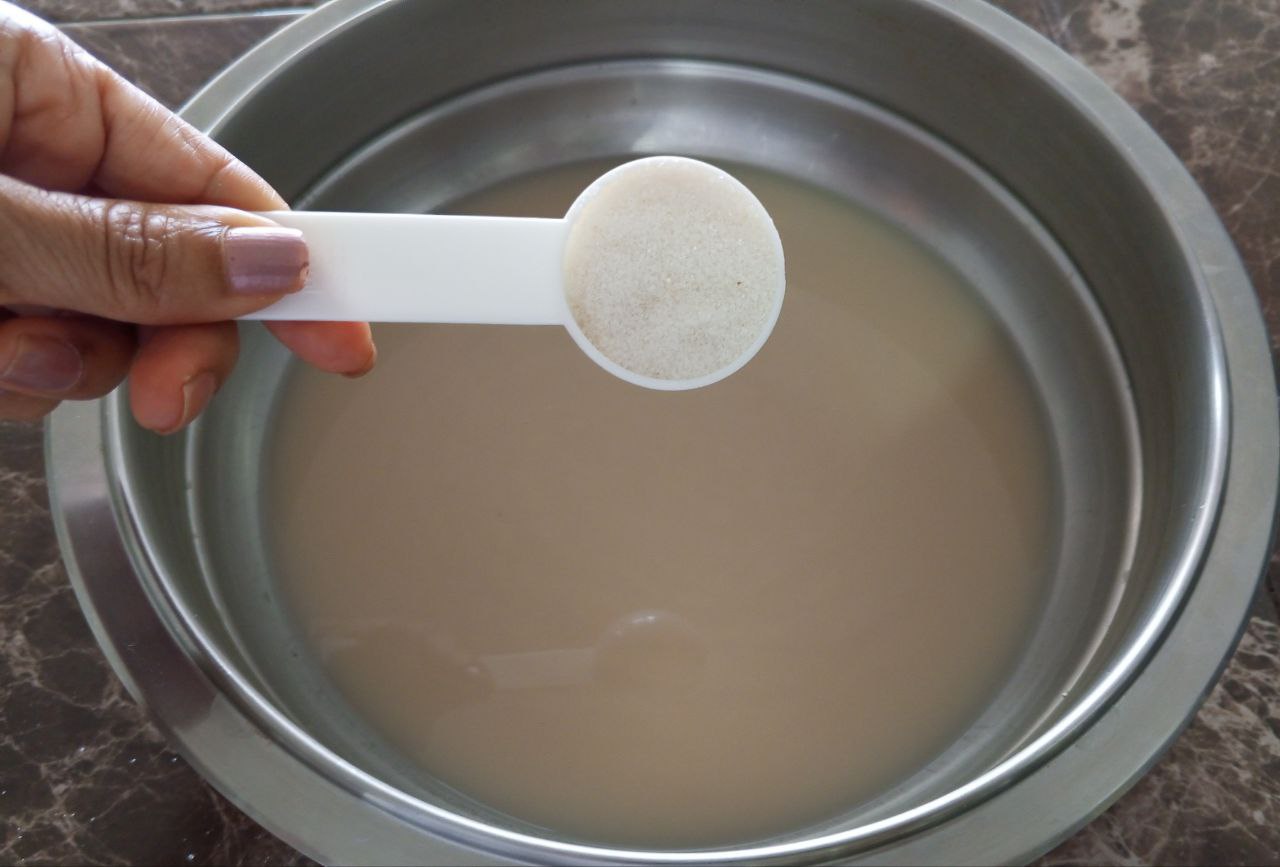
Now we add the sugar and salt, mix again.
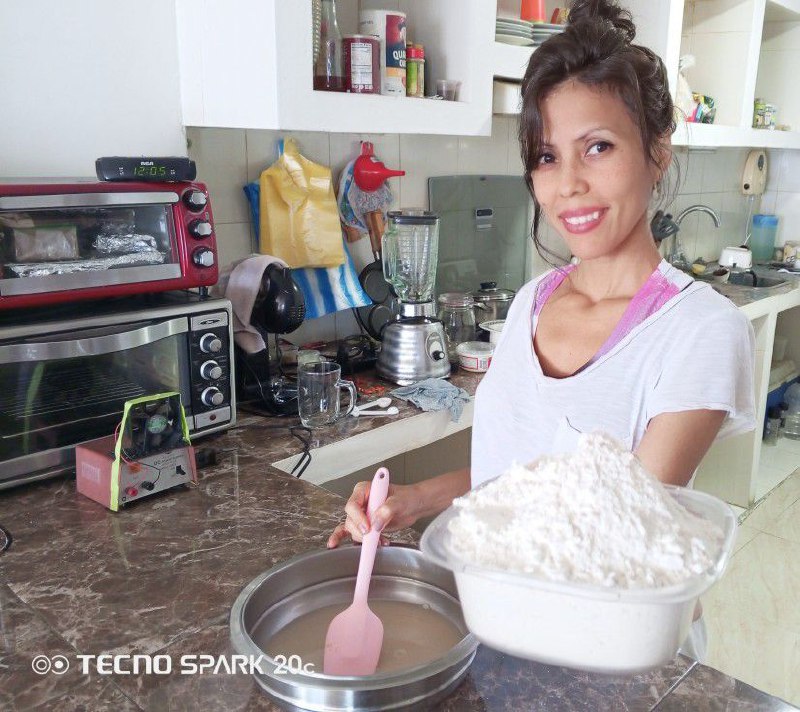
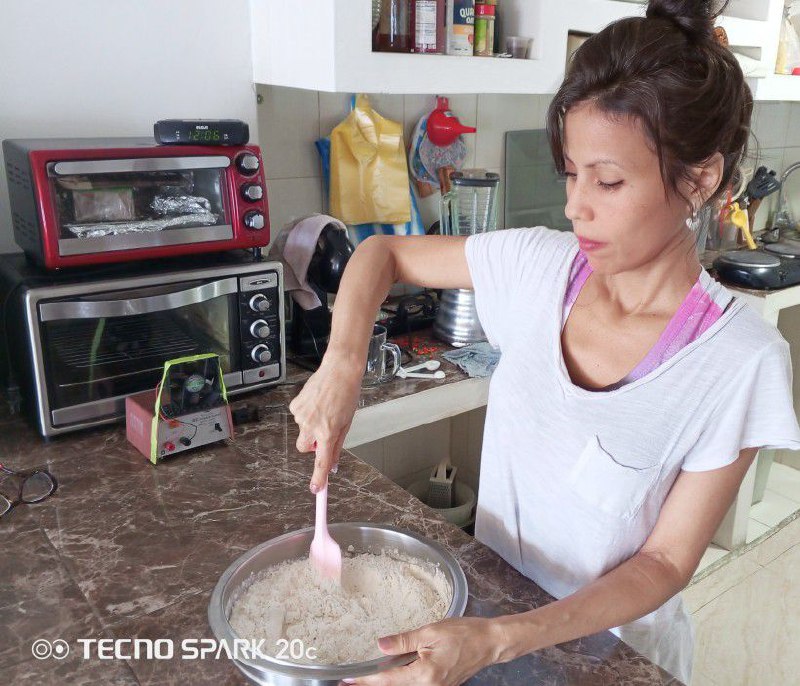
We add the Wheat Flour.
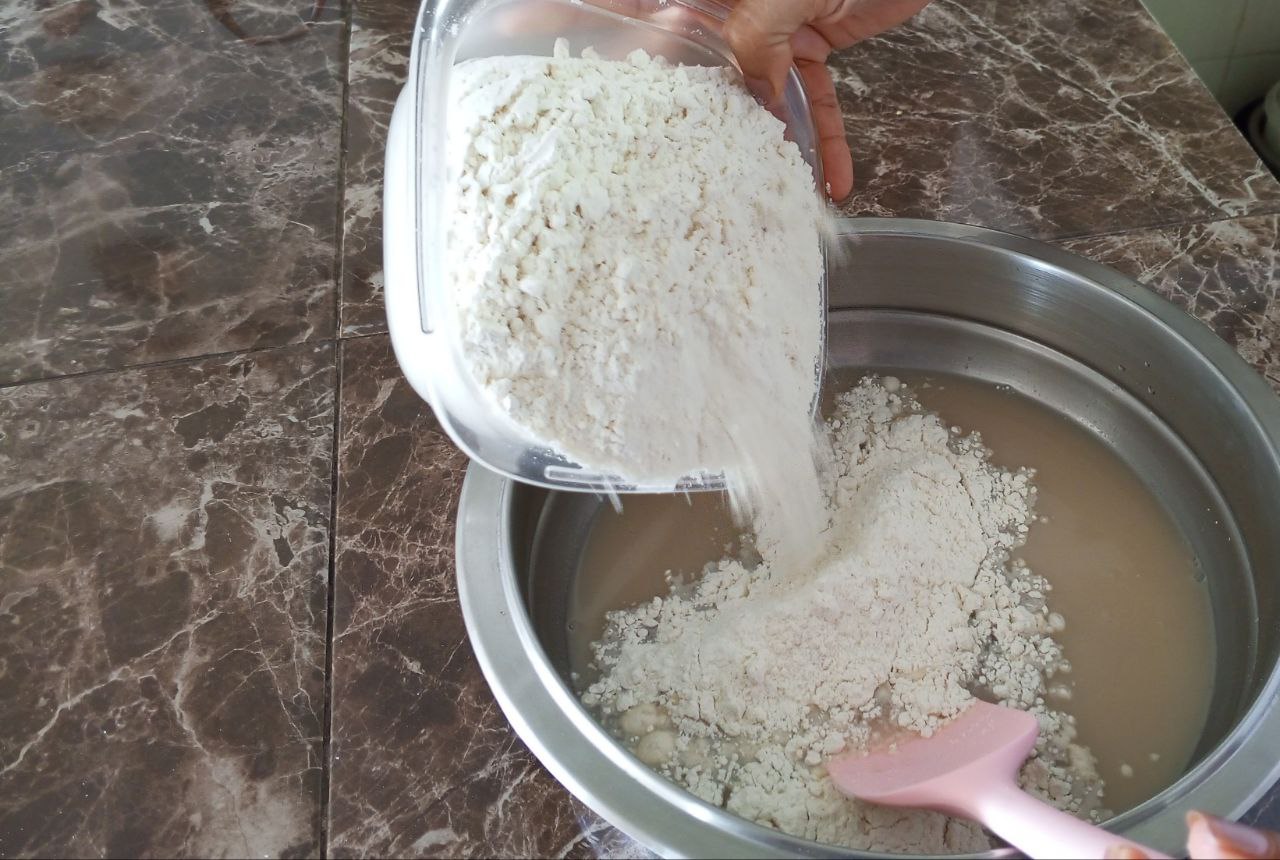
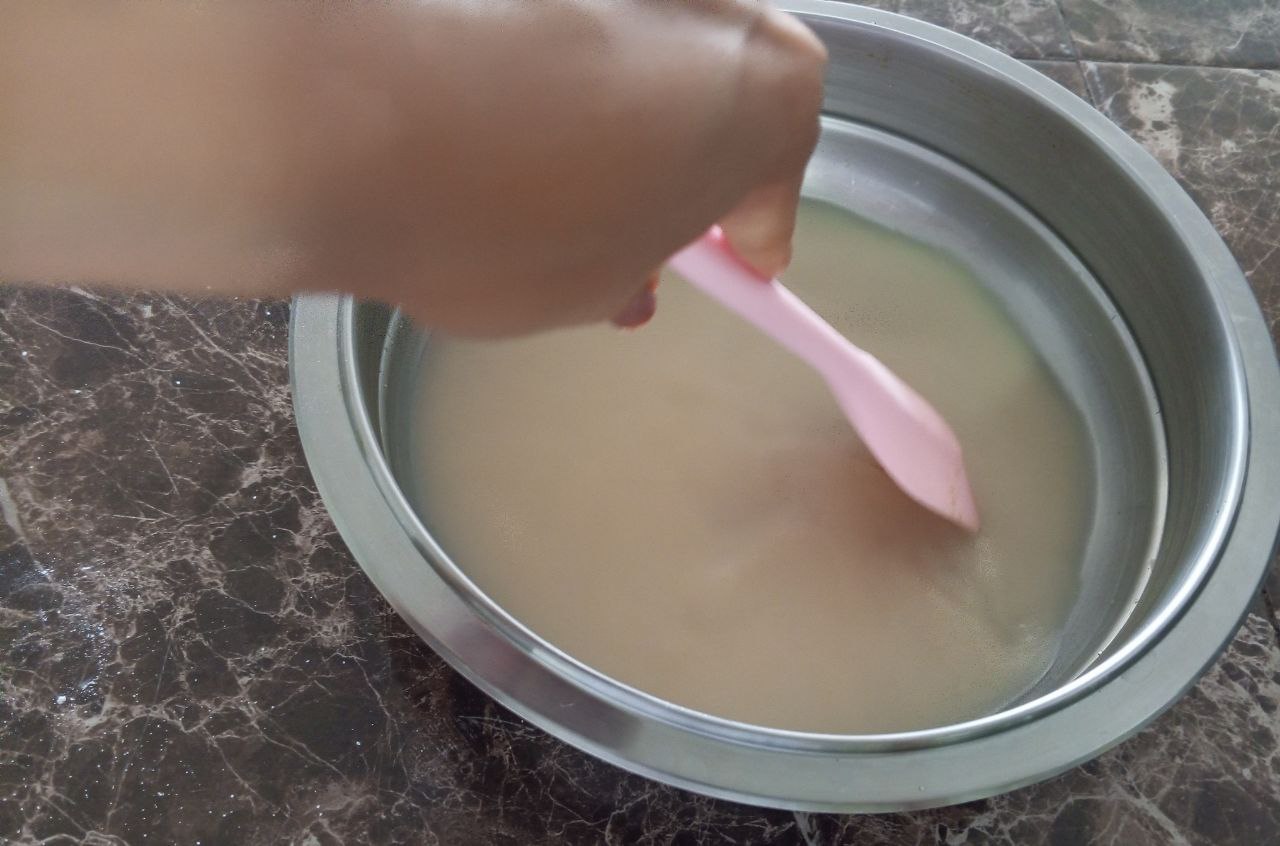
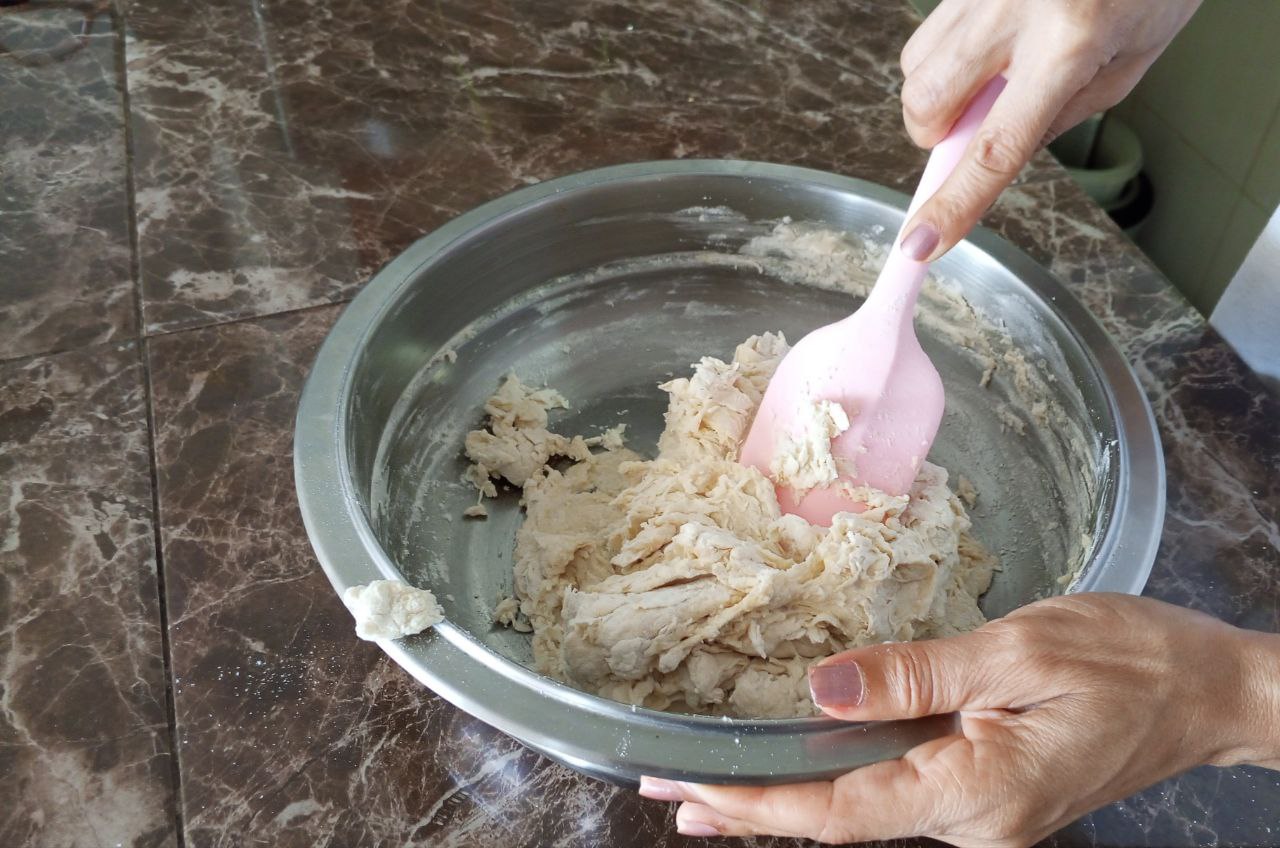
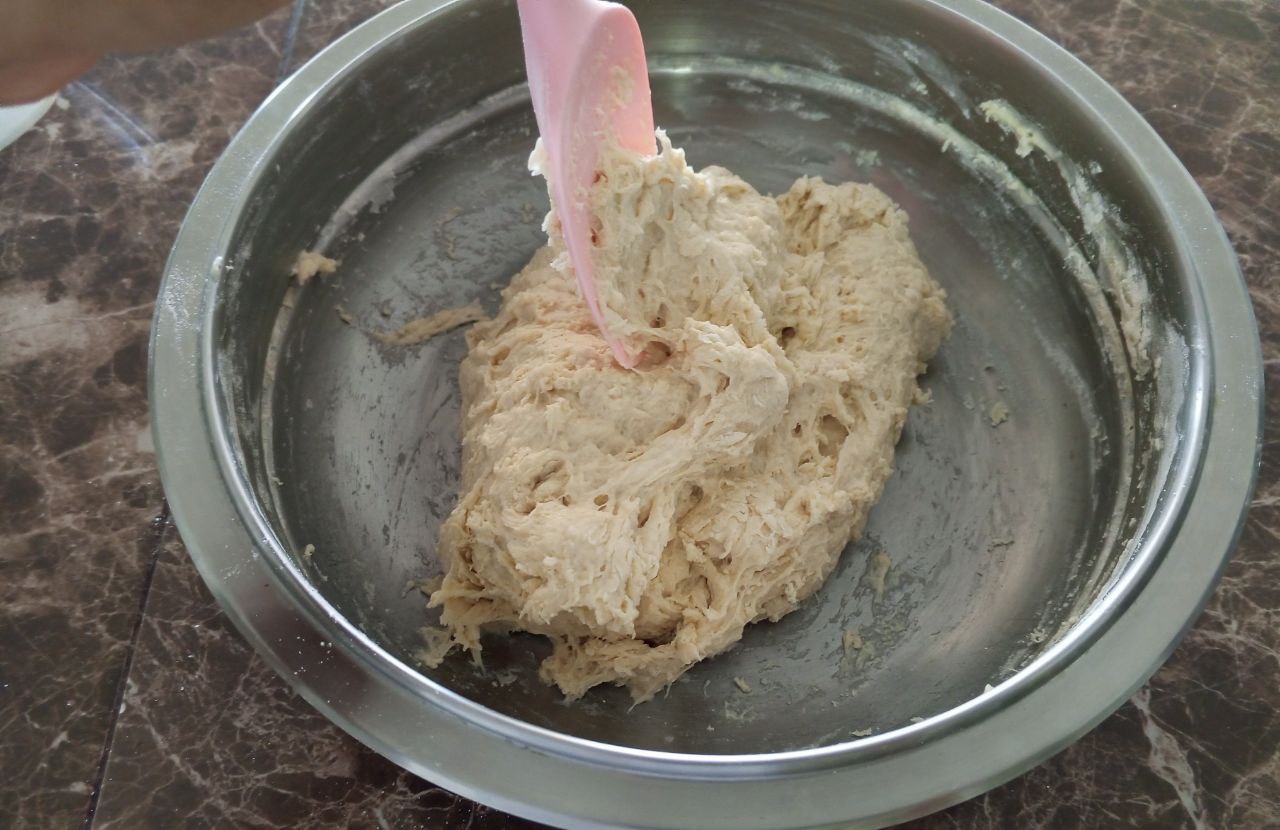
And now we mix very well using a pastry spatula, The ingredients must be well integrated, we will get a sticky dough, that's the idea.
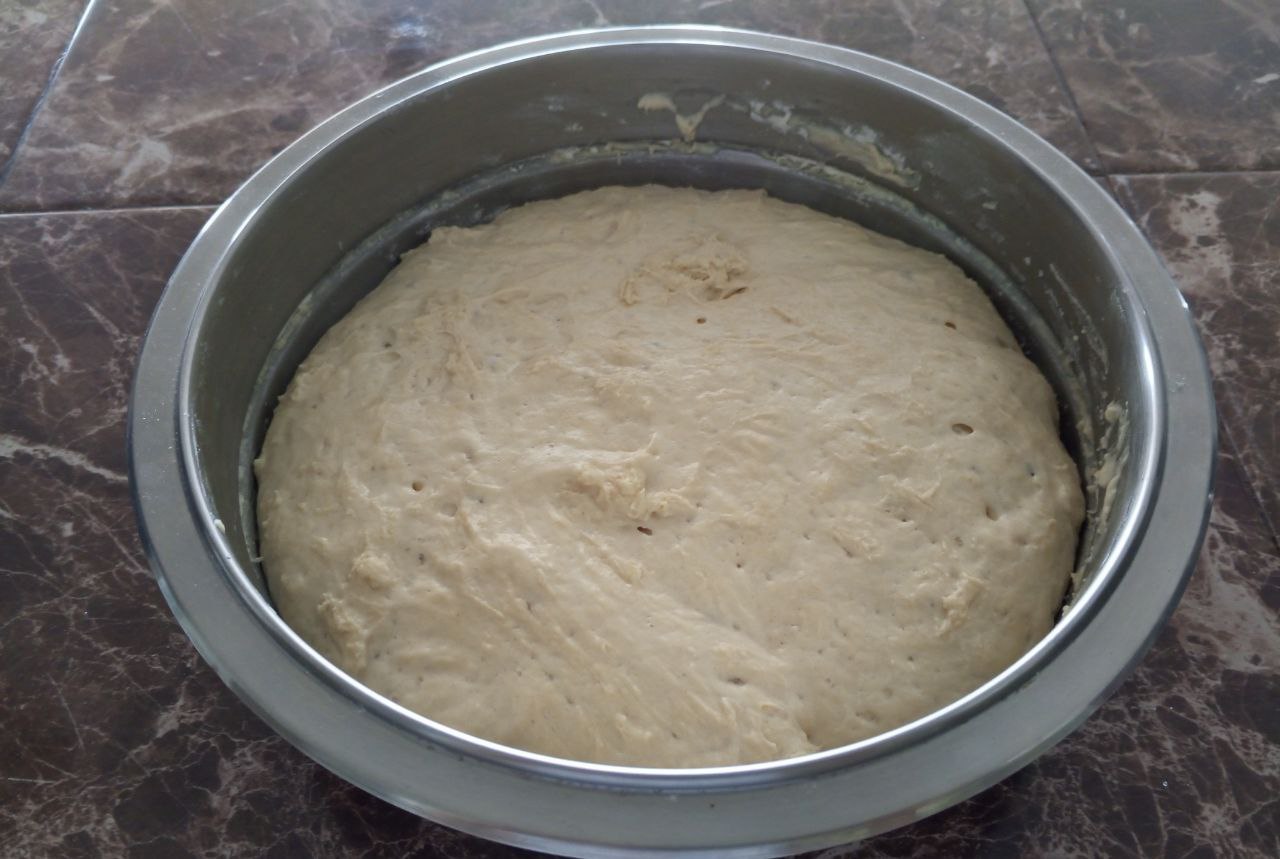
Then we cover it with a kitchen cloth and we are going to spray it with a little water, the cloth should be damp, we let the dough rest for approximately an hour and a half, or until it doubles in size.


After time we can observe that the The dough has risen enough.
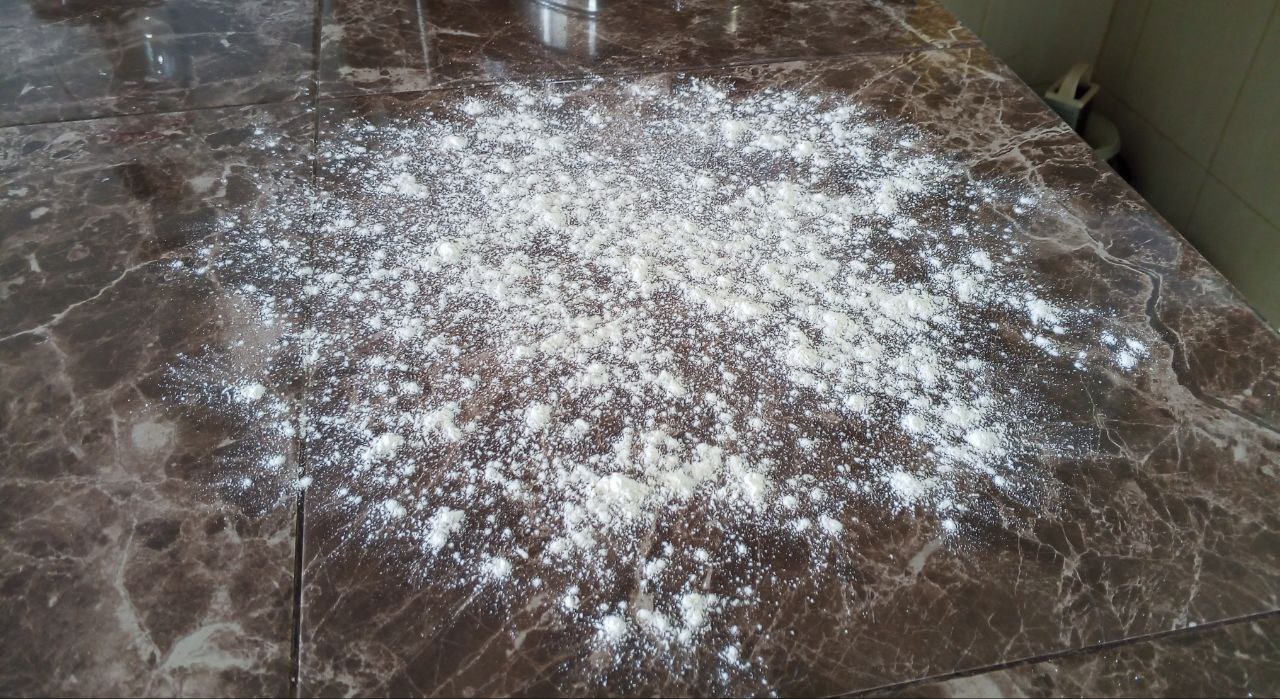
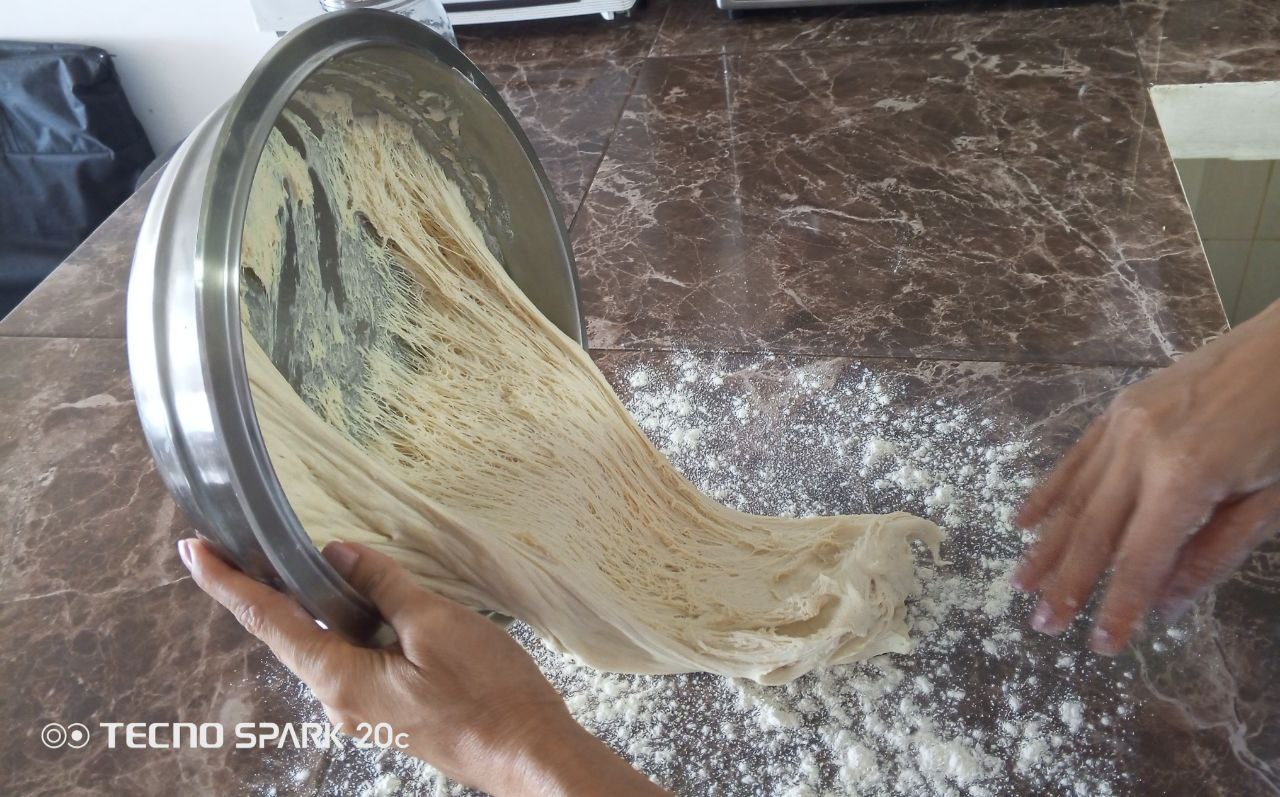
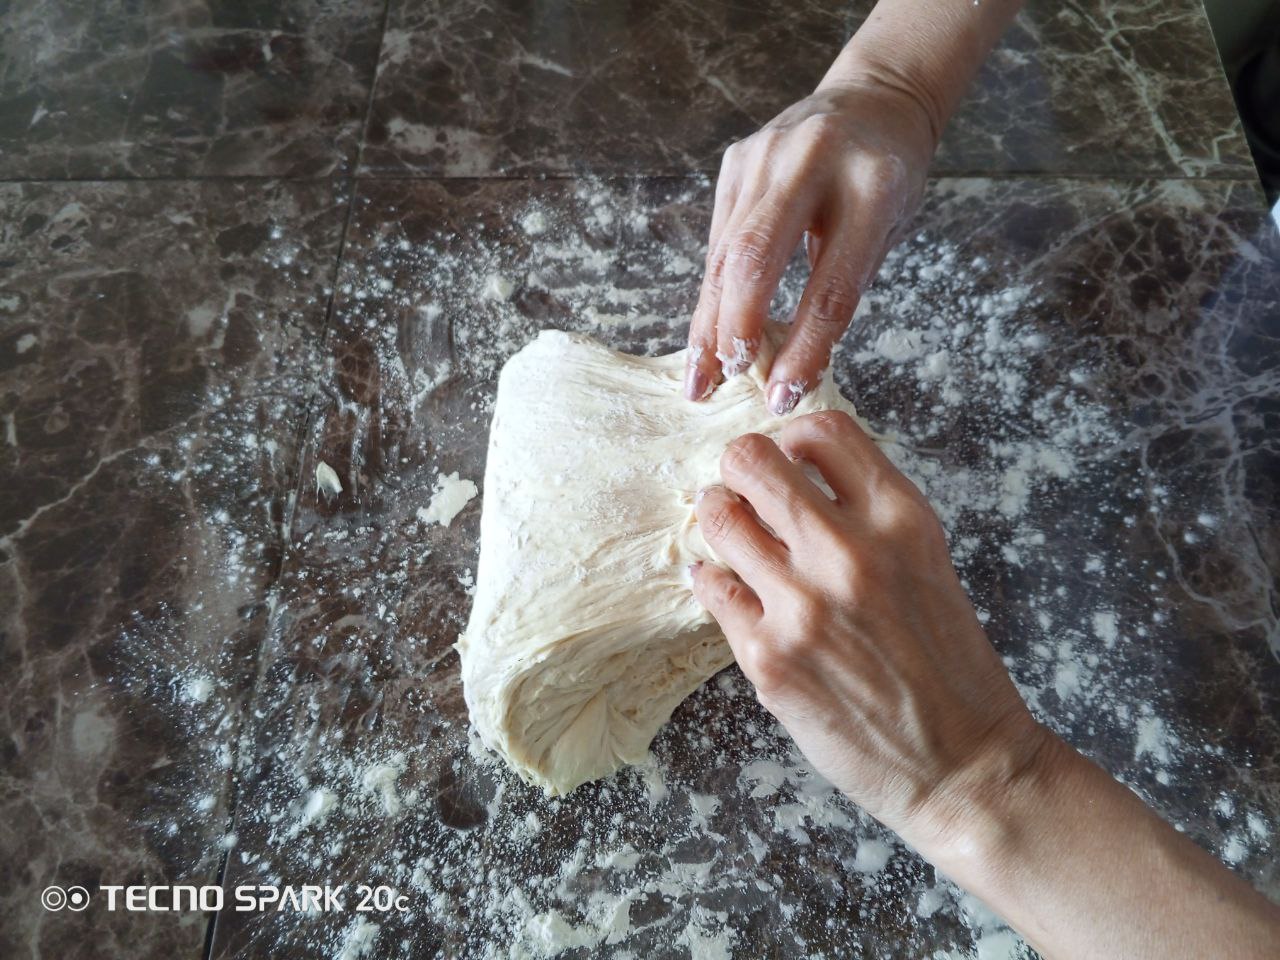
Now on our work table we are going to put enough Wheat flour, we place our dough.
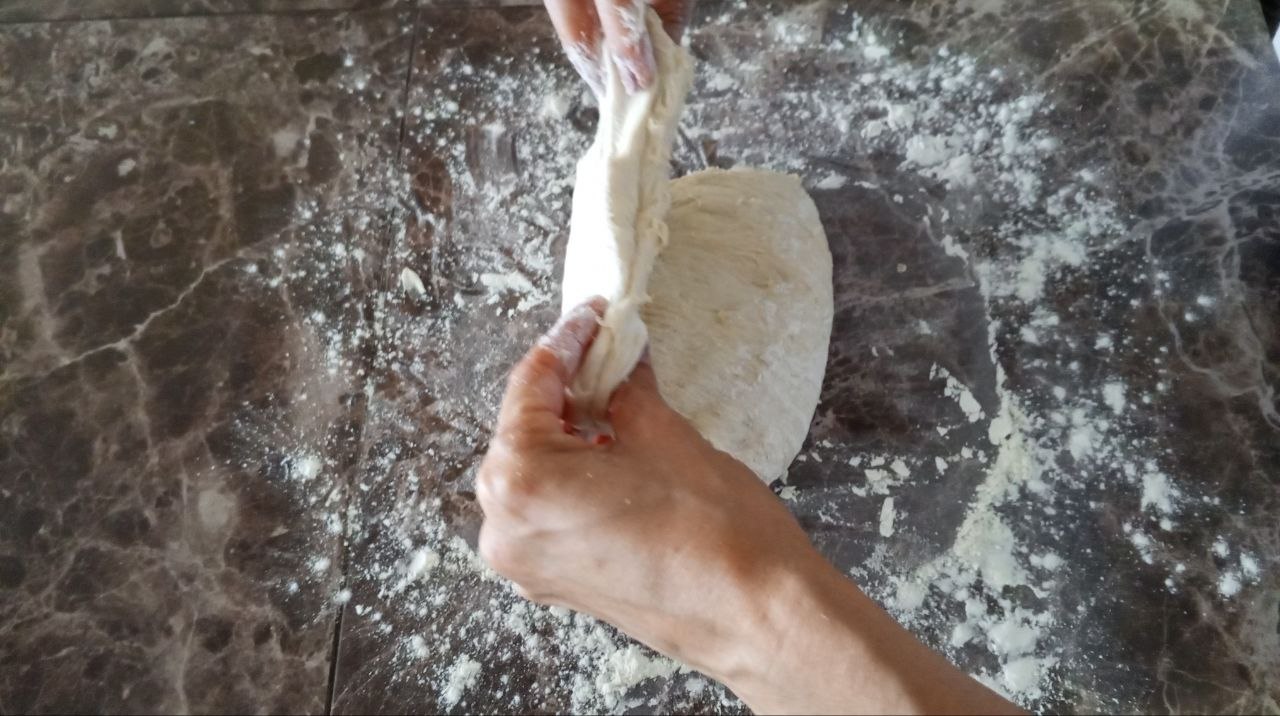
And we started to make several folds, about three or four, if you ask me why these folds are made, well I don't know, I just followed the instructions in the recipe 😏

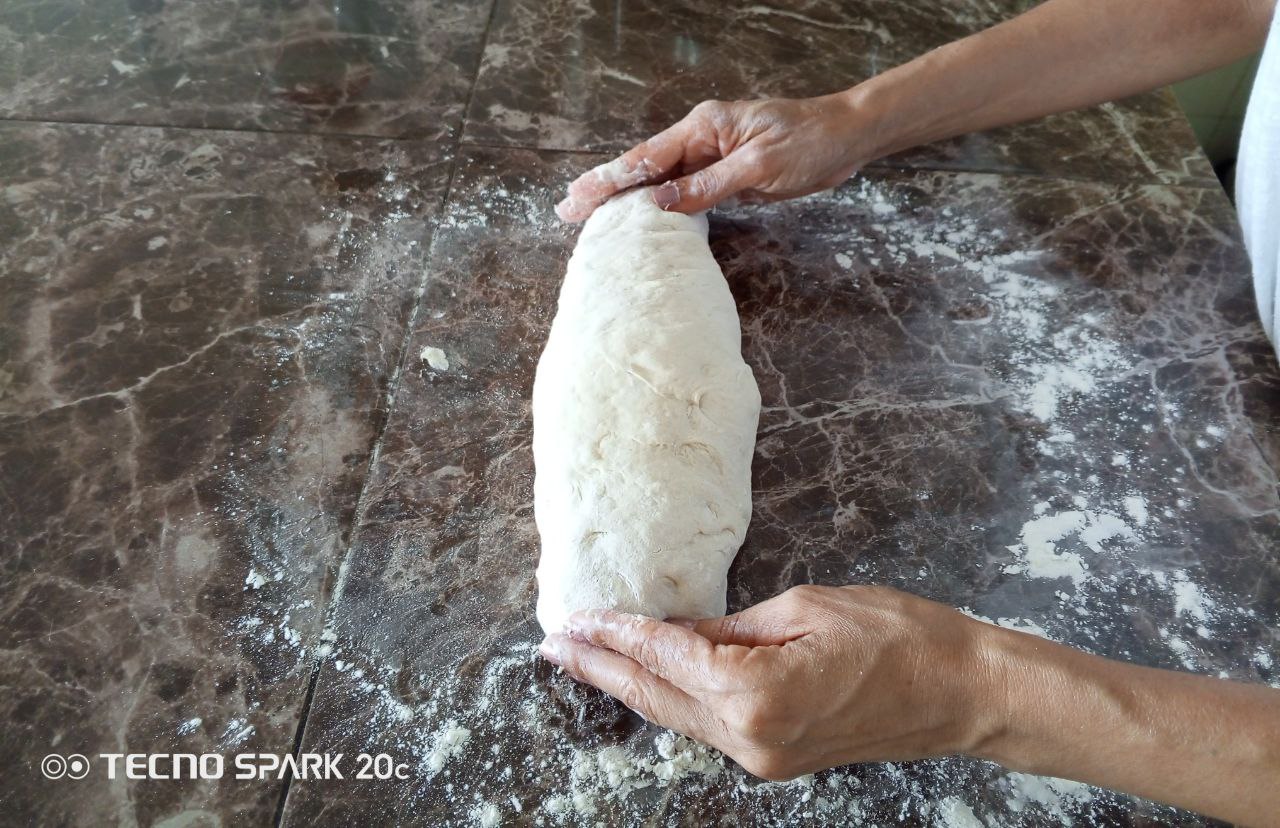
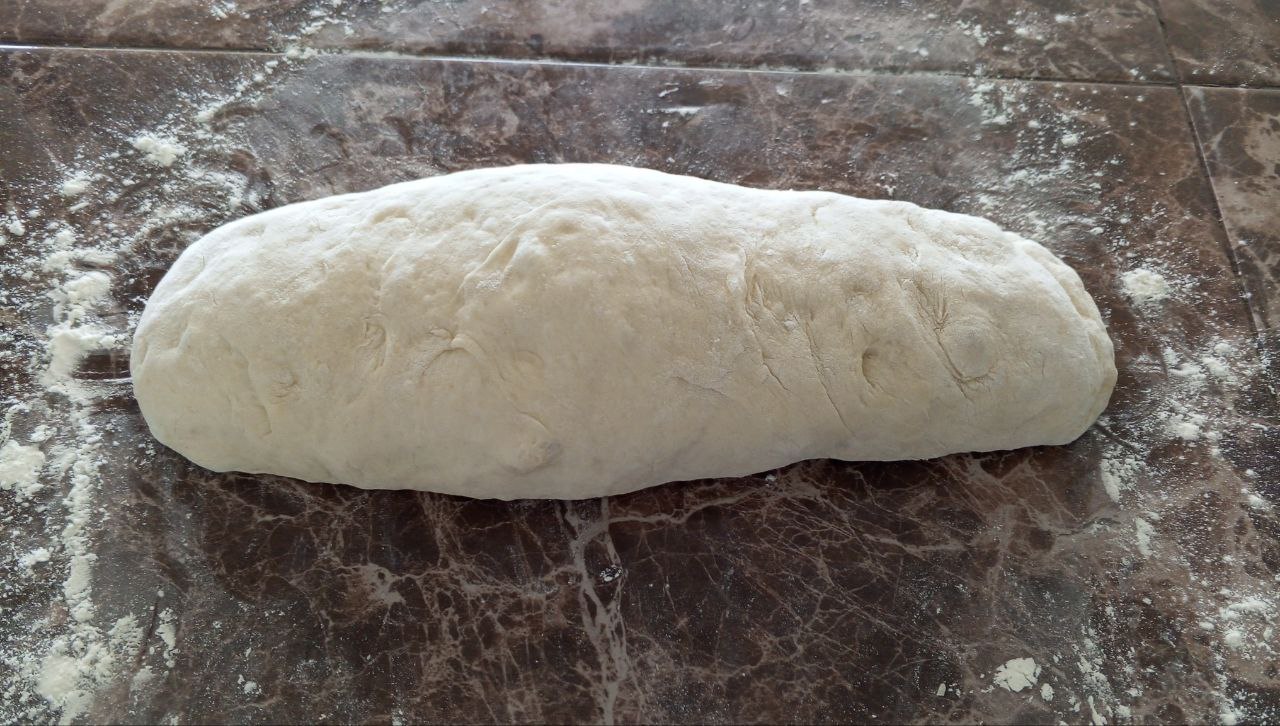
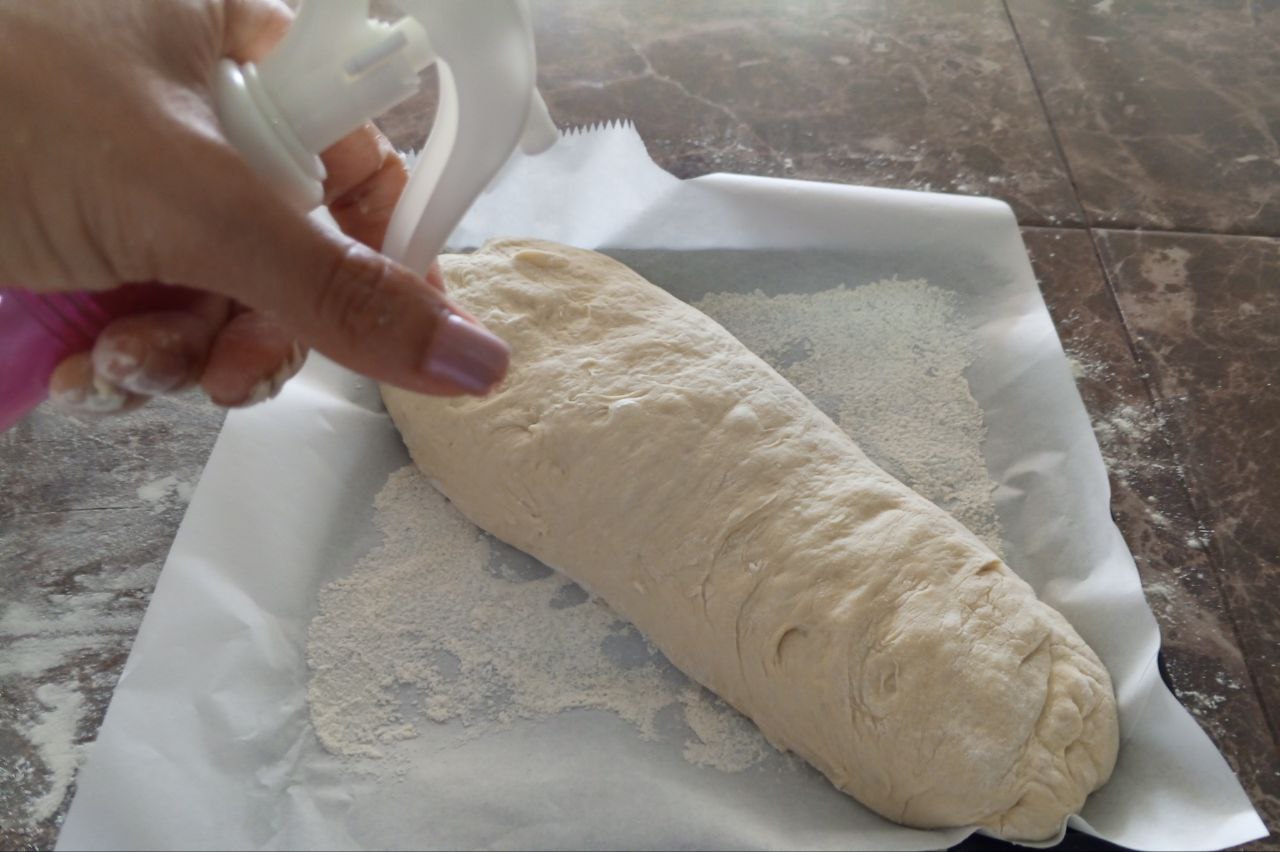
Then We are going to shape the bread. I tell you that, in the original recipe, 8 round rolls are made, but I preferred to make one because I don't have space on my baking tray to make that amount at once, and I also found the way I did it more practical.
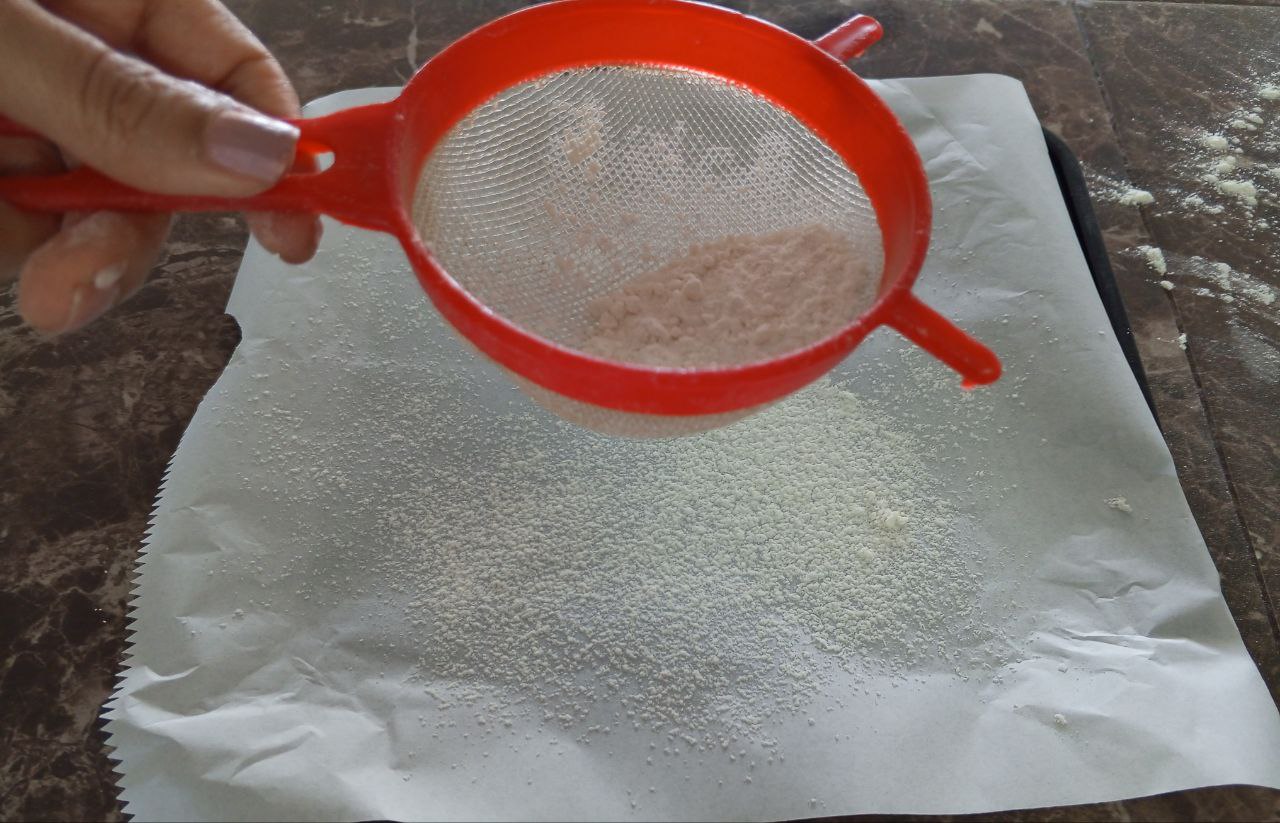
Now we put wax paper on the plate that we will use for baking, I suggest adding oil and then adding sifted Wheat Flour.
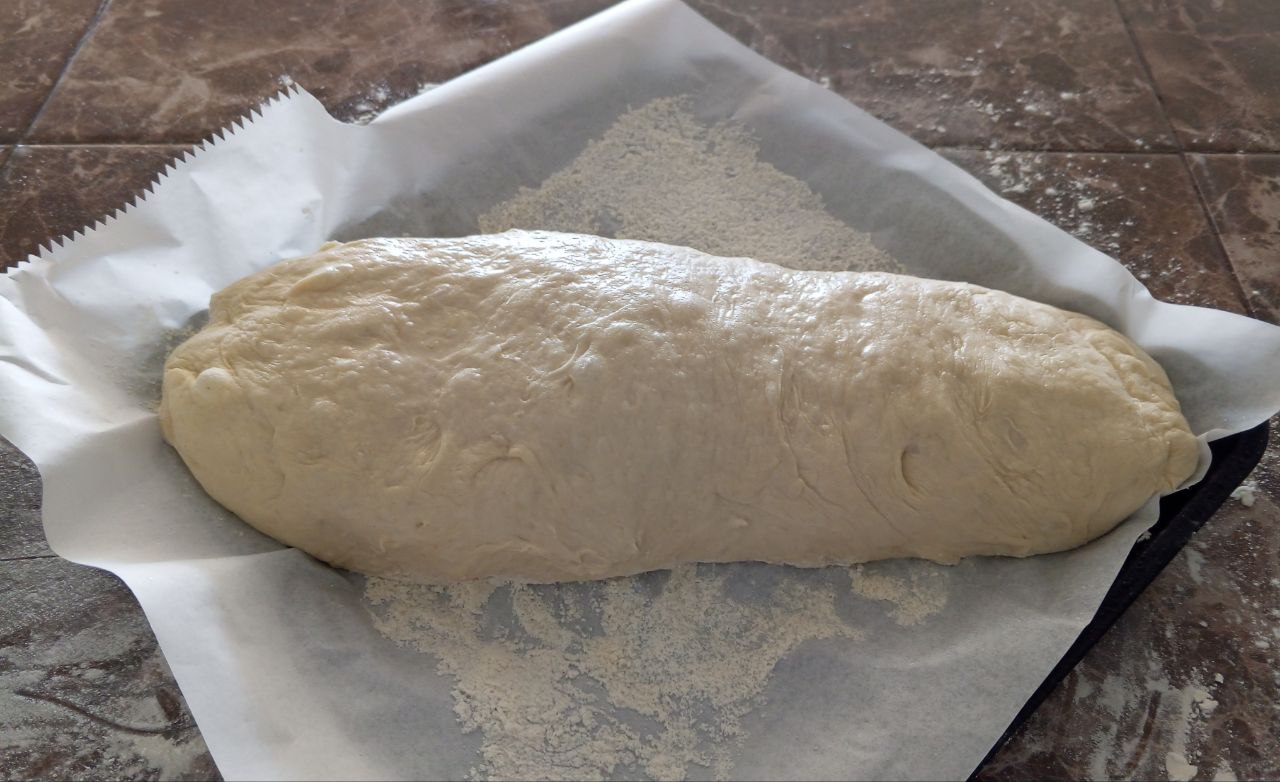
We place our bread very carefully on the baking sheet, sprinkle with a little water and let it rest for 30 minutes.

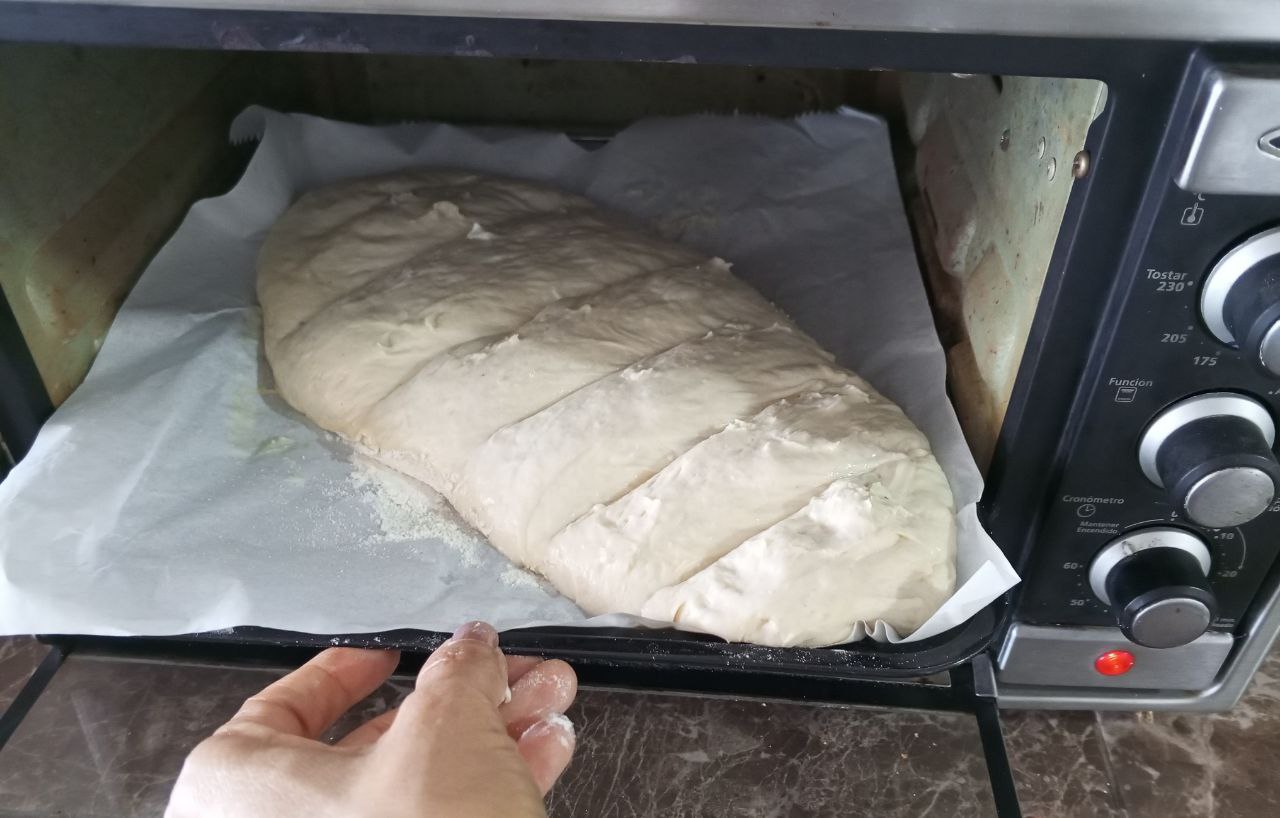
Immediately preheat the oven to 190 degrees Celsius.
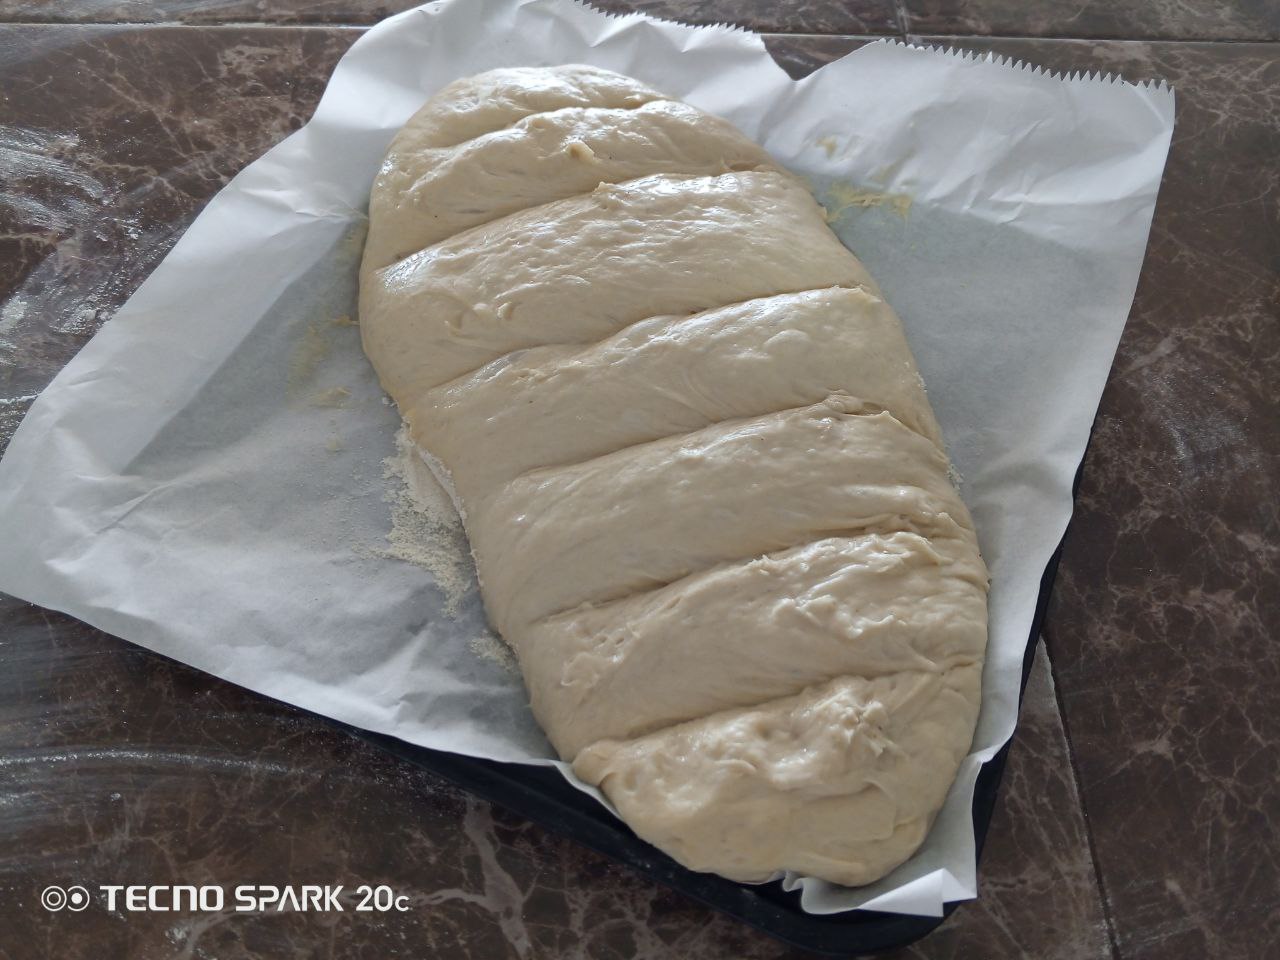
After 30 minutes, make some slits in the bread, you can use a sharp knife.
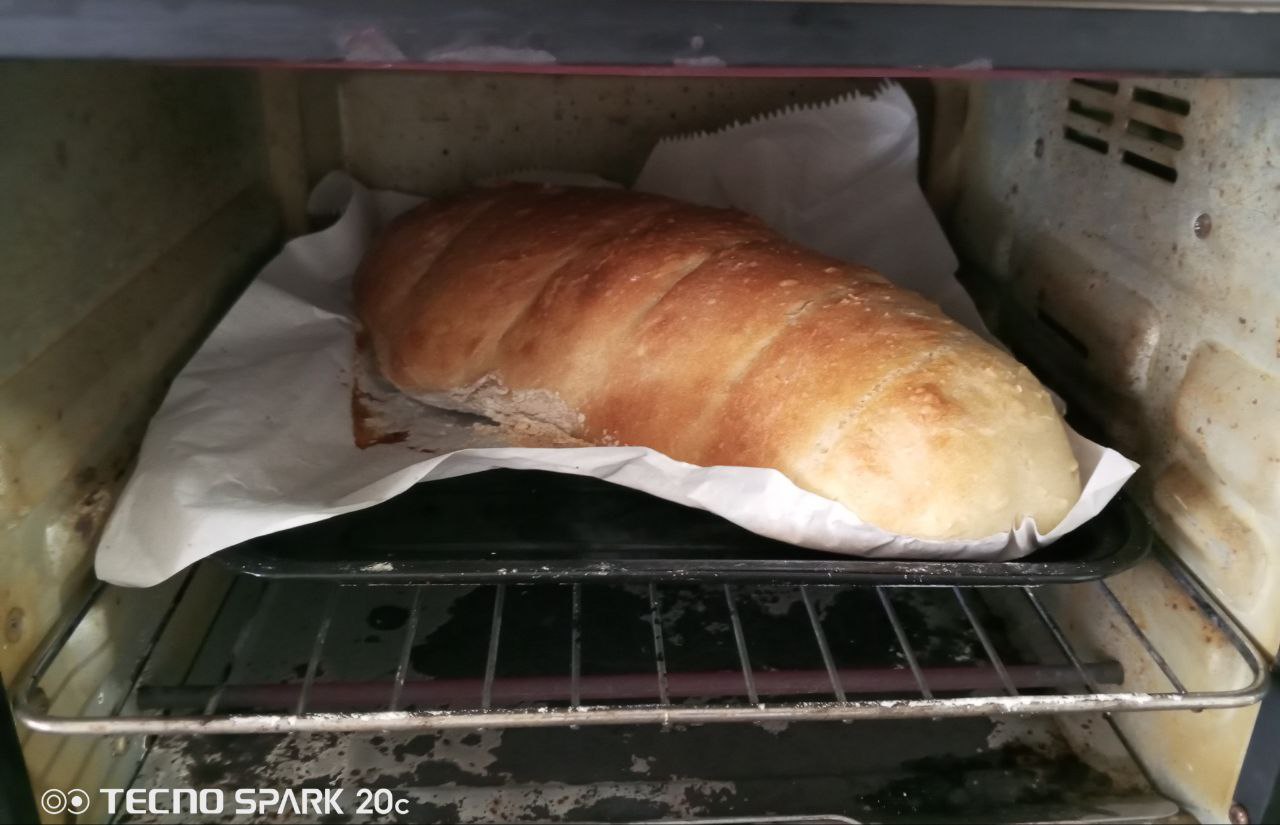
Put it in the oven for about 20 minutes. I assure you that after 15 minutes the smell of freshly baked bread is a delight! 🤤
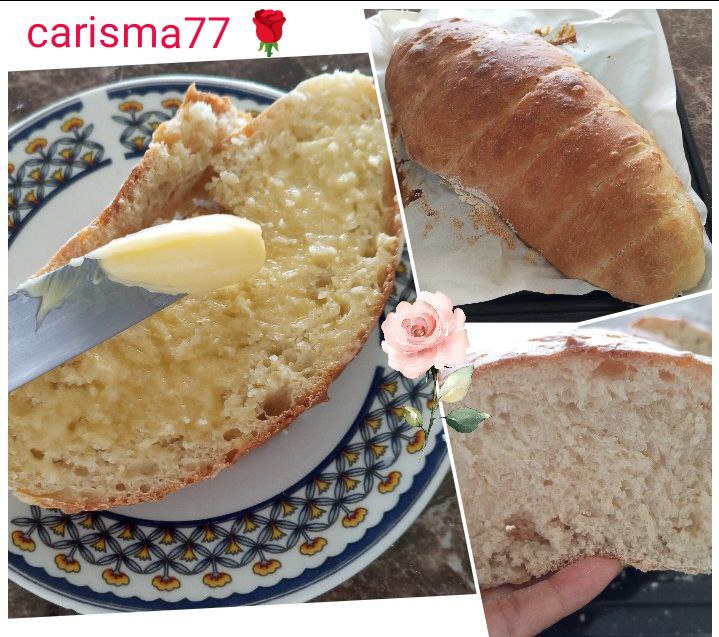
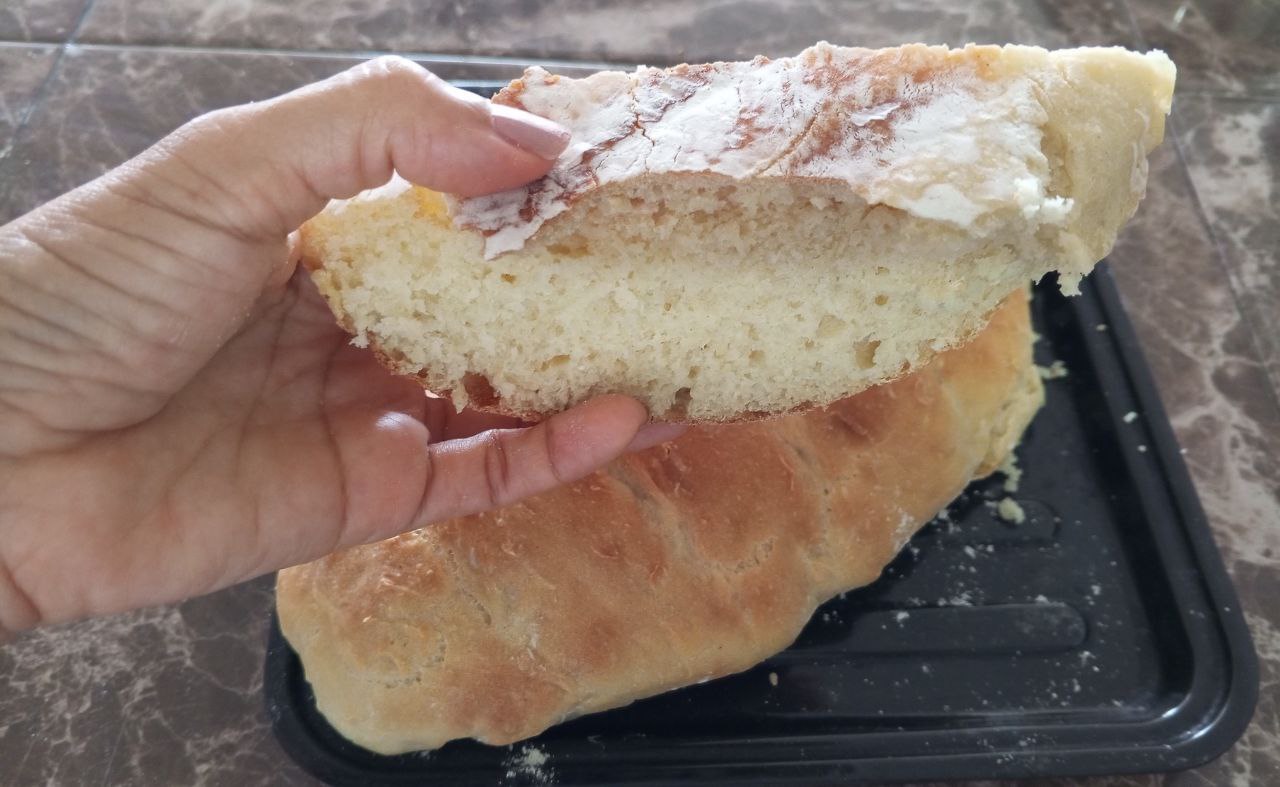
After 20 minutes our bread is golden brown, we take it out of the oven, and when you touch it you can feel the crunchiness of this bread.
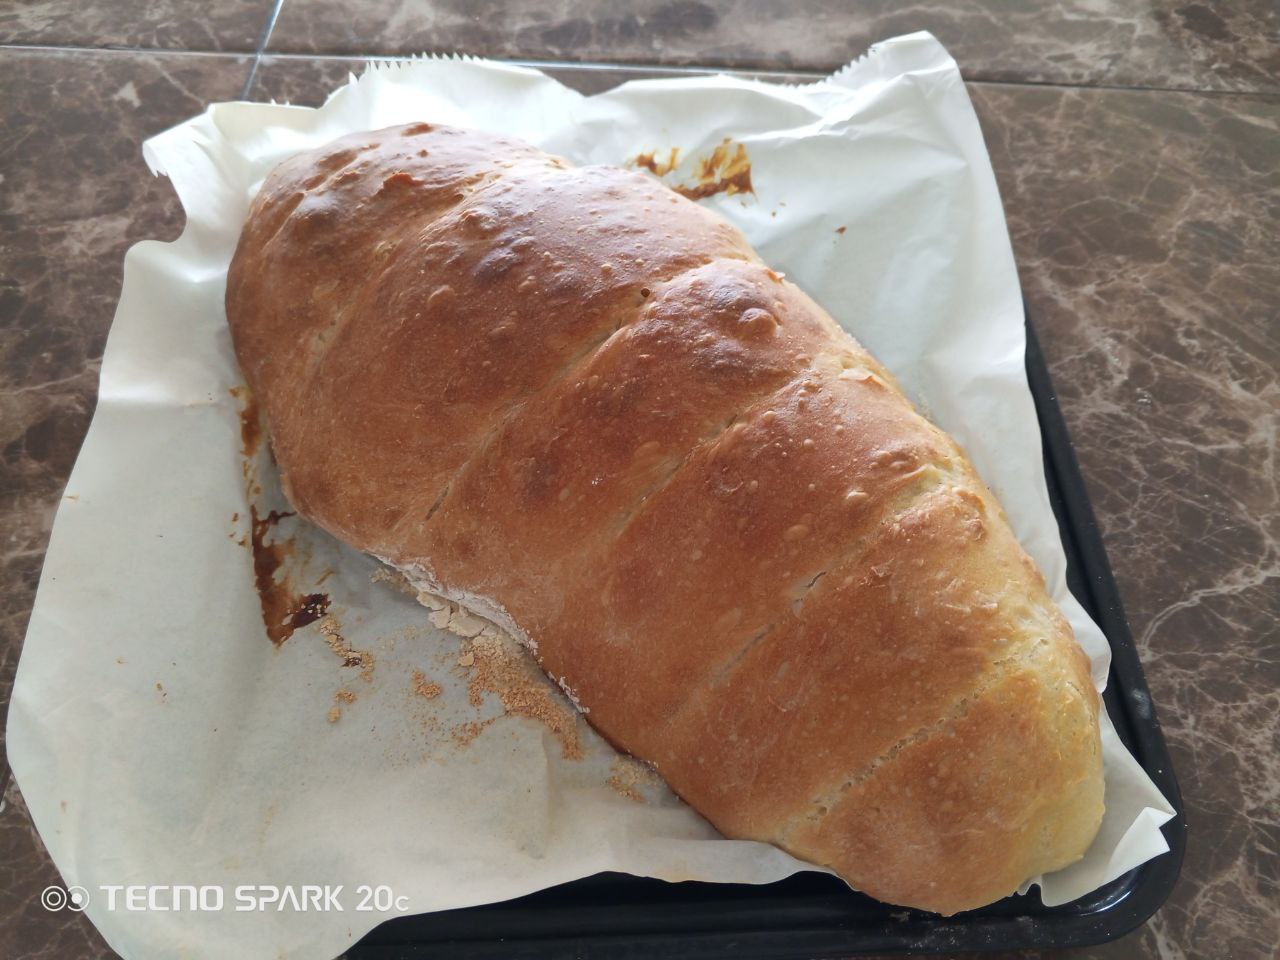
Now all you have to do is enjoy it! Let's cut this bread.
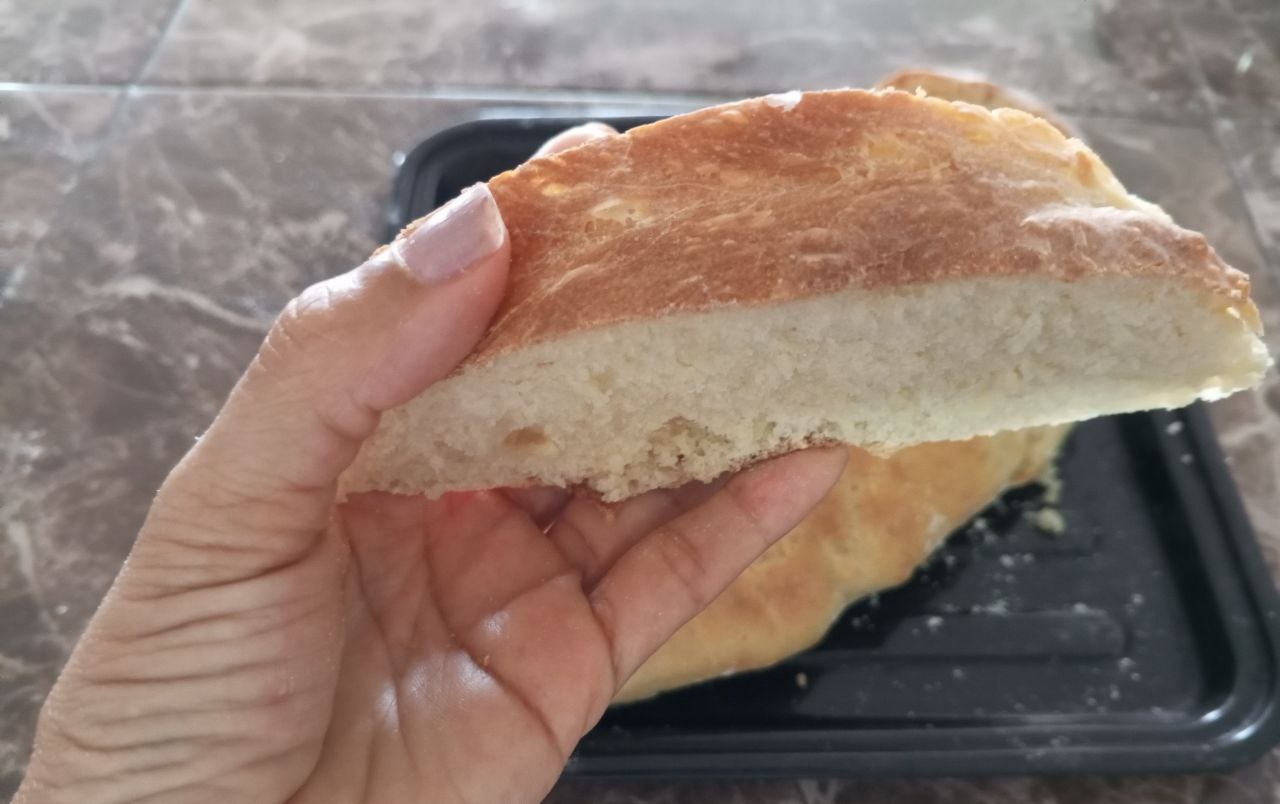
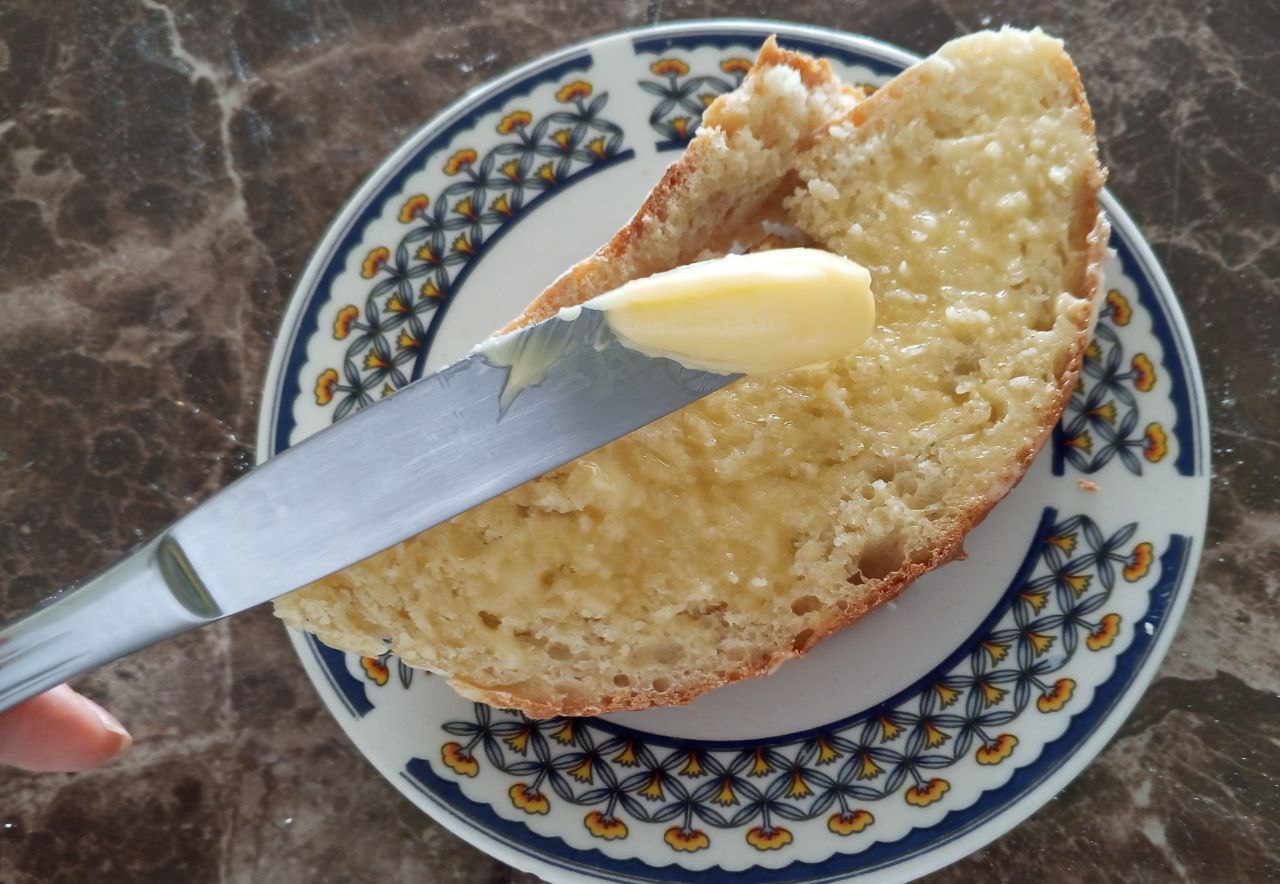
And come on, butter goes really well with it! Well, personally, that's my favorite way to eat bread, it may be one of the most classic, but it's delicious! Bon appetit 👌
Thank you for your company and support, may the Creator bless you generously 🙏


Microsoft Word Separators and Figures.
Collage used: CollageMaker.
ESPAÑOL.
Saludos querida comunidad de la cocina creativa, feliz comienzo de semana 😊
Hoy amanecí con ganas de comer pan recién horneado, ustedes me entienden, ese olor que sale de la cocina cuando se está horneando un Pan es deliciosamente irresistible.
Ya yo había visto por internet una receta que me encantó, era la adecuada para mí que no soy para nada experta haciendo Pan, así que hoy decidí probar a ver si realmente iba a obtener un Pan que me gustara.
Definitivamente quede muy conforme con el resultado obtenido, porque a pesar de ser una receta muy fácil y con pocos ingredientes, este pan quedó muy rico, su corteza delgada quedo crujiente y eso es algo que busco mucho en un Pan.
Como me ha gustado la receta, aquí estoy muy entusiasmada para compartirla con todos ustedes.
Los Créditos de esta receta son para: canal de YouTube, Liza's Delicious recipe ❤️
Ahora les invito a que juntos hagamos este exquisito Pan.
Ingredientes:
- 350 Ml de Agua tibia.
- 7 Gramos de Levadura seca.
- 480 Gramos de Harina de Trigo todo uso.
- 1 Cucharadita de Sal.
- 1 Cucharada de Azúcar.
- Papel encerado.
- Espátula de repostería.
Vamos con la preparación:
En un recipiente comenzamos echando el Agua y la Levadura.
Mezclamos.
Ahora añadimos el Azúcar y la sal, mezclamos nuevamente.
Agregamos la Harina de Trigo.
Y ahora mezclamos muy bien usando una espátula repostera, los ingredientes deben quedar bien integrados, obtendremos una masa pegostosa, esa es la idea.
Luego tapamos con un trapo de cocina y lo vamos a rociar con un poco de Agua, el trapo debe quedar húmedo, dejamos reposar la masa por aproximadamente hora y media, o hasta que doble su tamaño.
Pasado el tiempo podemos observar que ya la masa a leudado lo suficiente.
Ahora en nuestra mesa de trabajo vamos a echar suficiente harina de Trigo, colocamos nuestra masa.
Y empezamos a hacer varios dobleces, unos tres o cuatro, si me preguntan para que se hacen estos dobleces, pues no lo sé, solo he seguido las instrucciones de la receta 😏
Luego vamos a ir dando forma al Pan, les cuento que, en la receta original, se hacen 8 pancitos redondos, pero yo preferí hacer uno porque no tengo espacio en mi bandeja de horno para hacer esa cantidad de una vez, además me pareció más practico la forma en como lo hice.
Ahora colocamos papel encerado en la placa que usaremos para hornear, les sugiero agregar aceite y luego agregar Harina de Trigo tamizada.
Colocamos nuestro pan con mucha delicadeza en la placa para hornear, rociamos con un poco de Agua y dejamos reposar por 30 minutos.
Inmediatamente ponemos a precalentar nuestro horno a 190 grados centígrados.
Pasado los 30 minutos, le hacemos unas aberturas al Pan, puede ser con un cuchillo con buen filo.
Metemos al horno por unos 20 minutos, te aseguro que a los 15 minutos el olor a pan recién horneado es ¡toda una delicia! 🤤
Pasado los 20 minutos nuestro pan esta doradito, lo sacamos del horno, y al tocarlo podrás sentir lo crocante de este pan.
¡Ahora solo queda disfrutarlo! cortemos este pan.
¡Y vamos, la mantequilla le queda muy bien! bueno es que personalmente esa es mi forma preferida de comer pan, puede ser una de las más clásicas, pero es ¡delicioso! buen provecho 👌
Gracias por tu compañía y apoyo, el Creador te bendiga generosamente 🙏
Separadores y Figuras de Microsoft Word.
Collage usado: CollageMaker.