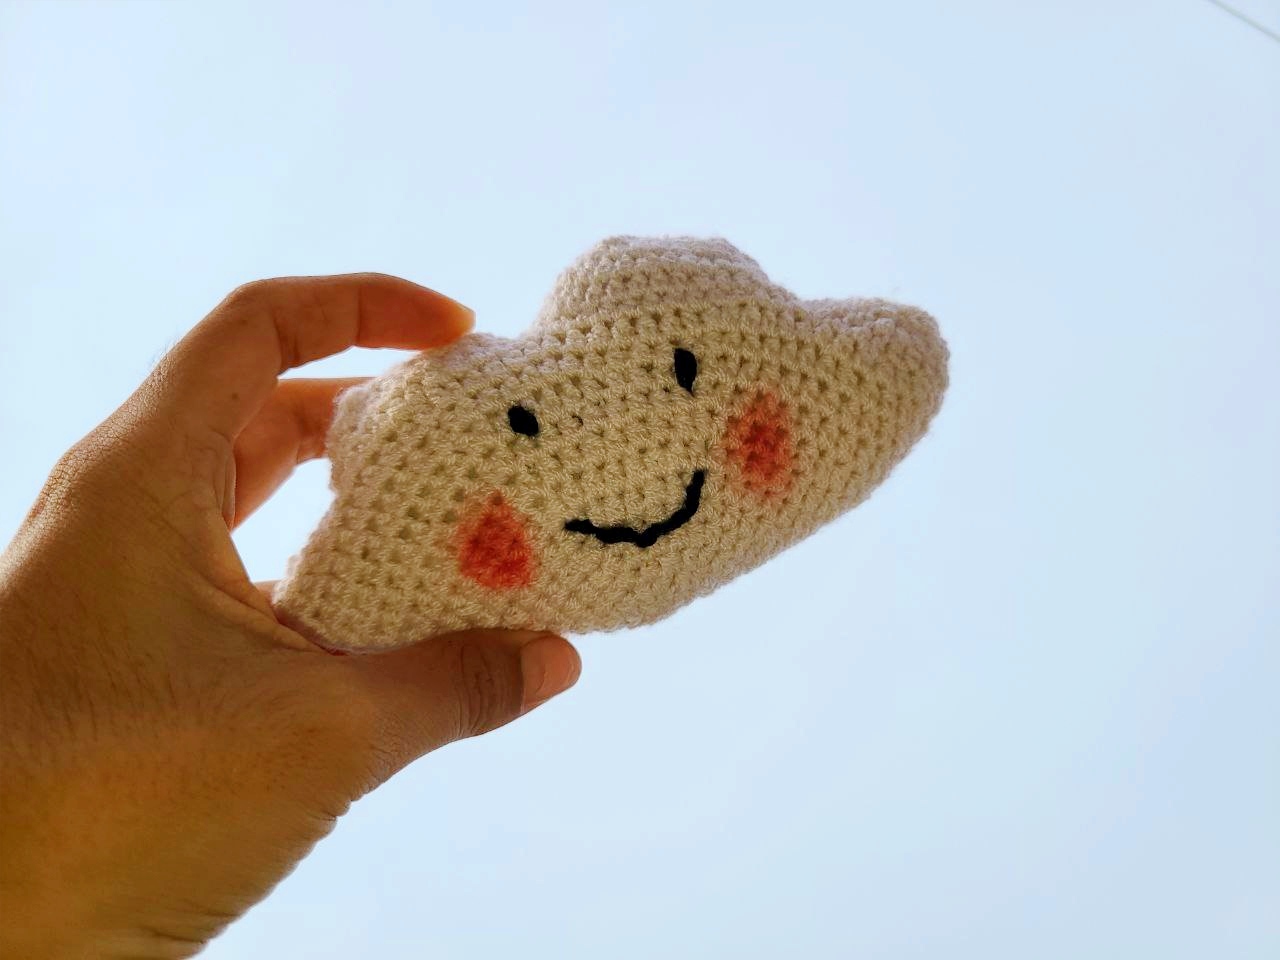
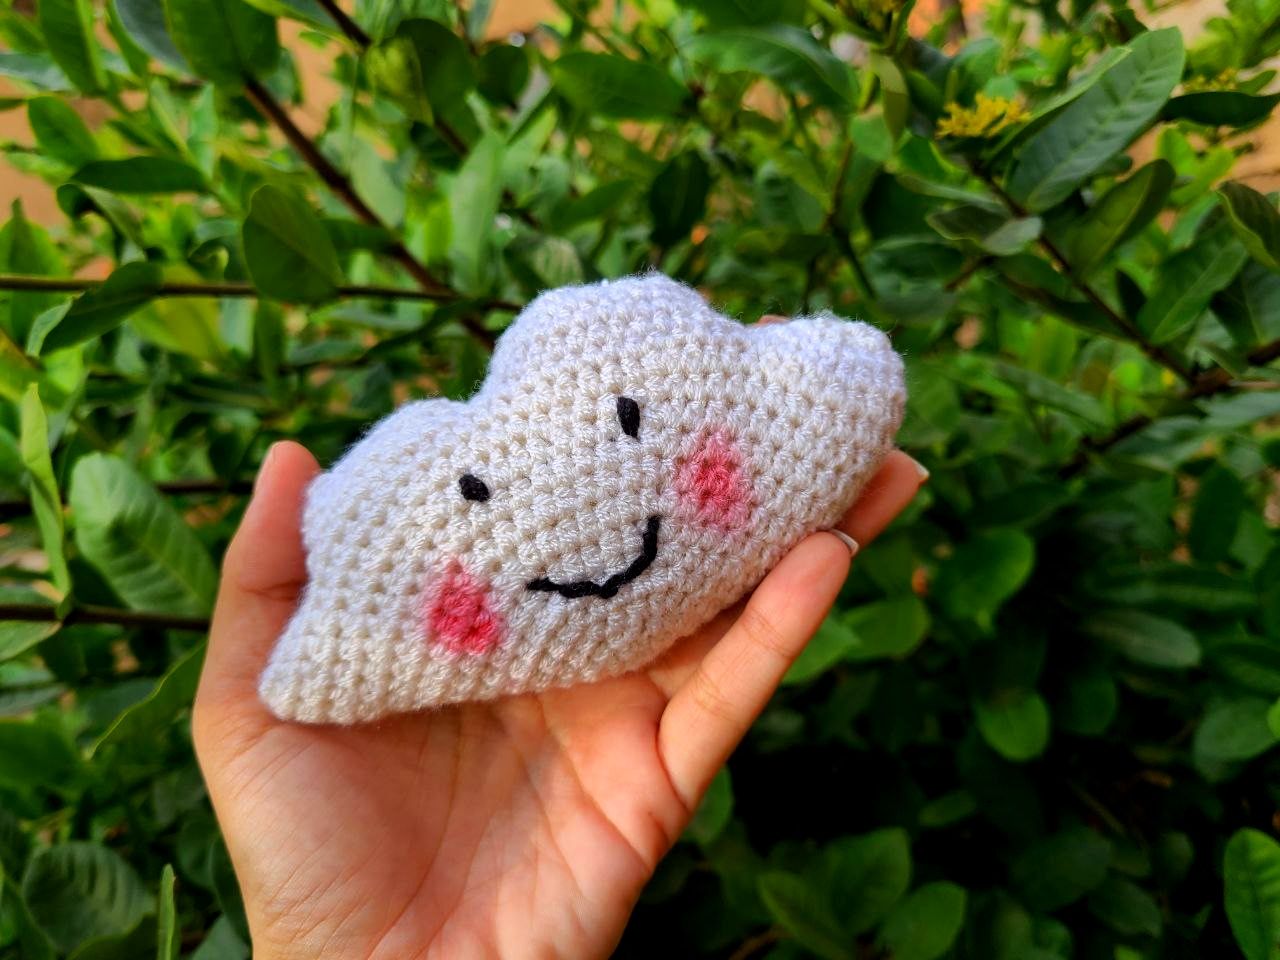
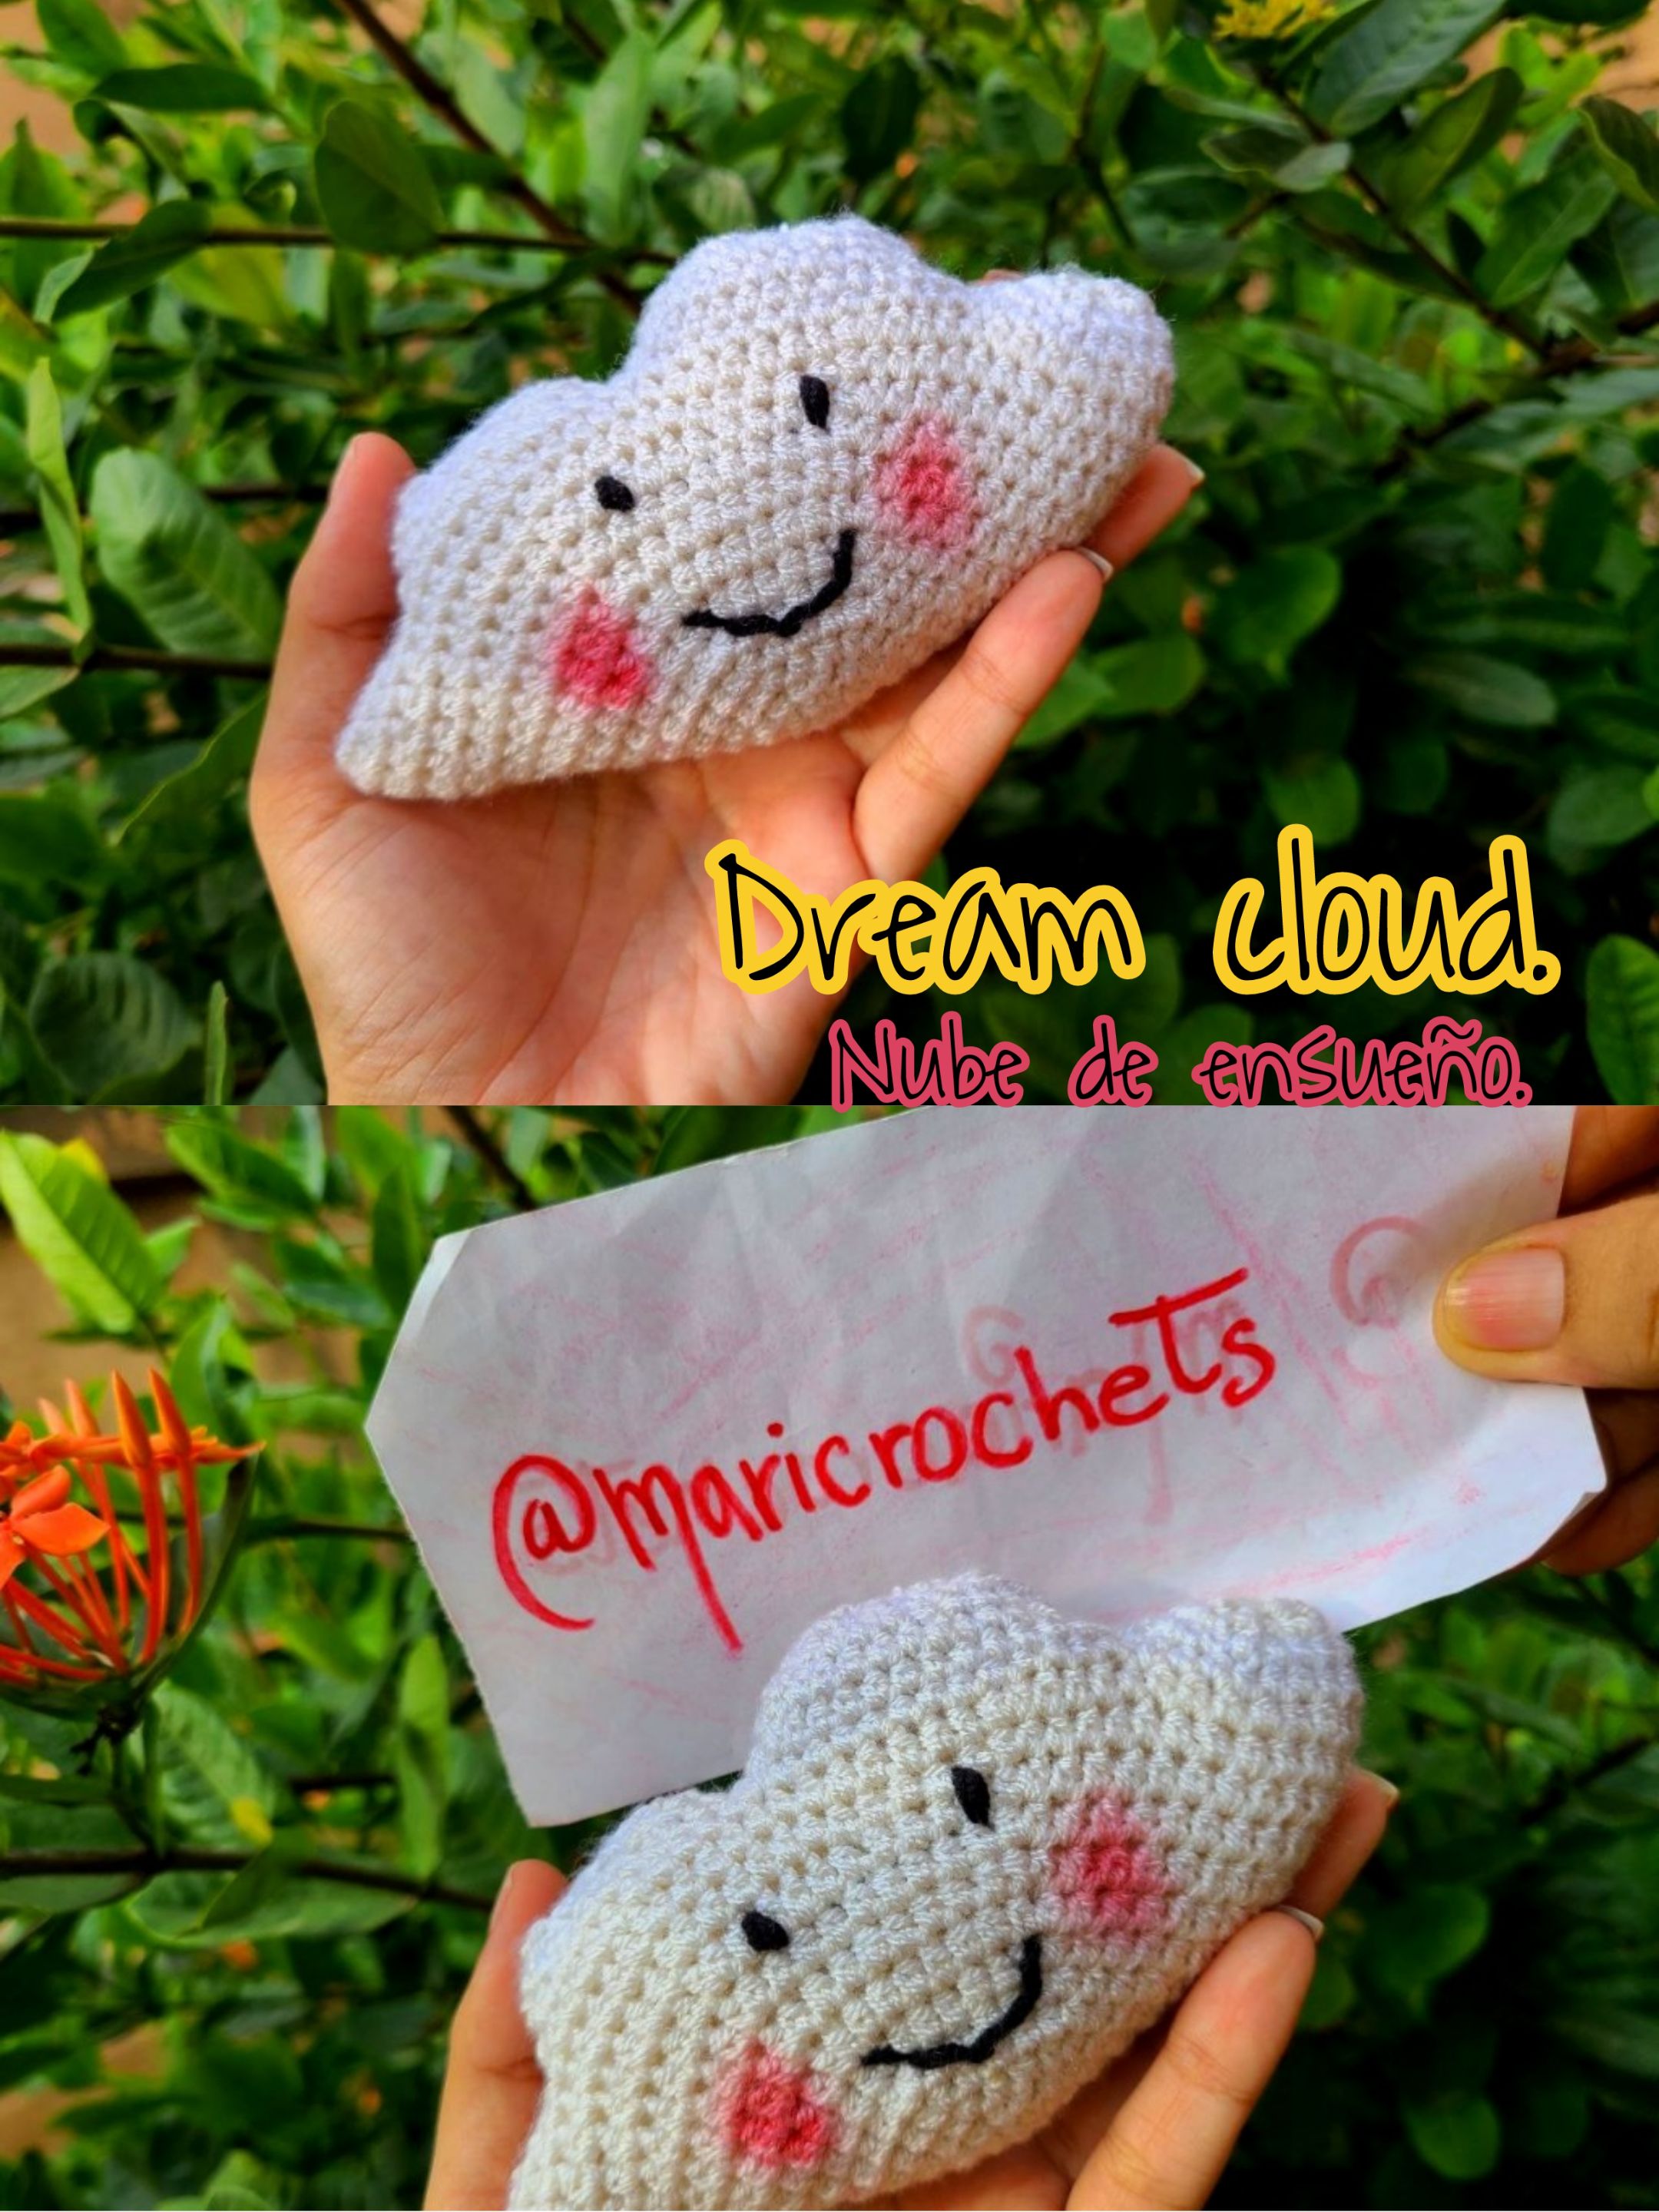
Hello friends, how are you, I hope you are doing well, I am well, thank God, once again I bring you a simple project for you to enjoy, this time it is a very flirtatious dreamy cloud, it is made with the amigurumi technique that is why Here I leave you step by step.
Hola amigos cómo están espero que estén muy bien, yo estoy bien gracias a Dios una vez más les traigo un proyecto sencillo para que lo disfruten, en esta oportunidad se trata de una nube soñadora muy coqueta, está hecha con la técnica de amigurumi por eso aquí les dejo el paso a paso.
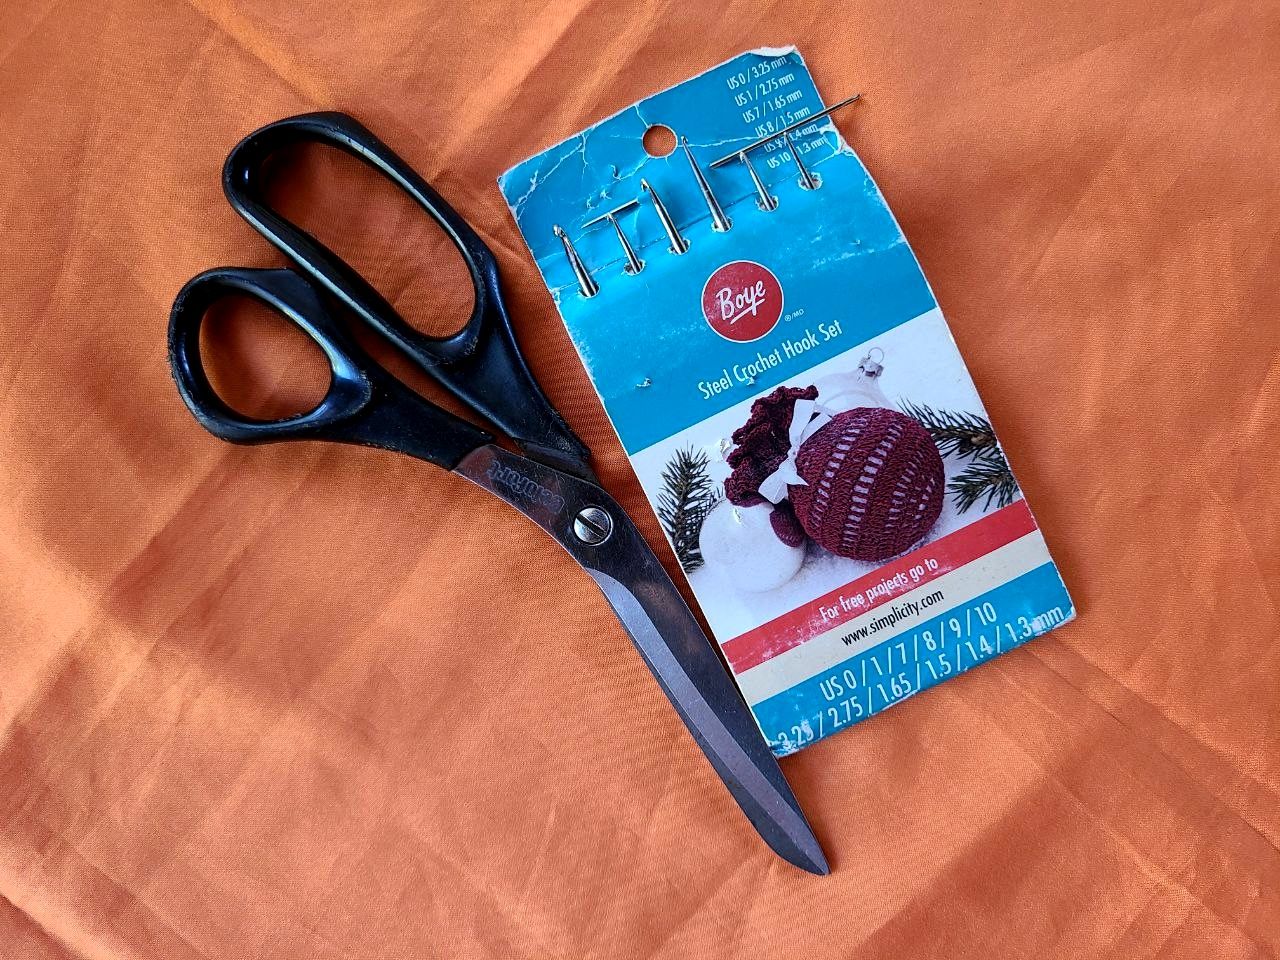
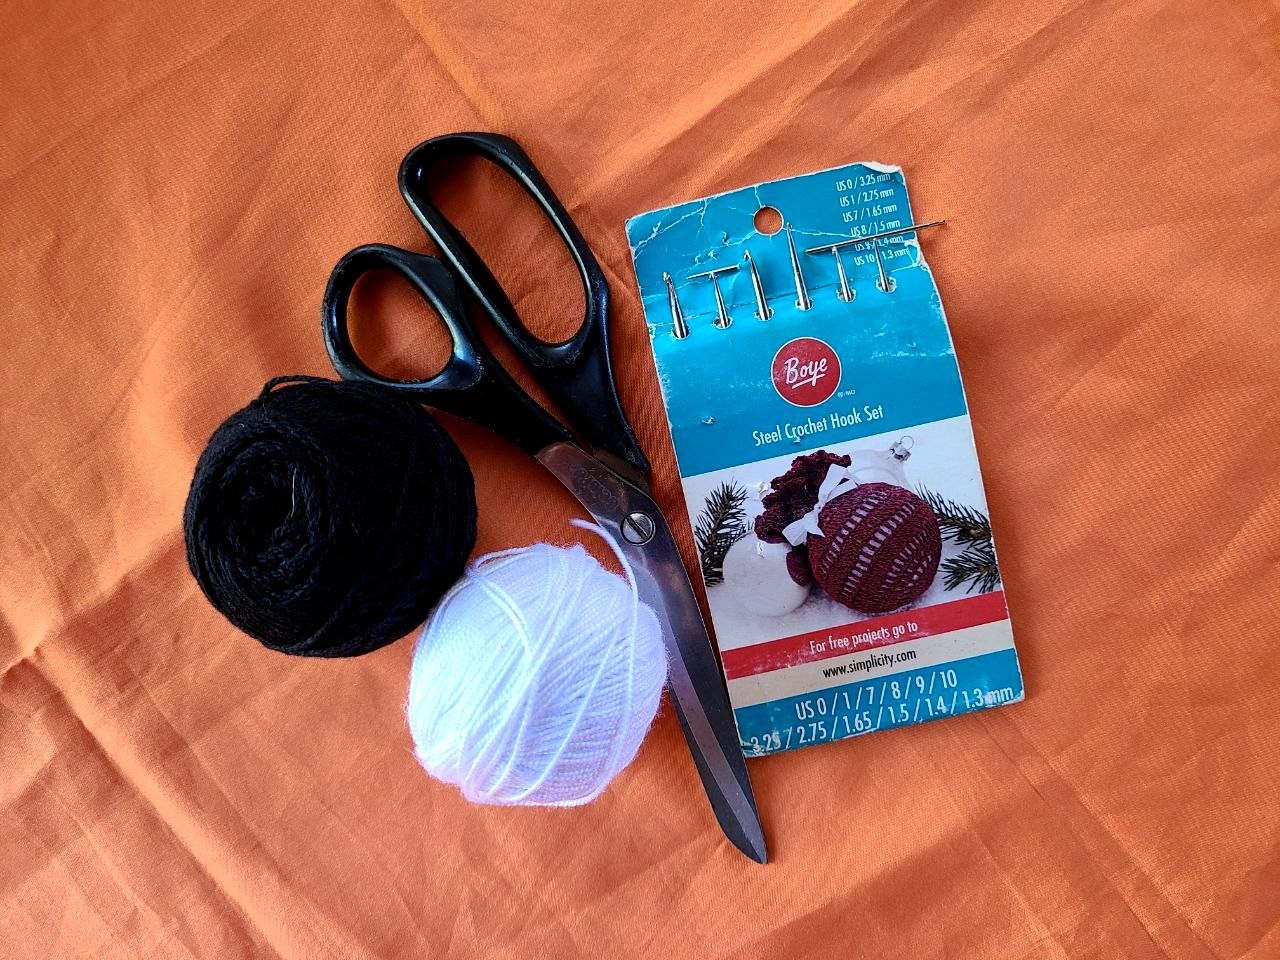
🧶 Materials to use:
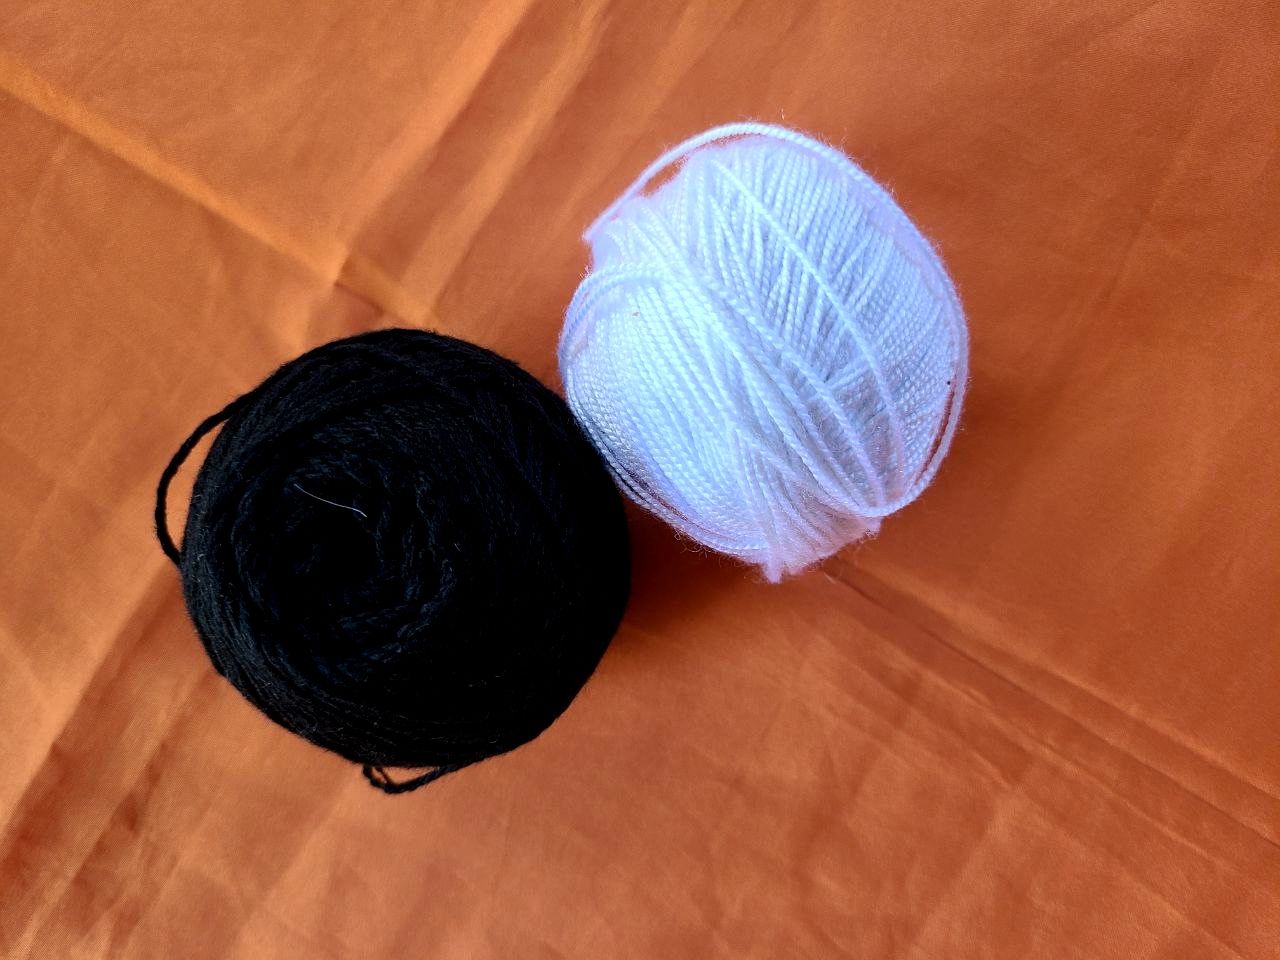
✓Black and white crochet thread. ✓Crochet needle number 7.
✓Synthetic filling.
✓Scissors.
✓Bookmarks.
✓Sewing needle.
🧶 This project is made with 2-ply yarn so that it gives the necessary texture, which is required.
🧶 Points to use:
✓High middle points
🧶 Materiales a utilizar:
✓Hilo crochet blanco y negro.
✓Aguja de crochet número 7.
✓Relleno sintético.
✓Tijeras.
✓Marcadores.
✓Aguja de coser.
🧶 Este proyecto se elabora con hilo de 2 cabos para que de la textura necesaria, que se requiere.
🧶 Puntos a utilizar:
✓Puntos medios altos.
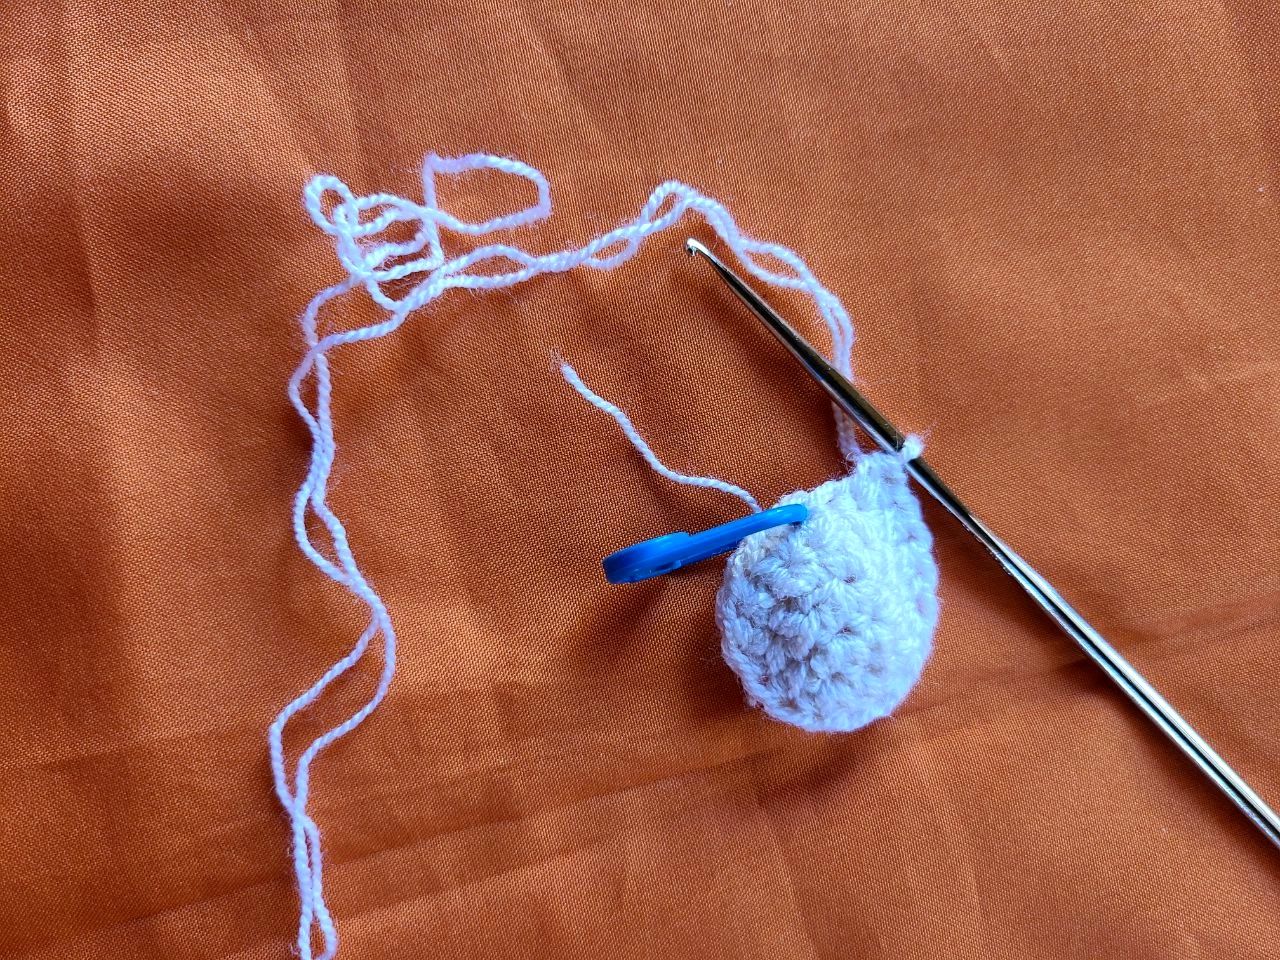
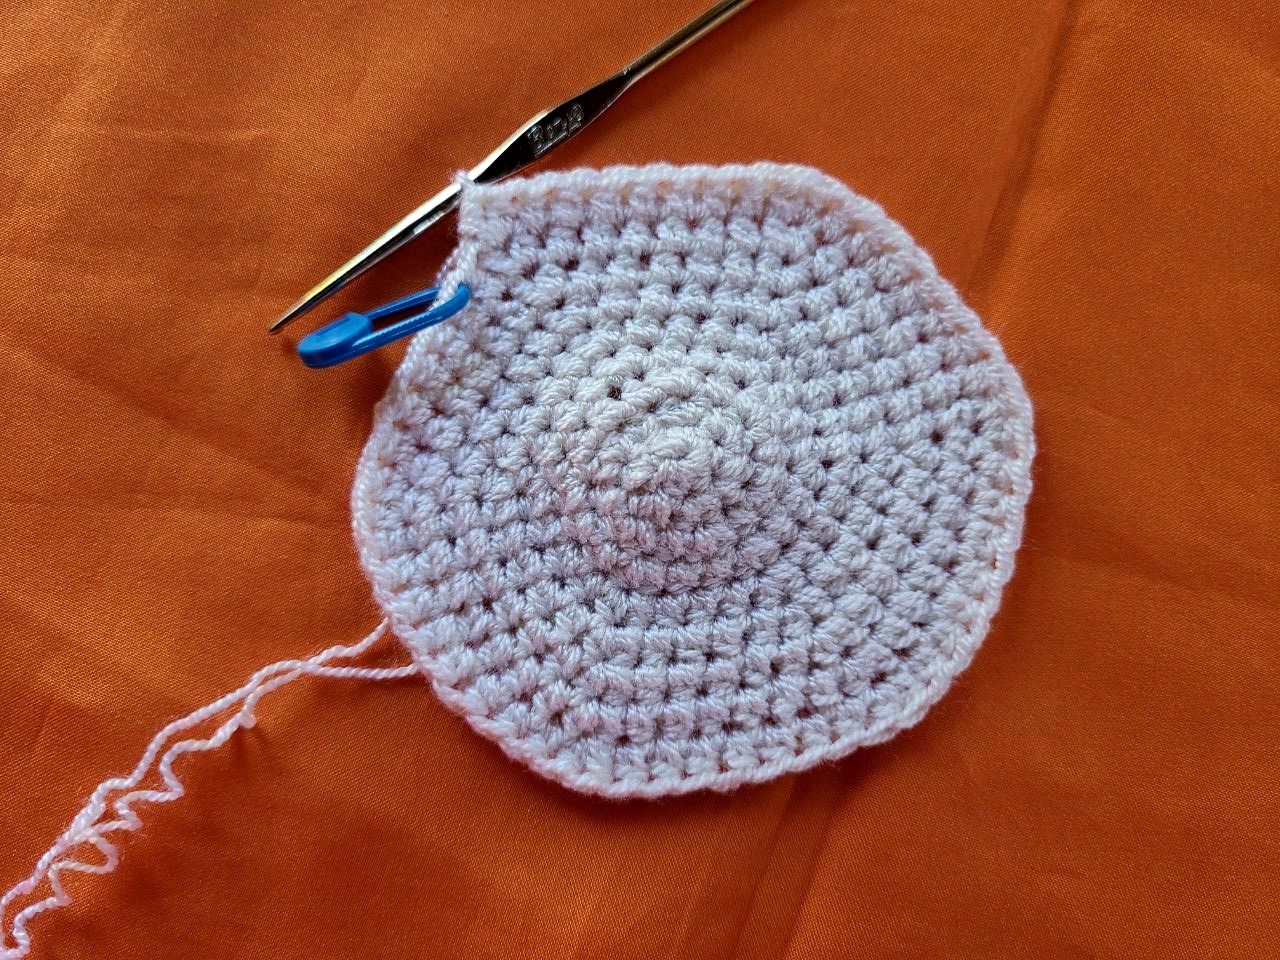
🧶 Single step: The entire project is worked in white.
Row 1: We start by making a magic ring, and inside it we will place 6 half double crochets.
Row 2: The entire row is increases (12).
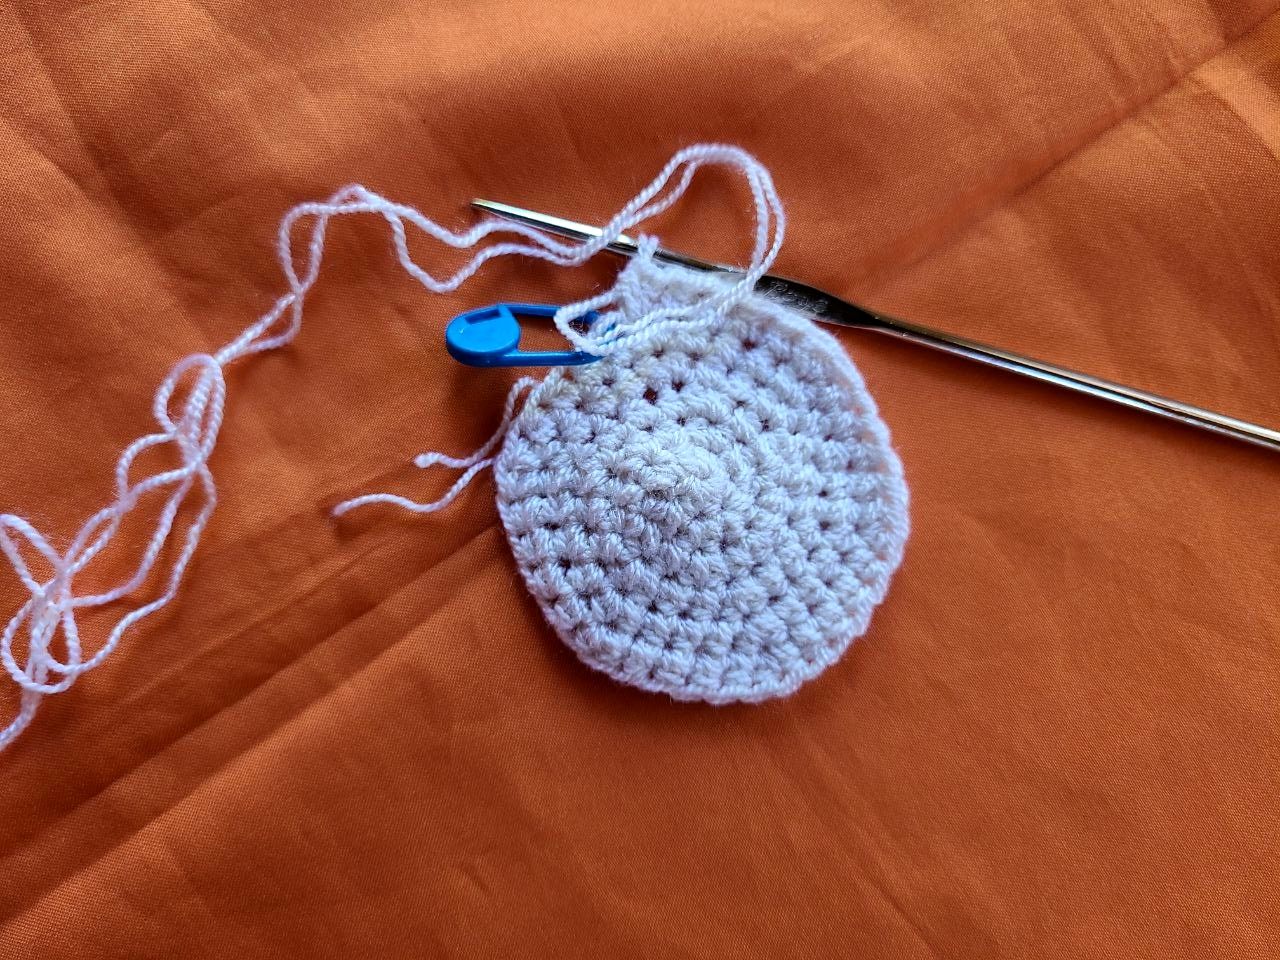
Row 3: 1 half double crochet, followed by 1 increase (18).
Row 4: 2 half double crochets, followed by 1 increase (24).
Row 5: 3 half double crochets, followed by 1 increase (30).
Row 6: 4 half double stitches, followed by 1 increase (36).
Row 7: 5 half double stitches, followed by 1 increase (42).
Row 8: 6 half double stitches, followed by 1 increase (48).
Row 9: 7 half double stitches, followed by 1 increase (54).
Row 10: 8 half double stitches, followed by 1 increase (60).
Row 11: 9 half double stitches, followed by 1 increase (66).
Row 12: 10 half double stitches, followed by 1 increase (72).
Row 13: 11 half double stitches, followed by 1 increase (78).
🧶 Paso único: El proyecto todo está trabajado en color blanco.
Fila 1: Empezamos haciendo un anillo mágico, y dentro del mismo colocaremos 6 puntos medios altos.
Fila 2: Toda la fila son aumentos (12).
Fila 3: 1 punto medio alto, seguido de 1 aumento (18).
Fila 4: 2 puntos medio alto, seguido de 1 aumento (24).
Fila 5: 3 puntos medio alto, seguido de 1 aumento (30).
Fila 6: 4 puntos medio alto, seguido de 1 aumento (36).
Fila 7: 5 puntos medio alto, seguido de 1 aumento (42).
Fila 8: 6 puntos medio alto, seguido de 1 aumento (48).
Fila 9: 7 puntos medio alto, seguido de 1 aumento (54).
Fila 10: 8 puntos medio alto, seguido de 1 aumento (60).
Fila 11: 9 puntos medio alto, seguido de 1 aumento (66).
Fila 12: 10 puntos medio alto, seguido de 1 aumento (72).
Fila 13: 11 puntos medio alto, seguido de 1 aumento (78).
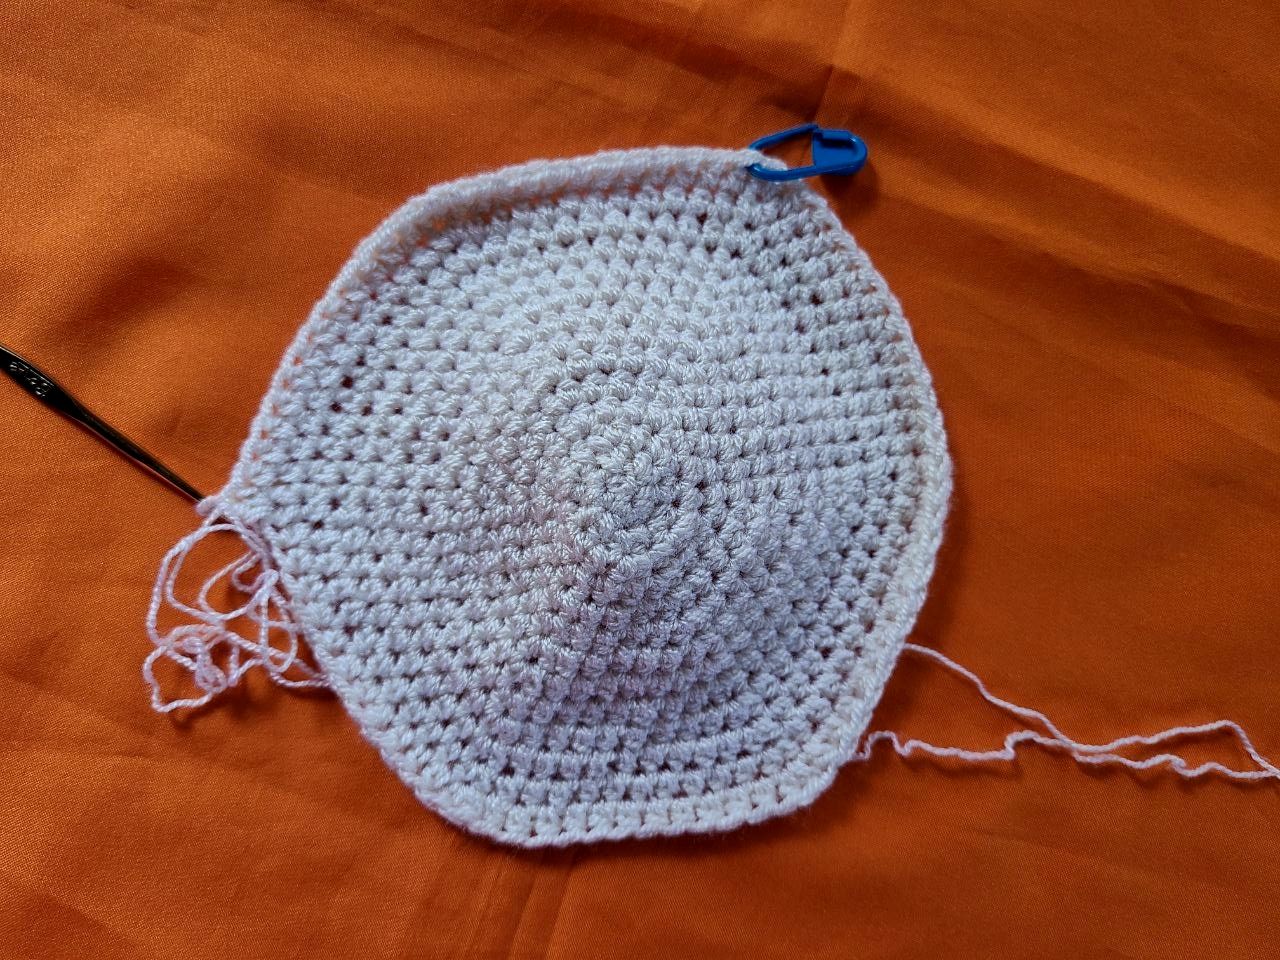
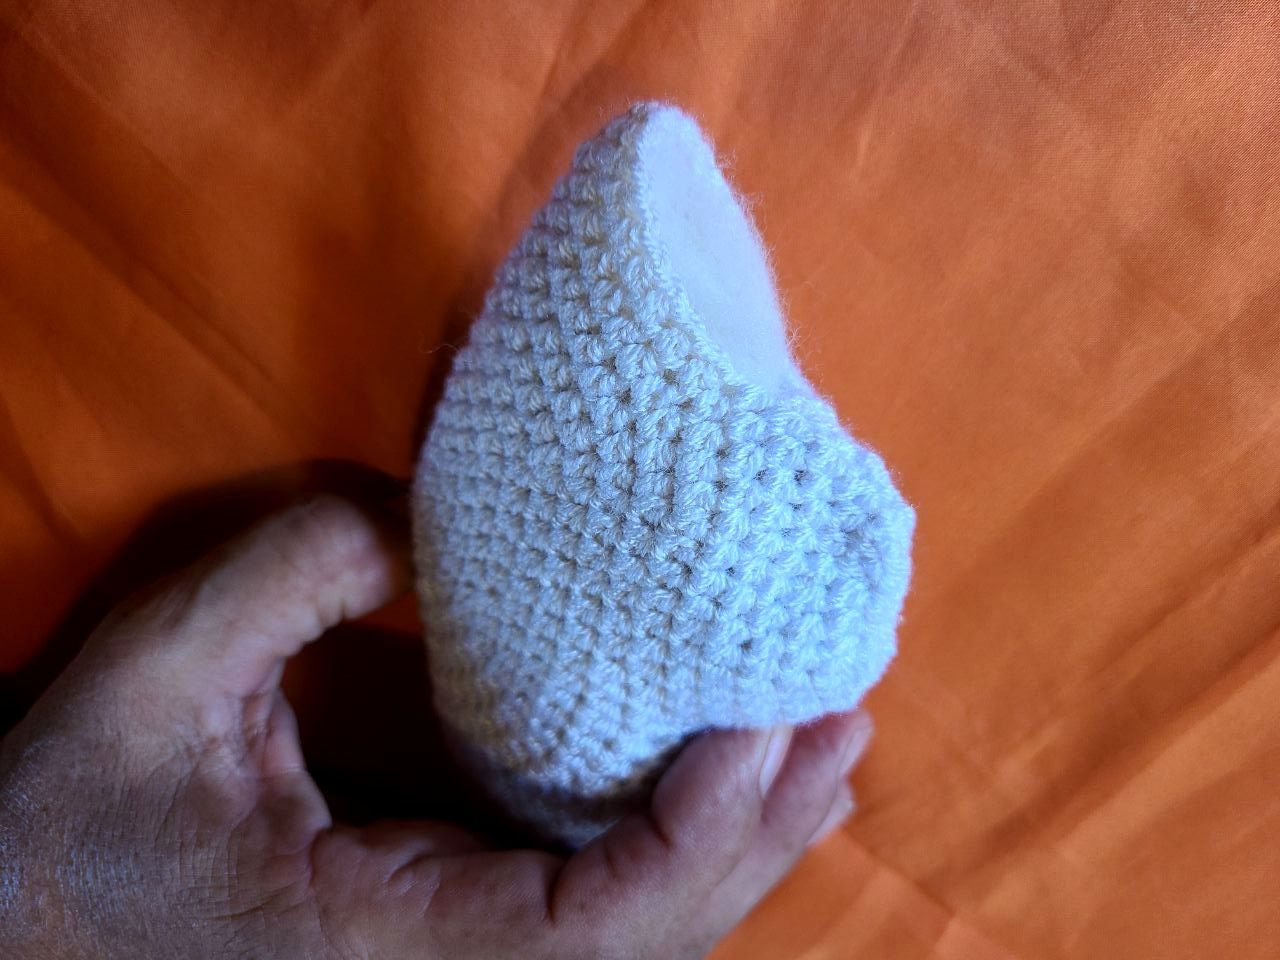
To make the curves of the cloud we will work as follows: In the corners or the two opposite ends, we will take 14 stitches in a circle and make a row with decreases, then we make another row with decreases and at the end we grab a needle with thread and close in a circle.
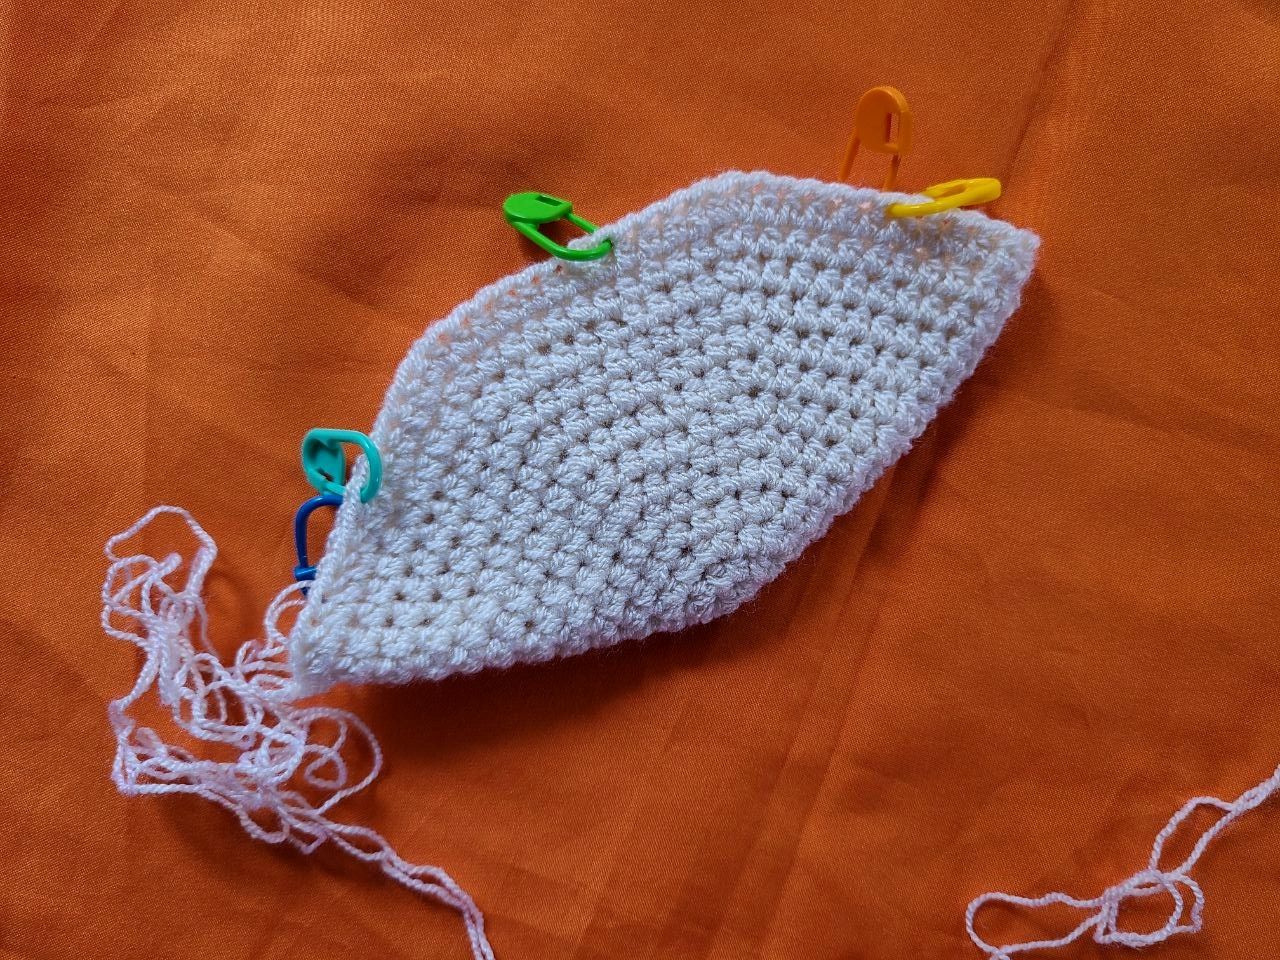
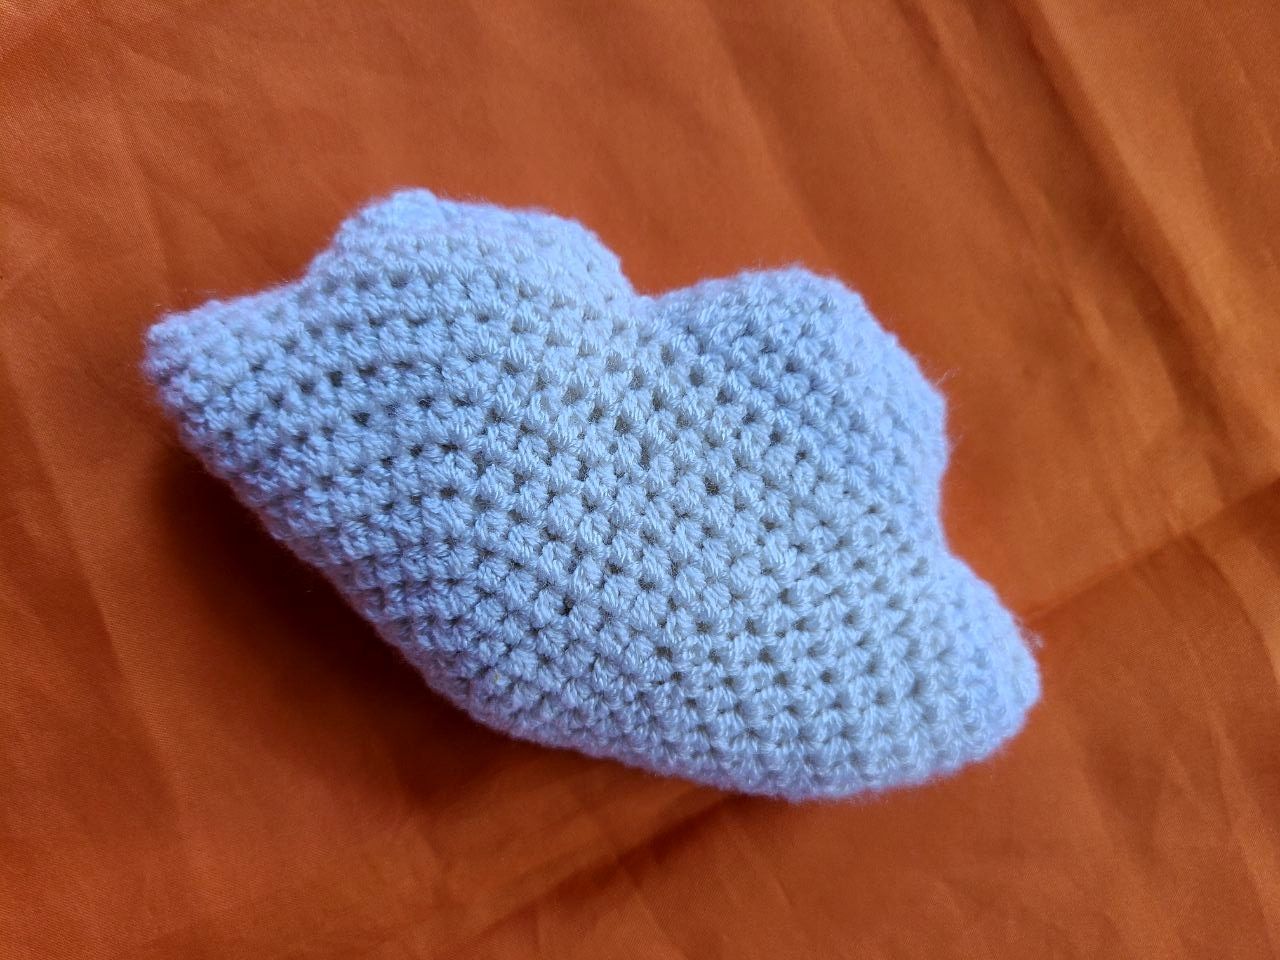
For the smallest flake we are going to use 22 stitches again in a circle and make 3 rows making decreases and giving the flake a rounded shape. At the end we close trying to ensure that the ends of the flake are rounded and we finish closing.
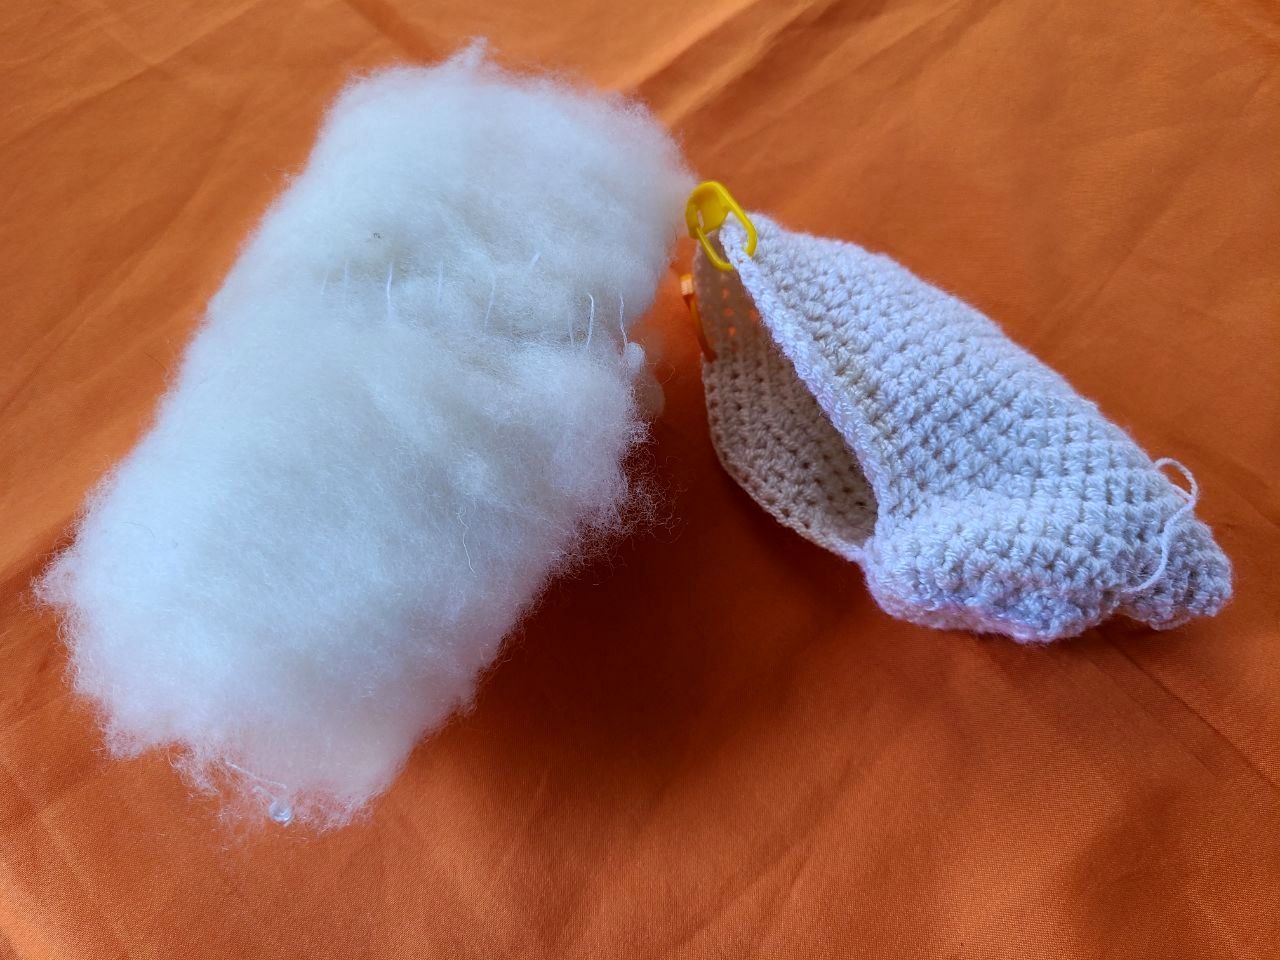
In this step we must fill it little by little to make it easier, because as it closes it makes the process more difficult. Taller flake, in this case we take the remaining stitches and work them again in a circle, here we will make between 5 and 6 rows, and like the previous ones we will make reductions, taking care to round the ends, and just like in the flakes Previously, we close with a needle and give it the desired shape, and thus the cloud with its flakes is completely closed.
Para elaborar las curvas de la nube trabajaremos de la siguiente manera: En las esquinas o los dos extremos opuestos, tomaremos 14 puntos en circulo y hacemos una fila con disminuciones, luego hacemos otra fila con disminuciones y al finalizar agarramos una aguja con hilo y cerramos en circulo.
Para el copo más pequeño vamos a usar 22 puntos nuevamente en circulo y hacemos 3 filas haciendo disminuciones y dando forma redondeada al copo, al finalizar cerramos tratando que los extremos del copo queden redondeados y terminamos de cerrar.
Ya en este paso debemos ir rellenando poco a poco para que sea más fácil, porque a medida que se va cerrando dificulta más el proceso. Copo más alto, en este caso tomamos los puntos restantes y nuevamente los trabajamos en circulo, aquí haremos entre 5 y 6 filas, y al igual que las anteriores iremos haciendo reducciones, cuidando de ir redondeando los extremos, y al igual que en los copos anteriores cerramos con una aguja y le vamos dando la forma deseada, y así queda totalmente cerrada la nube con sus copos.

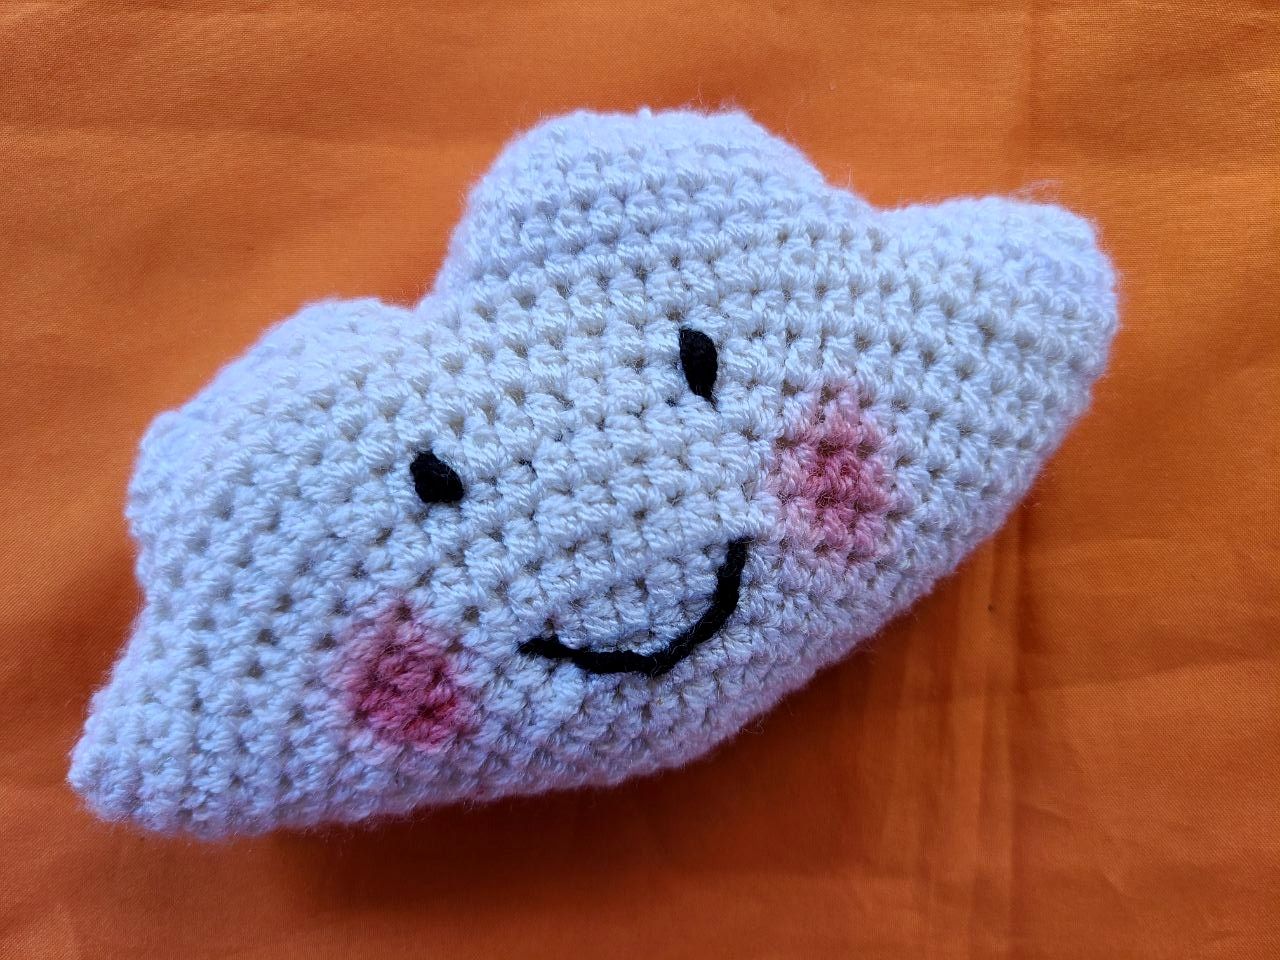
Dear friends, as you can see, my new project has already finished, which I liked a lot, to use it on a mobile in the baby's crib, I hope you like it and enjoy it like I do. I thank you in advance for the attention you give to my projects, with the assurance that once again it will be well received by you. Greetings. ❤️
Estimados amigos como pueden ver ya ha terminado mi nuevo proyecto, el cual me ha gustado bastante, como para usarlo en un móvil en la cuna del bebé, espero les guste y lo disfruten como yo. Les doy gracias anticipadas por la atención que le dan a mis proyectos, con la seguridad que una vez más será bien recibido por ustedes. Saludos. 🫂❤️