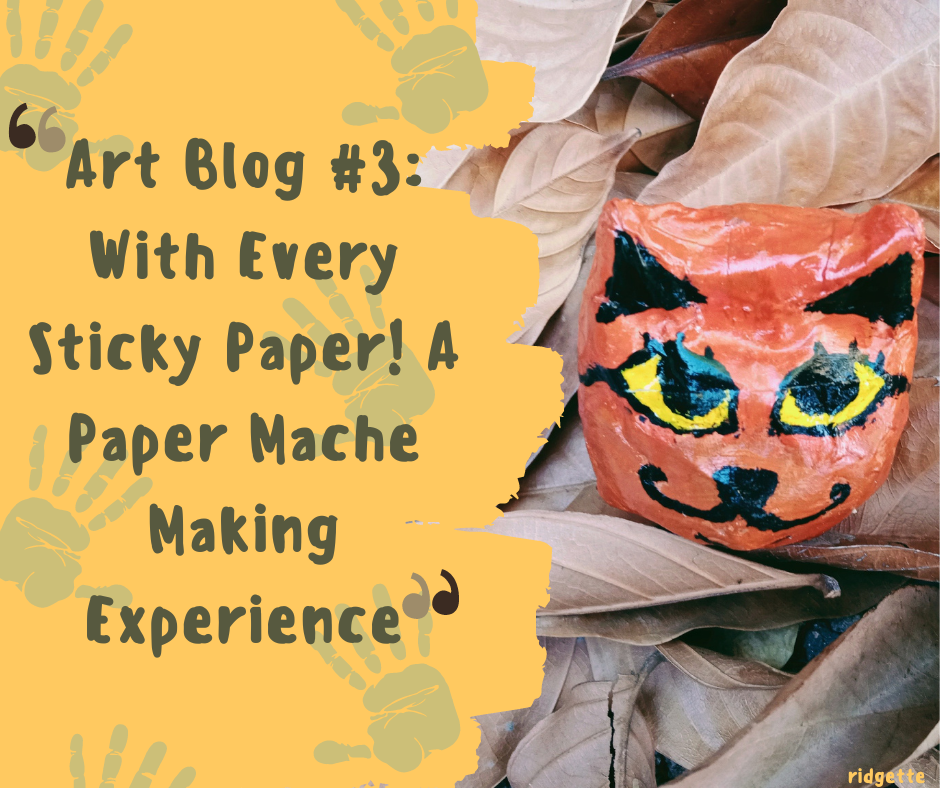
Konnichiwa Hivers! It's me, your ridgette again, and for today, I'm going to share with you all the process of making my very own paper mache. It's my first time making one, so it was really a challenge for me. I tried to search online for video tutorials, but unfortunately most of them include balloons as one of the materials needed in the making process. I have tried to find a balloon that I could use since last Sunday, but it seems elusive at the moment.
By the way, the paper mache is one of our projects in NSTP, and unfortunately, the deadline is fast approaching. I had no choice but to think of a way to make paper mache without the balloon. Even though it's my first time making it, I already had an idea of how to do so because I have watched some of my upper-grade schoolmates make paper mache before. I somehow still remembered the process, and I initially thought it was easy until I started the making process yesterday. It didn't go the way I wanted, and I really did a couple of trials and errors until I finally landed myself on the right course of my paper mache process.
Materials Needed:
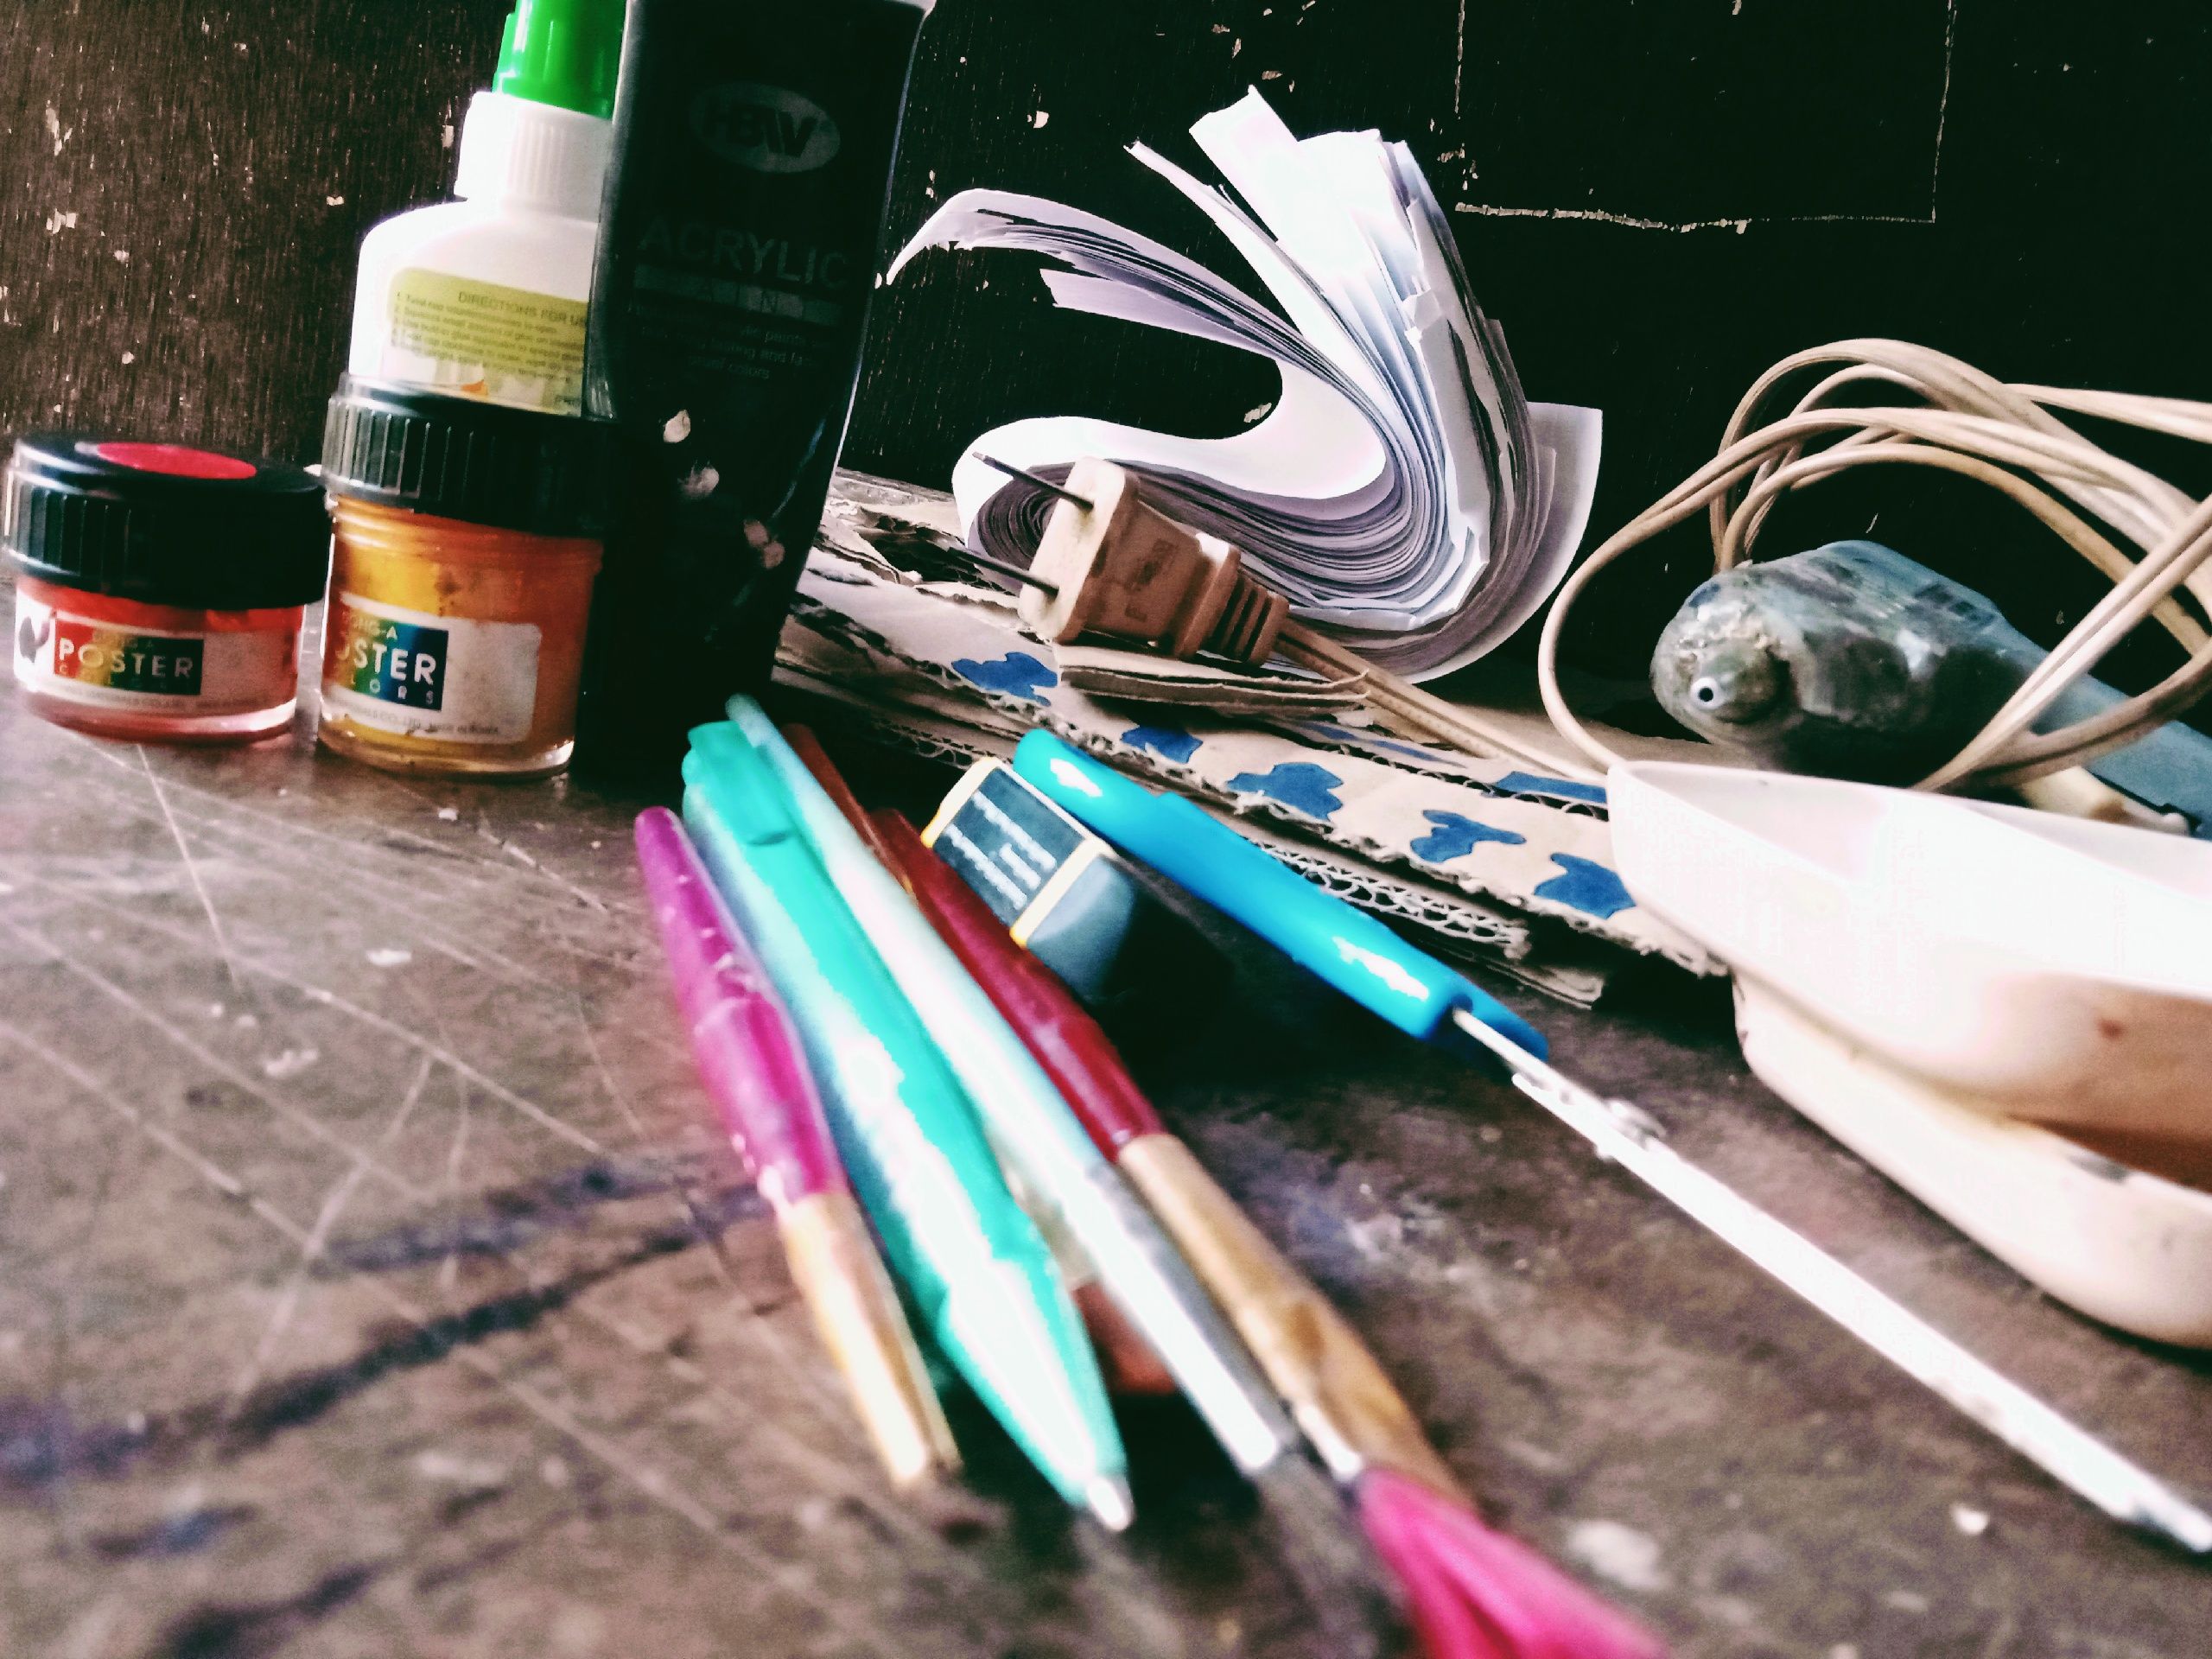
- Mechanical Pencil (a pencil will do)
- Eraser
- Acrylic Paint (black)
- Poster Paint (yellow and red)
- Brush
- Glue
- Scissors
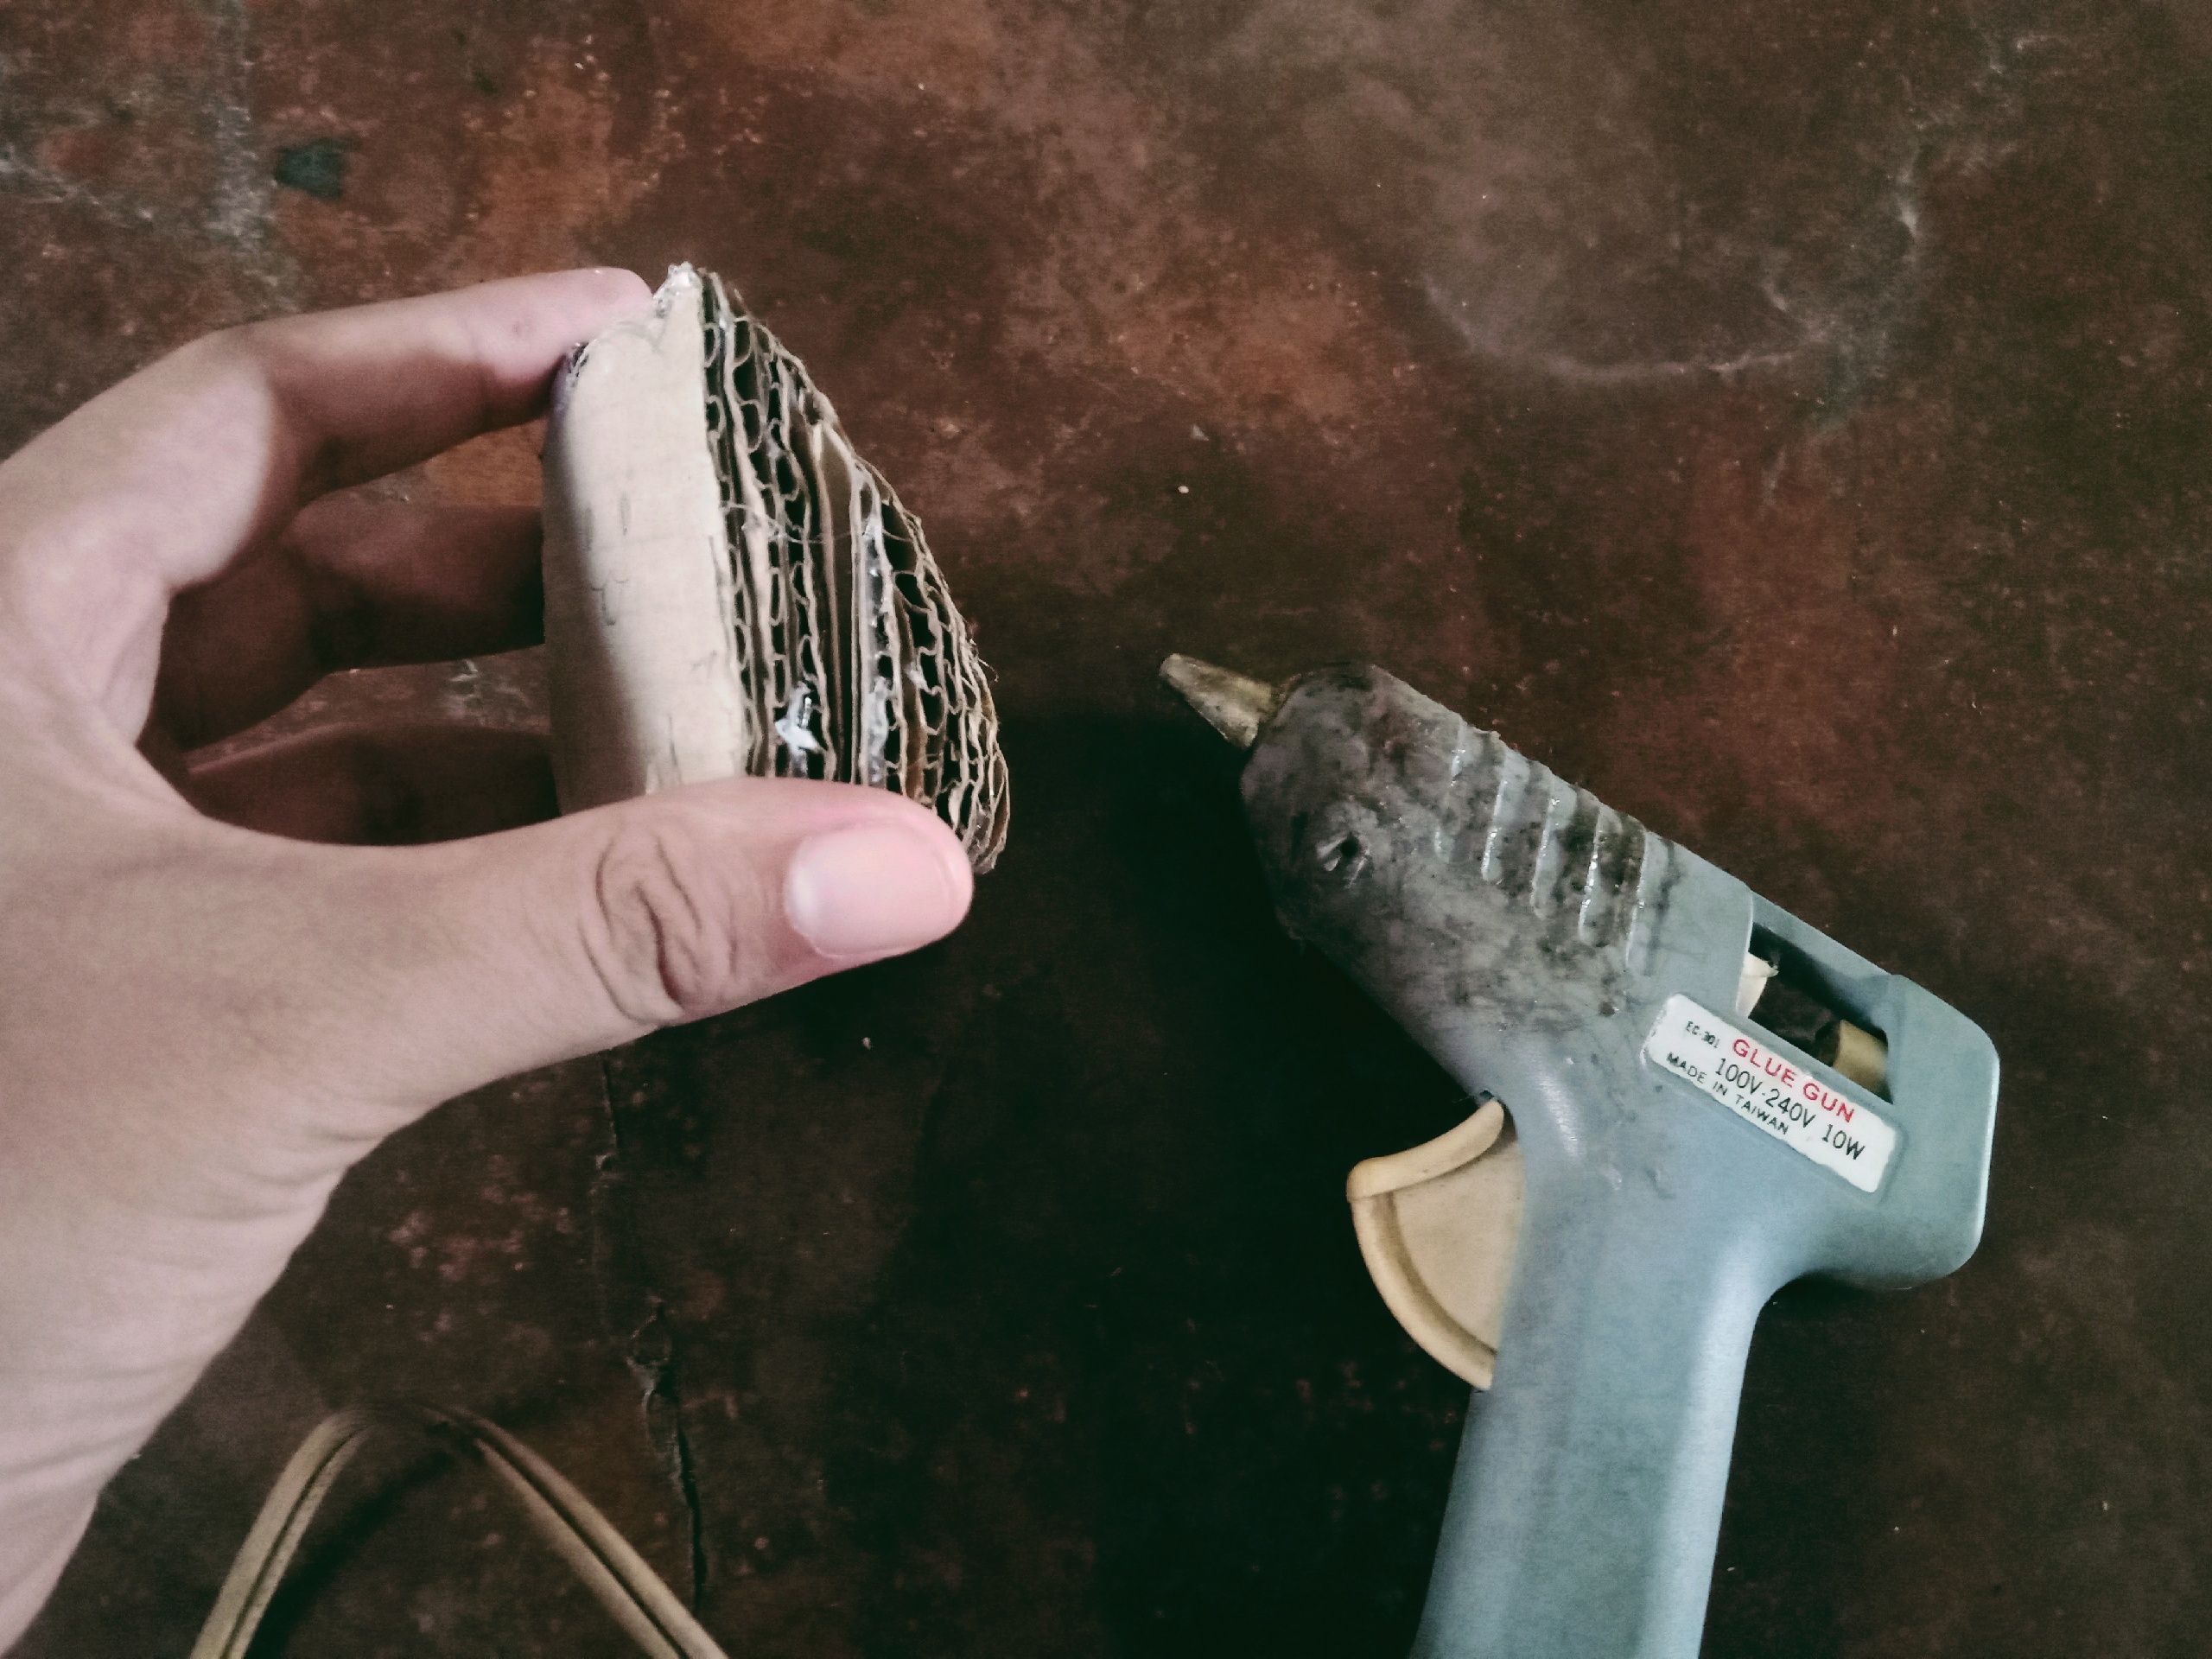
- Old Carton
- Glue Gun
- Old Medicine Receipts
The Process:
1. Draw a figure of a small cat in a carton.
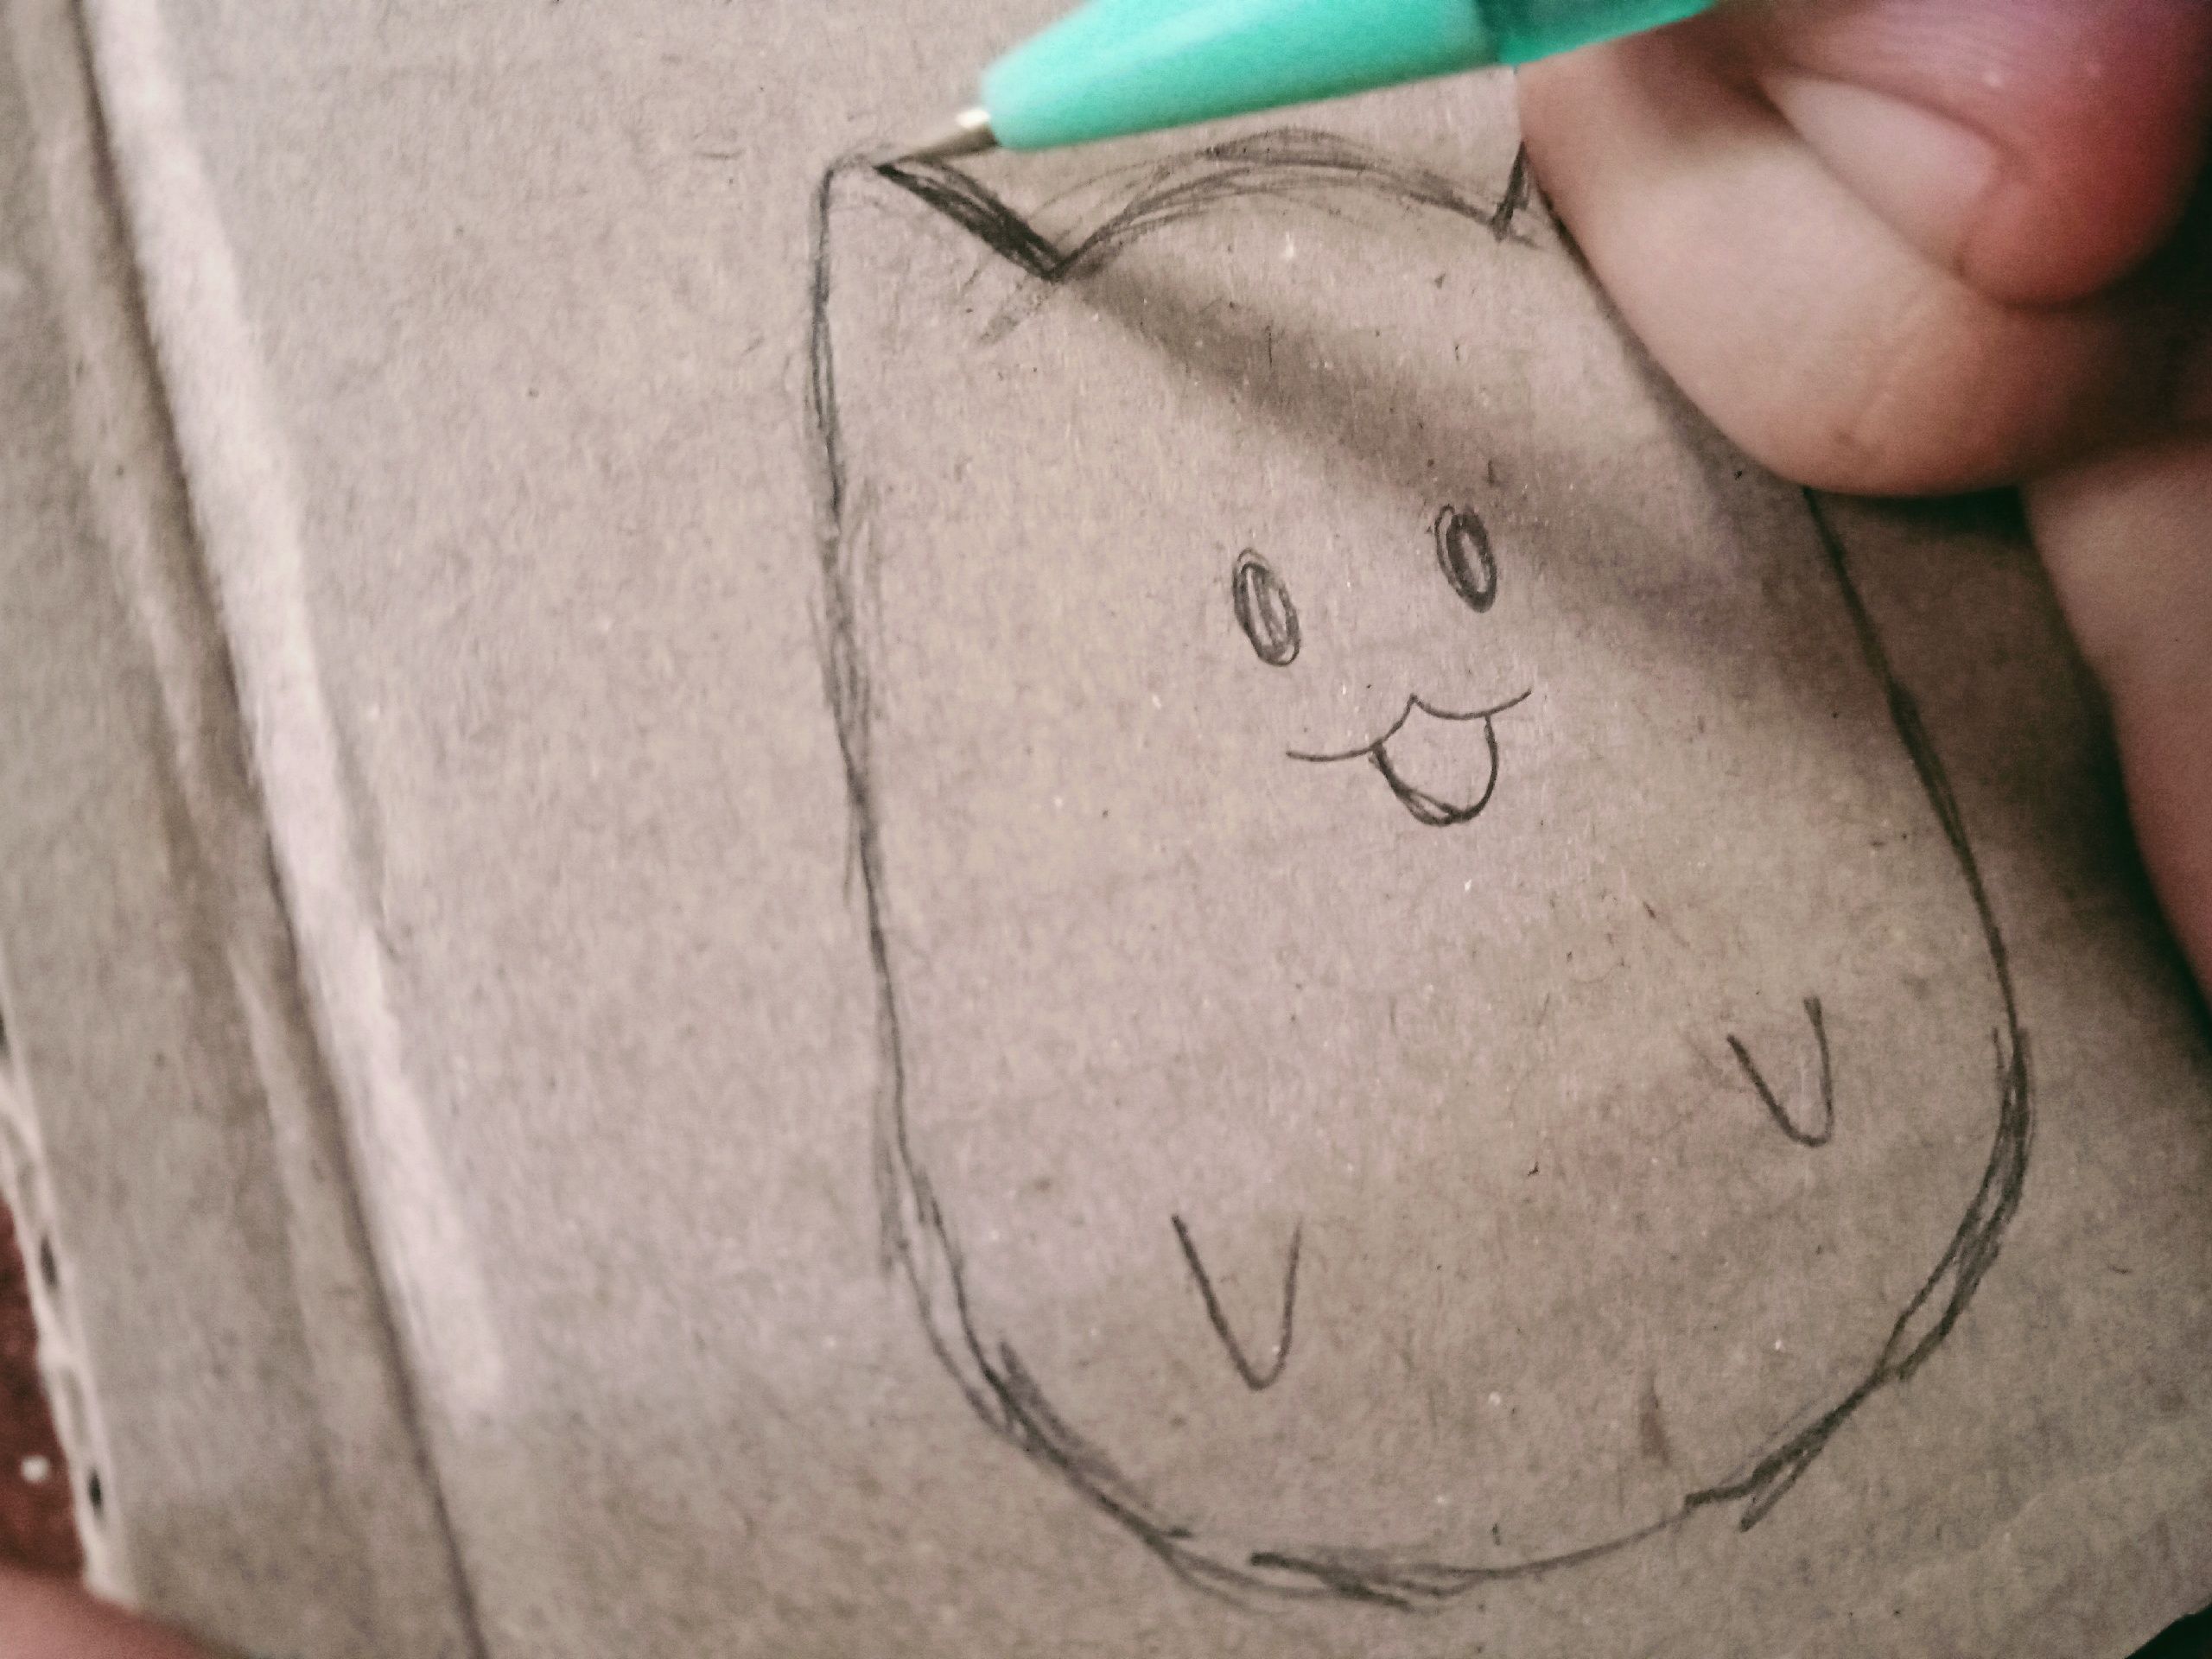
2. Cut the drawn figure.
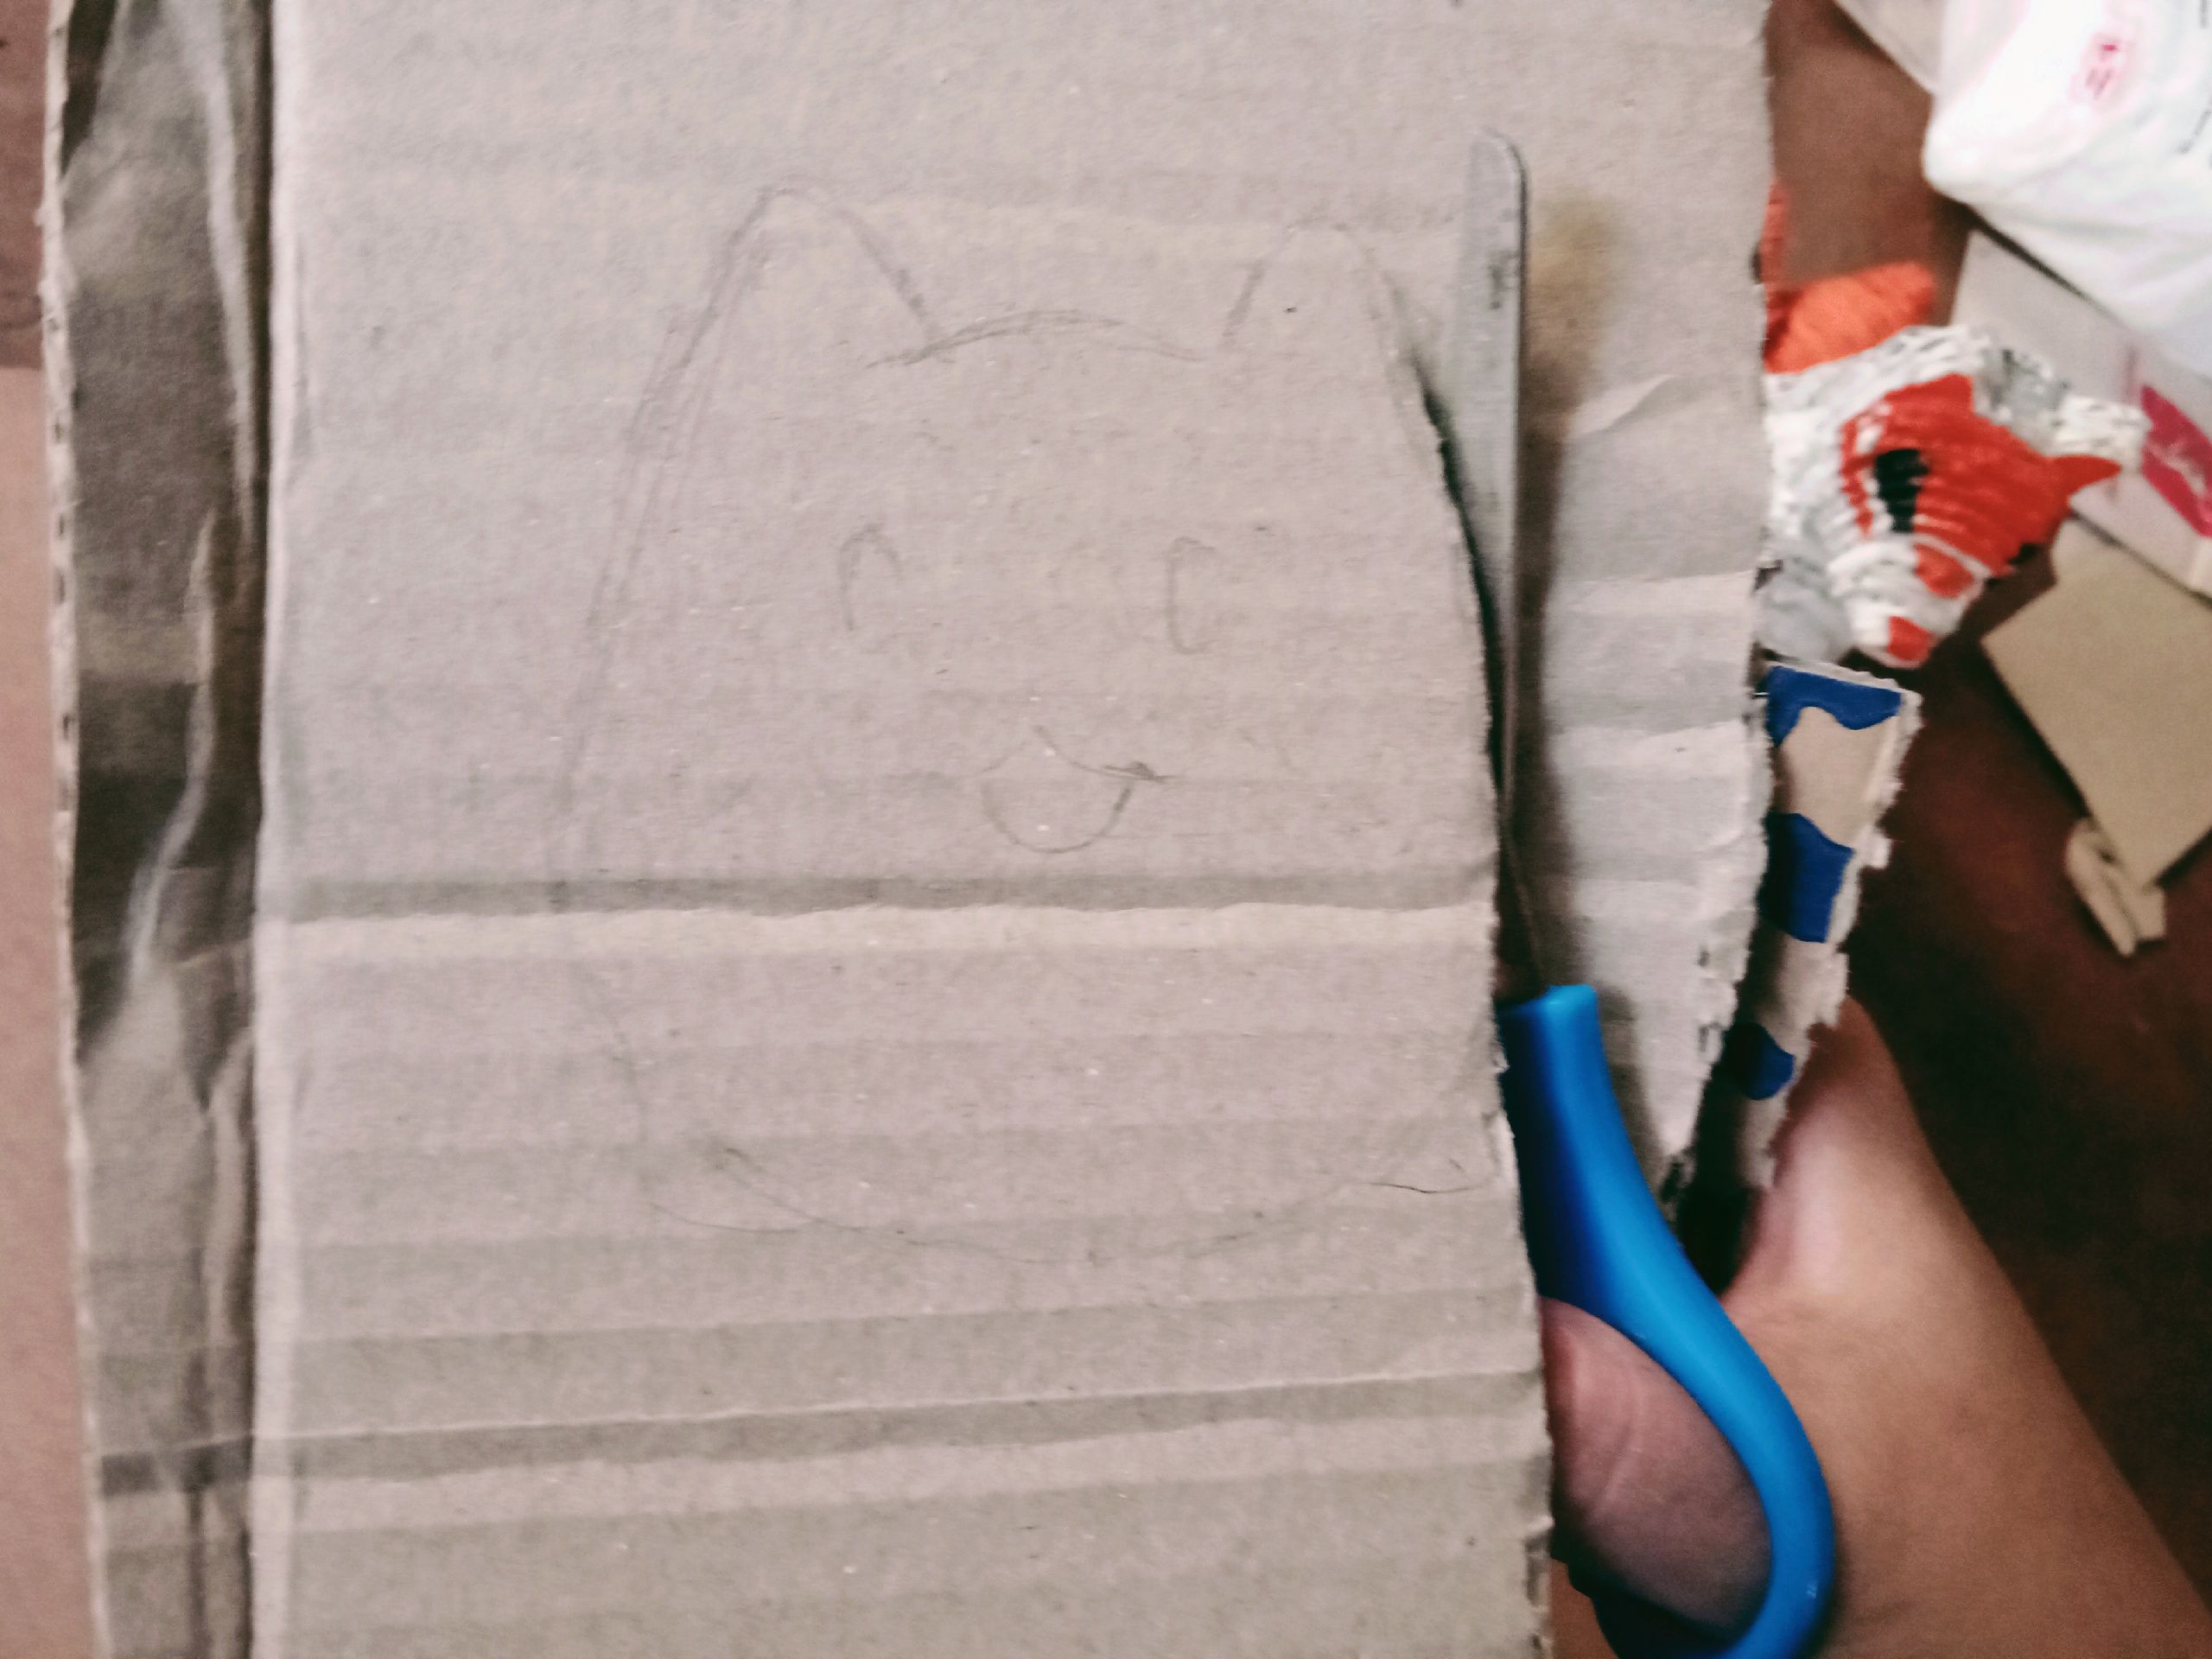
3. After you cut it, place it again above the carton and trace its edges. Cut it afterwards.
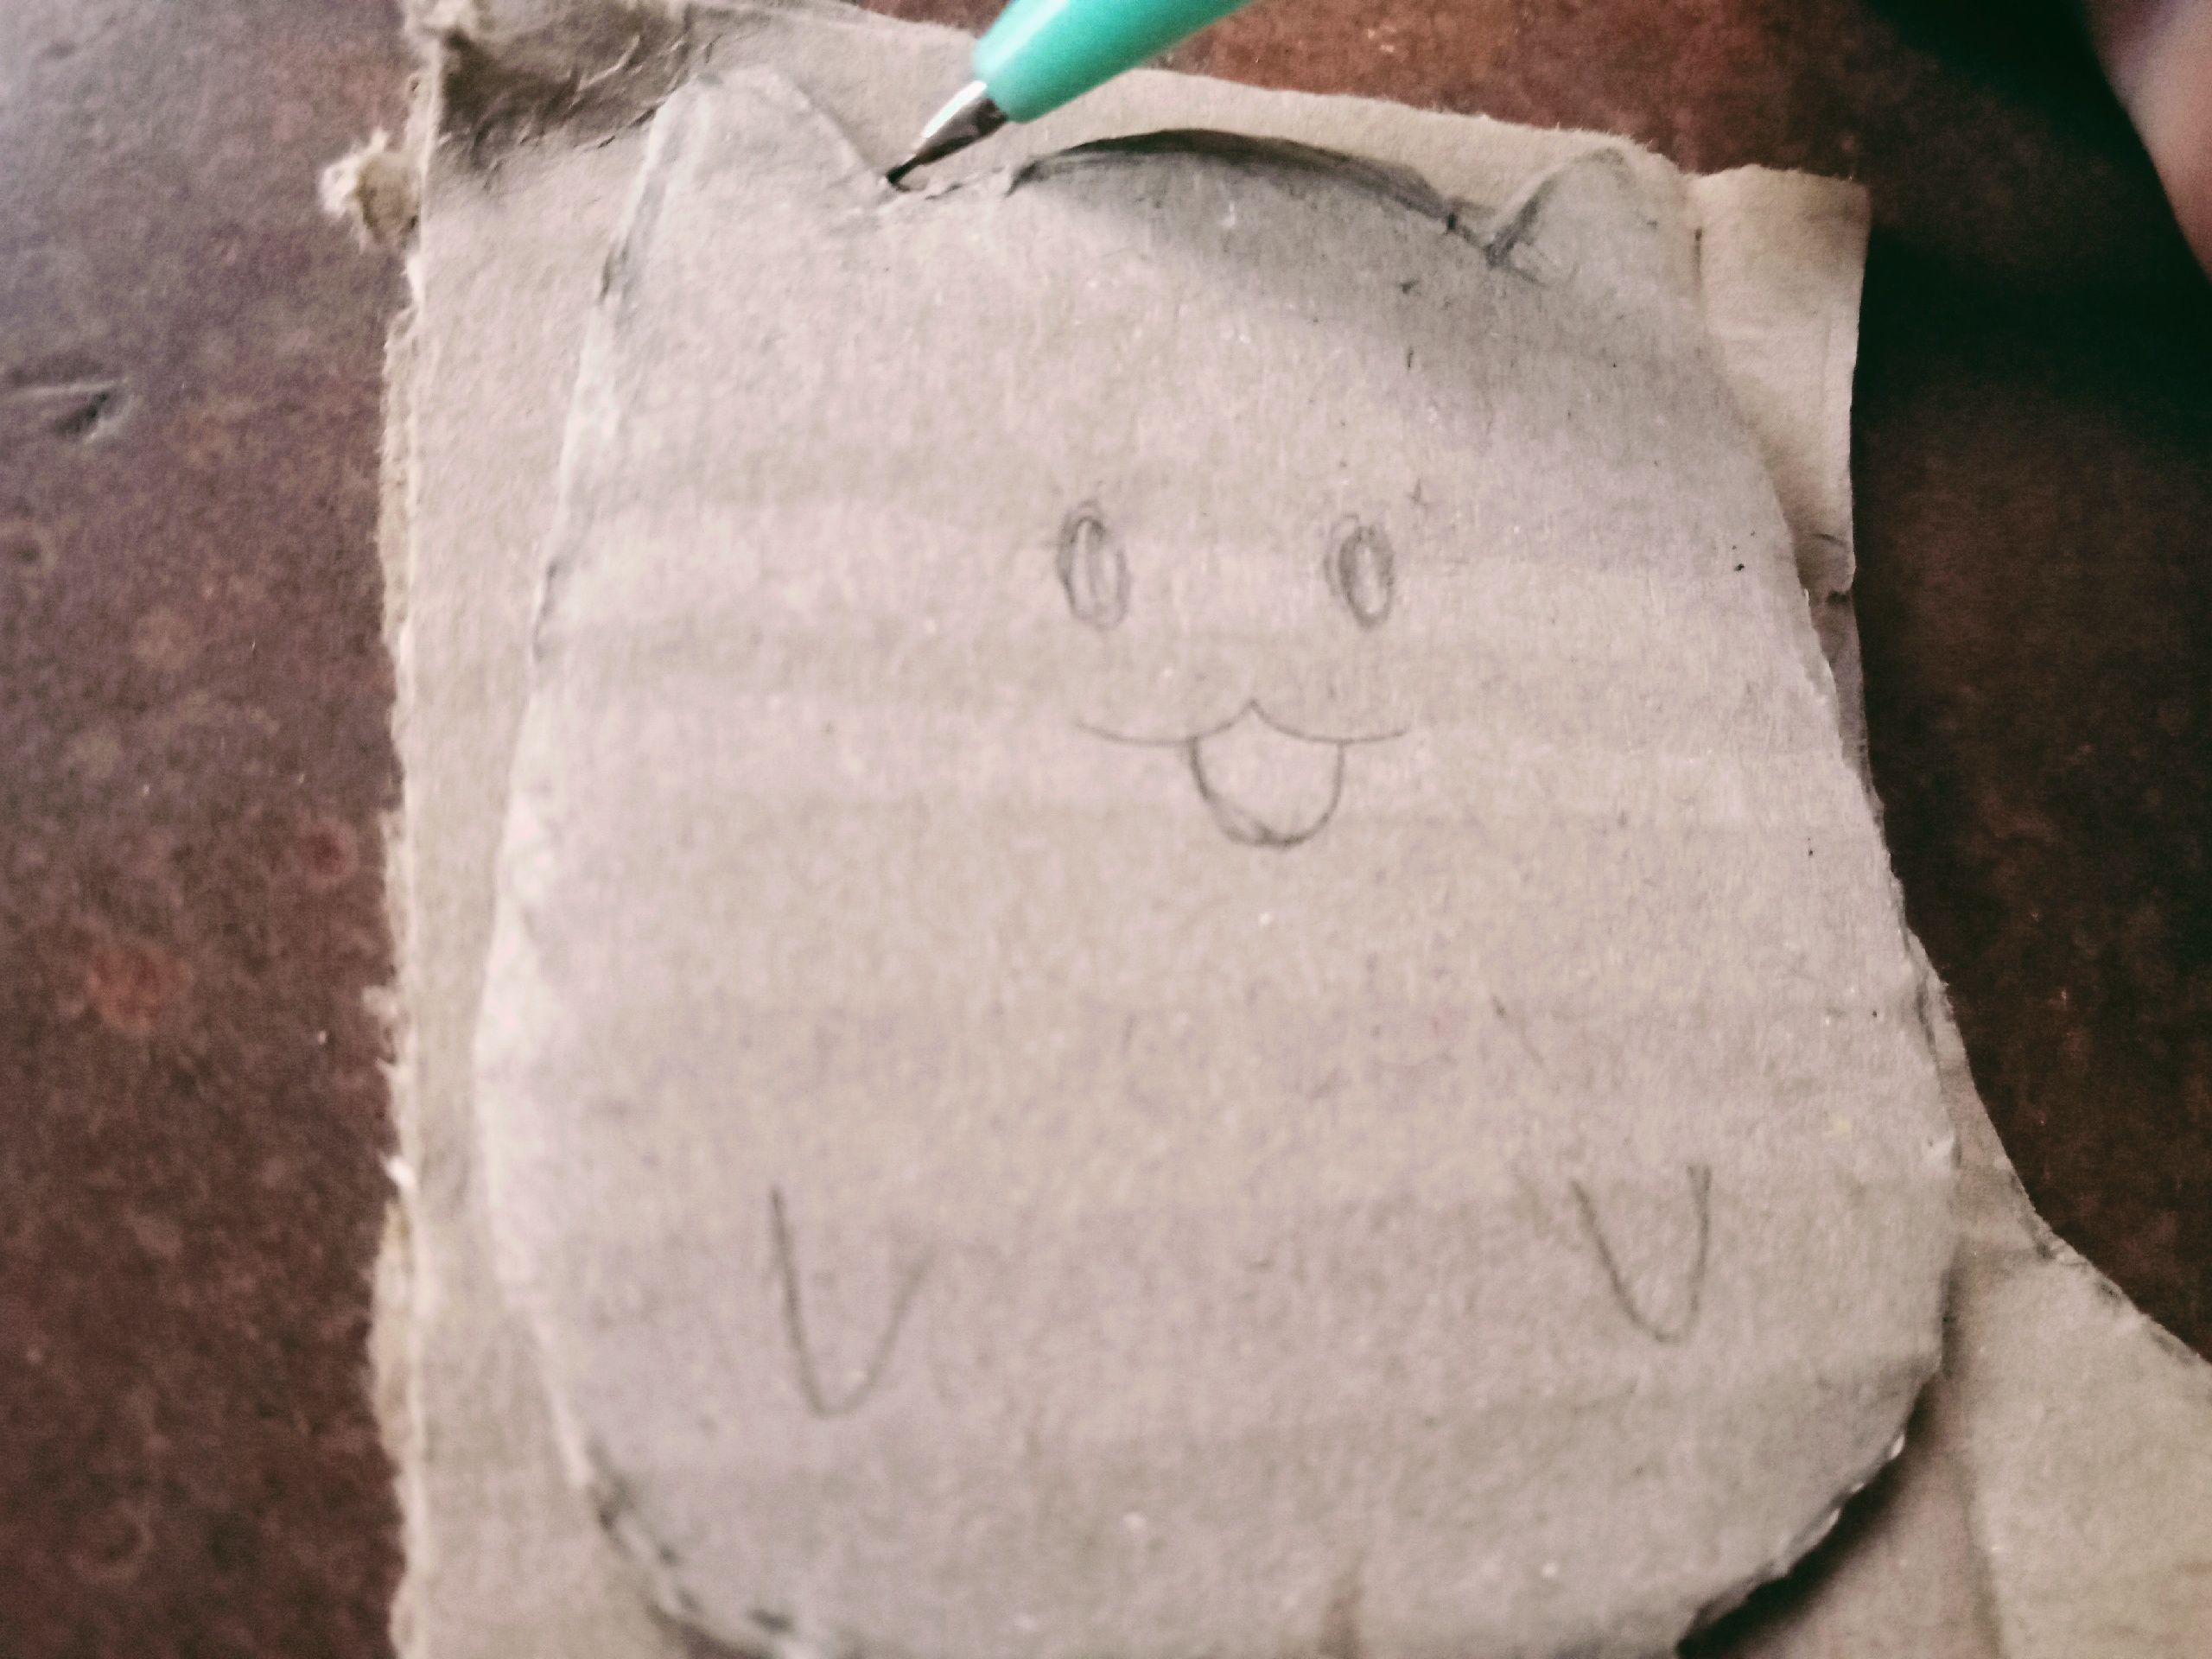
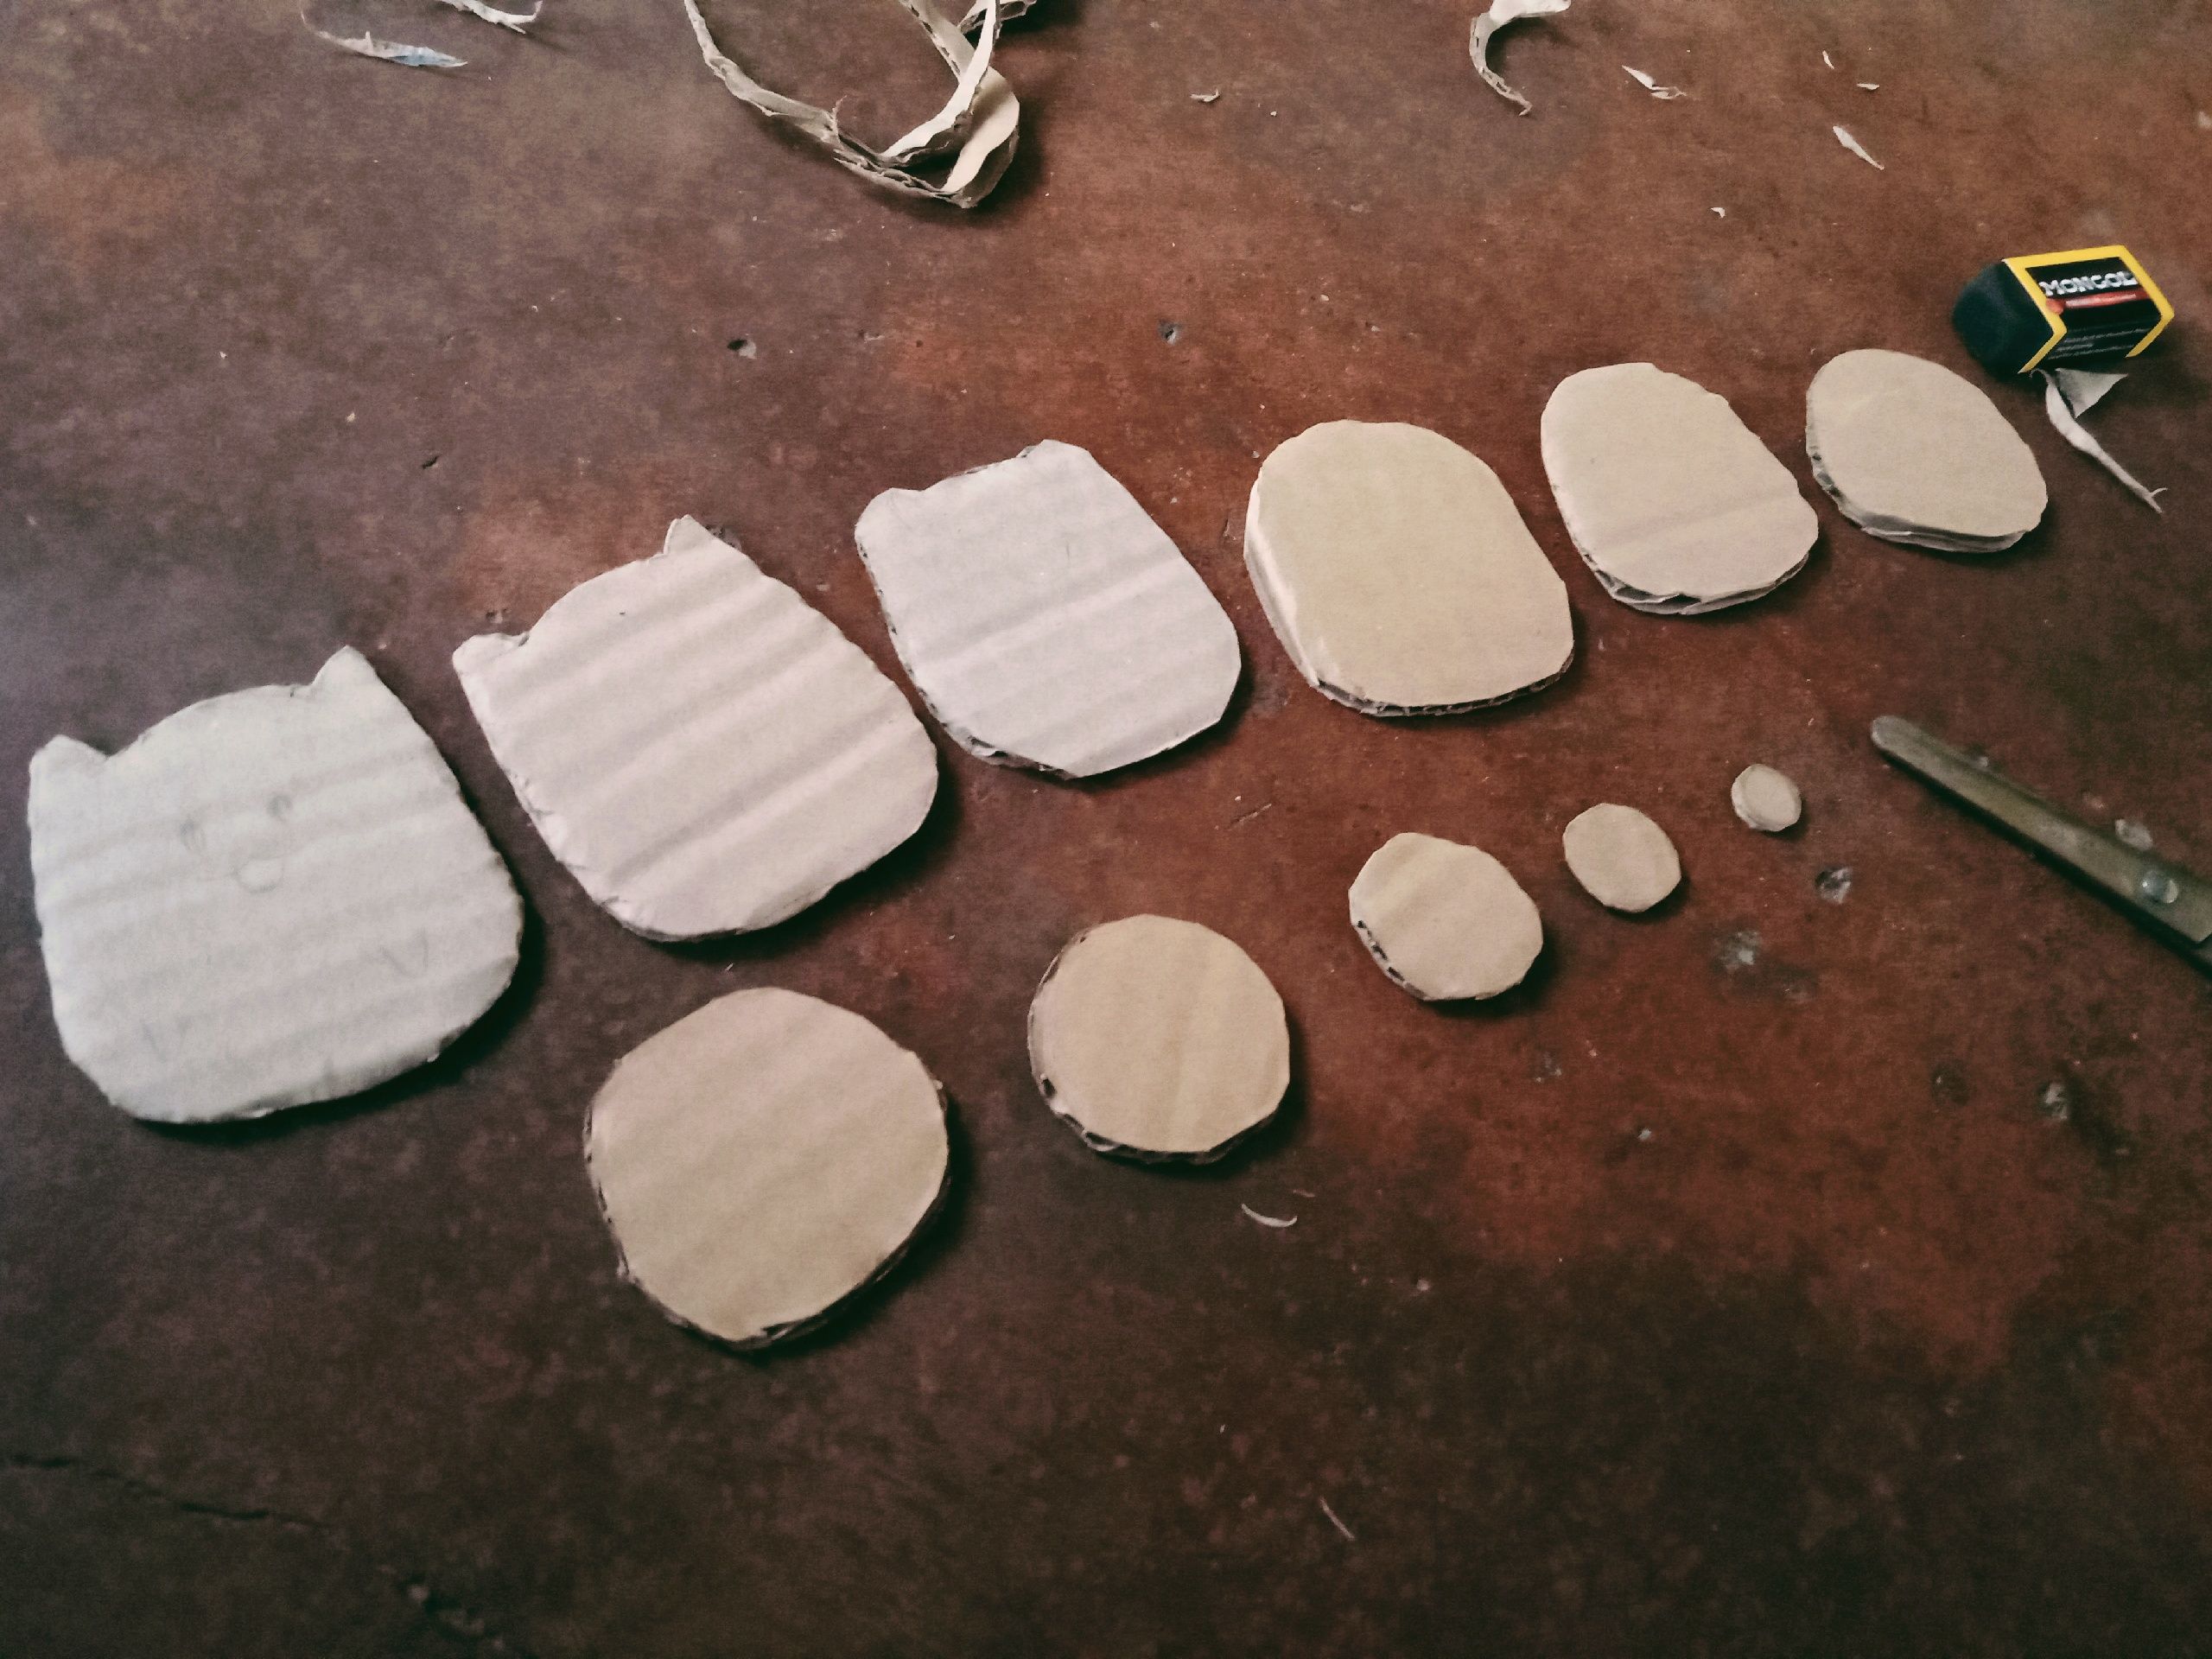
4. Make a copy of the cut figure, but this time make it smaller.
5. While heating the glue gun, mix some glue with water. Stir it well so that the glue will not clump up.
6. Then, stick the cut figures in descending order.
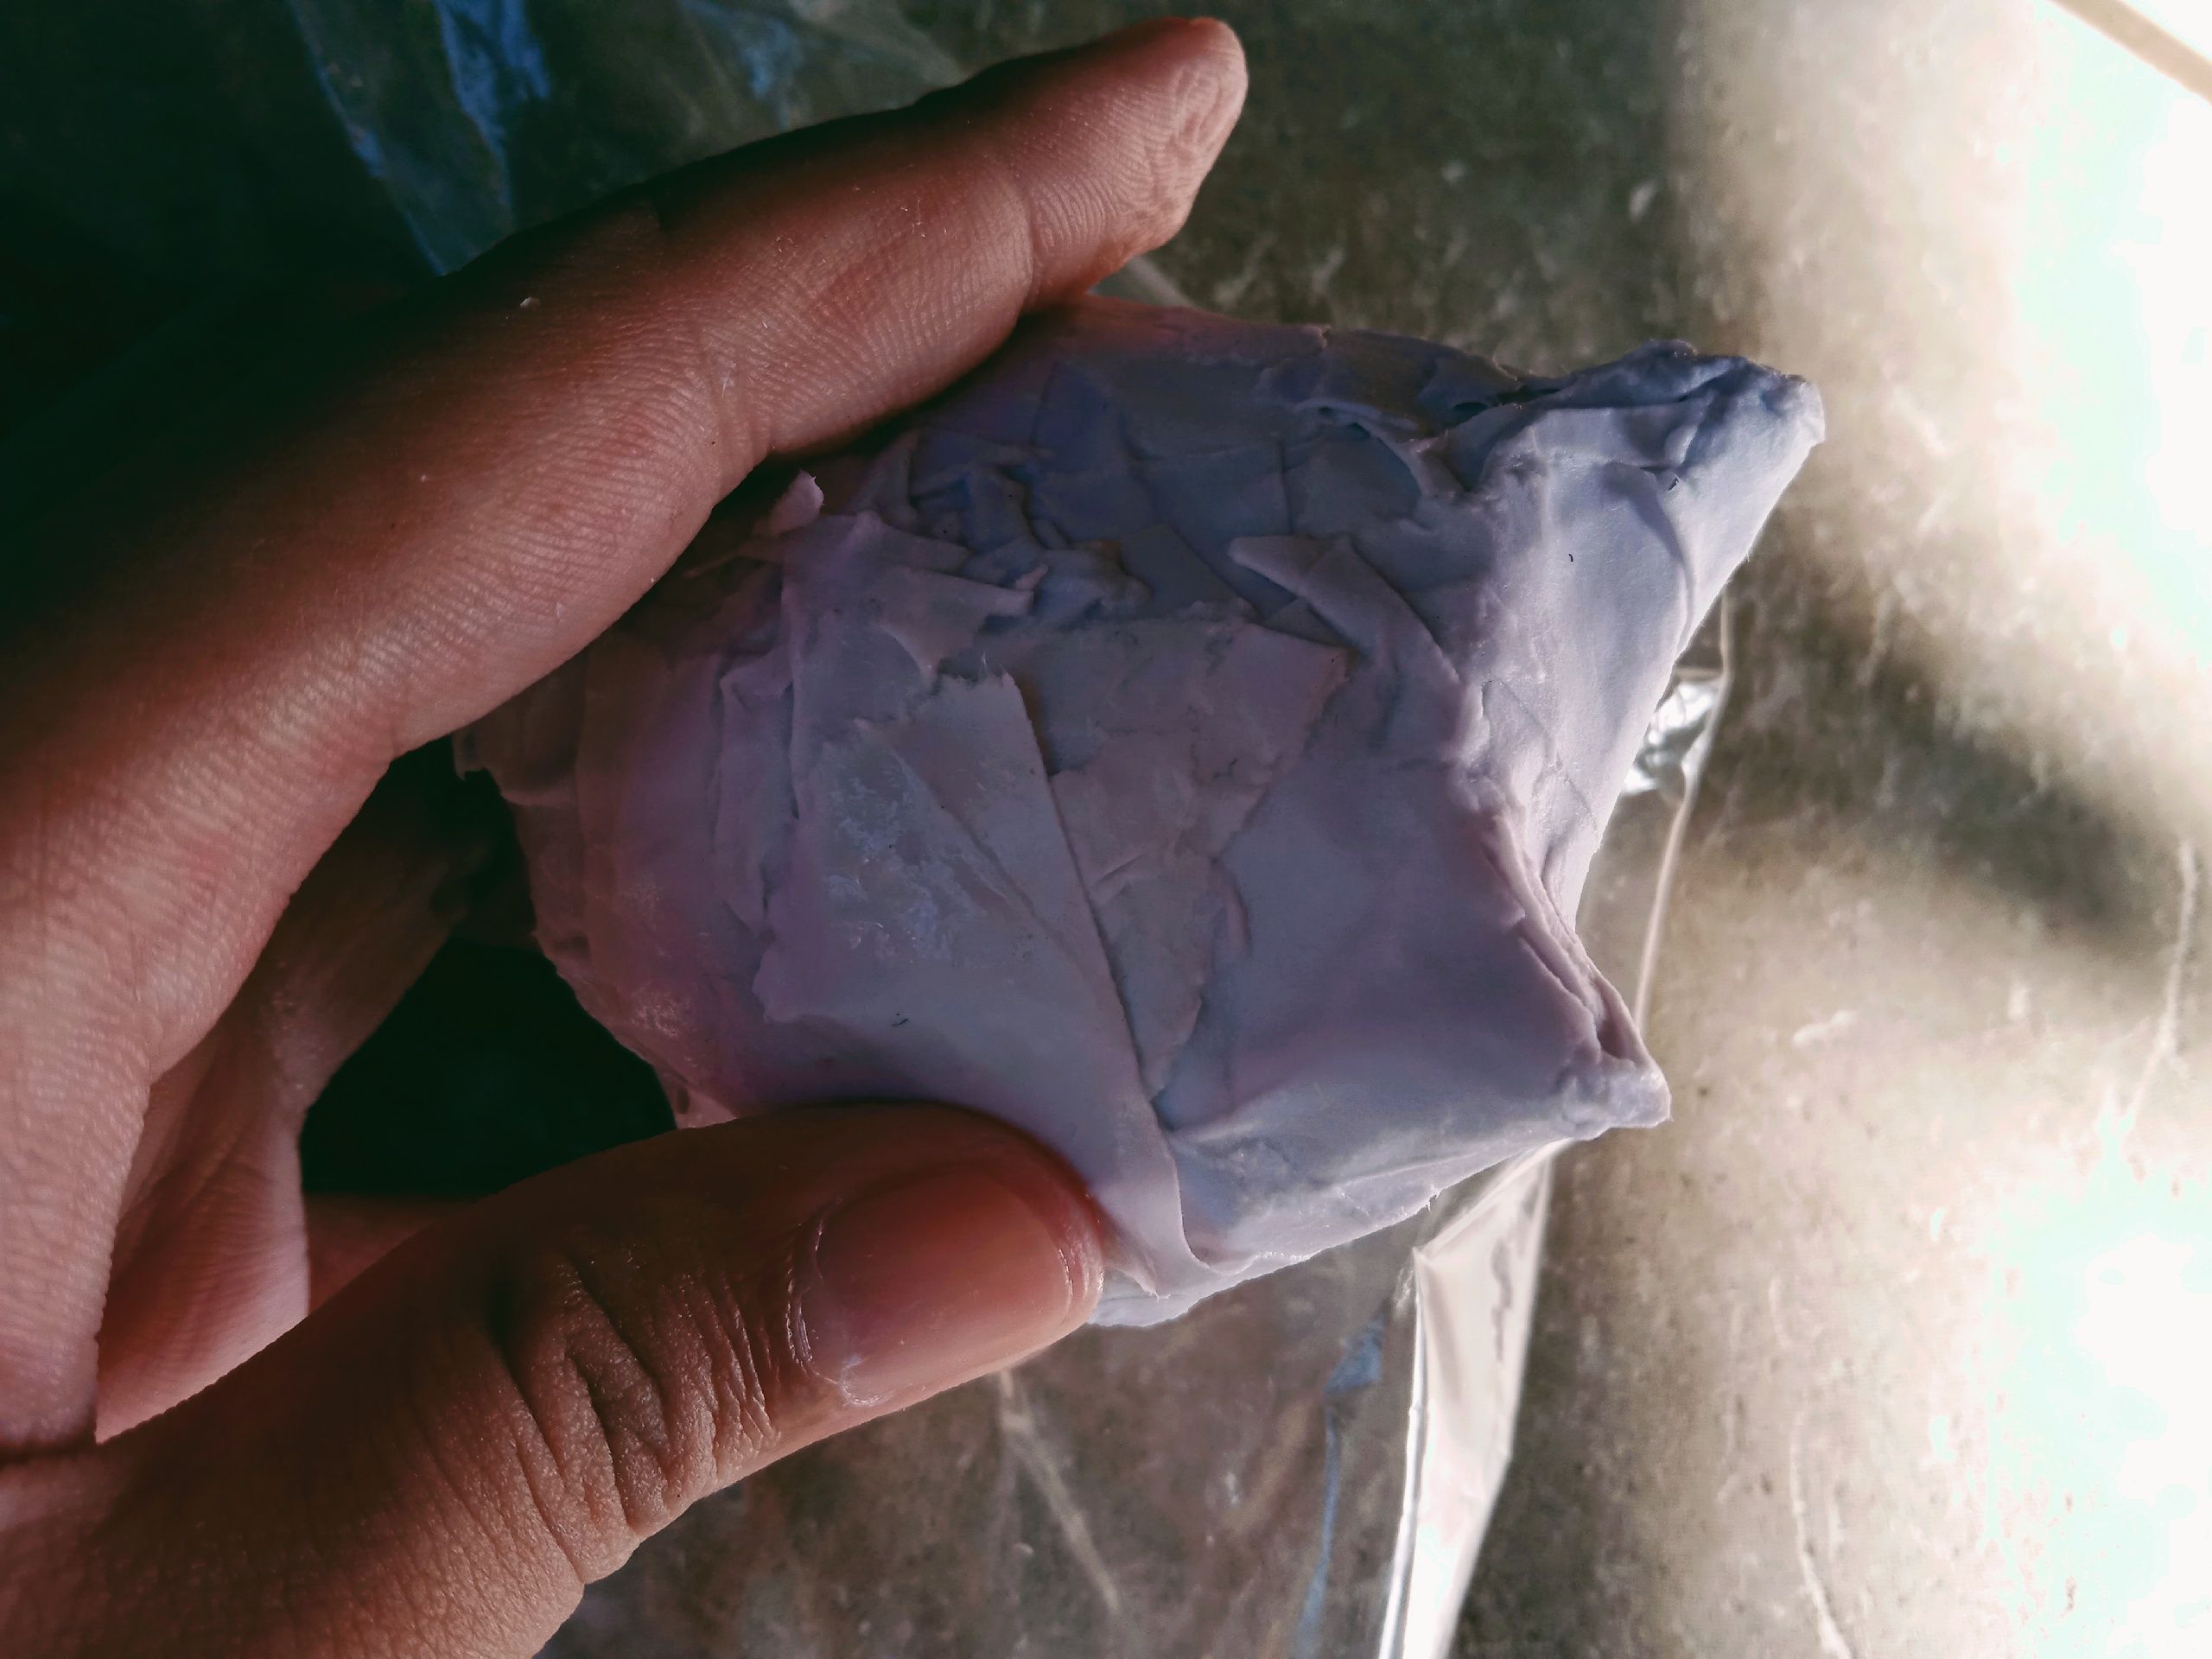
7. Rip the receipts into shreds.
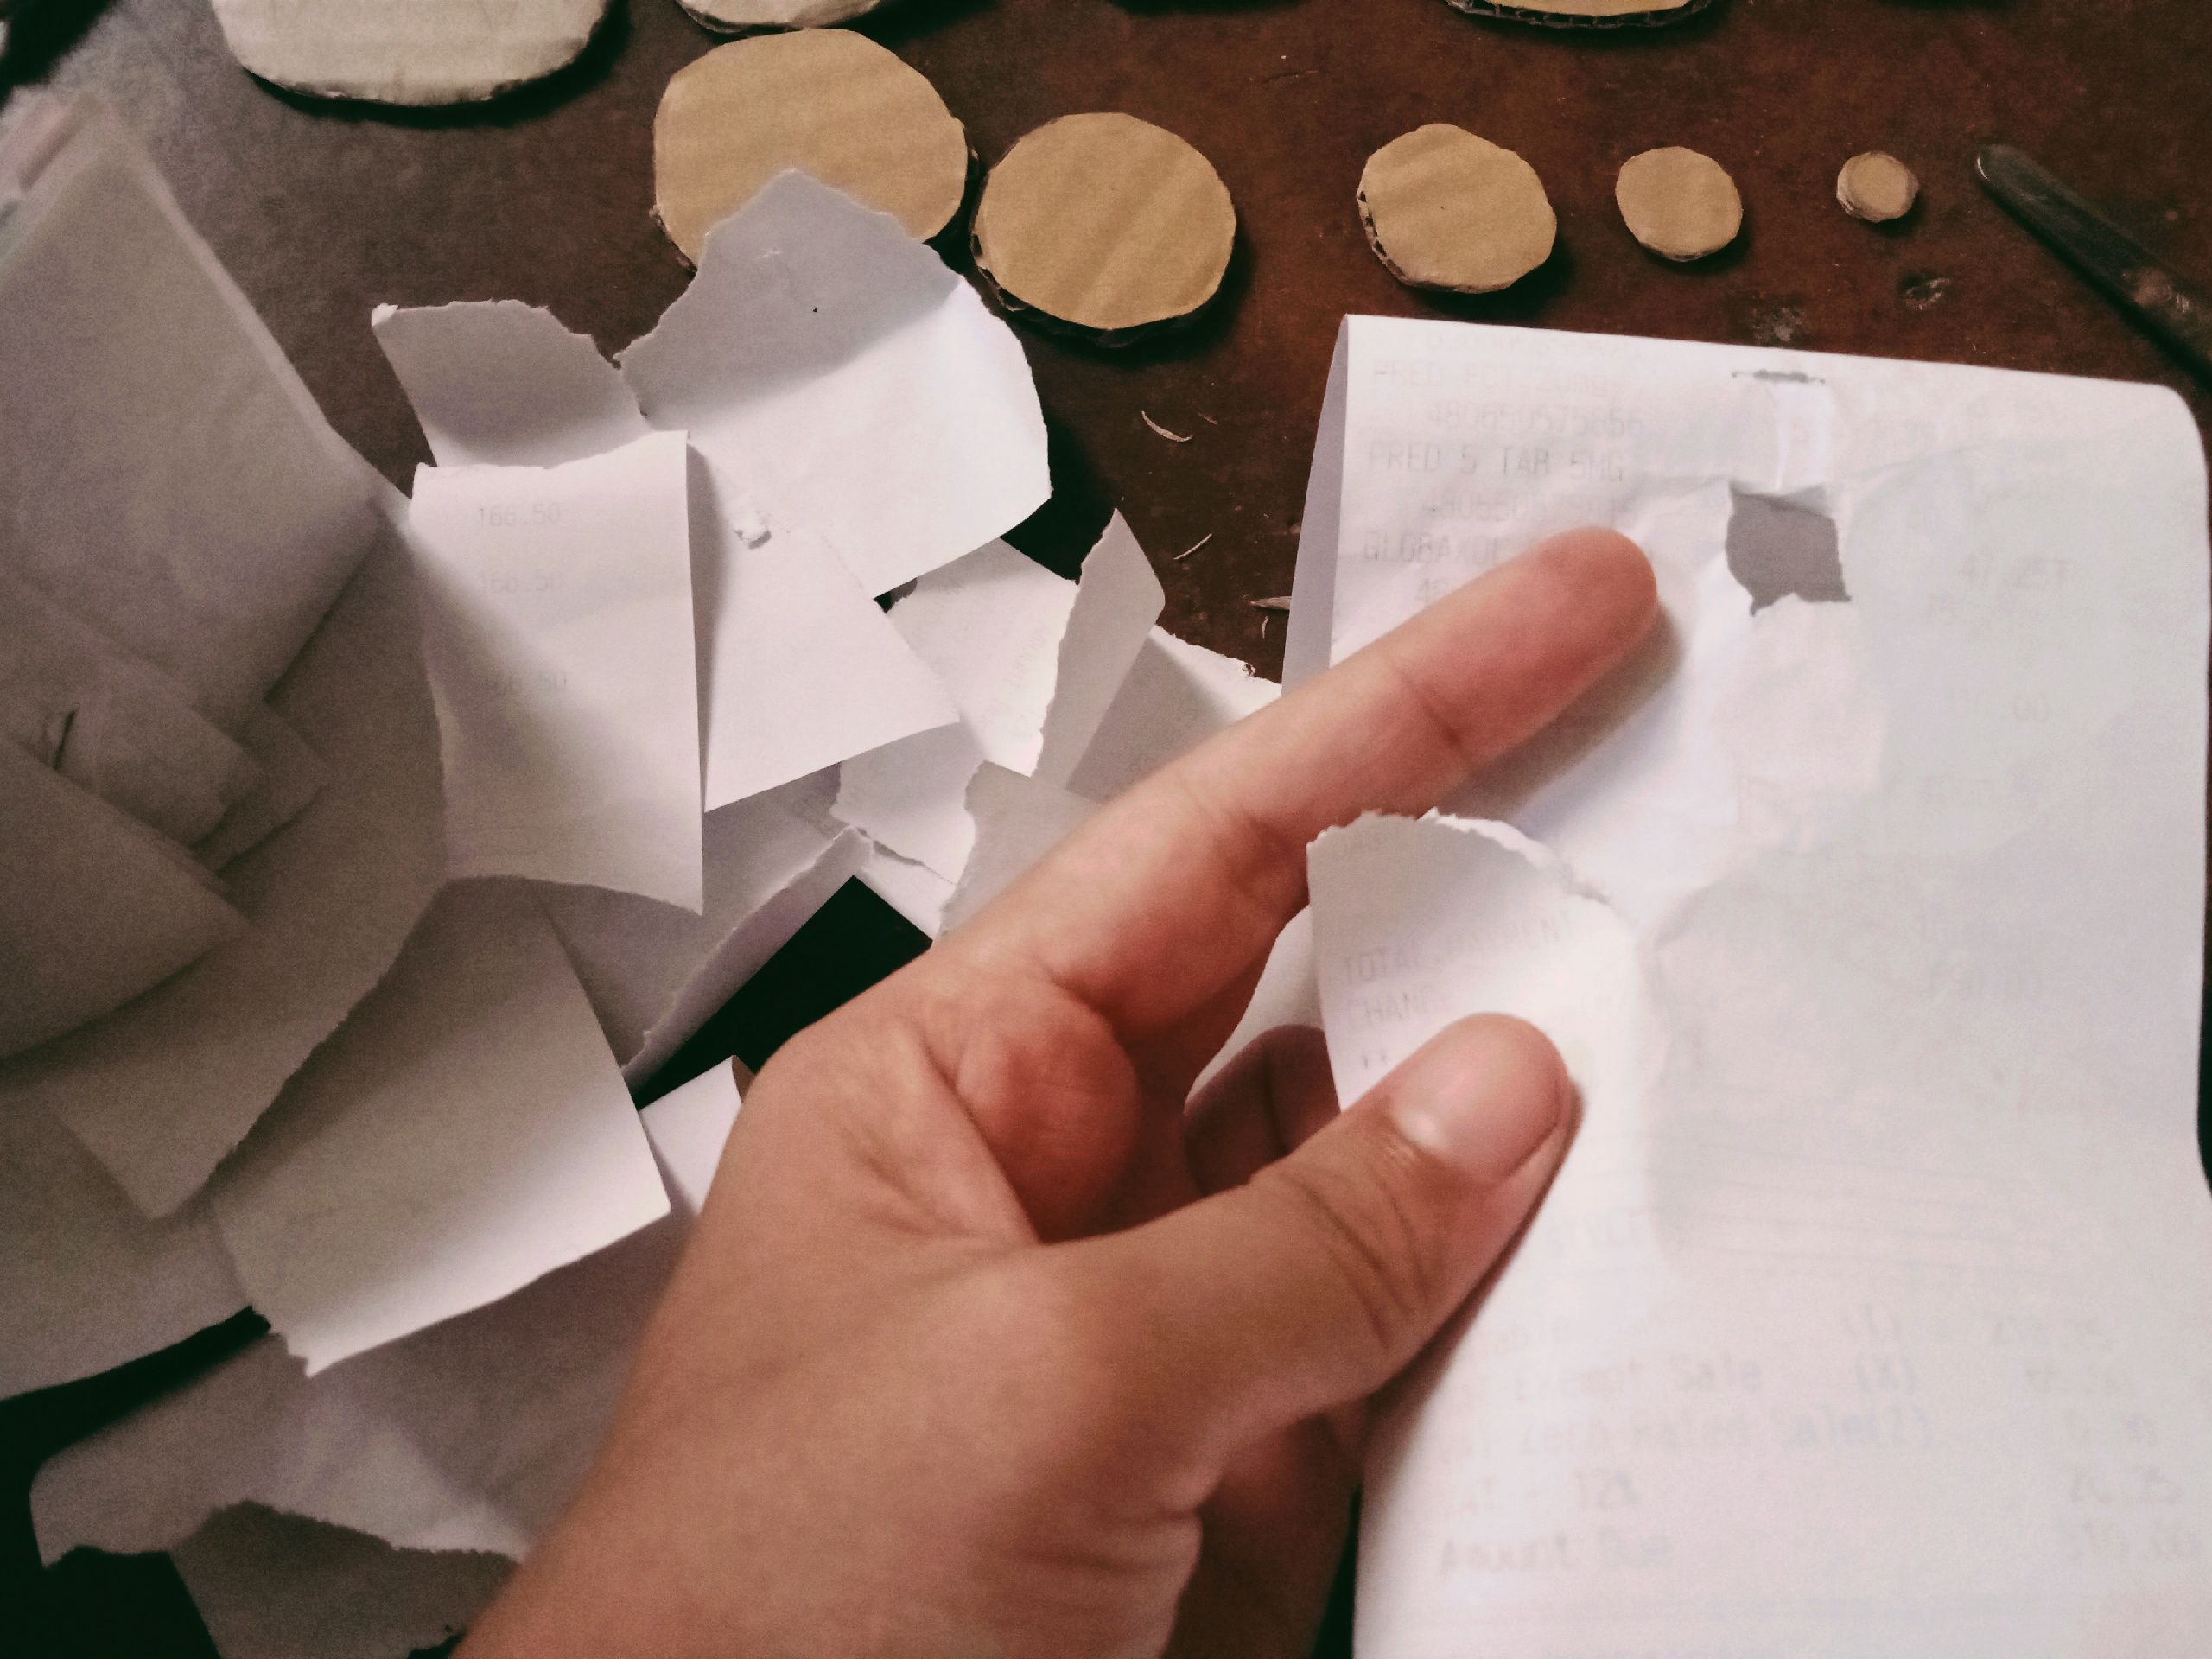
8. Dip it into the glue and water solution. Make sure it is soaked well.
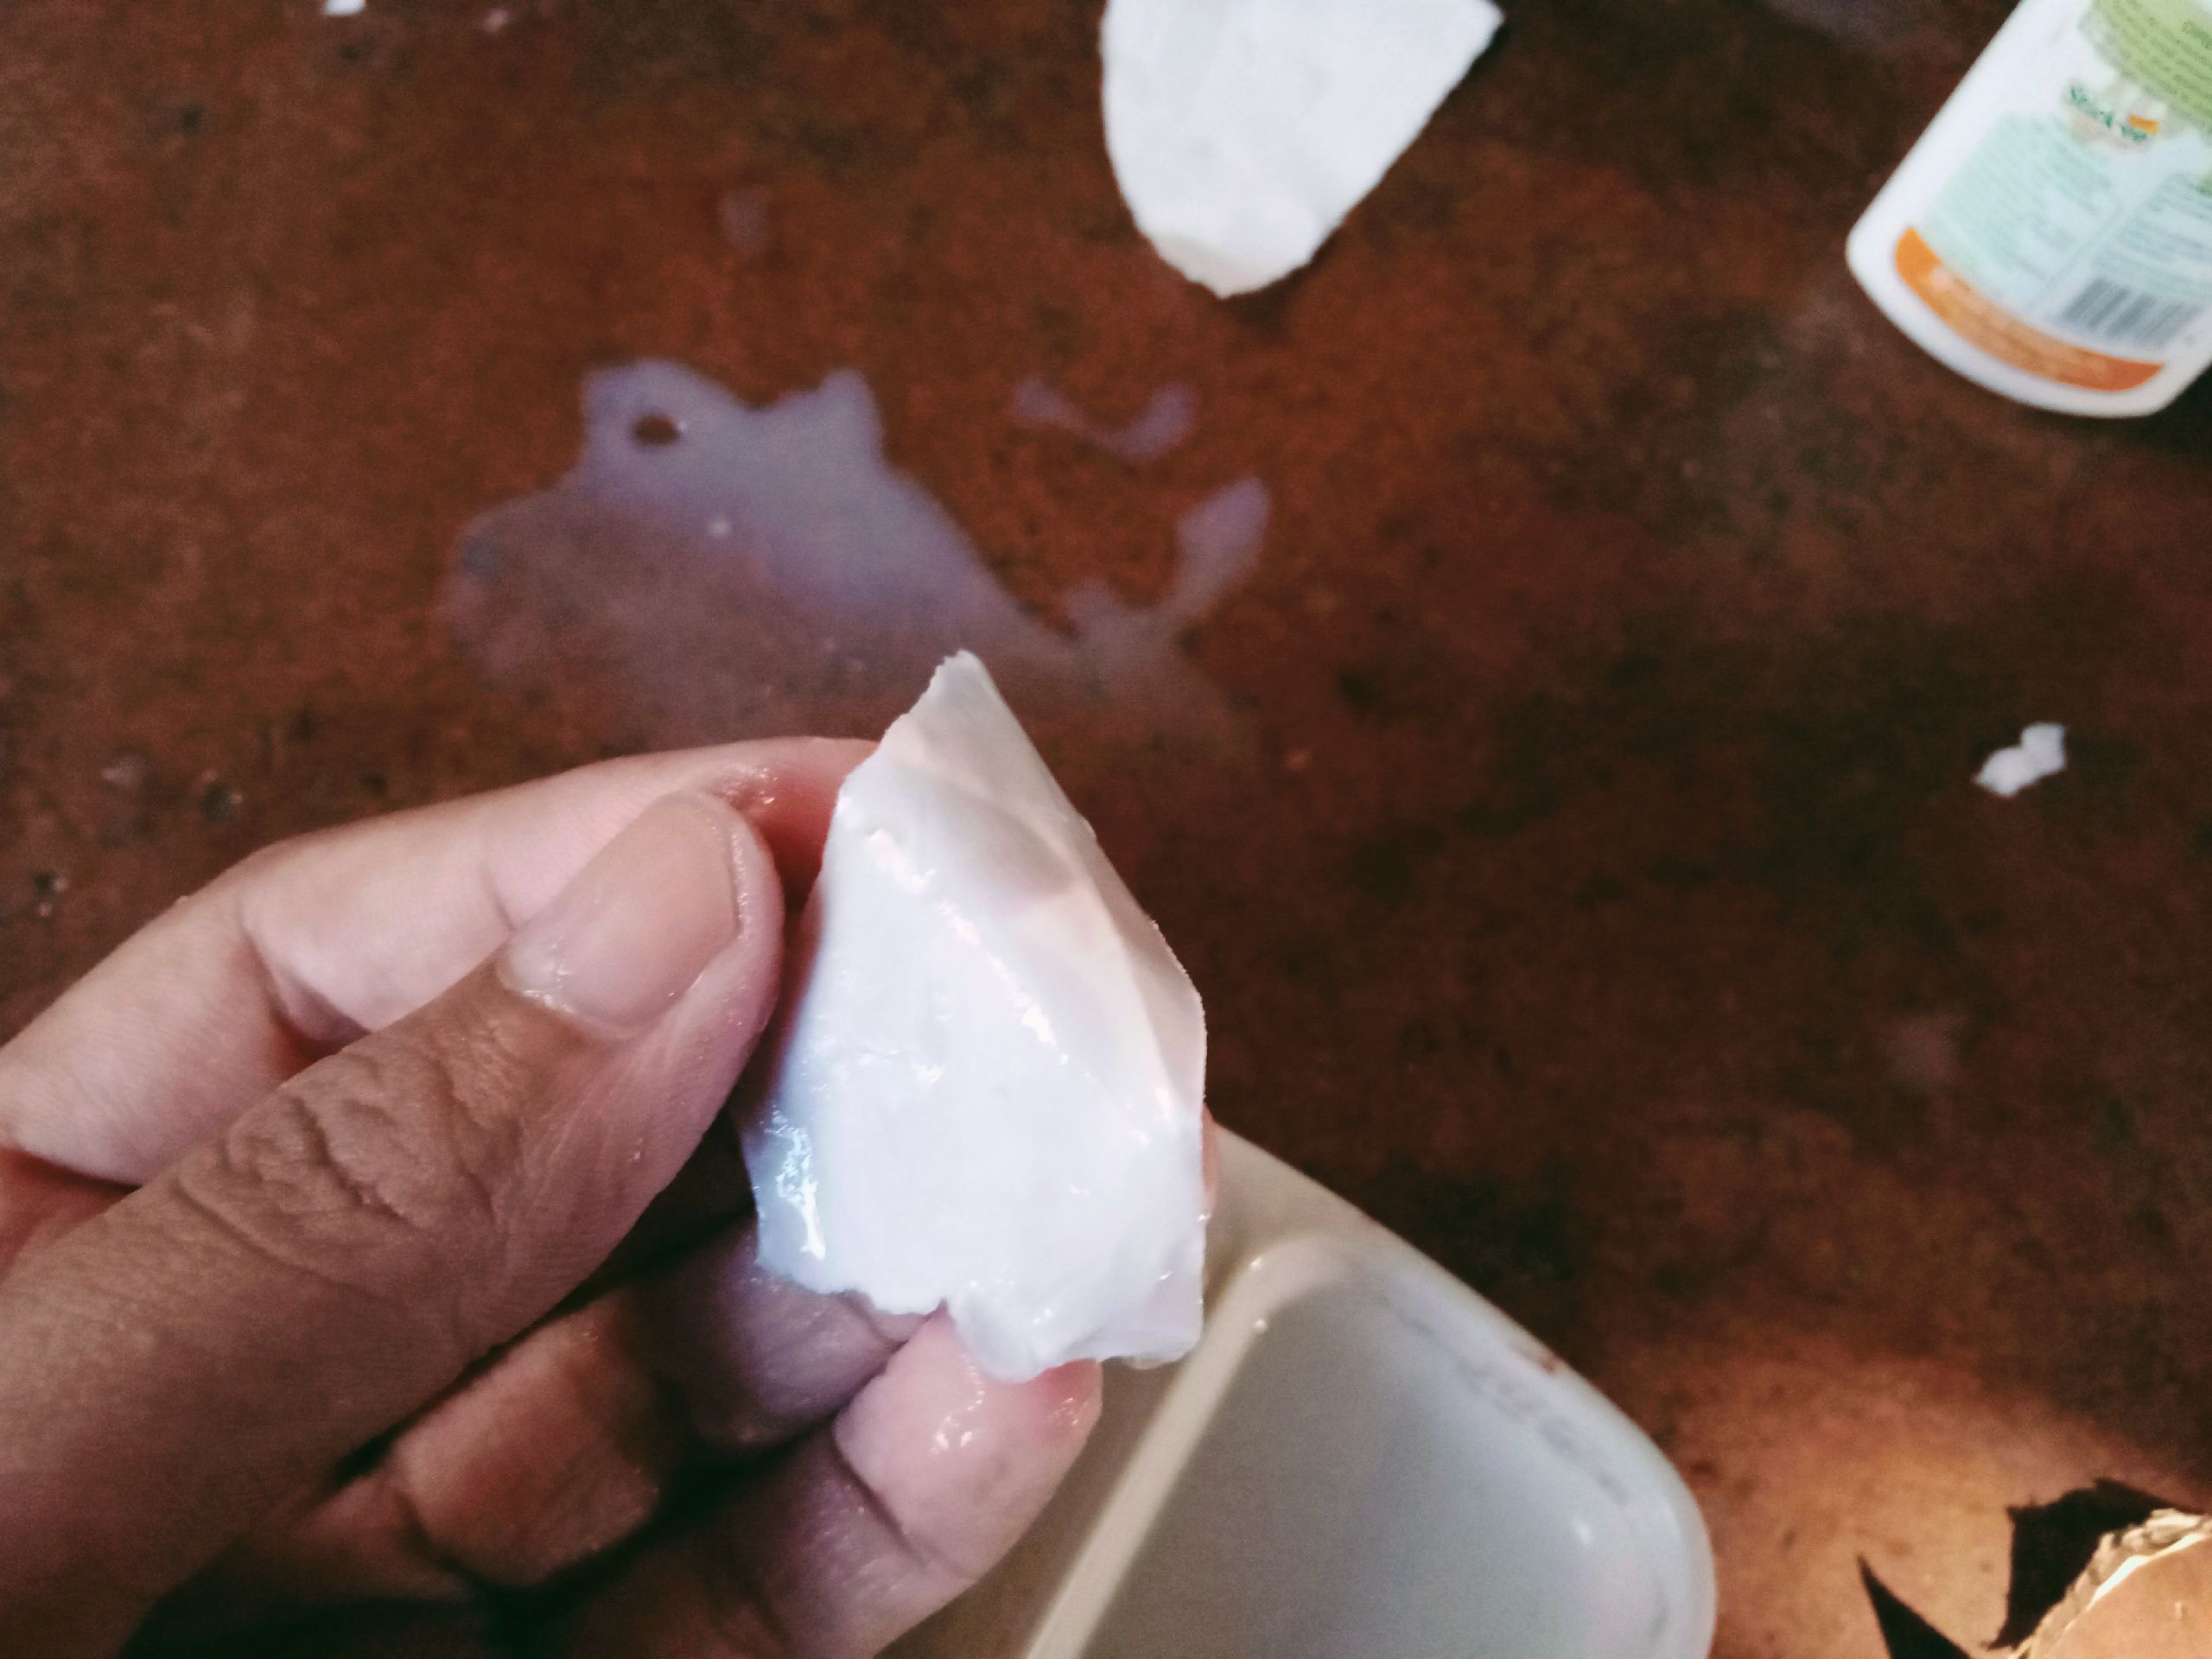
9. Stick the shredded receipts to the carton figure. Make sure that no space is left uncovered.
10. Crumple some shred and stick it into the front of the figure. Then cover it again with shredded receipts.
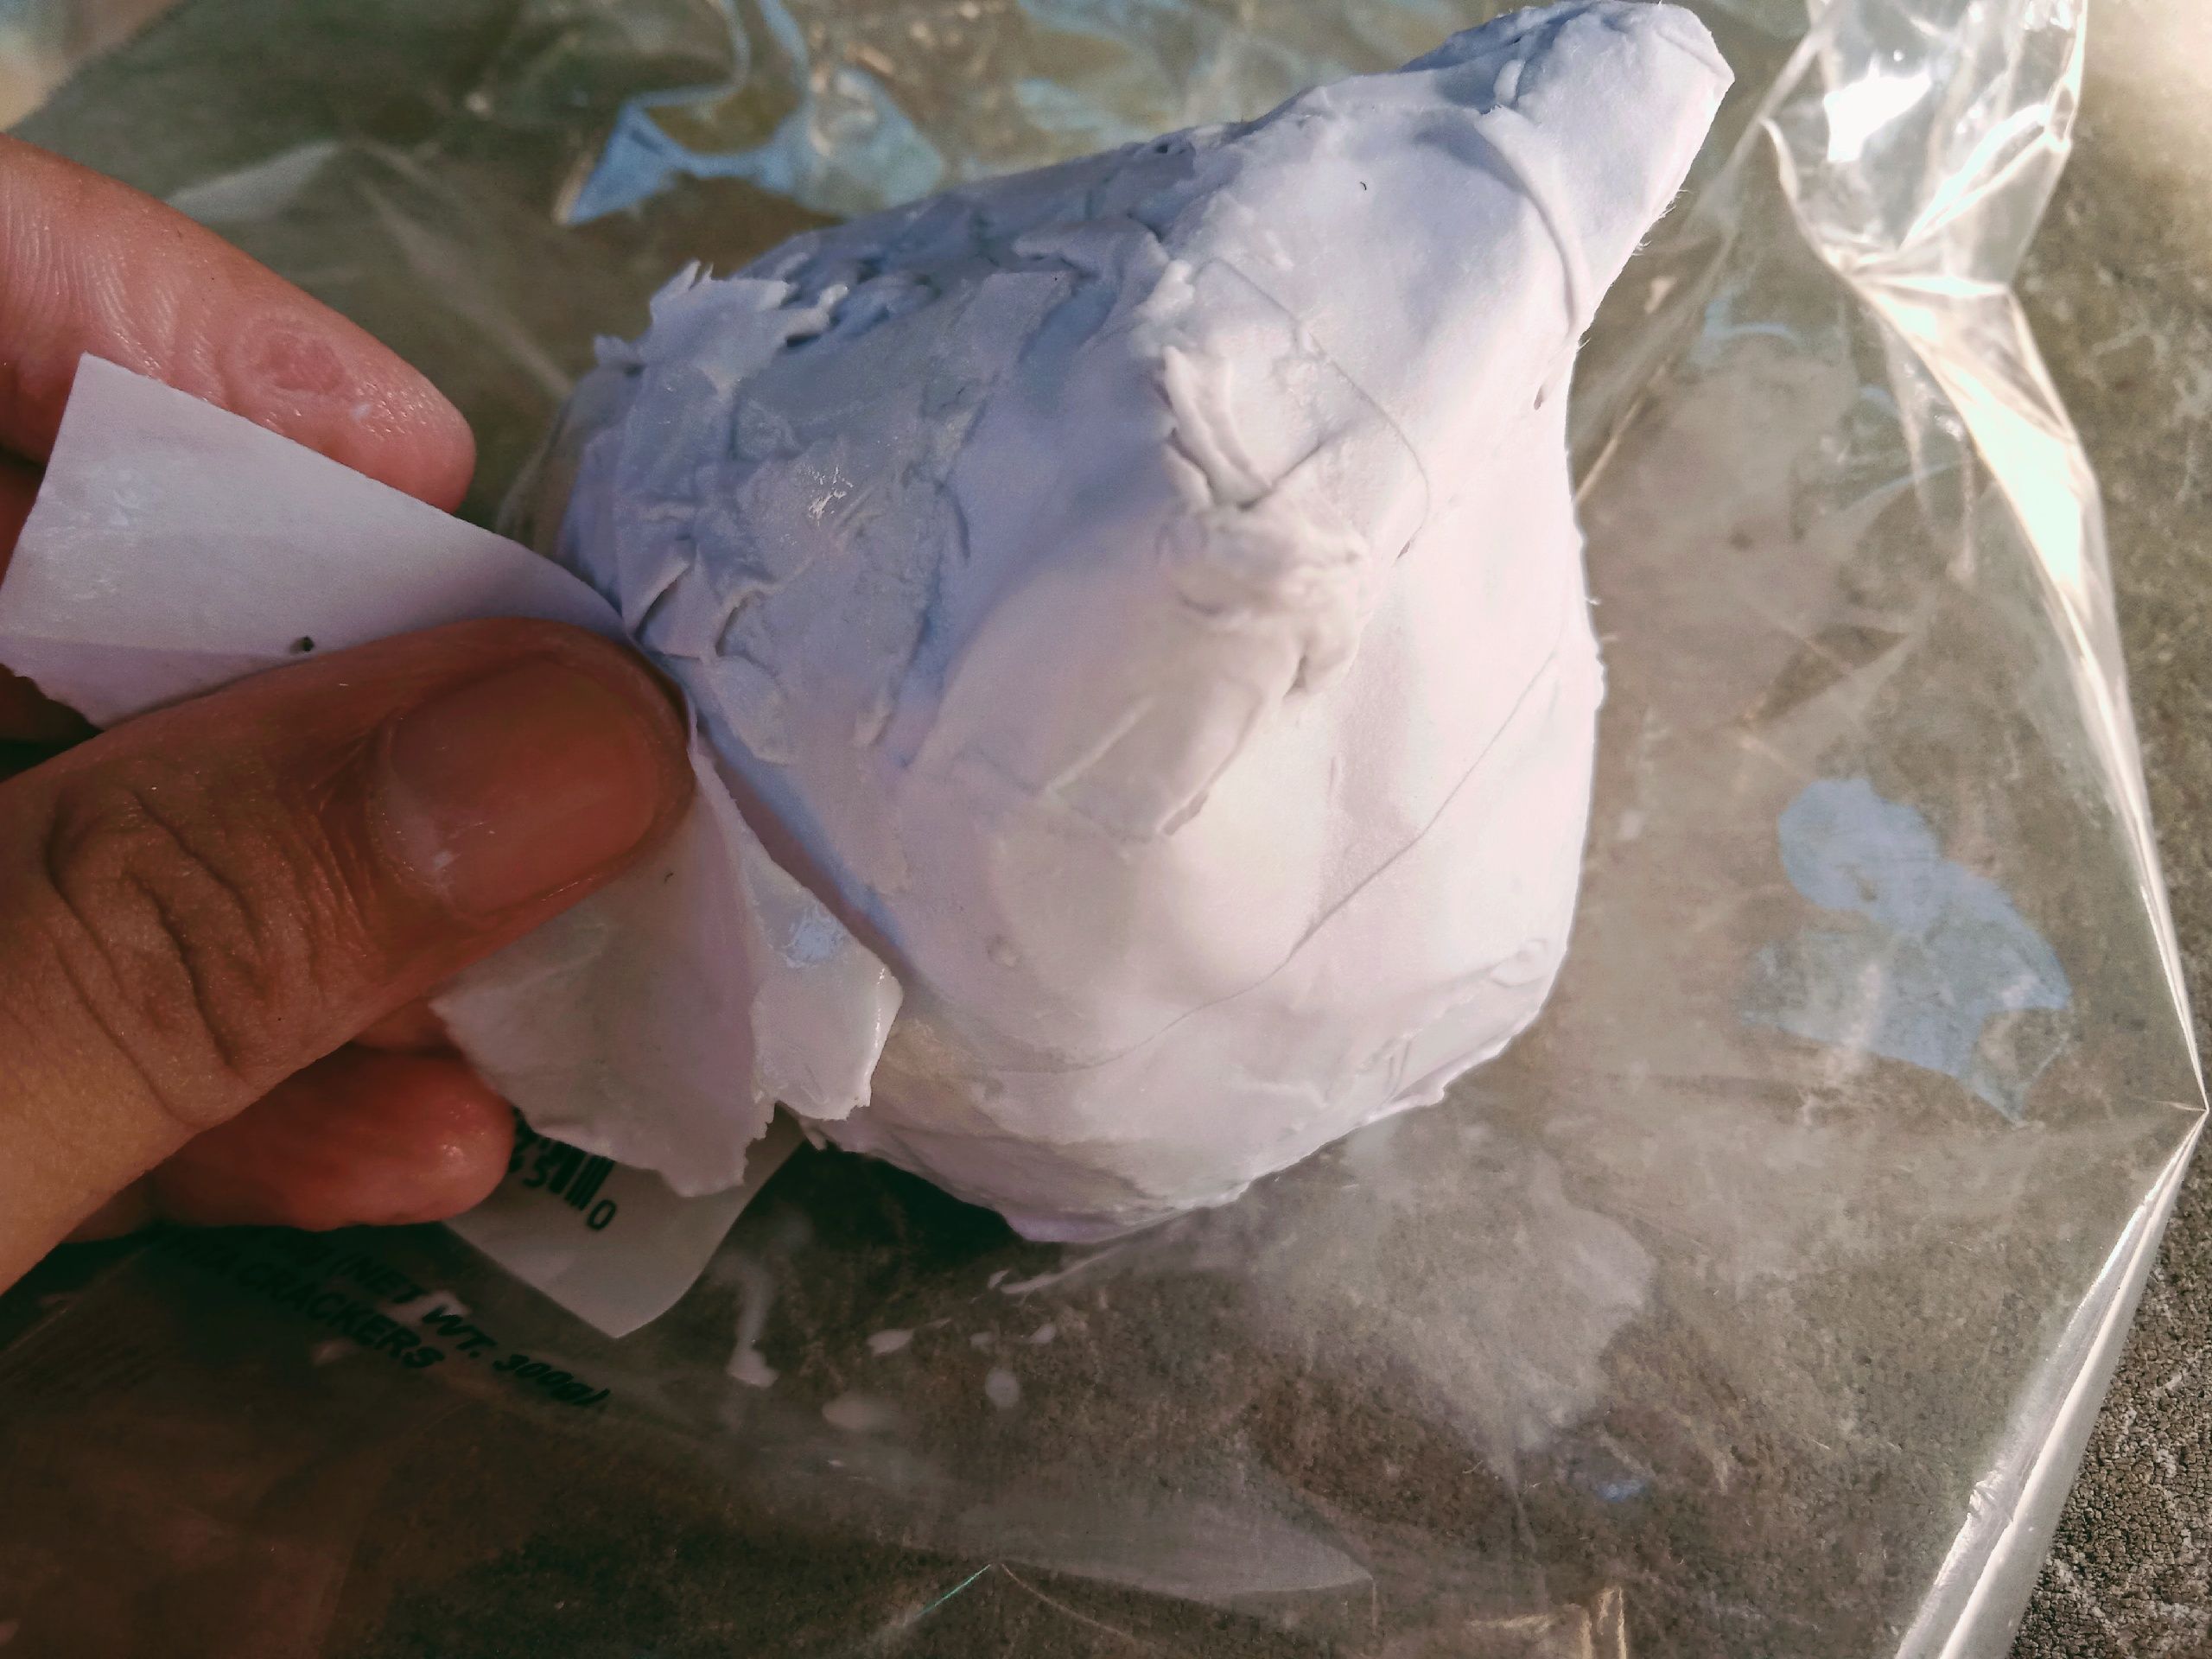
11. When you're done sticking the shredded receipts, let them dry.
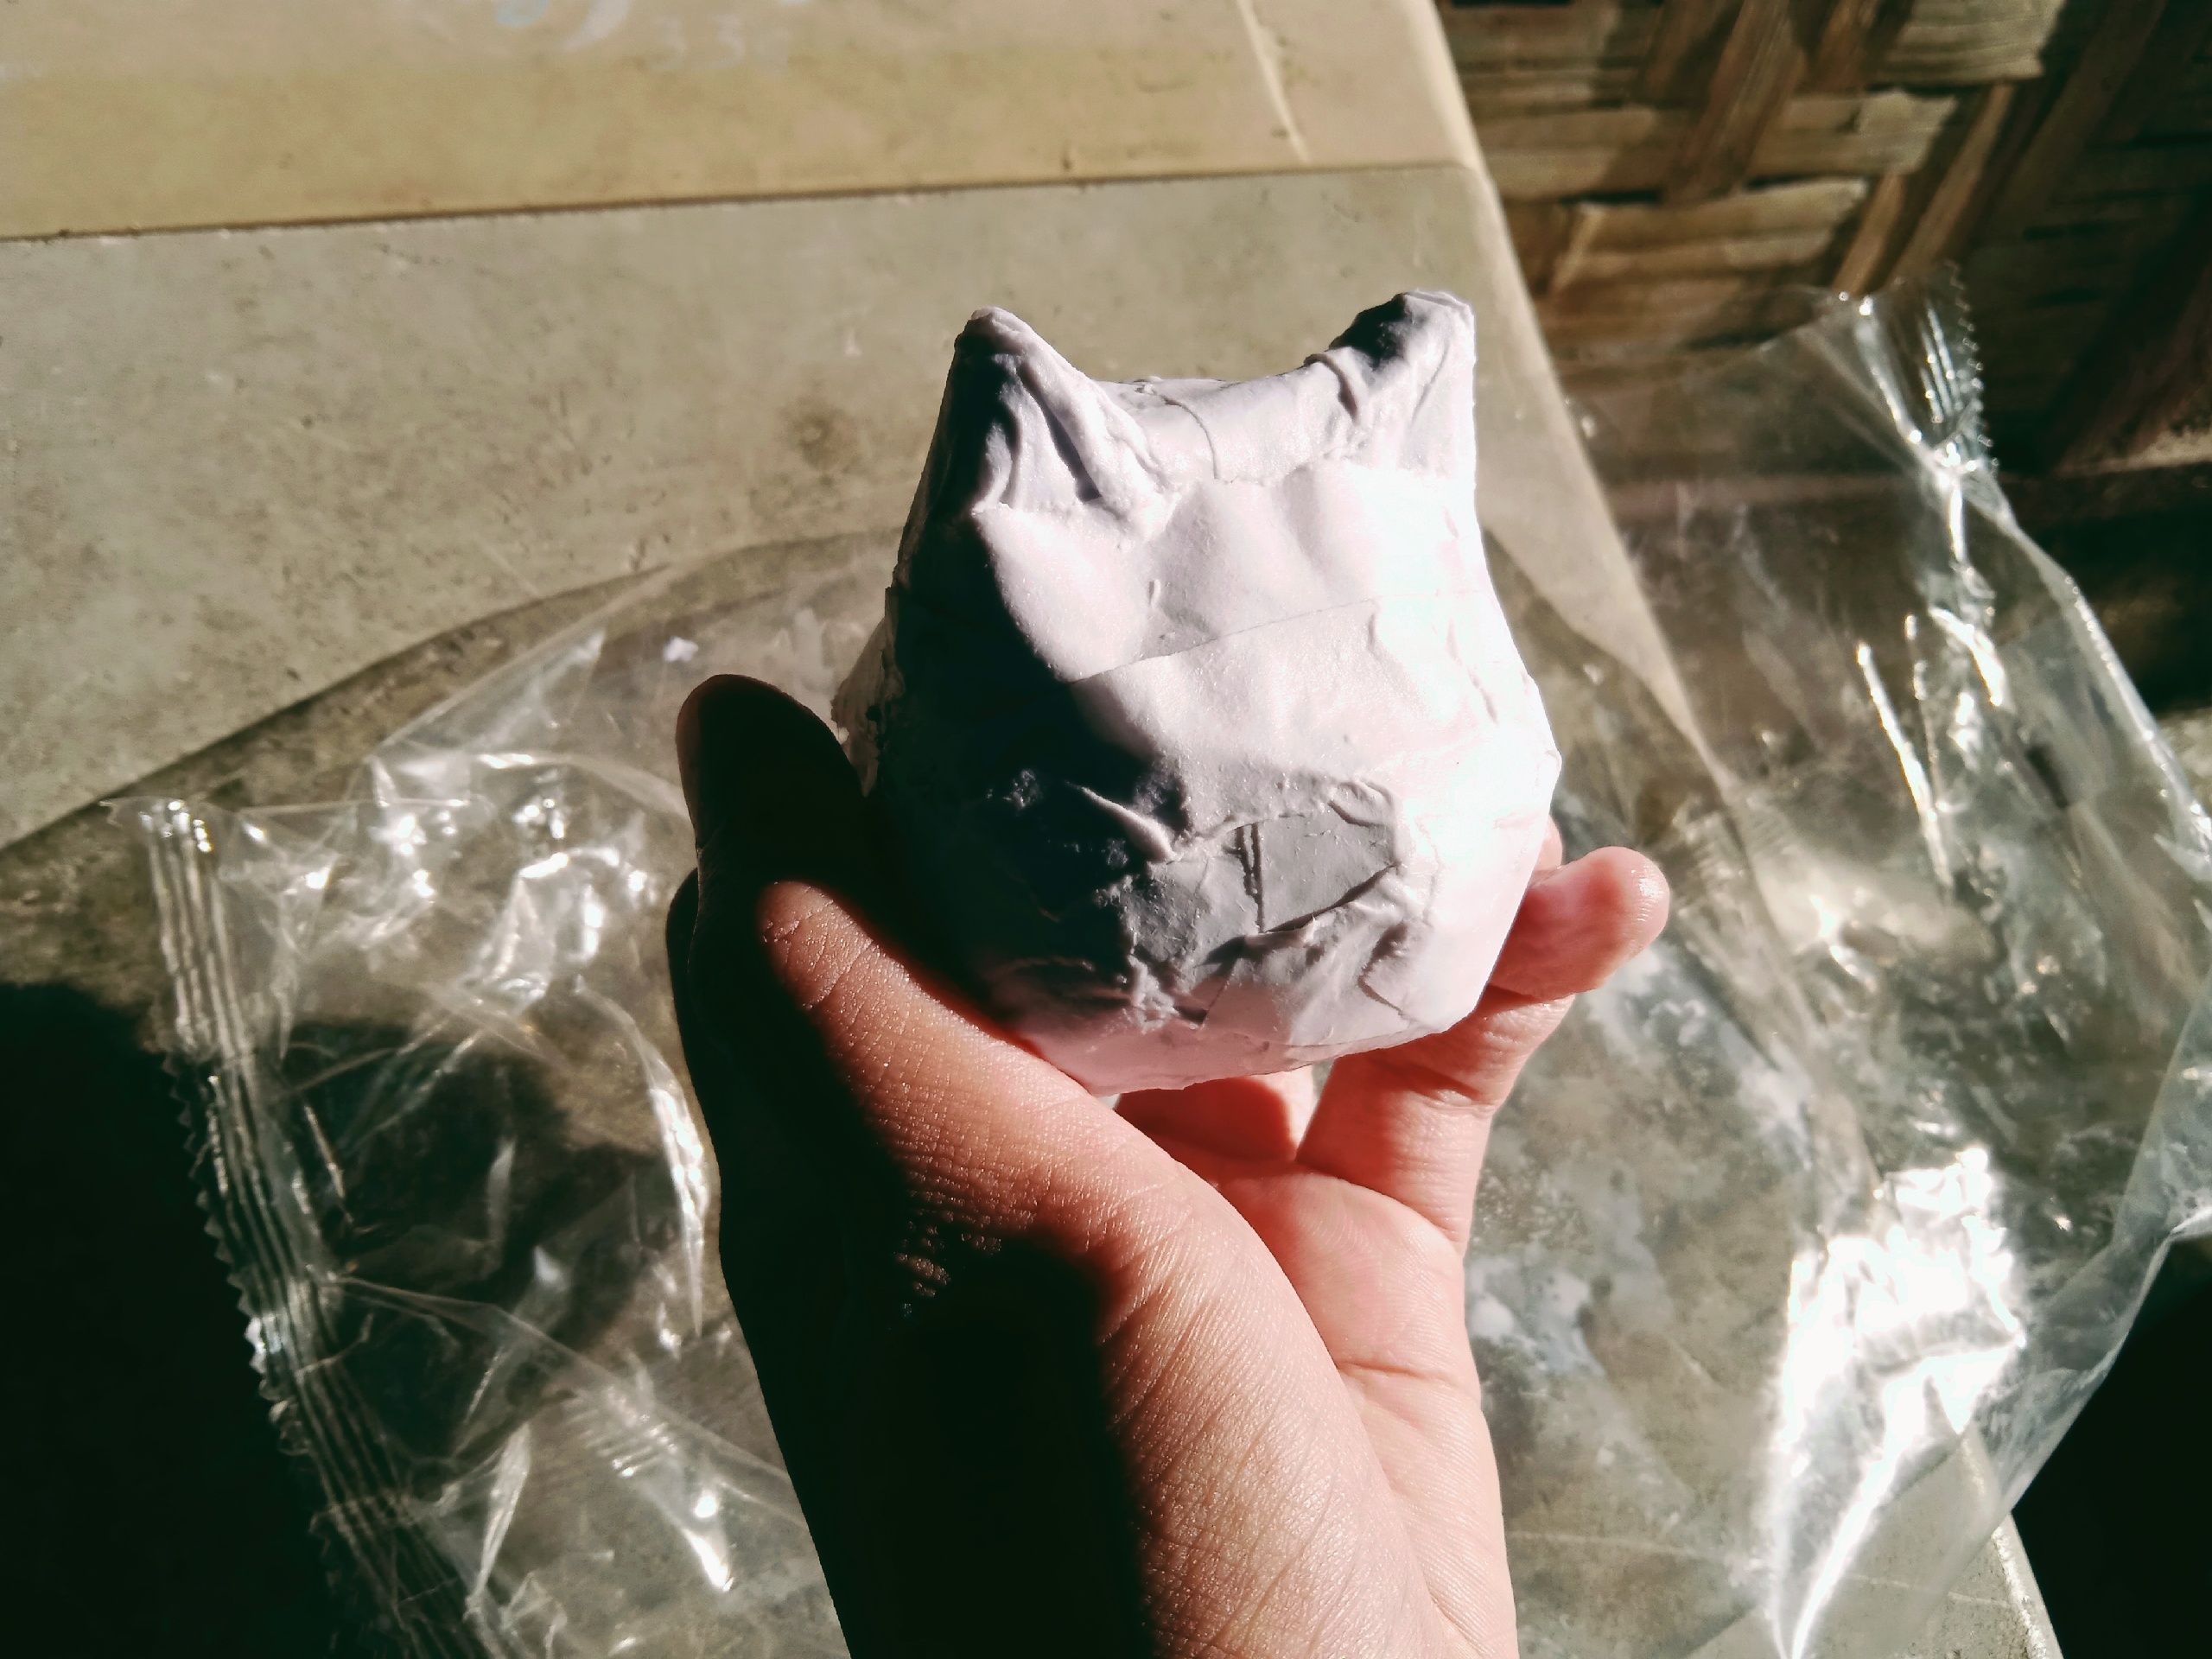
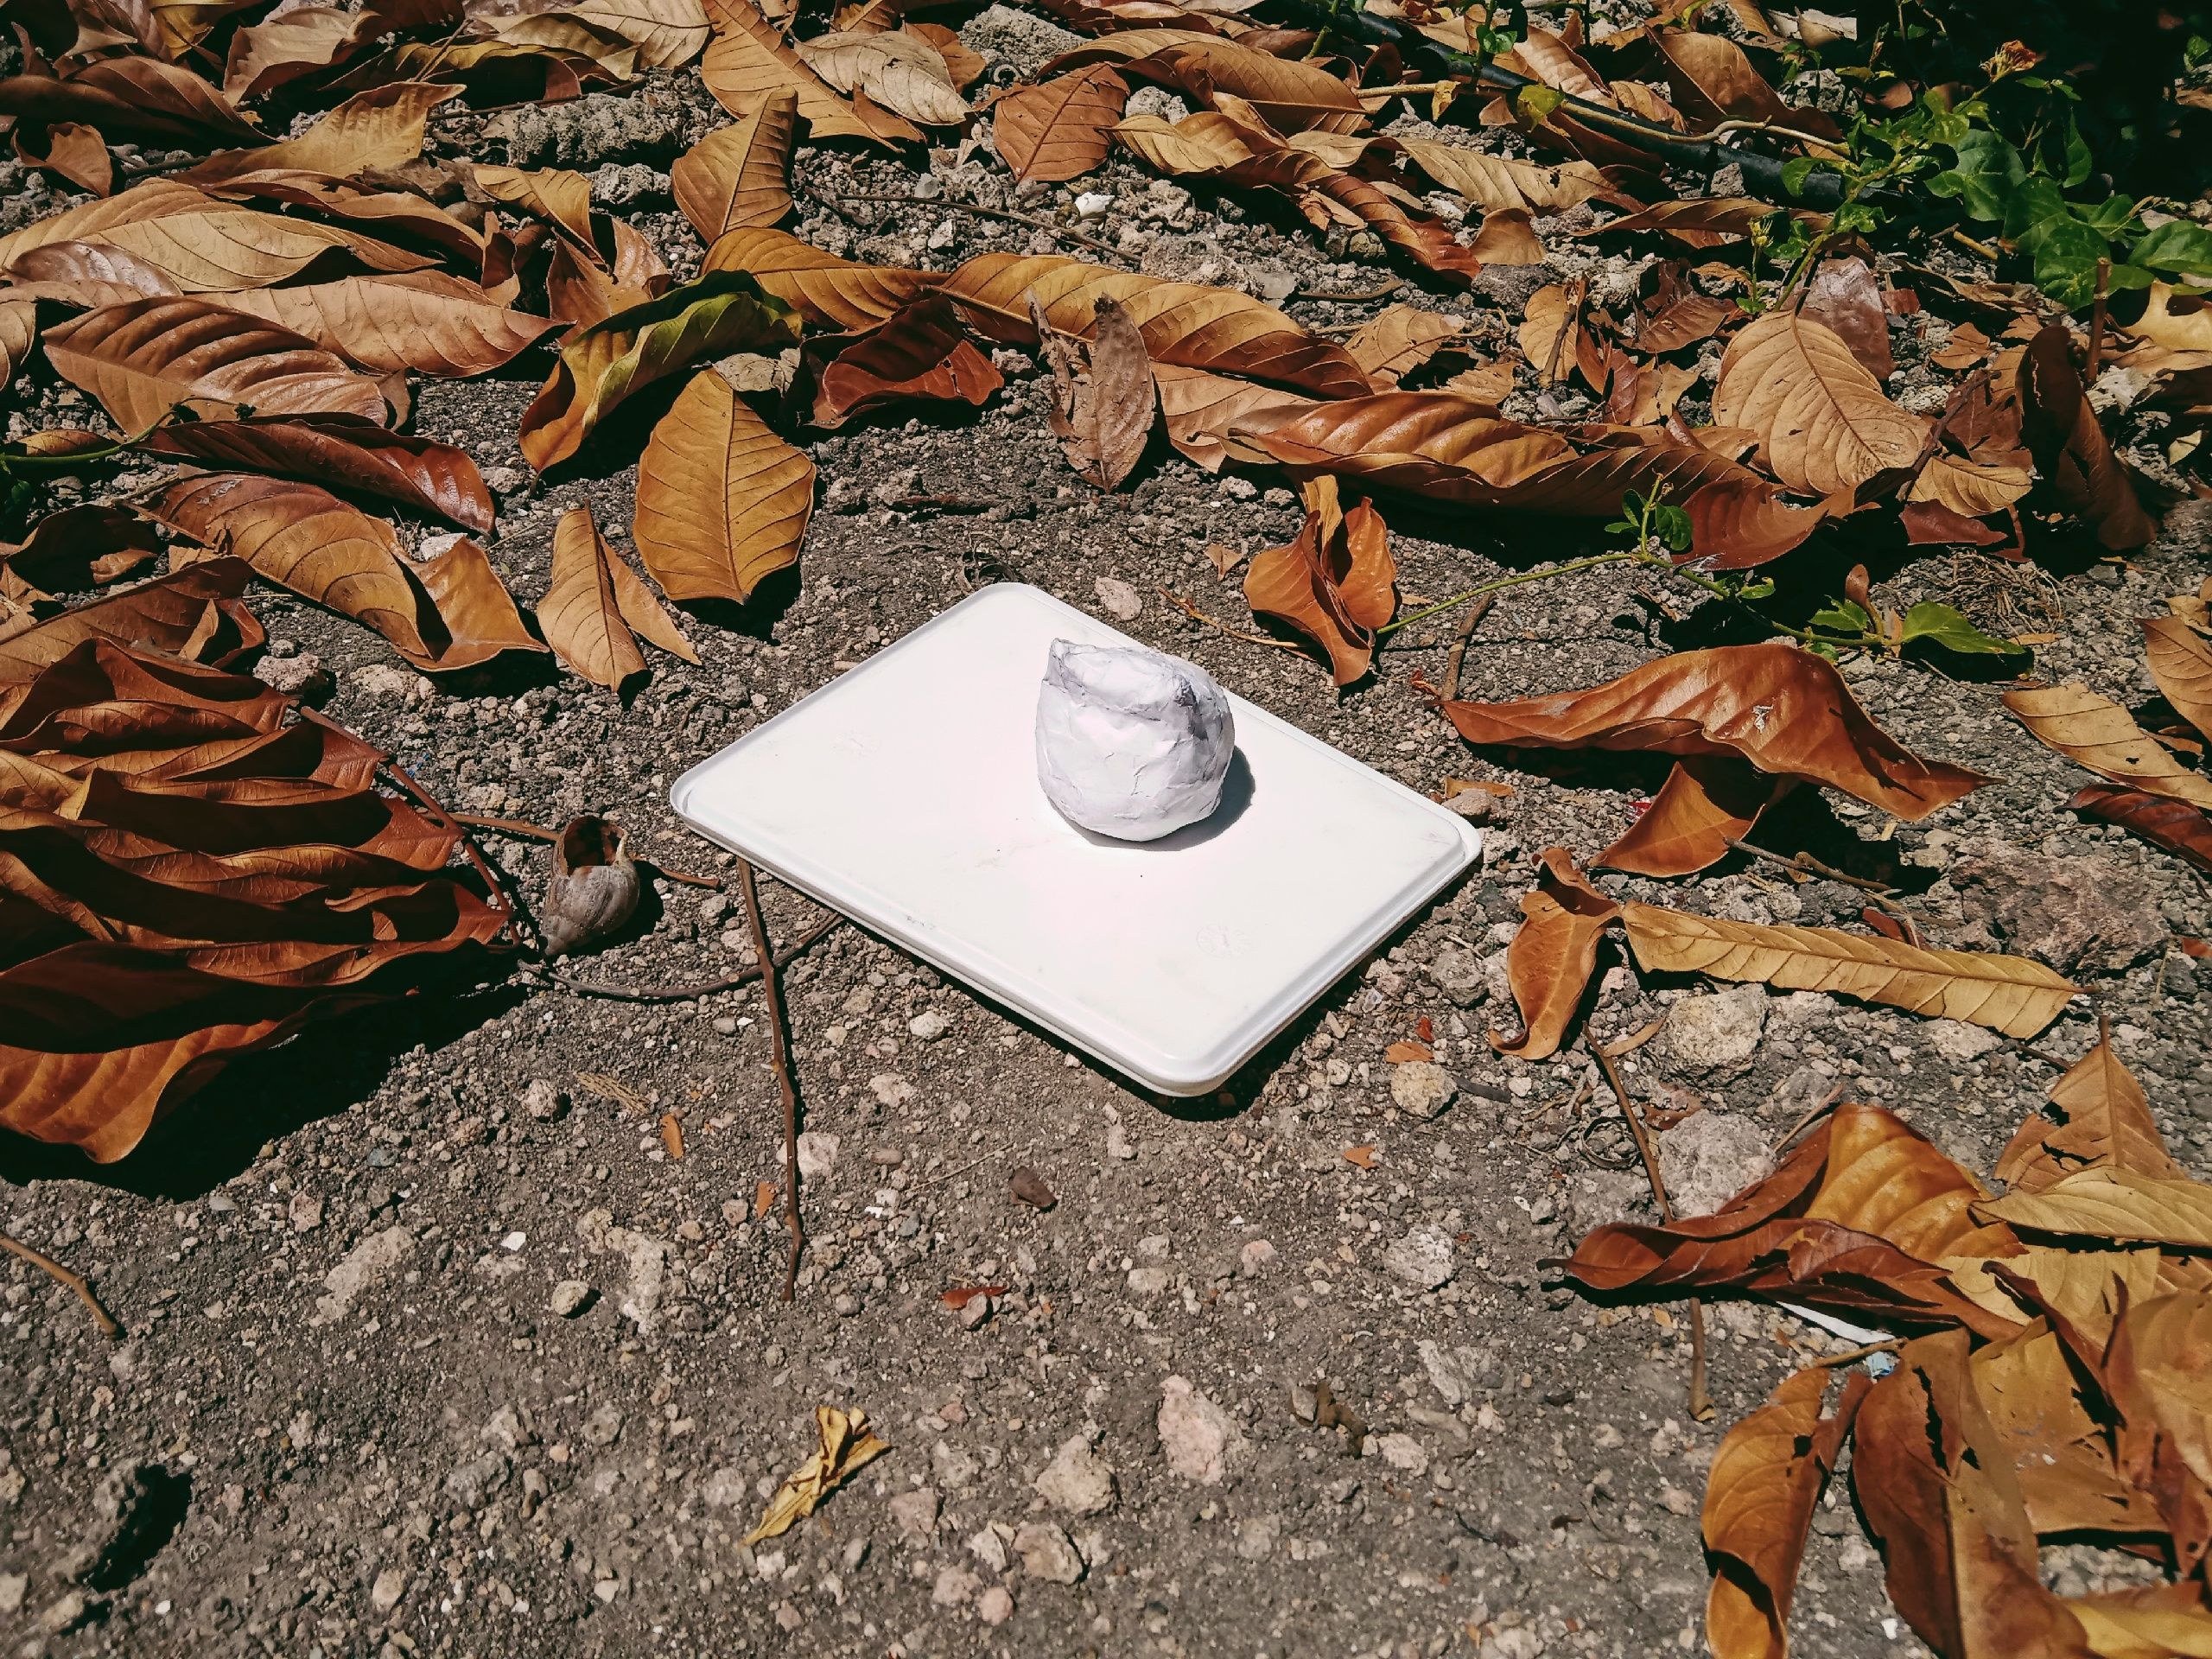
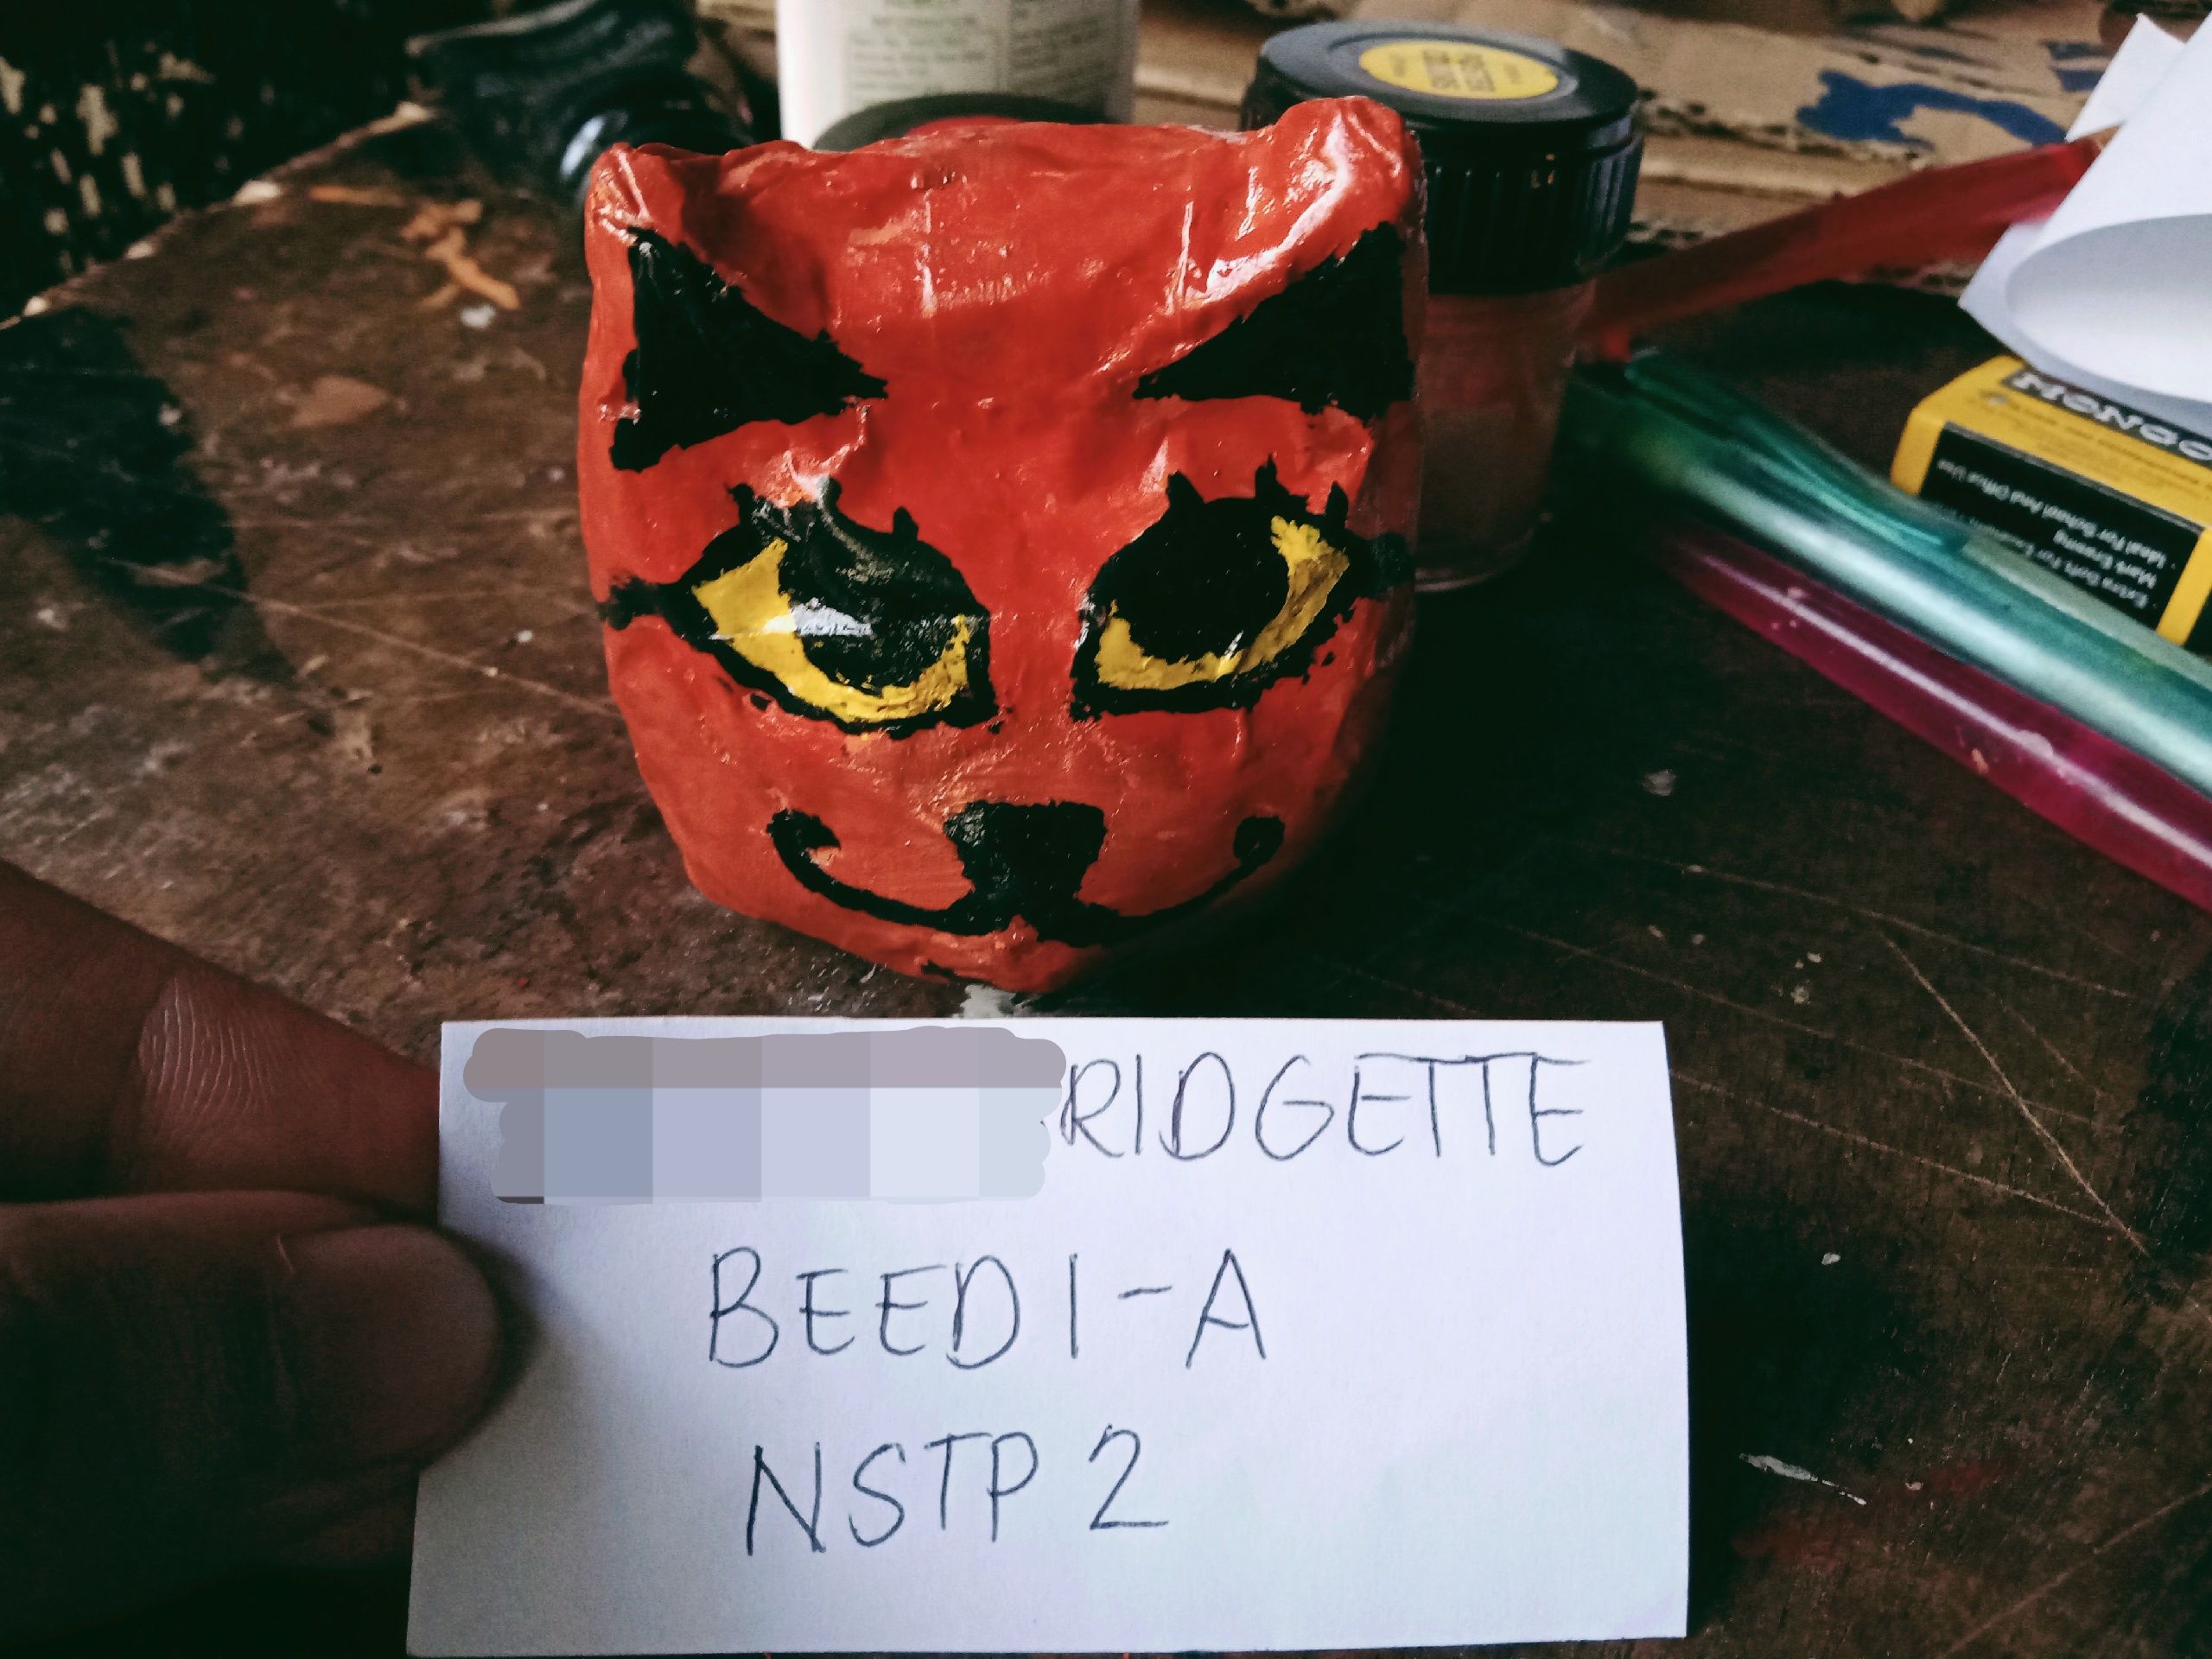
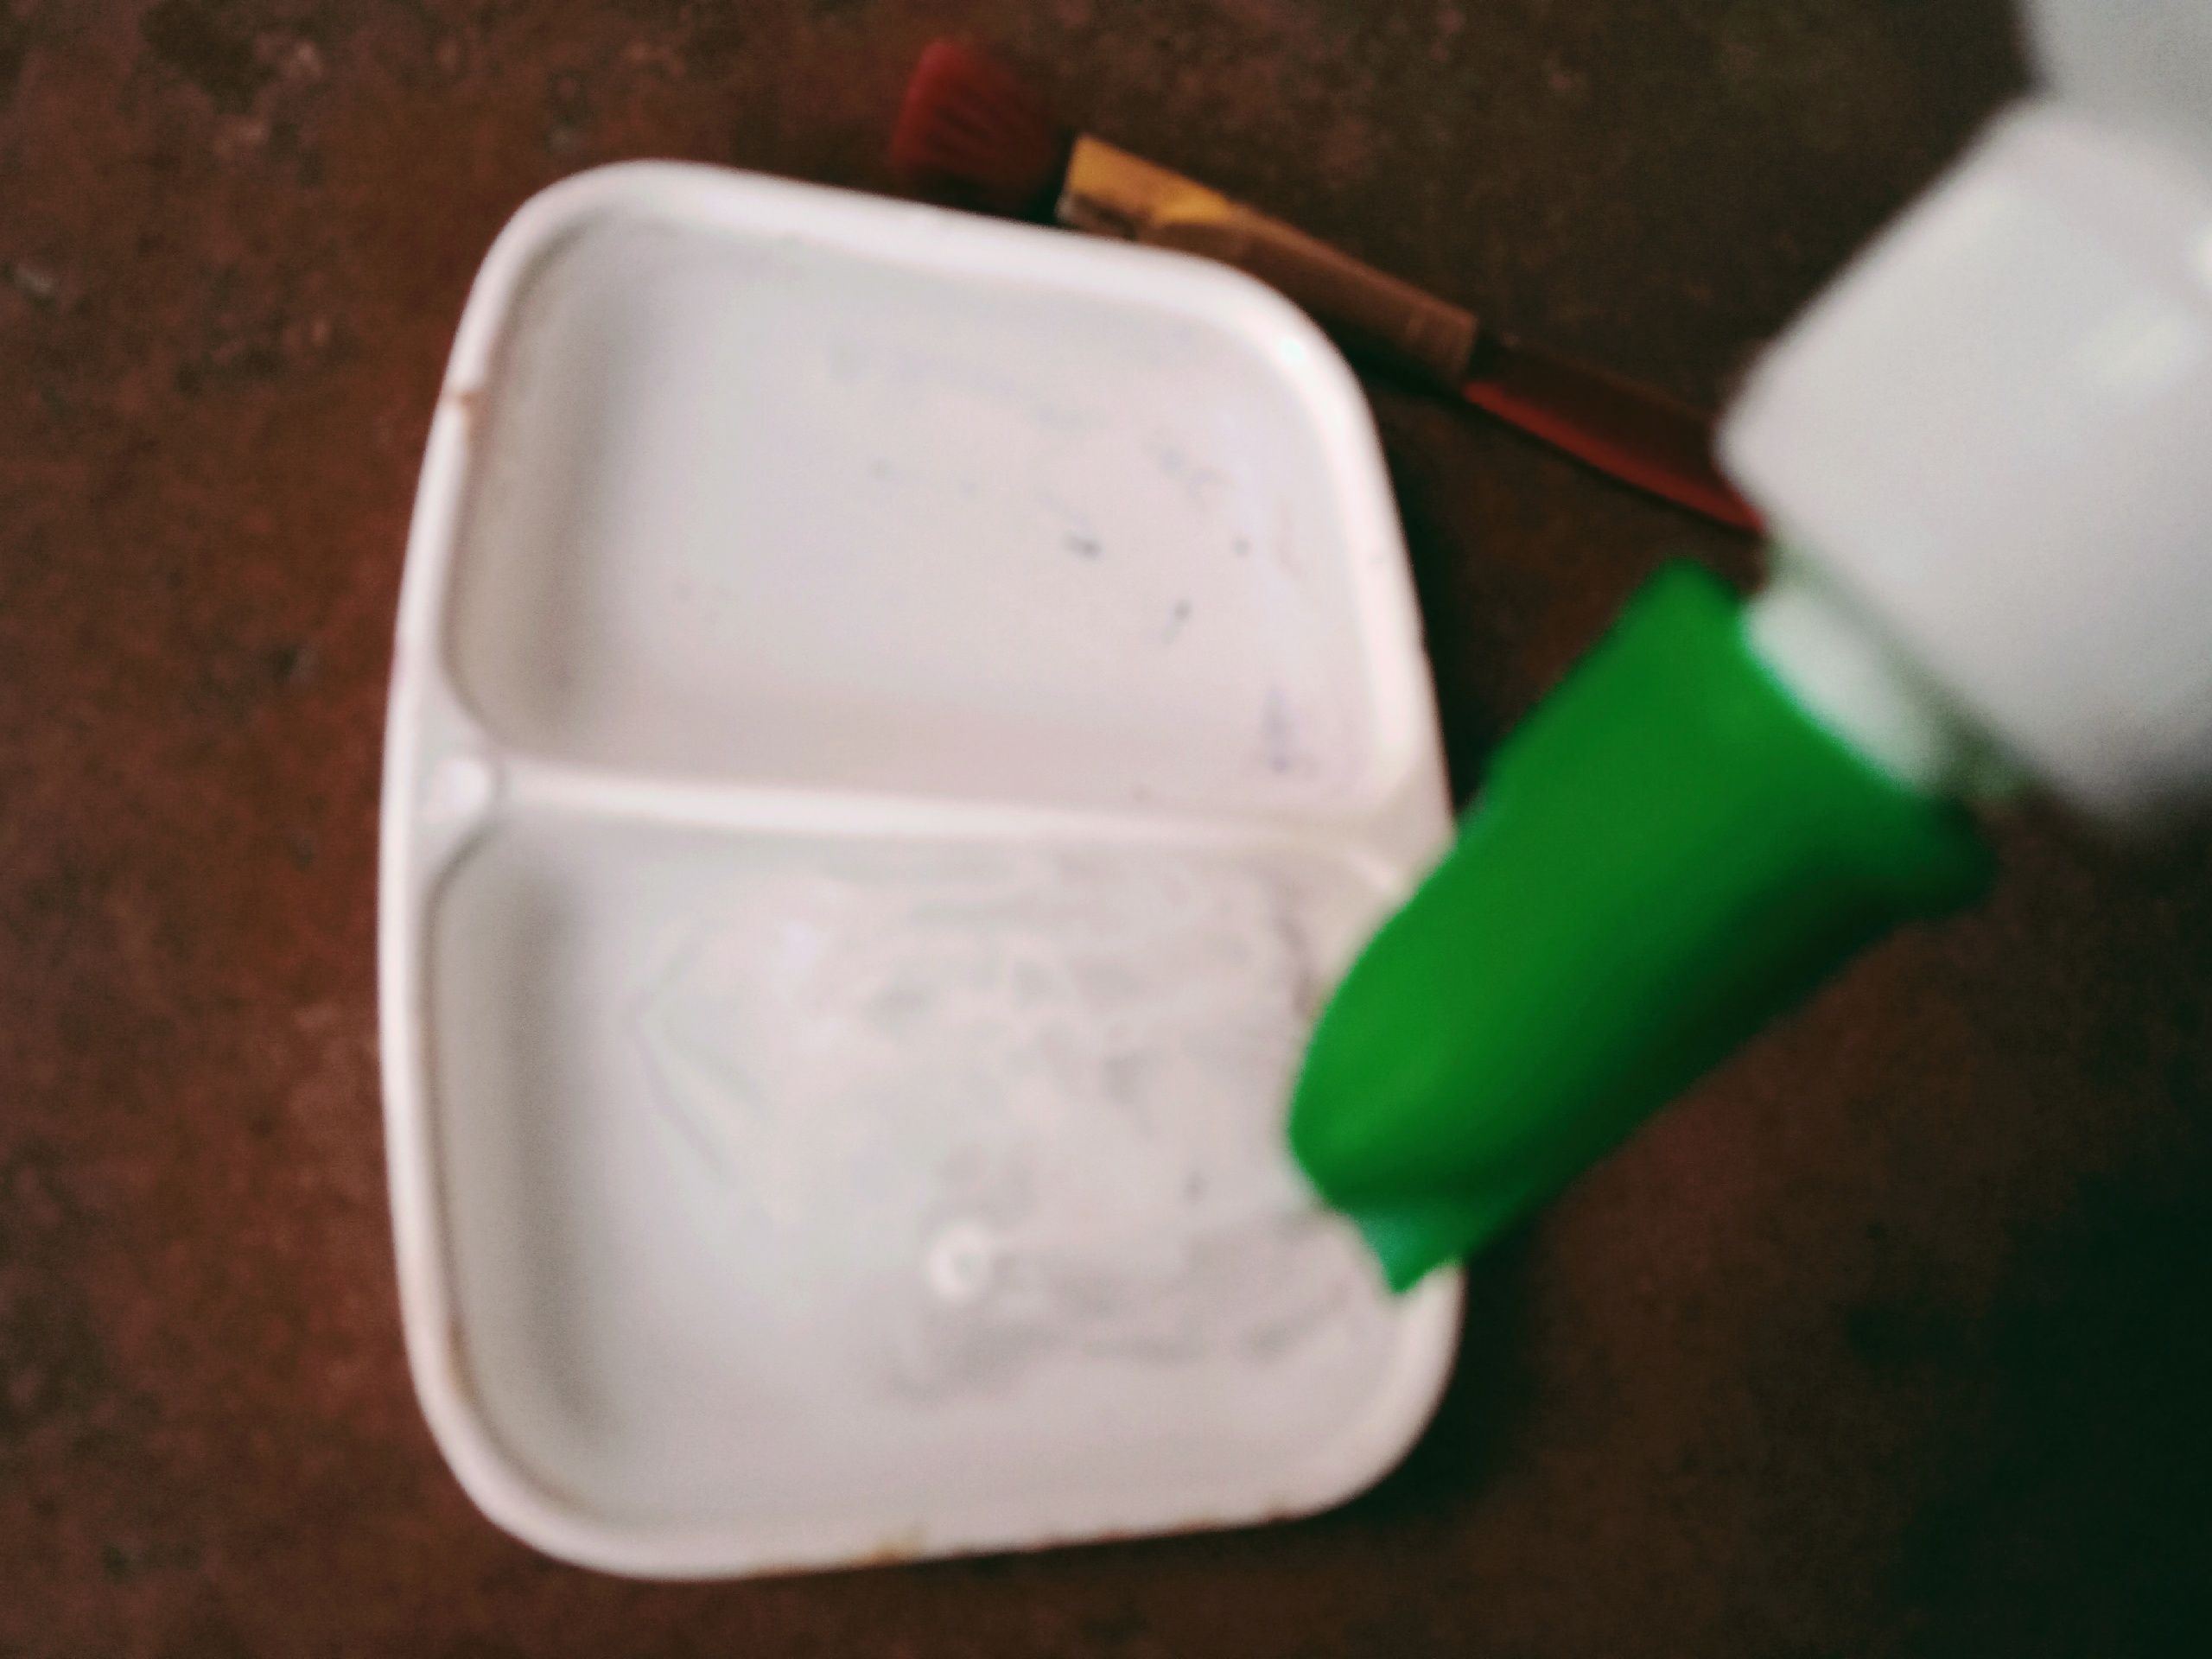
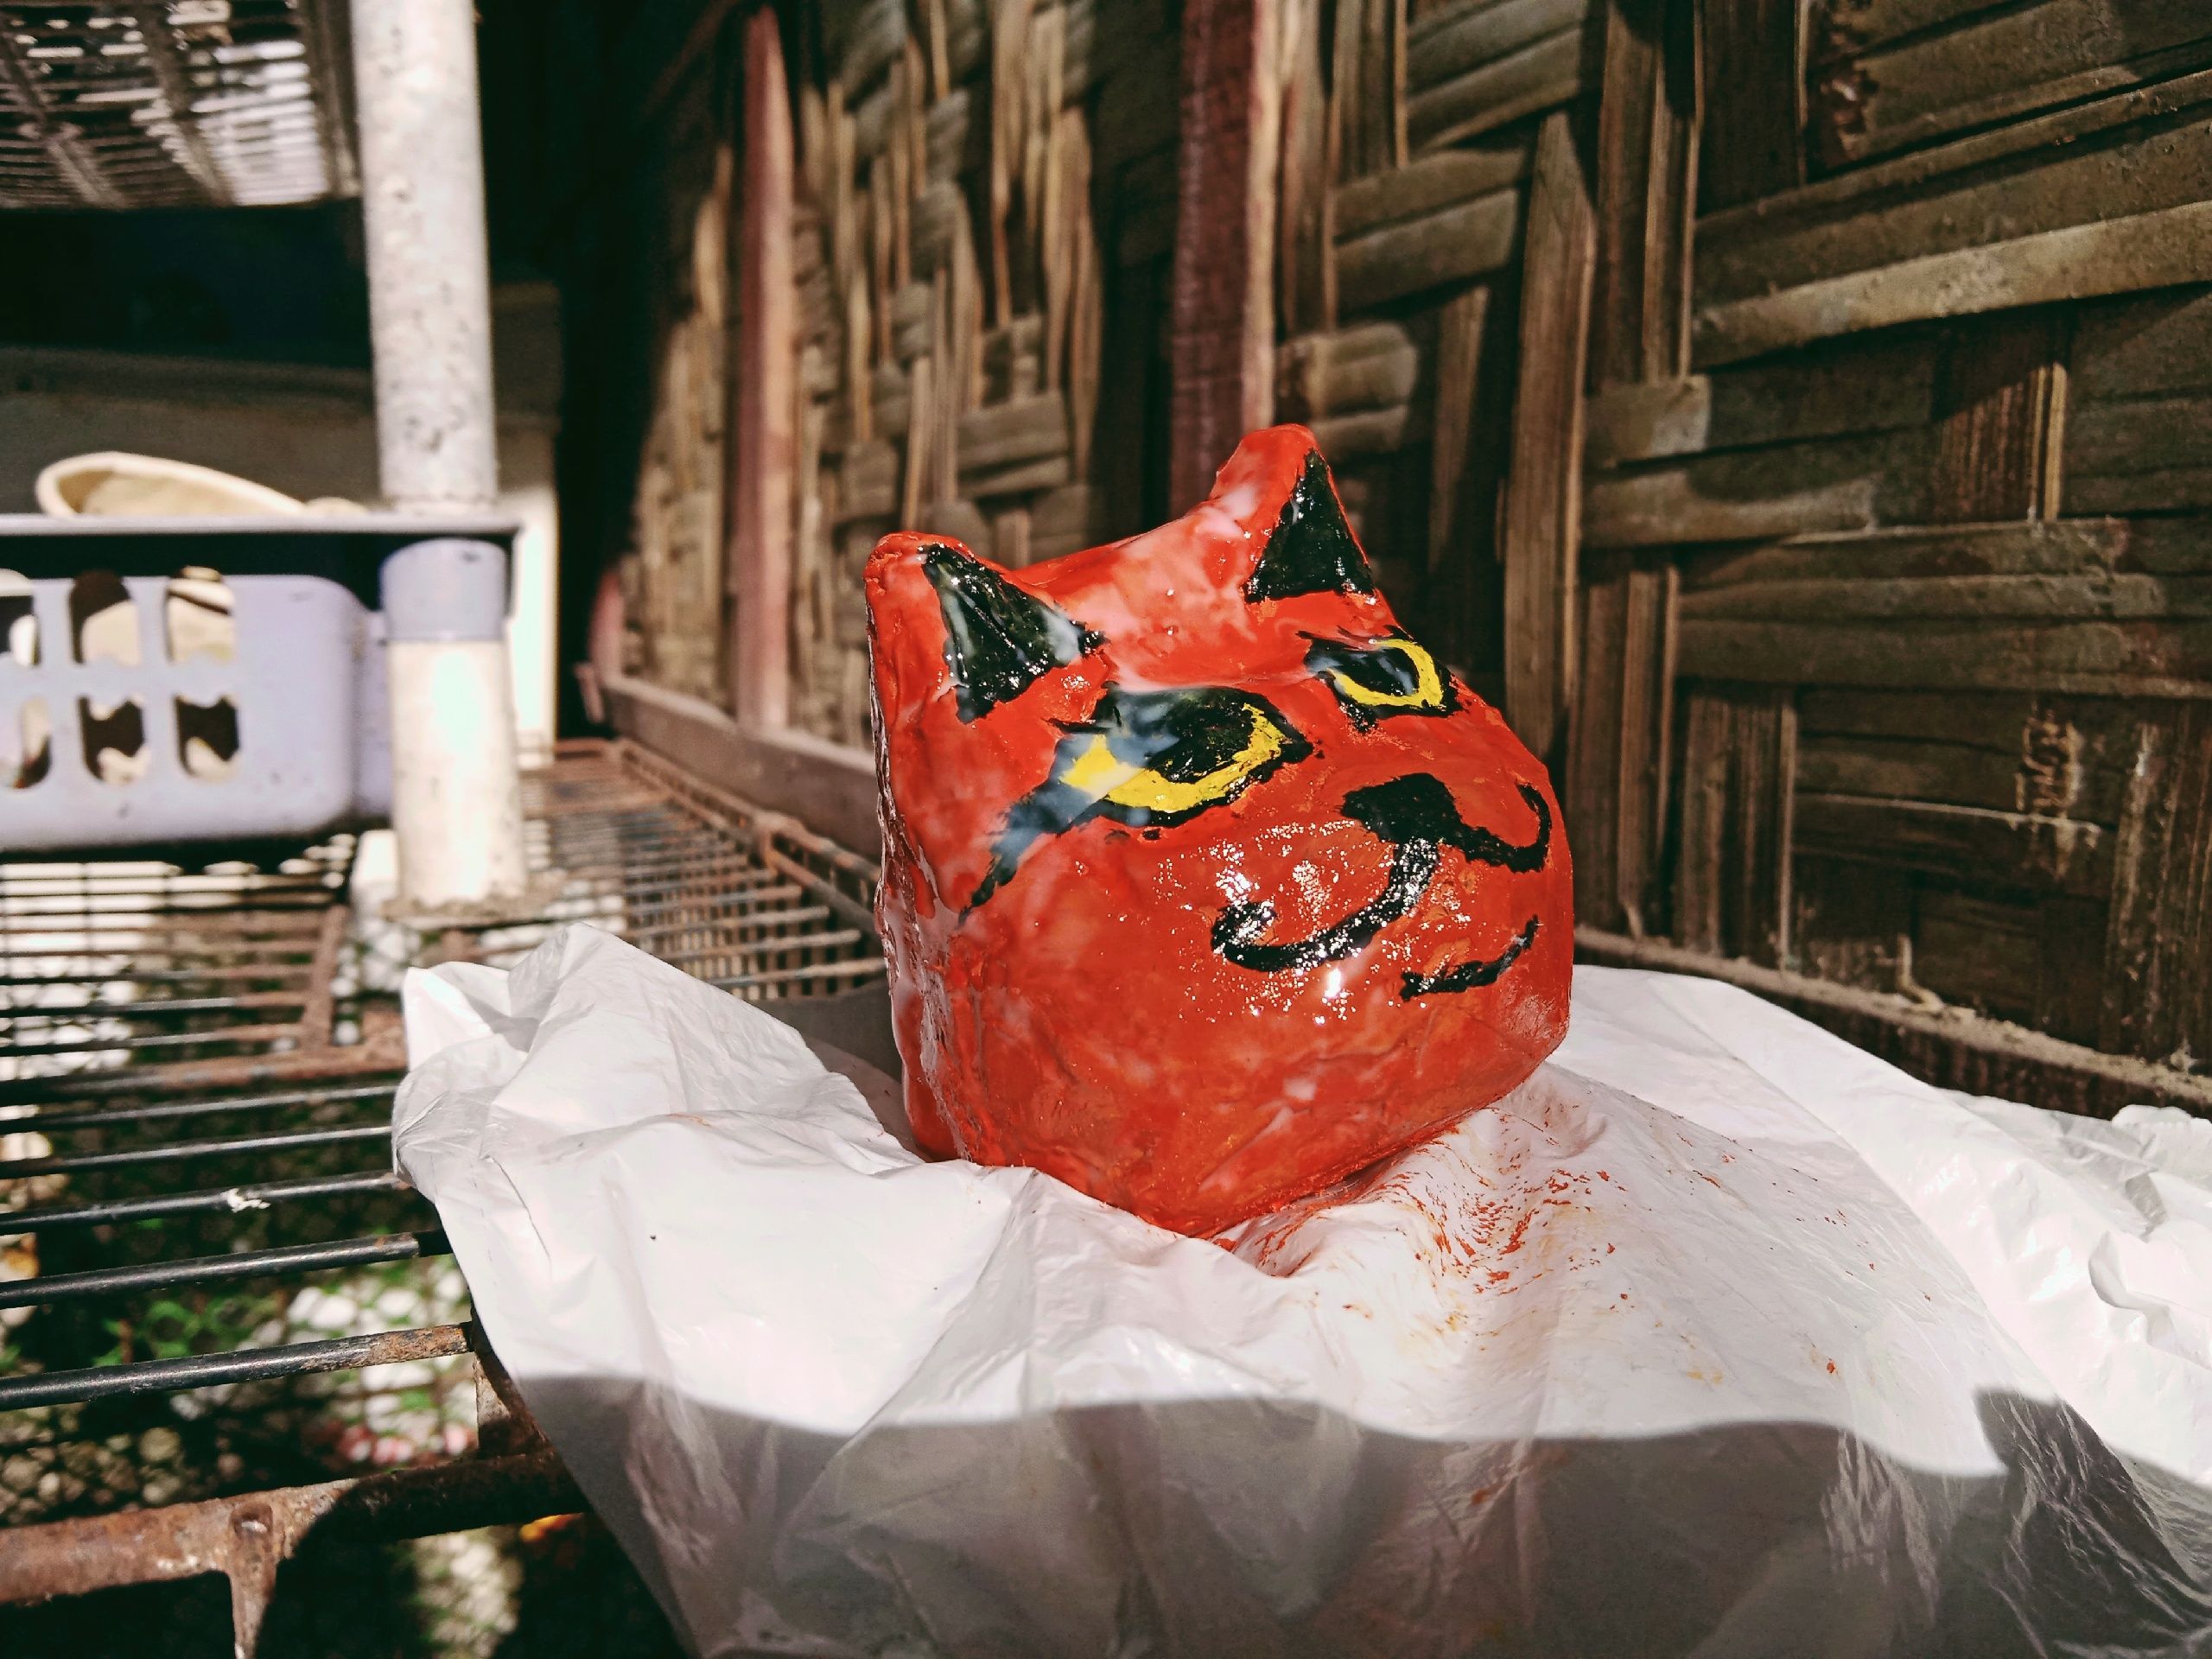
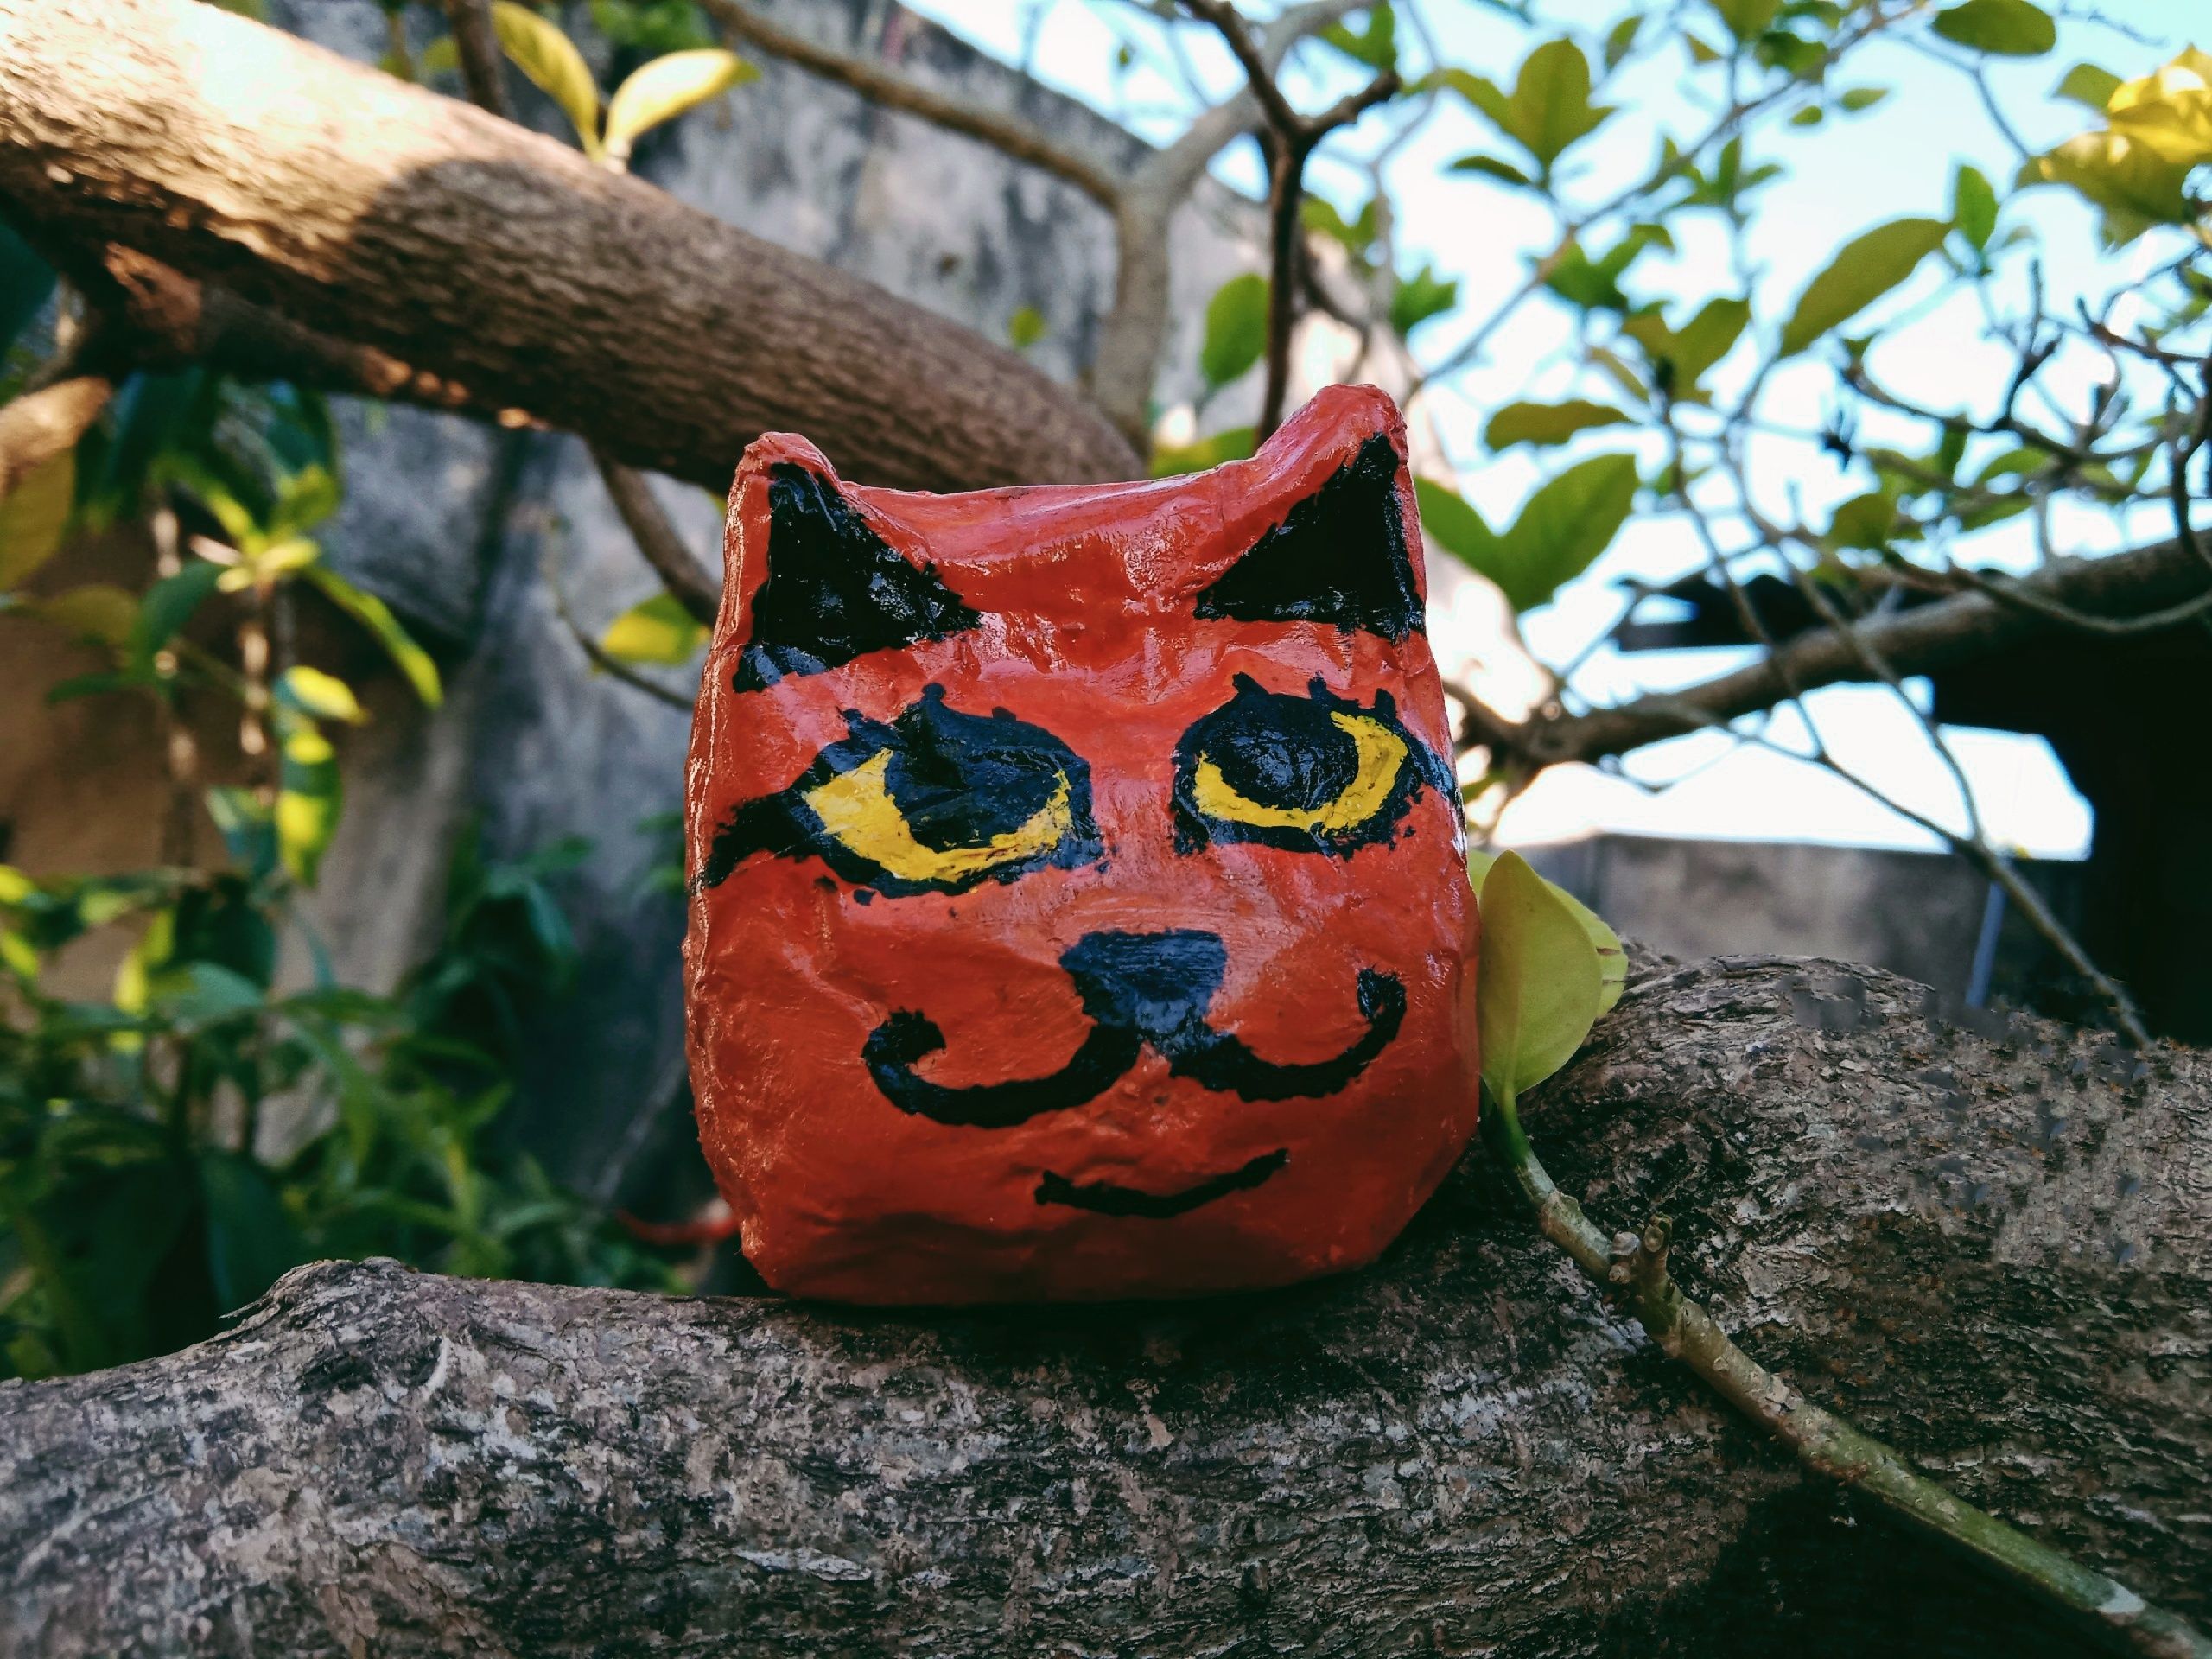
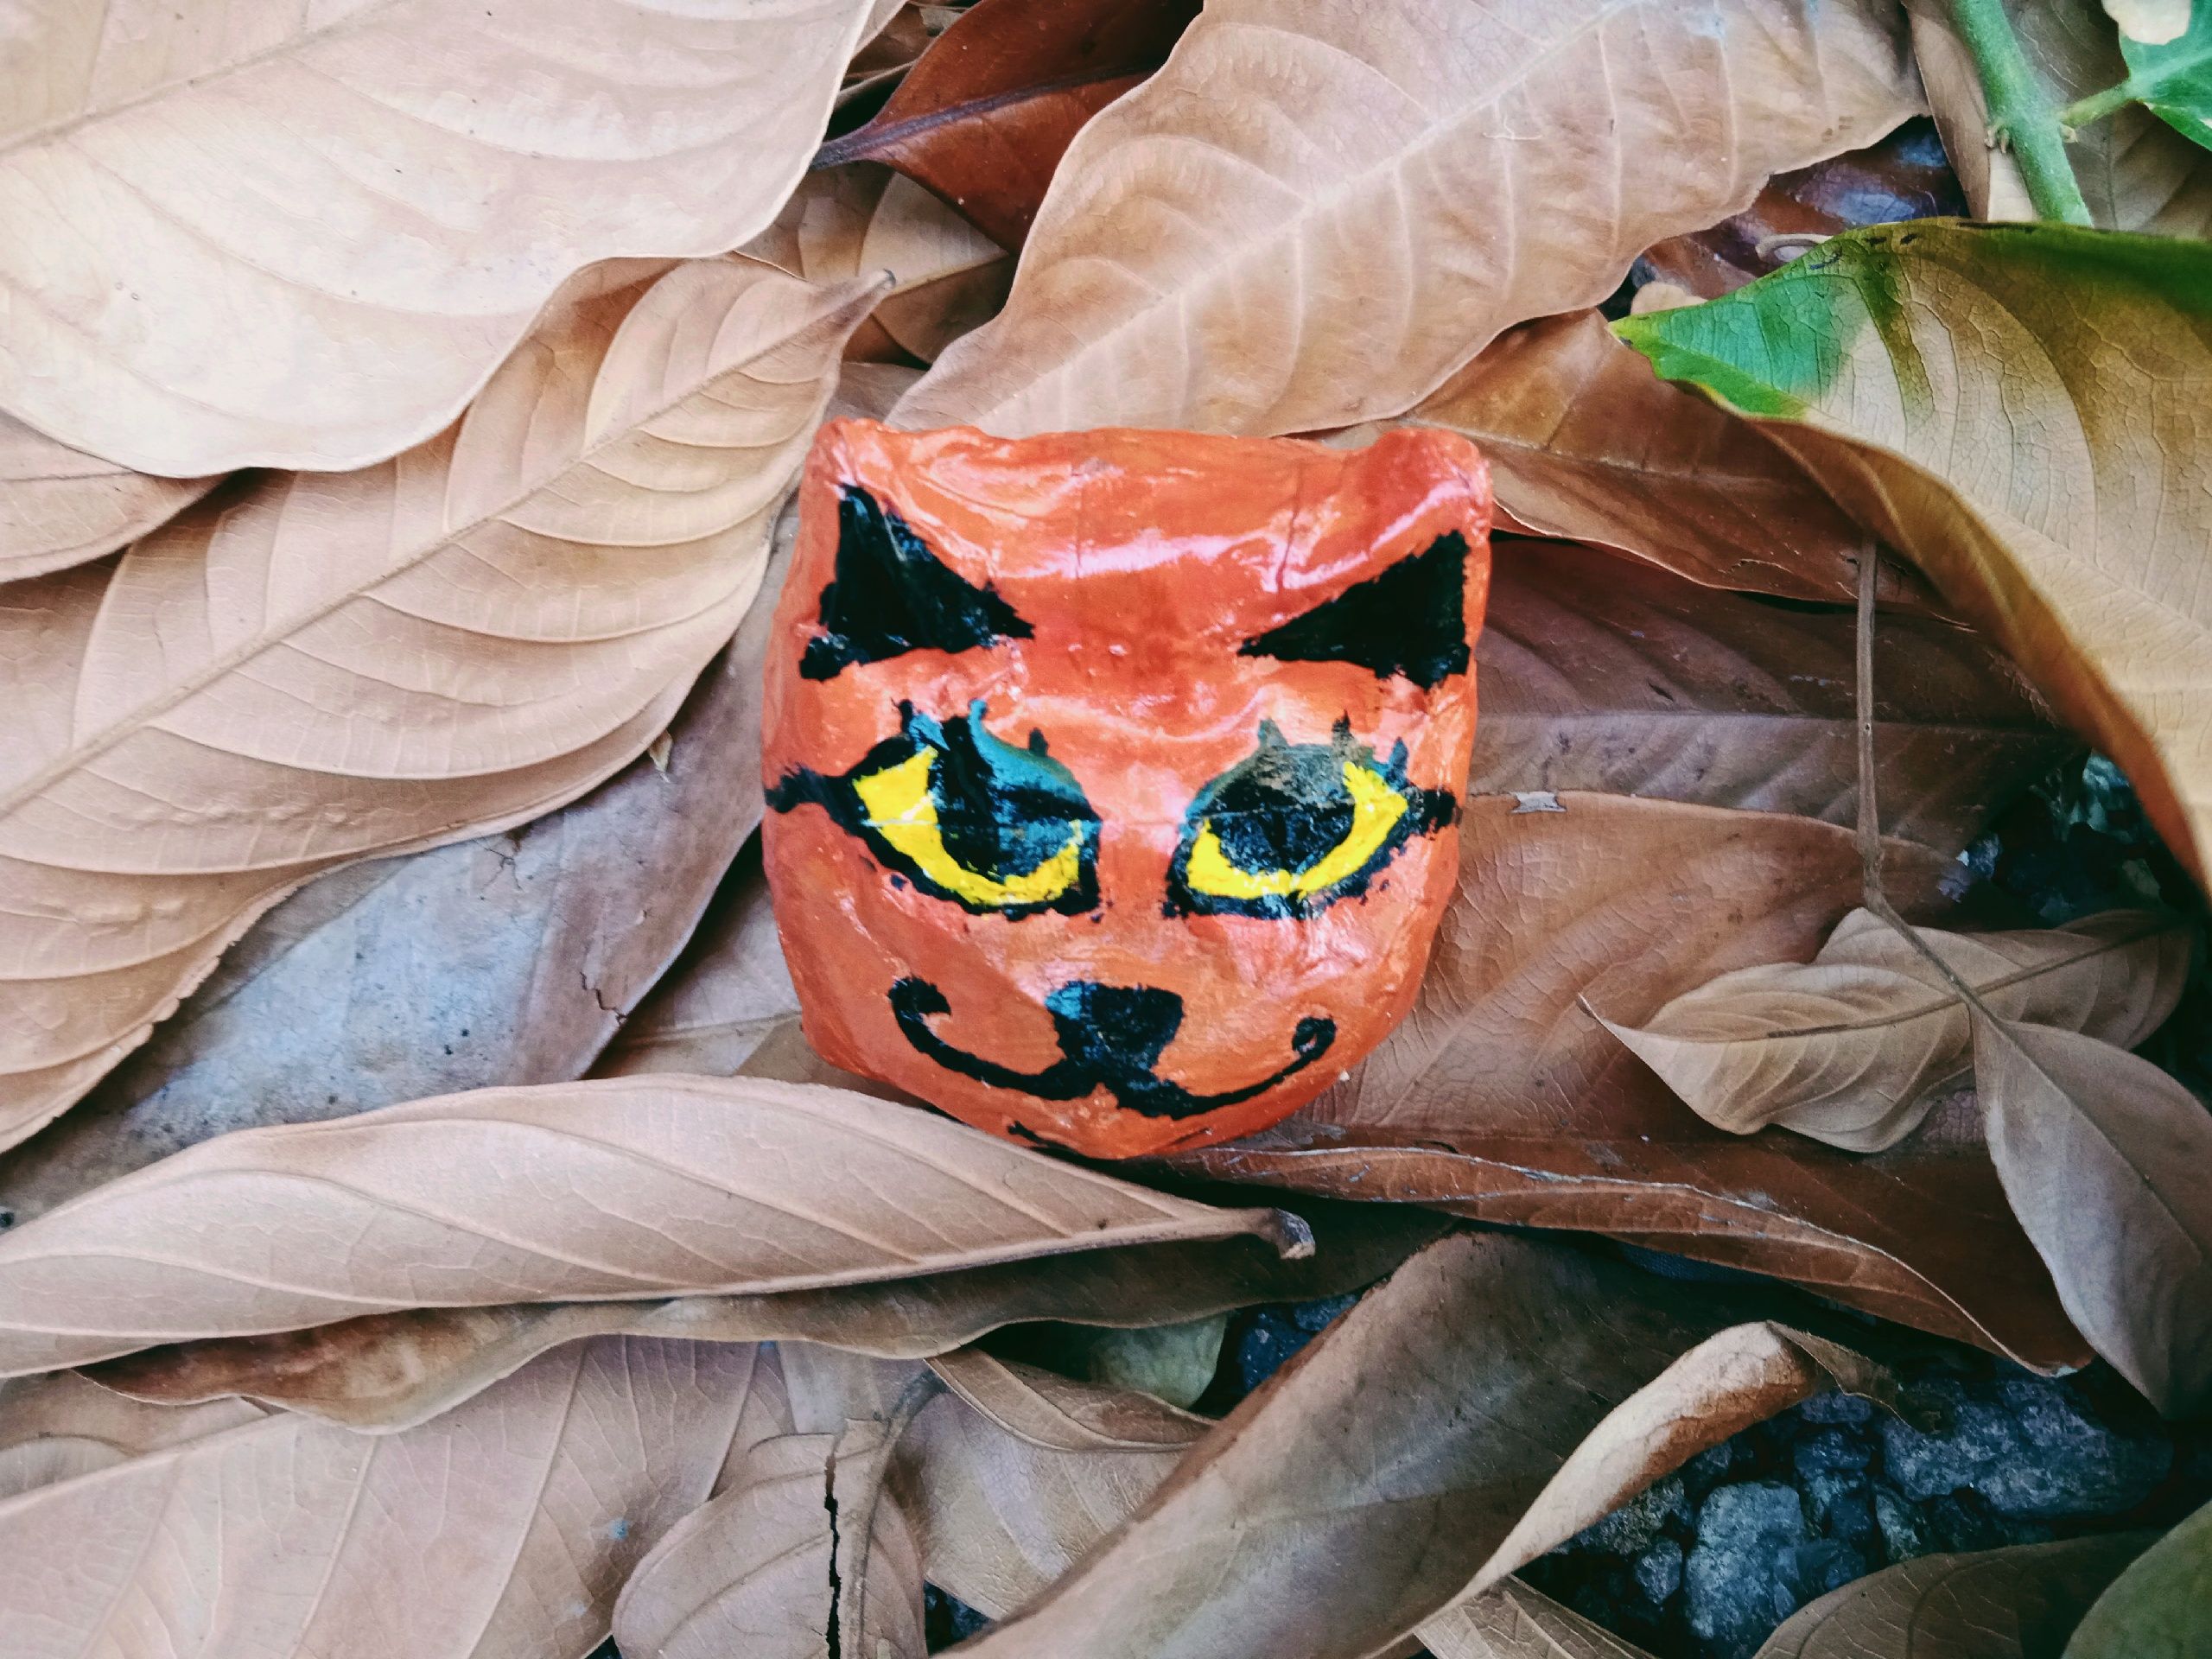
12. After drying it, decide what color you are going to use to paint it. If you're done deciding, paint it with your chosen color.
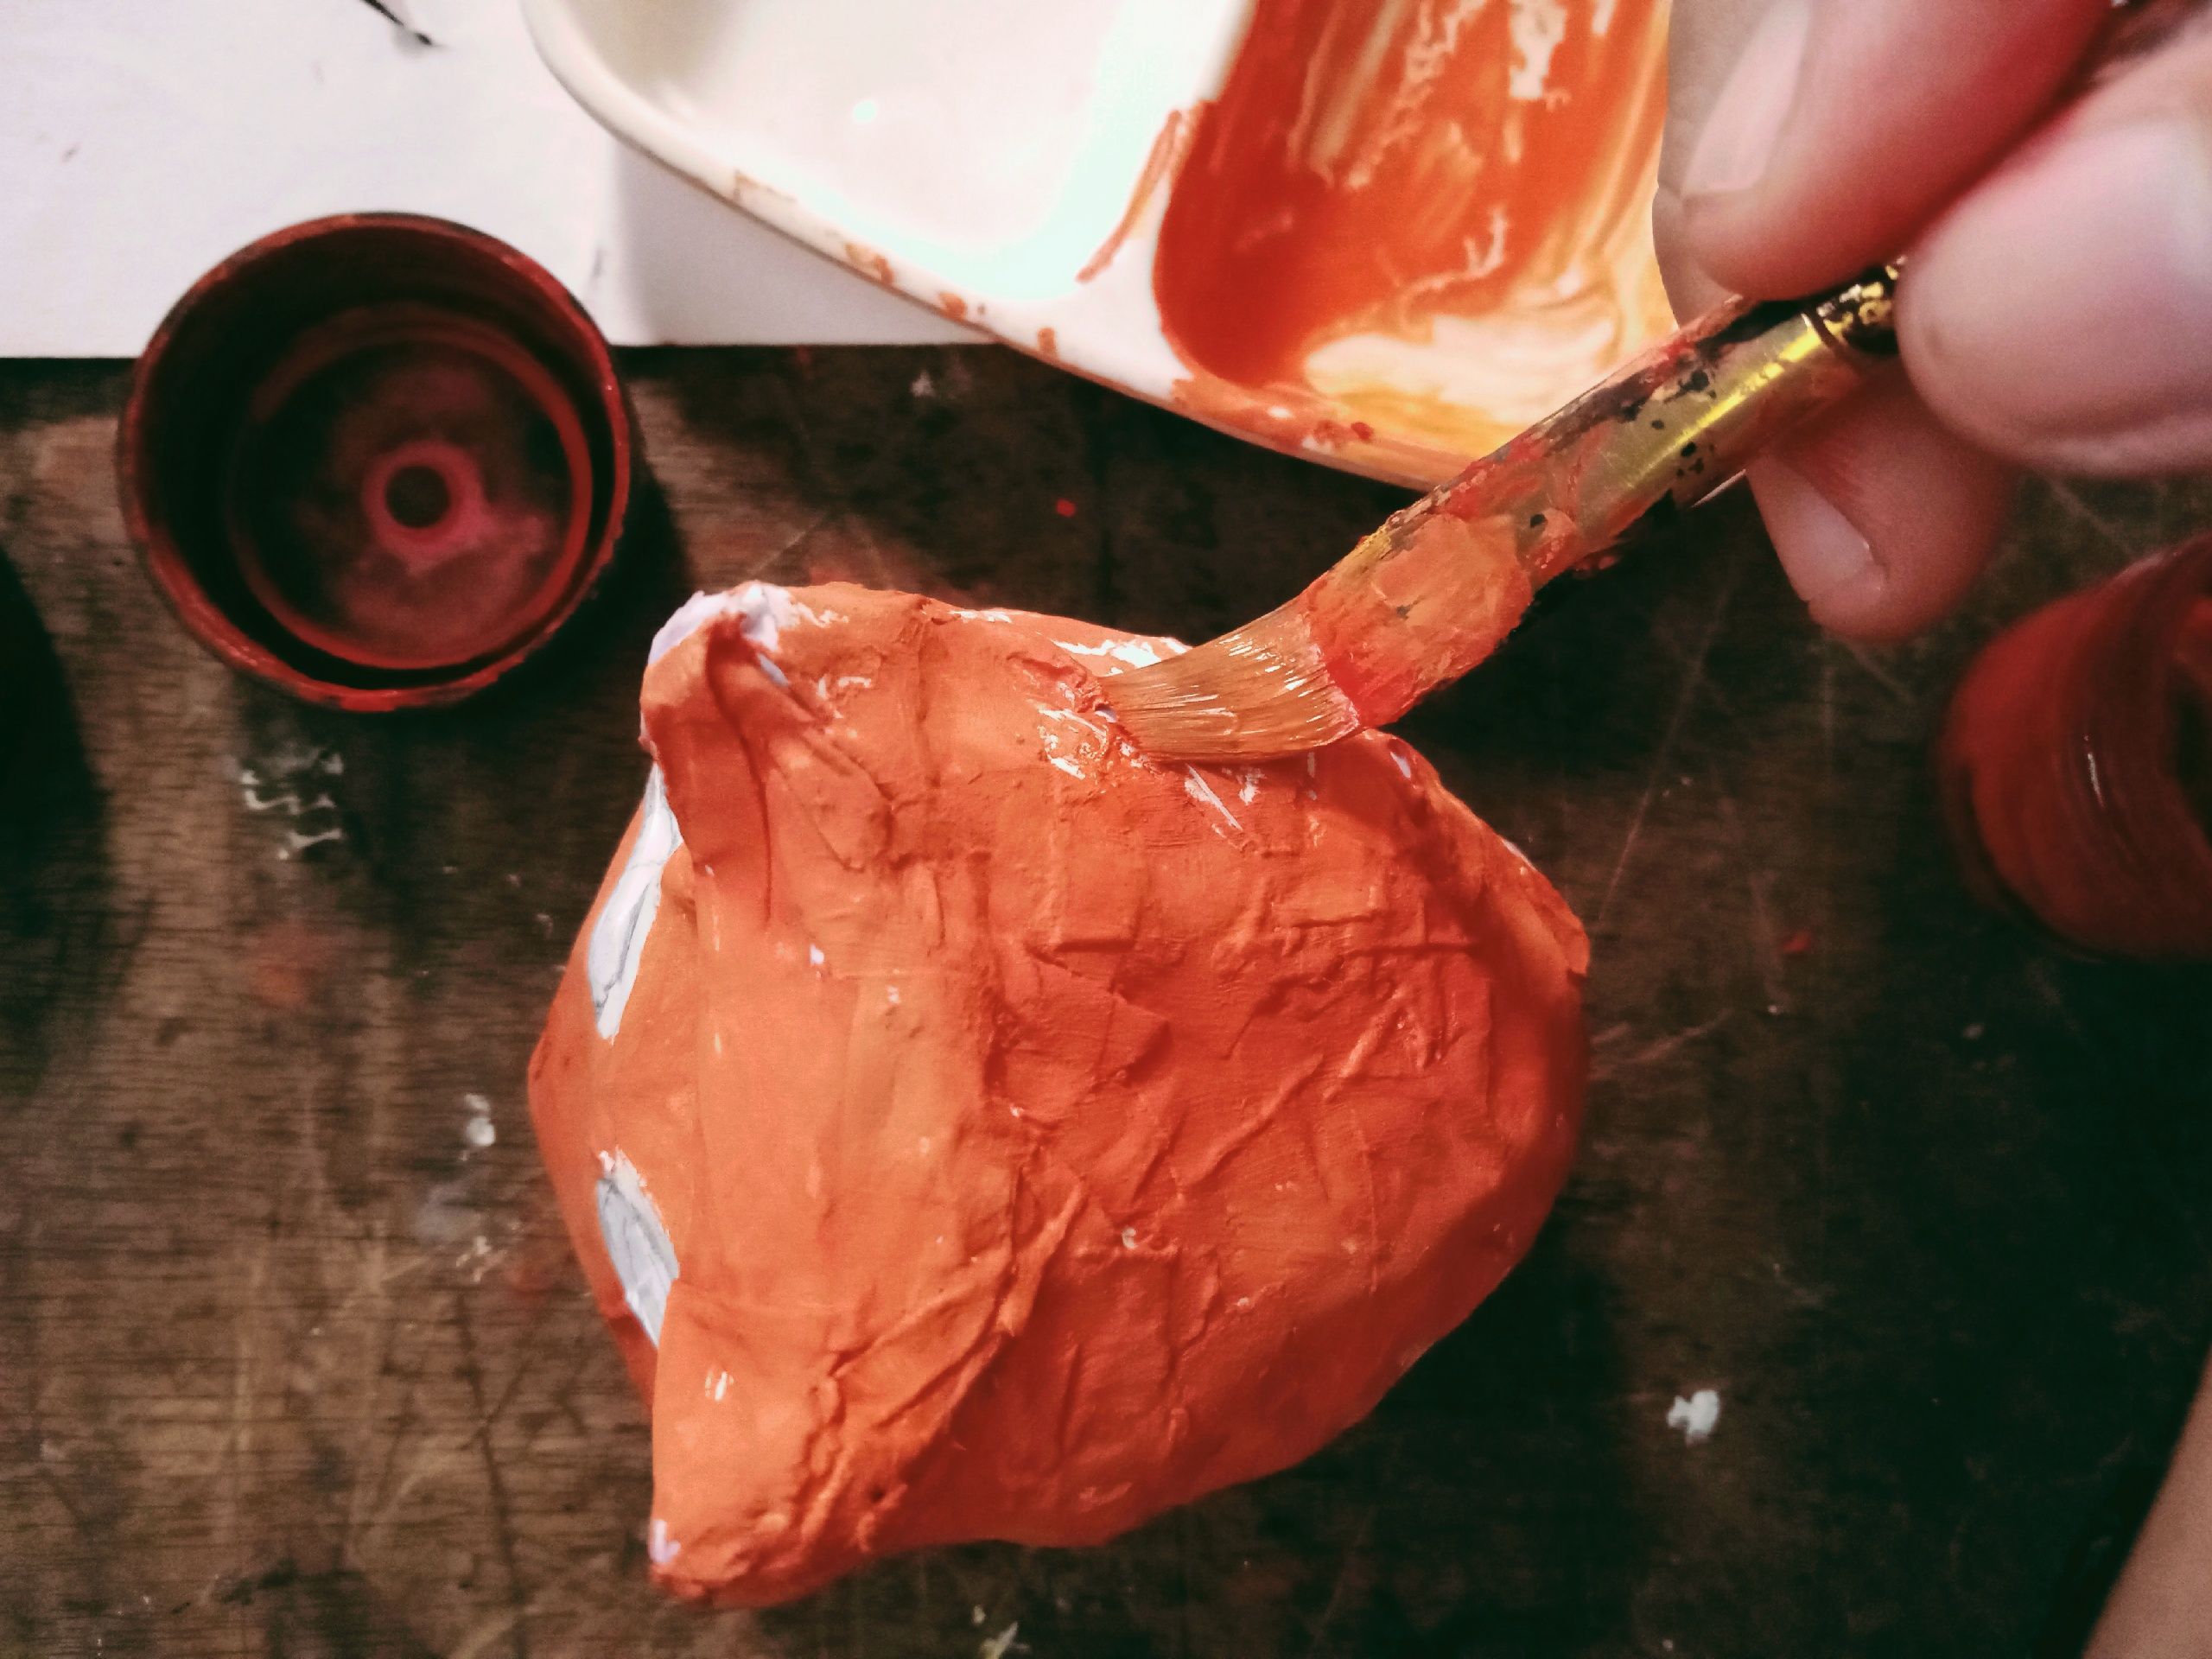
13. Make sure that no space is left unpainted. Paint and repaint it until you deem it necessary. If you're satisfied with it, proceed to the next step.
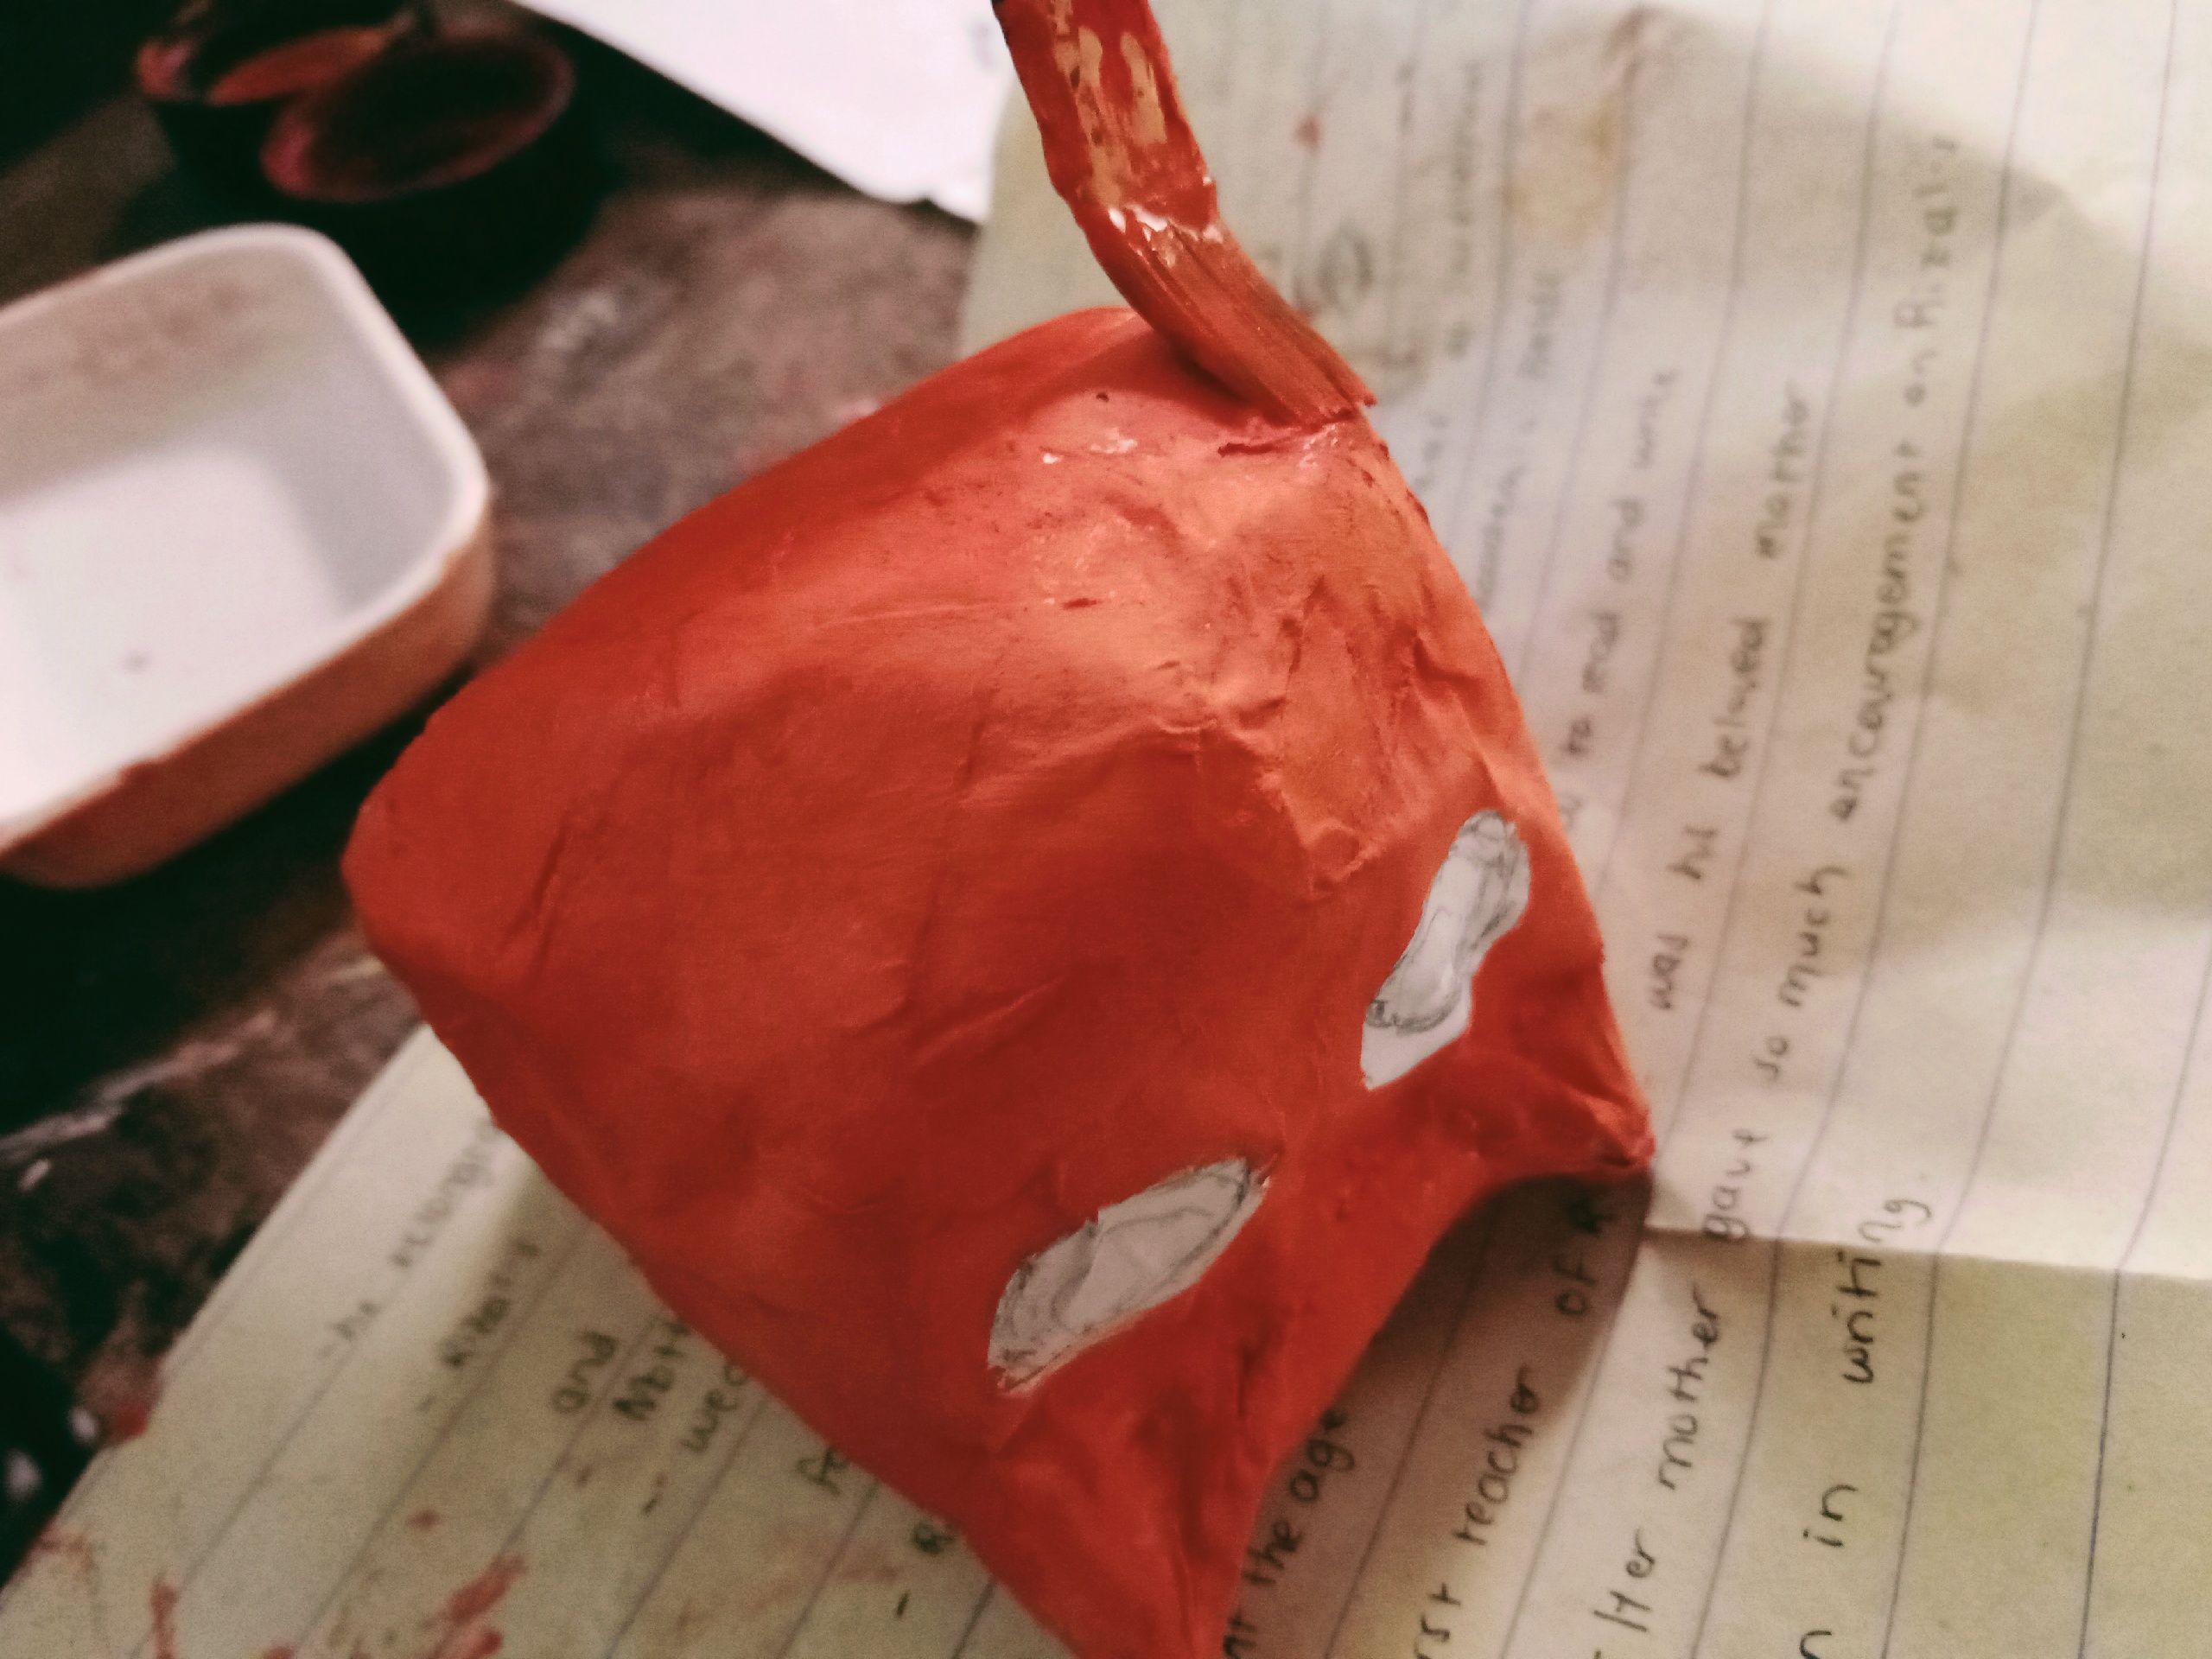
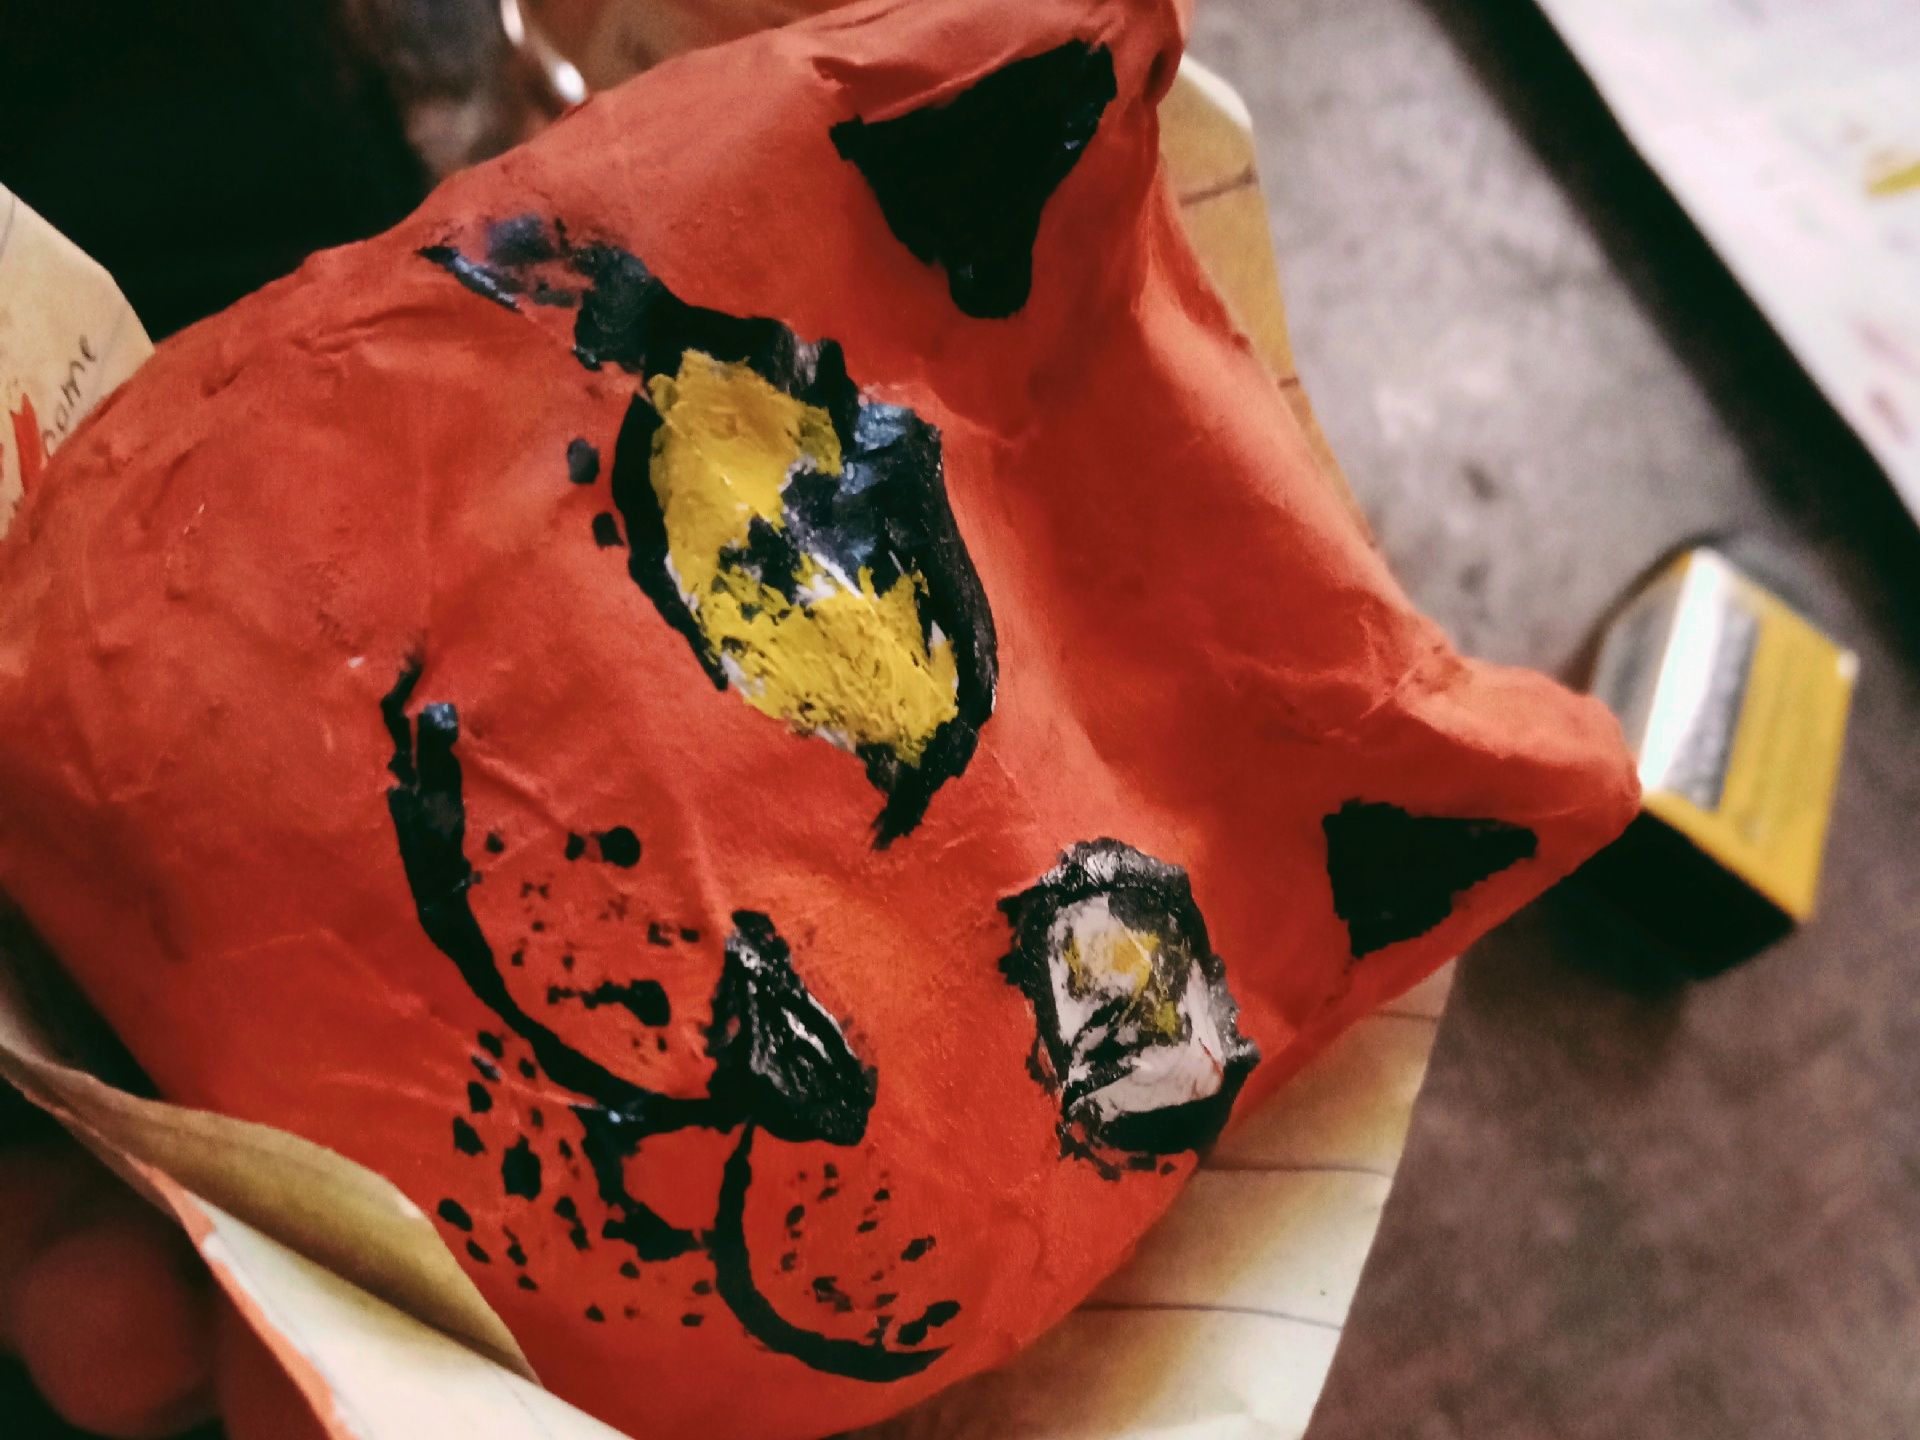
14. Now time for the details. Paint the details on your cat's face.

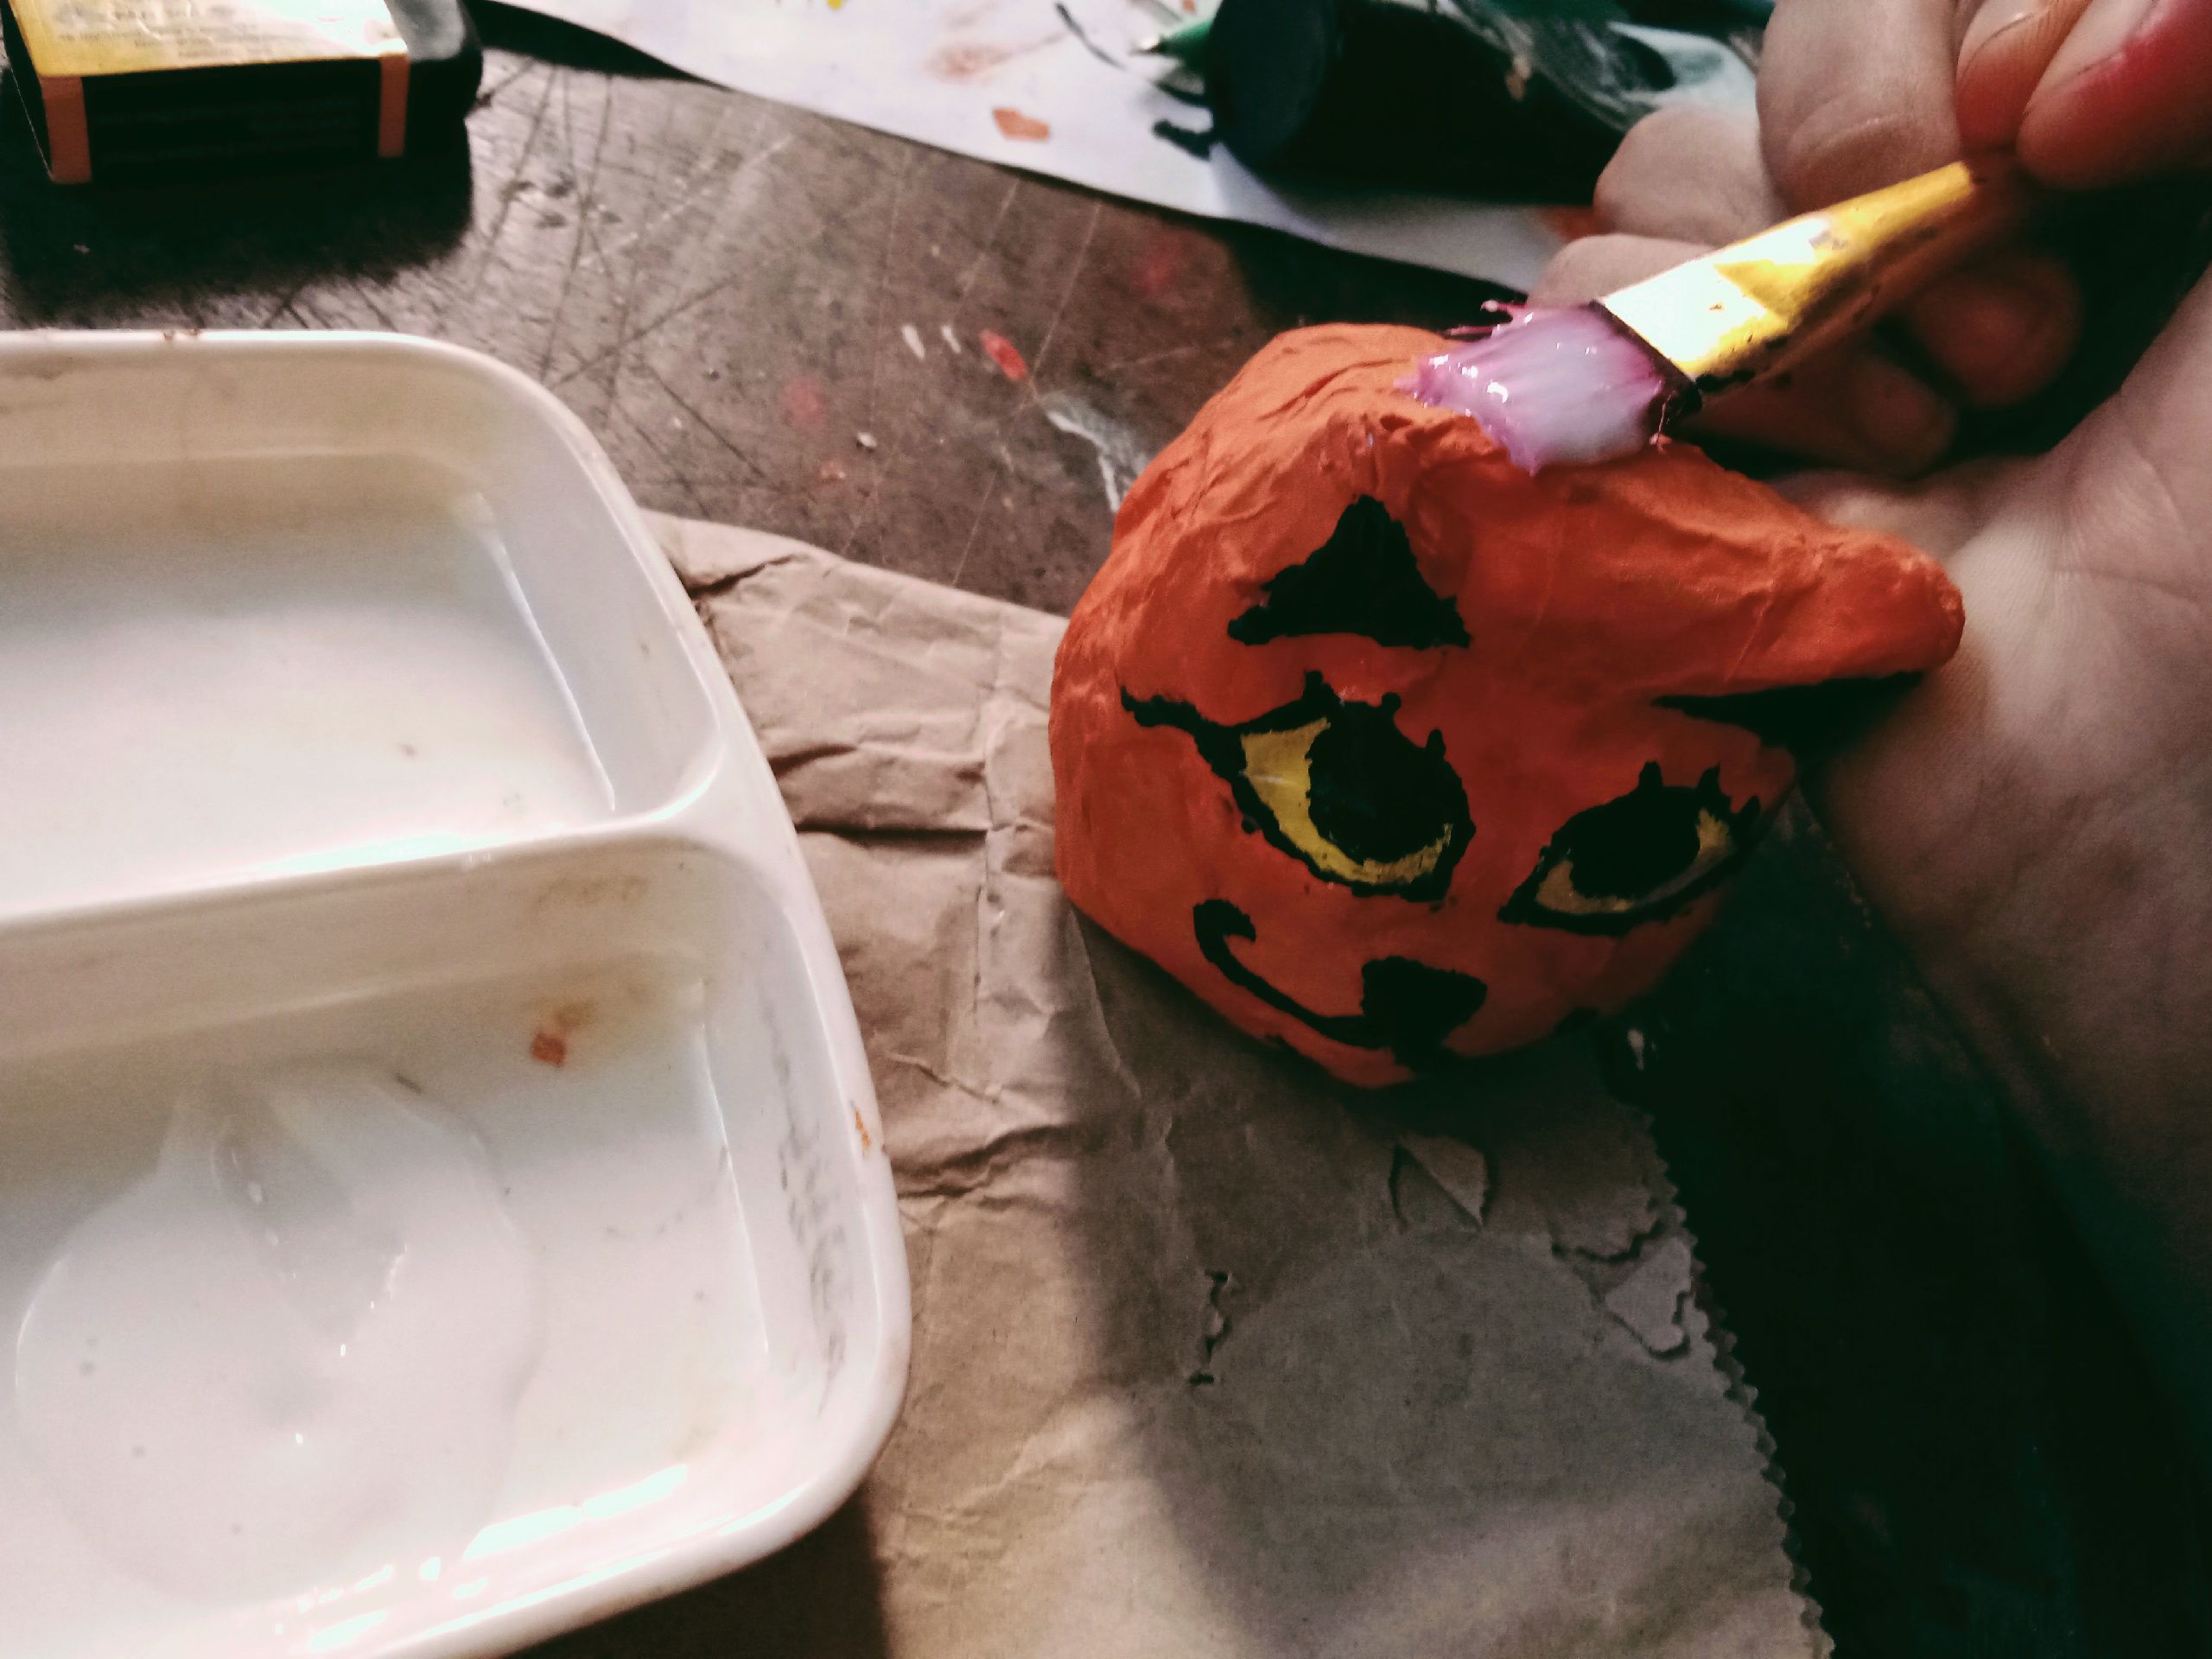
15. If you're done with it, proceed to the final step. With the paint brush, apply glue to the entire figure, then let it dry.
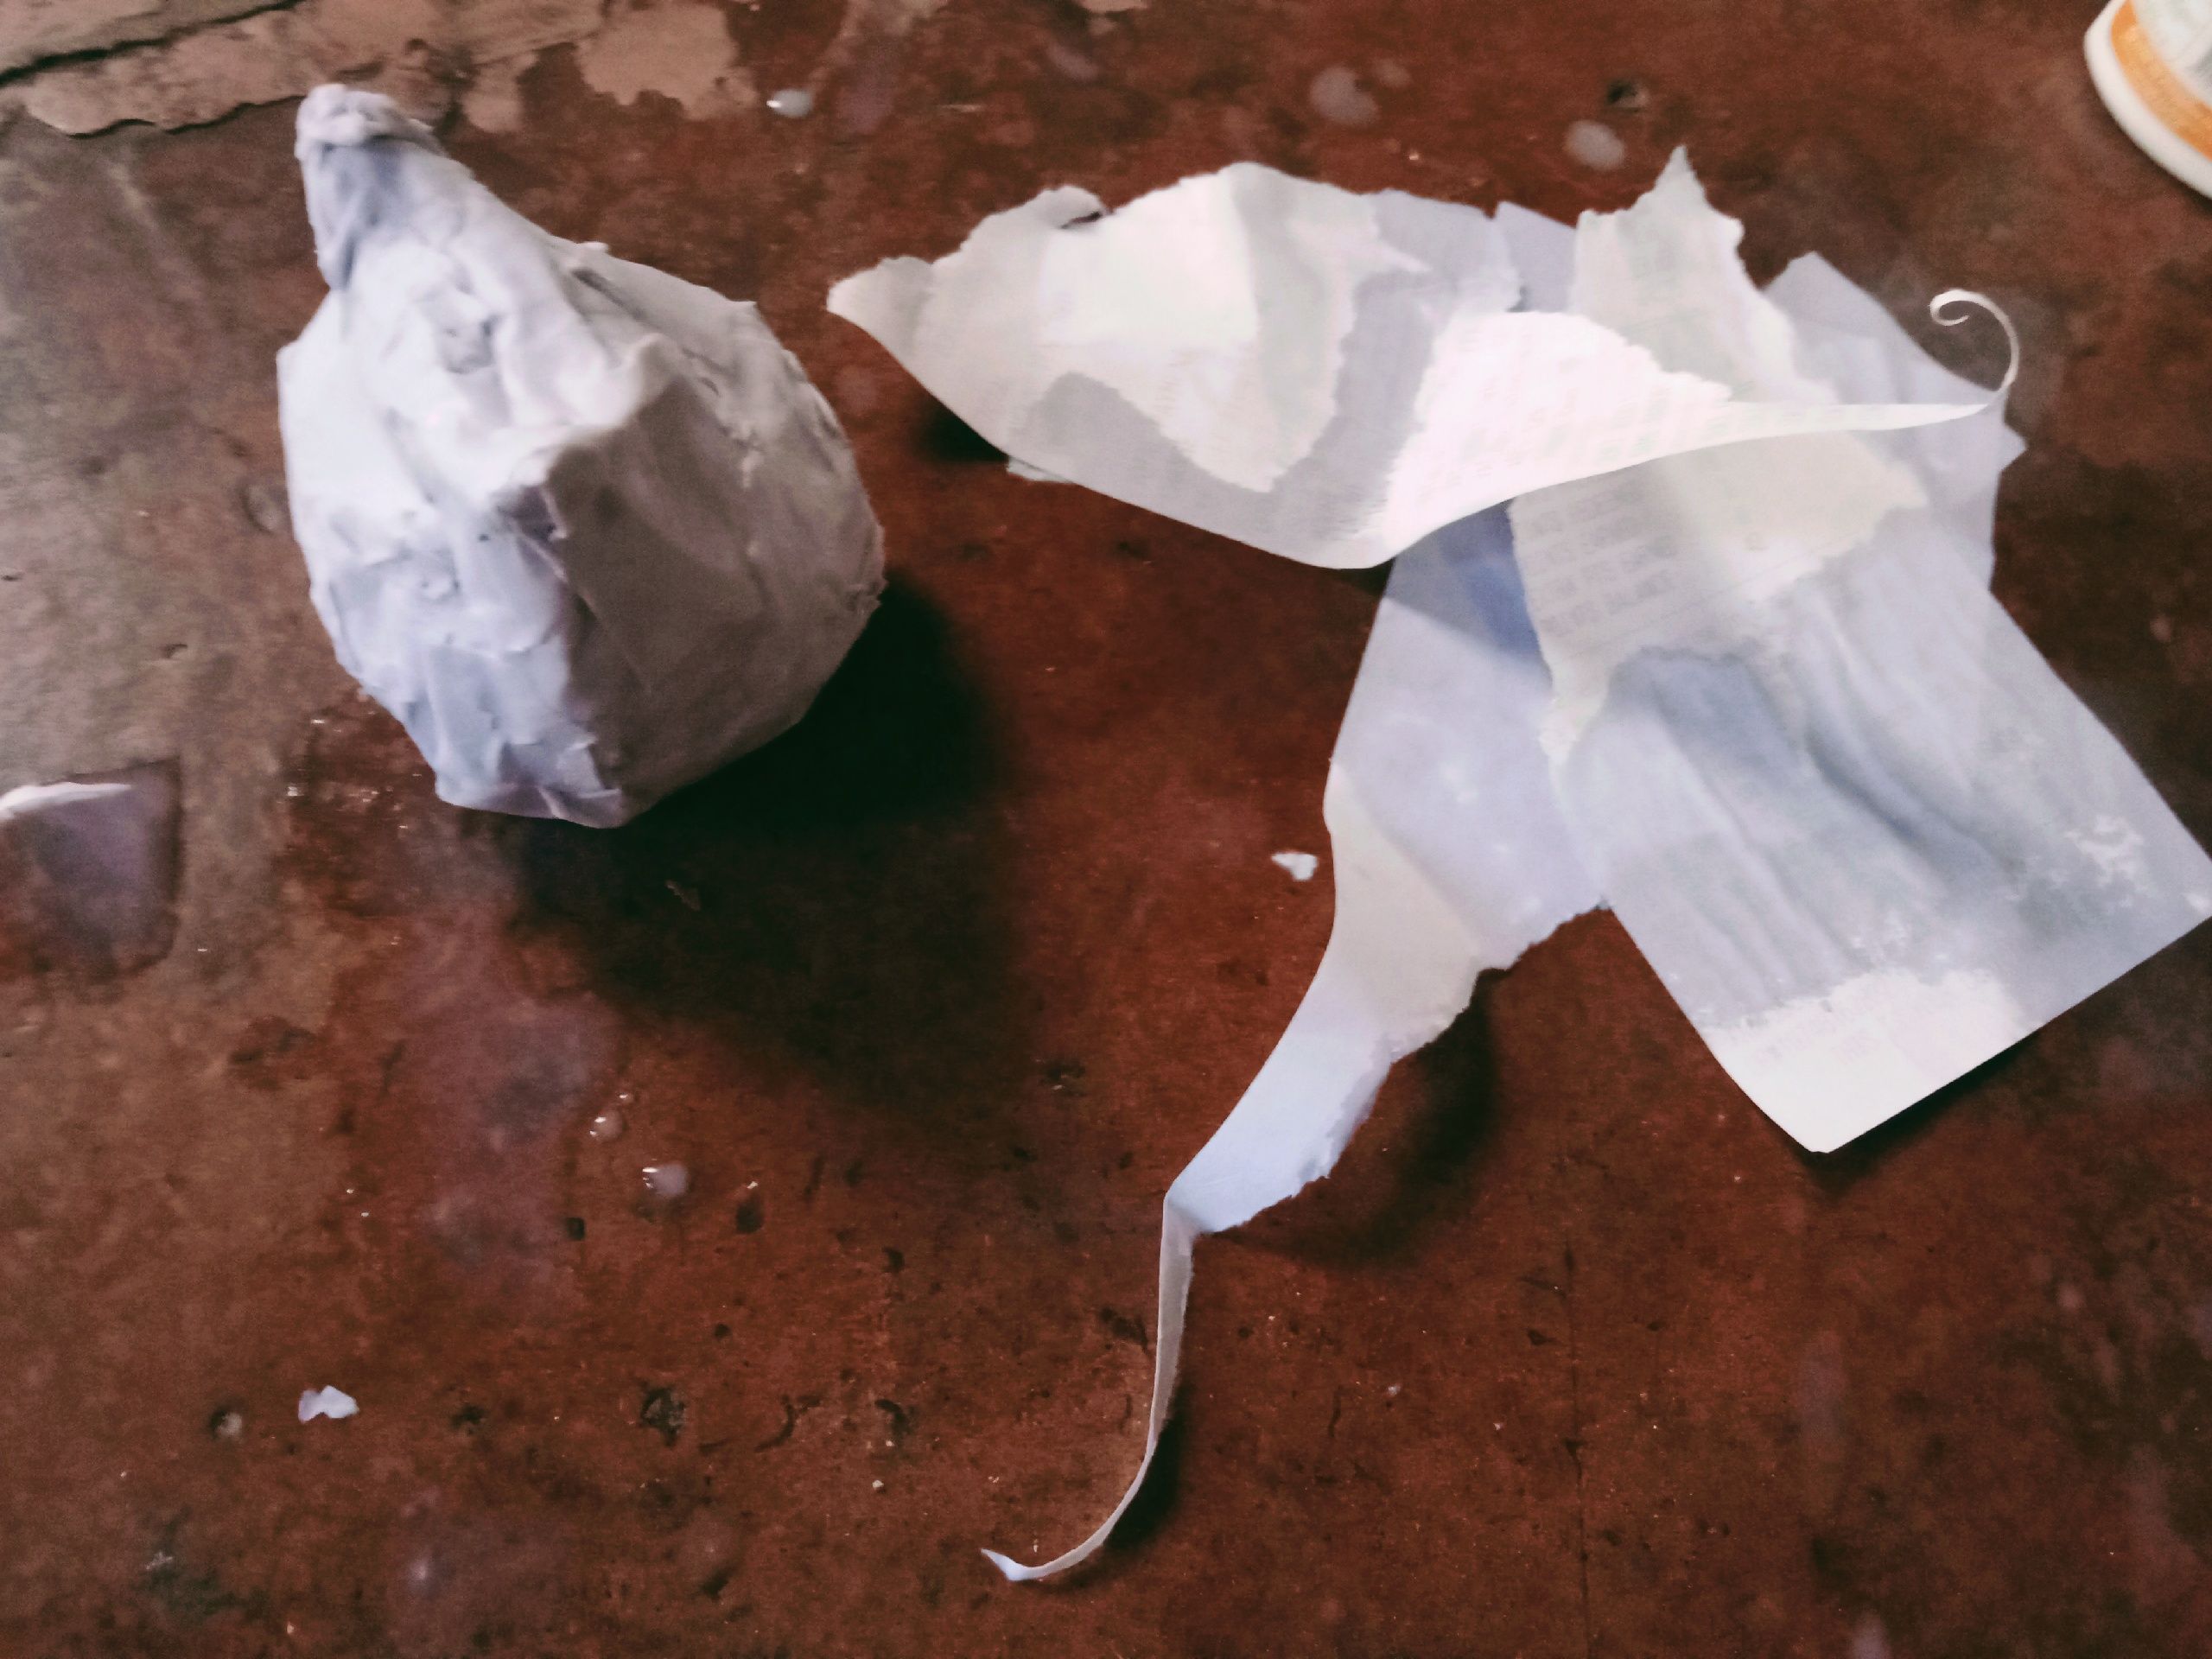
Making the paper mache was probably one of the processes that started so uncertain. My first attempt at adding volume to the cat's head was a flop, but of 'course that didn't stop me from trying again. I tried to use another way to make the cat's head look bigger, so I added a big crumpled piece of paper to its front. Unfortunately, it wouldn't stick, and I ran out of glue sticks, so I had no choice but to abandon the idea of sticking that big crumpled paper. I started to feel impatient when I thought I hit the dead end, but later another idea came up. I crumpled the soaked and shredded receipts, then stuck them. This time, it worked well!
I'm really thankful that I was able to finish it faster than I had anticipated it to be. Based on my past experiences with making projects, it usually took me days or even weeks to finish something like this. I guess I didn't procrastinate this time because I knew that the deadline for this one was fast approaching. Motivation is really important if you want to finish something in a shorter time frame. Also, I'm the type of person who gets bored and distracted easily, so motivation is really essential for me to stay on track.
Overall, like the previous art projects that I have made, the process was also tedious. That's why it is important to visualize the end product so that you'll have something to look forward to. This visualized end product will become one of your motivations that will propel you to finish the making process.
That's all for now, Hivers. I hope that you learned something. See you at my next art blog!
Arigatou Minna-san!