
Welcome back to the window to the workshop. This time, we are going through some template that was missing and working on joining some backs and tops.
Let's get to it!
Template
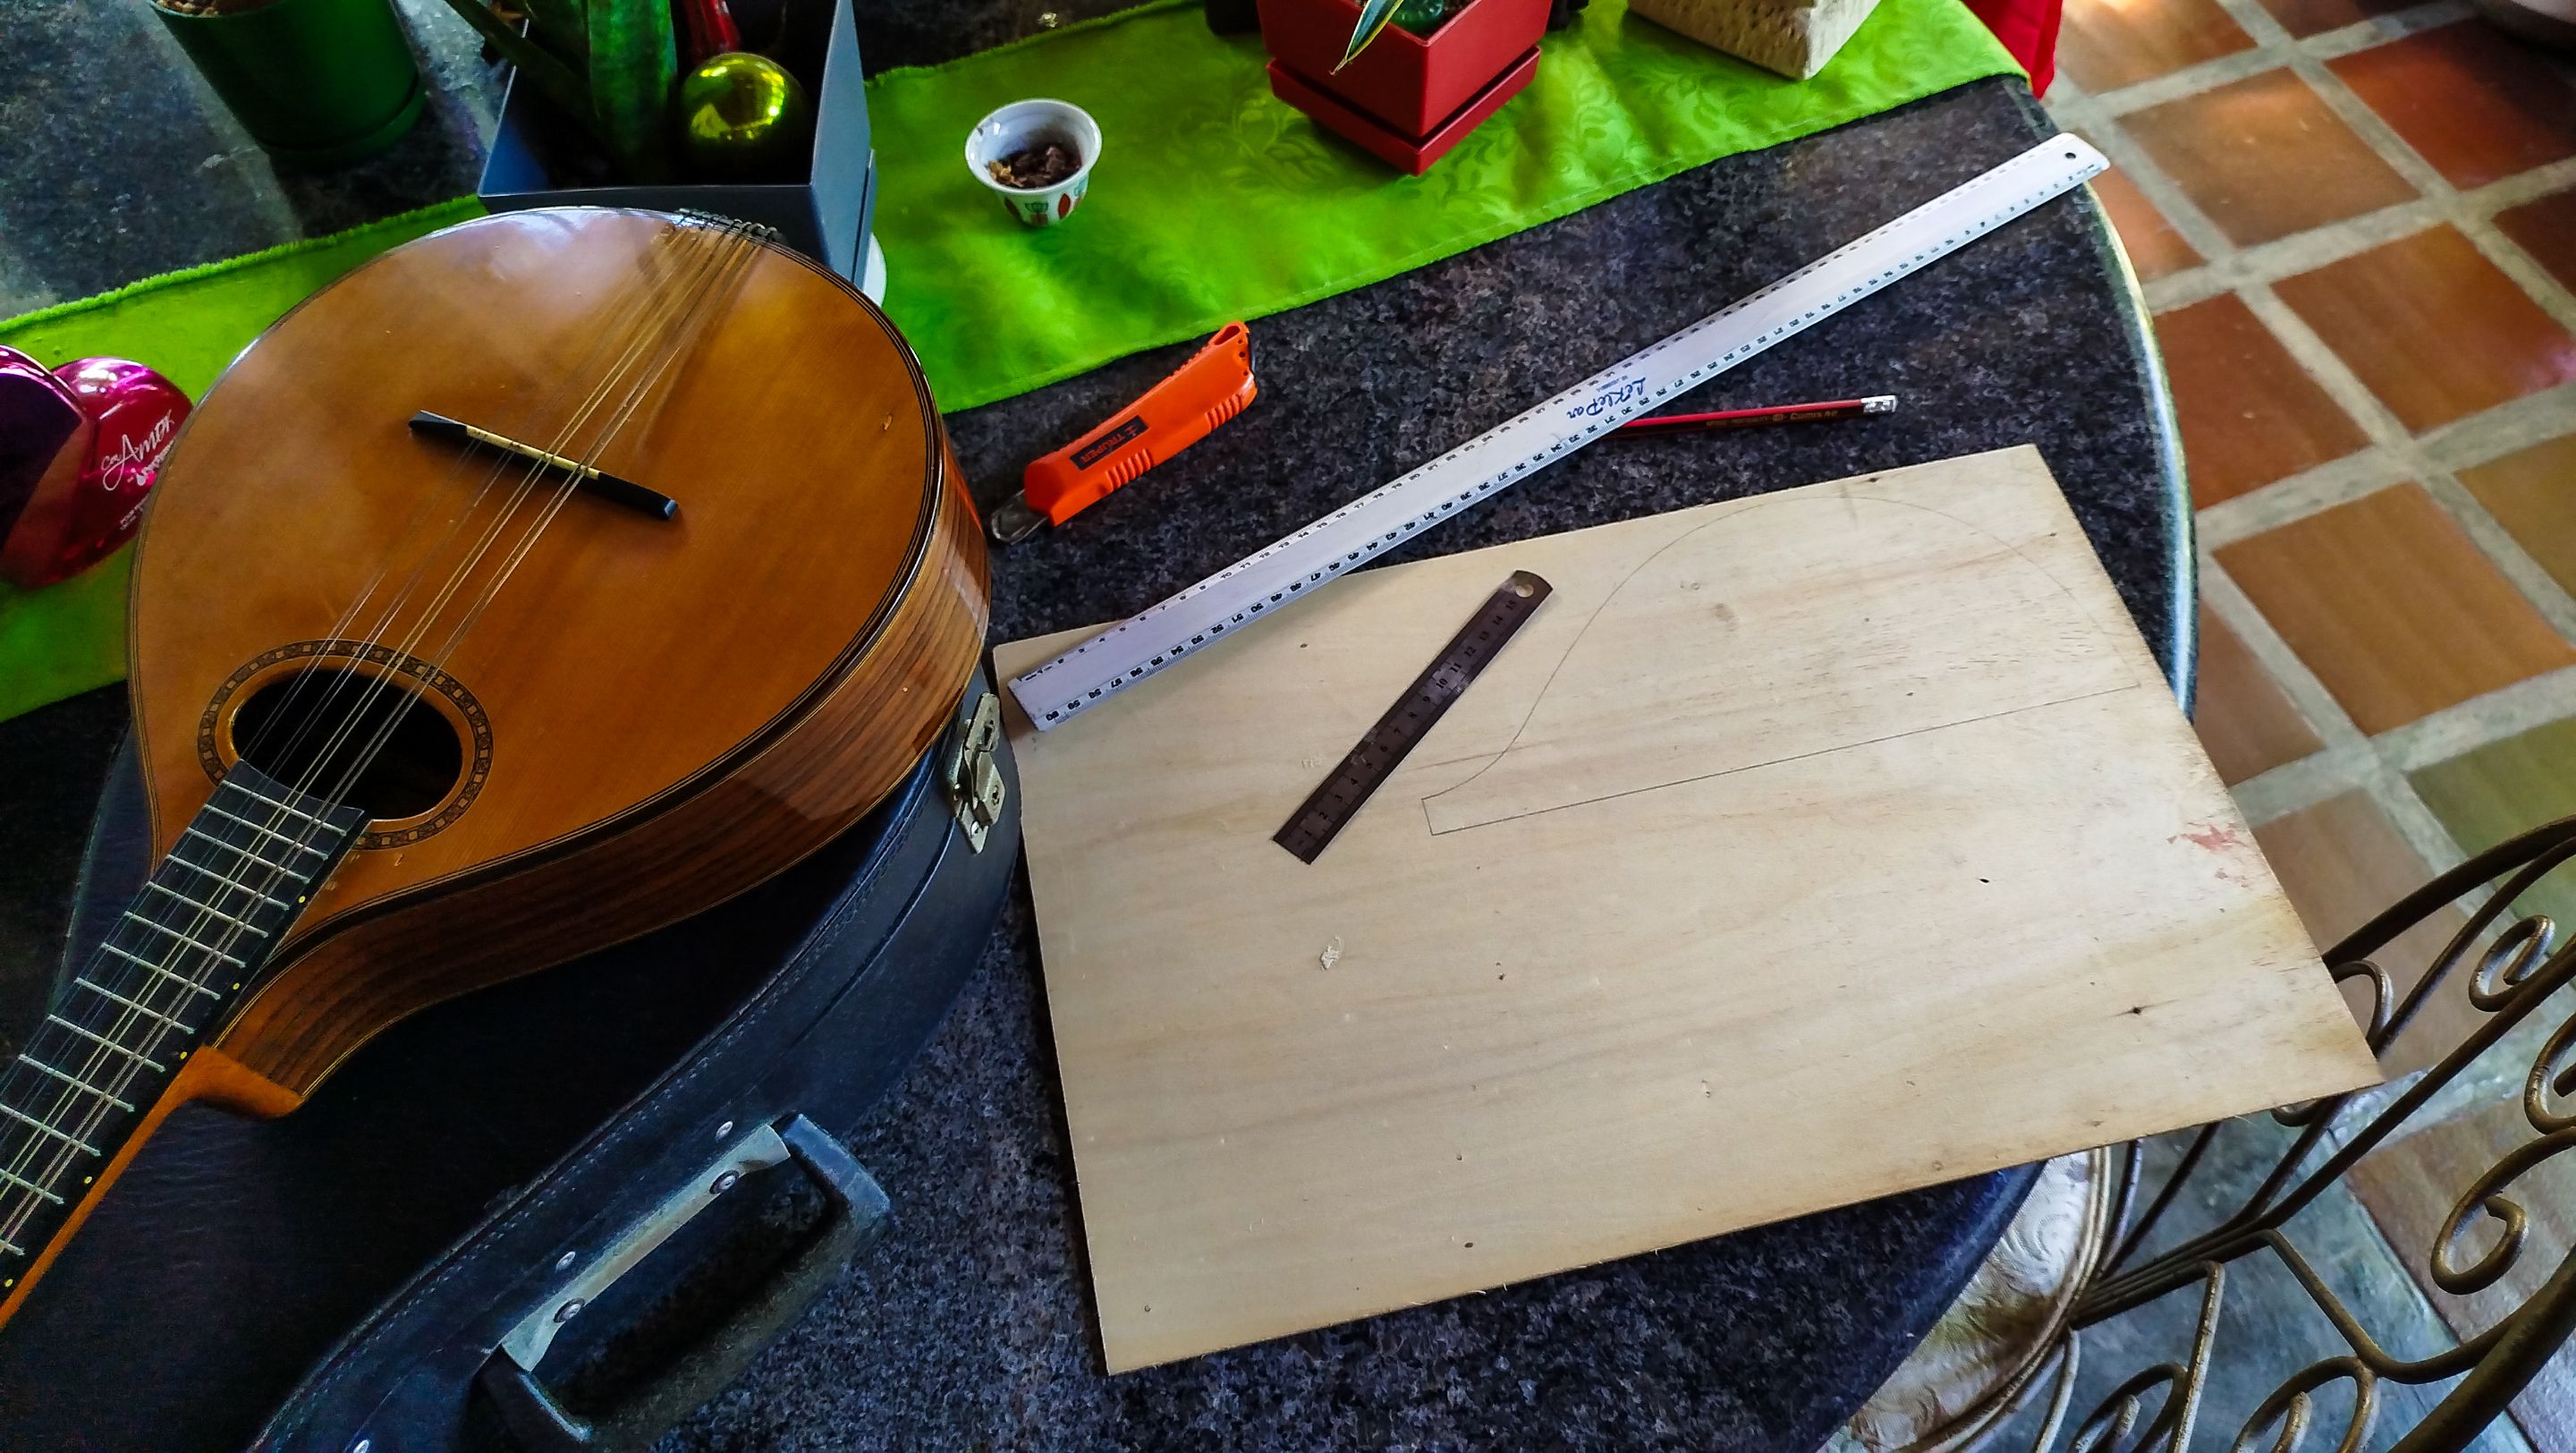
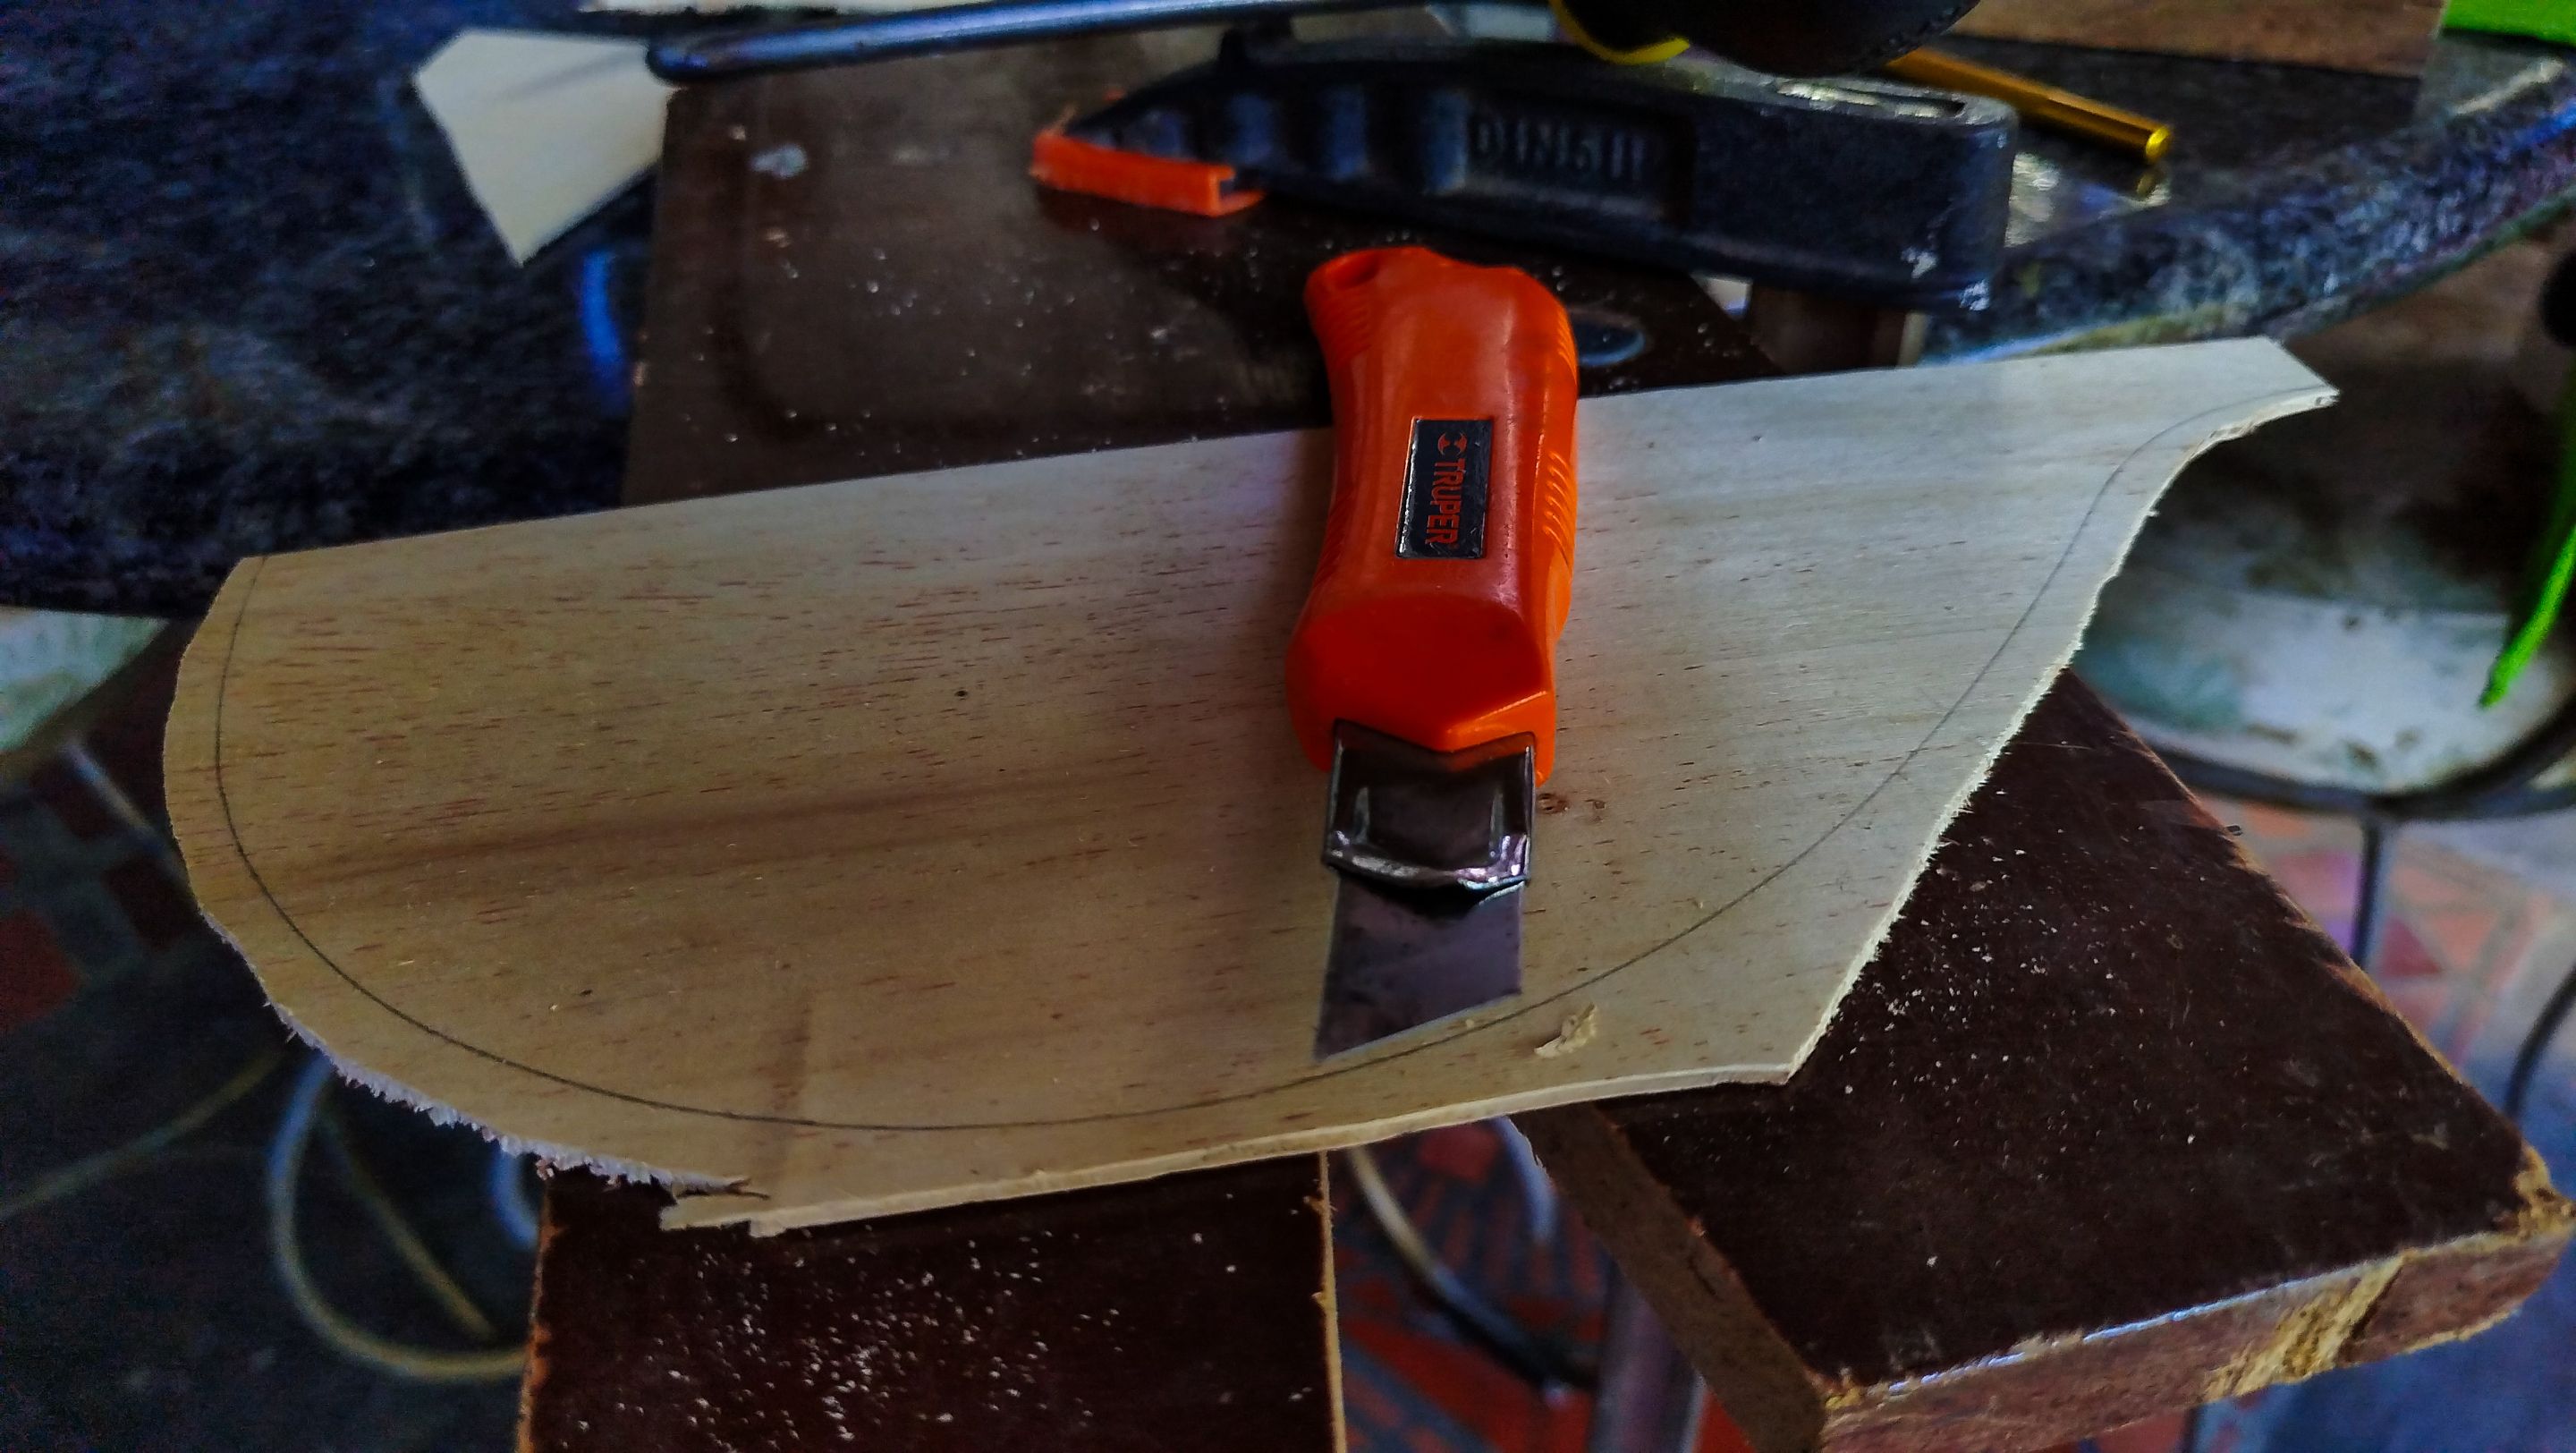
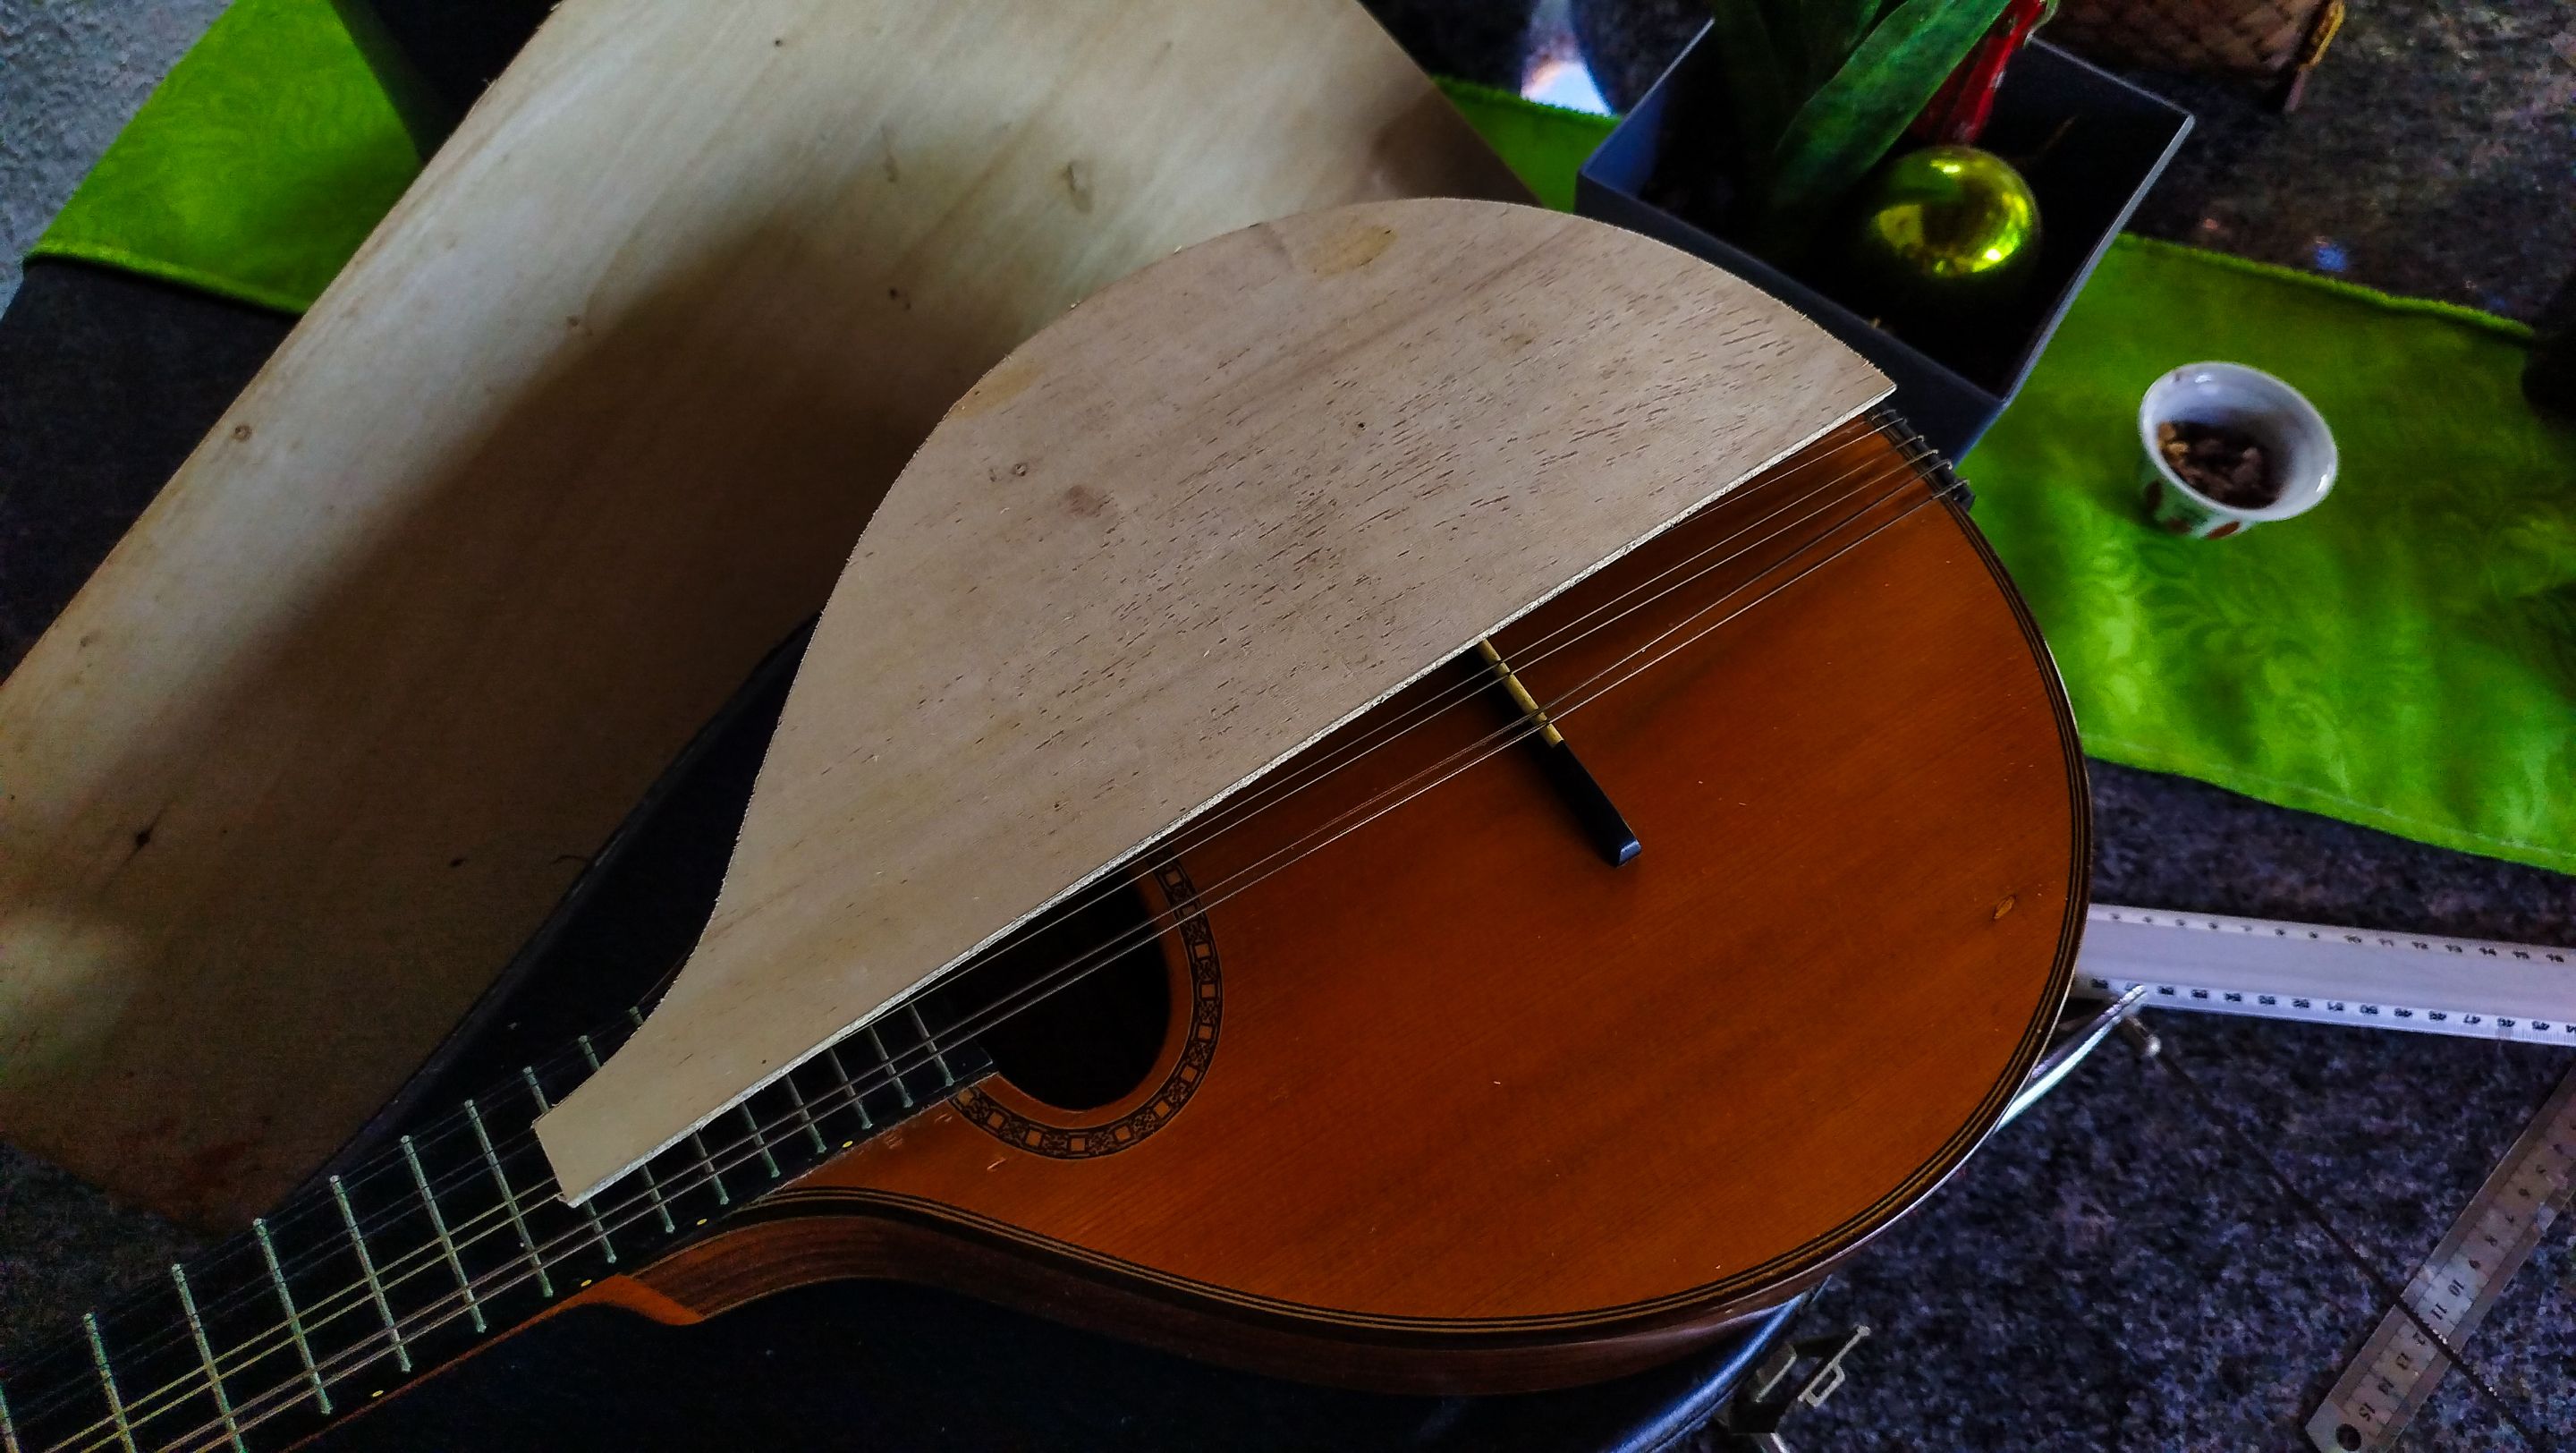
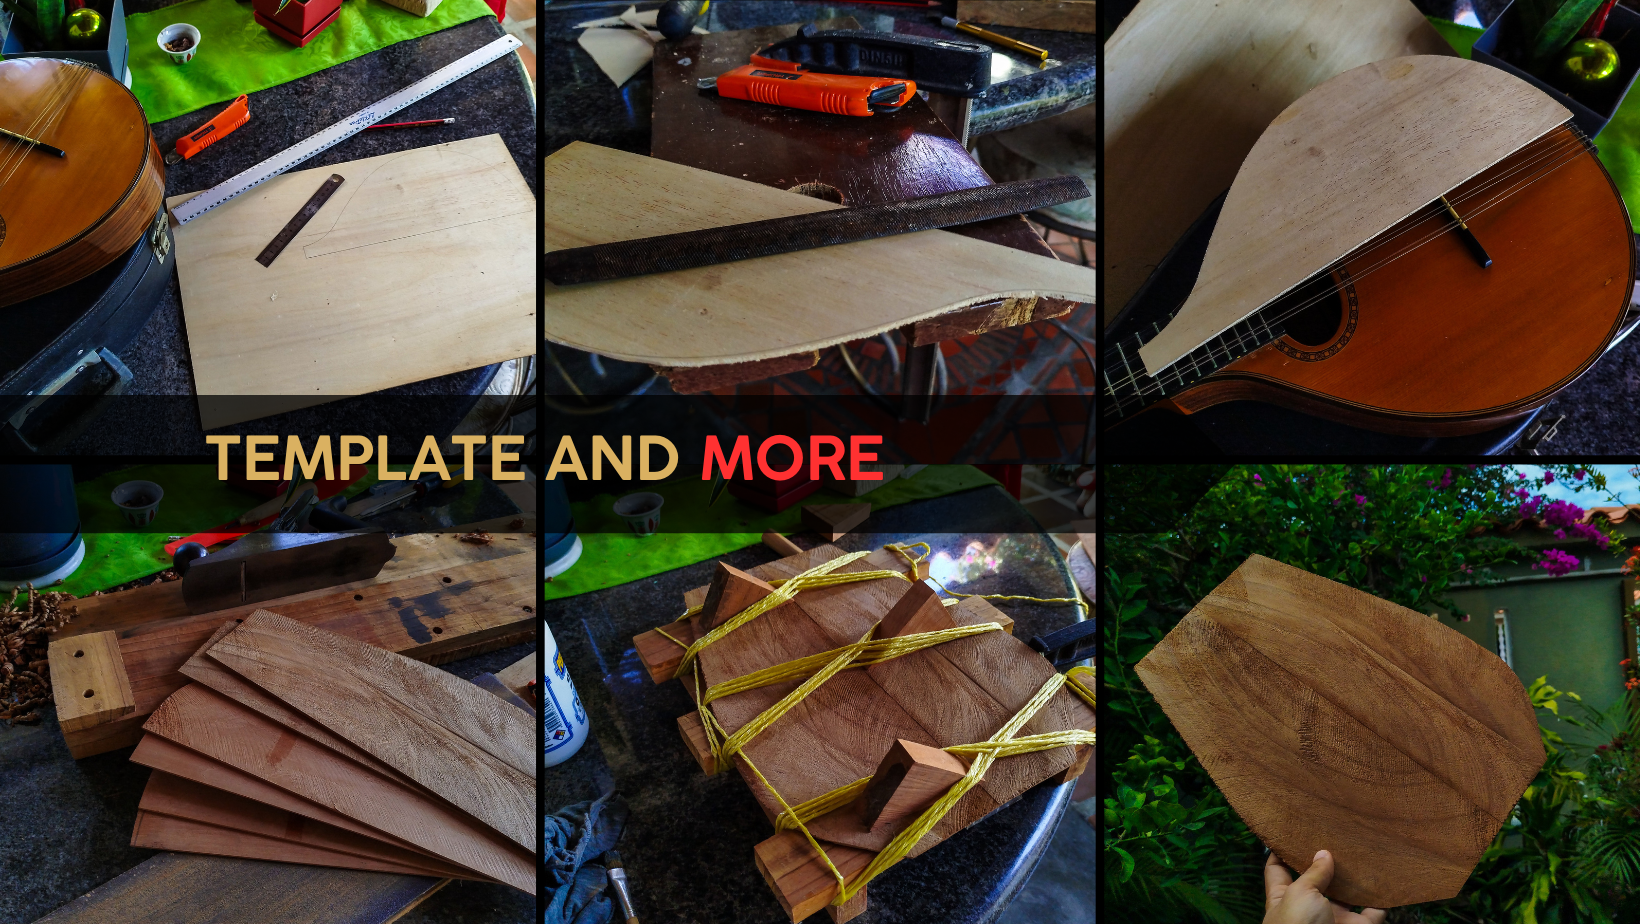
The idea of making a mandolin has always lingered in my mind. It is something I used to play for some years. It is not a surprise to want to attempt to make one. First, we need to create a template and then we can ahead and make some plans for the rest of the instrument. We are use using some plywood to have a study template and also because there's still a lot around since the days of the percussion projects.
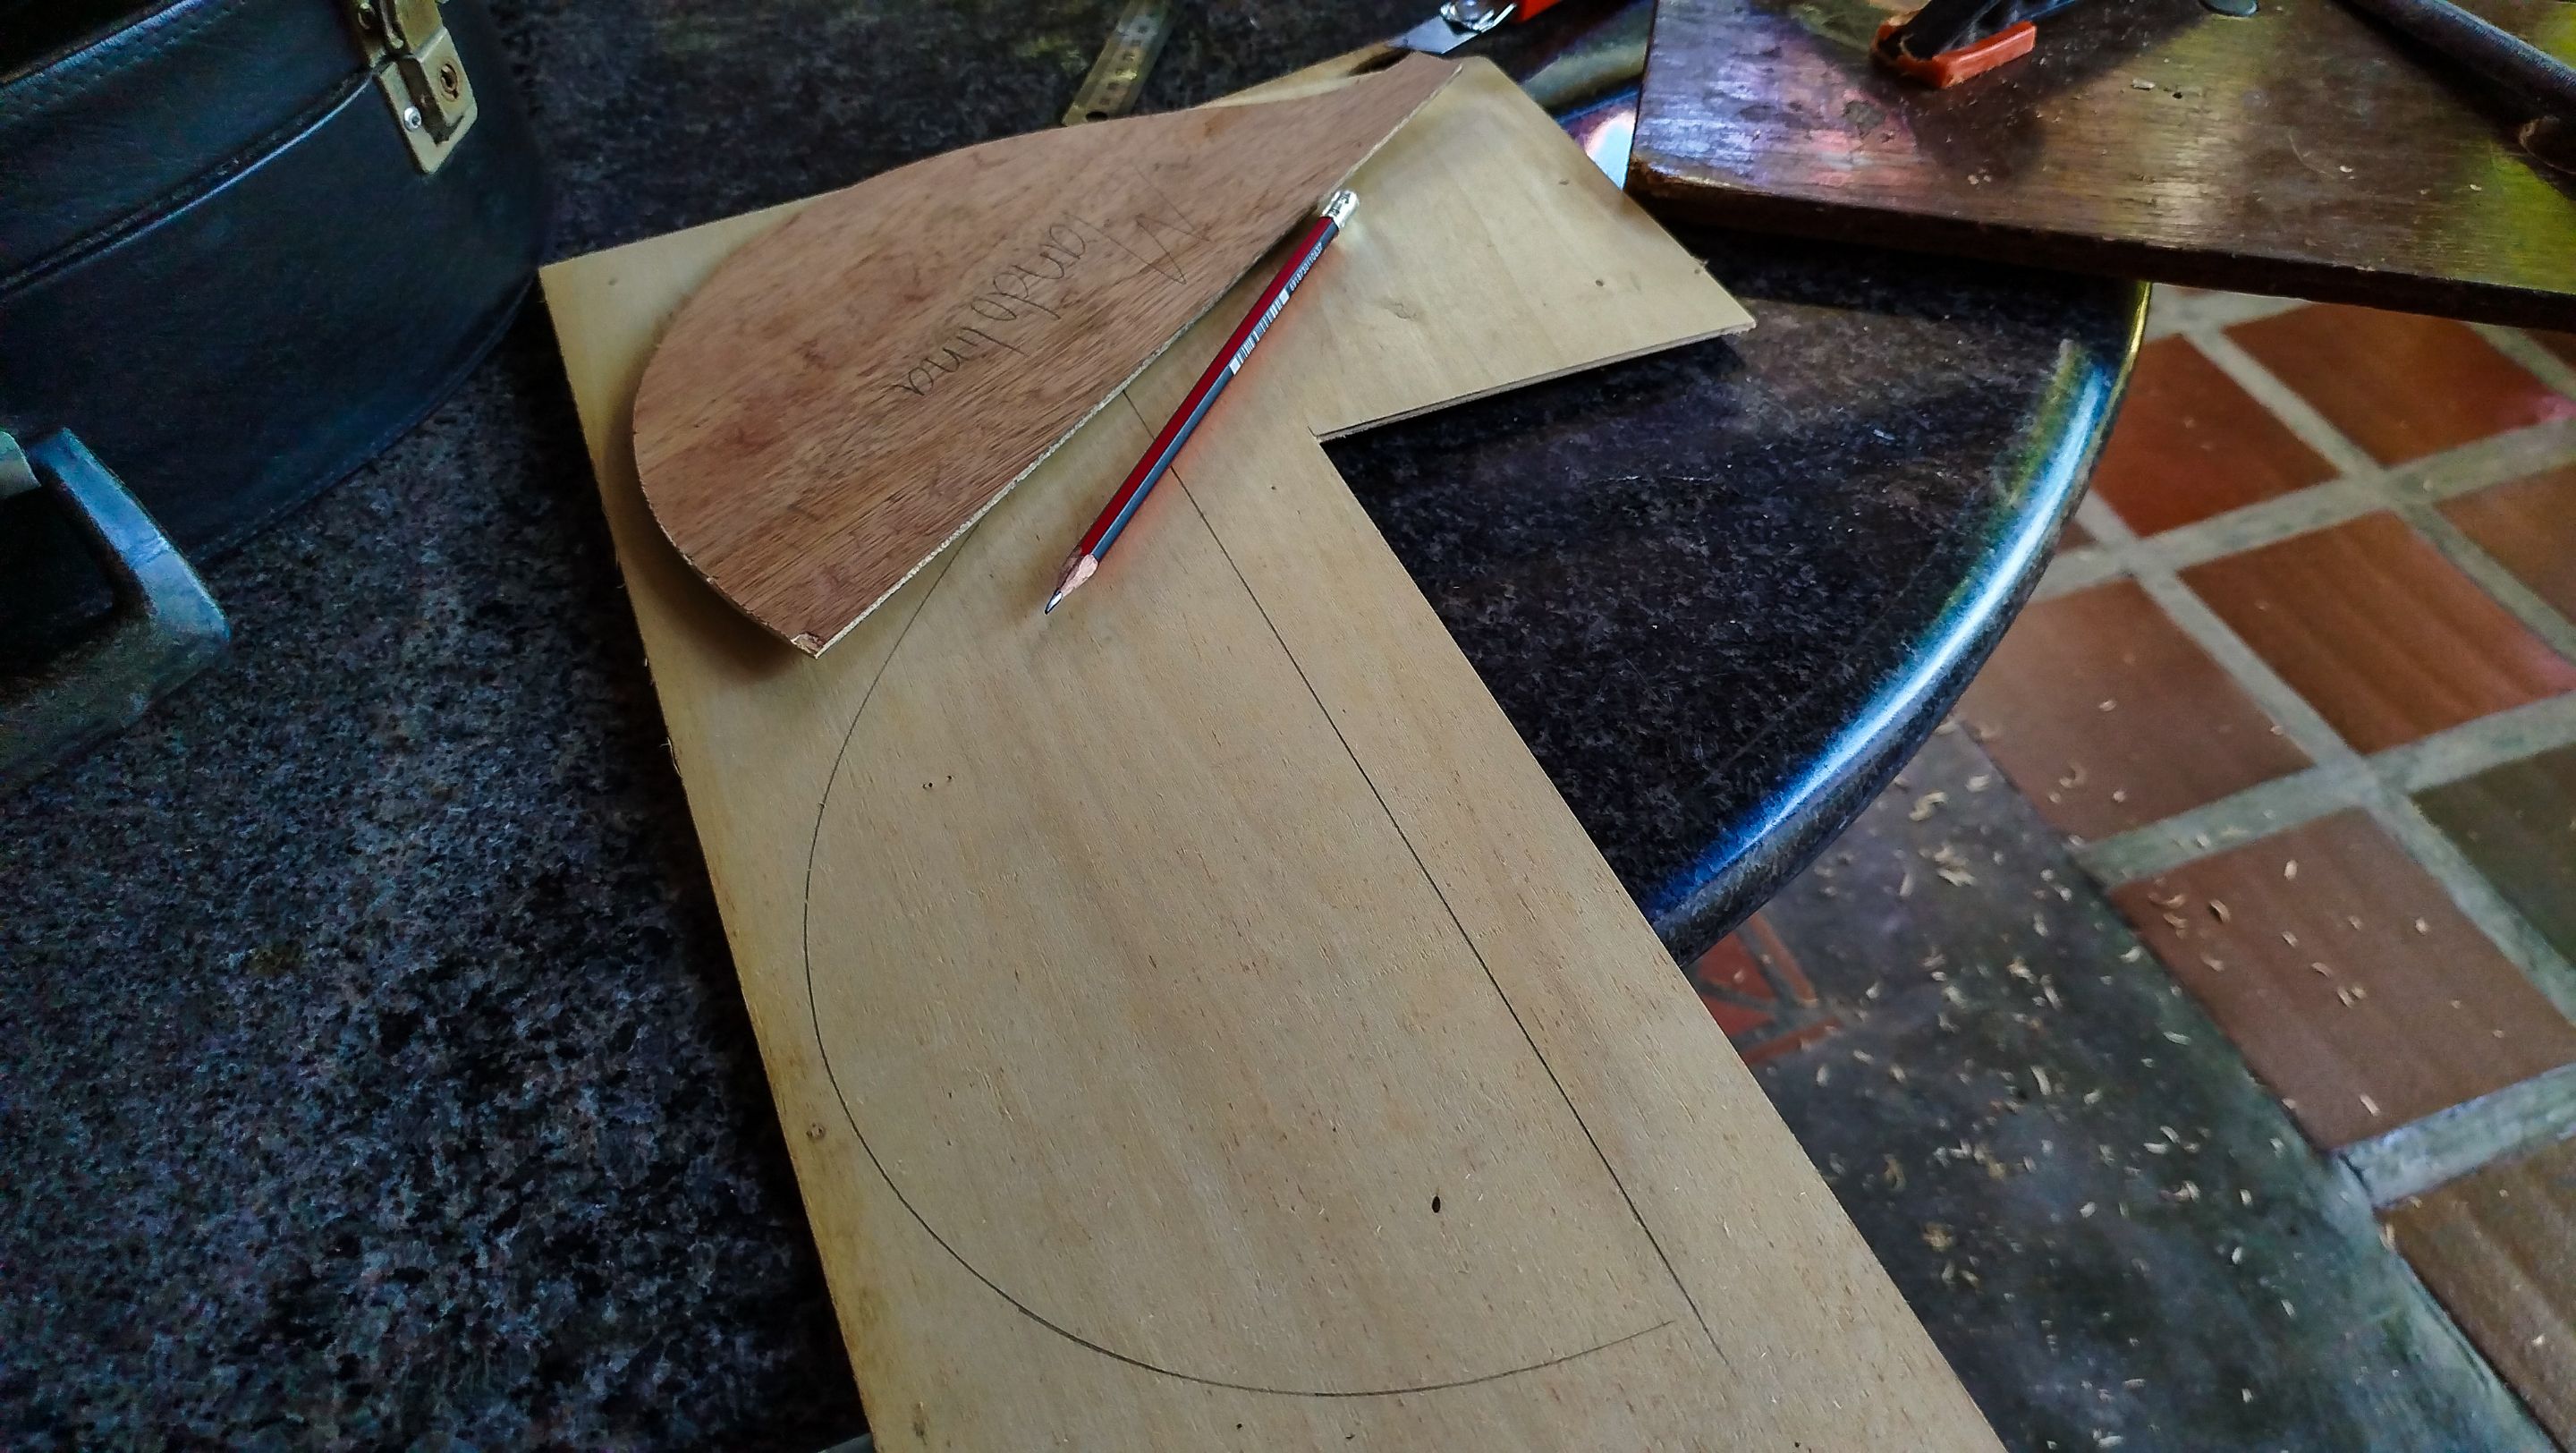
To make it, we are using the mandolin that I own, Bri. We just trace one side onto the plywood. We just need to add some room at the top to finish one half. Then, we join the line at both ends to have a mark at the middle of the template. This will be the reference line to make the most important cut.
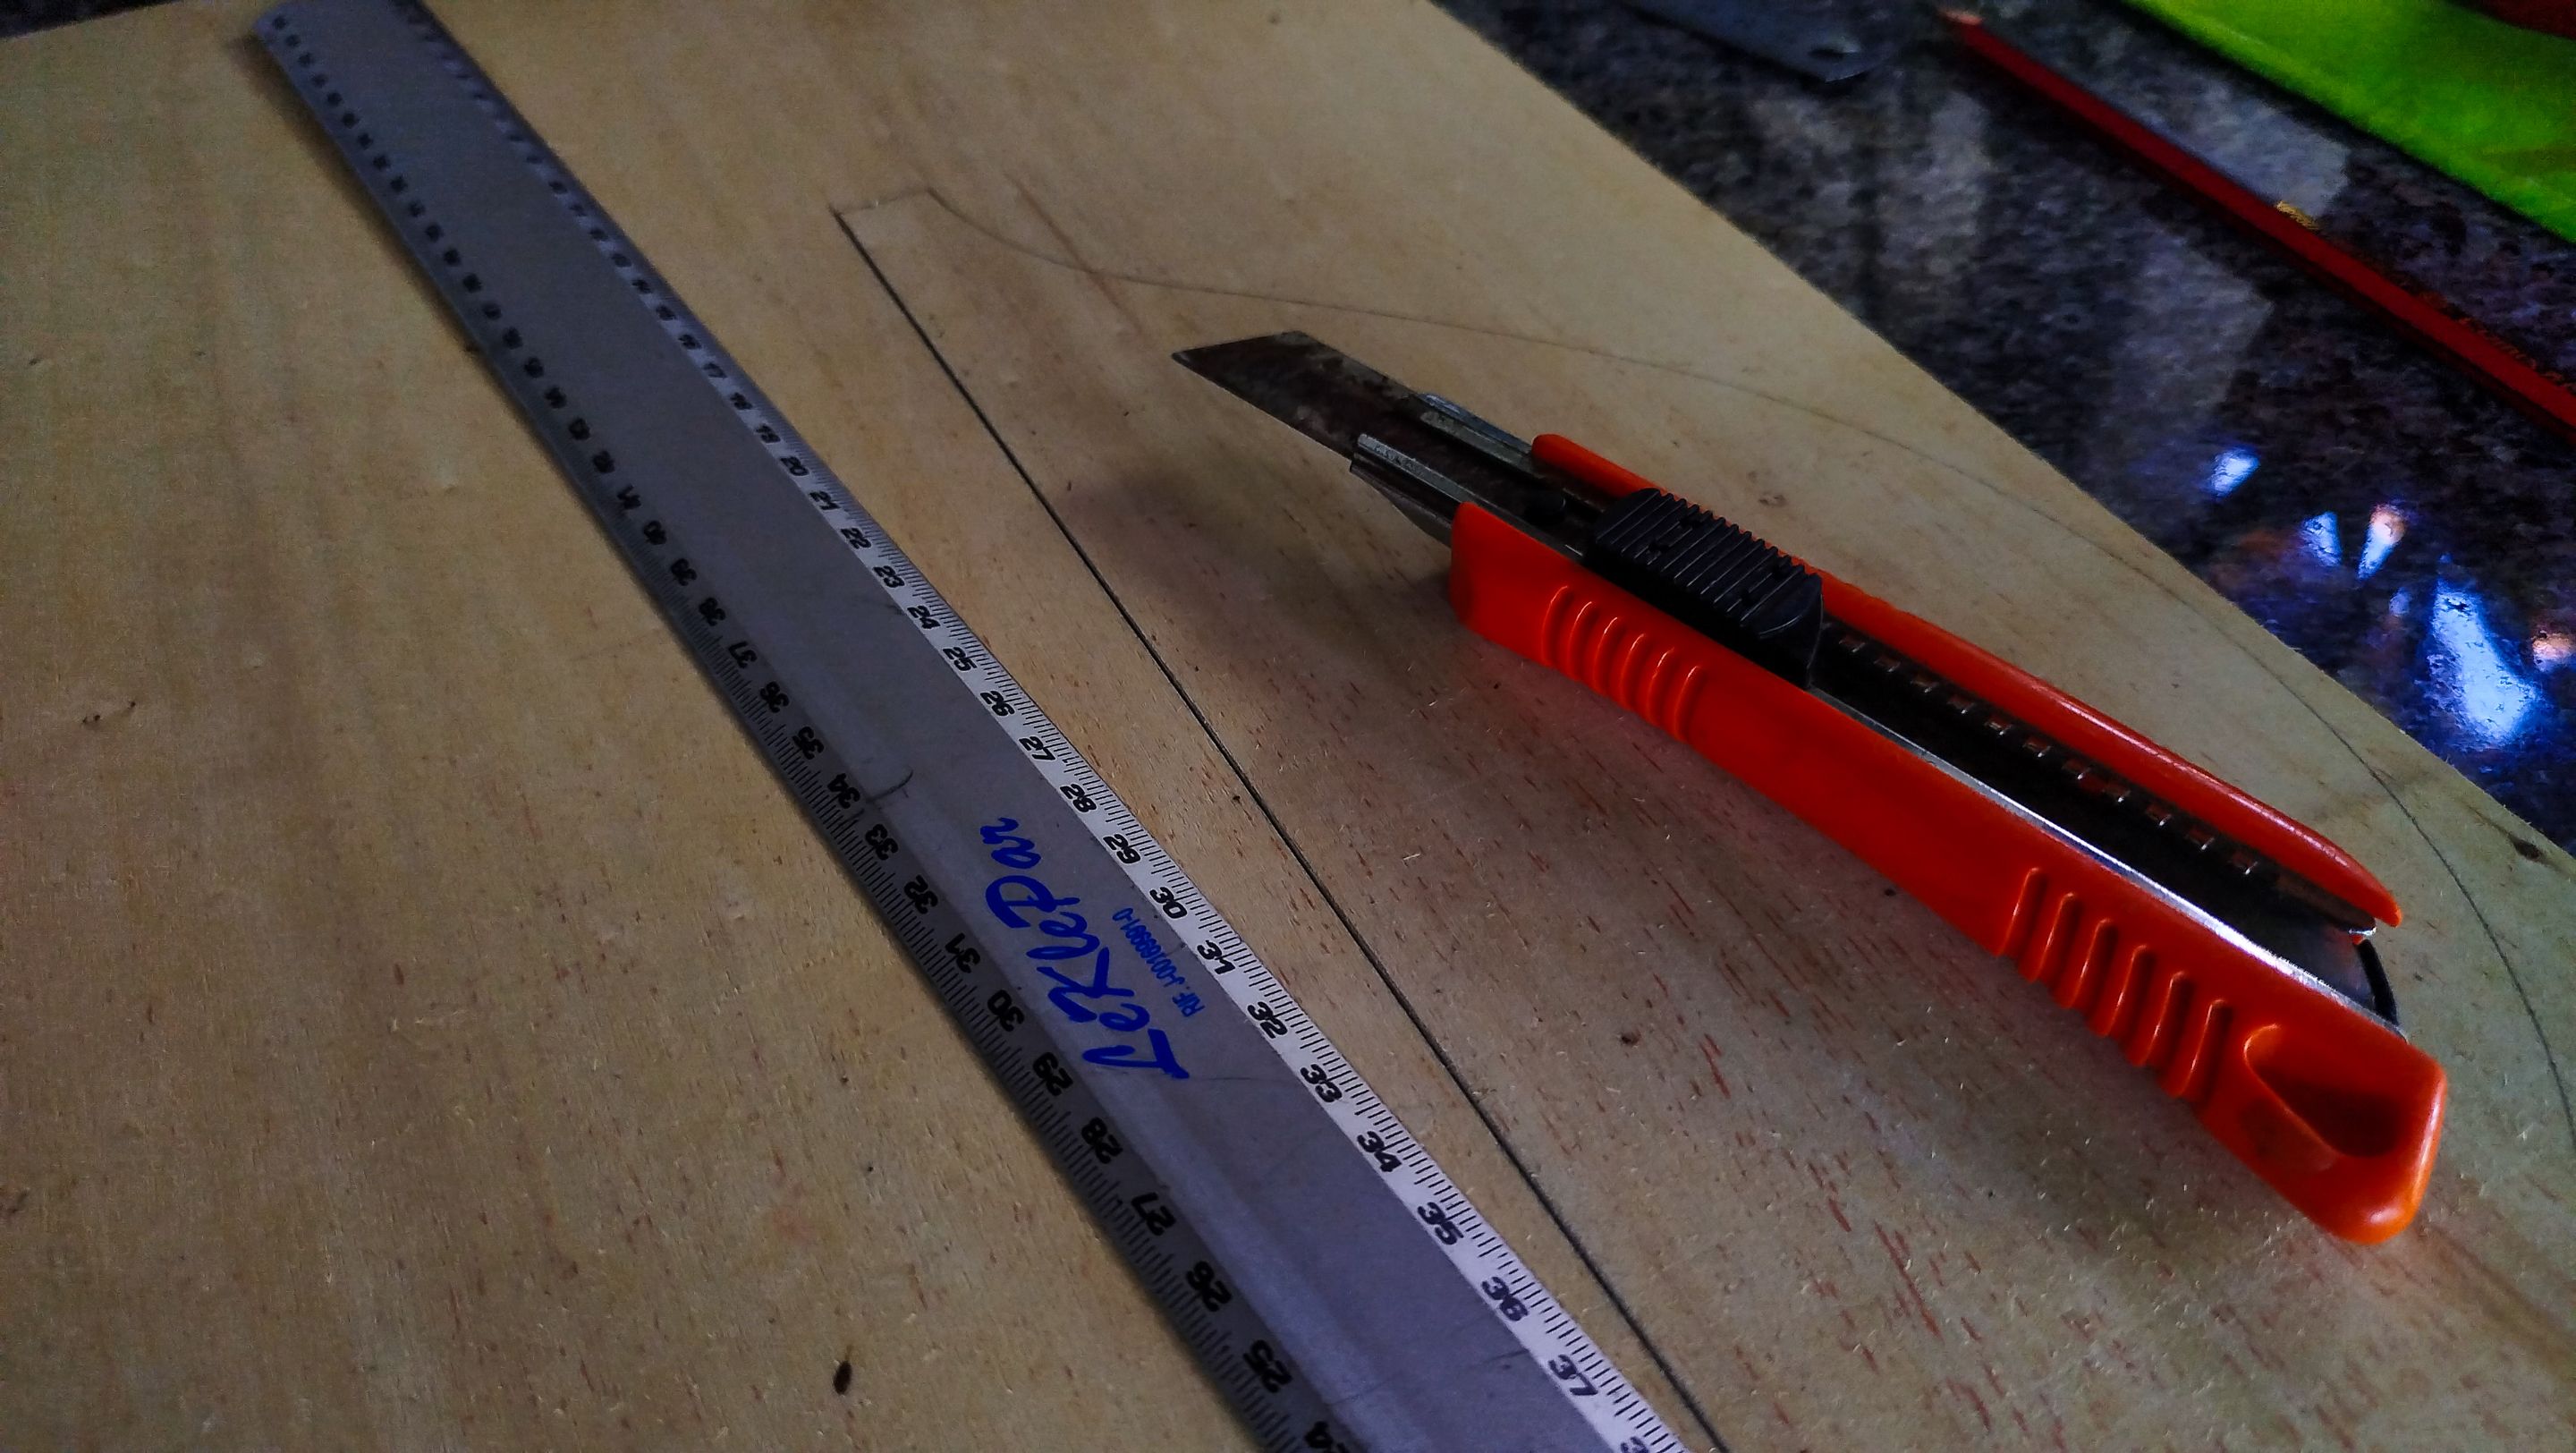
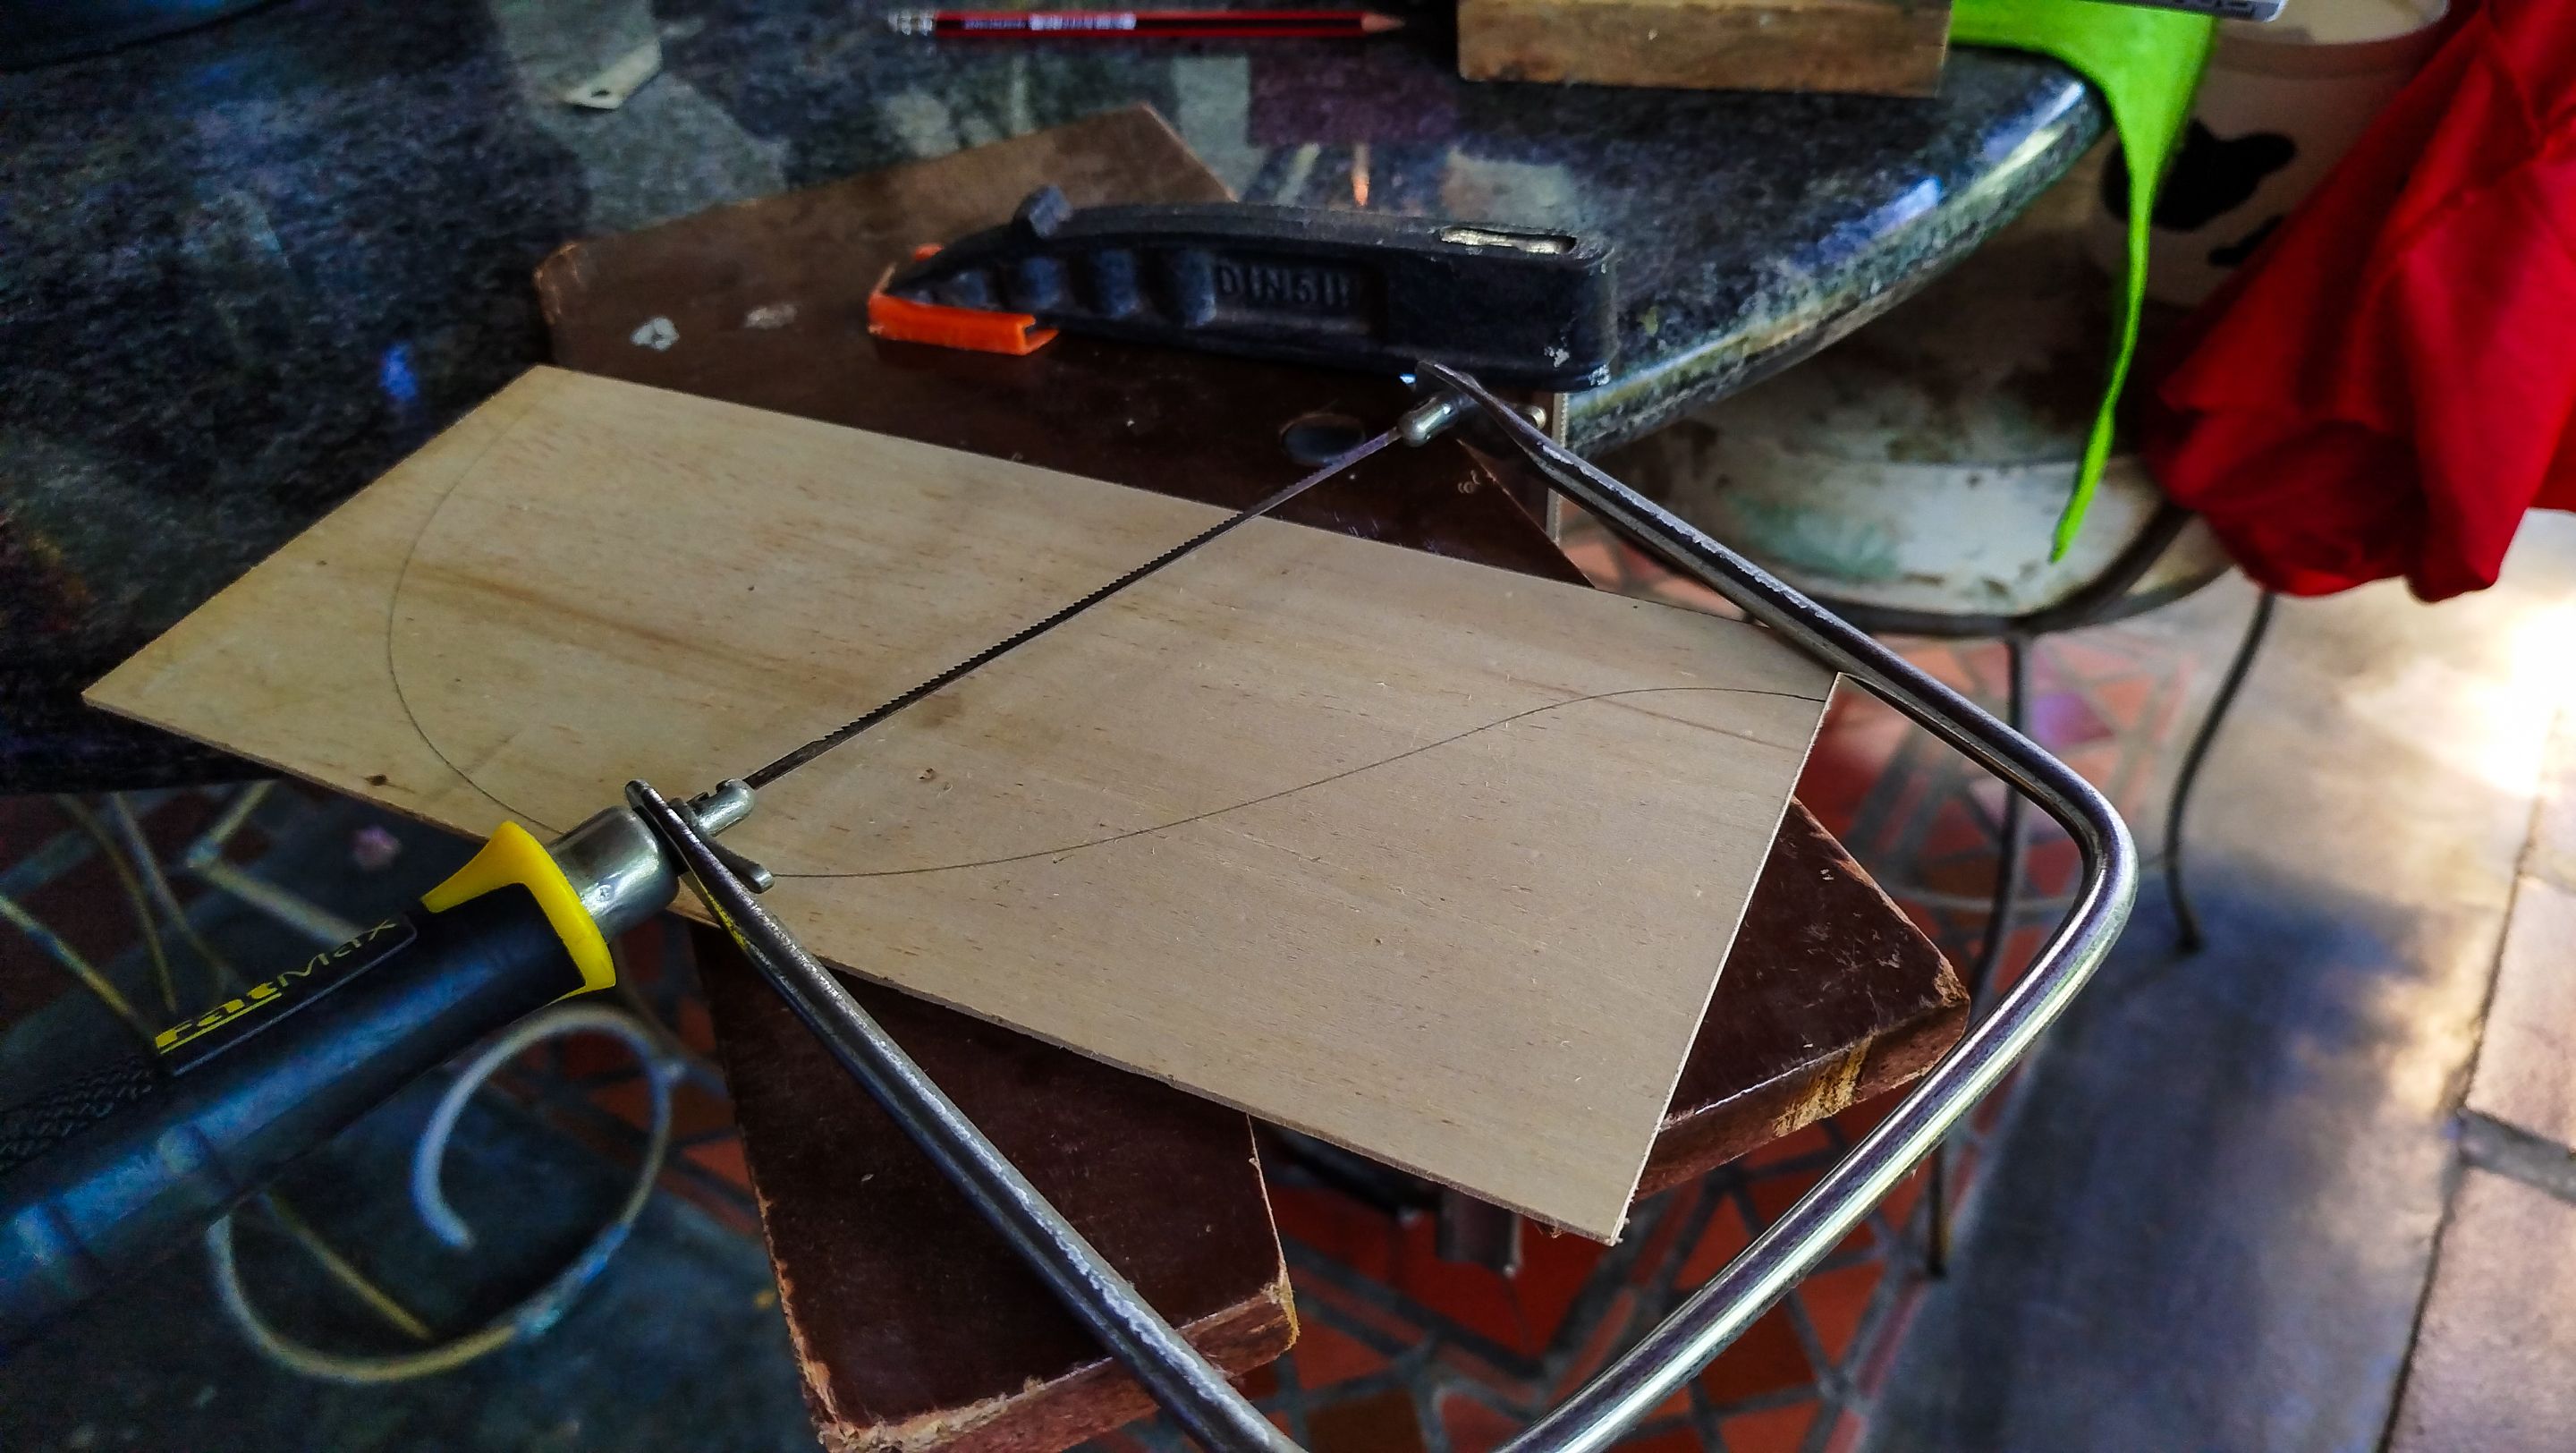
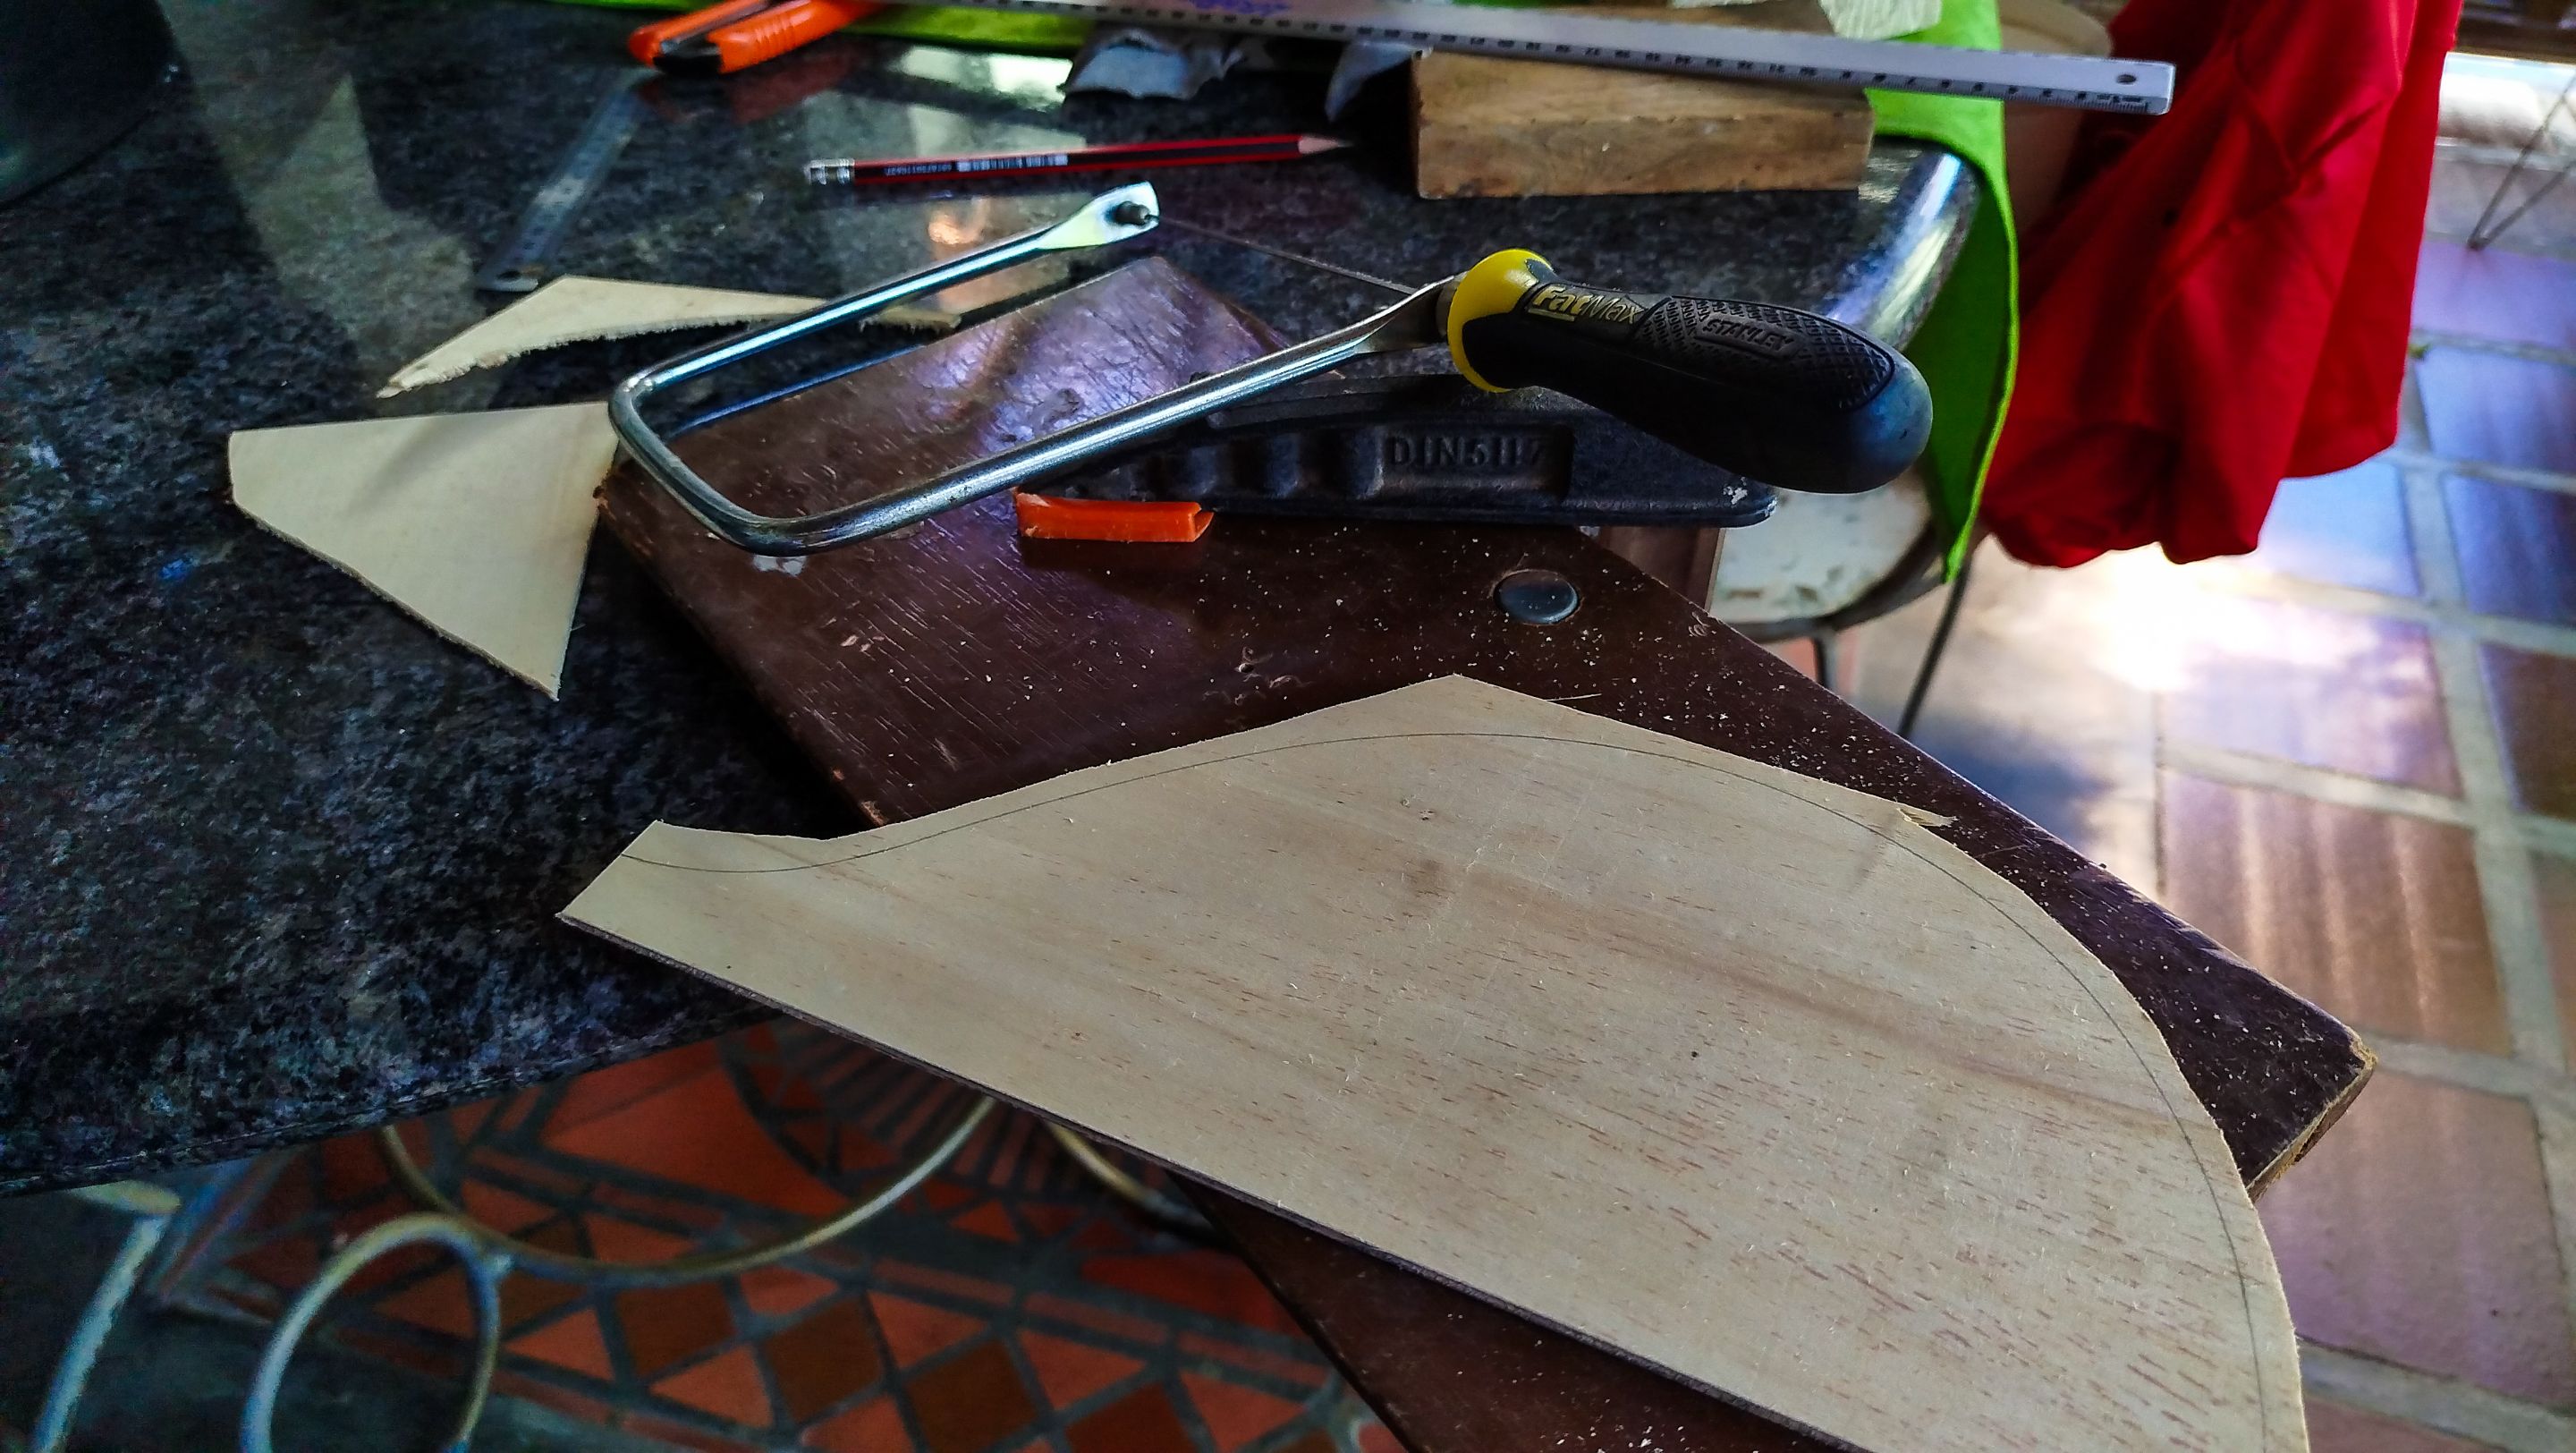
We use the center line to cut the straight part of the template with a blade. We just need to make cuts one at a time. Since plywood is a material that is glued cross-grain, it is tougher on some layers. With patience and a steady hand we can make this cut. Then, we use a coping saw to make the cuts around the curve. We can use the blade again to remove some pieces.
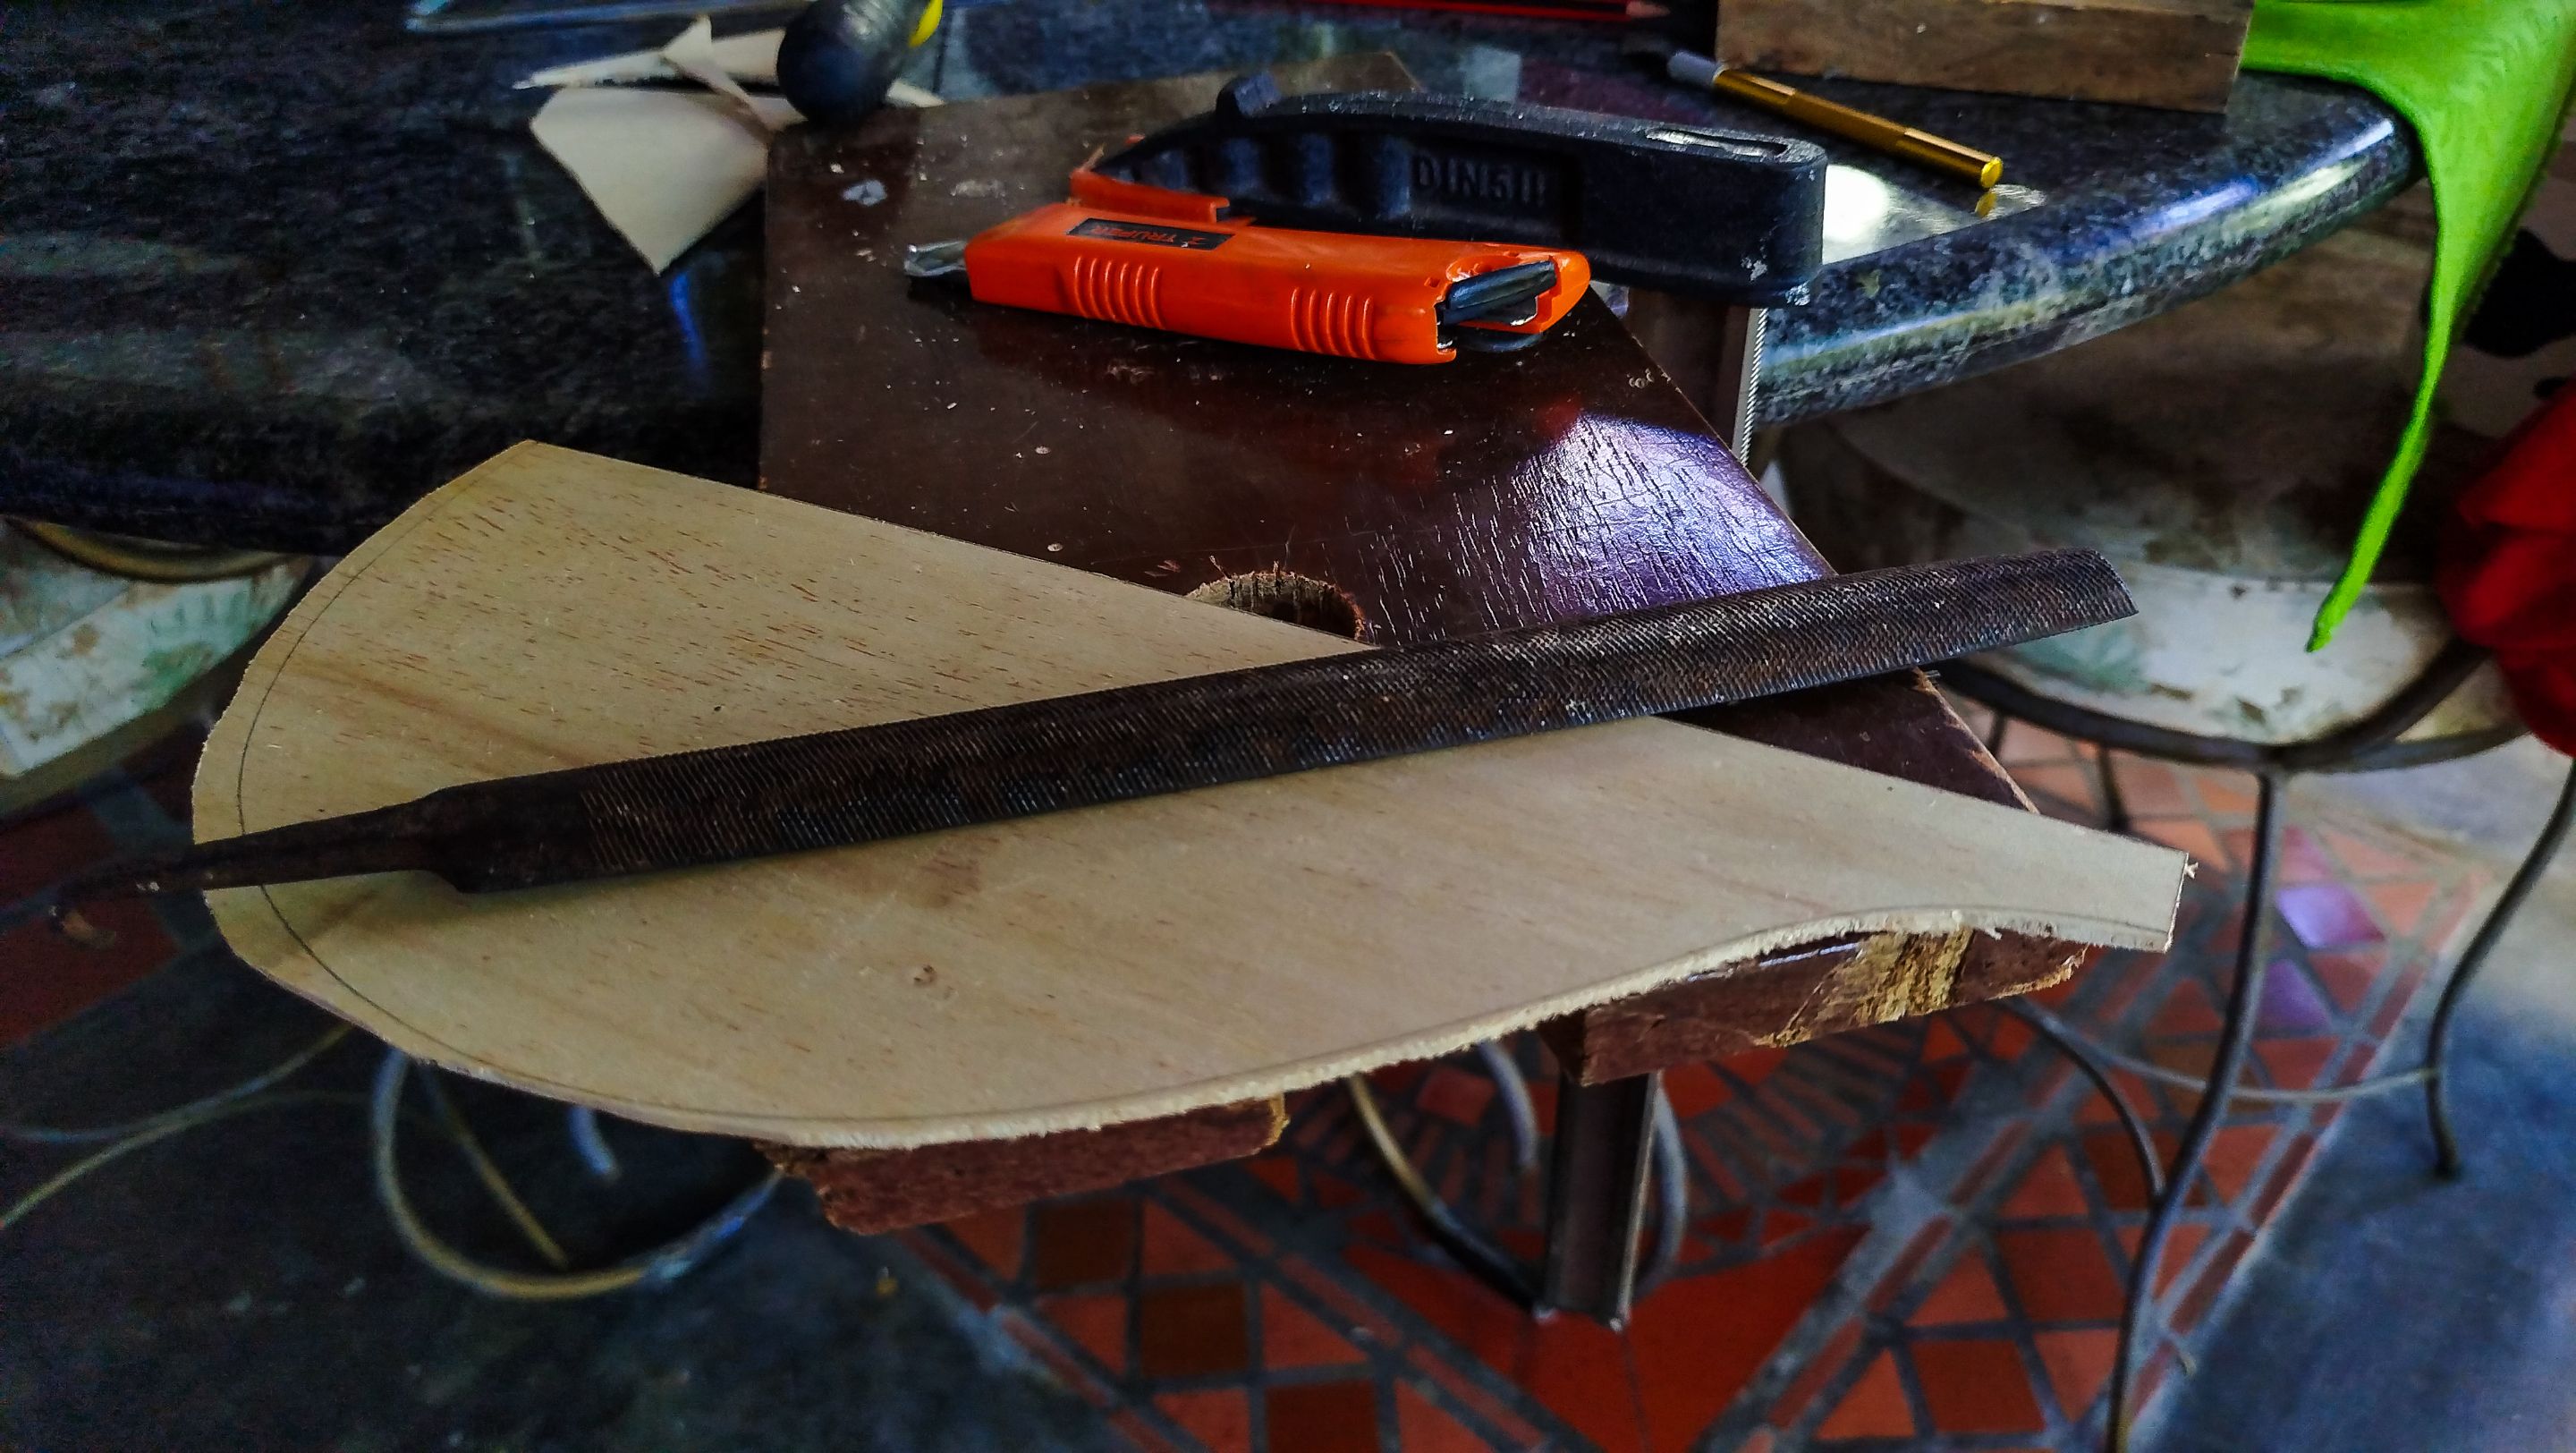
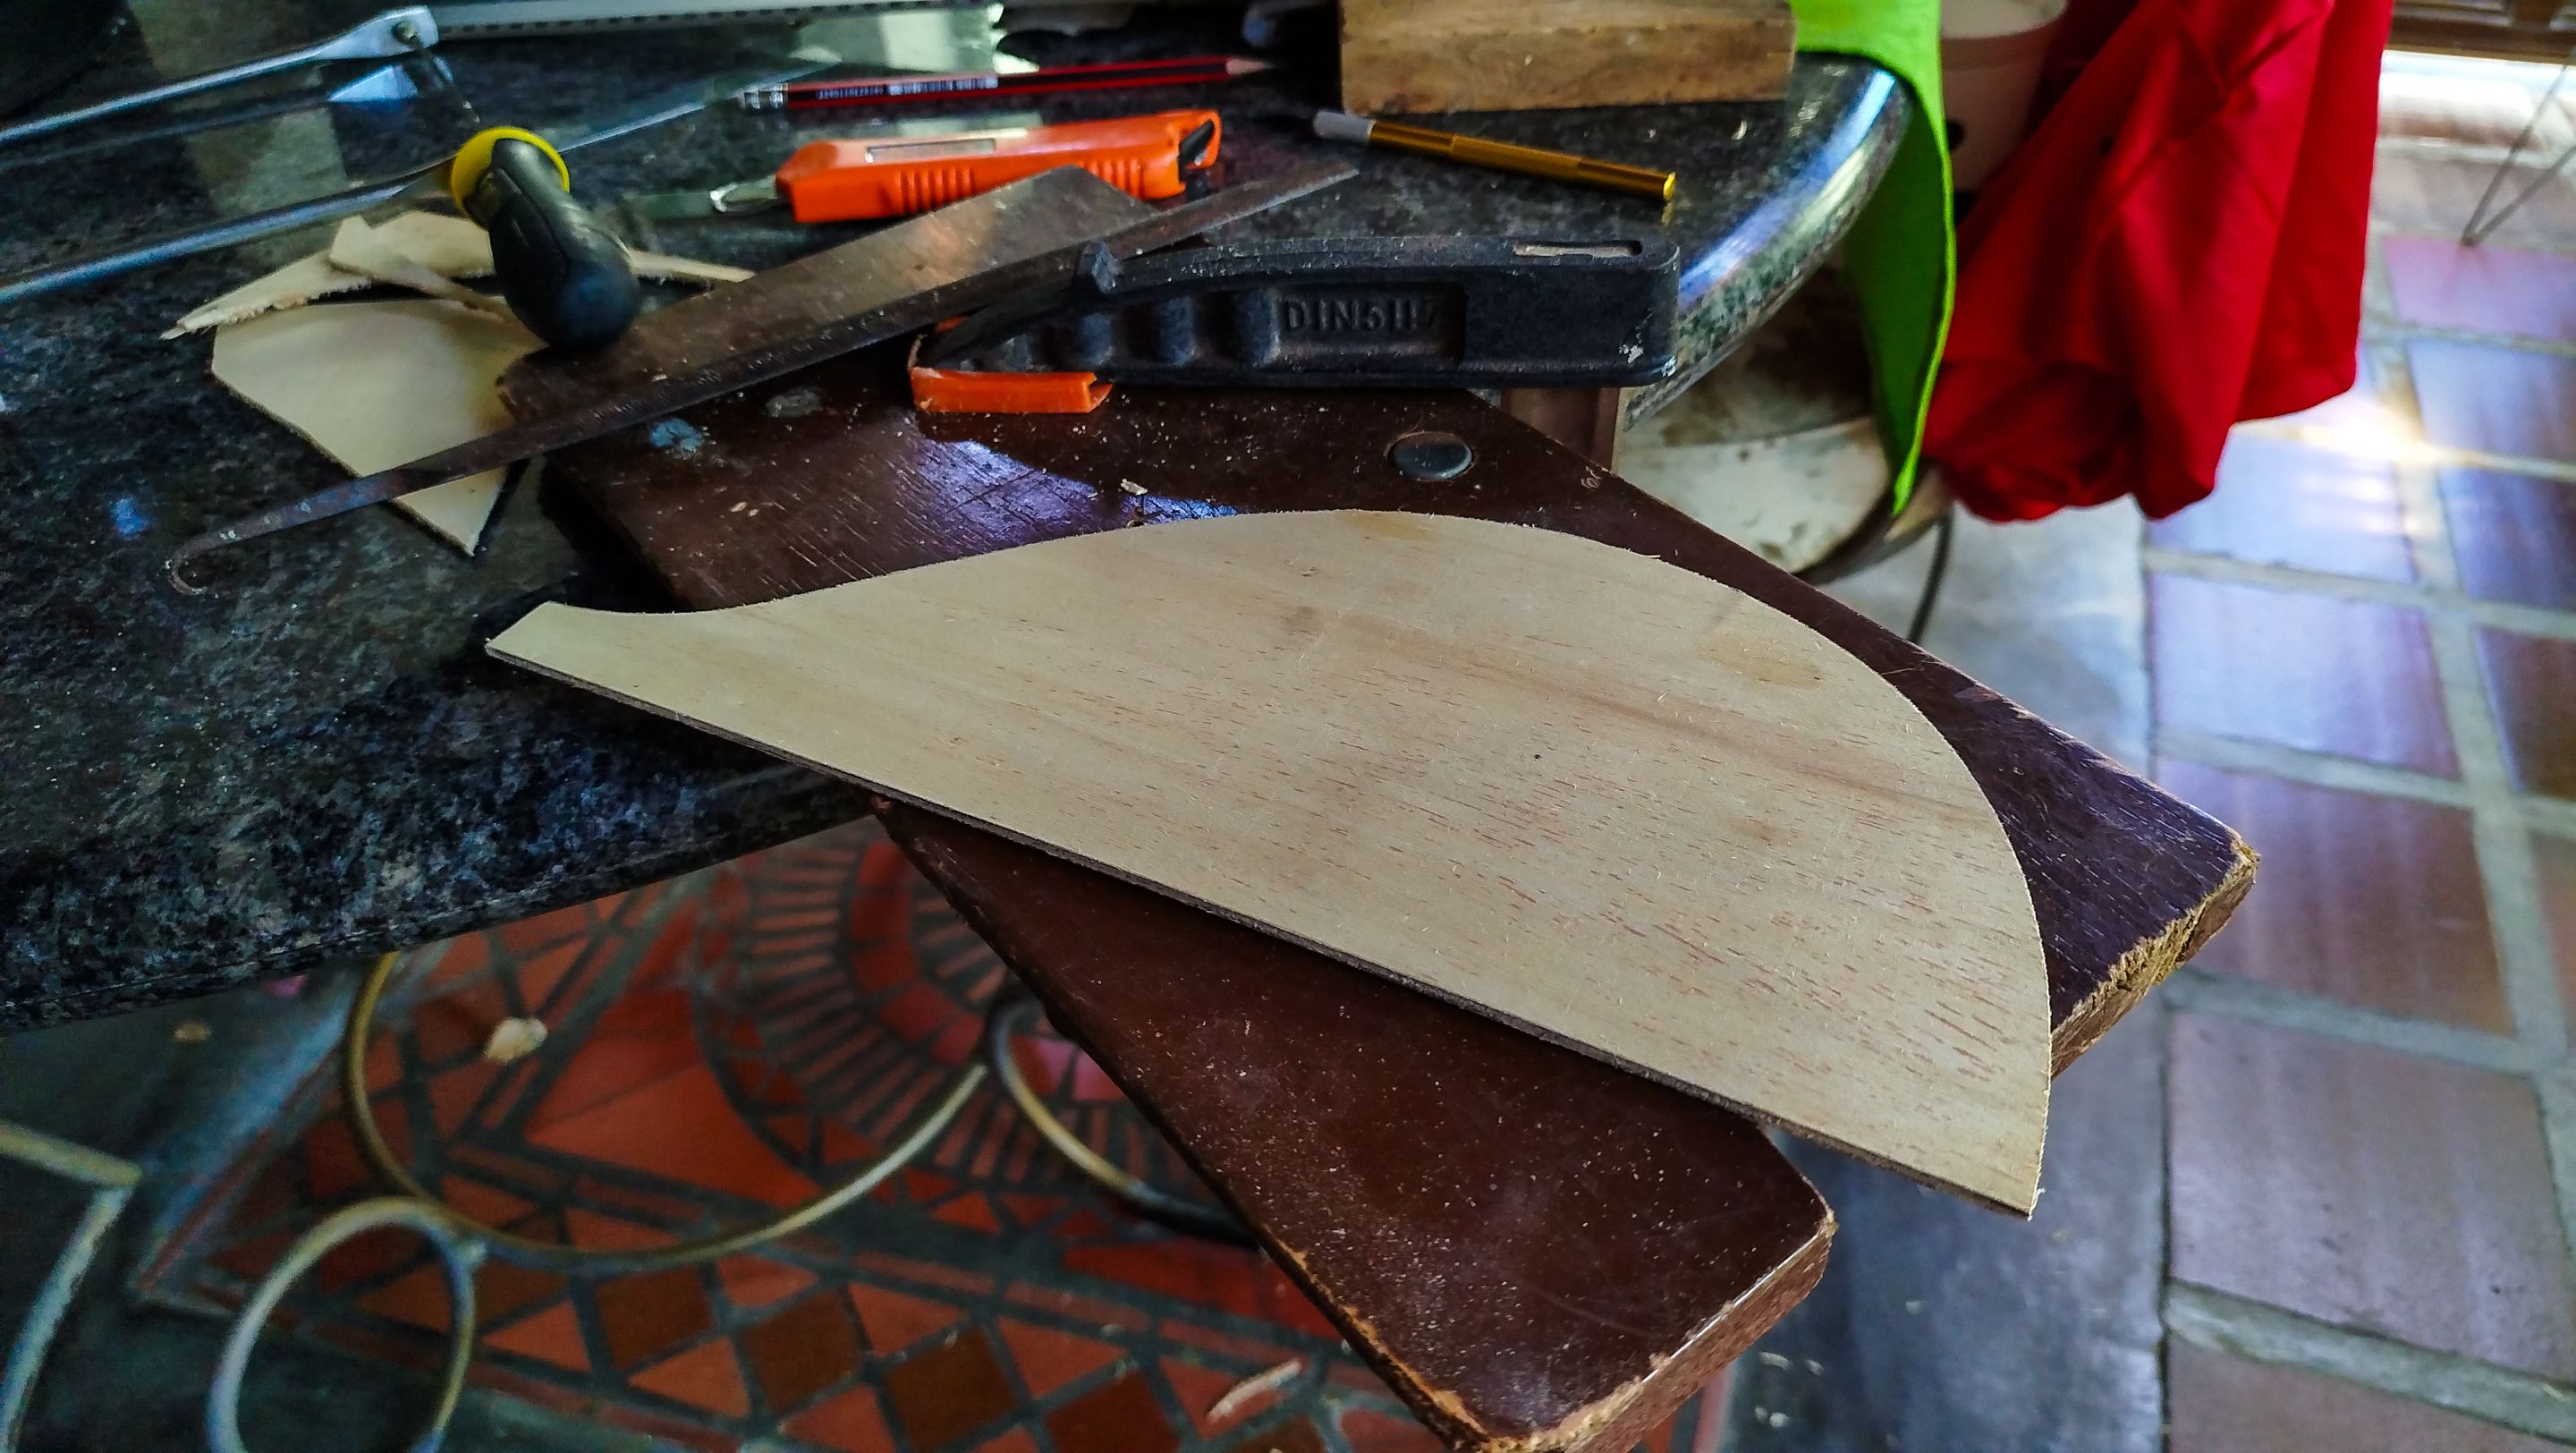
The last bits of this wood are done with the help of a file. This way we can get the cut as close to the line as we are able. There are faster ways to create this templates, but one has to work with the tools that are available.
To check the results we just need to compare the template to the sound board of the mandolin and then make adjustments if needed.
Backs and Tops
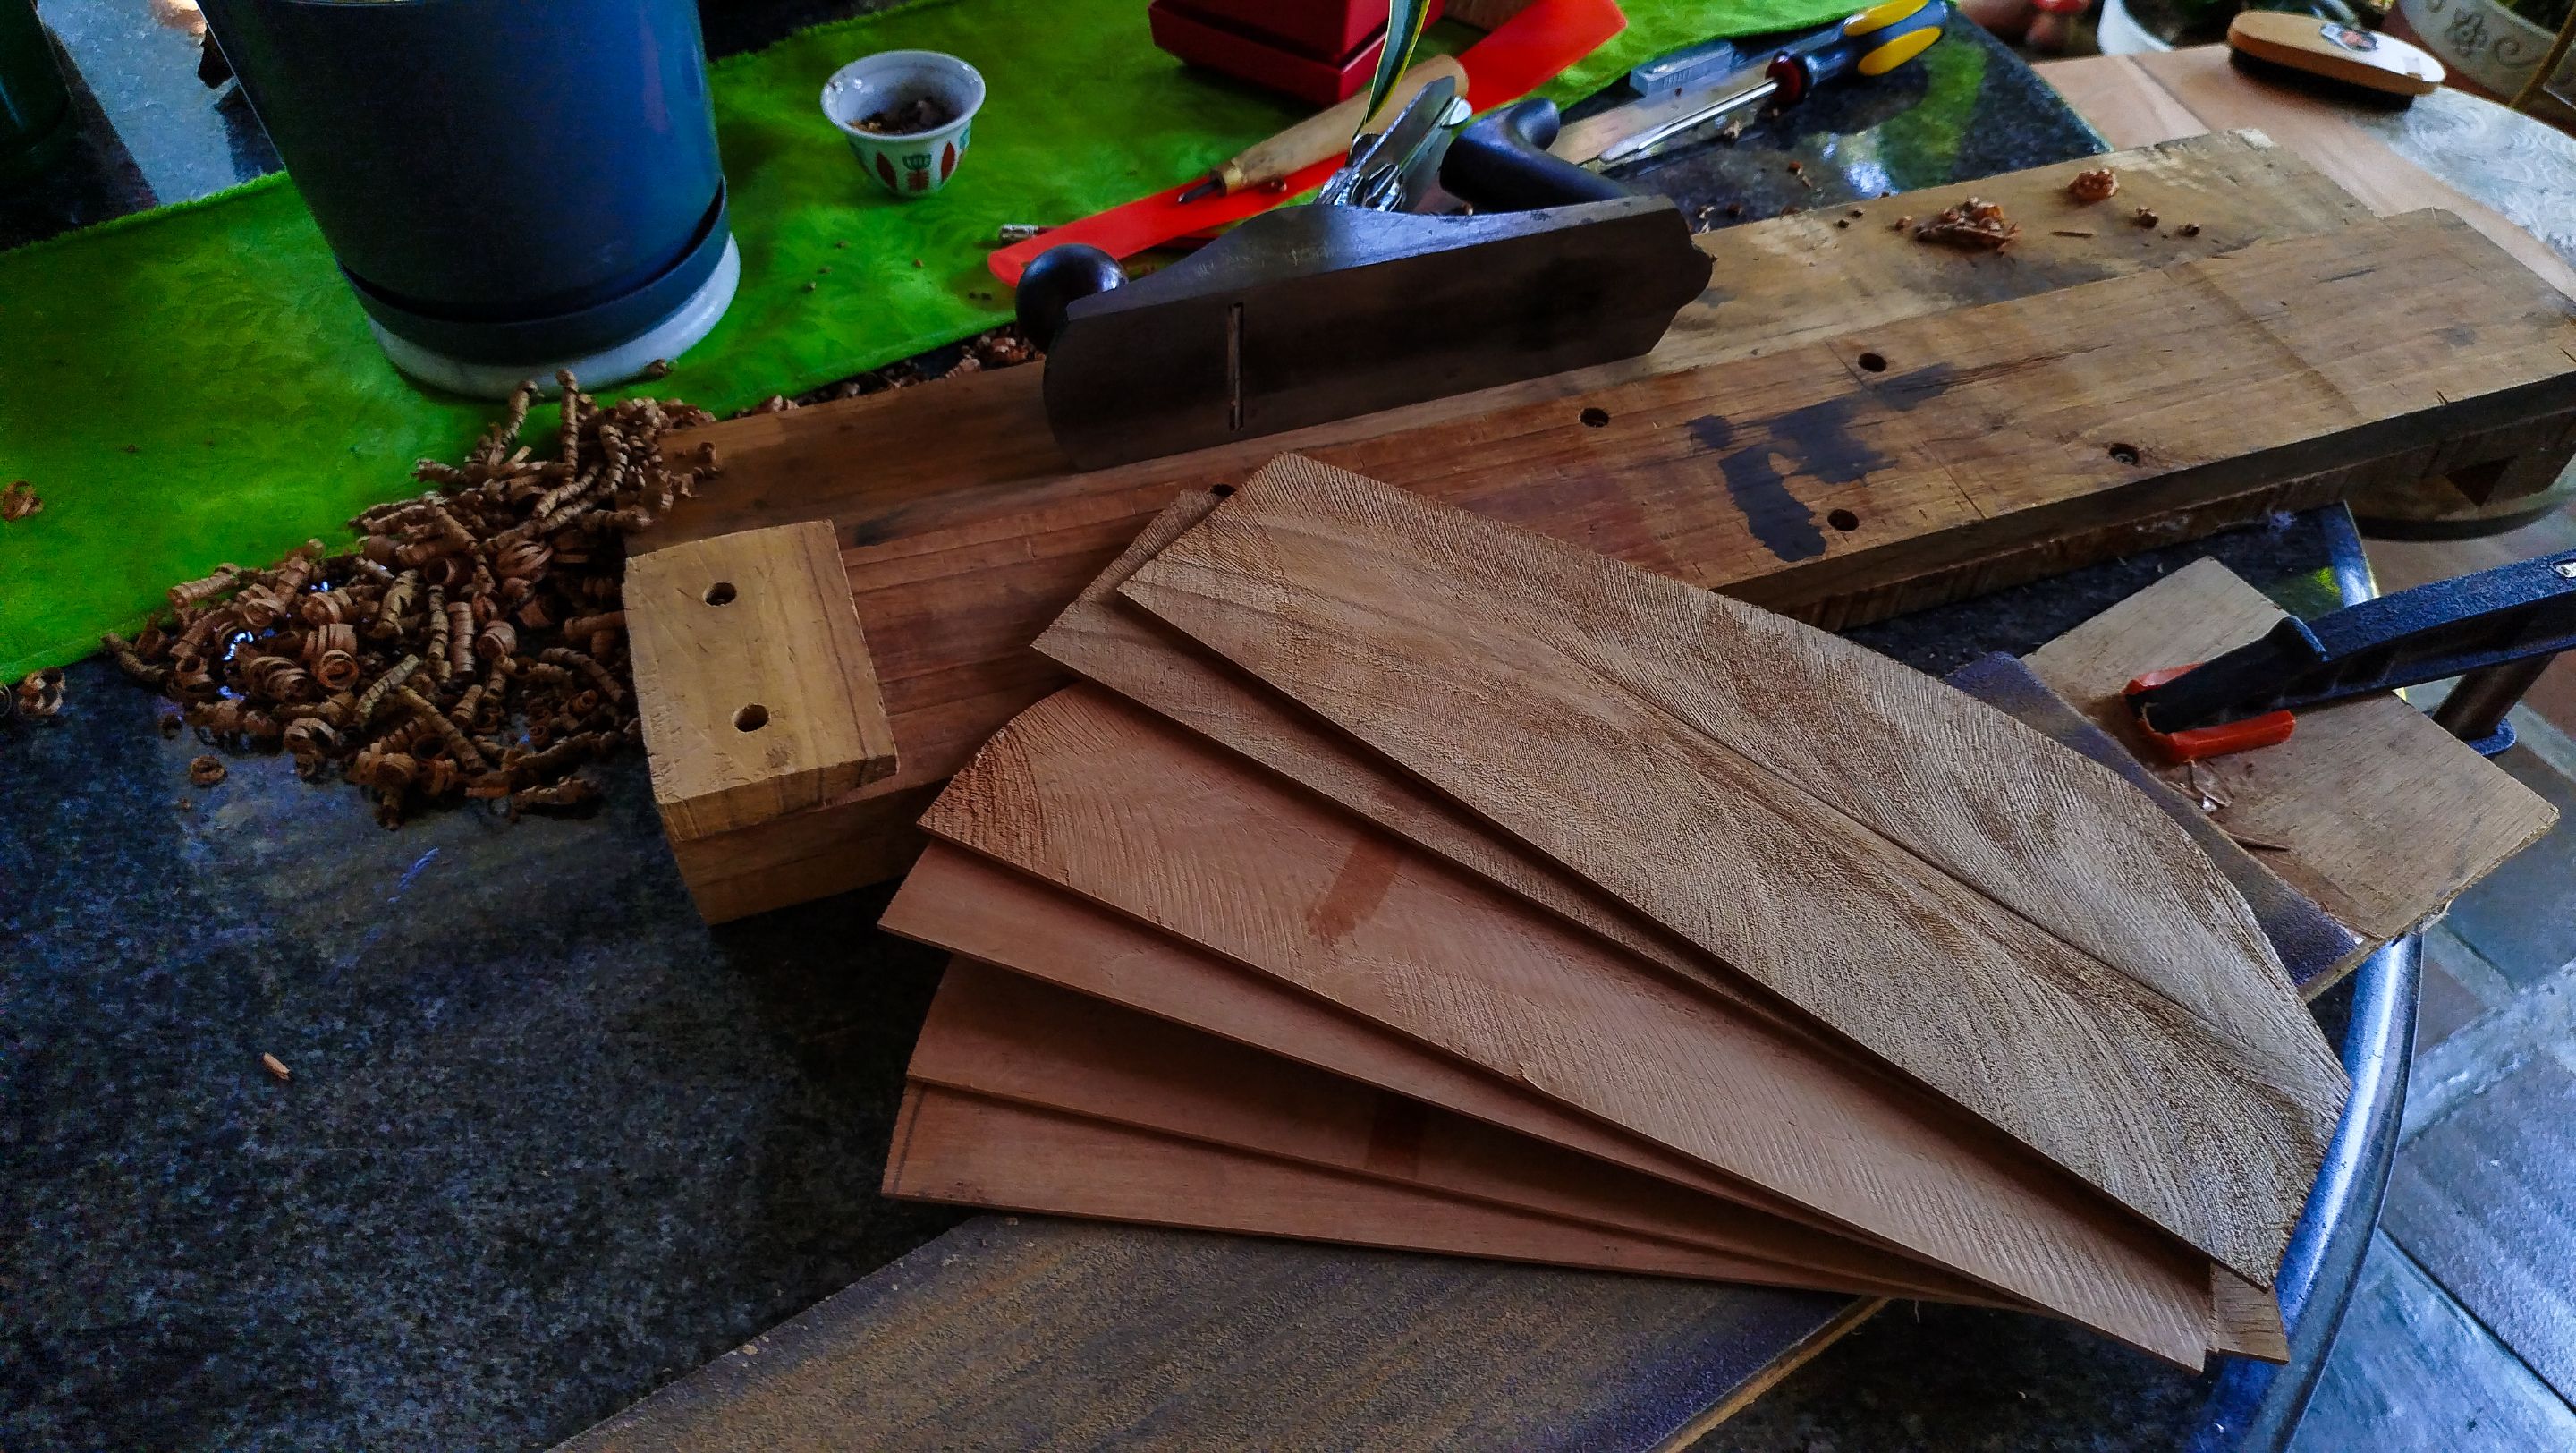
We have to keep on some projects even when there are no clients to avoid losing the skills. So, we are making some joints. This is to create the tops and backs for new instruments. Then, we can see where to put them to use. The skill of making a seamless joint between these pieces of wood is something that requires practice and patience. The normal way of doing such a thing is using a hand plane and trying to eliminate the uneven parts that go on the straight edge of the halves. It doesn't matter if it is a back or a top. However, backs are more forgiving since there is room for ornaments in the middle.
To make sure the pieces are going to be strongly glued together, one has to make sure no light comes through while holding them together against a light source. To achieve this, a mix of hand plane and sandpaper can do the trick. It is also important to consider that we are removing material, so the total width of the sound board or back can be reduced.
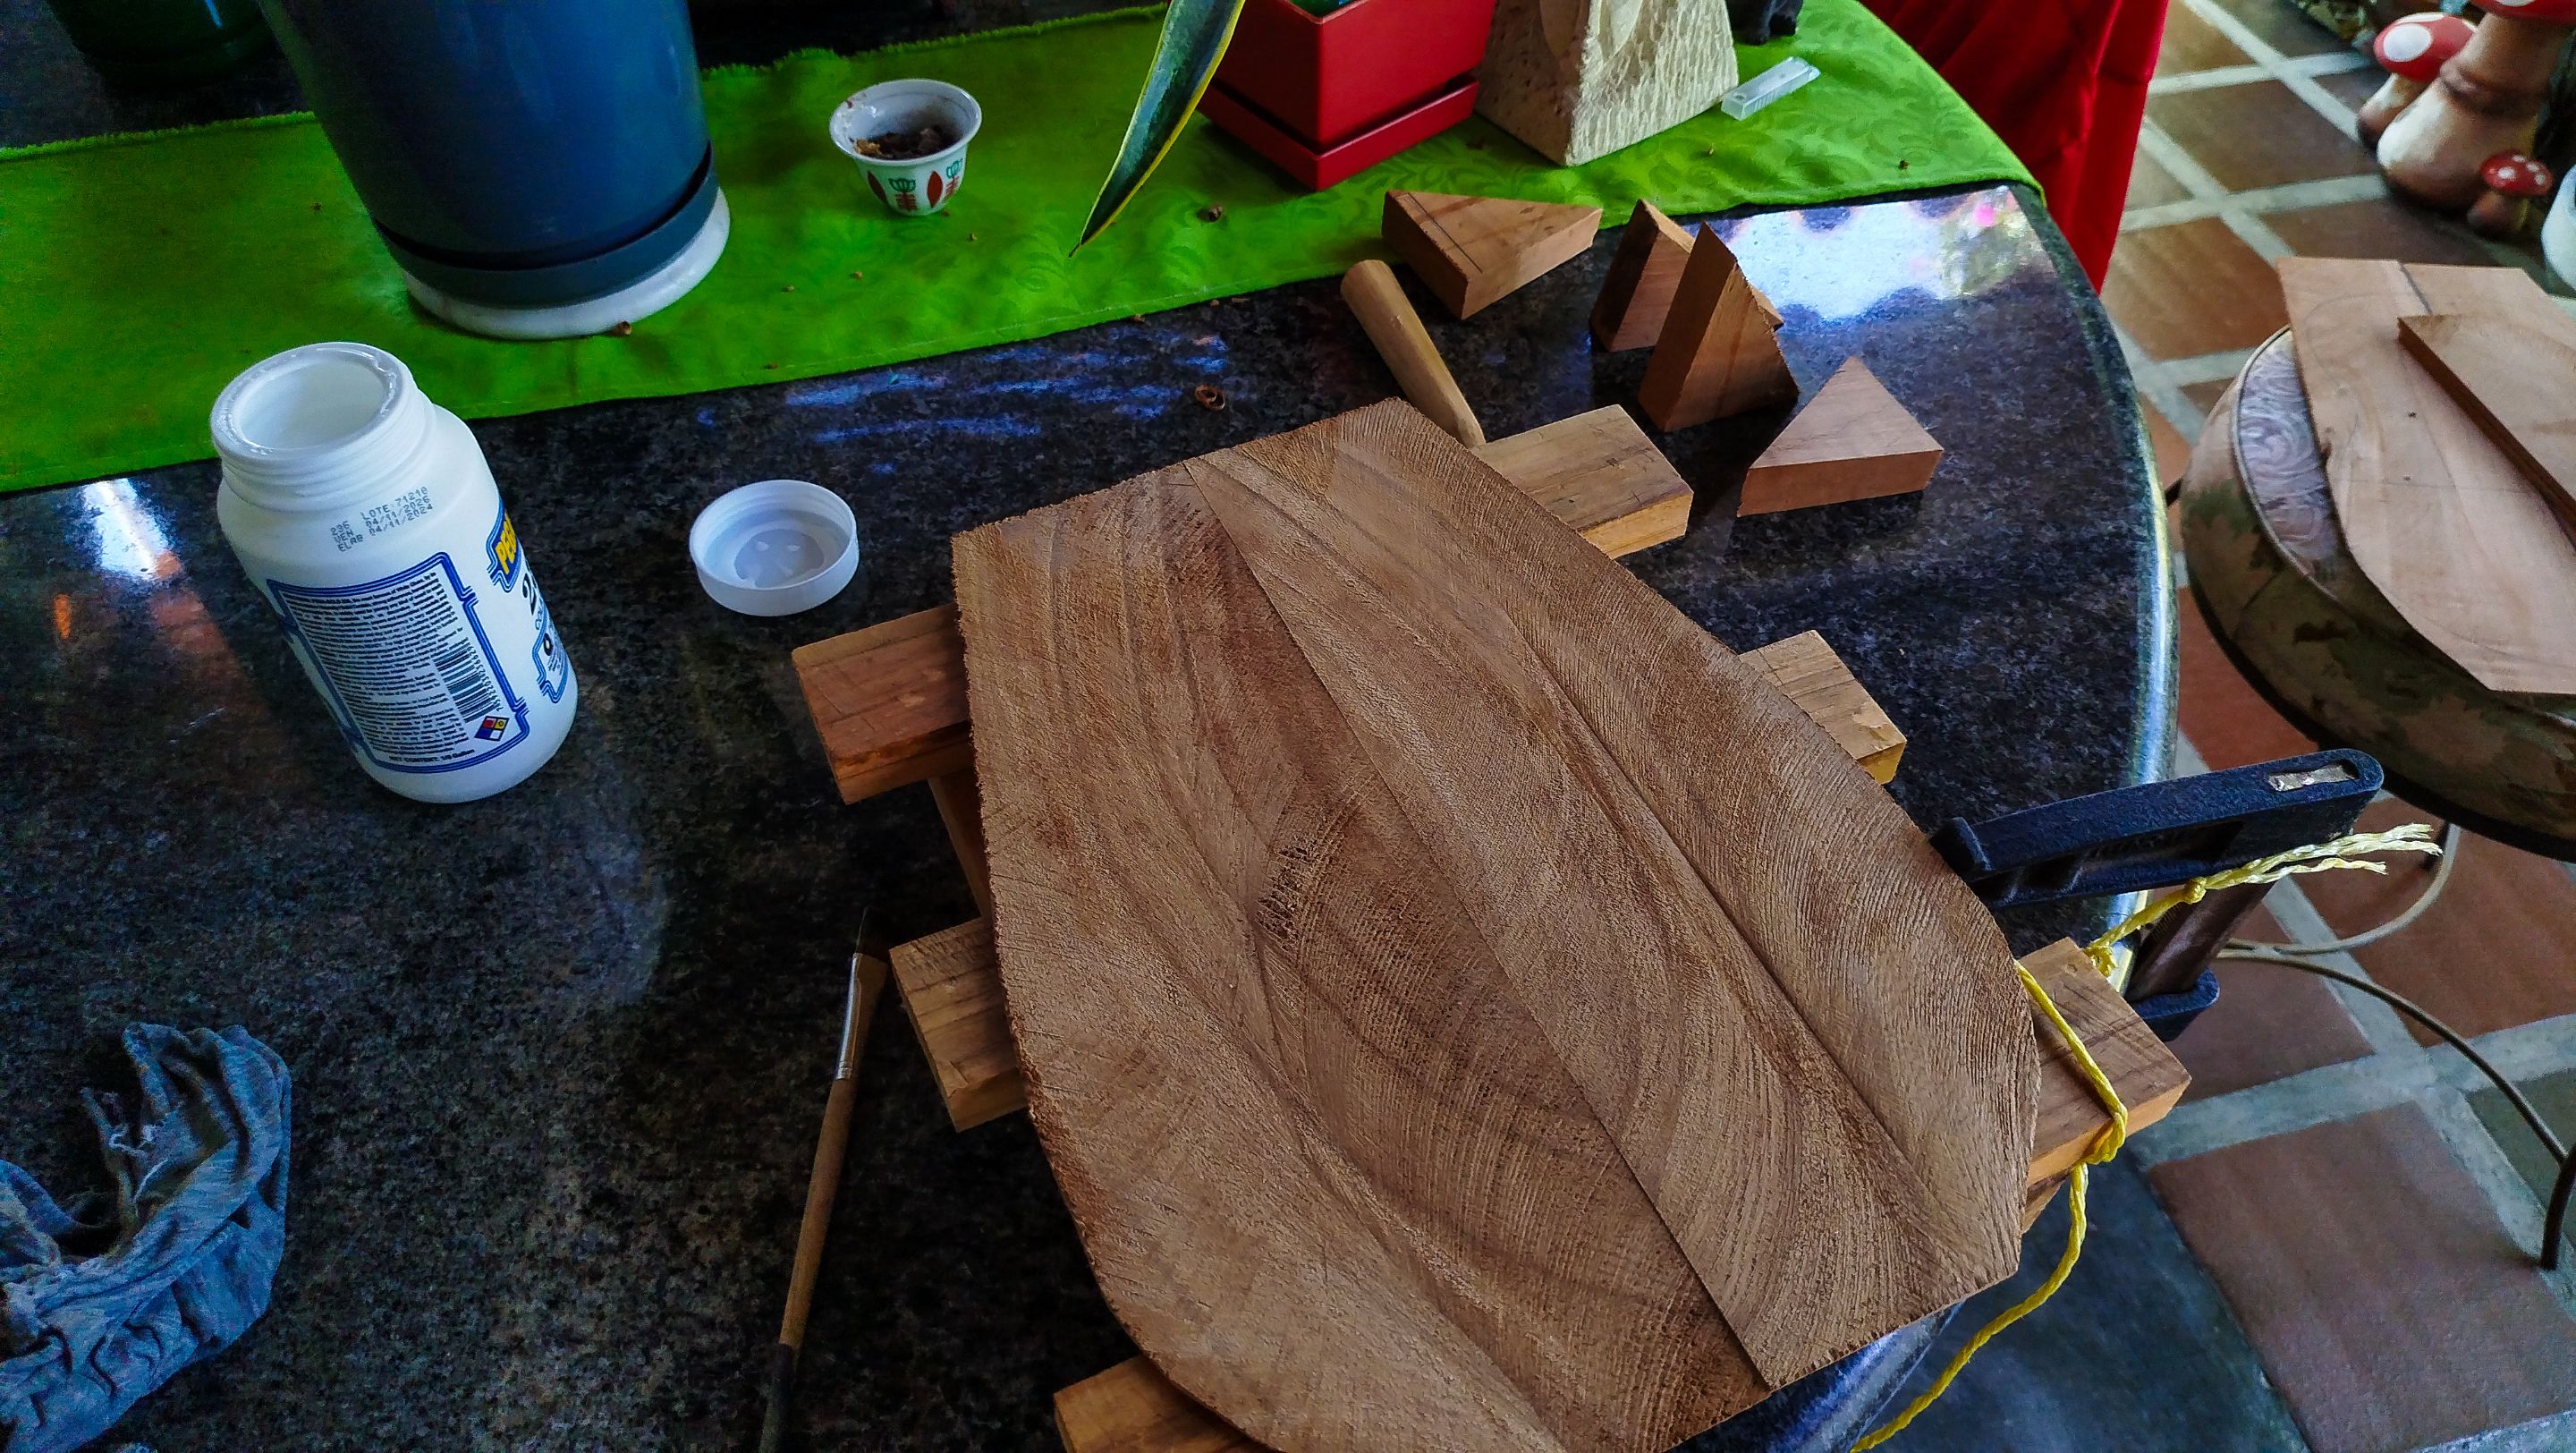
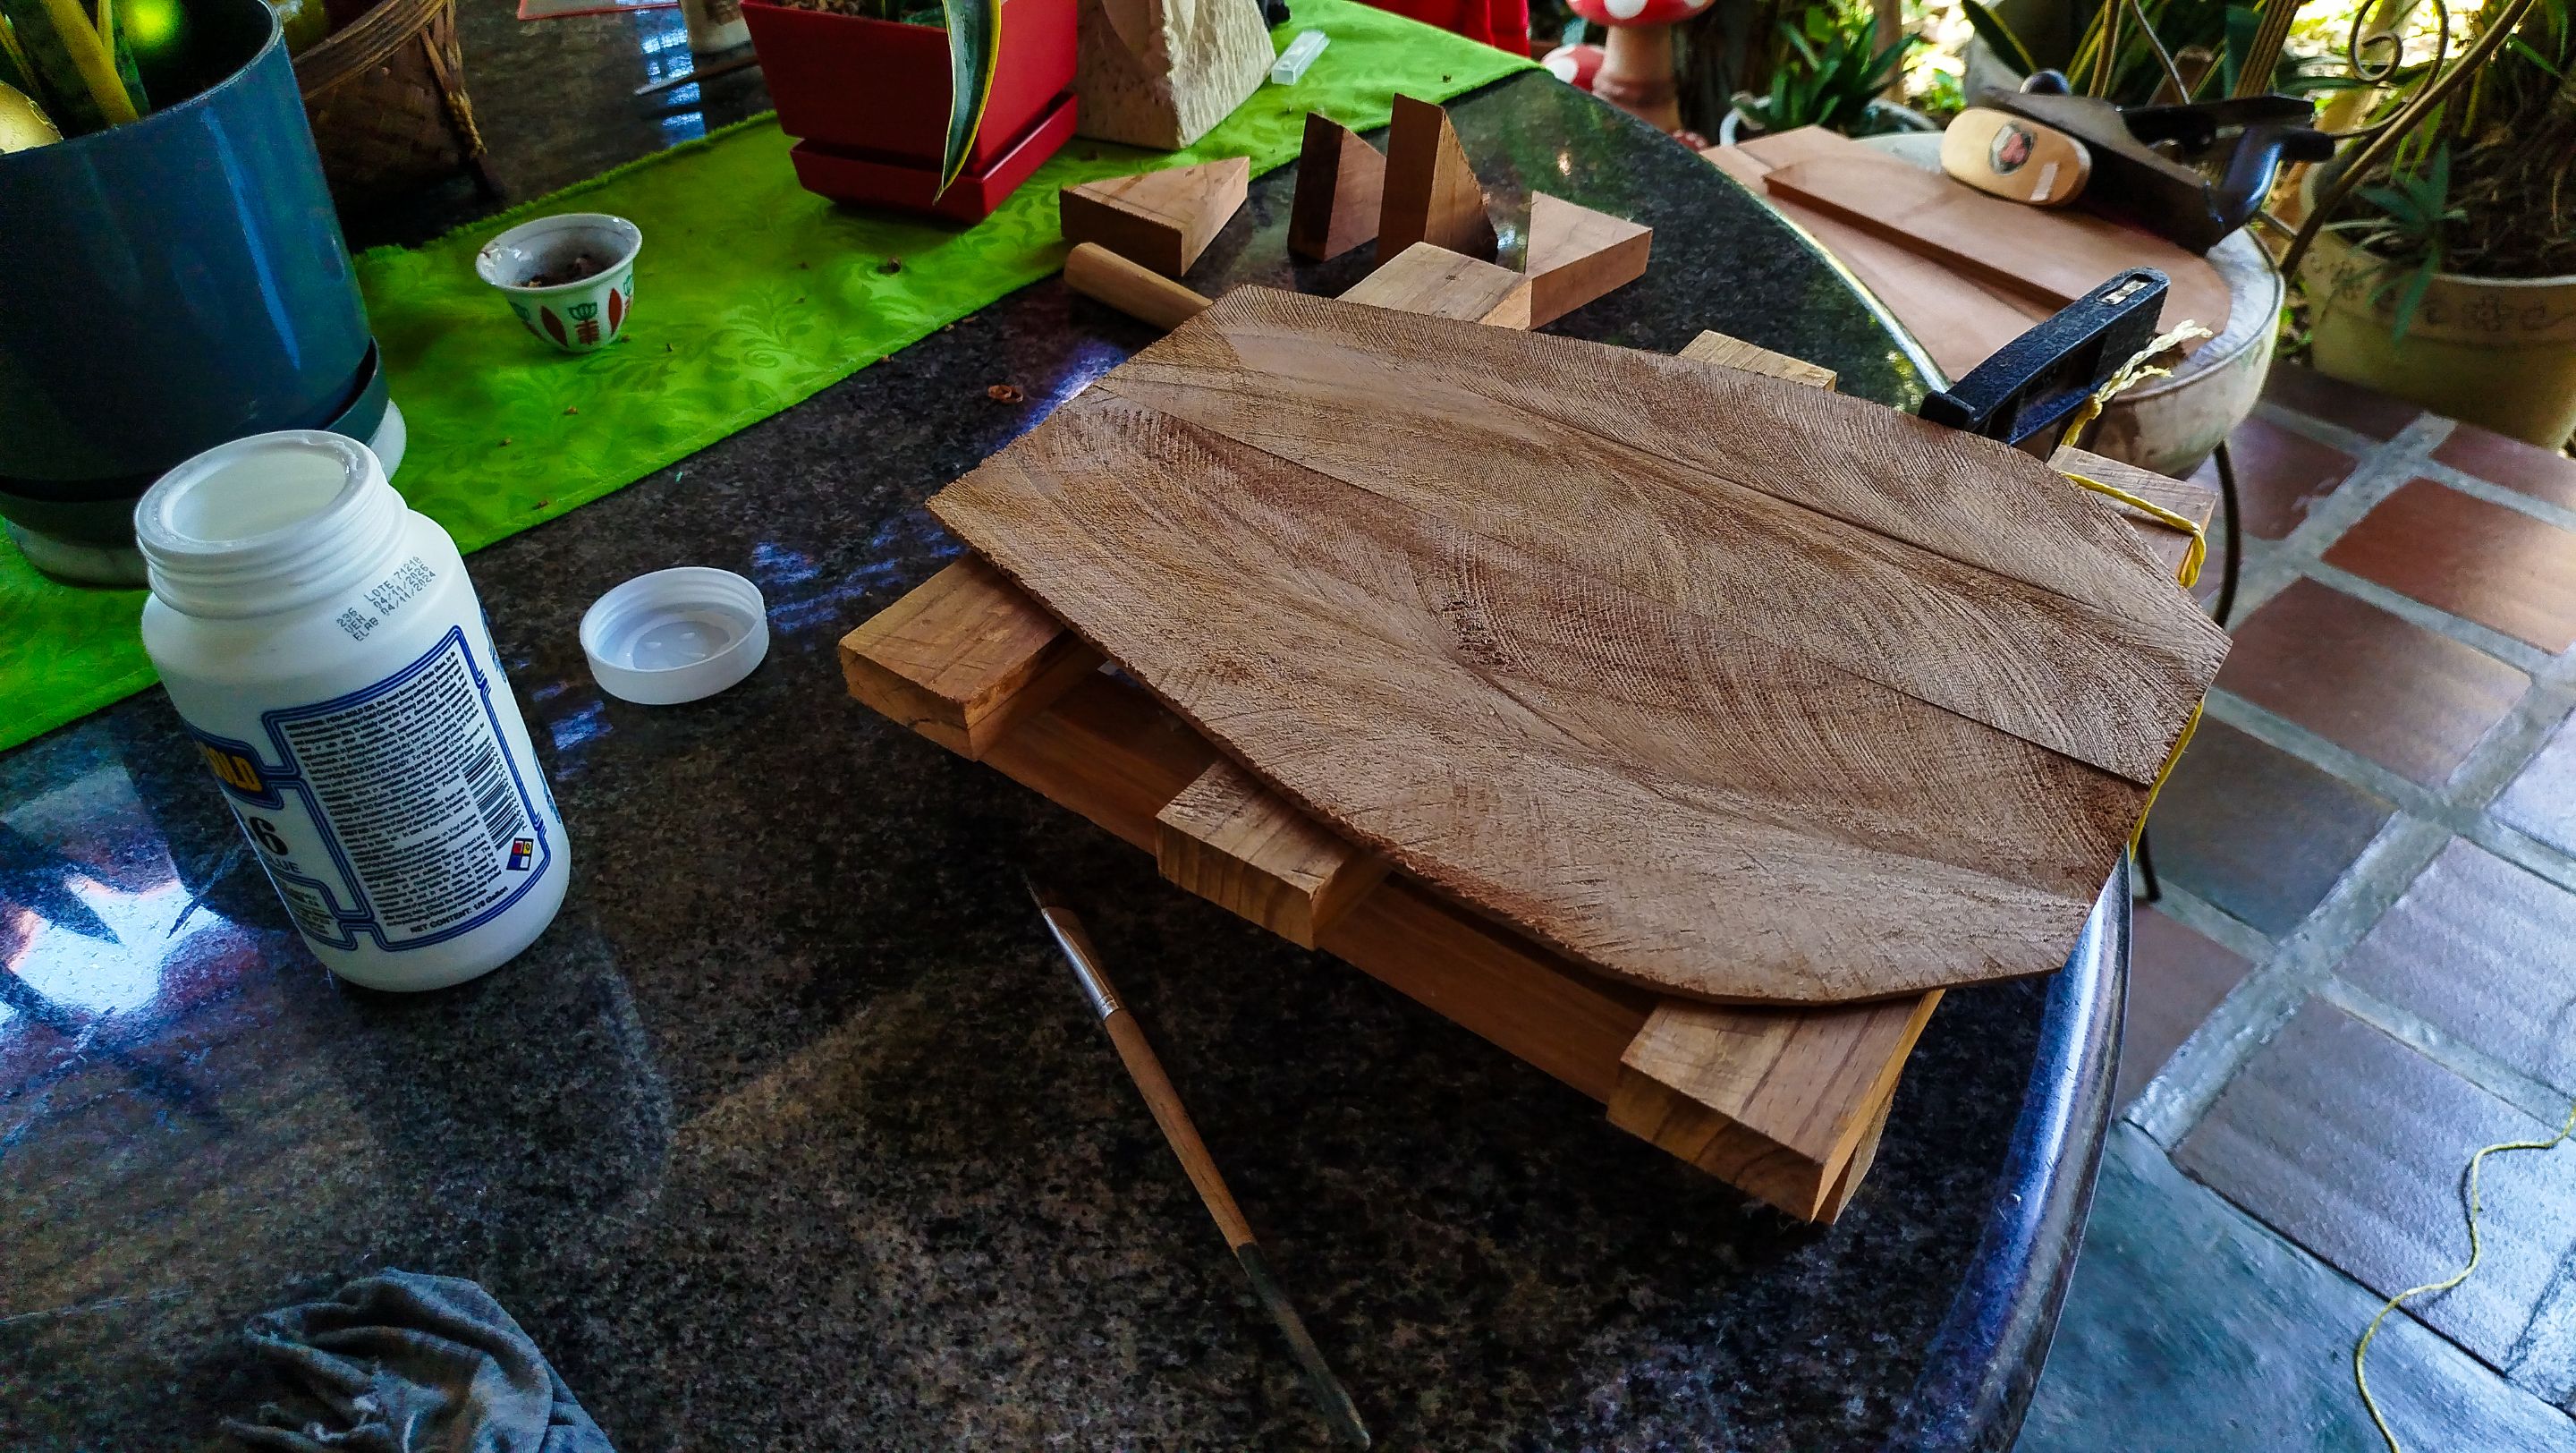
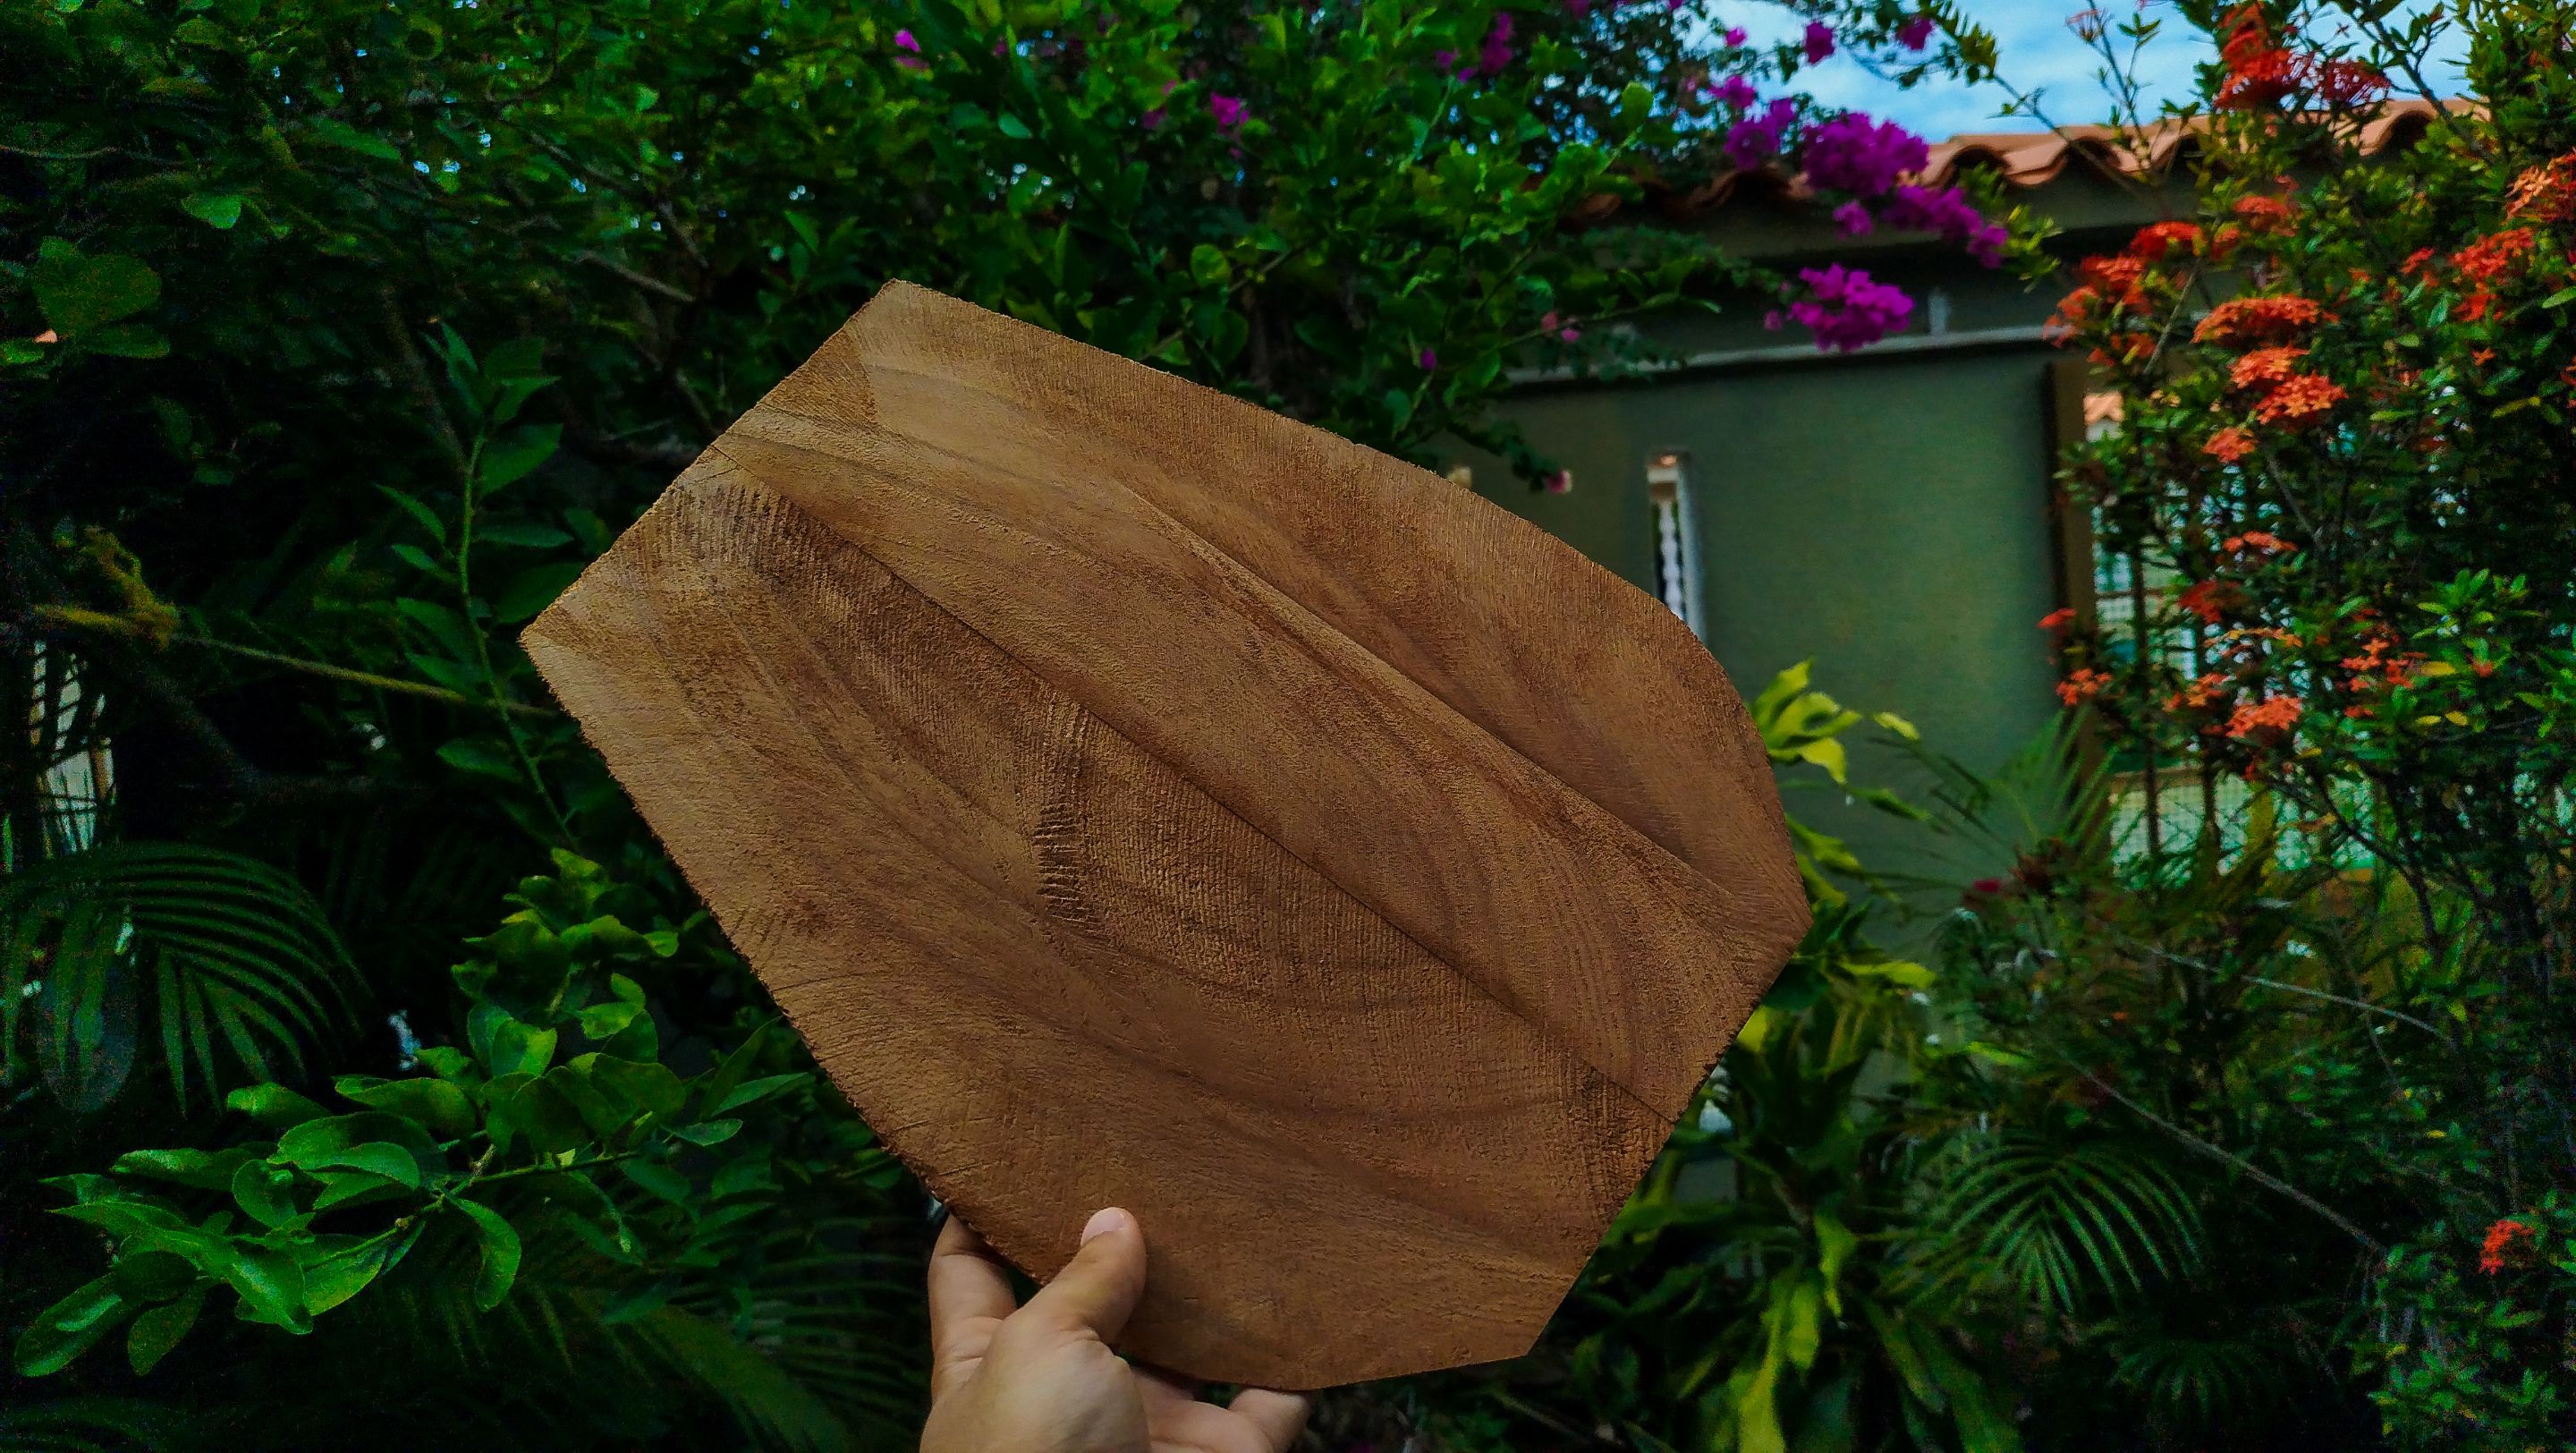
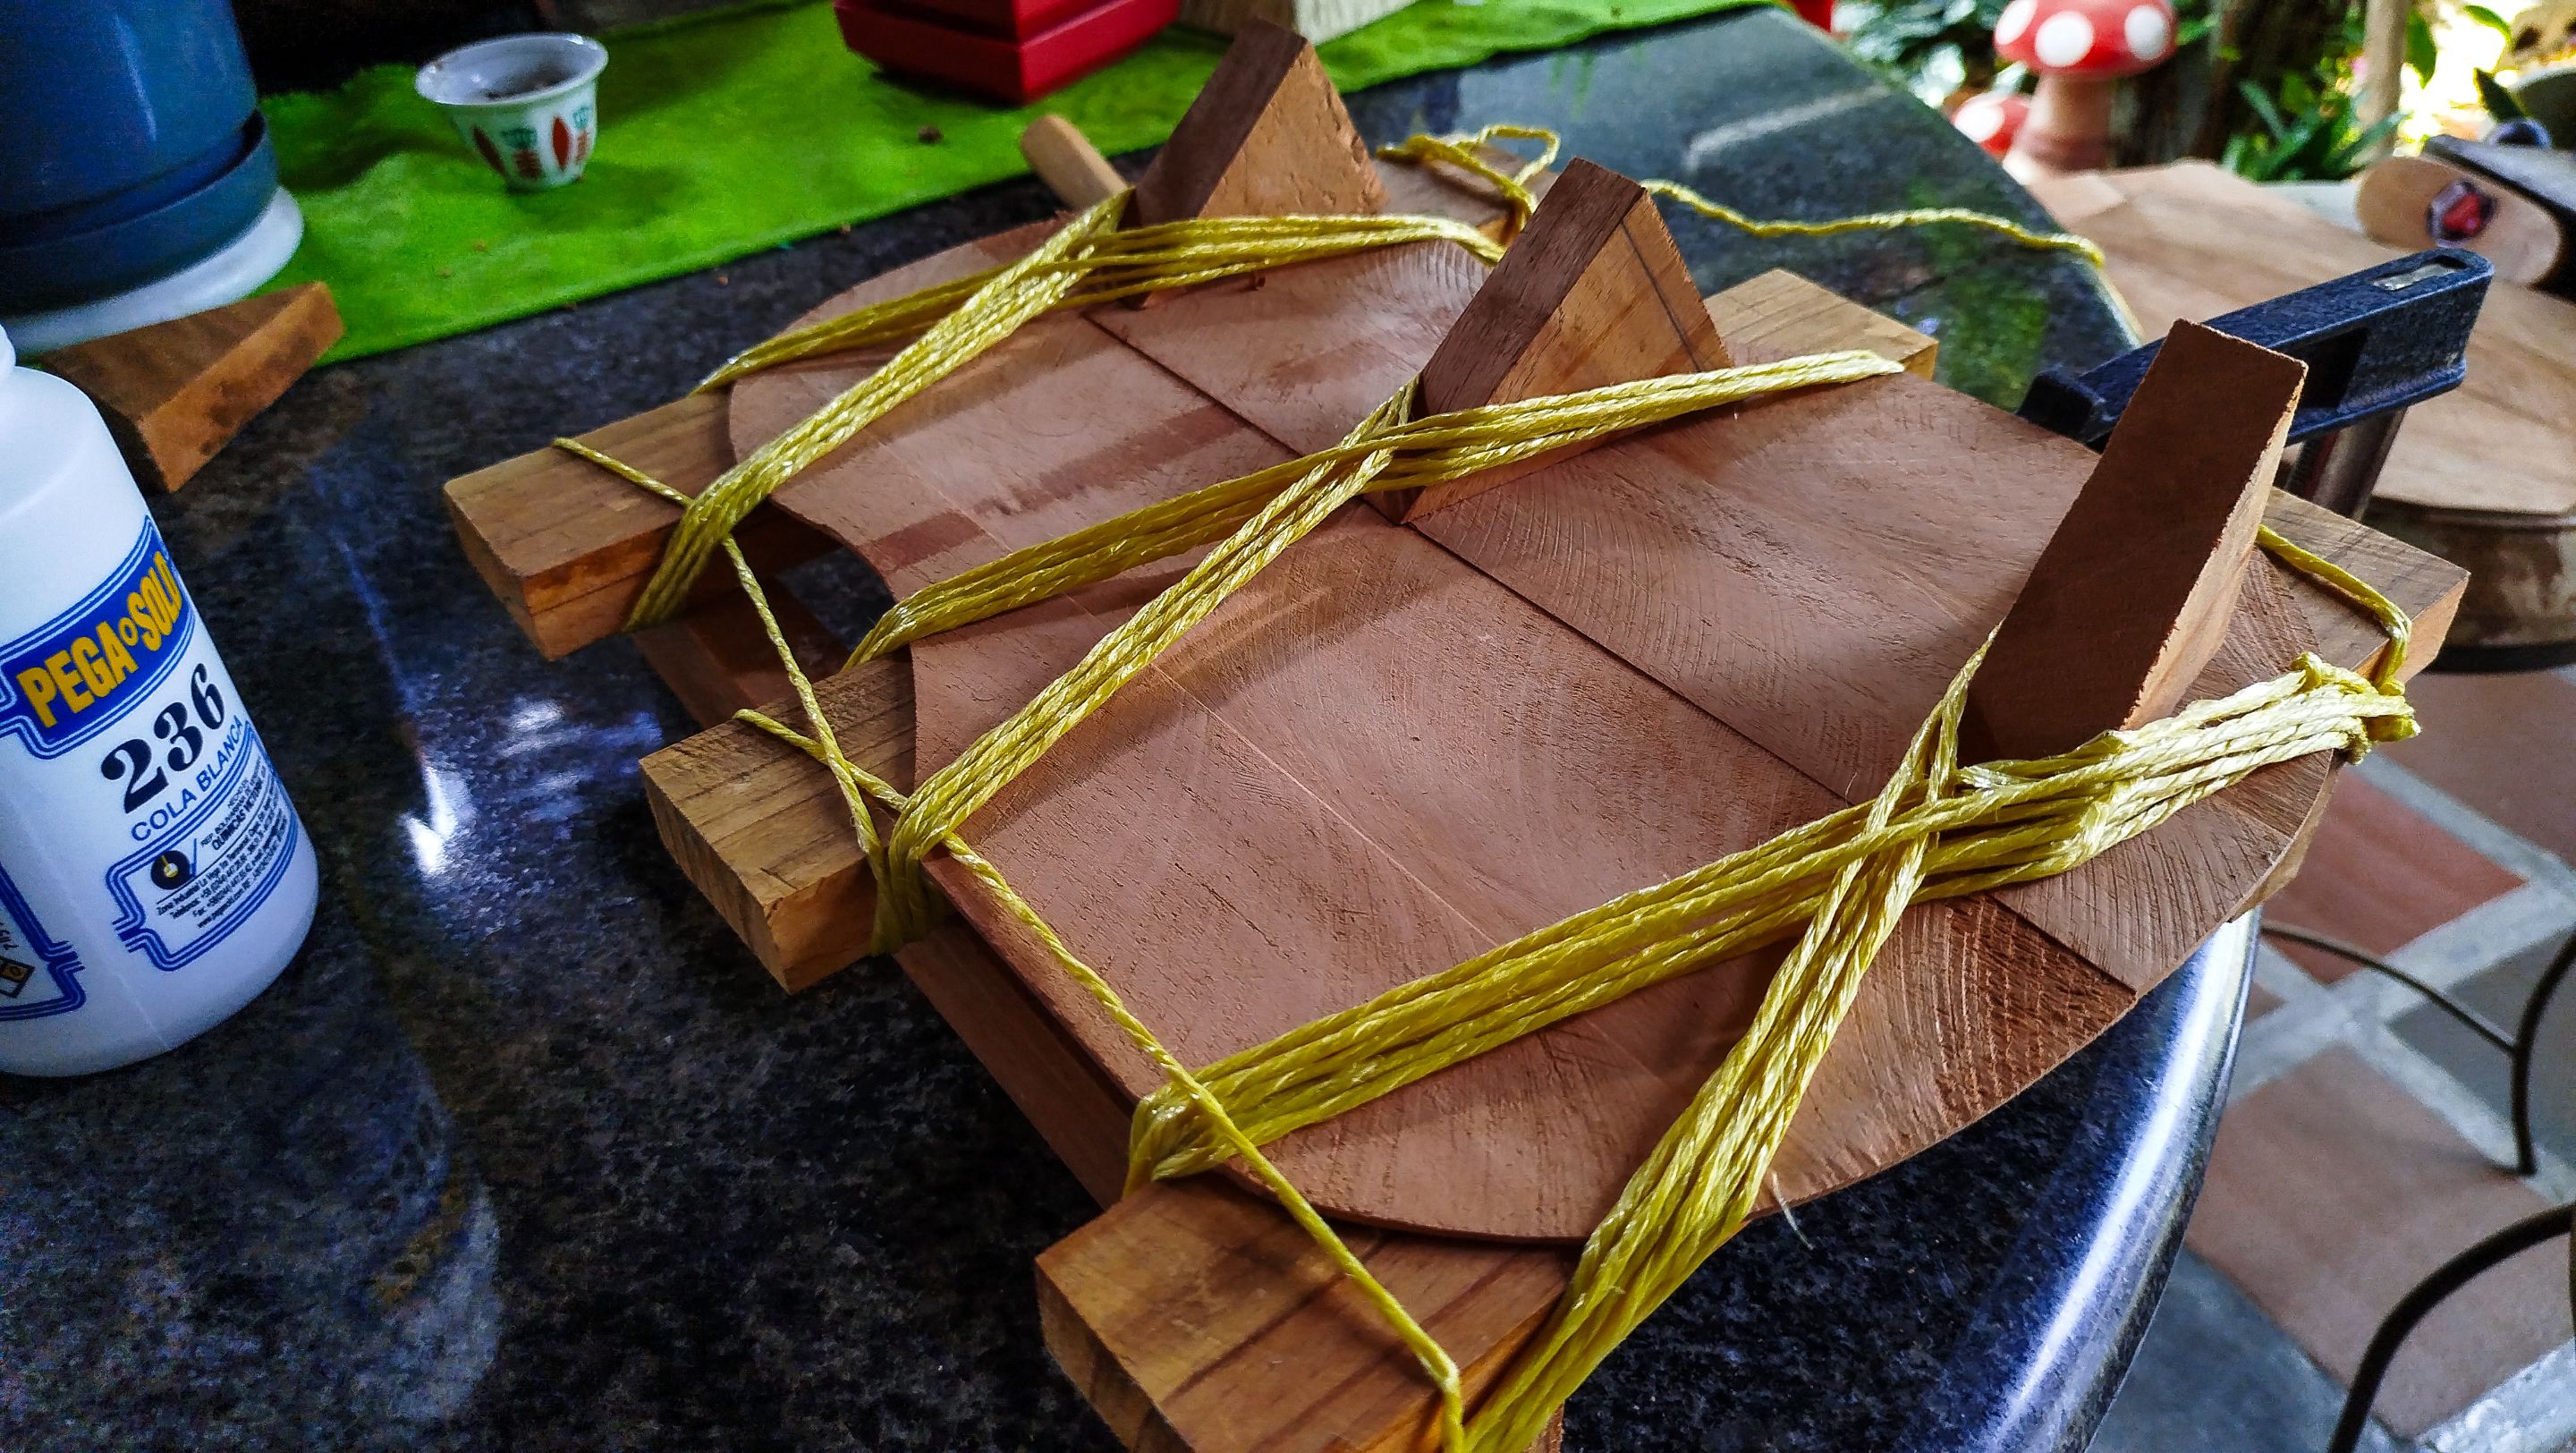
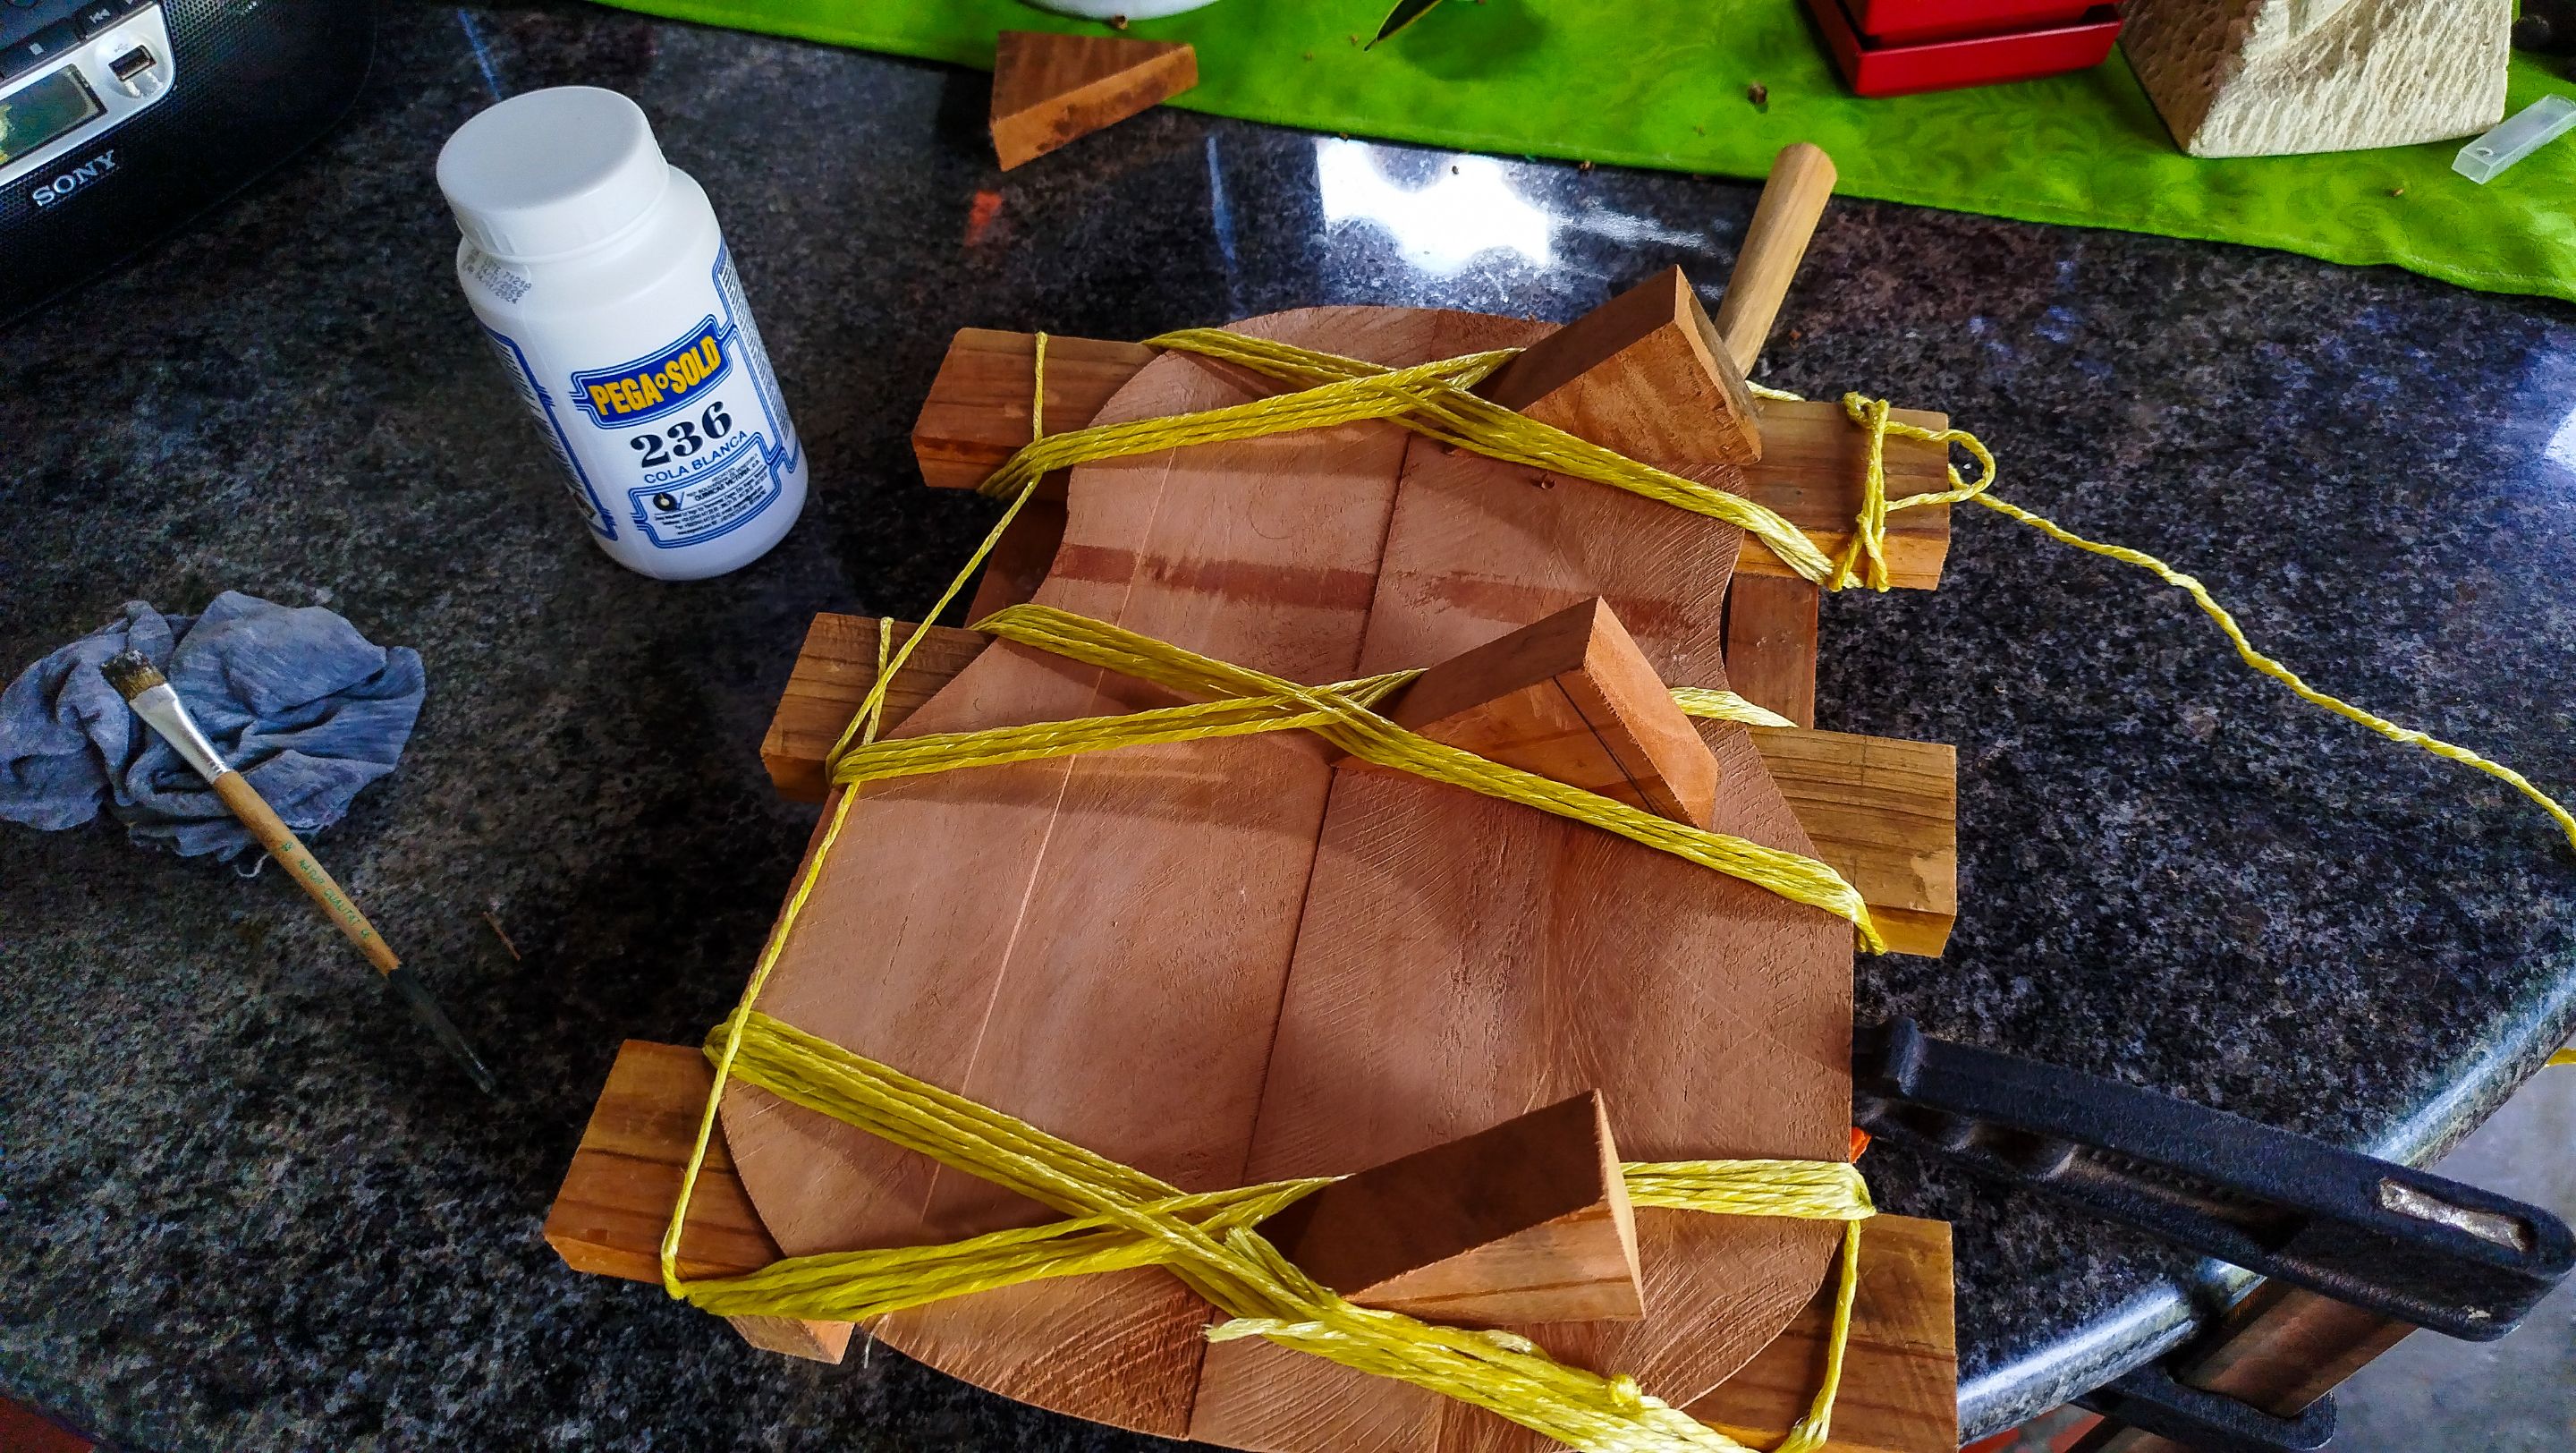
When the pieces are ready, we can get the jig working and use chord to hold them together. To make sure the pieces stay together and don't rise or stay on the same level, we add some wedges to the halves are pushed to the jig.
And the results speak by themselves. that's how you know you did a good job.
That's all for now! See you on the next entry. Thanks for reading!

Photos 📷: Redmi Note 13
Thumbnail 🖼️: Canva.
Editing 🎬:Adobe Photoshop Lightroom.


Follow me on Instagram for enquires and commission.
If you'd like to help the workshop grow, you can make a donation here.
You can find me at discord as bertrayo#1763
