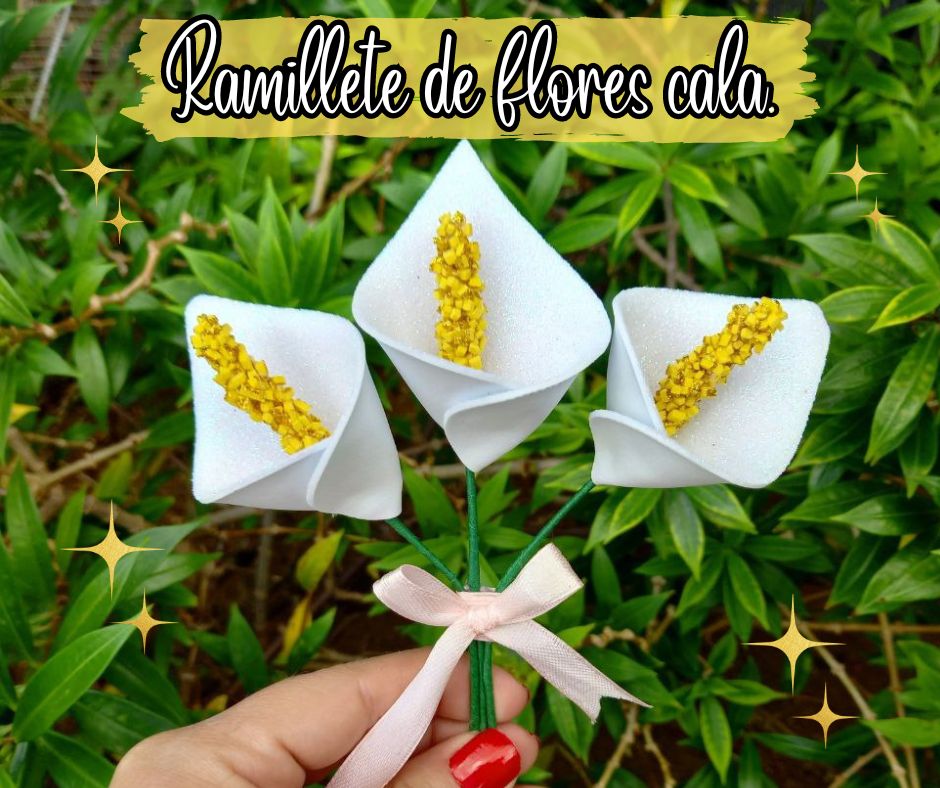

¡Feliz día amigos creativos de Hive Diy! Espero que se encuentren bien y tengan un muy feliz inicio de semana, por mi parte me encuentro bien y feliz porque después de tanto pensarlo me he animado a hacer algunas manualidades y el día de hoy quiero compartir una de ellas con ustedes, se trata de un lindo ramillete de flores cala o alcatraz como también se le conoce, es una flor muy linda que siempre he querido tener, sin embargo, por ahora se me ocurrió hacerla de manera ornamental para decorar en casa, su elaboración es fácil y quedan muy lindas, espero que les gusten, ahora sin más ¡vamos a crear!
¡Happy day creative friends from Hive Diy! I hope you are well and have a very happy start to the week, for my part I feel well and happy because after thinking about it so much I have decided to make some crafts and today I want to share one of them with you, it is about a beautiful bouquet of calla lily or alcatraz flowers as it is also known, it is a very pretty flower that I have always wanted to have, however, for now it occurred to me to make it in an ornamental way to decorate at home, its preparation is easy and they look very pretty , I hope you like them, now without further ado, let's create!

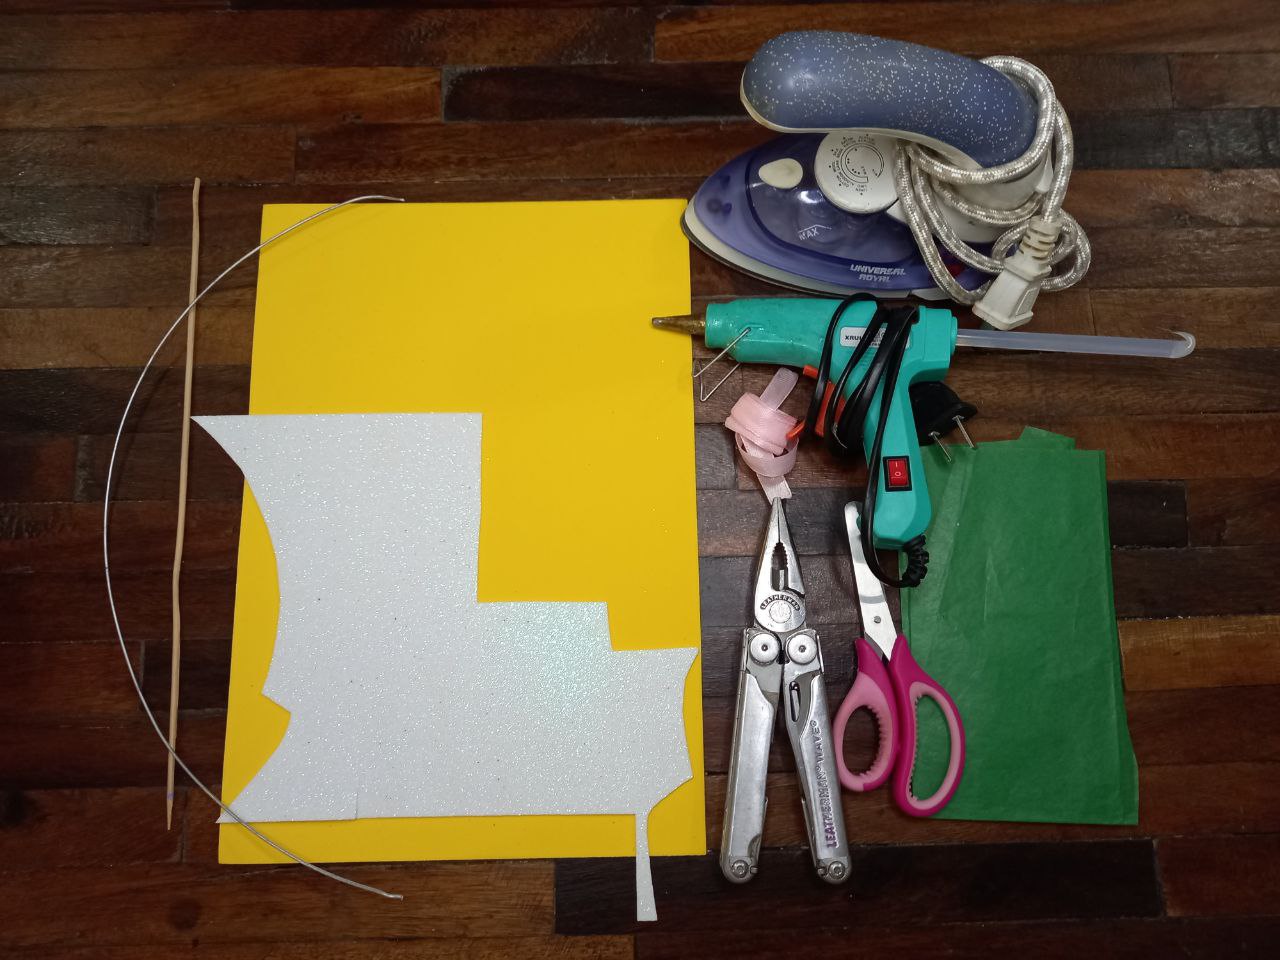
• Papel de seda verde.
• Cinta delgada de tela rosada.
• Alambre.
• Plancha de ropa.
• Tenazas.
• Silicón caliente.
• Tijera.
• Palito de altura.
• Green tissue paper.
• Thin pink fabric ribbon.
• Wire.
• Clothes iron.
• Tongs.
• Hot silicone.
• Scissors.
• Tall stick.

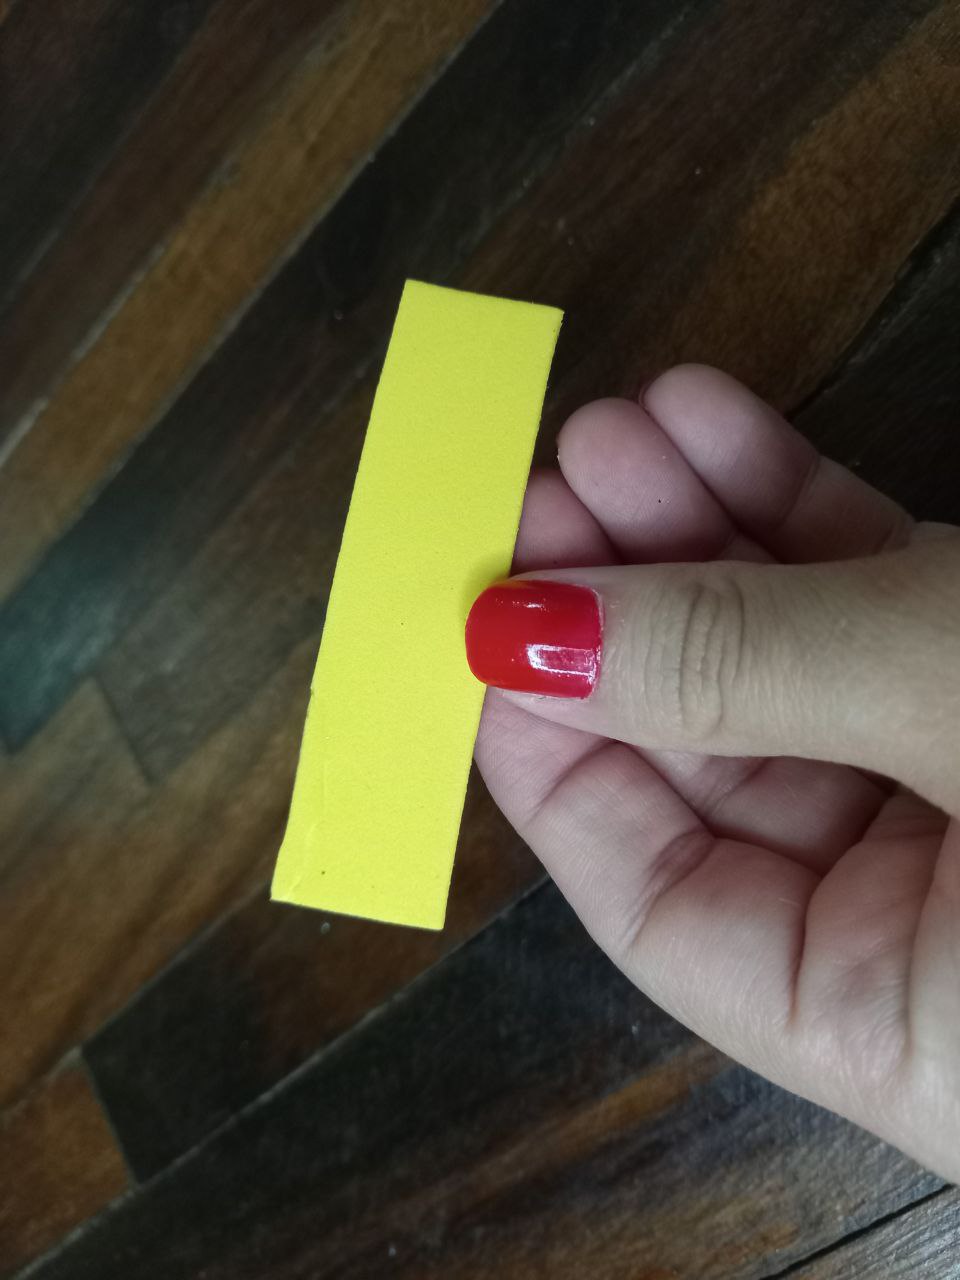
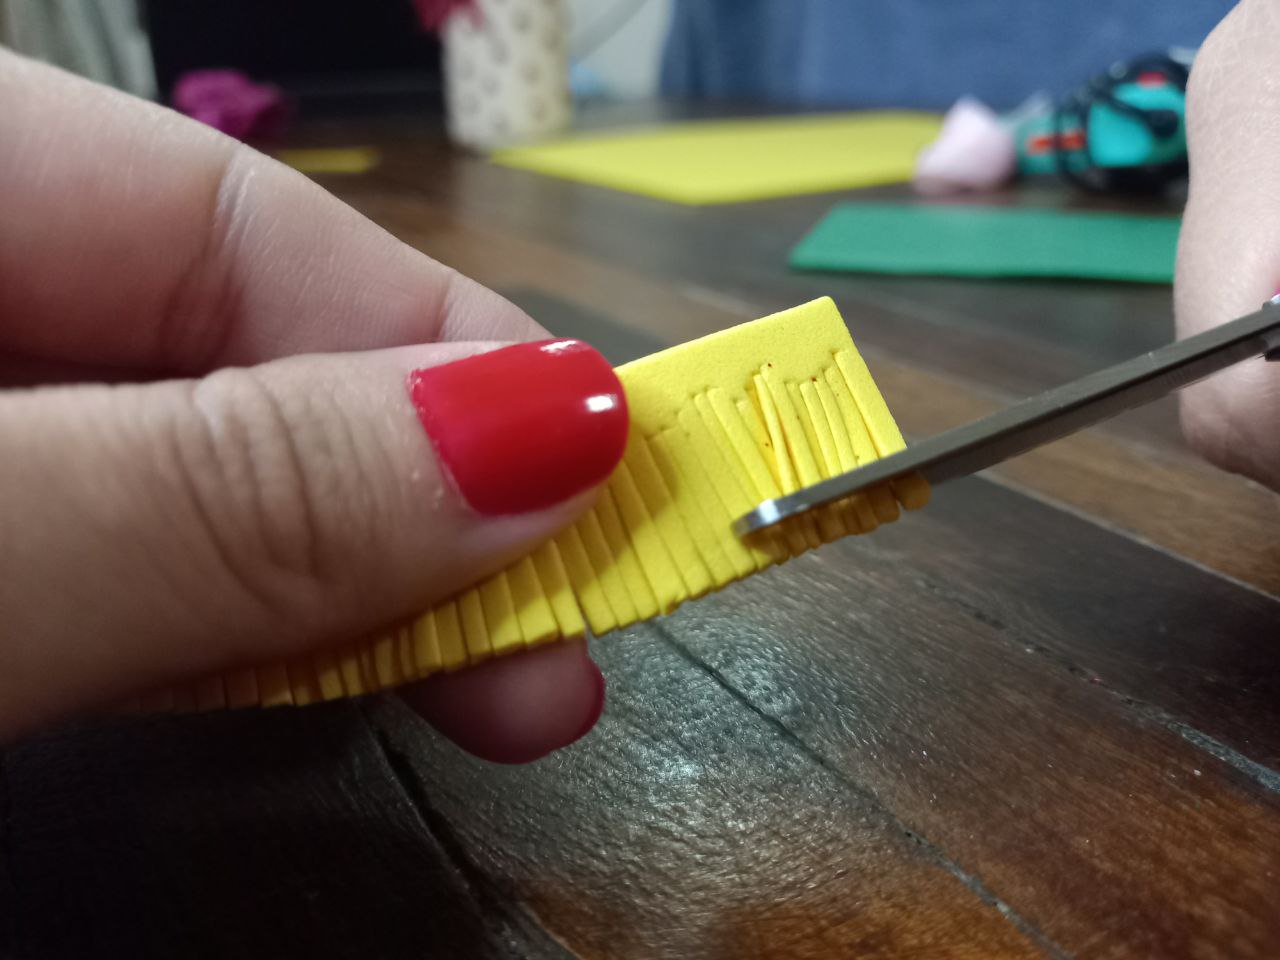
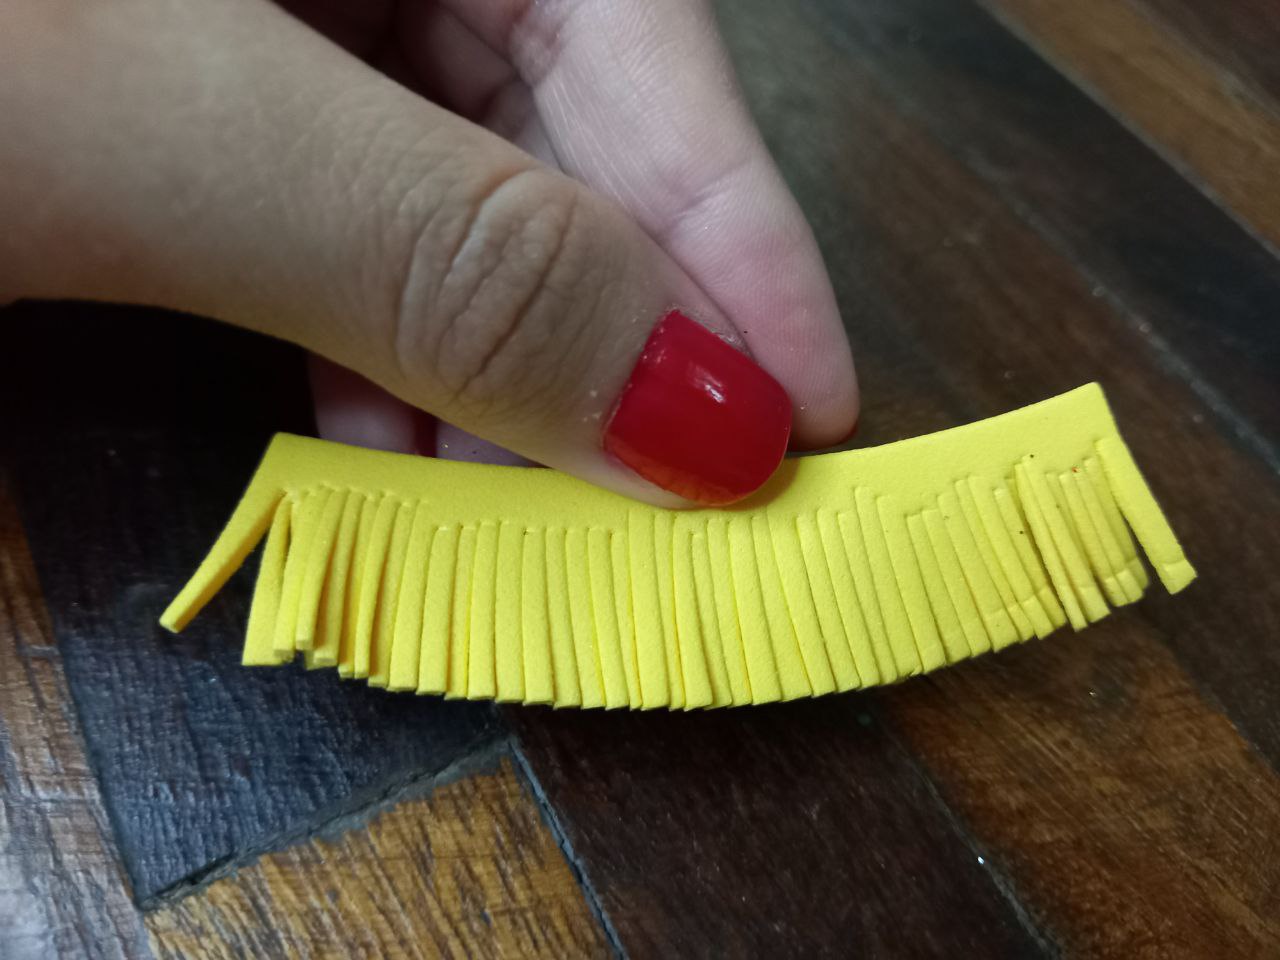
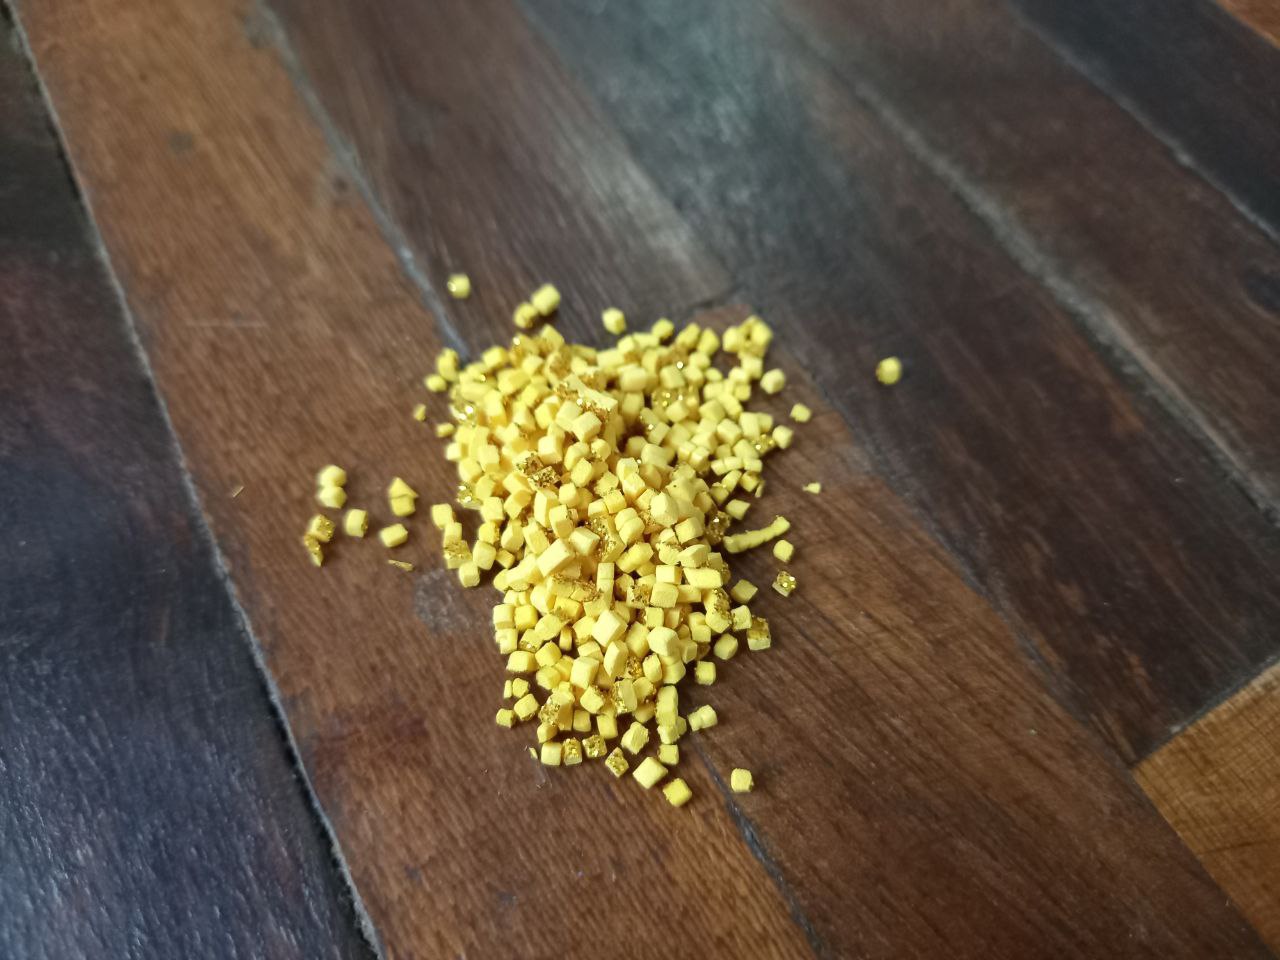
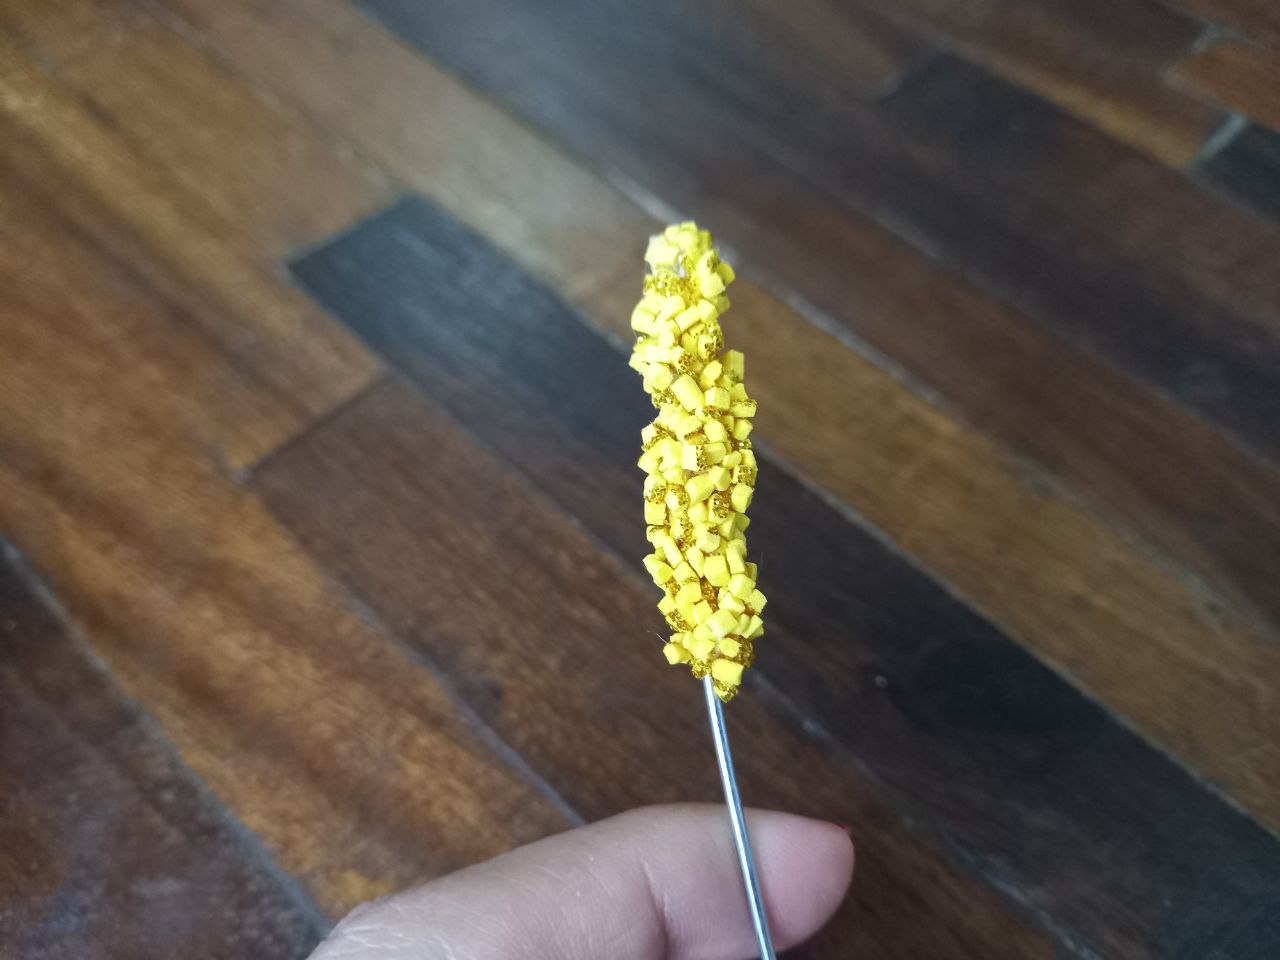
❧ PASO 1. Lo primero que hice fue recortar una tira de foami escarchado dorado y hacerle cortes delgados verticalmente, luego de esto recorté en sentido horizontal de las tiras delgadas lo que me da como resultado unos pequeños cuadritos de foami.
❧ STEP 1. The first thing I did was cut out a strip of golden frosted foam and make thin cuts vertically, after this I cut the thin strips horizontally, which results in some small squares of foam.

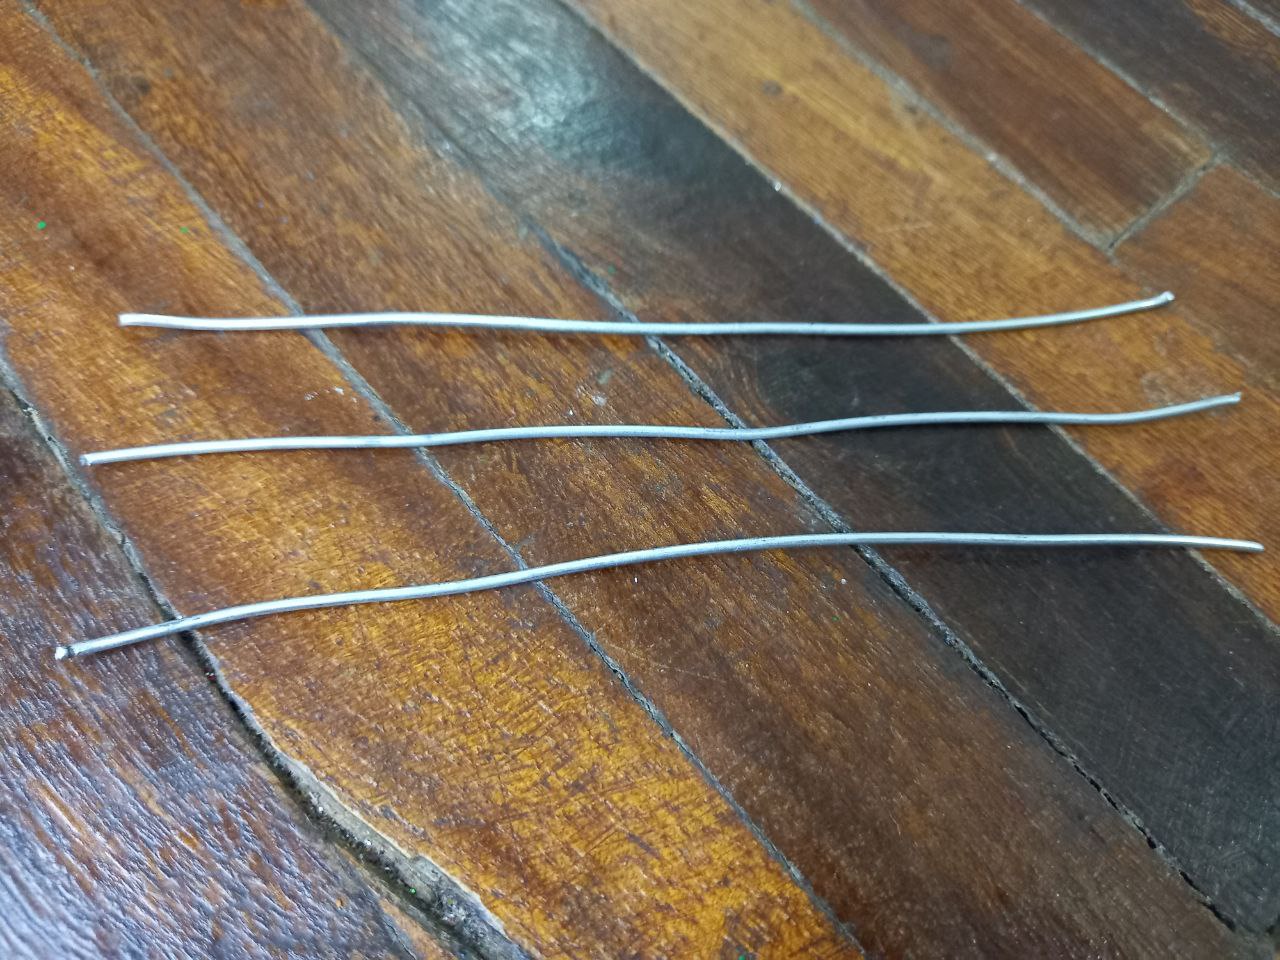
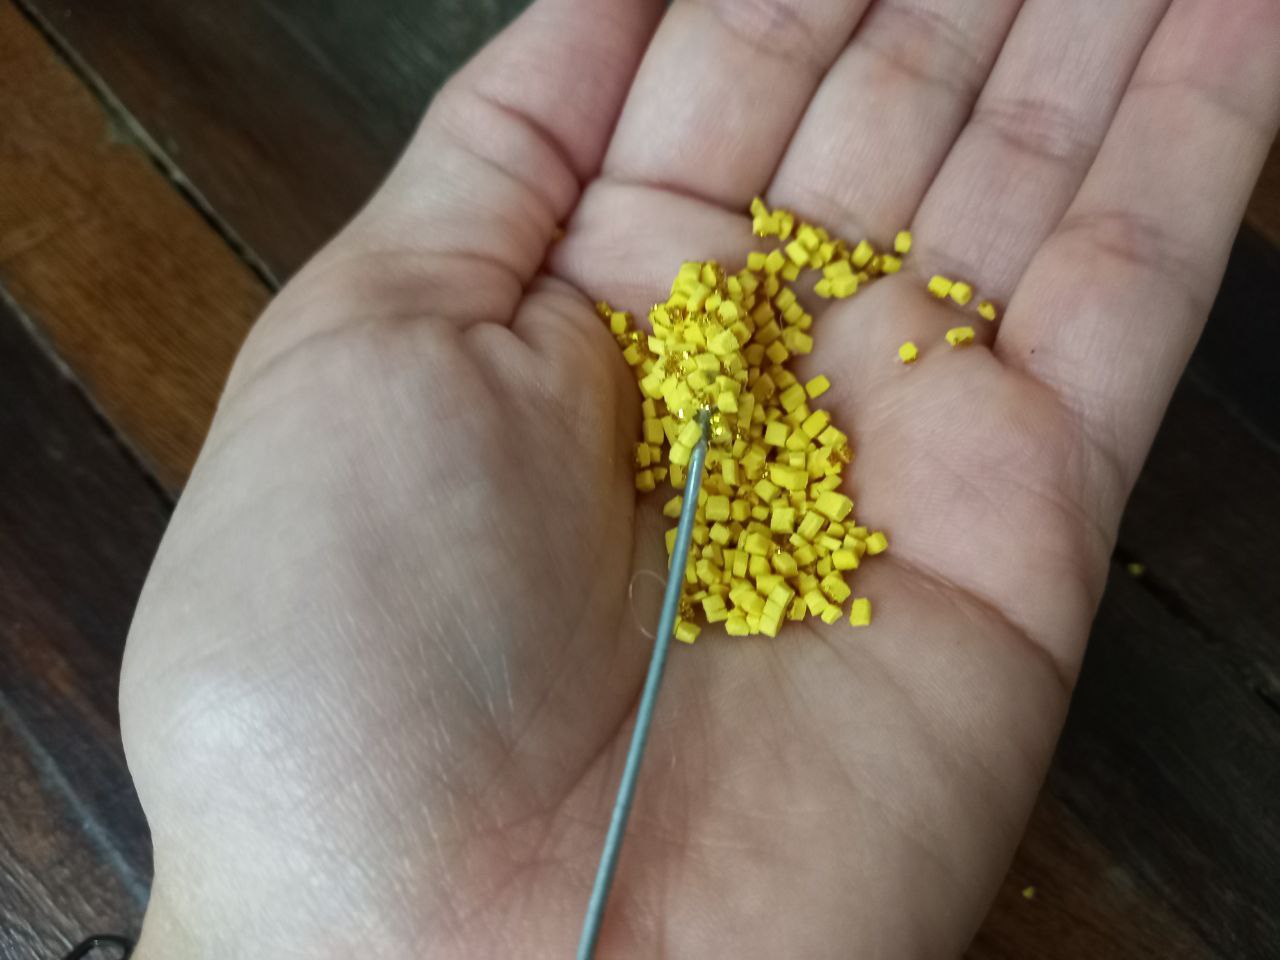
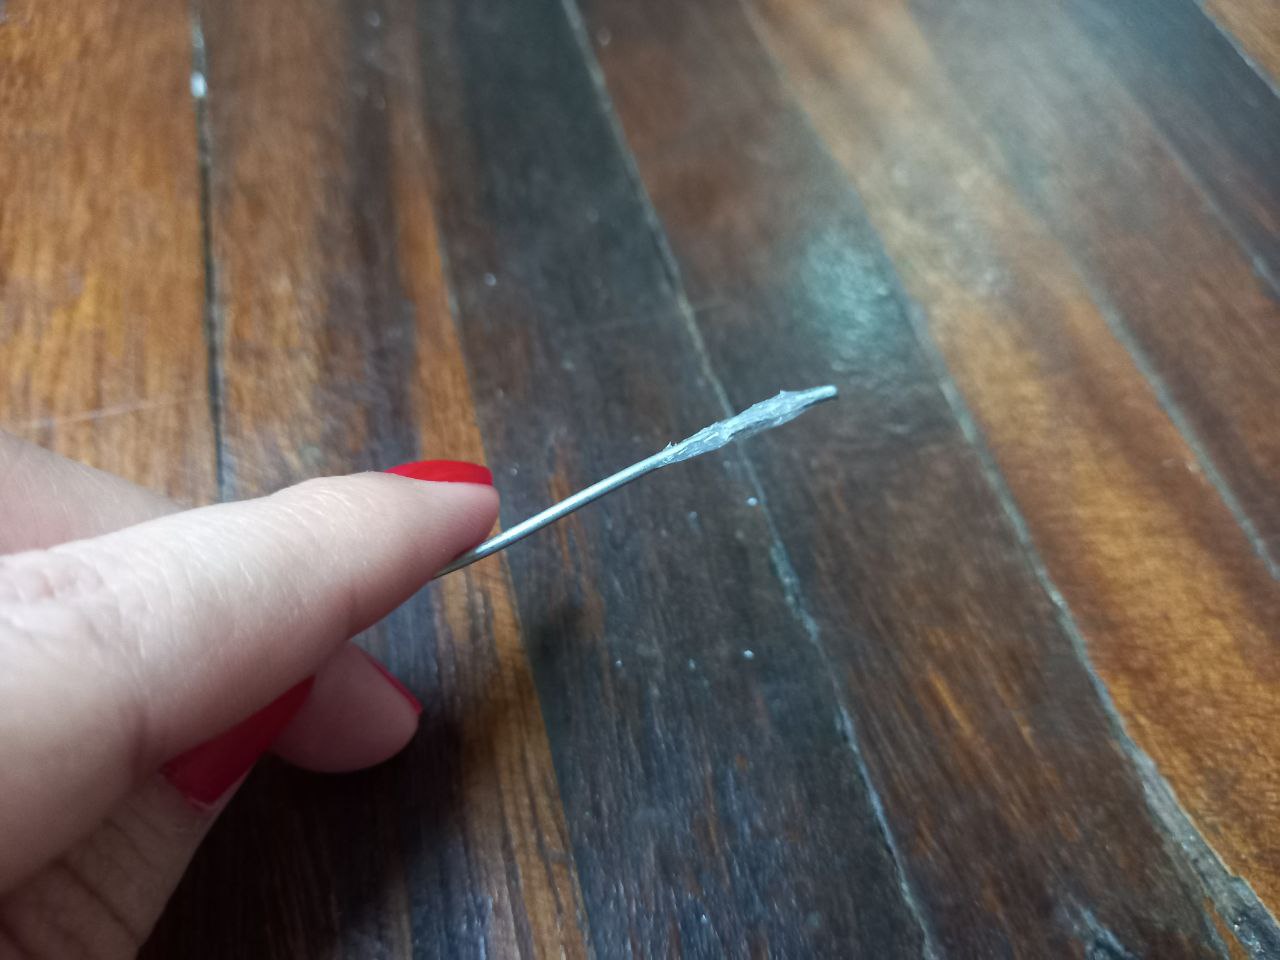
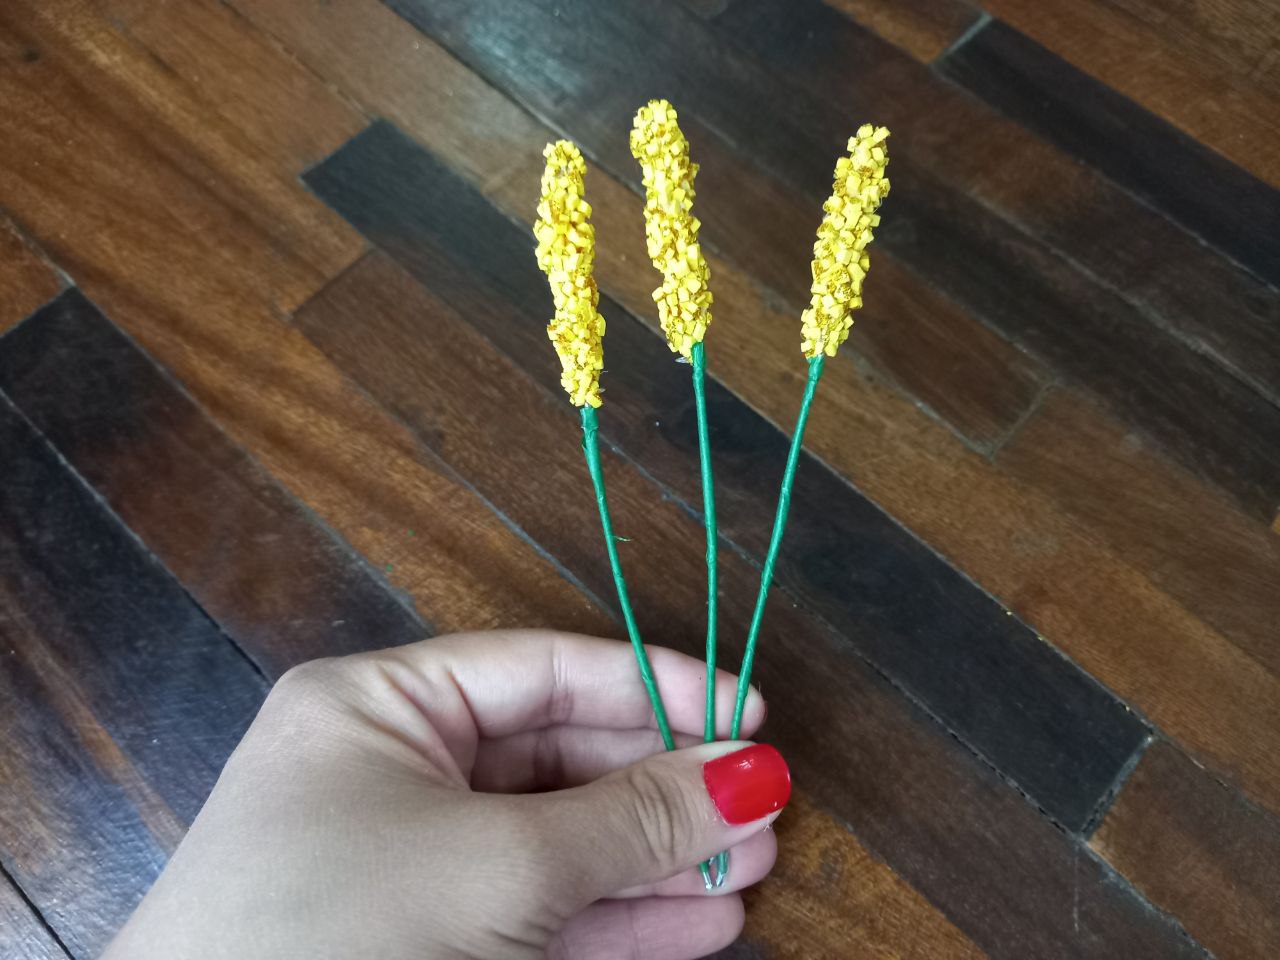
❧ PASO 2. Recorté 3 tiras de alambre del mismo tamaño, le apliqué silicón caliente a la punta de cada alambre y le pegué los trocitos de foami dorado solo en unos 3 o 4 cm dela punta del alambre.
❧ STEP 2. I cut out 3 strips of wire of the same size, I applied hot silicone to the tip of each wire and glued the pieces of gold foam only on about 3 or 4 cm from the tip of the wire.
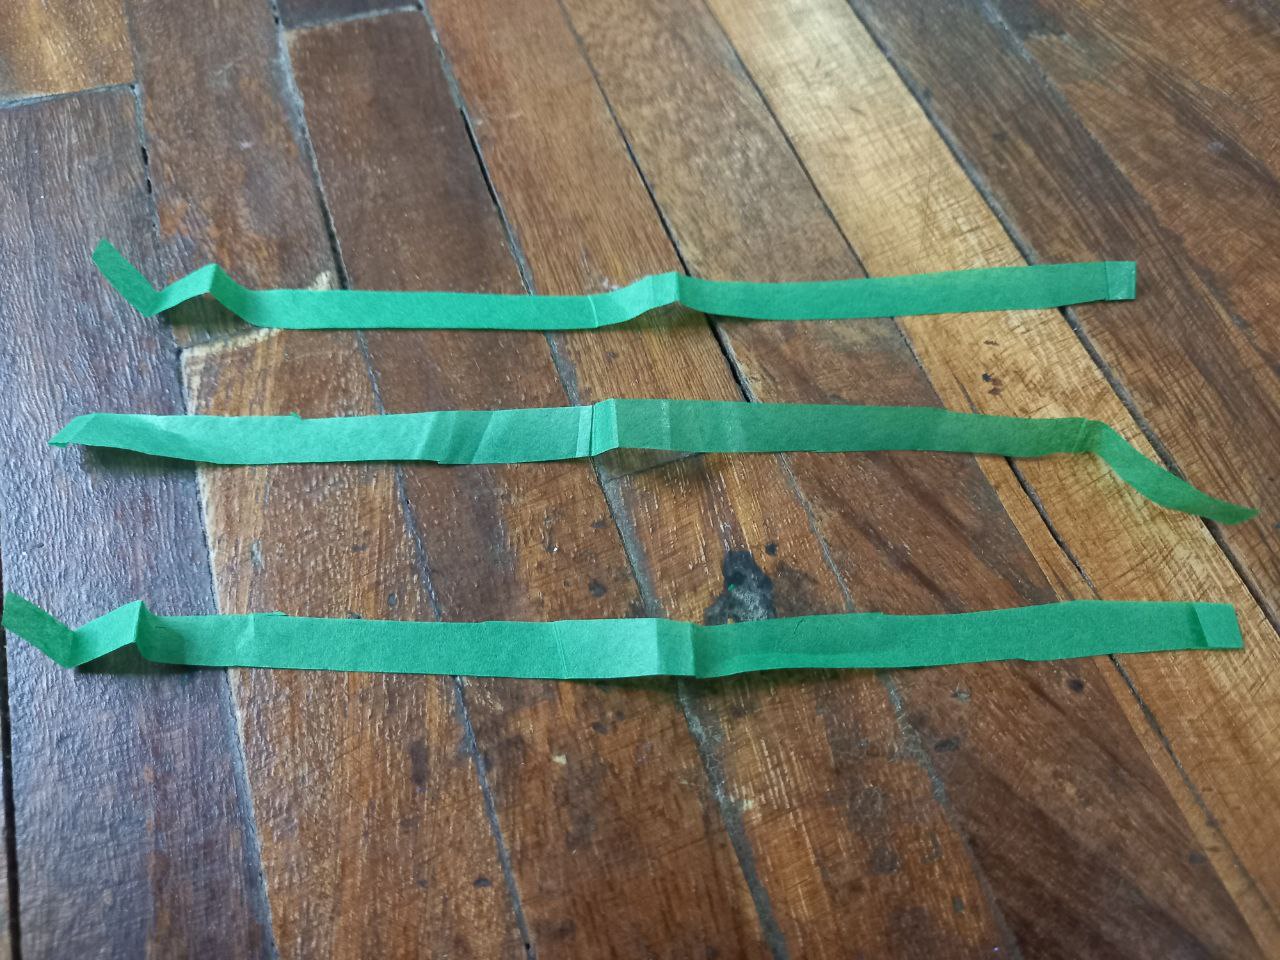
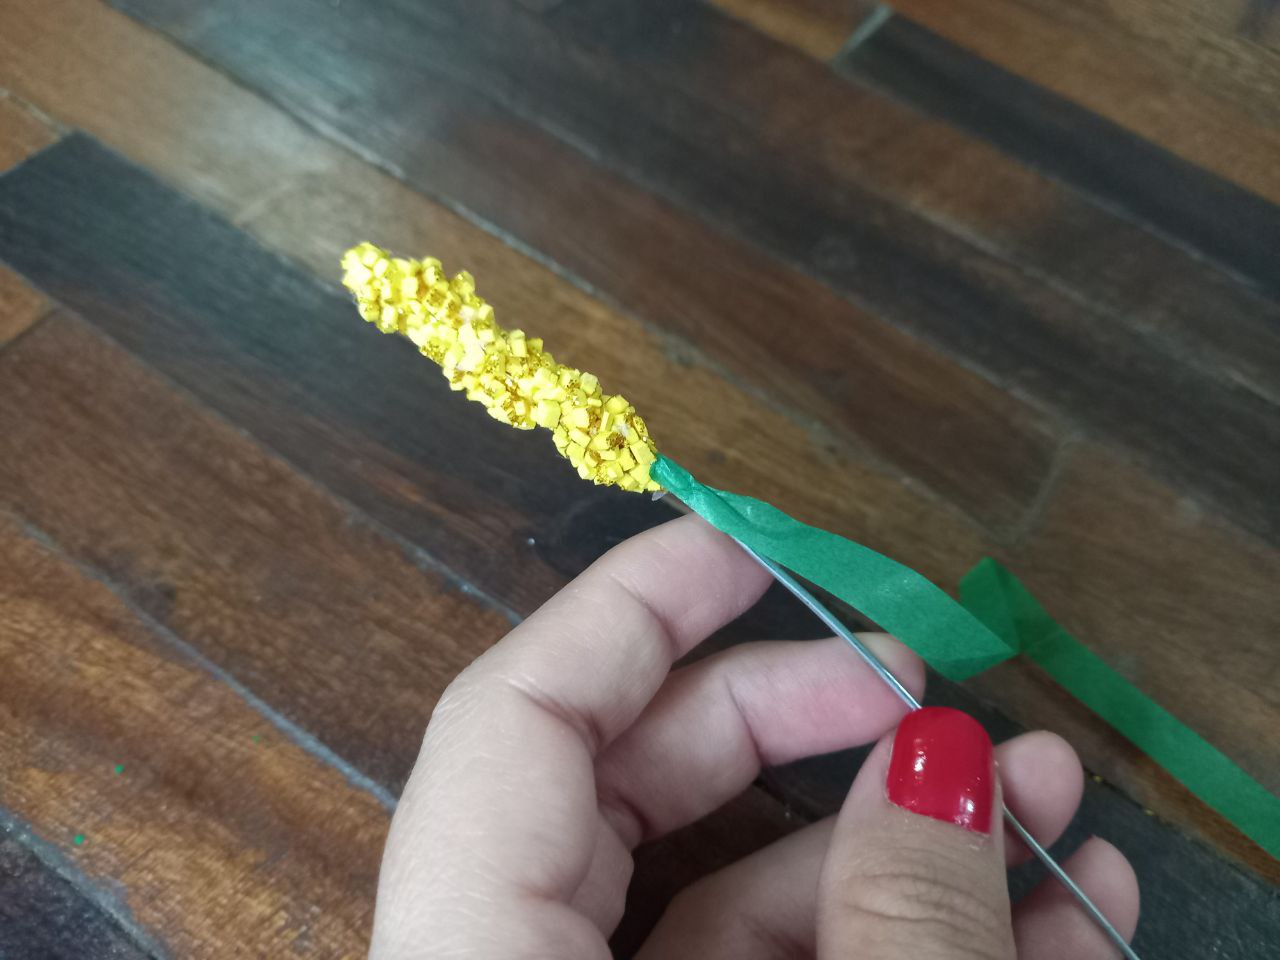
❧ PASO 3. Recorté 3 tiras delgadas de papel de seda verde y pegué cada una al alambre justo debajo de los trocitos de foami hasta cubrir todo el alambre.
❧ STEP 3. I cut out 3 thin strips of green tissue paper and glued each one to the wire just below the pieces of foam until the entire wire was covered.
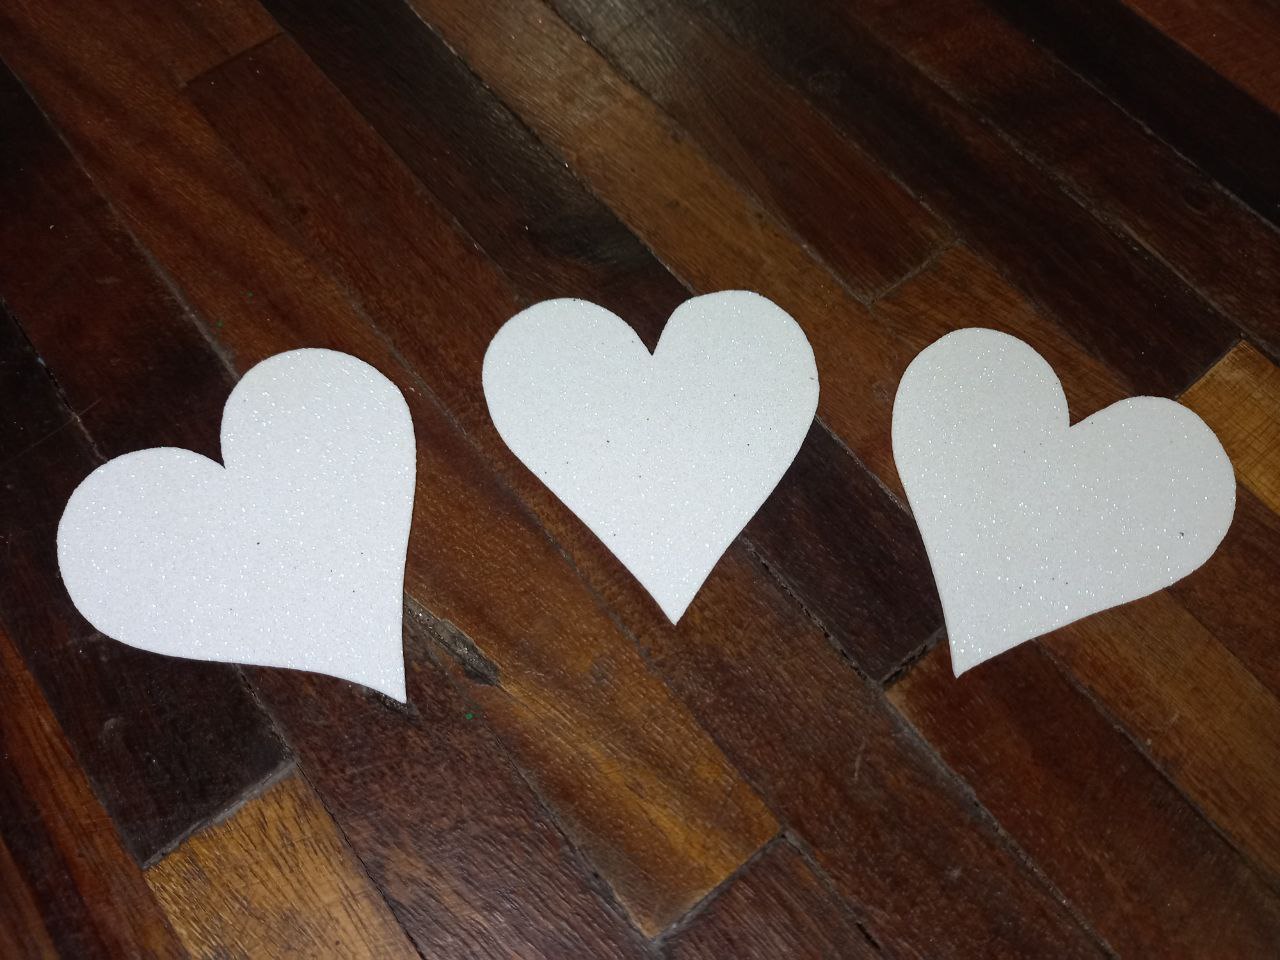
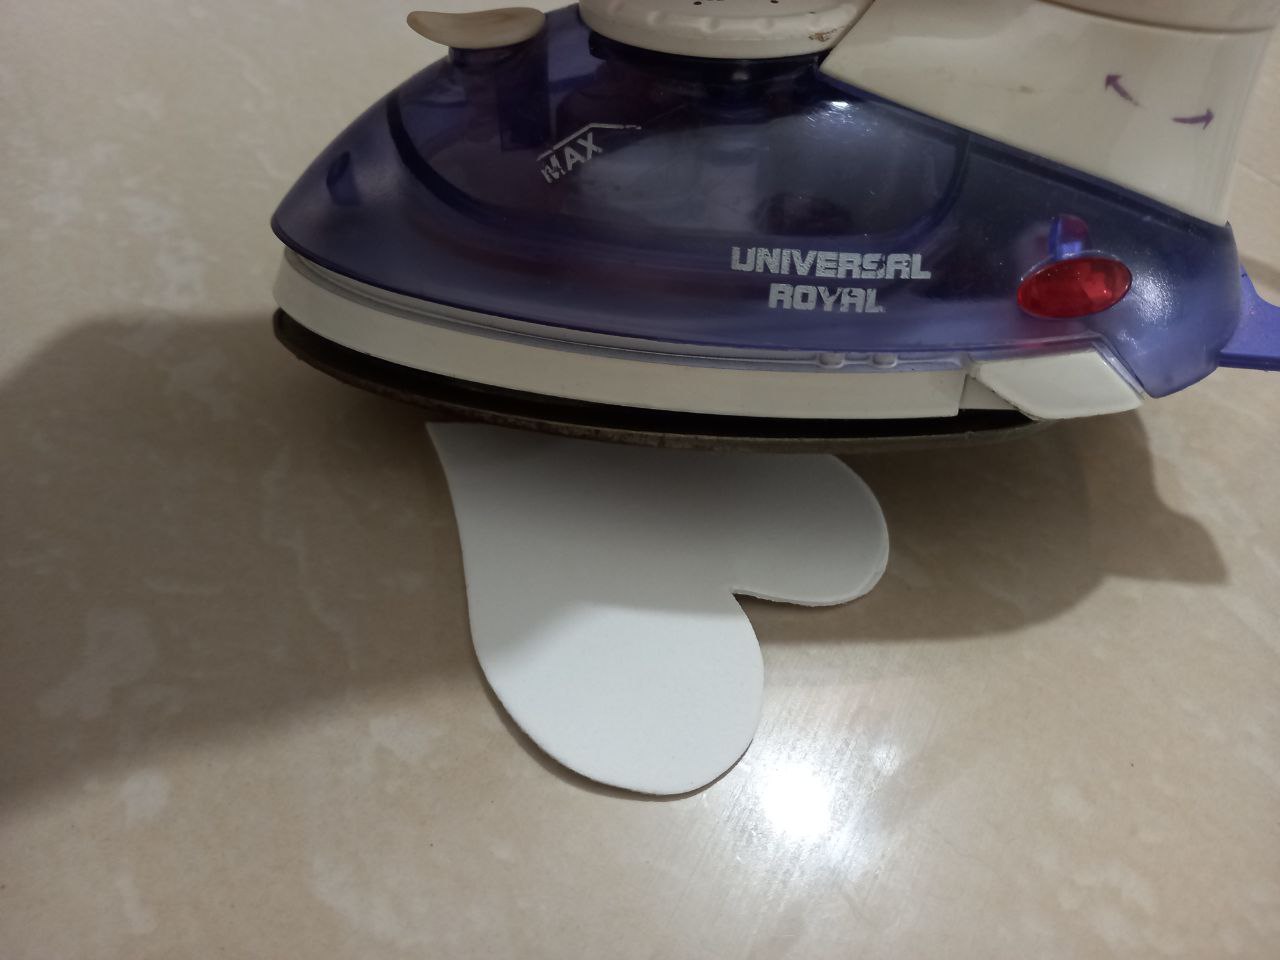
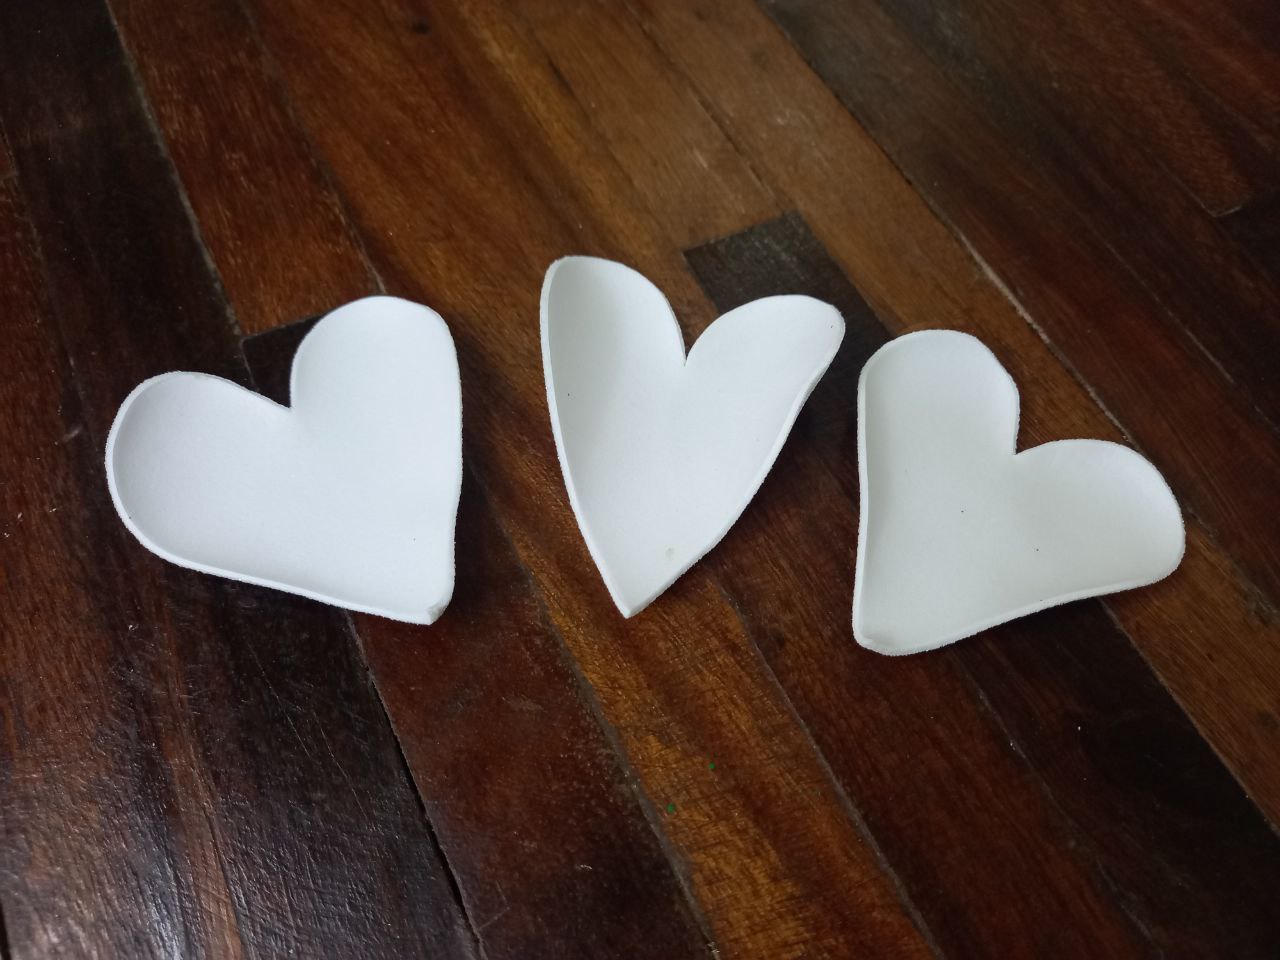
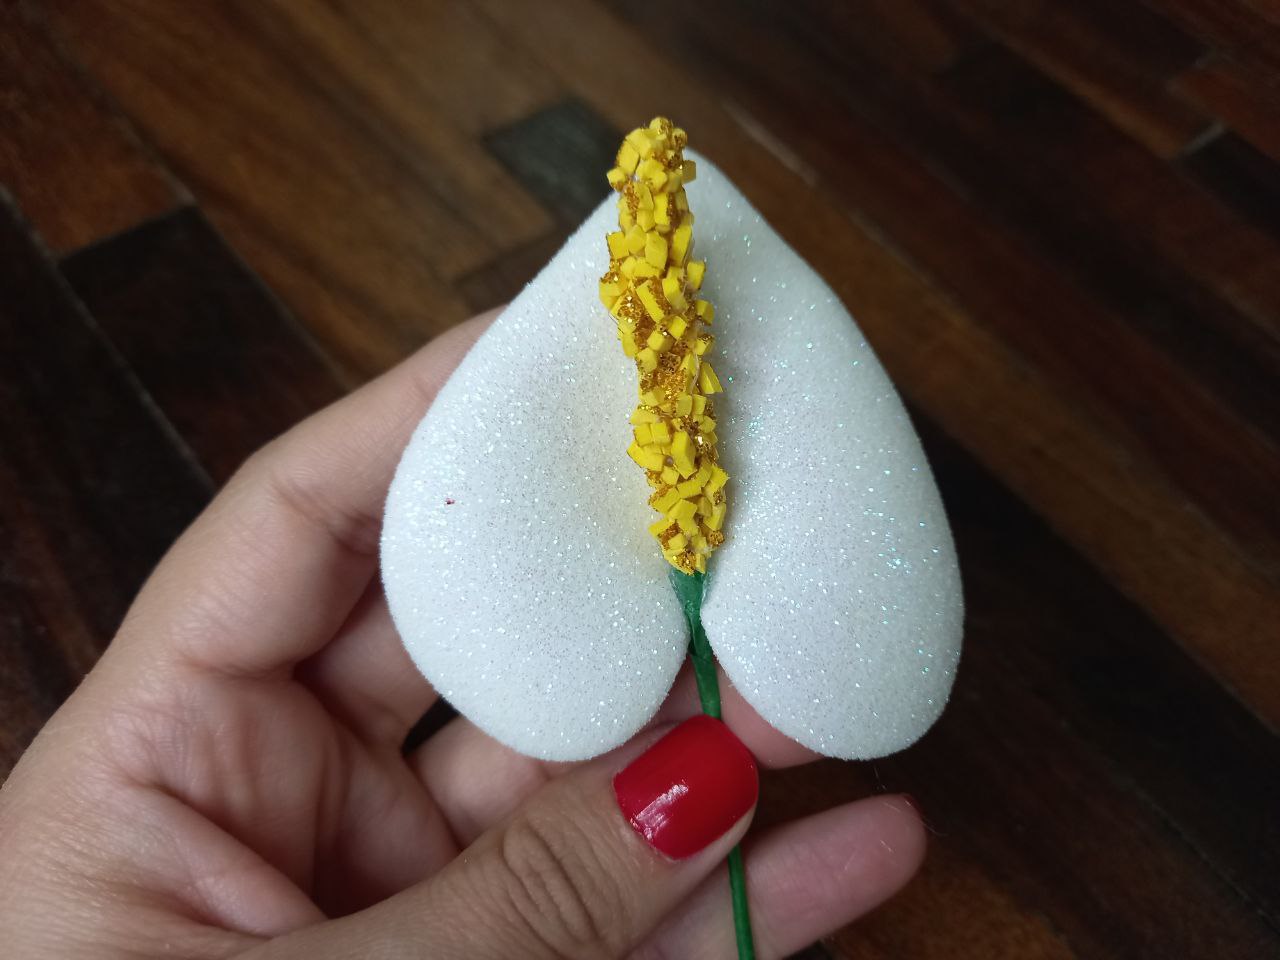
❧ PASO 4. Elaboré la forma de 3 corazones alargados en el foami escarchado blanco y para no dejar marcas lo hice con un palito de altura, luego recorté los corazones y les apliqué calor con la plancha de ropa por la parte sin escarcha con el fin de darle forma a los bordes de los corazones.
❧ STEP 4. I made the shape of 3 elongated hearts in the white frosted foam and to avoid leaving marks I did it with a tall stick, then I cut out the hearts and applied heat to them with the clothes iron on the uncut part. frost in order to shape the edges of the hearts.
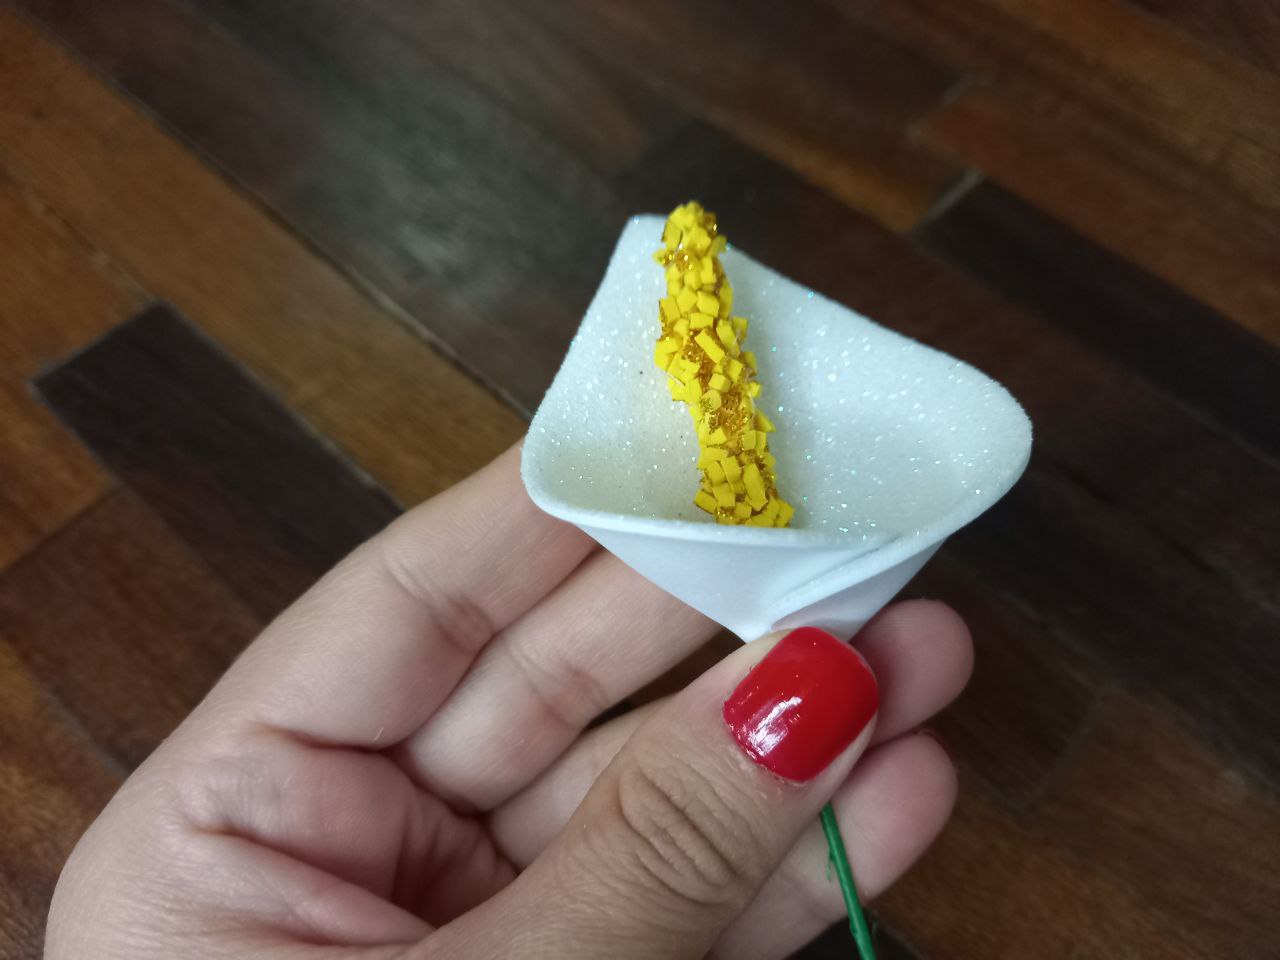
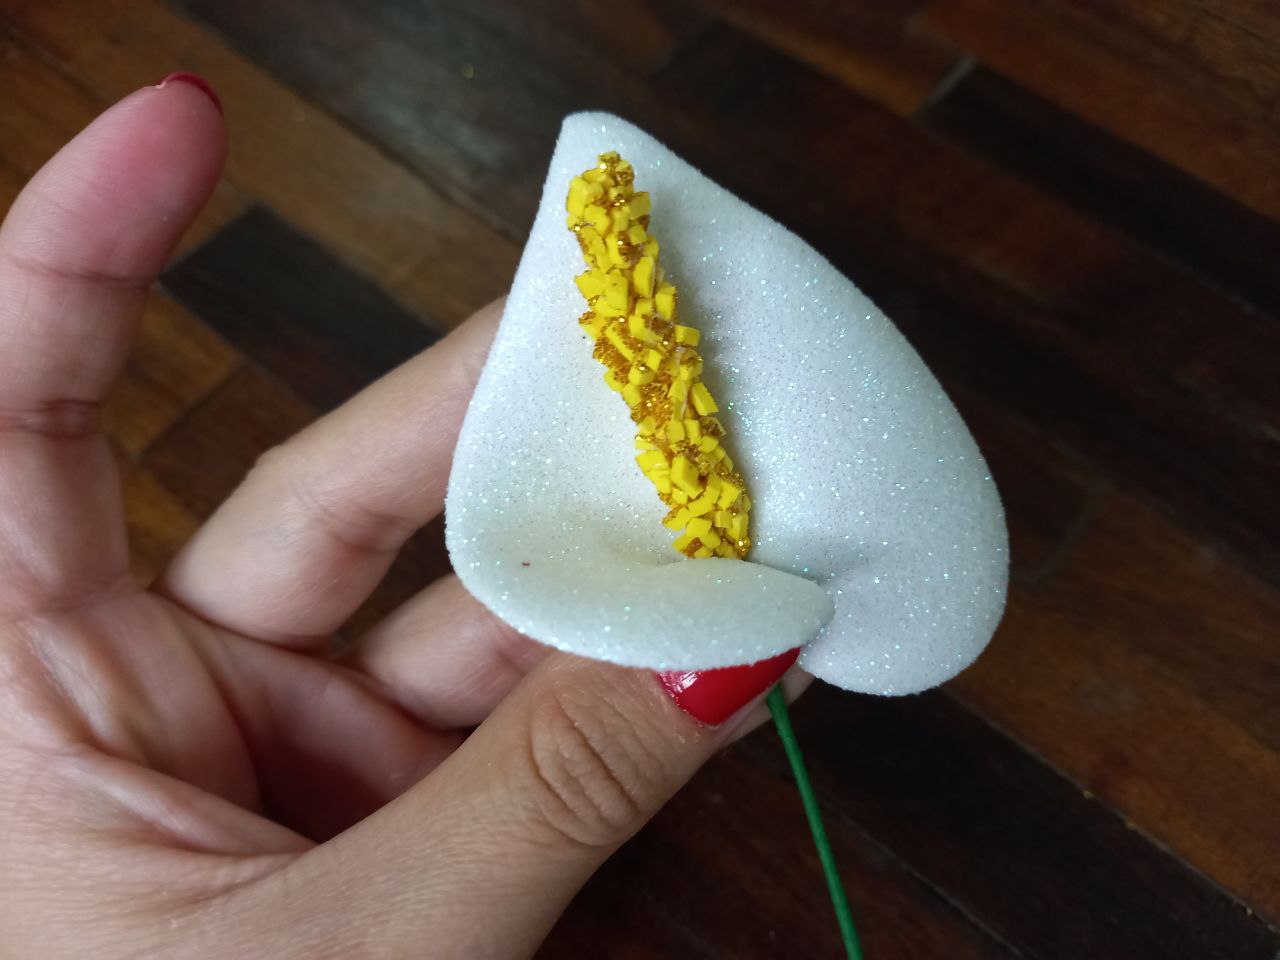
❧ PASO 5. Apliqué silicón en el centro de la pieza en forma de corazón (invertido) y pegué sobre este el alambre con la parte con el foami dorado hacia arriba, seguidamente pegué uno de los extremos de la forma de corazón hacia el otro lado y luego pegué el otro hasta cerrarlo y darle la forma de la flor cala, luego repetí el proceso con las otras dos piezas hasta tener las 3 flores.
❧ STEP 5. I applied silicone in the center of the heart-shaped piece (inverted) and glued the wire on it with the part with the gold foam facing up, then I glued one of the ends of the heart shape to the other side and then I glued the other until it was closed and gave it the shape of the calla flower, then I repeated the process with the other two pieces until I had the 3 flowers.
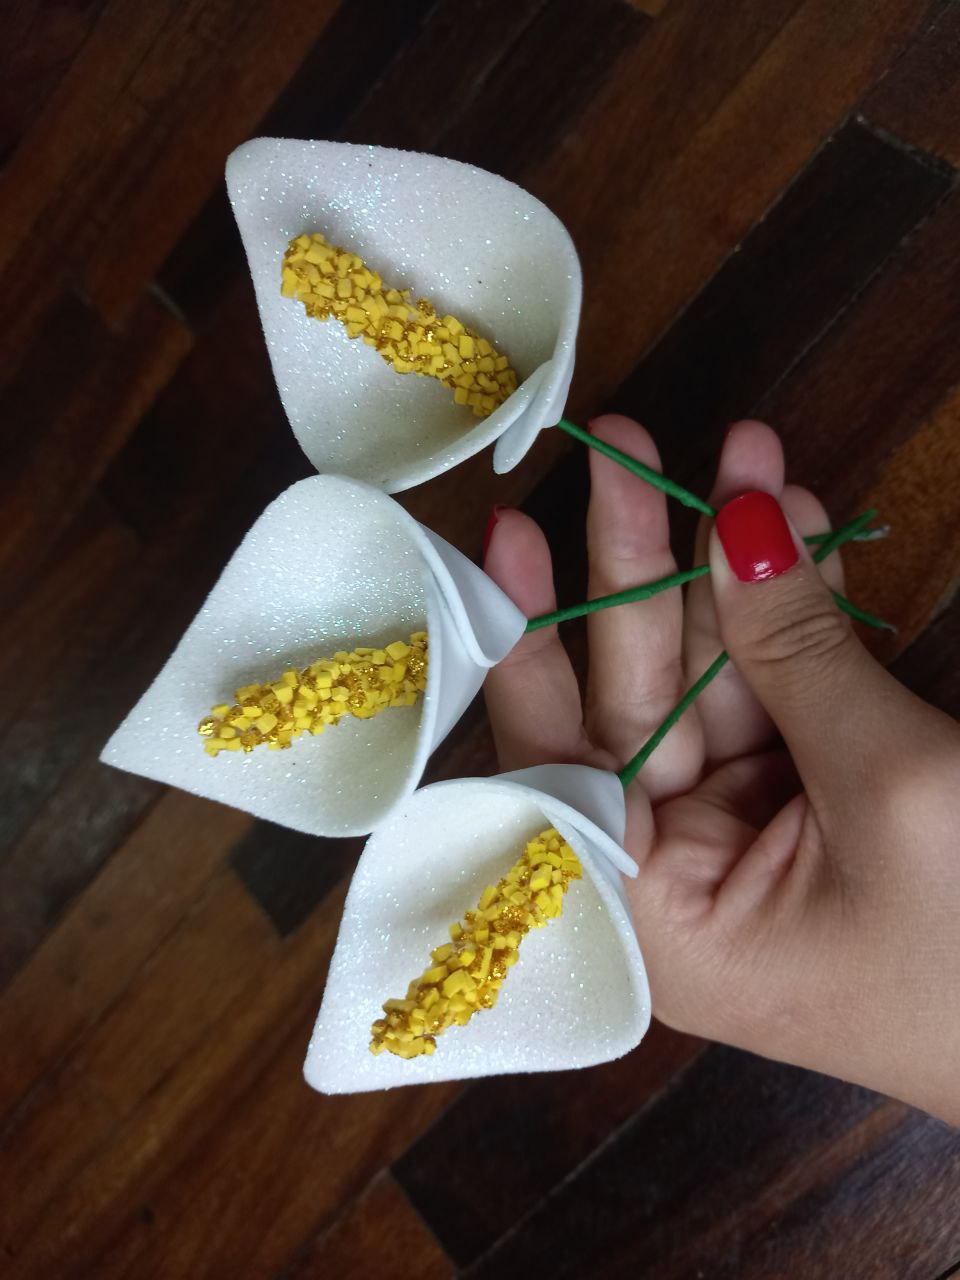
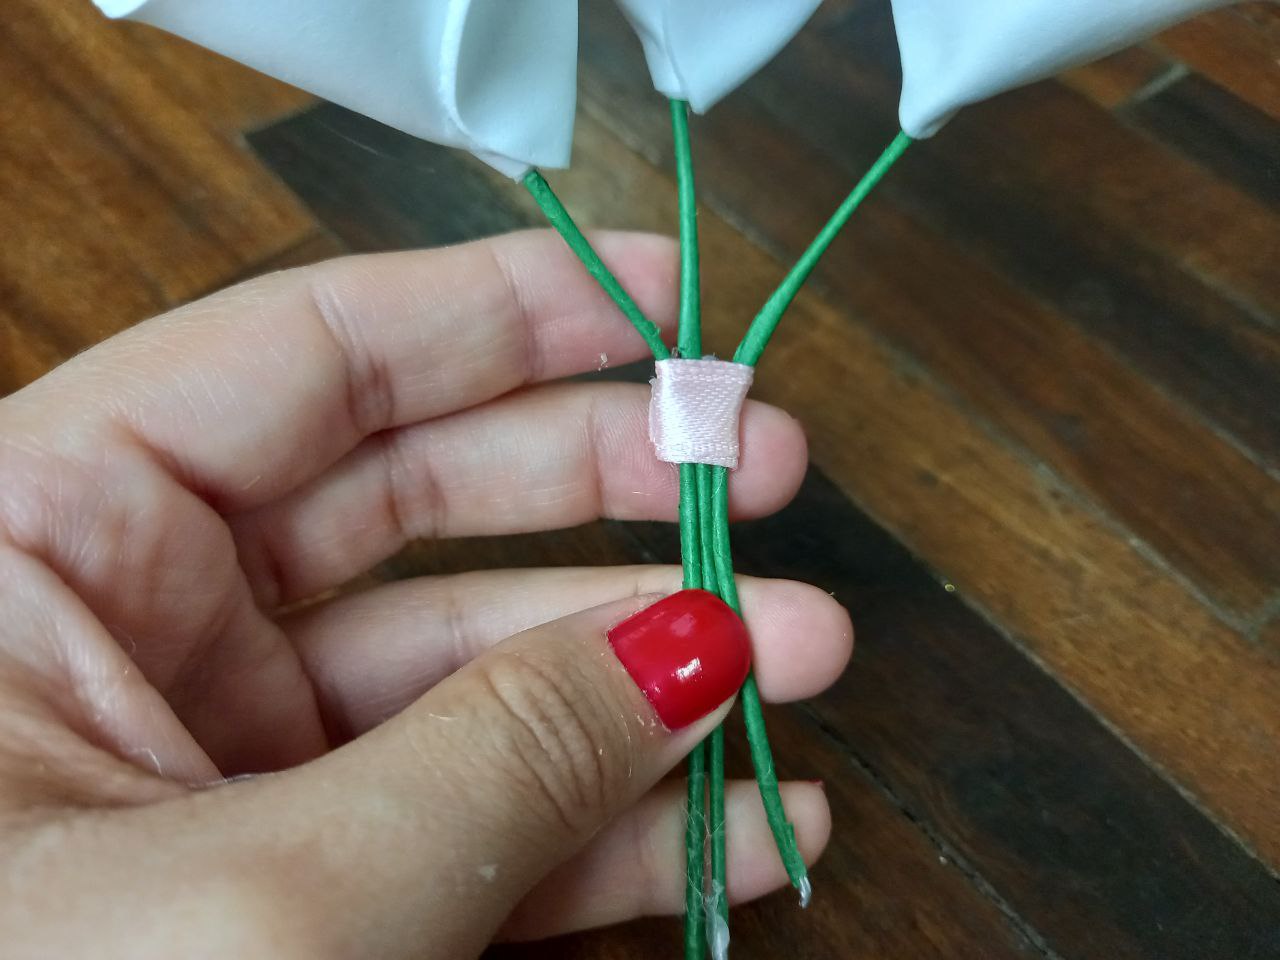
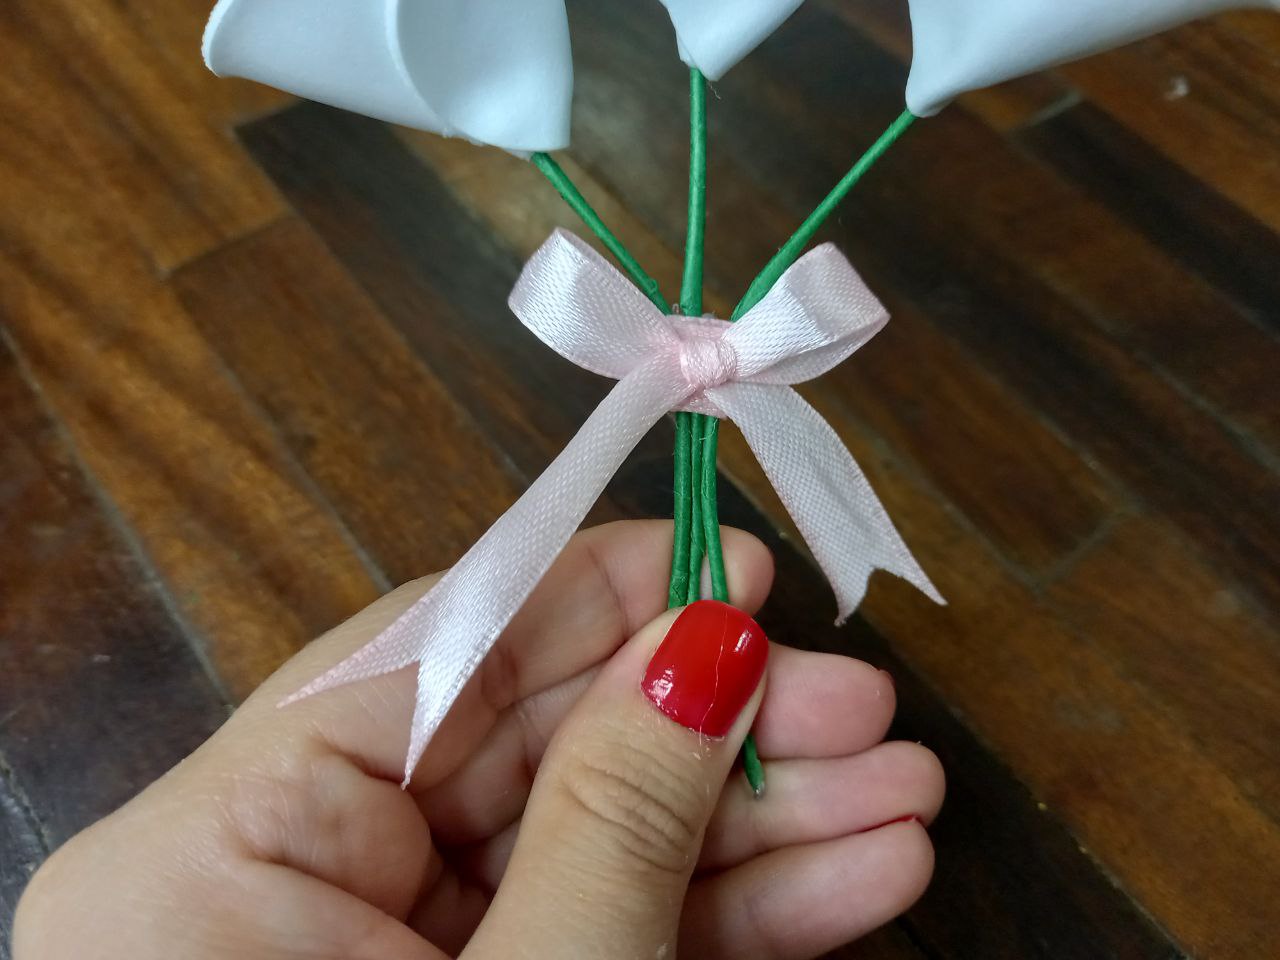
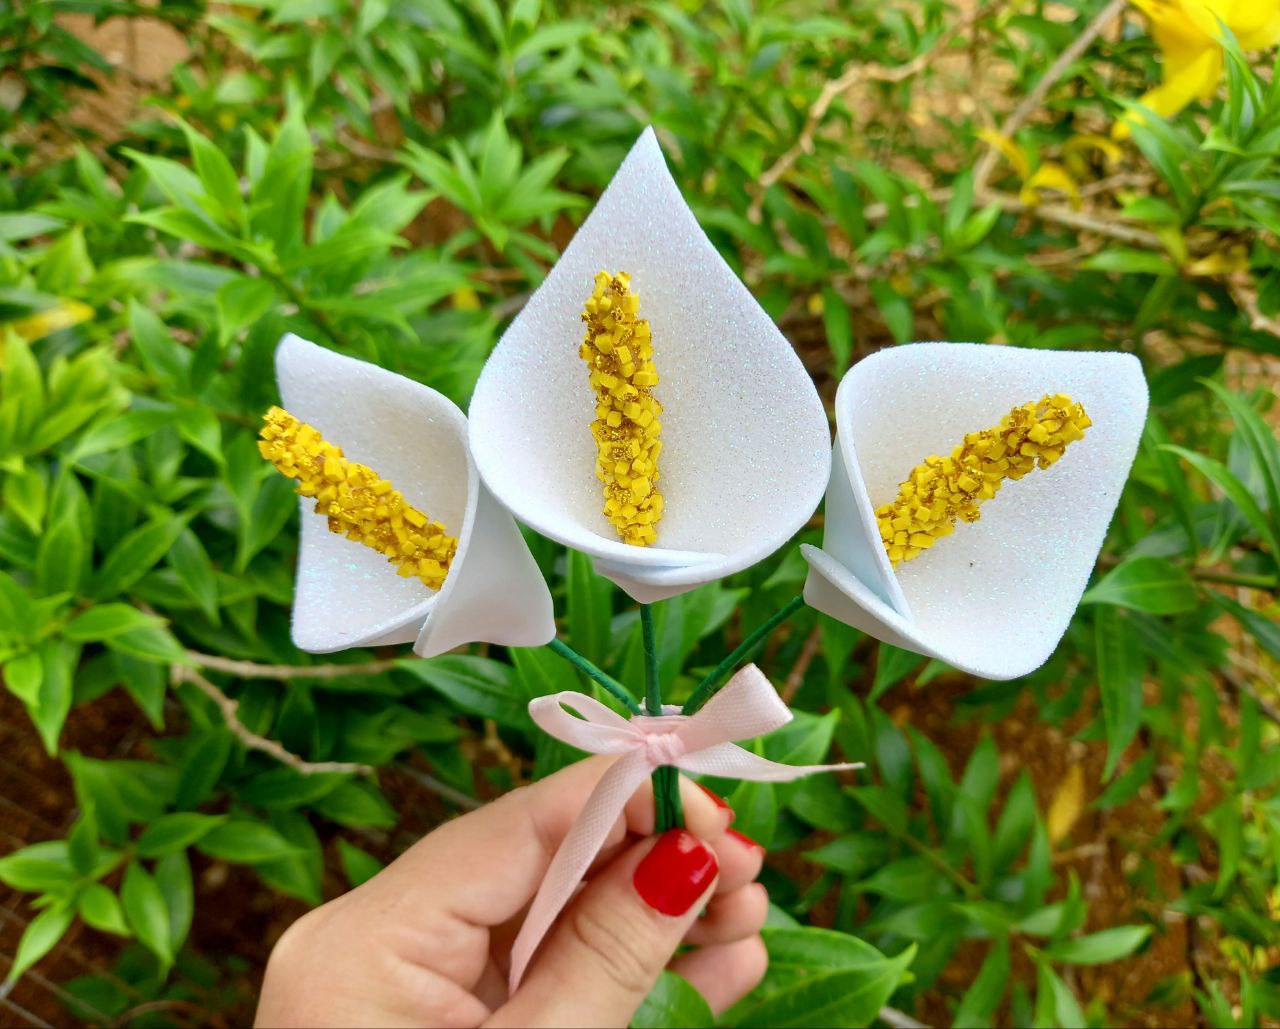
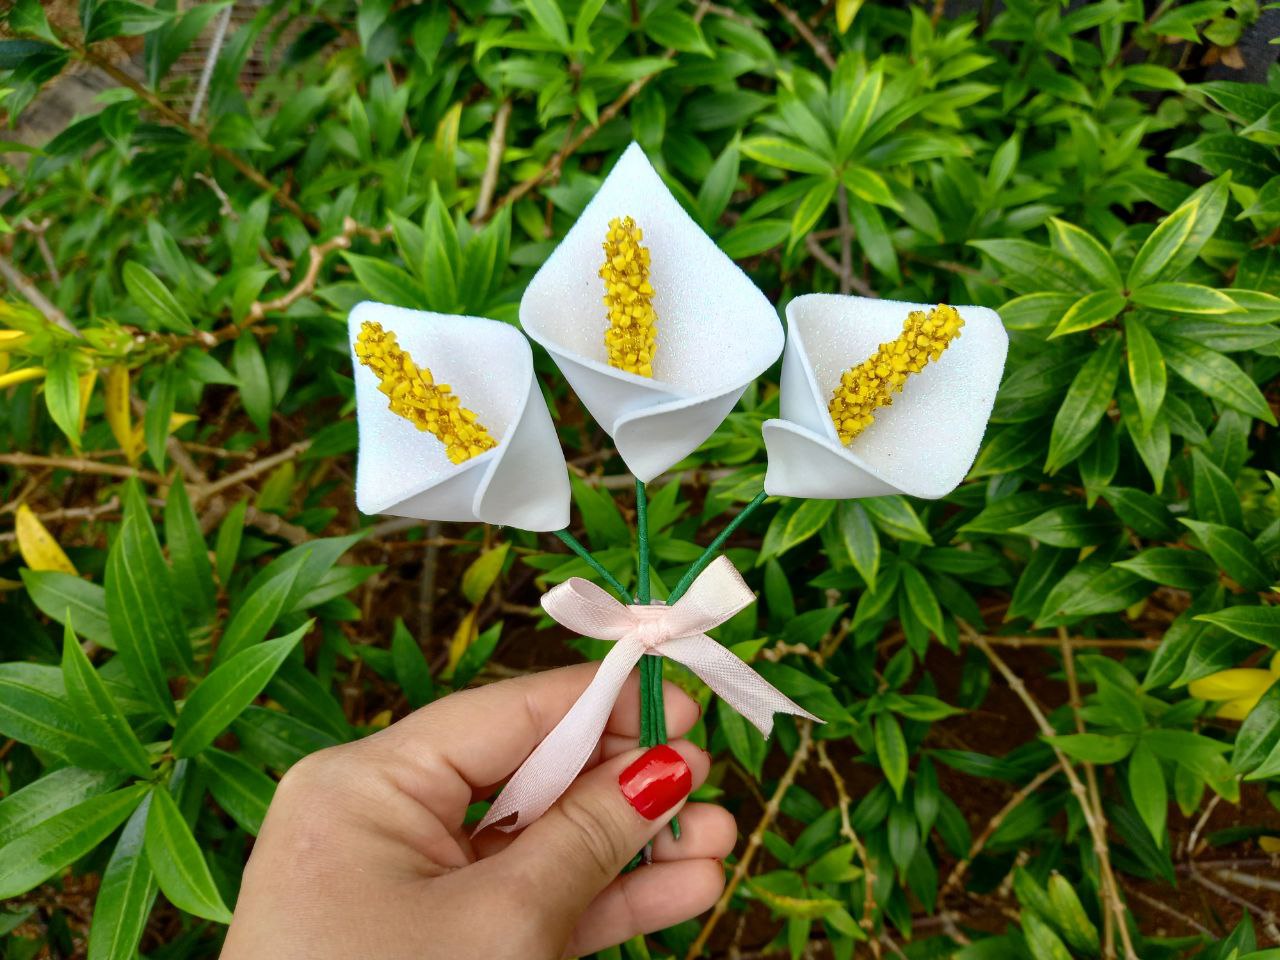
❧ PASO 6. Como último detalle uní los tallos de las 3 flores con cinta de tela rosada, luego elaboré un pequeño lazo con esta misma cinta y lo pegué en el centro de las flores para decorar.
❧ STEP 6. As a last detail, I joined the stems of the 3 flowers with pink fabric ribbon, then I made a small bow with this same ribbon and glued it in the center of the flowers to decorate.

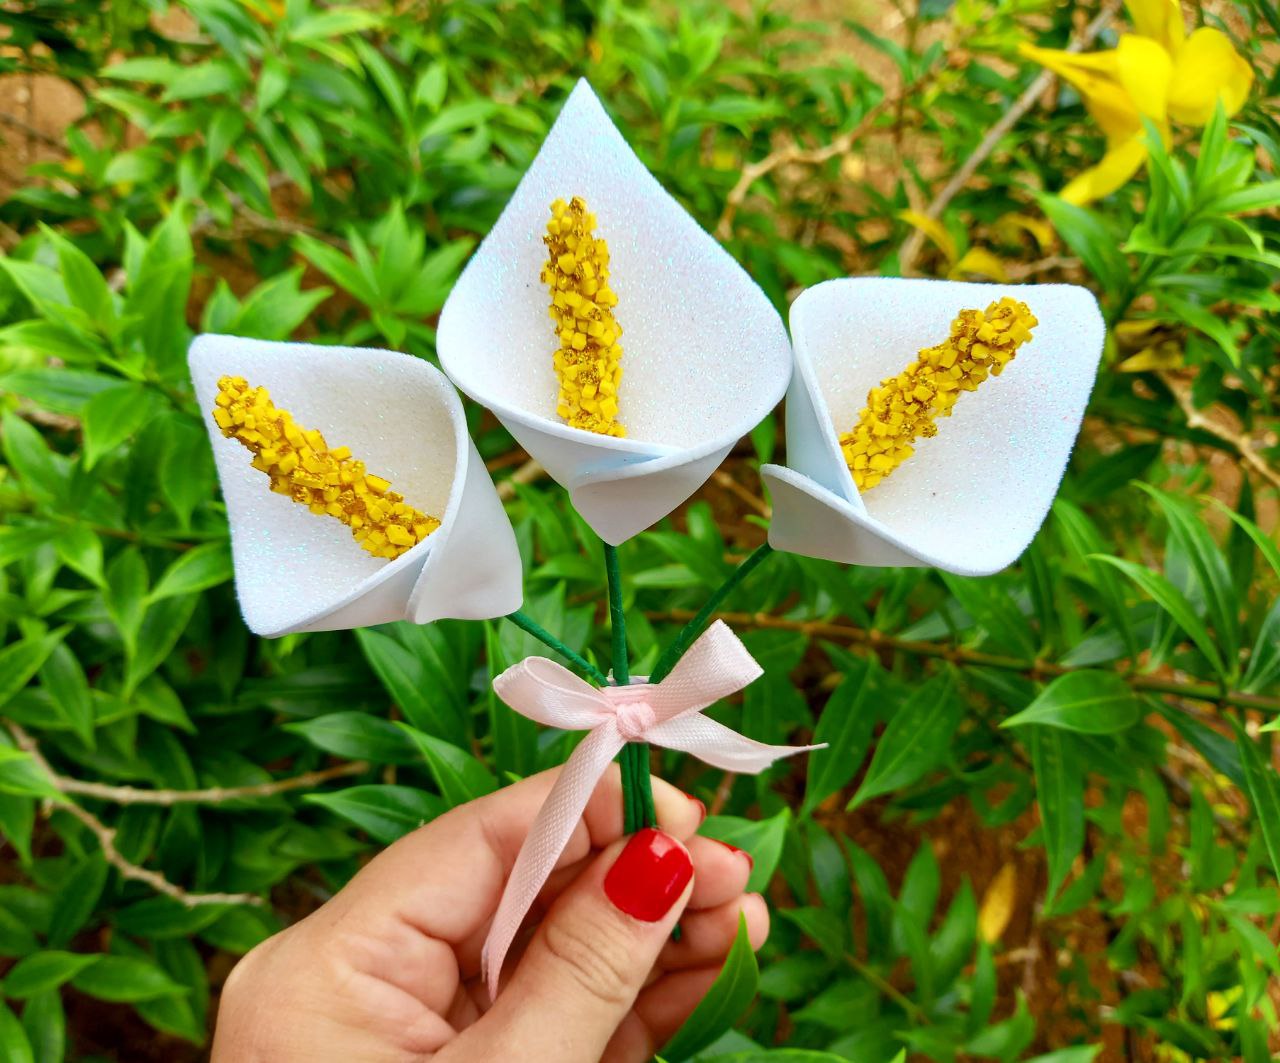
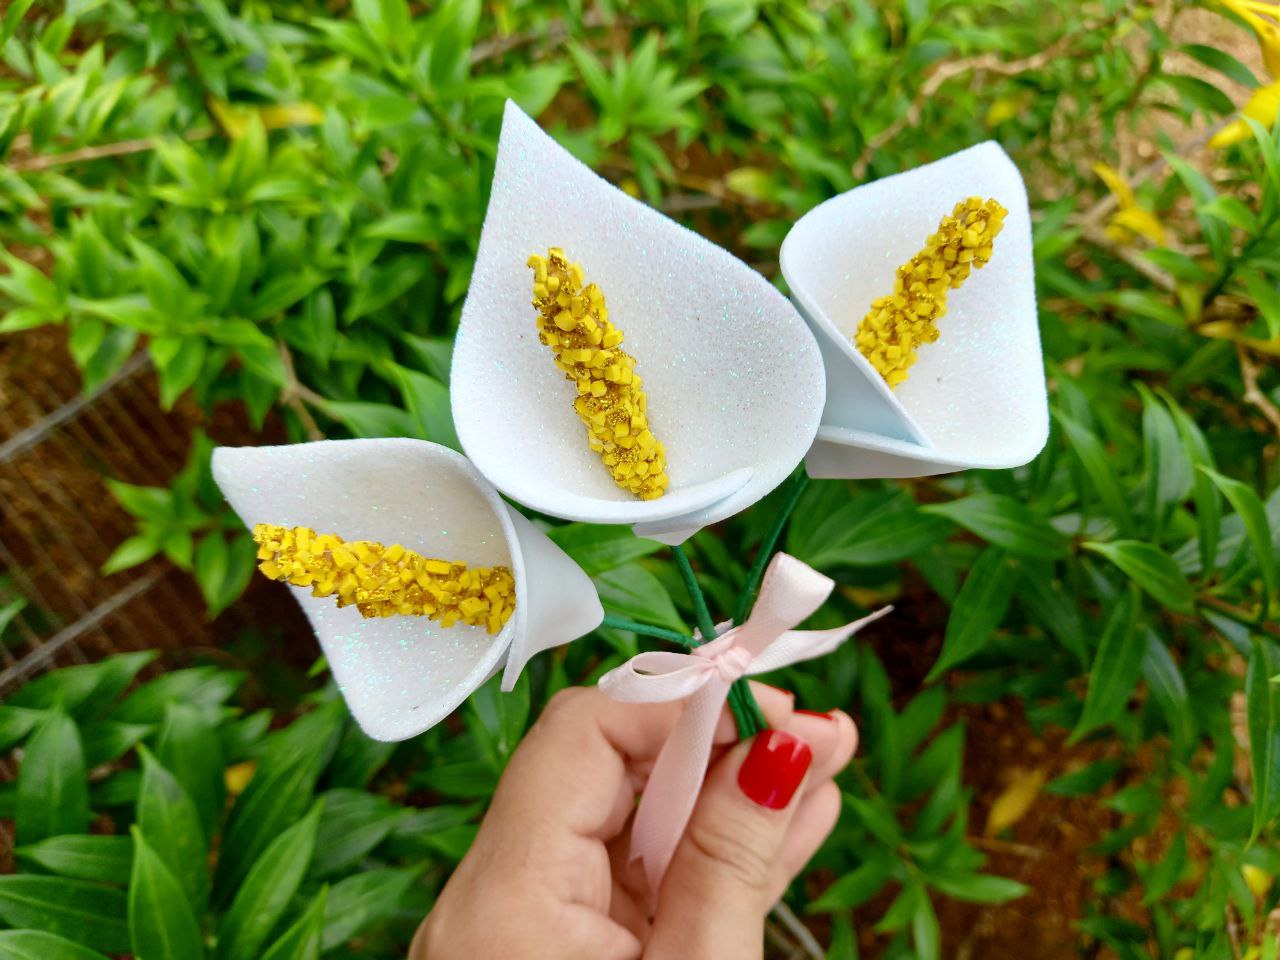
¡Y listo! De esta manera tan sencilla fue como elaboré este lindo ramillete de flores cala, la verdad esta es una flor que me parece hermosa y siempre he querido tener en casa, así que mientras tanto decidí hacerlas en foami para decorar y quedaron realmente hermosas, además que fueron muy fáciles de hacer. ¿Qué les pareció a ustedes? A mí me encantaron y espero que a ustedes también, gracias por pasar, nos vemos pronto con una nueva idea creativa.
¡And ready! In this very simple way I made this beautiful bouquet of calla flowers, the truth is that this is a flower that I think is beautiful and I have always wanted to have at home, so in the meantime I decided to make them in foam to decorate and they turned out really beautiful, plus they They were very easy to make. What did you think? I loved them and I hope you do too, thanks for stopping by, see you soon with a new creative idea.


Todas las fotografías son de mi propiedad.
Fotografías capturadas con mi Samsung Galaxy A12
Separador de texto elaborado en Canva.
Nos vemos en mi próxima publicación.
¡Tengan un feliz día!
All photographs are my property.
Photos captured with my Samsung Galaxy A12
Text separator made in Canva.
See you in my next post.
¡Have a happy day!