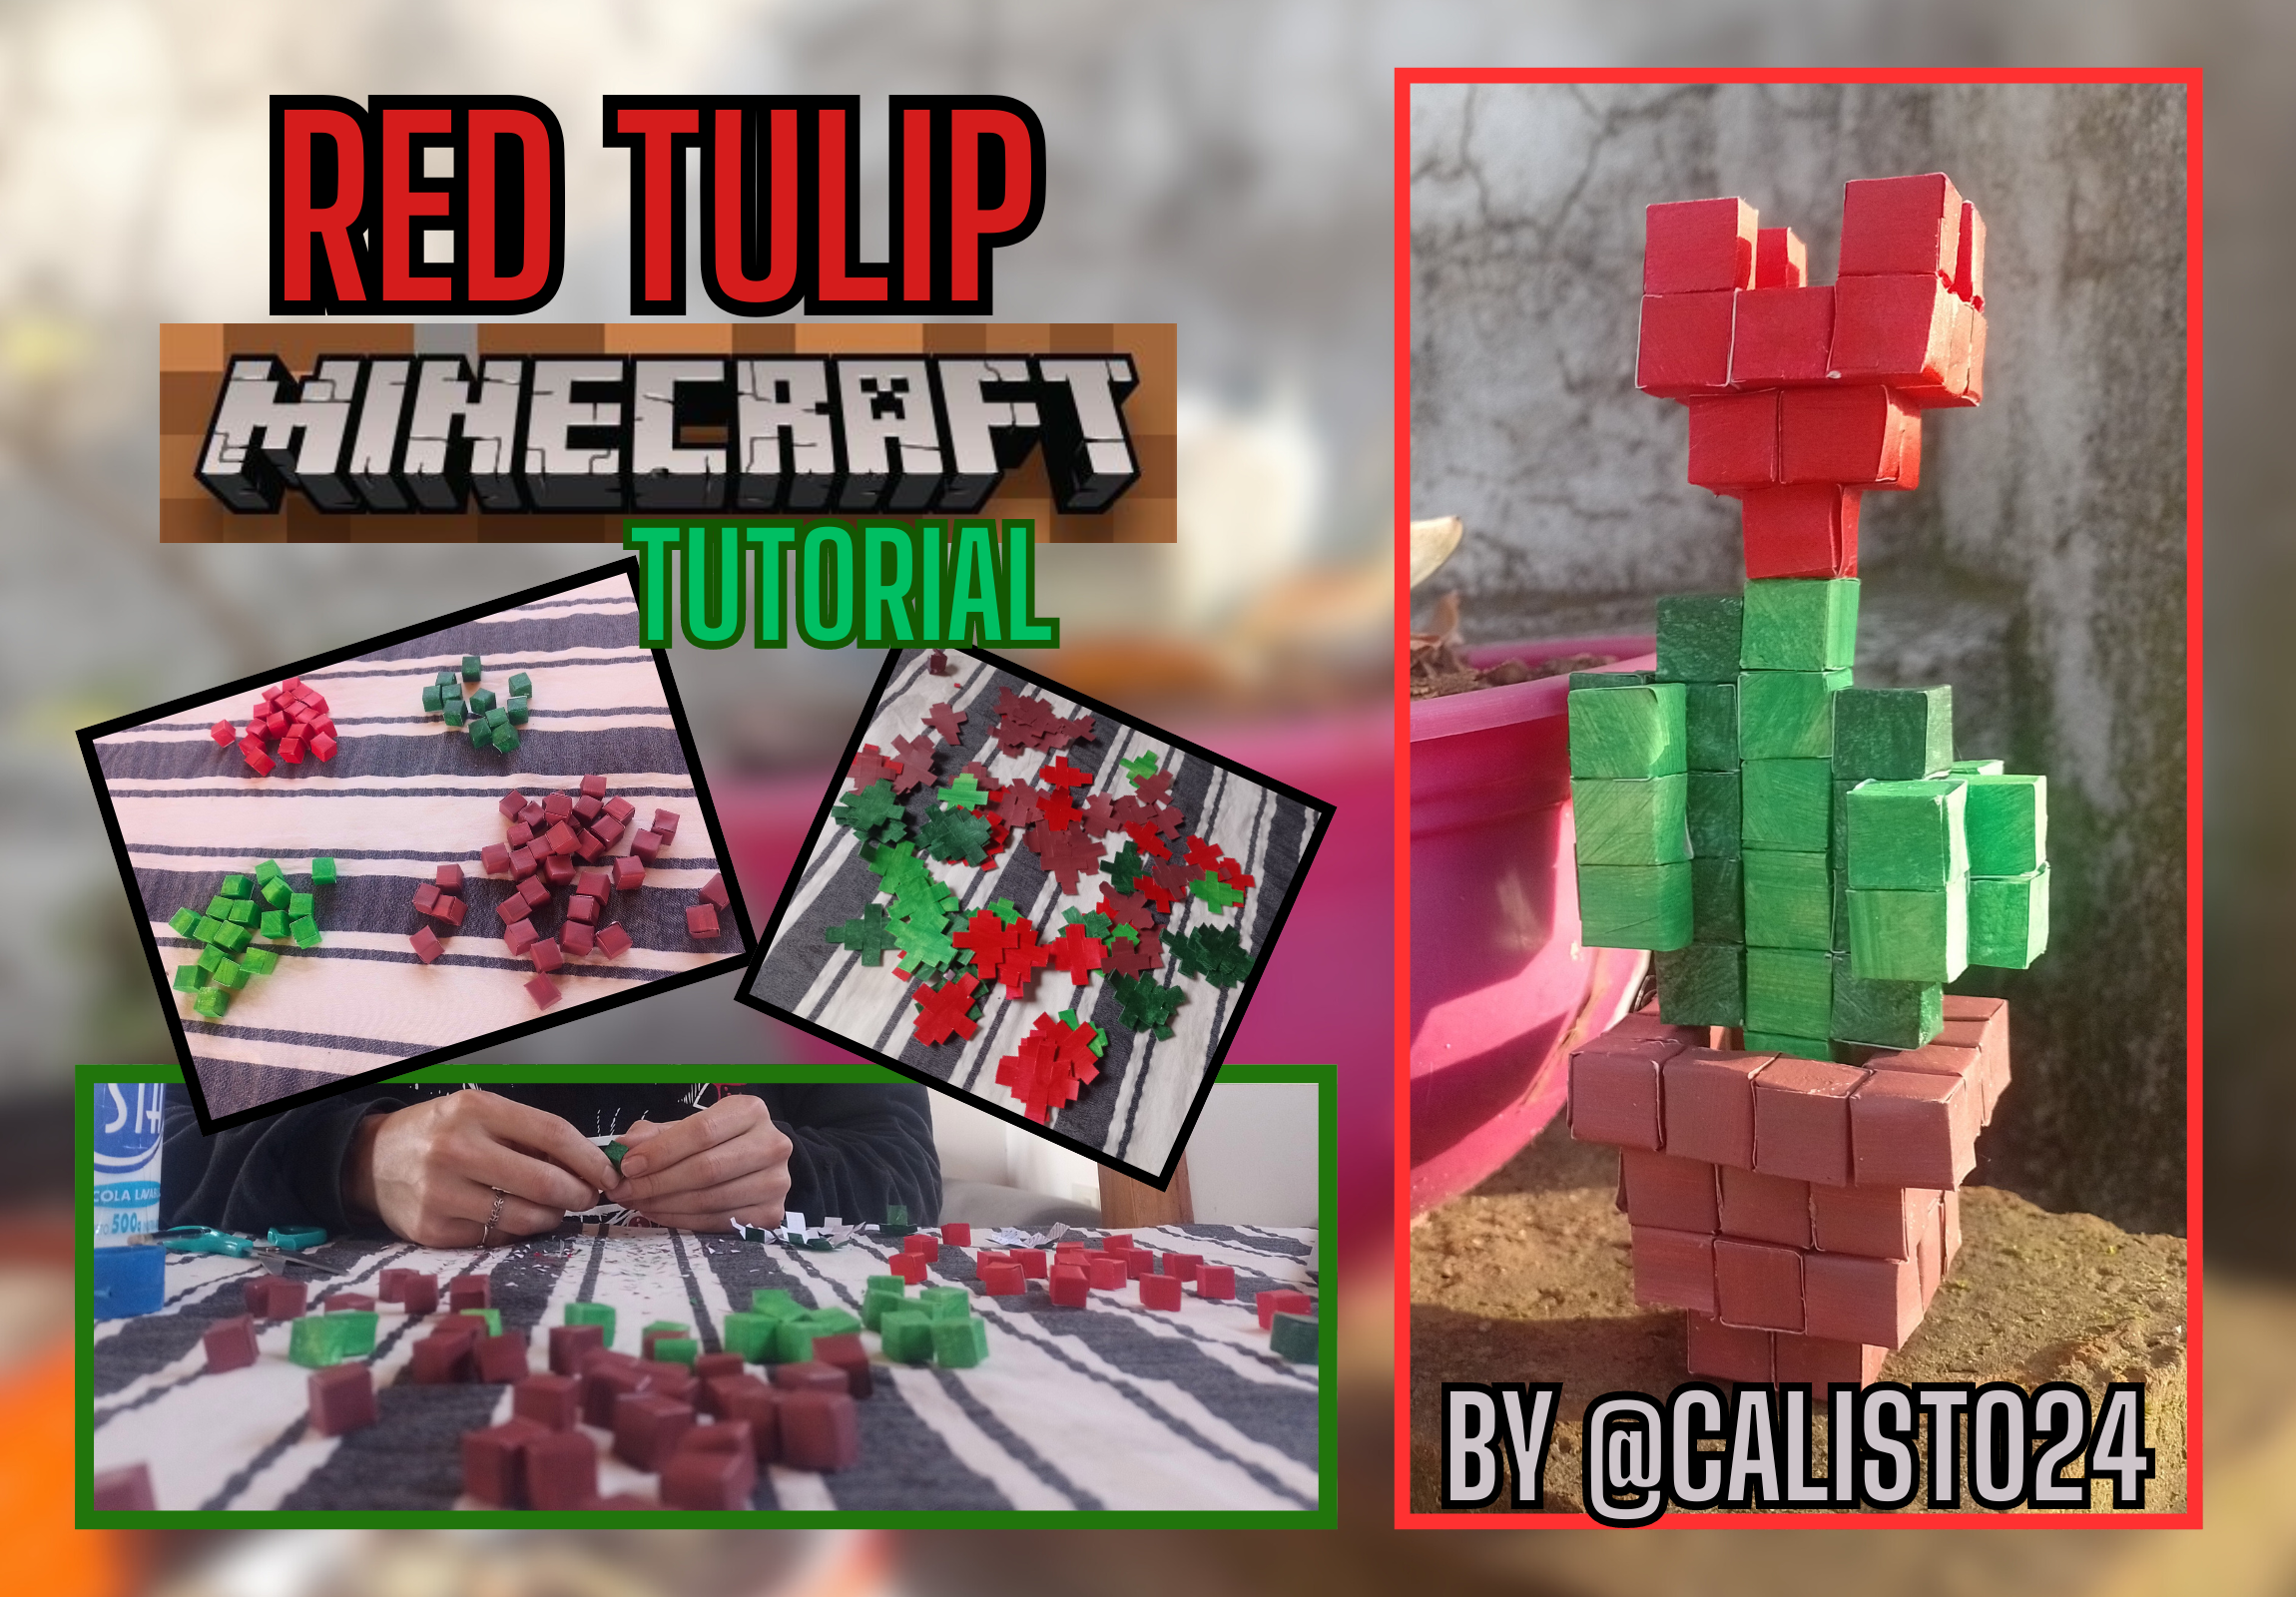
Hey dear community of artists!
Lately I have found it very satisfying to create Minecraft objects, I don't know if it is because I find the concept of cubes very beautiful or because my creativity is simply exploring this world, but I simply love it! Therefore, here I bring you this tutorial to create your own red tulip made with paper. I hope you like it!
Hey querida comunidad de artistas!
En este ultimo tiempo he encontrado muy satisfactorio crear objetos de Minecraft, no sé si será porque me parece muy bello el concepto de los cubos o porque simplemente mi creatividad está explorando este mundo, pero simplemente me encanta! Por eso, aquí les traigo este tutorial para crear tu propio tulipán rojo hecho con papel. Espero les guste!
Something that has been happening to me lately is that I wake up one day saying to myself "today I feel like doing some simple and quick craft", so I start thinking about ideas, I look for some references on the internet, I look for the materials that I will use and when at the end I'm finally starting, I realize that, well no, it won't be as simple or as quick as I imagined, but I've already started and I hate leaving my work half started. I'm just telling you that the main element you will need is patience 😅.
Algo que me viene pasando últimamente, es que despierto un día diciéndome a mi mismo "hoy tengo ganas de hacer alguna manualidad simple y rápida", entonces me pongo a pensar ideas, busco algunas referencias por internet, busco los materiales que utilizaré y cuando al fin comienzo, me doy cuenta de que, pues no, no será ni tan simple, ni tan rápida como me lo imaginaba, pero ya comencé y detesto dejar mis trabajos a medio empezar. Solo les comento que el elemento principal que necesitaran, es la paciencia 😅.
Well, now that I have done my download, we can start with the step by step 🤣.
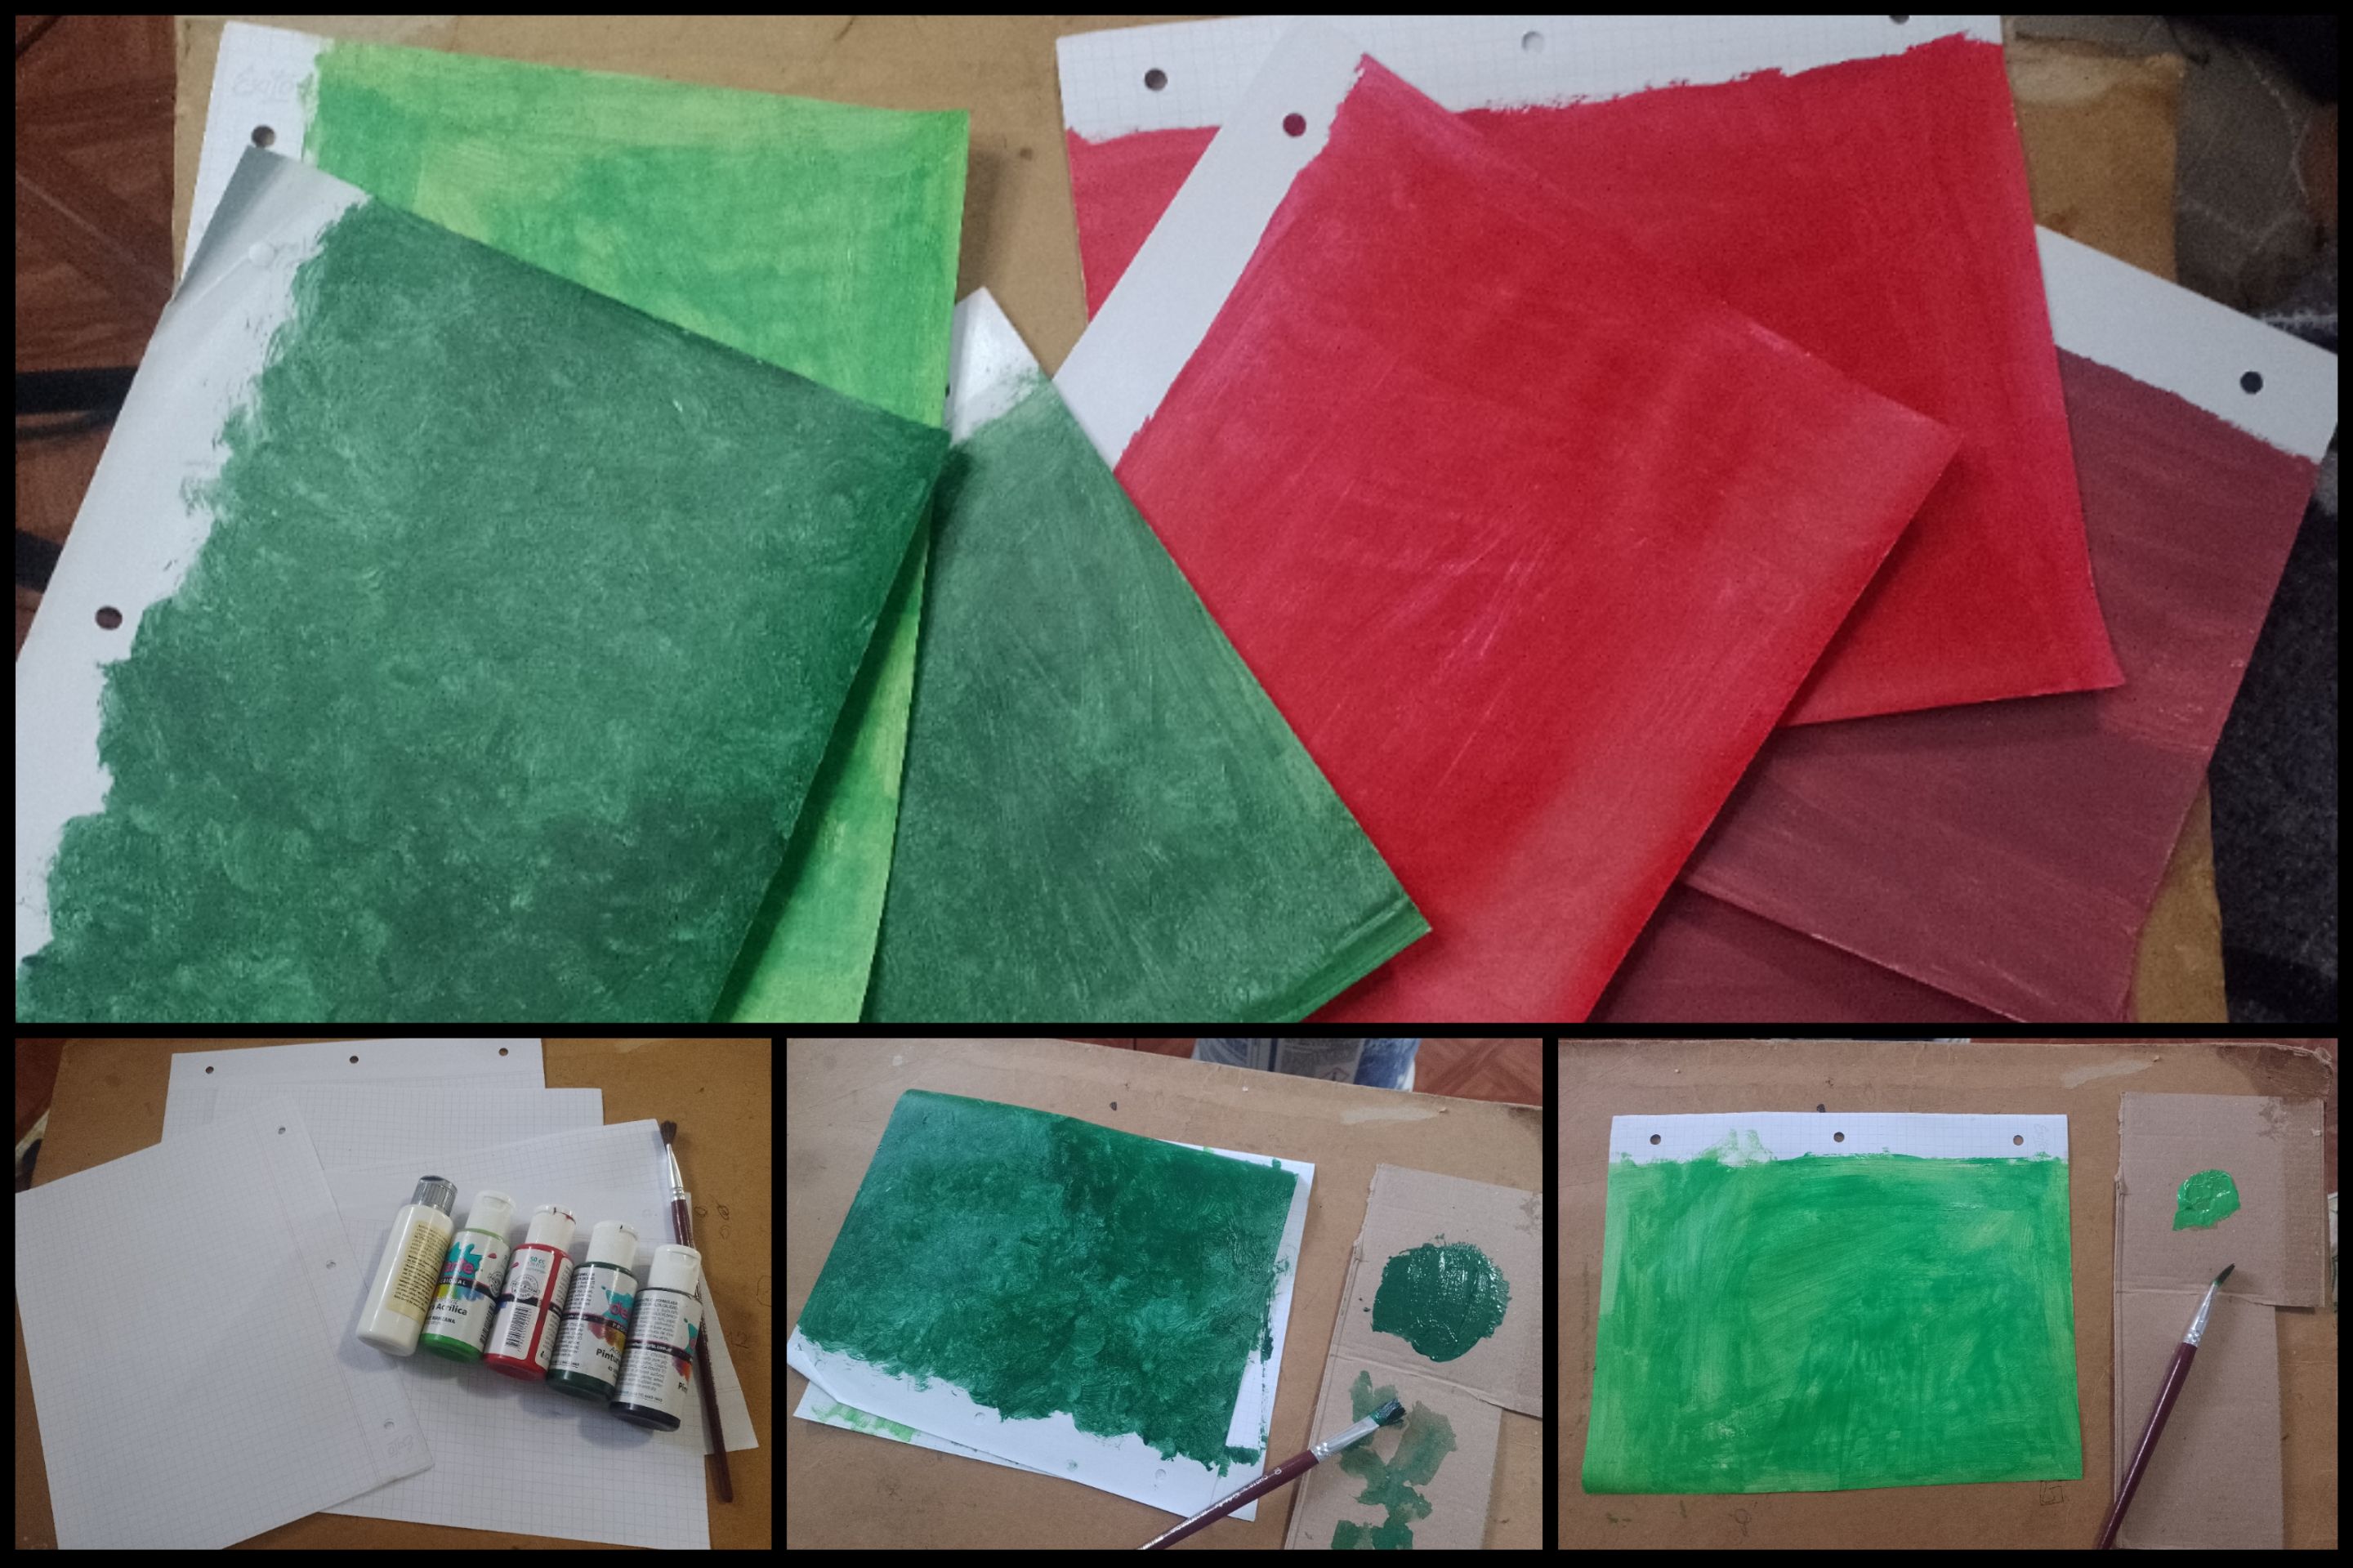
To start, I used 7 gridded folder sheets (making them grids will make measuring things much easier for us later) and some acrylic paints.
I looked for some images on the internet about the different plants that exist in the video game, and I chose the red tulip because I thought it was very beautiful. Then, I saw the colors I was going to need to make it. Red, light green, dark green and brown (I didn't have brown acrylic paint and I didn't have any yellow left to create the tone, so I mixed red, light green and a little bit of white to create the "tile" color that is similar to the color of clay, the material with which pots are mostly made).
Then I painted 2 brick-colored leaves, 2 red leaves, 2 dark green leaves, and 1 light green leaf. Until that moment I didn't know how many cubes I was going to fit on each page, so it's better to make sure there's more than enough.
Bien, ya hecho mi descargo, podemos empezar con el paso a paso 🤣.Para comenzar, utilicé 7 hojas cuadriculadas de carpeta (que sean cuadriculas nos facilitará muchísimo el tema de las medidas luego) y algunas pinturas acrílicas.
Busqué algunas imágenes en internet sobre las diferentes plantas que existen en el videojuego, y elegí el tulipán rojo porque me pareció muy bello. Entonces, vi los colores que iba a necesitar para hacerlo. Rojo, verde claro, verde oscuro y marrón (no tenia pintura acrílica marrón y tampoco me quedaba color amarillo como para crear el tono, asique mesclé rojo, verde claro y un poquito de blanco para crear el color "teja" que se asimila al color de la arcilla, material con el que mayormente se hacen las macetas).
Entonces pinté 2 hojas de color teja, 2 hojas de color rojo, 2 hojas de color verde oscuro y 1 hoja de color verde claro. Hasta ese momento no sabía cuantos cubos me iban a entrar en cada hoja, asique mejor que sobre y que no falte.
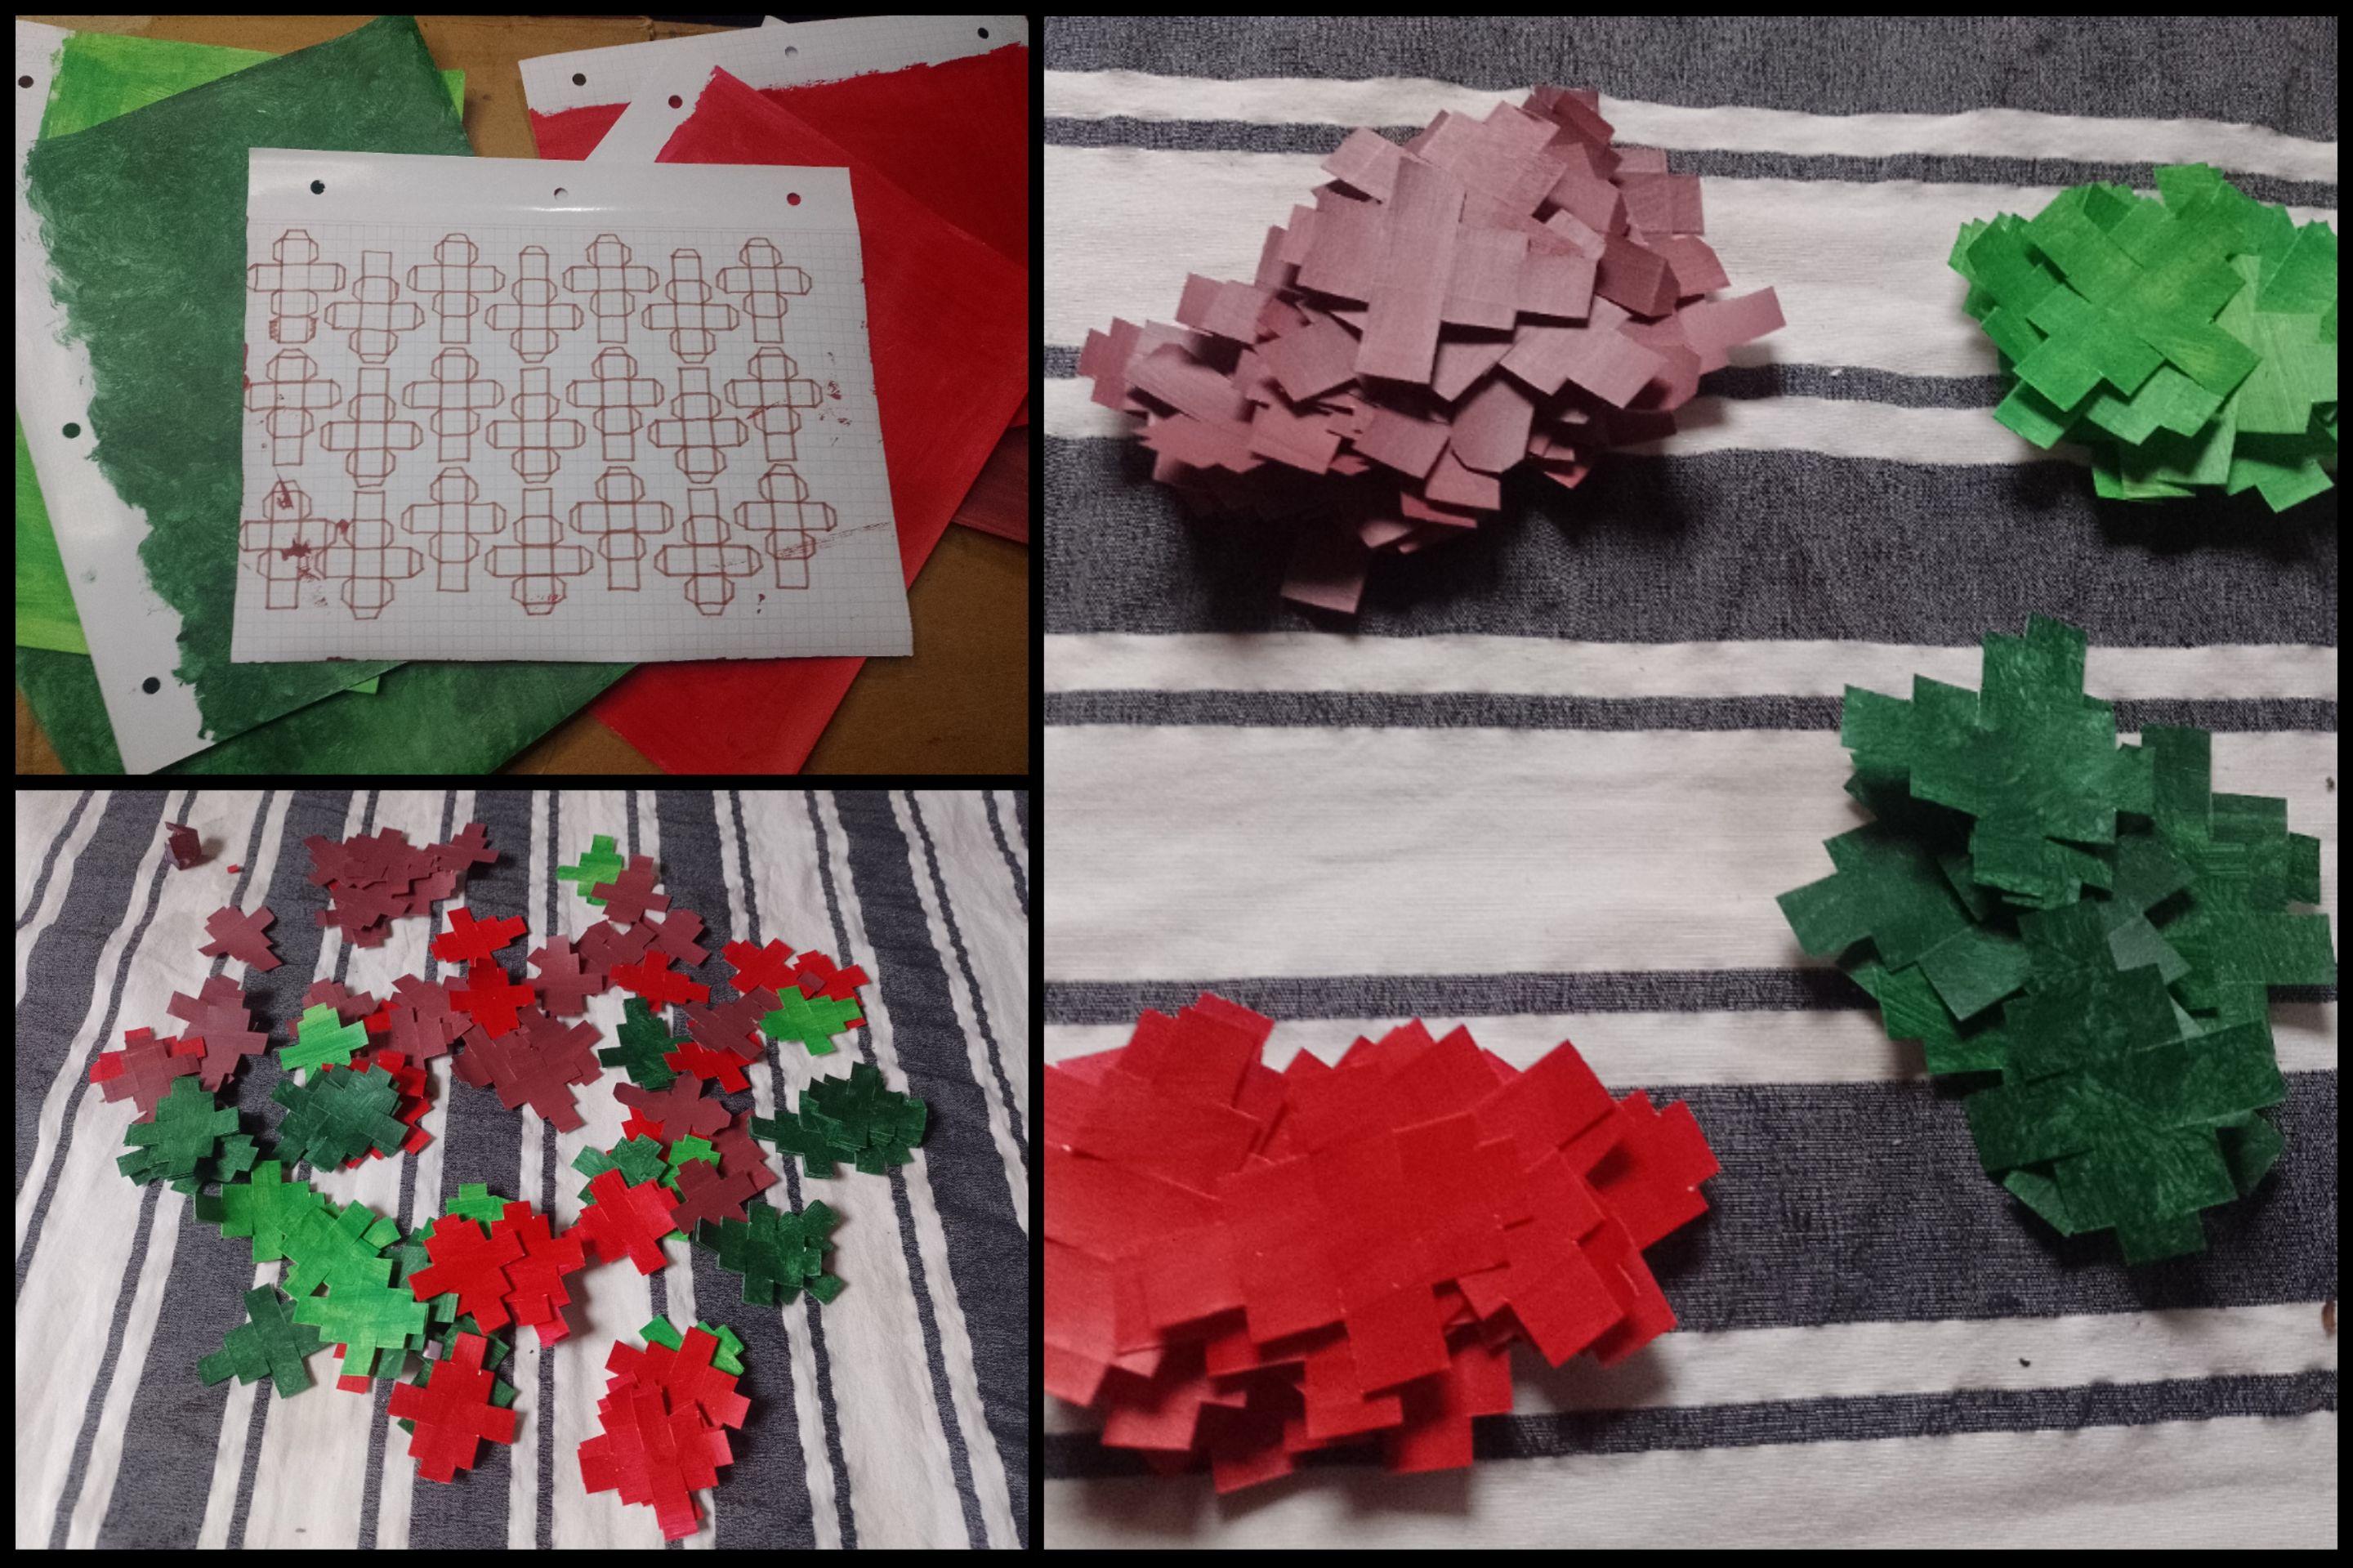
When all the painted leaves were dry, on the back side, I took advantage of the grid to mark the necessary shapes to then fold them and form the cubes. I made each cube 1 centimeter in diameter, so the measurements for each template will be 4 centimeters long by 3 centimeters wide (on some strategic edges, I drew a 1/2 centimeter flap to make it easier to form later. the cubes) in the photos have the reference of the templates I drew.
I drew all the templates as close to each other as possible so as not to waste space and I repeated this procedure with the rest of the sheets, and then I cut out each of the templates.
Cuando todas las hojas pintadas ya estaban secas, por la parte de atrás, aproveché la cuadricula para marcar las formas necesarias para luego plegarlas y formar los cubos. Hice cada cubo de 1 centímetro de diámetro, por lo que las medidas para cada plantilla, será de 4 centímetros de largo por 3 centímetros de ancho (en algunos bordes estratégicos, dibujé una solapa de 1/2 centímetro para que luego sea mas fácil formar los cubos) en las fotos tienen la referencia de las plantillas que dibujé.Dibujé todas las plantillas lo mas cerca una de la otra para no desperdiciar espacio y repetí este procedimiento con el resto de las hojas, y luego recorté cada una de las plantillas.
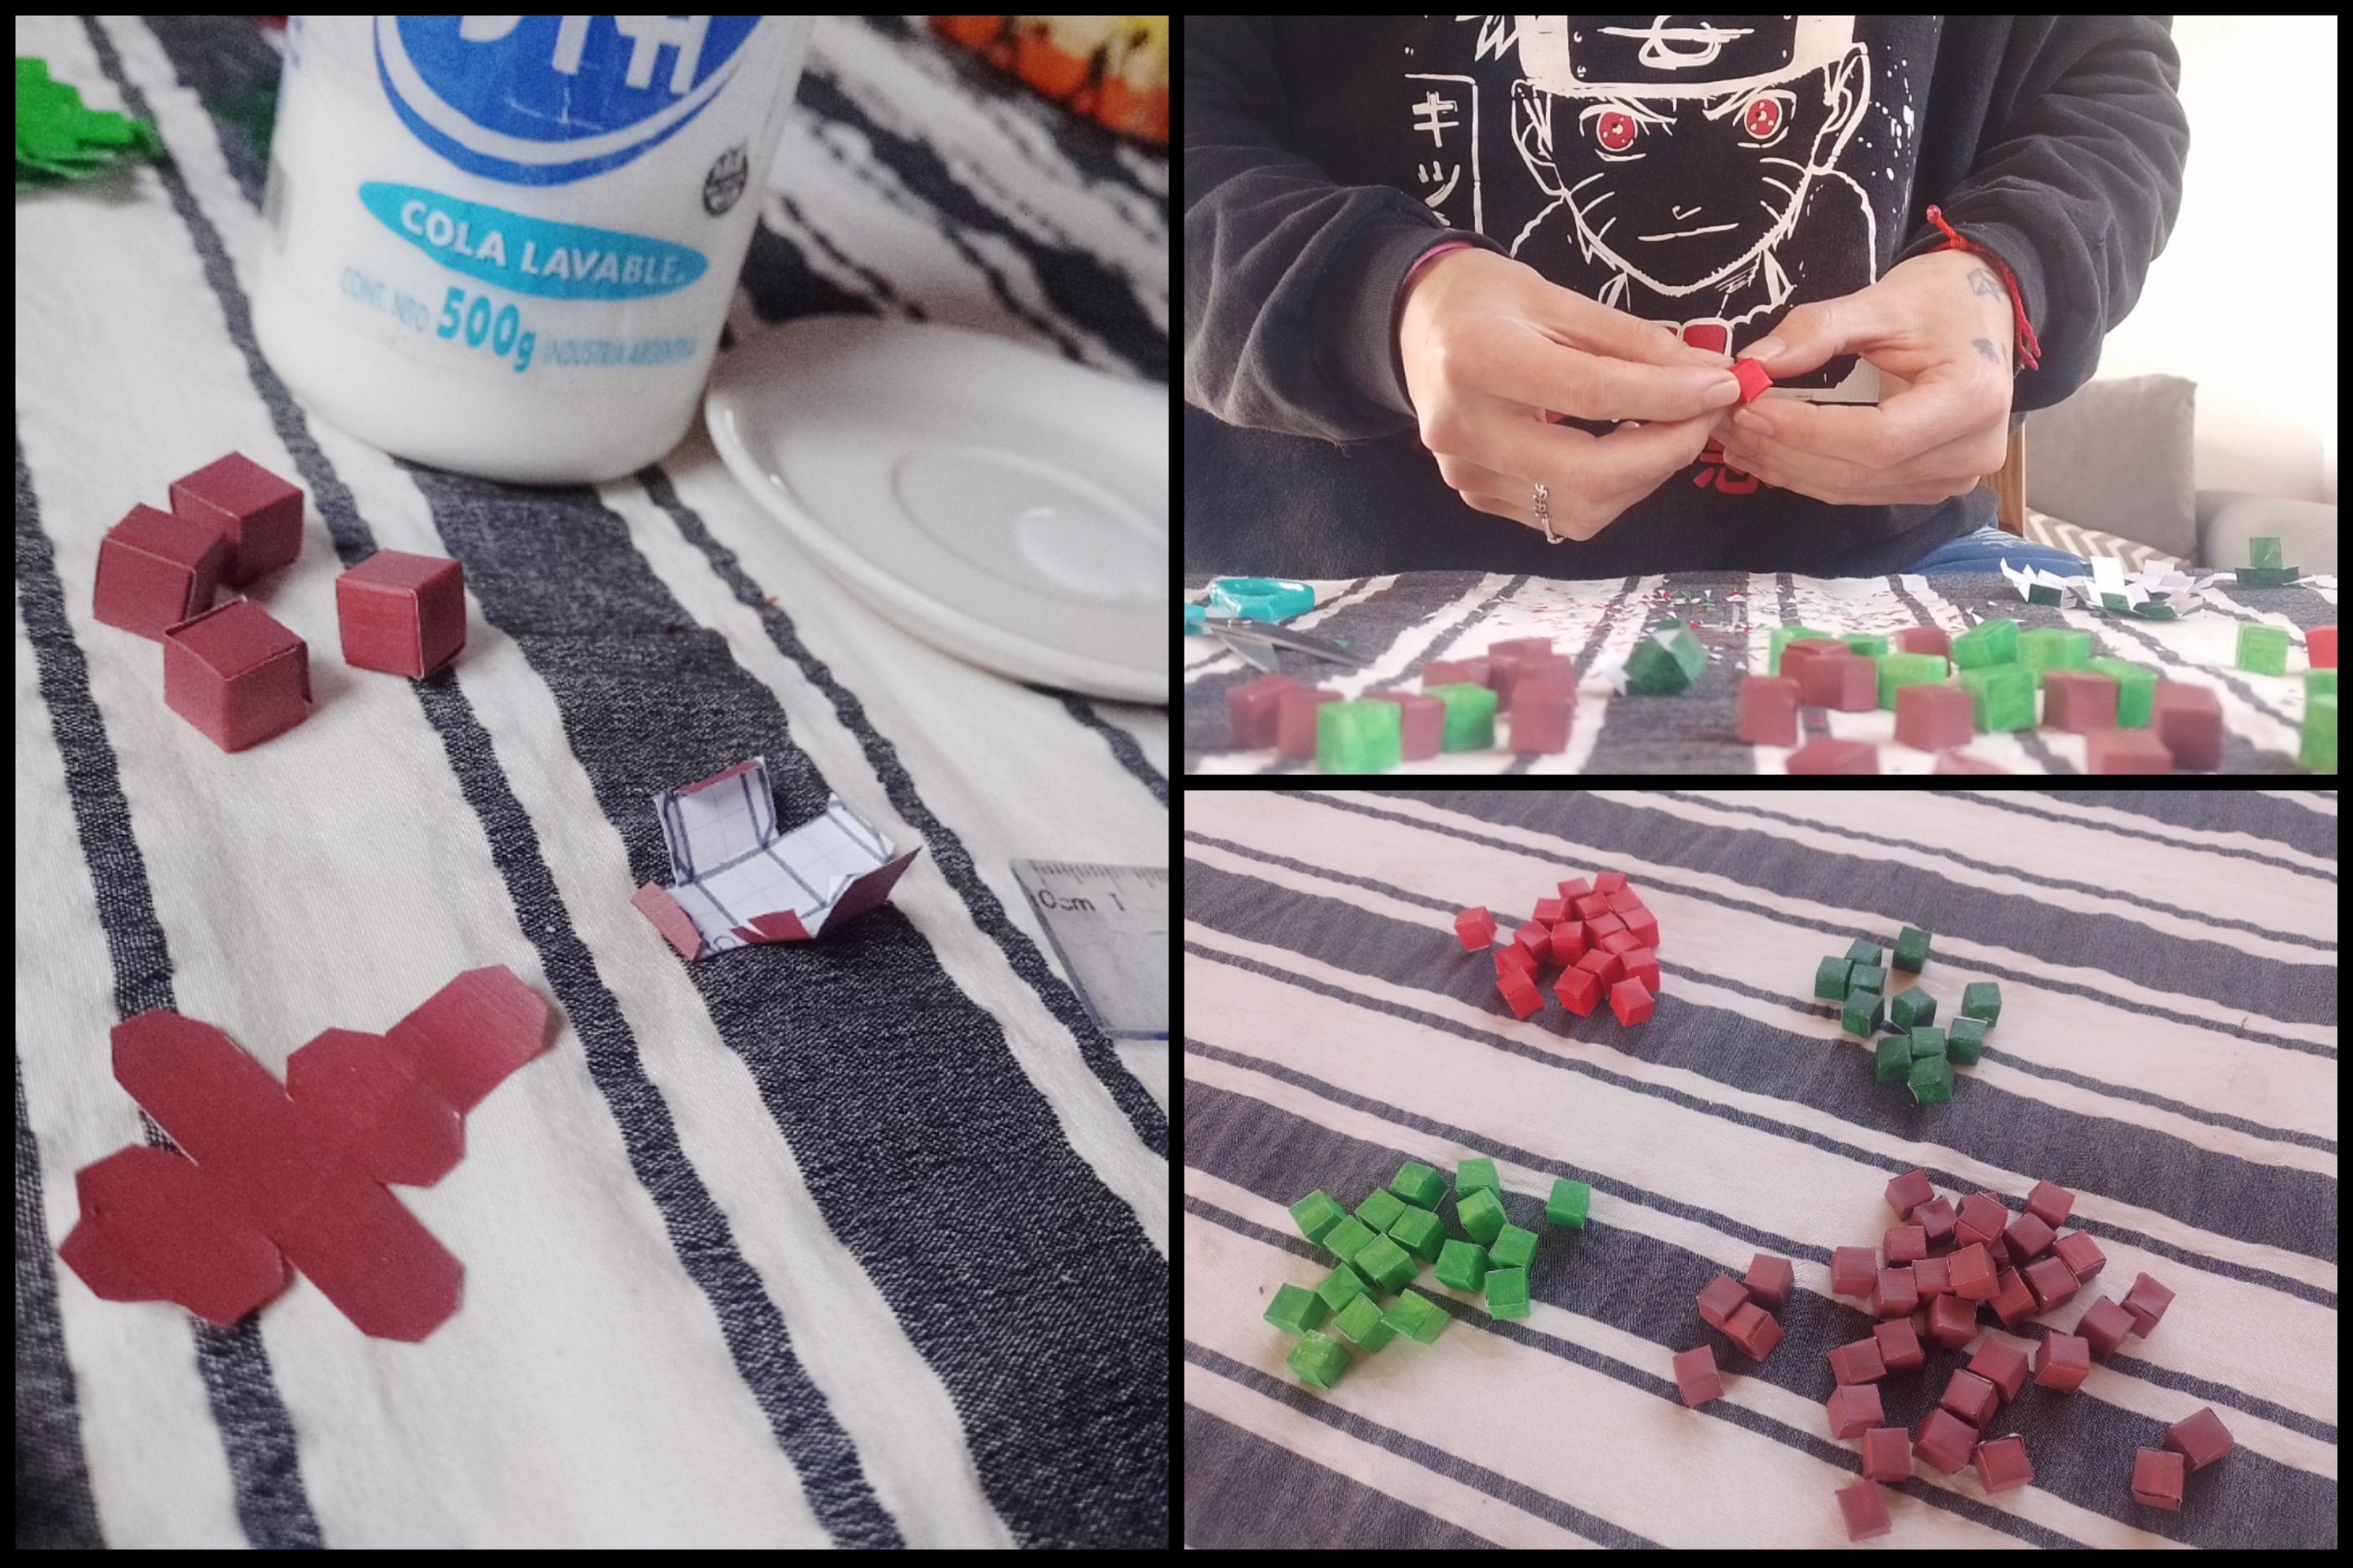
And we come to the least fun part. Assemble all the cubes one by one.
We are going to need:
- 36 tile-colored (or brown) cubes.
- 18 light green cubes.
- 12 dark green cubes.
- 17 red cubes.
Y llegamos a la parte menos divertida. Armar todos los cubos uno a uno.Vamos a necesitar:
- 36 cubos de color teja (o marrón).
- 18 cubos de color verde claro.
- 12 cubos de color verde oscuro.
- 17 cubos de color rojo.
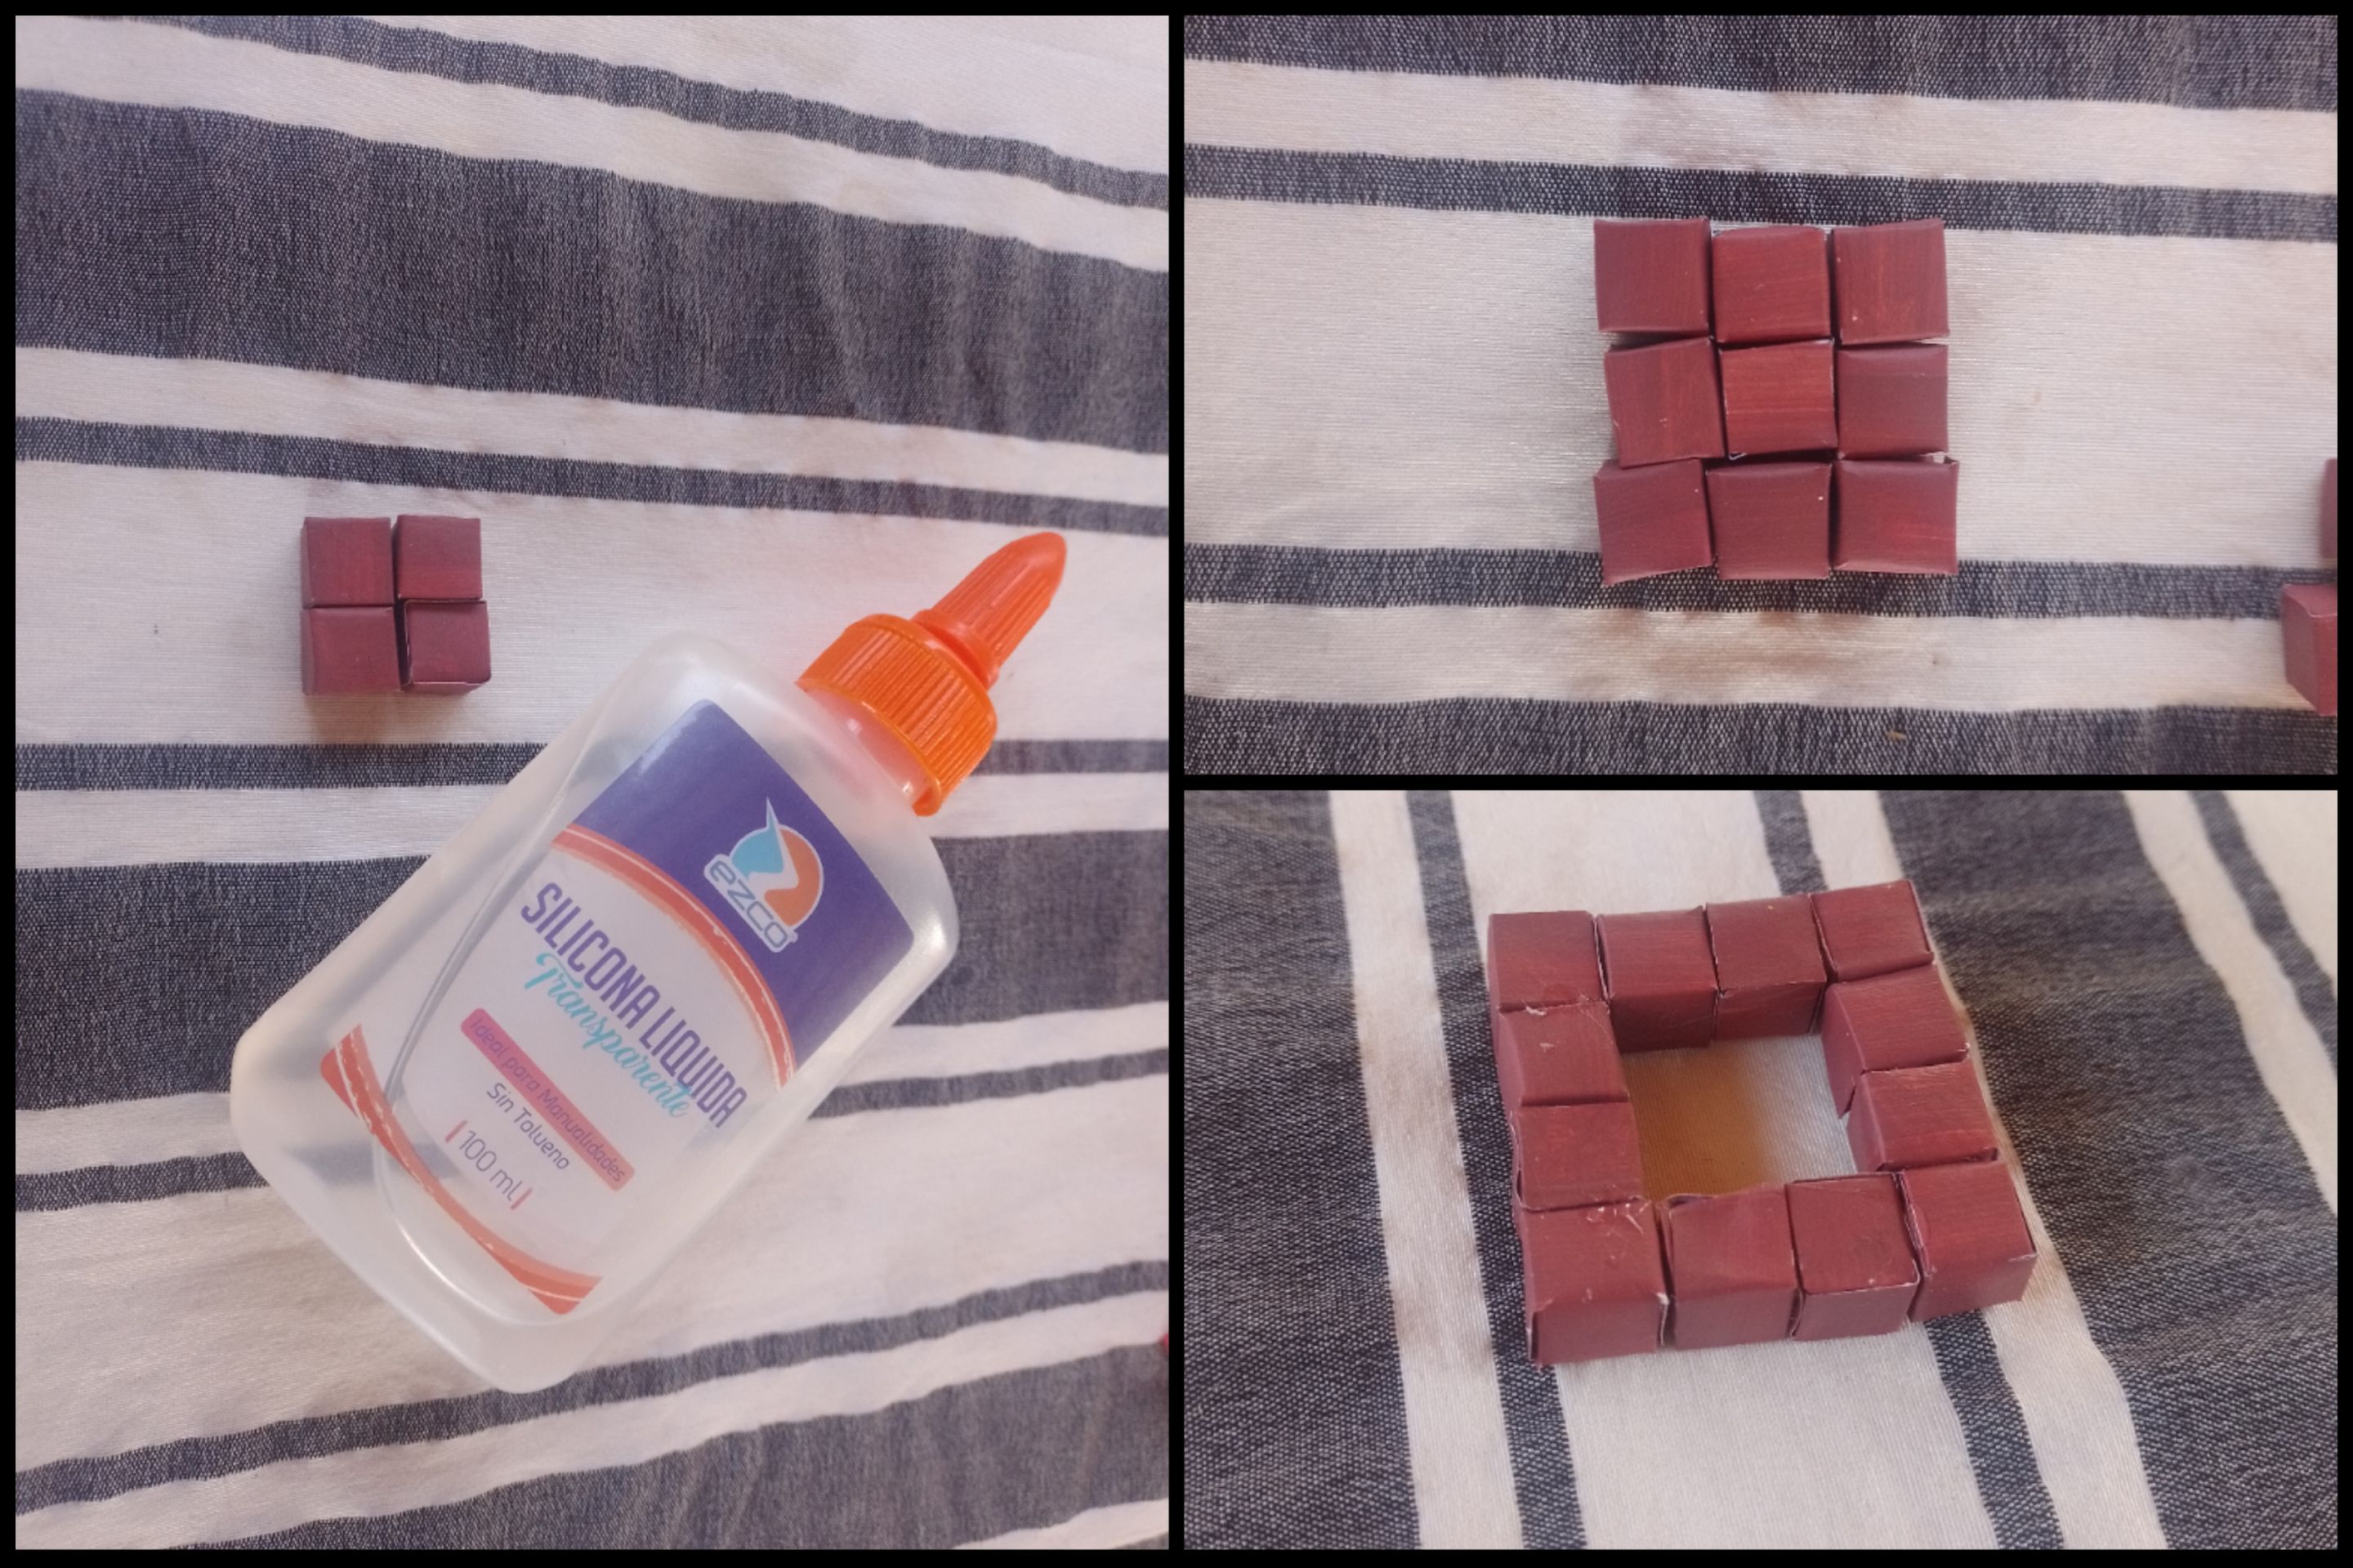
With the help of liquid silicone, or white glue, we will begin to fold the parts of the tulip.
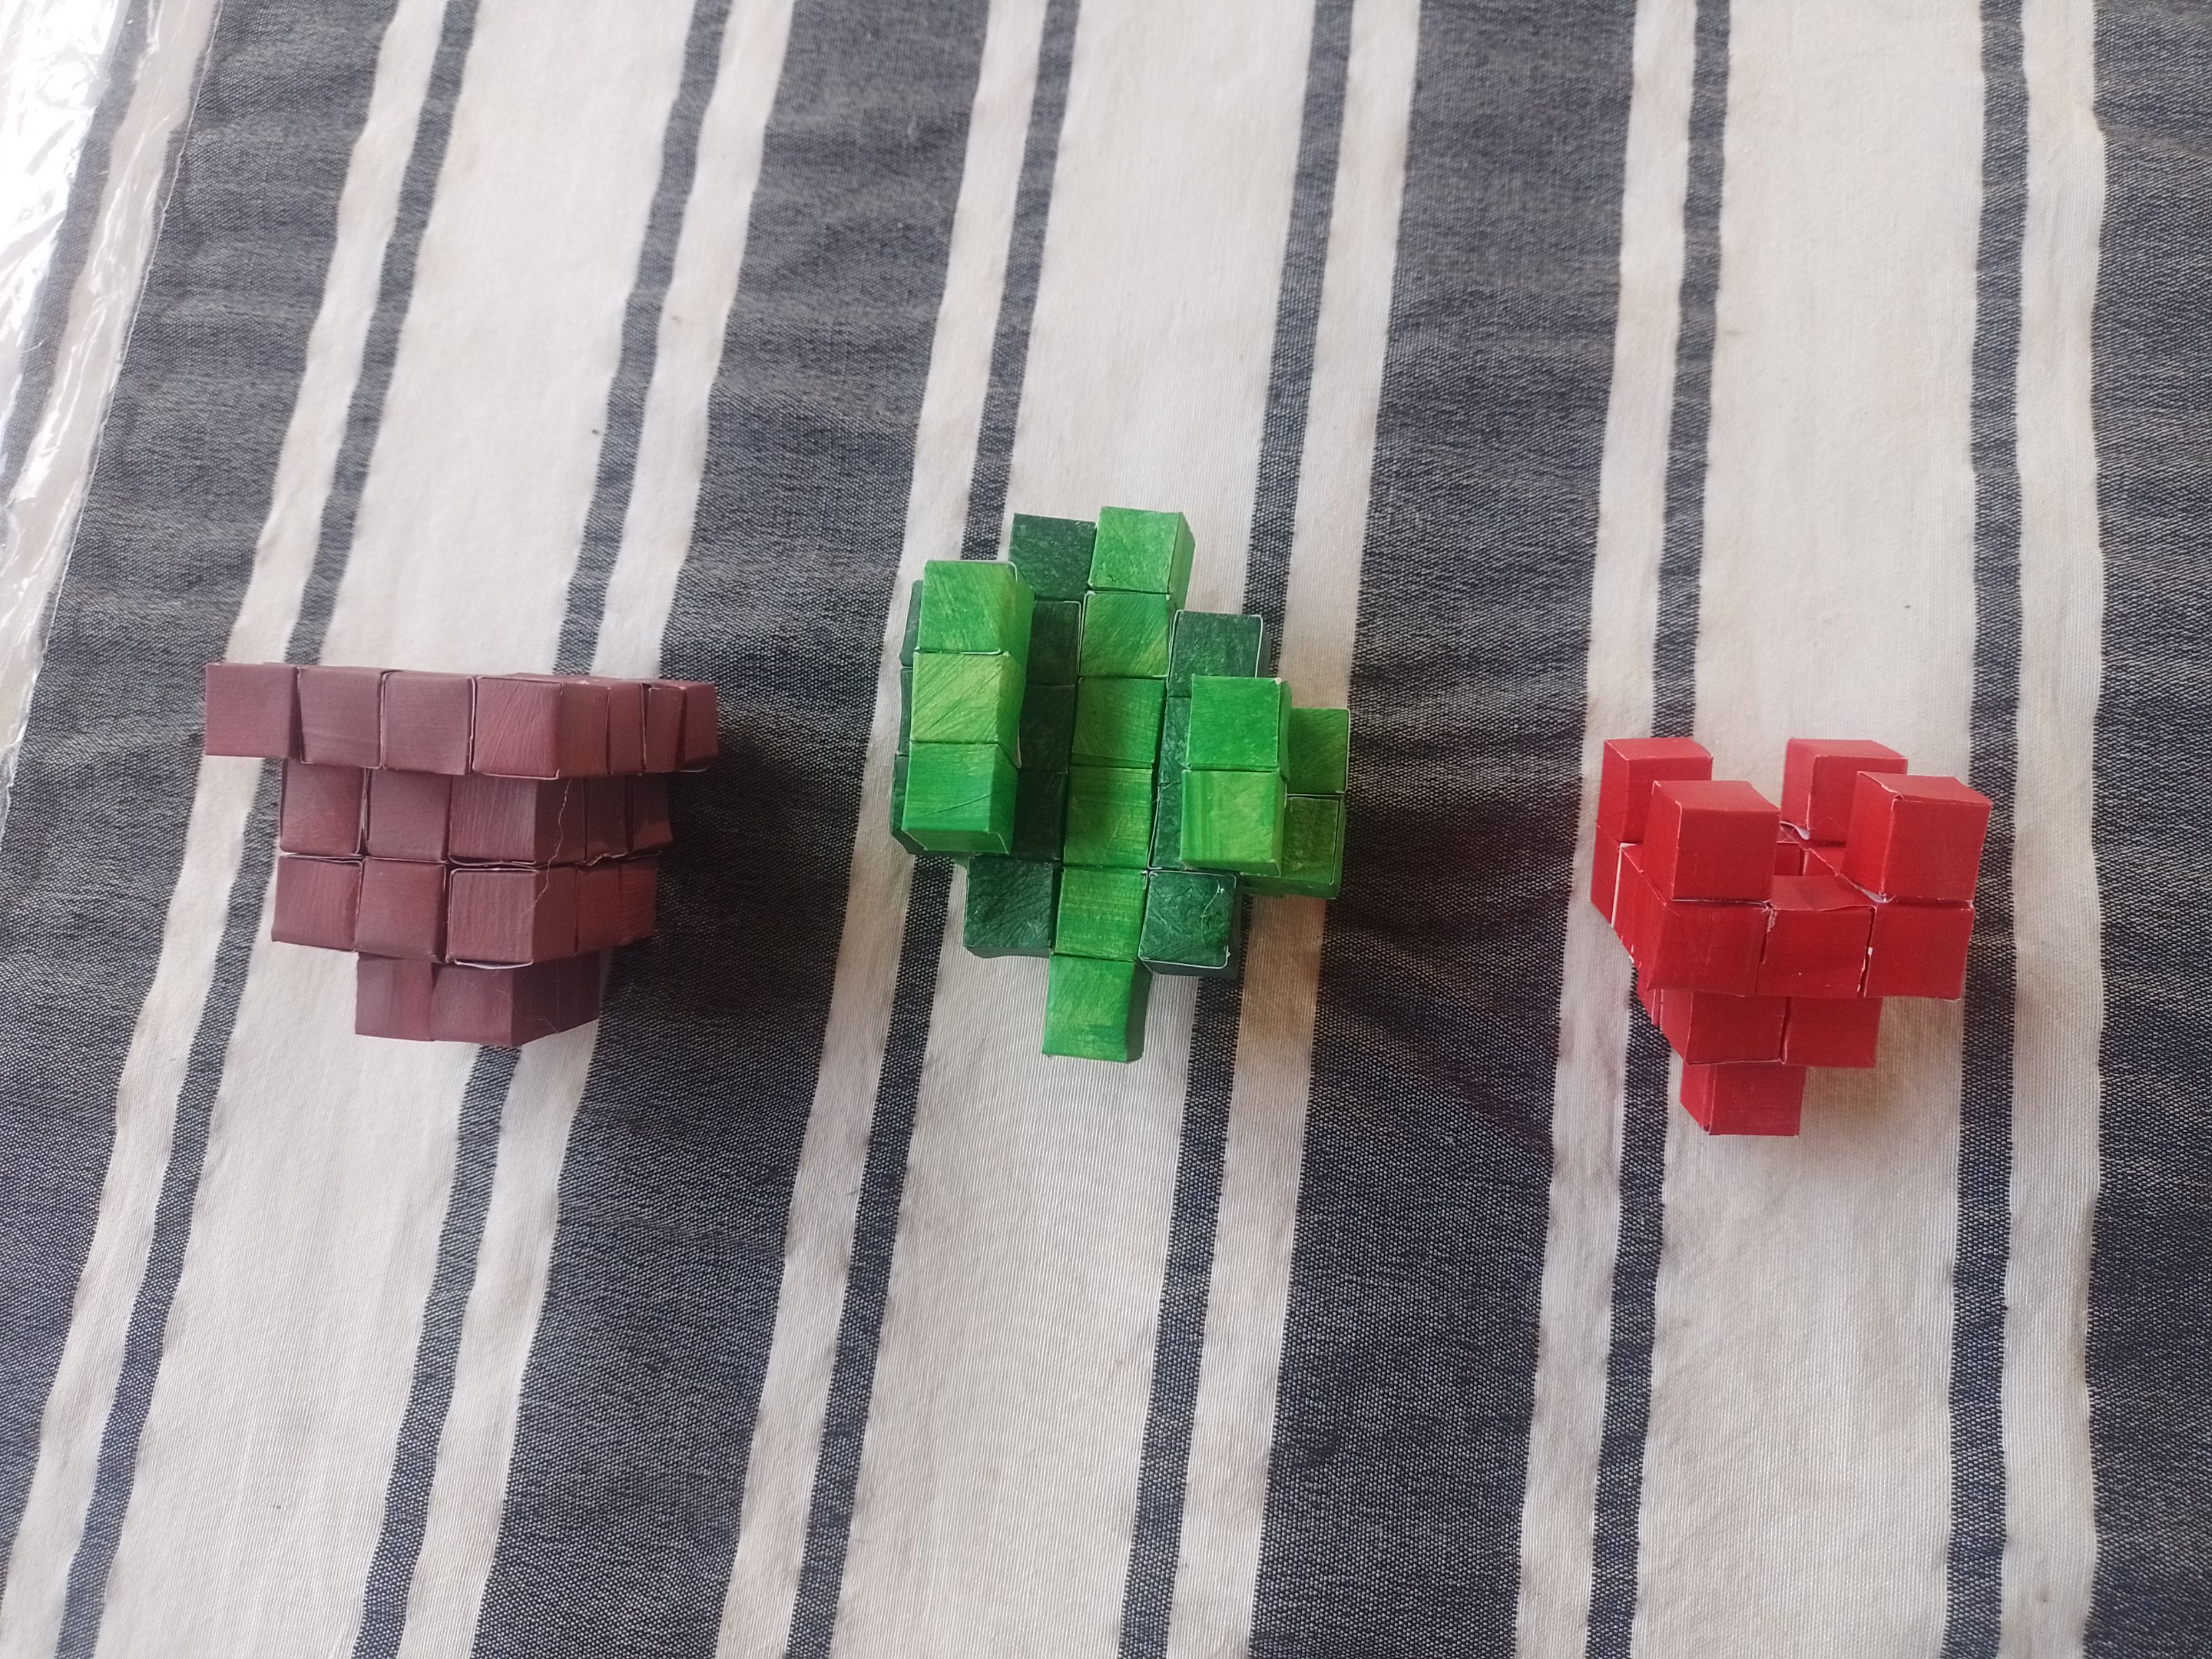
With the brick-colored (or brown) cubes we will have to form a 2 x 2 square (cubes), 2 larger 3 x 3 squares and a 4 x 4 frame.
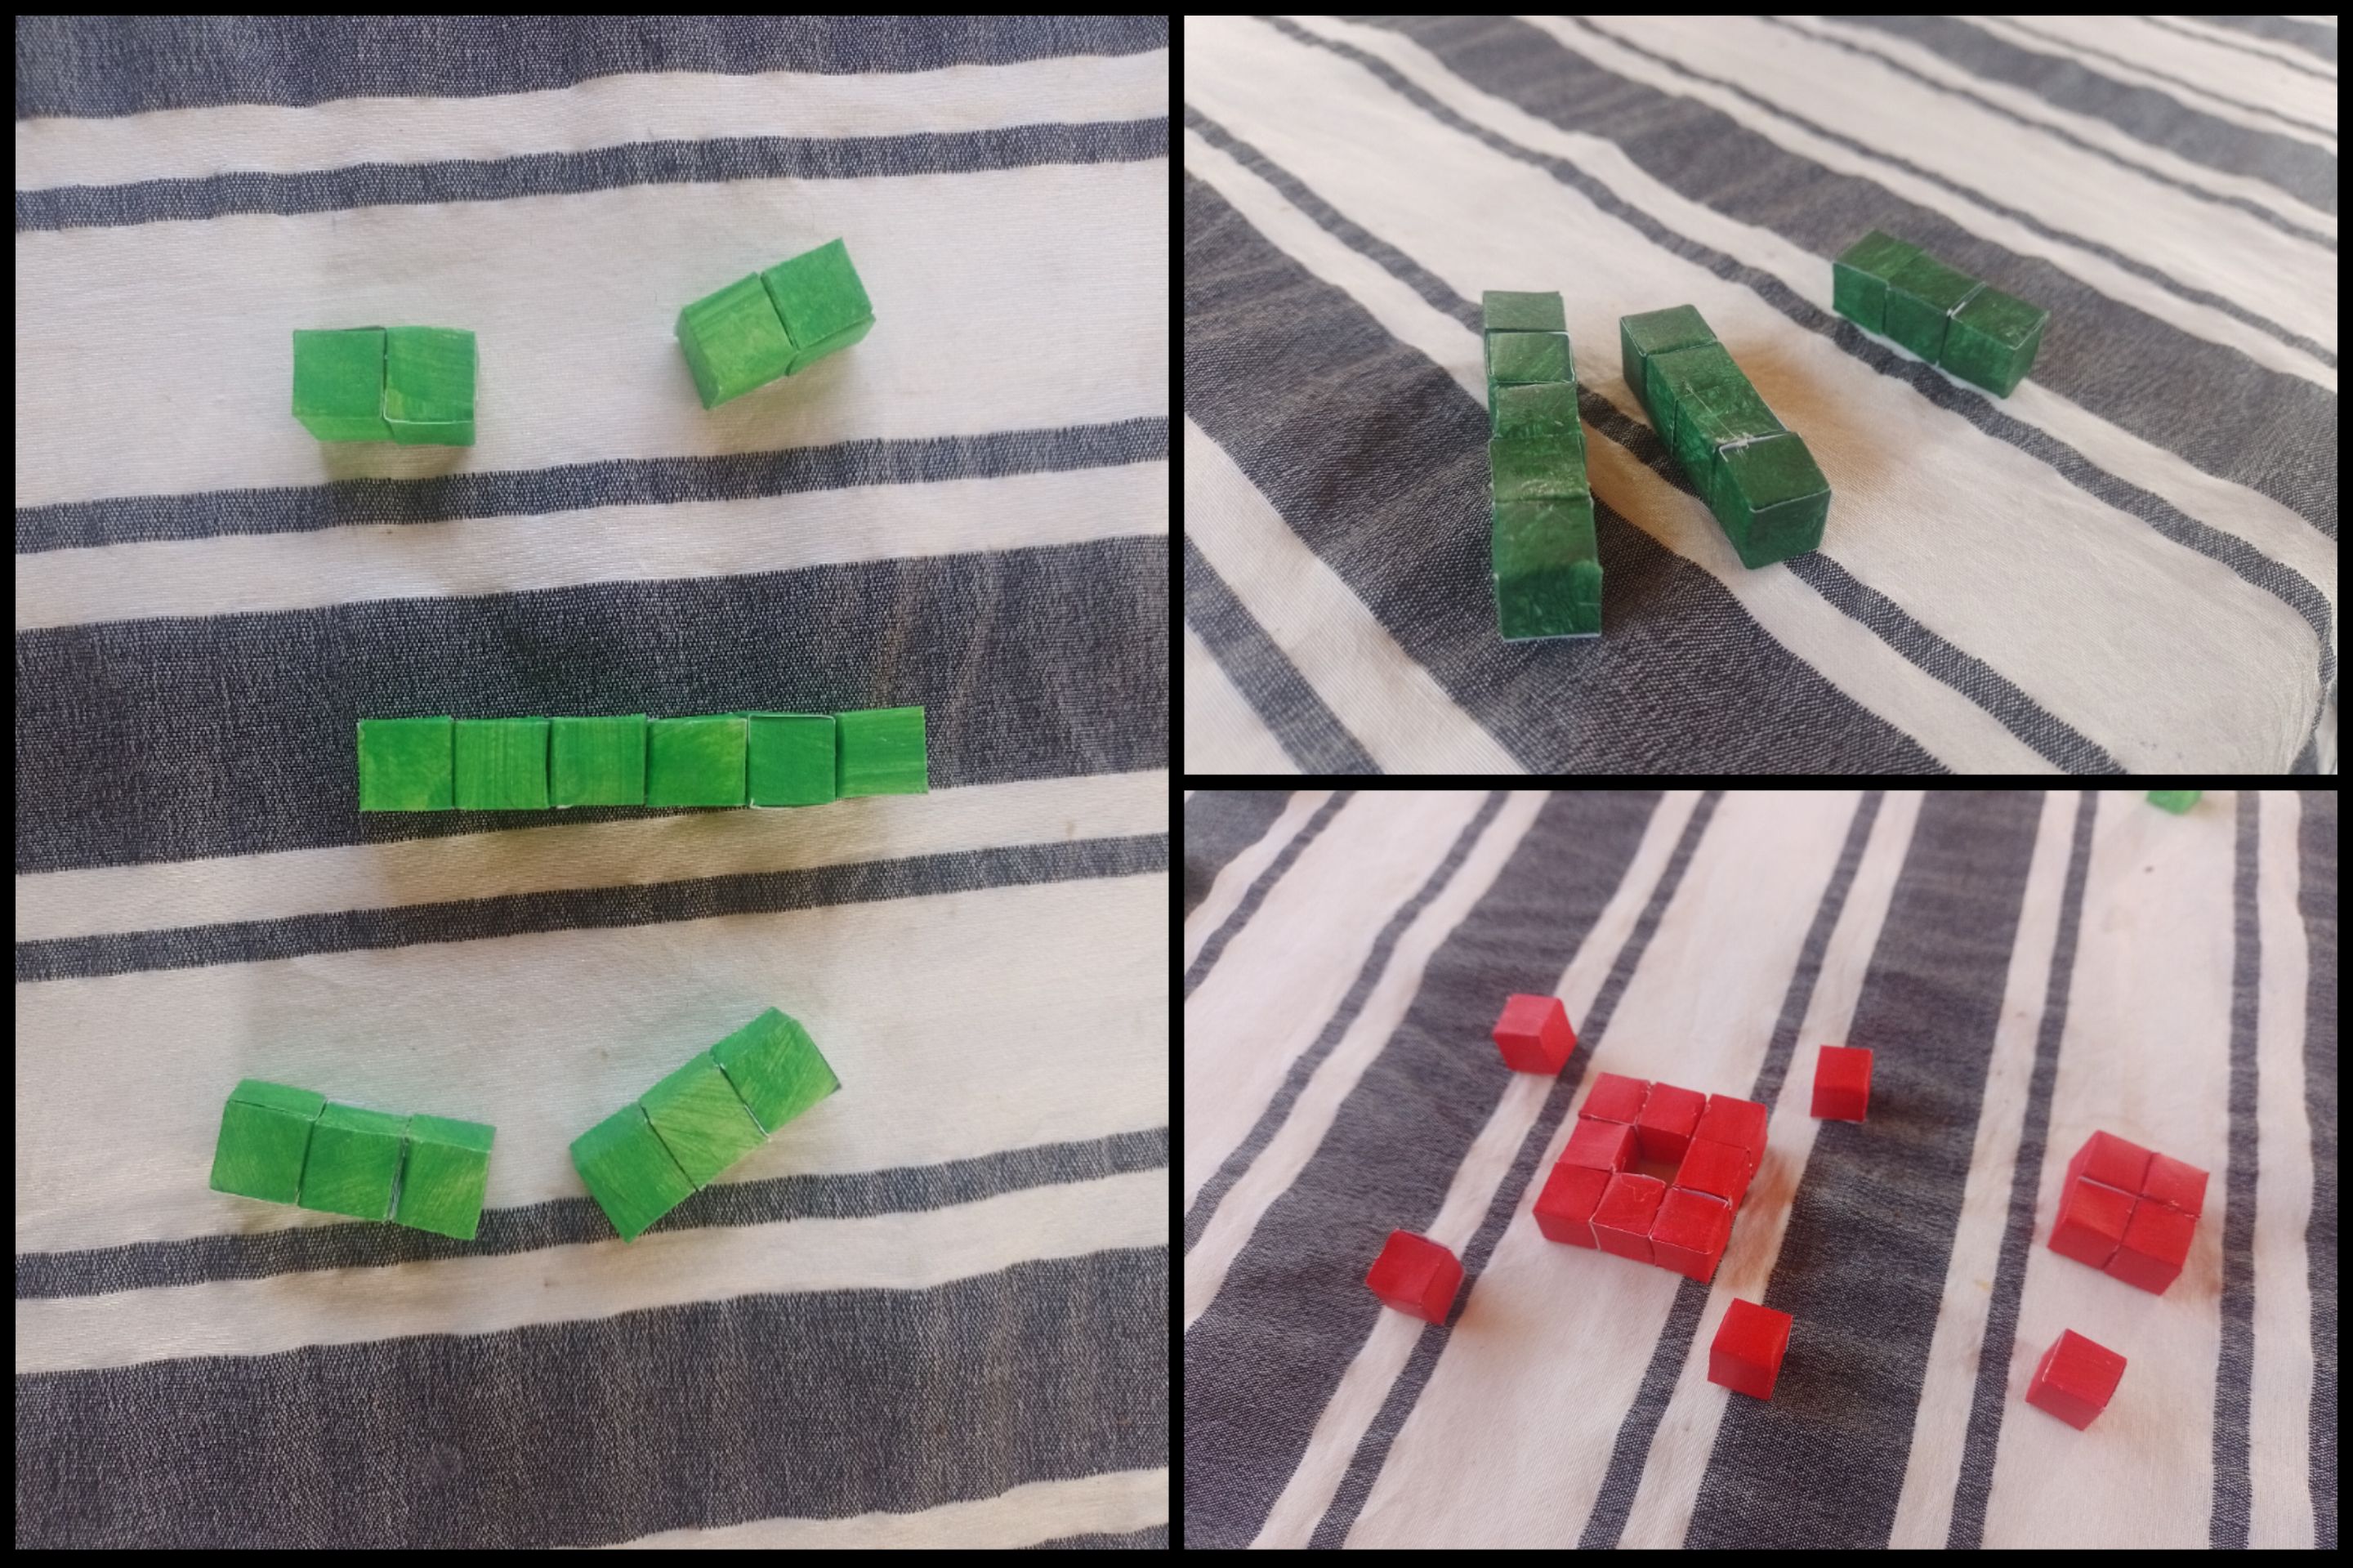
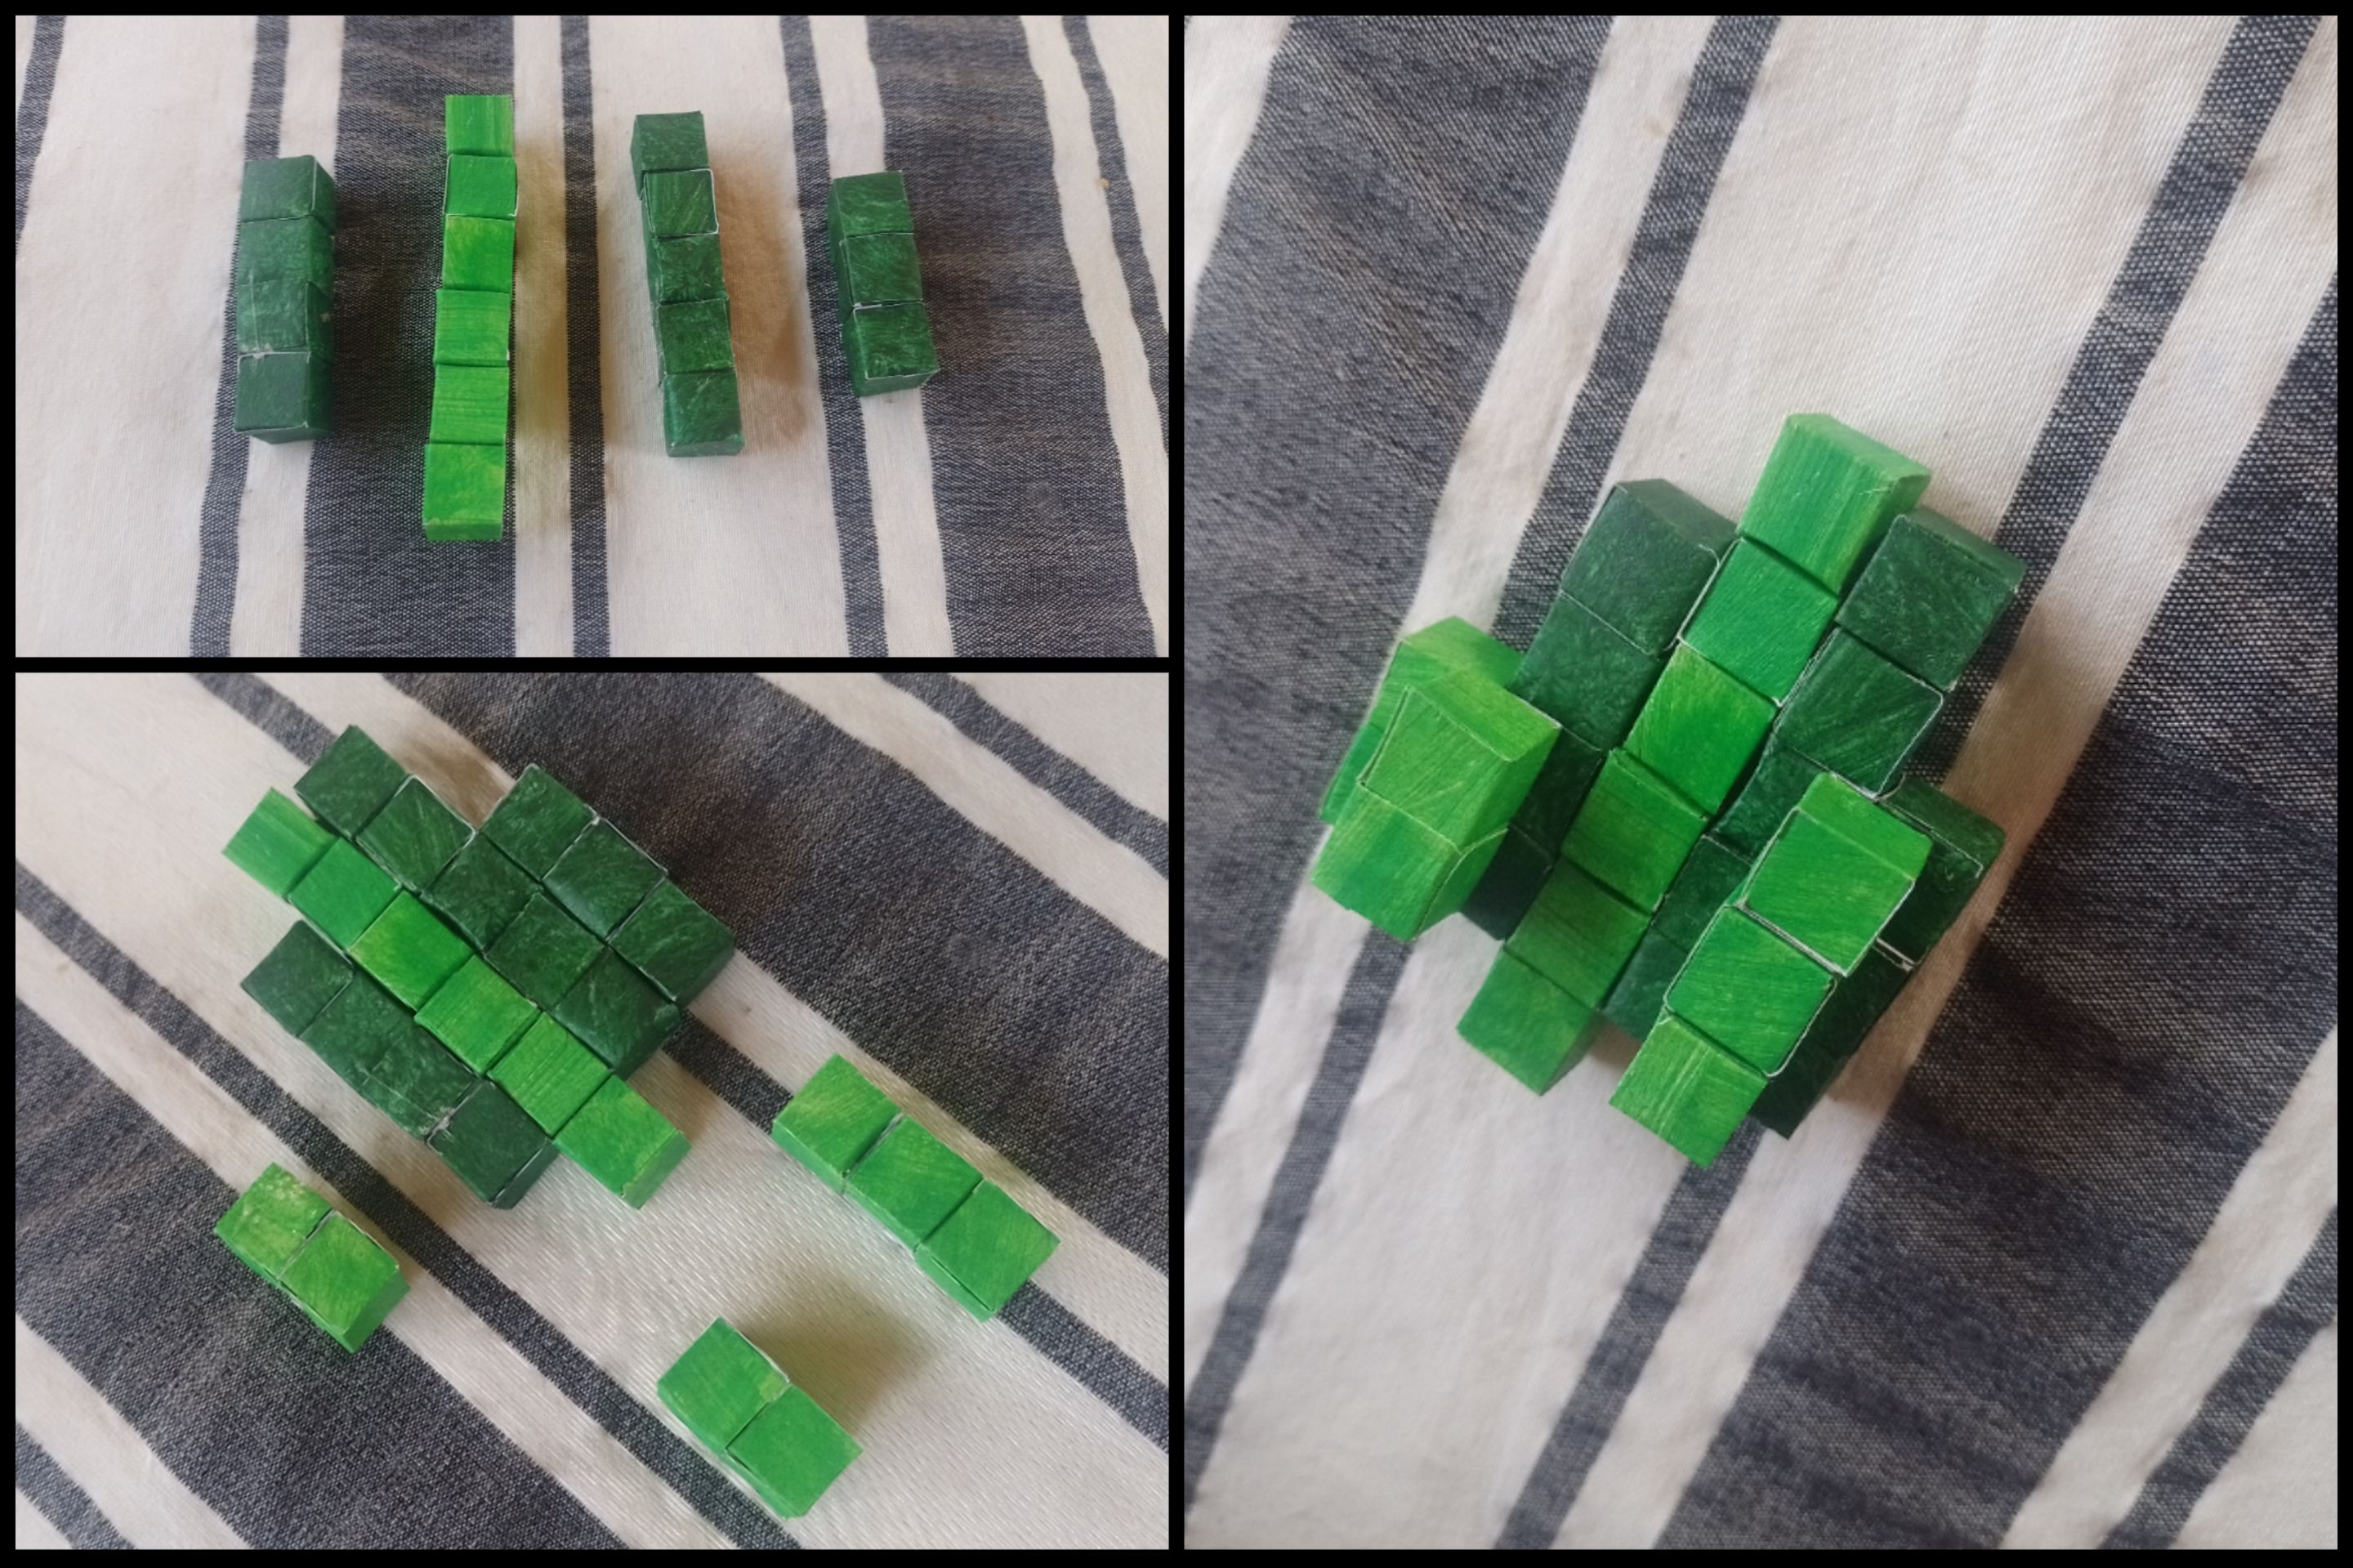
With the light green cubes, we will form 1 column of 6 cubes, 2 columns of 3 cubes and 2 columns of 2 cubes.
With the dark green color, we will form 1 column of 5 cubes, 1 column of 4 cubes and 1 column of 3 cubes.
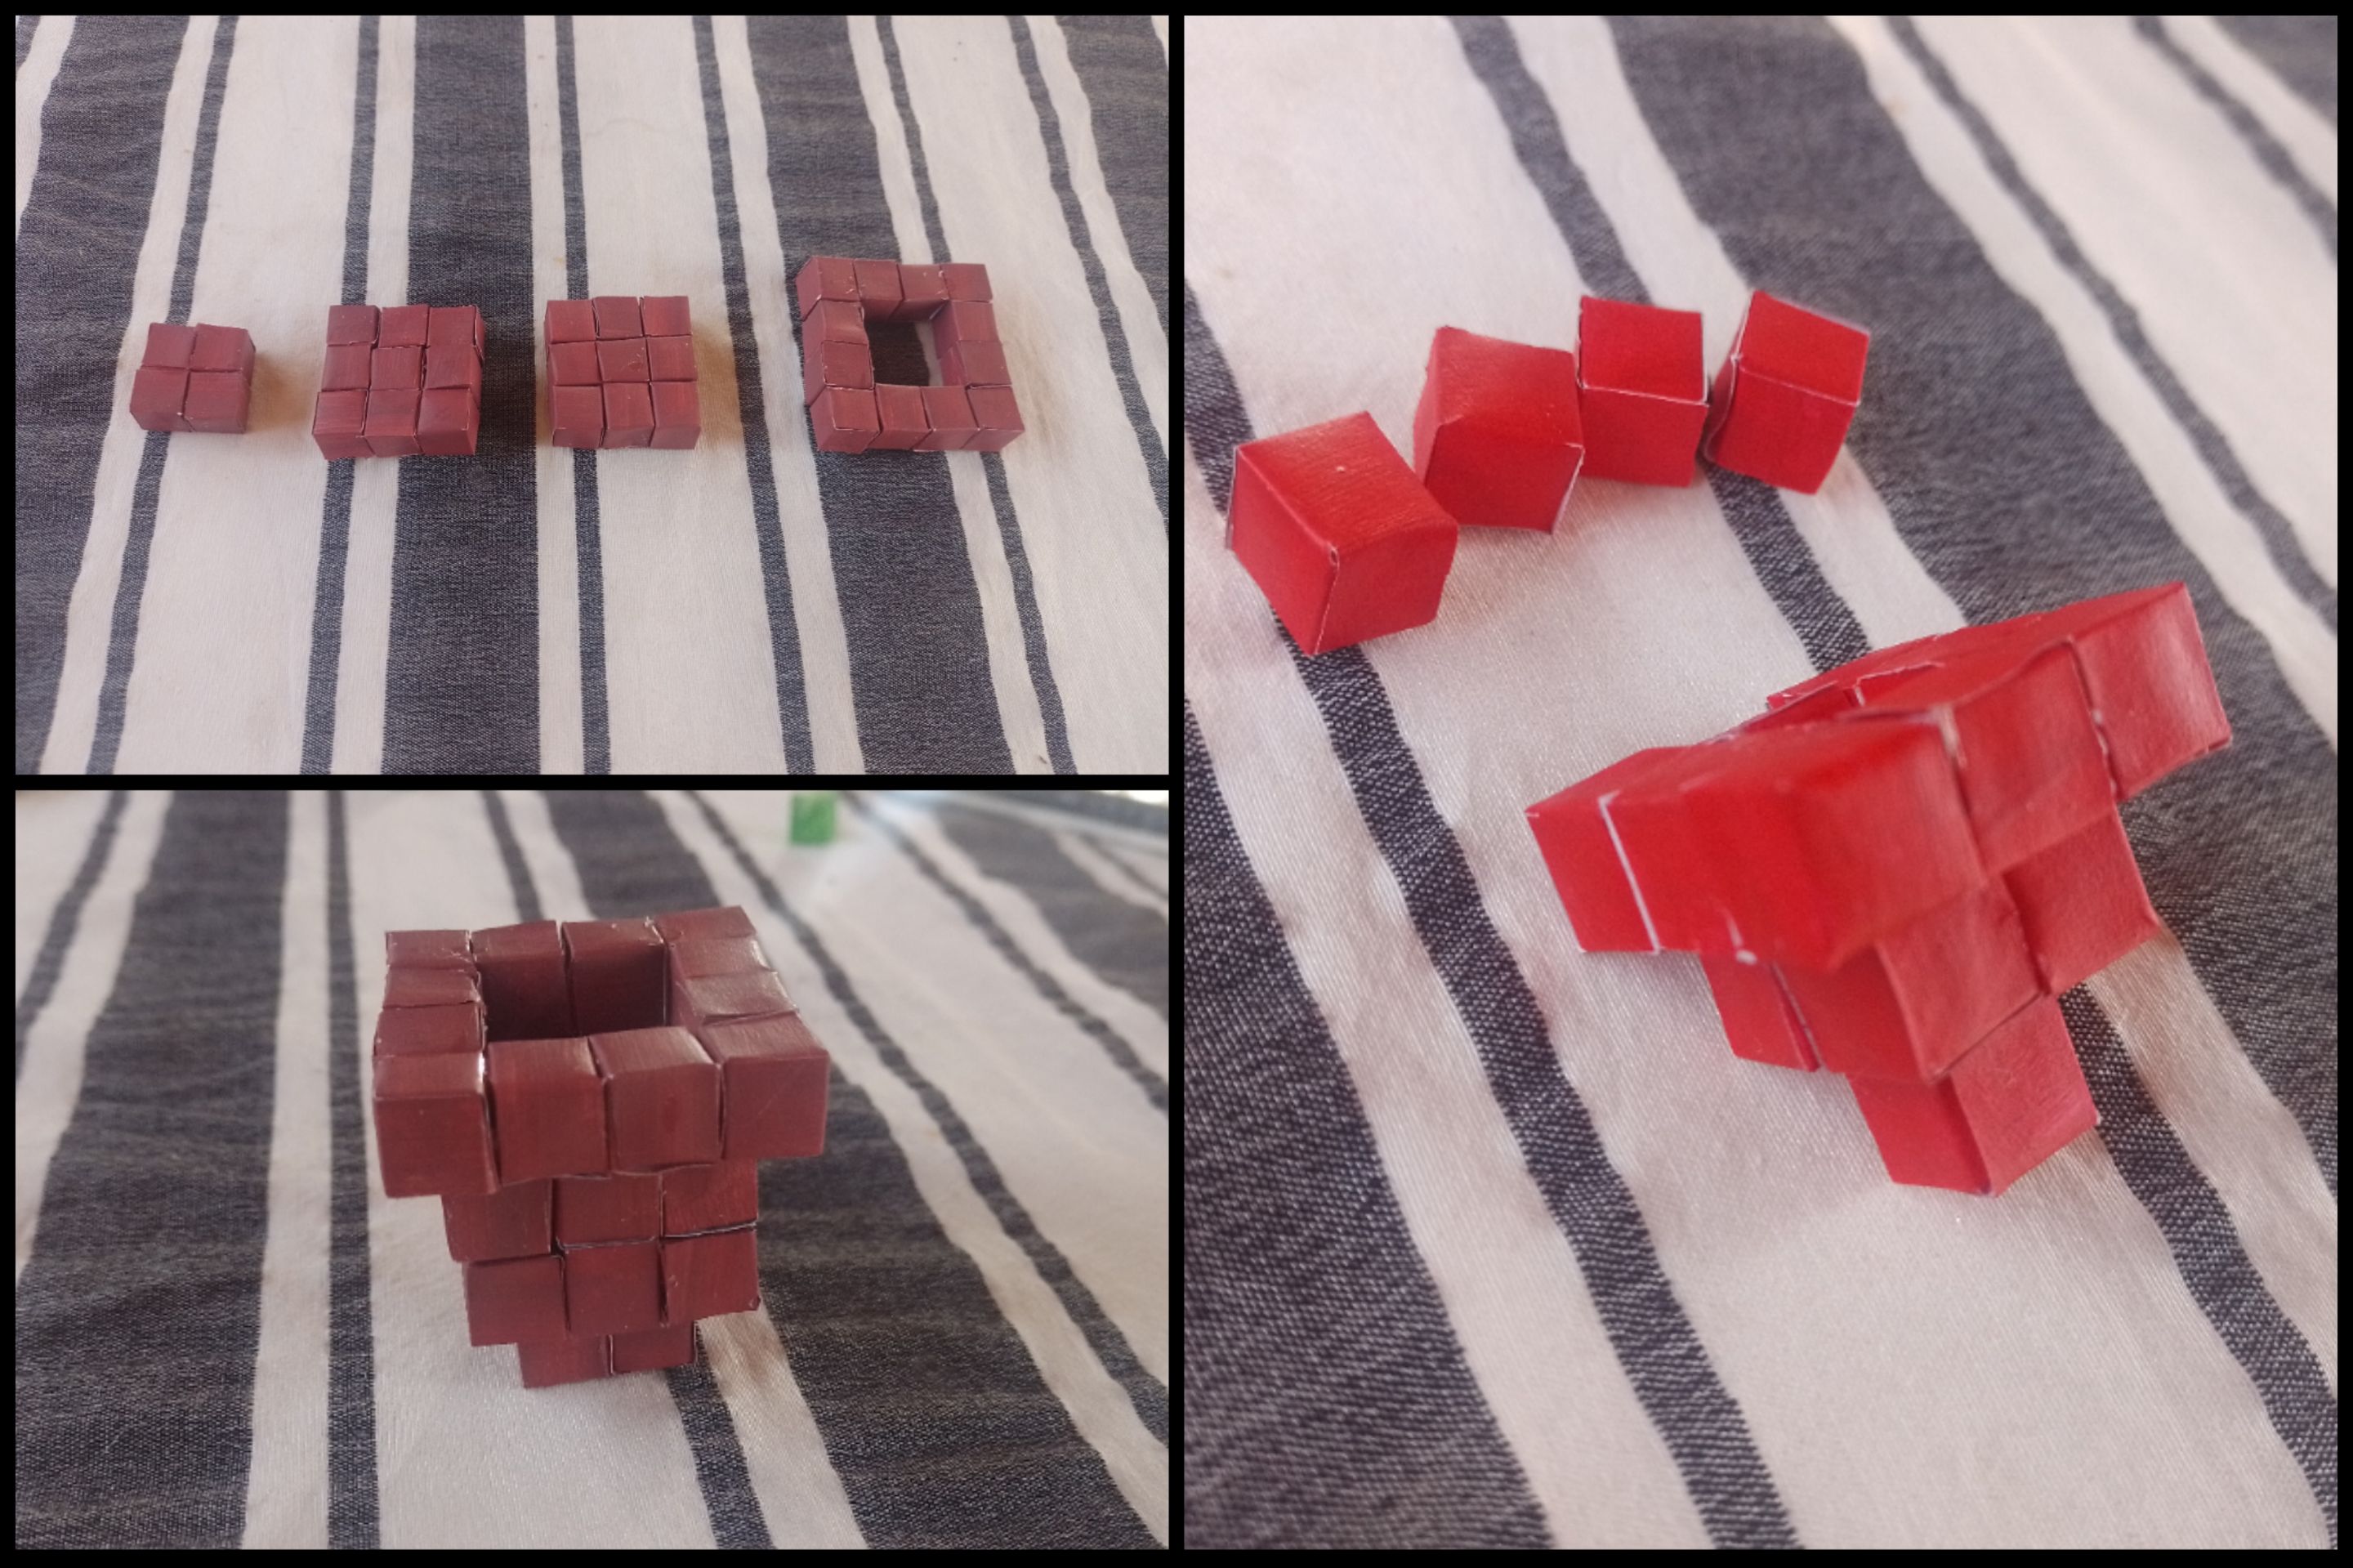
And with the color red, we will form a square of 4 2 x 2 (cubes), a 3 x 3 frame and we will leave 5 cubes loose.
Con ayuda de una silicona liquida, o cola blanca, comenzaremos a plegar las partes del tulipán.Con los cubos de color teja (o marrón) tendremos que formar un cuadrado de 2 x 2 (cubos), 2 cuadrados mas grandes de 3 x 3 y un marco de 4 x 4.
Con los cubos de color verde claro, formaremos 1 columna de 6 cubos, 2 columnas de 3 cubos y 2 columnas de 2 cubos.
Con el color verde oscuro, formaremos 1 columna de 5 cubos, 1 columna de 4 cubos y 1 de 3 cubos.
Y con el color rojo, formaremos un cuadrado de 4 2 x 2 (cubos), un marco de 3 x 3 y dejaremos 5 cubos sueltos.
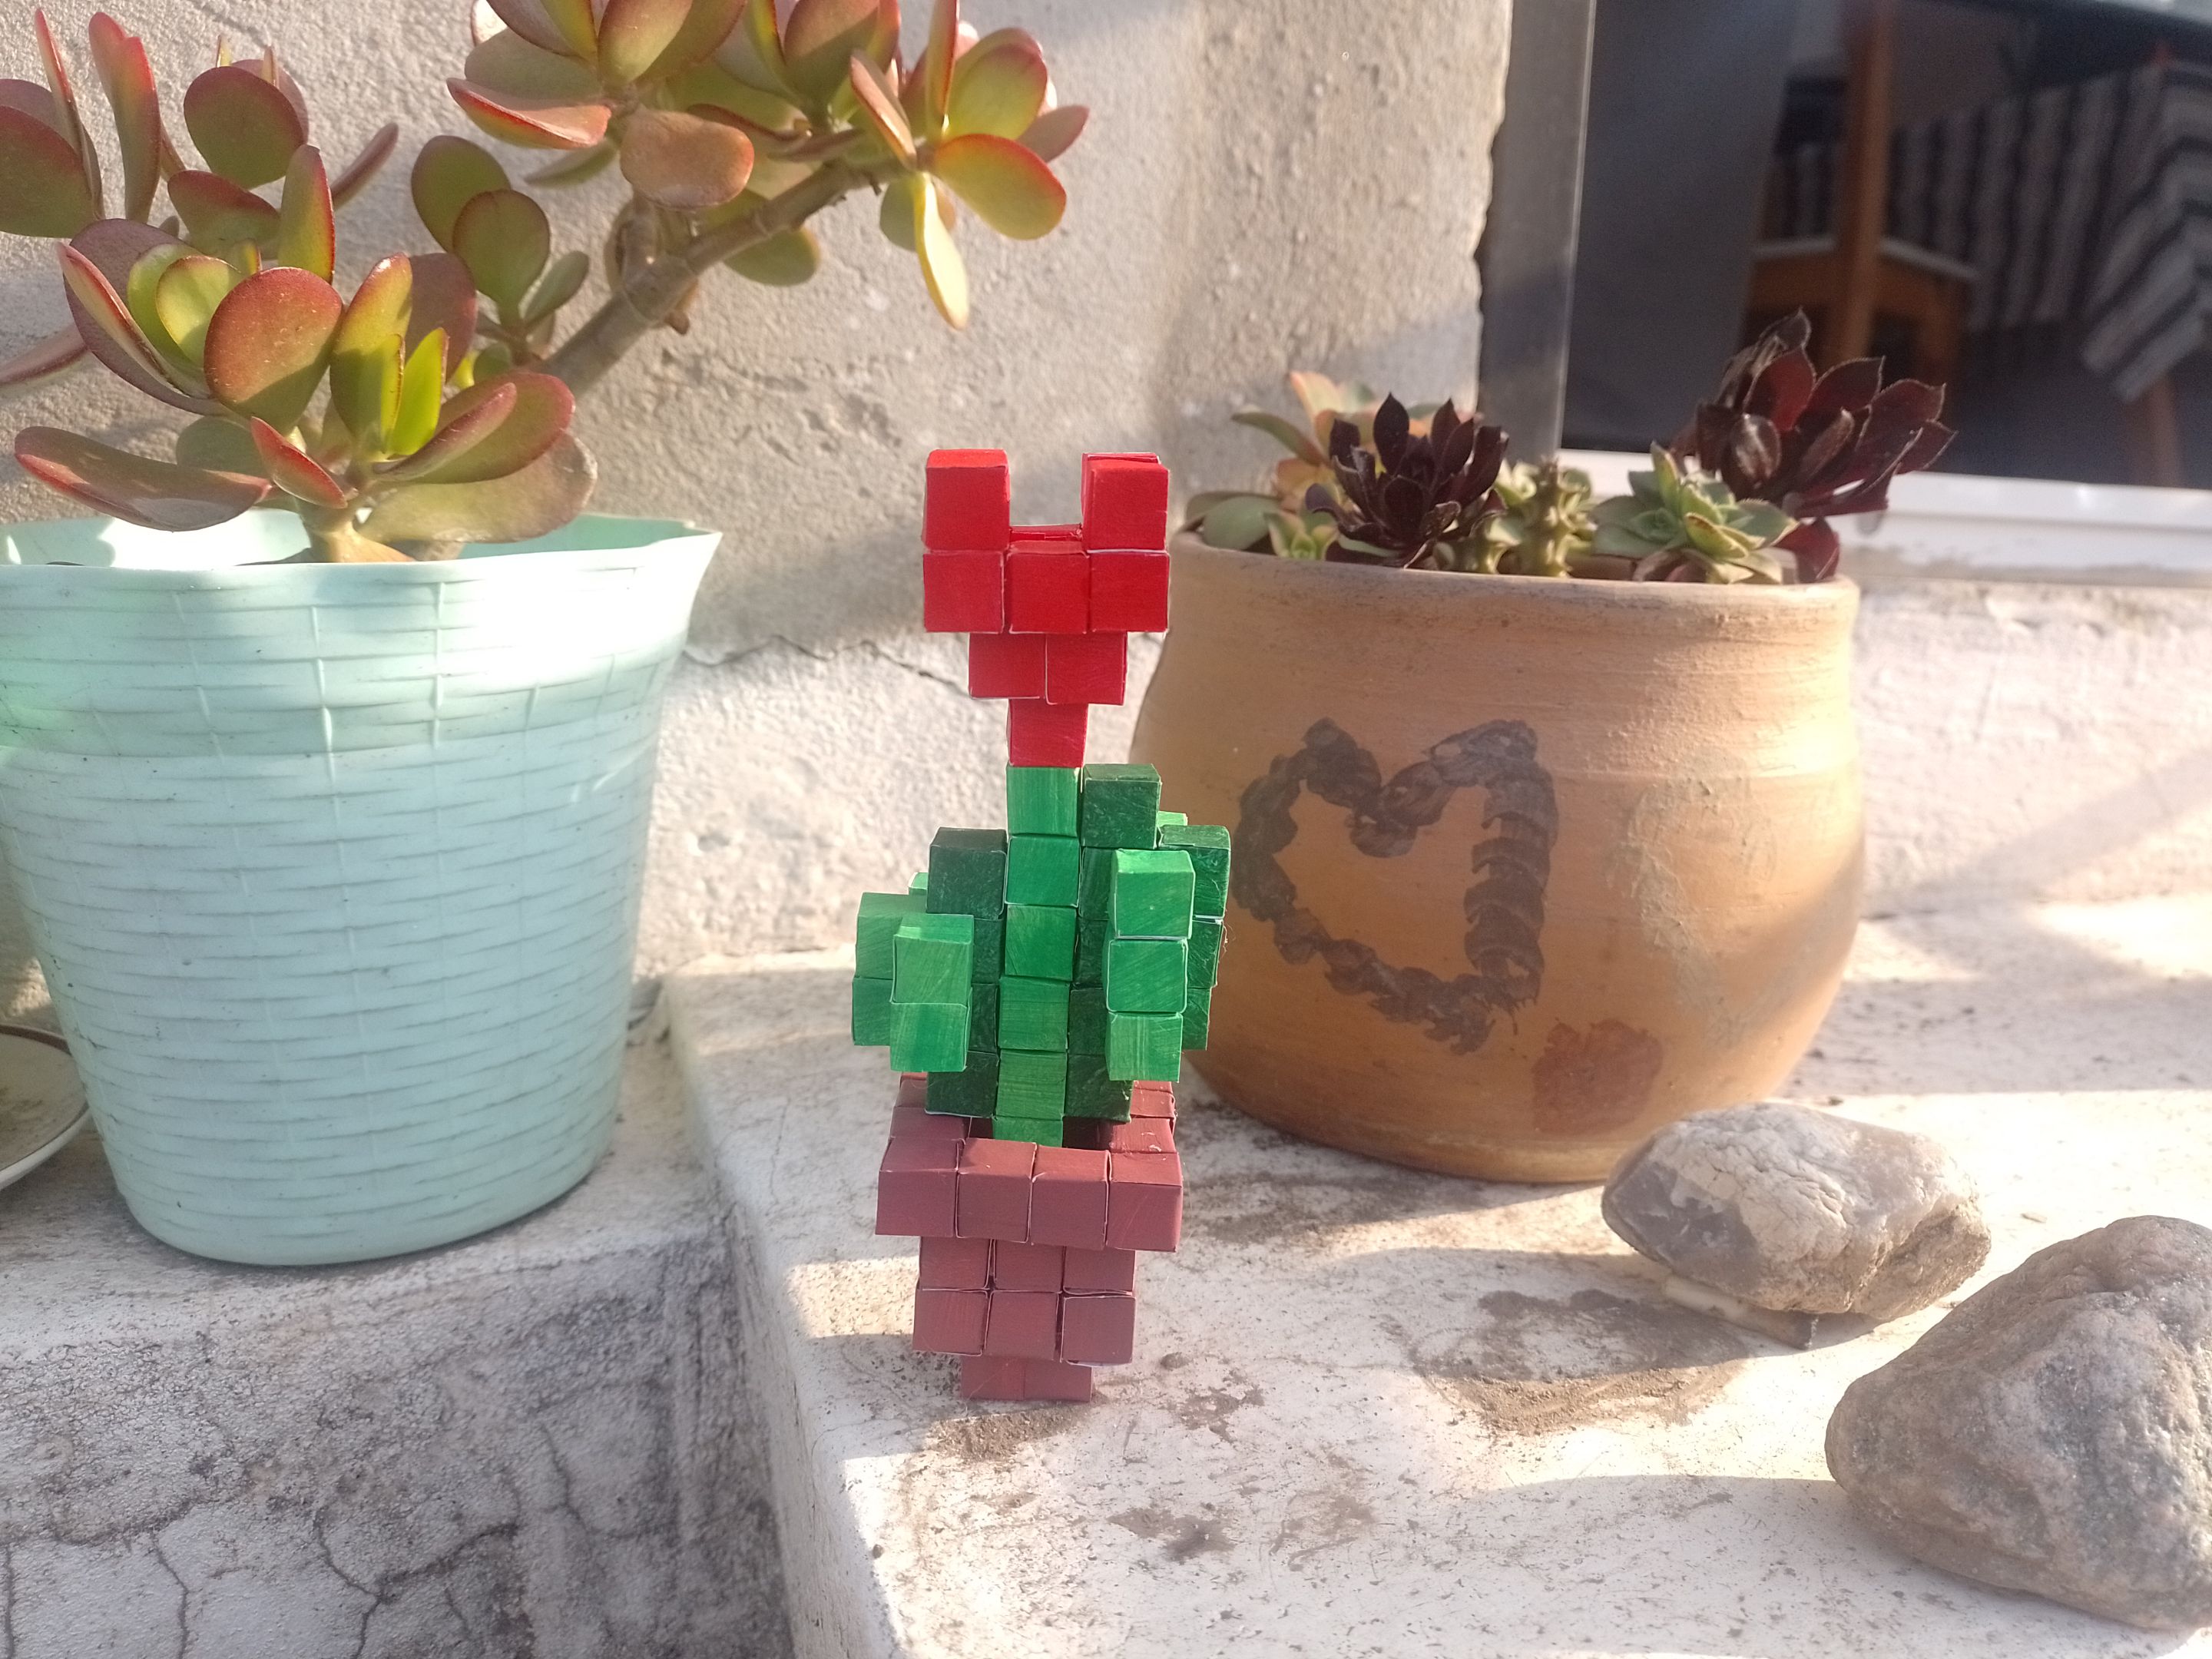
We will continue folding each shape by color as shown in the photographs and then we will join everything to form our beautiful plant.
Continuaremos plegando cada forma por color así como muestran las fotografías y luego uniremos todo para formar nuestra bella planta.
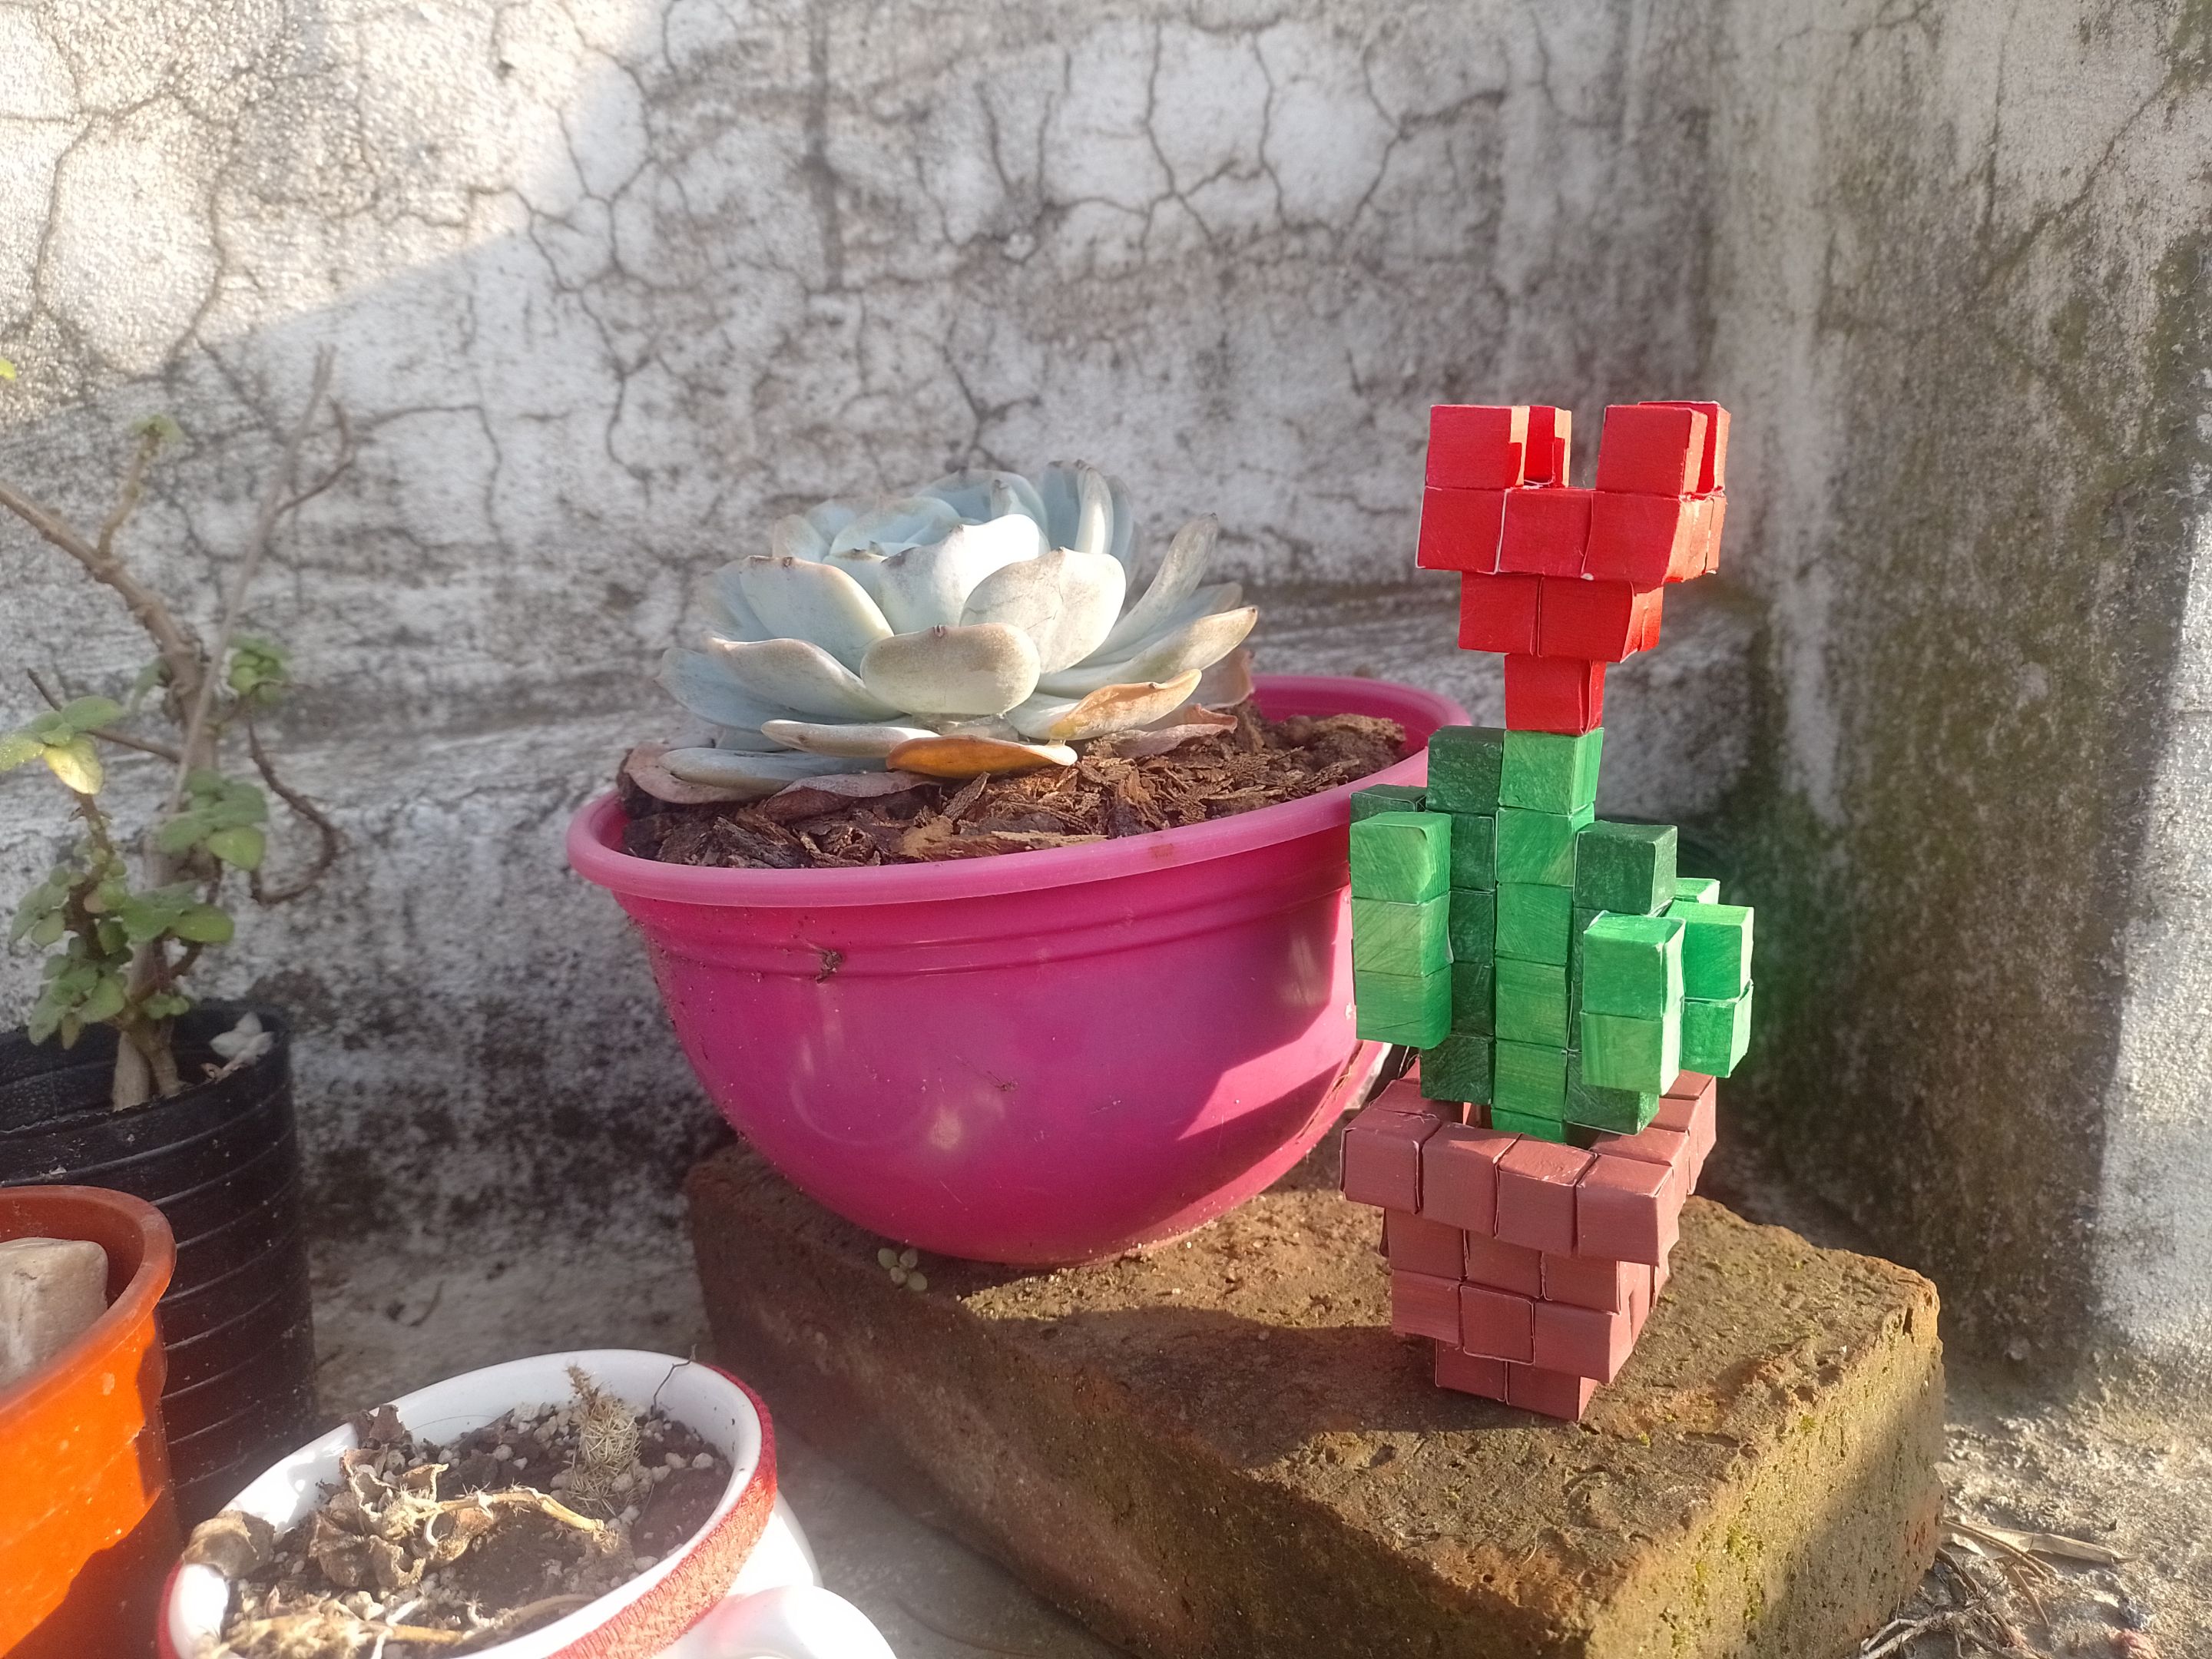
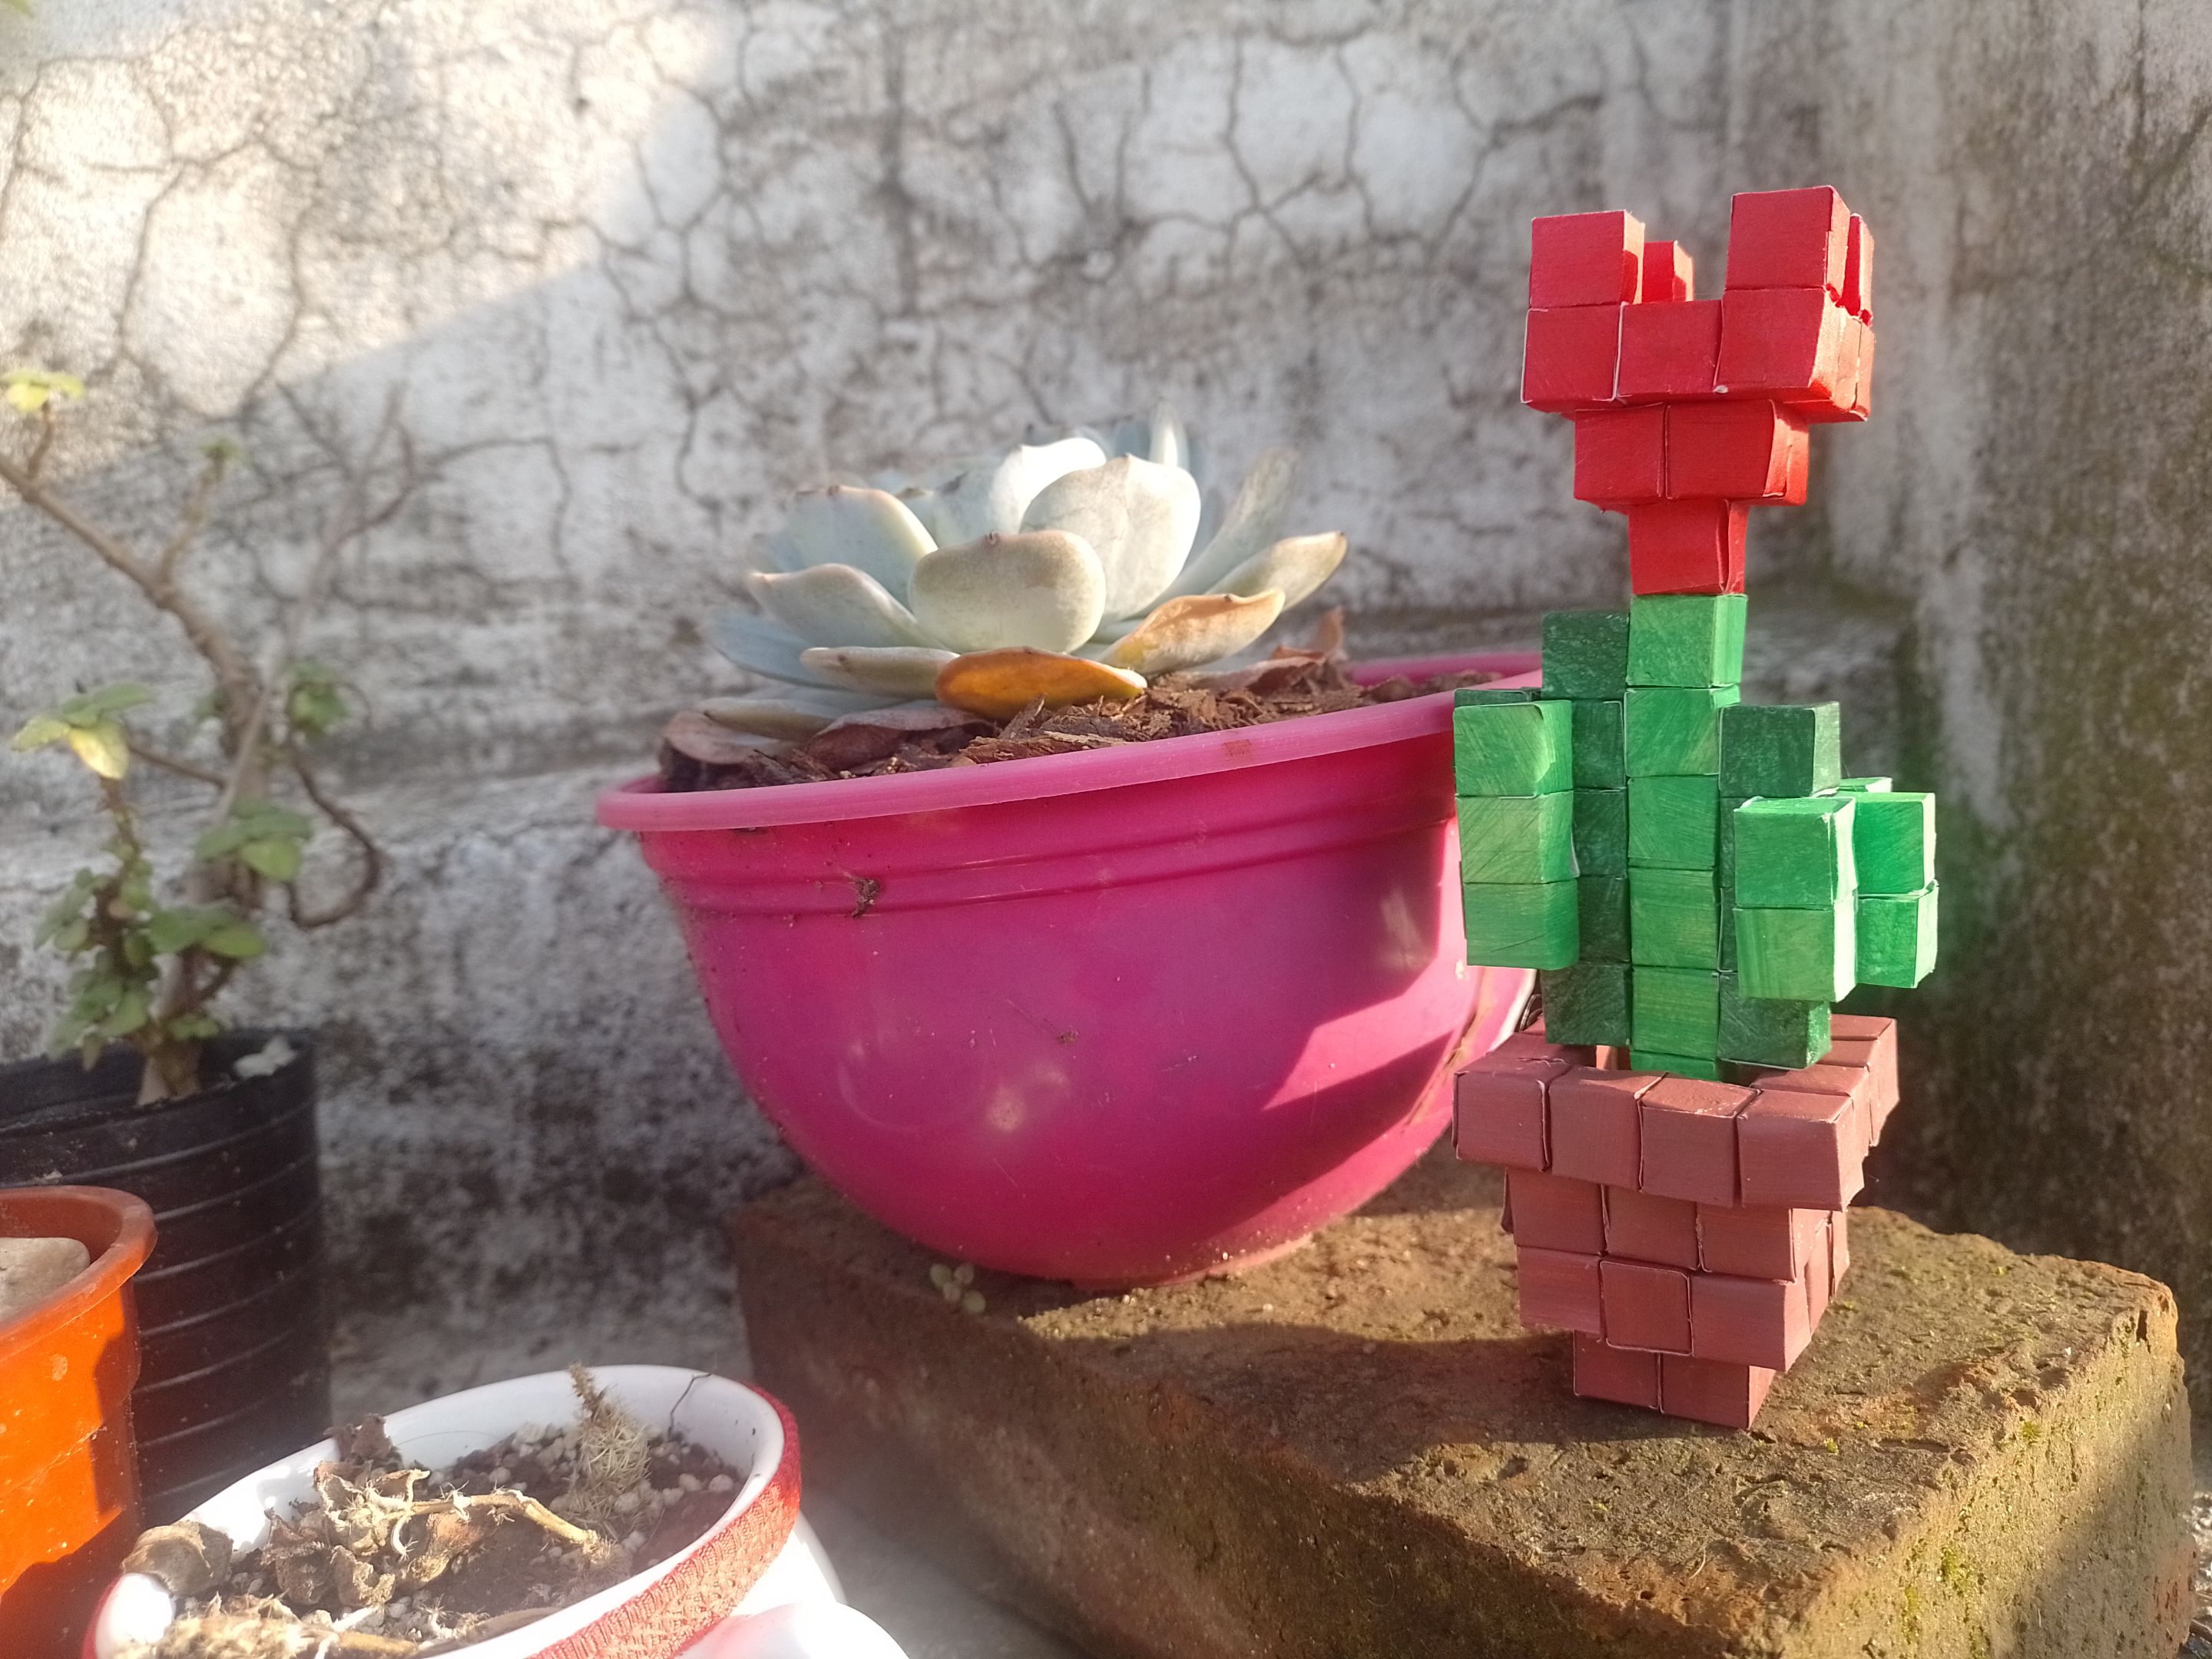
And that's it friends!! We finally have the satisfaction of finishing a long-awaited project and that the result is so beautiful ❤️.
Y listo amigos!! por fin tenemos la satisfacción de terminar un proyecto tardado y que el resultado sea tan bello ❤️.
Thank you for reading my content. a big hug for everyone
Gracias por leer mi contenido. Un abrazo grande para todos
Todas las fotografías y ediciones son de mi autoría. Realizado con la aplicación picsart y canva.