Aunque estoy en modo low battery gracias a la falta de descanso por el problema eléctrico que persiste en la isla, he continuado trabajando de a poco en algunos proyectos pendientes para decorar esta Navidad, como este mini arbolito súper lindo que les traigo el día de hoy.
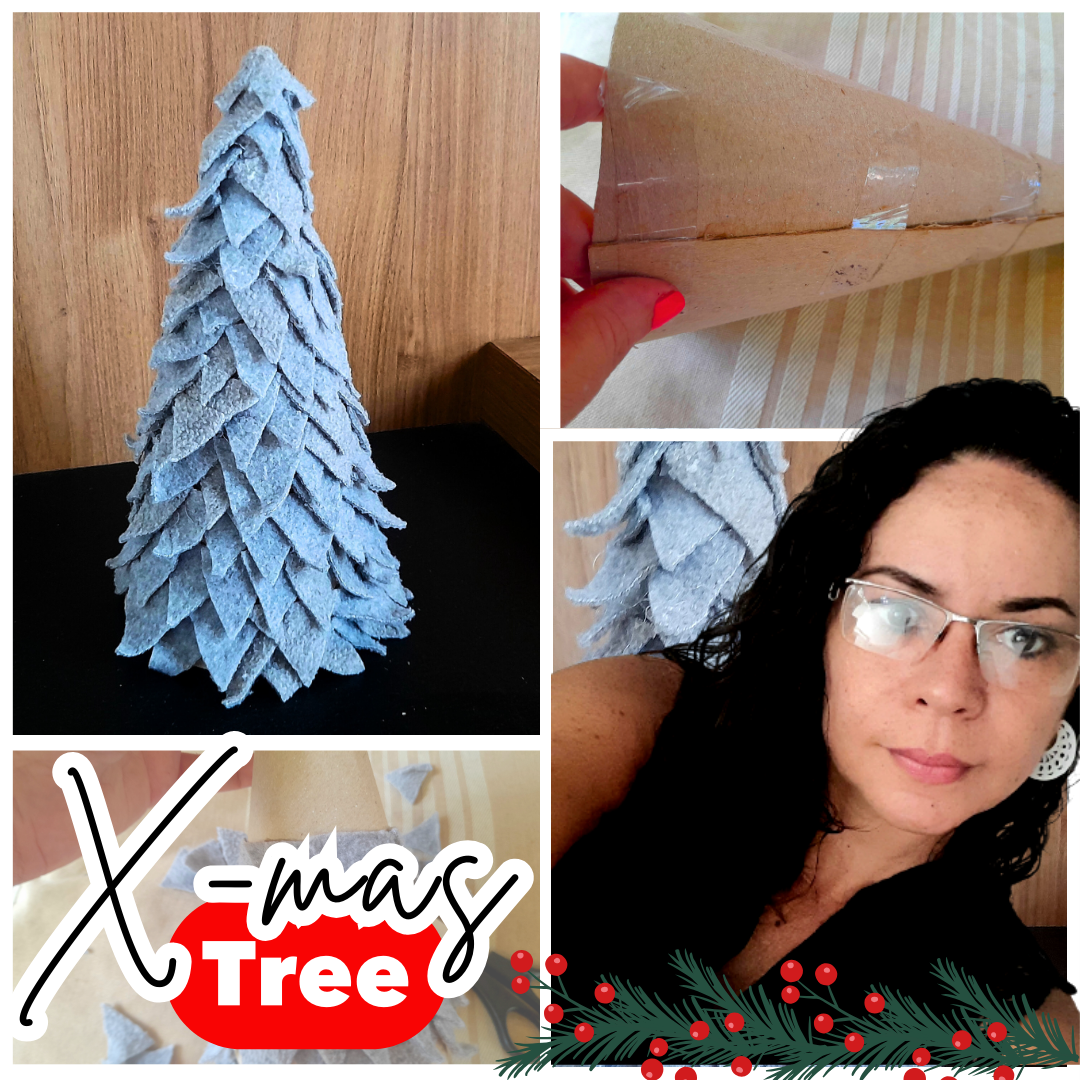
Es un arbolito bastante sencillo, pero realmente hermoso, y de este estilo había visto muchísimos modelos, pero al final, como siempre, terminé haciéndolo a mi gusto, y acorde a la decoración que estamos usando este año en casa, así que es un arbolito en tono gris, con fieltro, partiendo de la base de un cono de cartón, pero vamos a dejar de hablar, y pasemos a la lista de materiales y al paso a paso.
Materiales
Cartón delgado o cartulina
Pistola de silicón
Fieltro gris
Lápiz
Tijera
Paso a paso
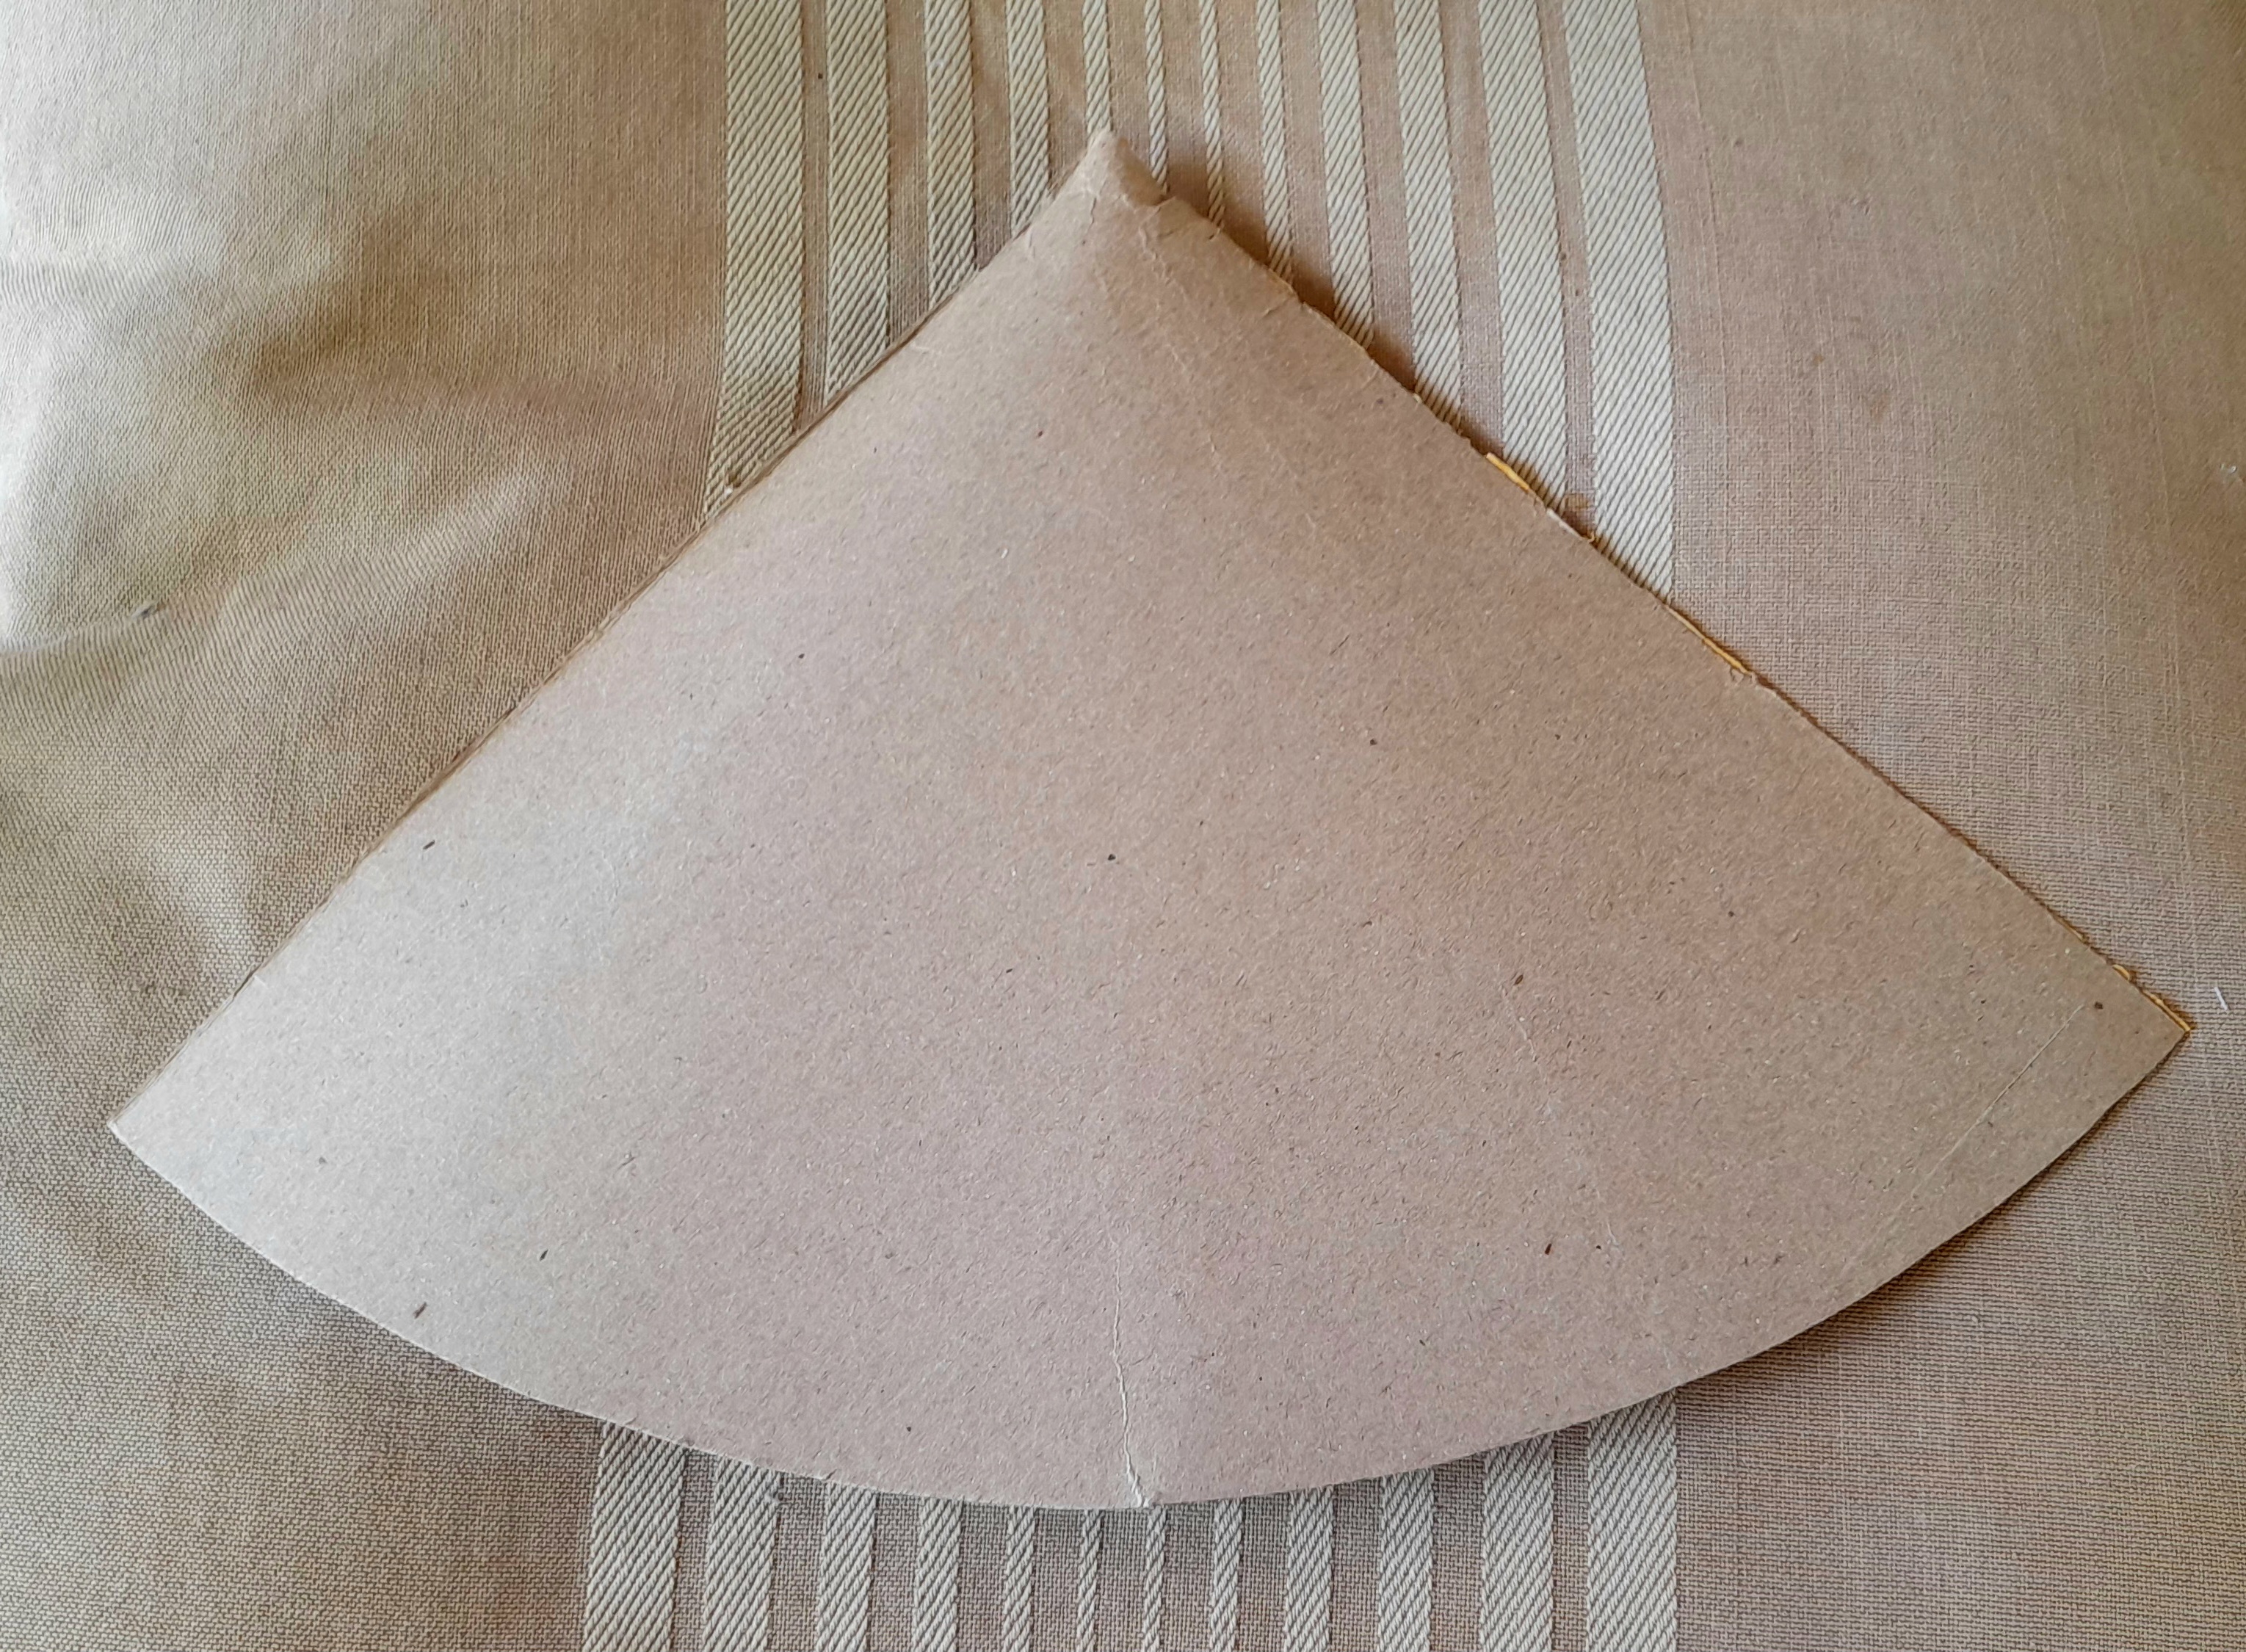
Lo primero que haremos será el cono sobre el que vamos a pegar el fieltro, para lo que recortaremos una pieza de cartón como la que ven en la imagen de abajo, enrollamos para dar la forma de cono y lo pegamos con la pistola de silicón, dándole forma a la base del arbolito, que por cierto, pueden realizar del tamaño que deseen.
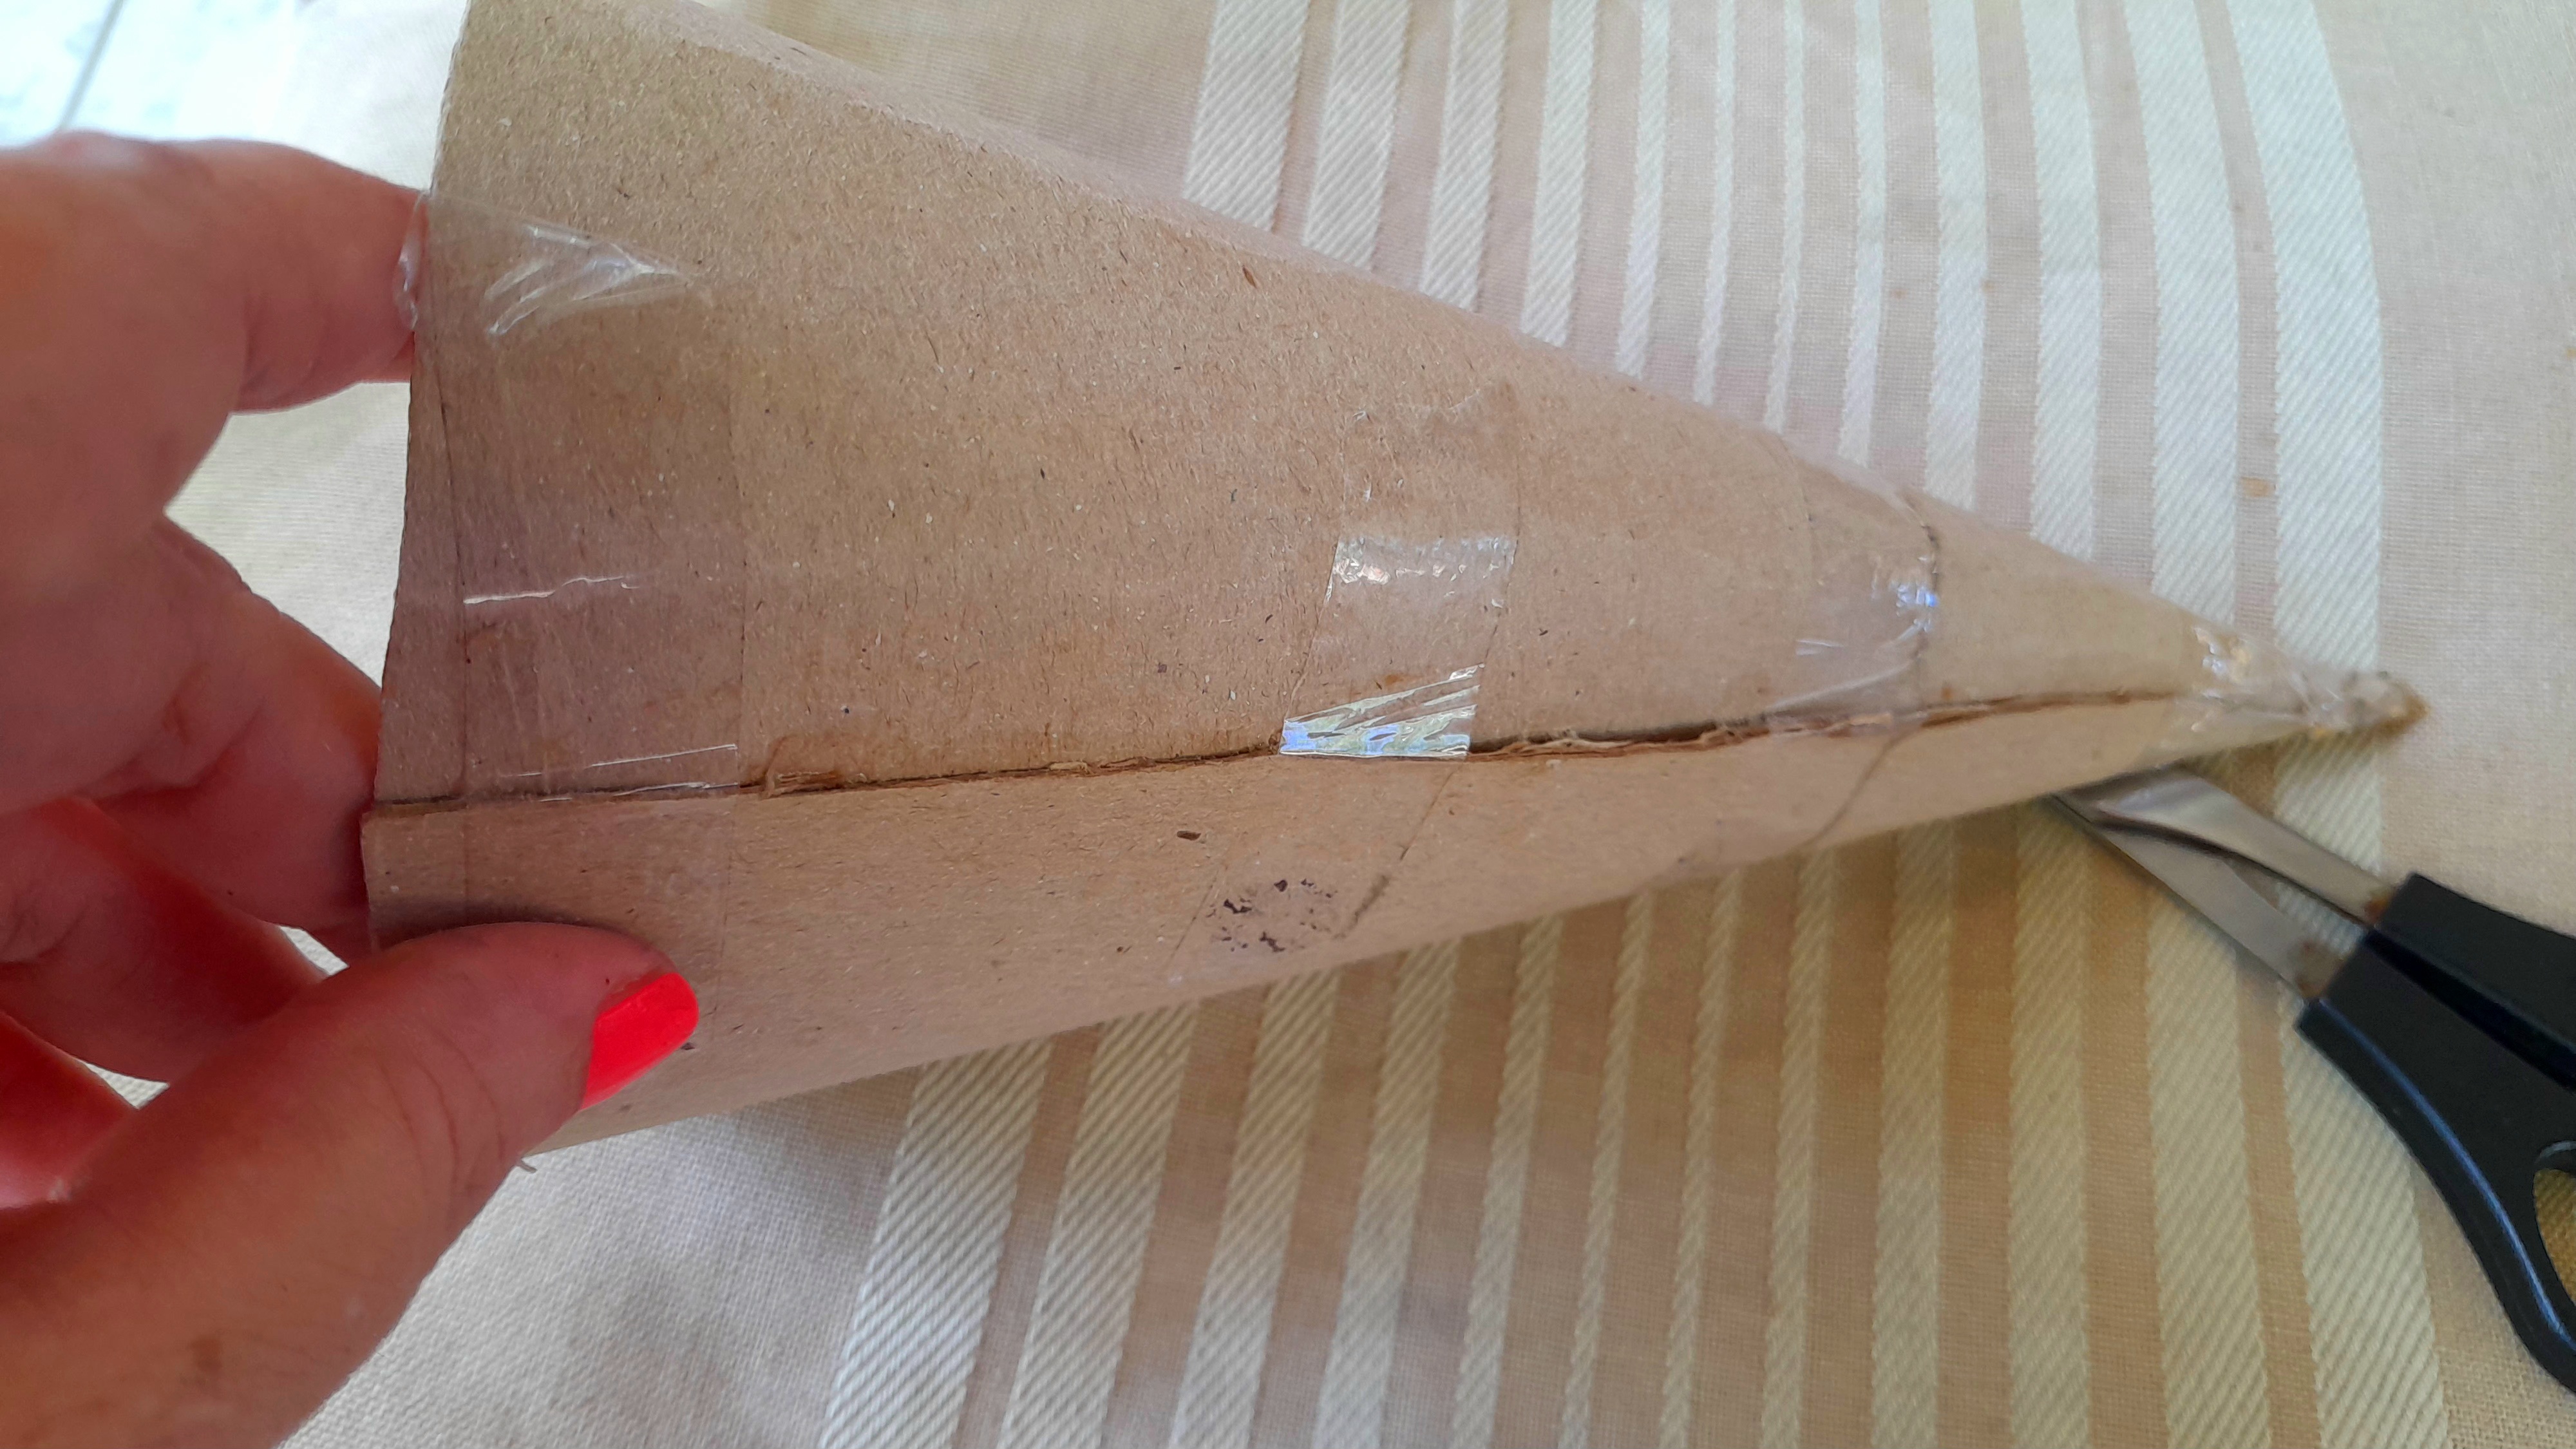
En mi caso ese día no tenía electricidad así que como ven, utilicé silicón frío y cinta adhesiva para asegurarlo muy bien.
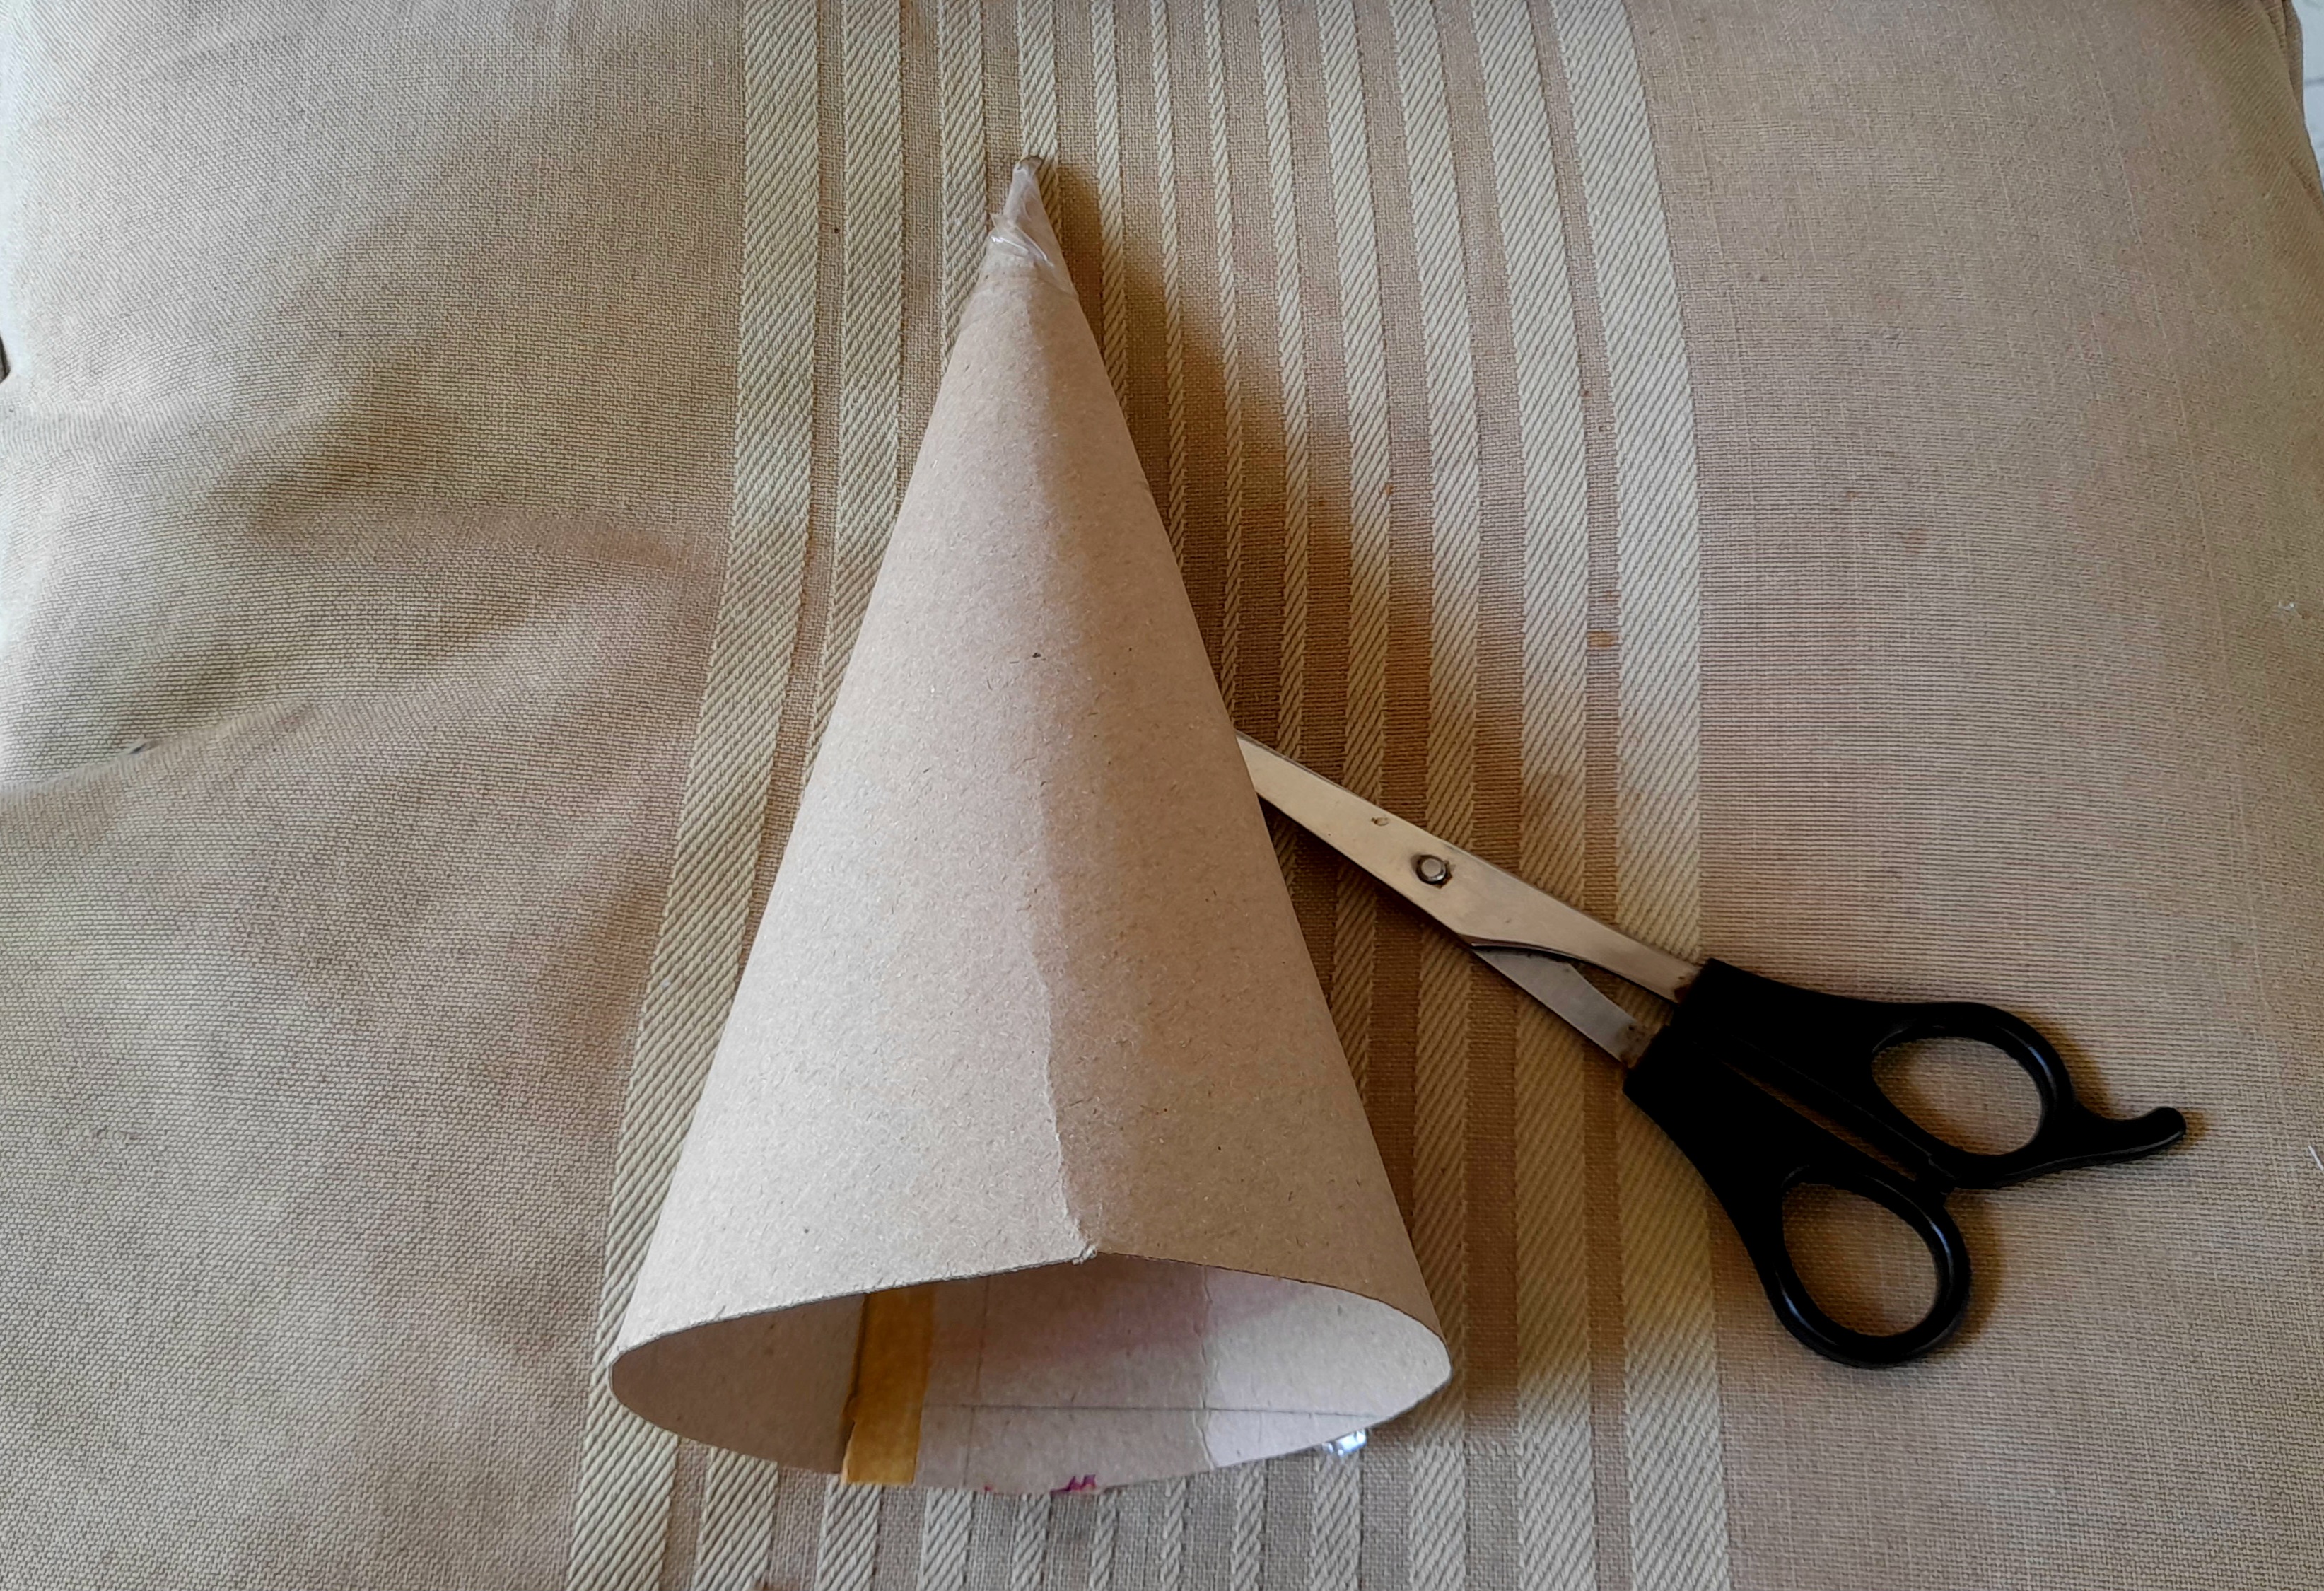
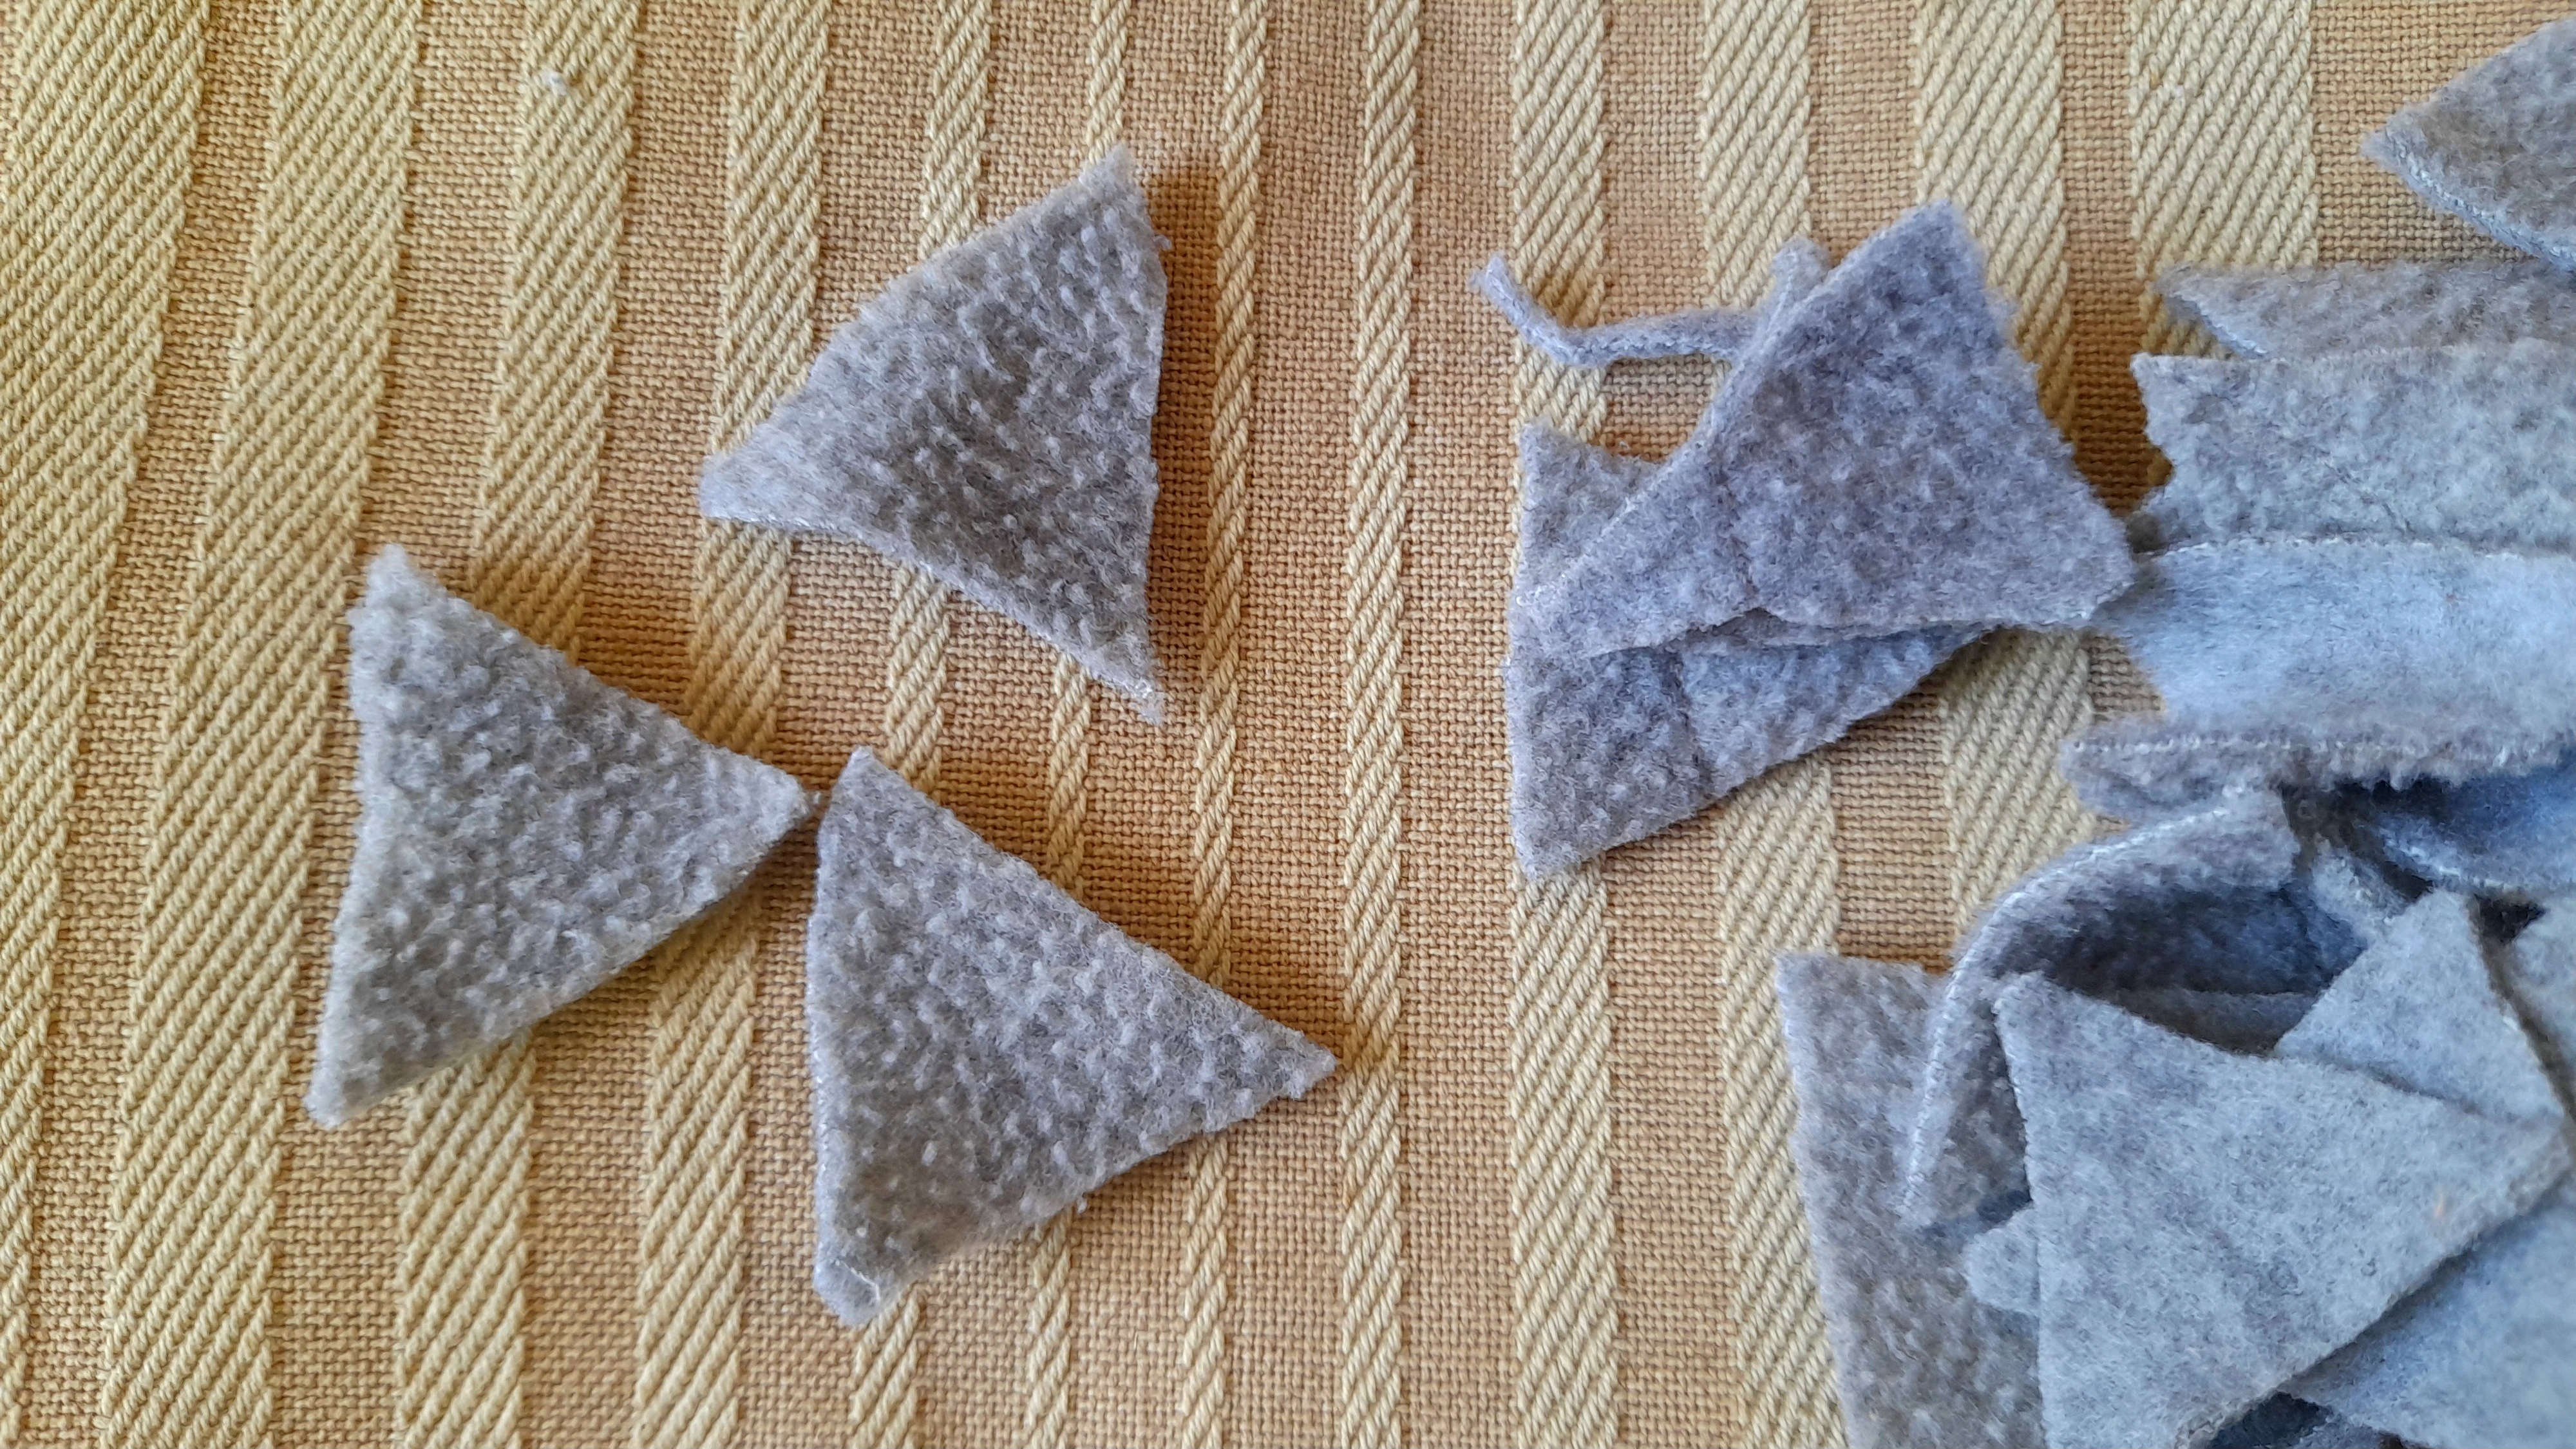
Una vez listo el cono el siguiente paso es recortar triángulos de fieltro, estos también pueden ser del tamaño que ustedes deseen, así que si no tienen ganas de recortar mucho pueden hacer triángulos grandes, en mi caso yo los hice pequeños porque tenía retazos del fieltro así que me tocó recortarlos así.
Un tip para sacar estos triángulos más fácil, es recortar una tira de fieltro larga del ancho en que deseen sean sus triángulos y con la tijera van recortando uno a uno, simplemente van cambiando la dirección del corte, y de esta manera les será mucho más rápido y sencillo.
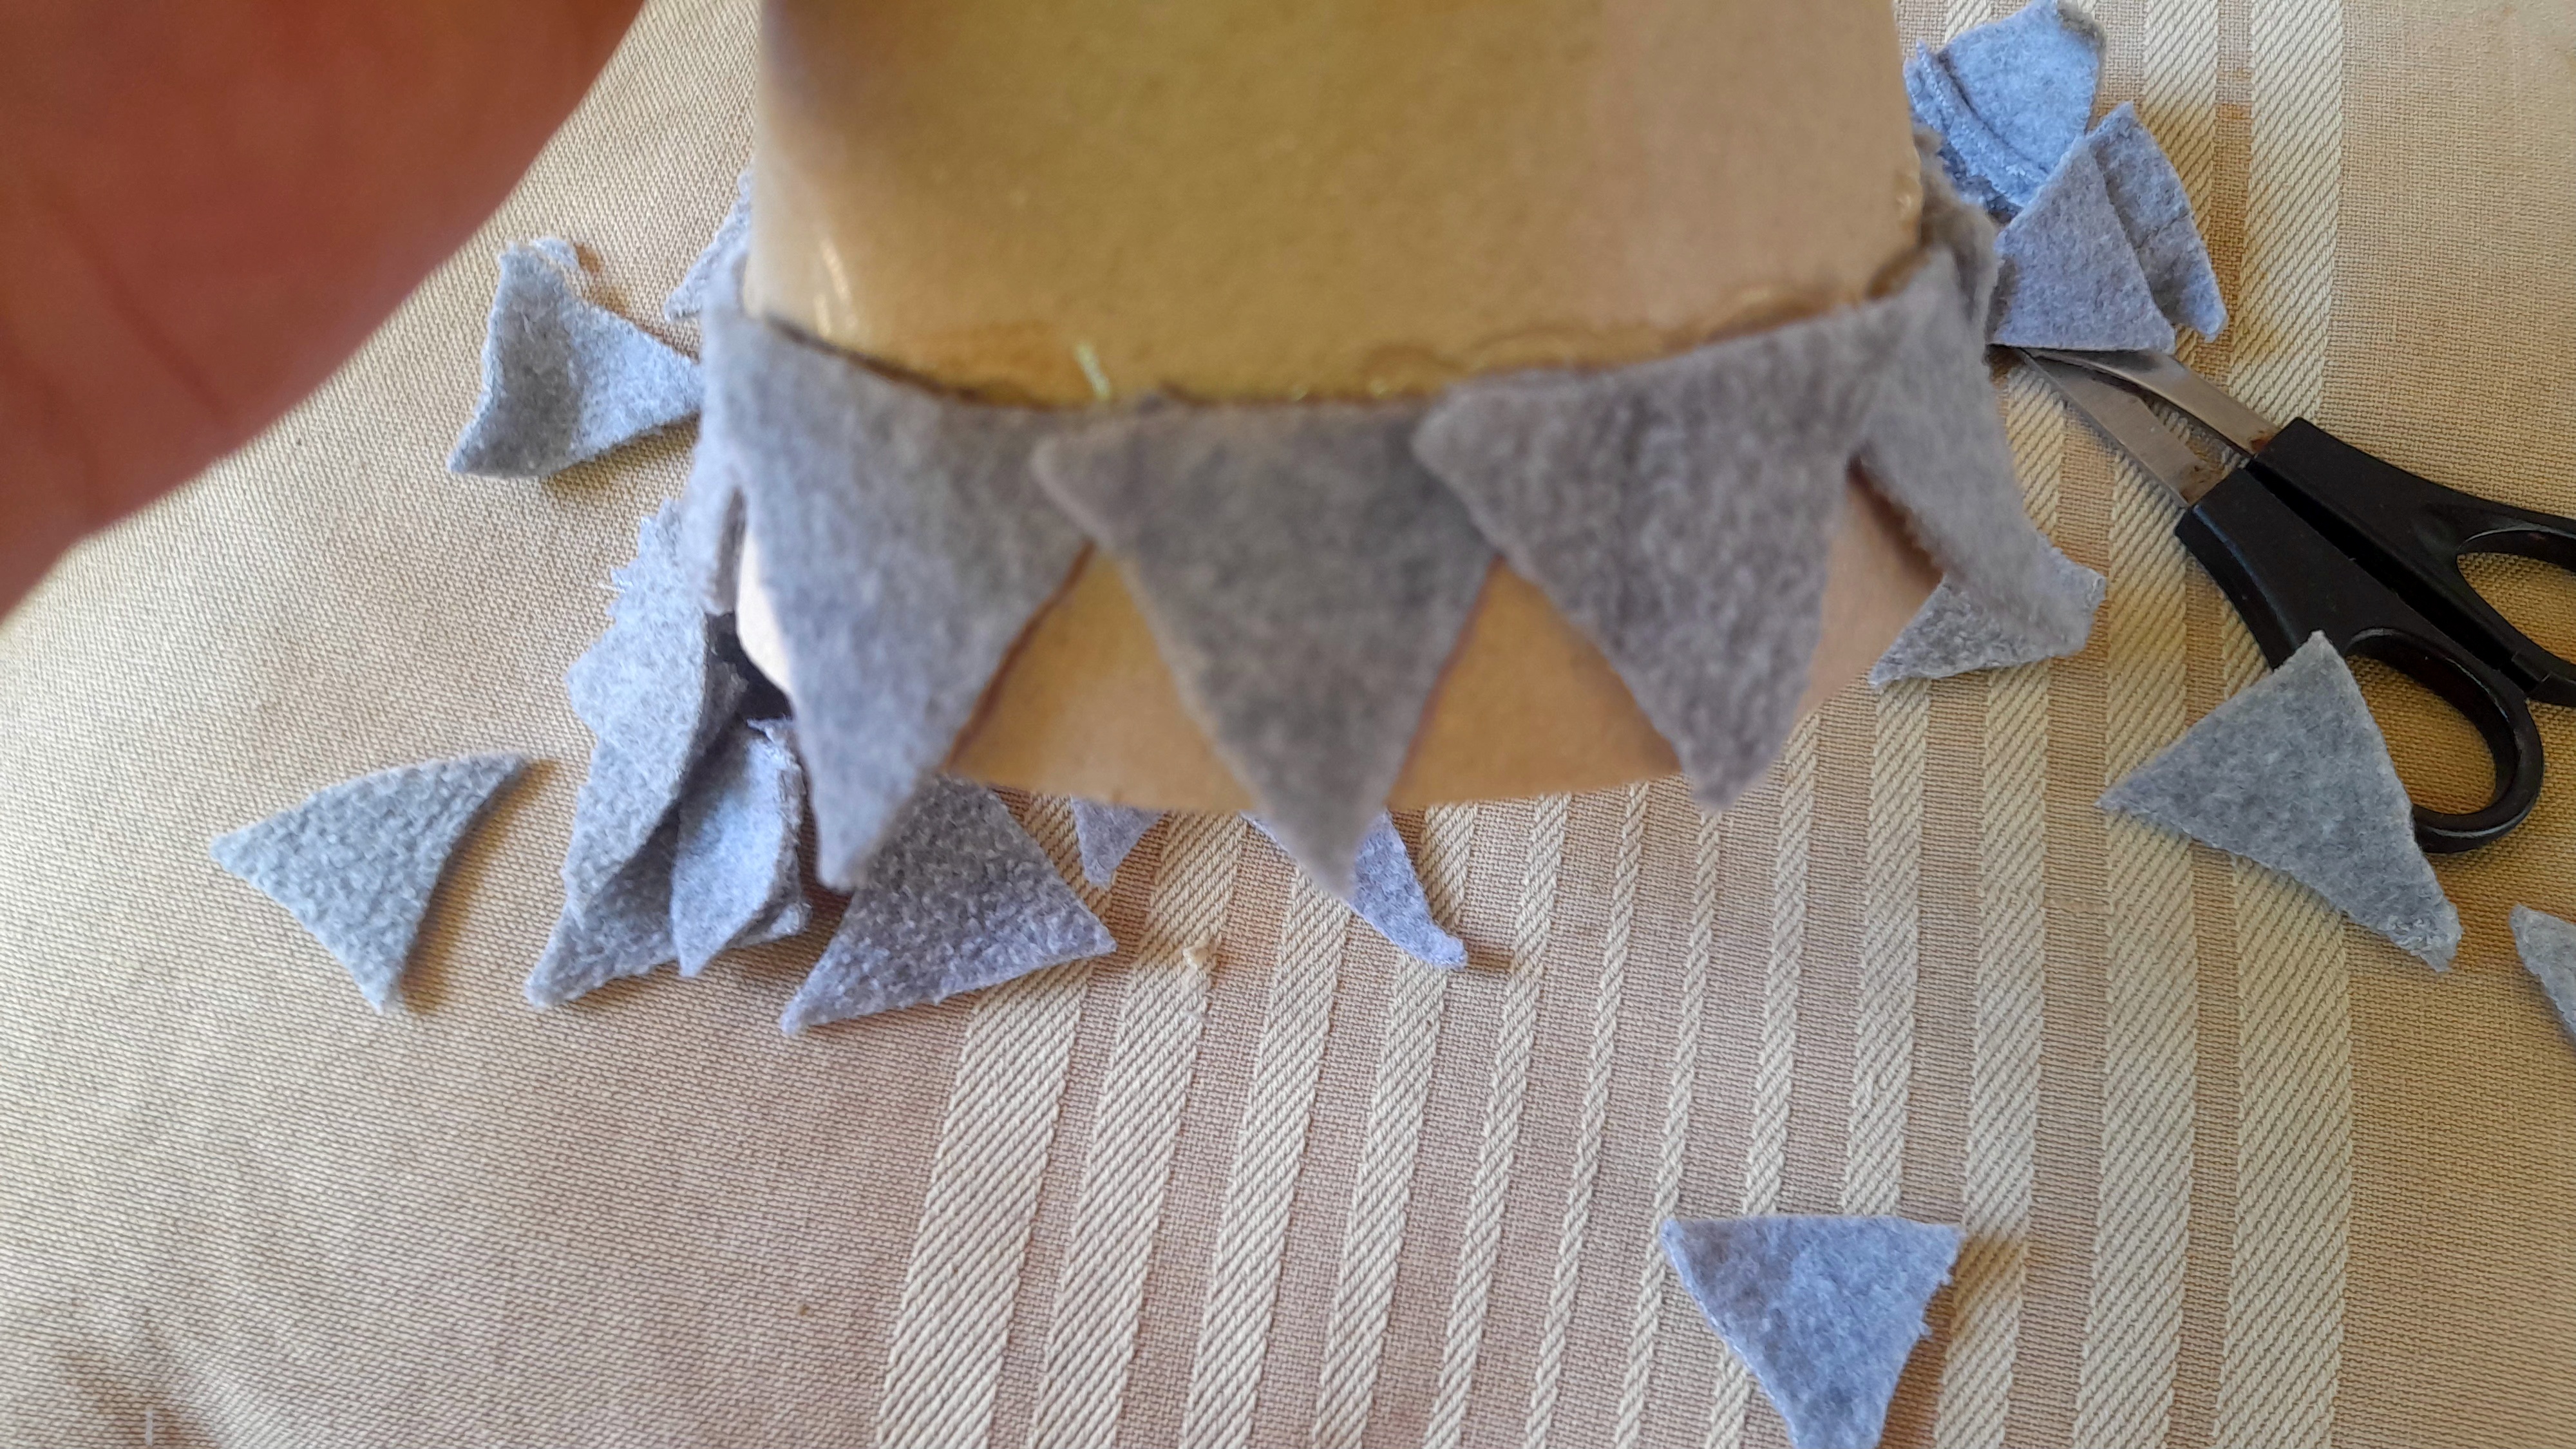
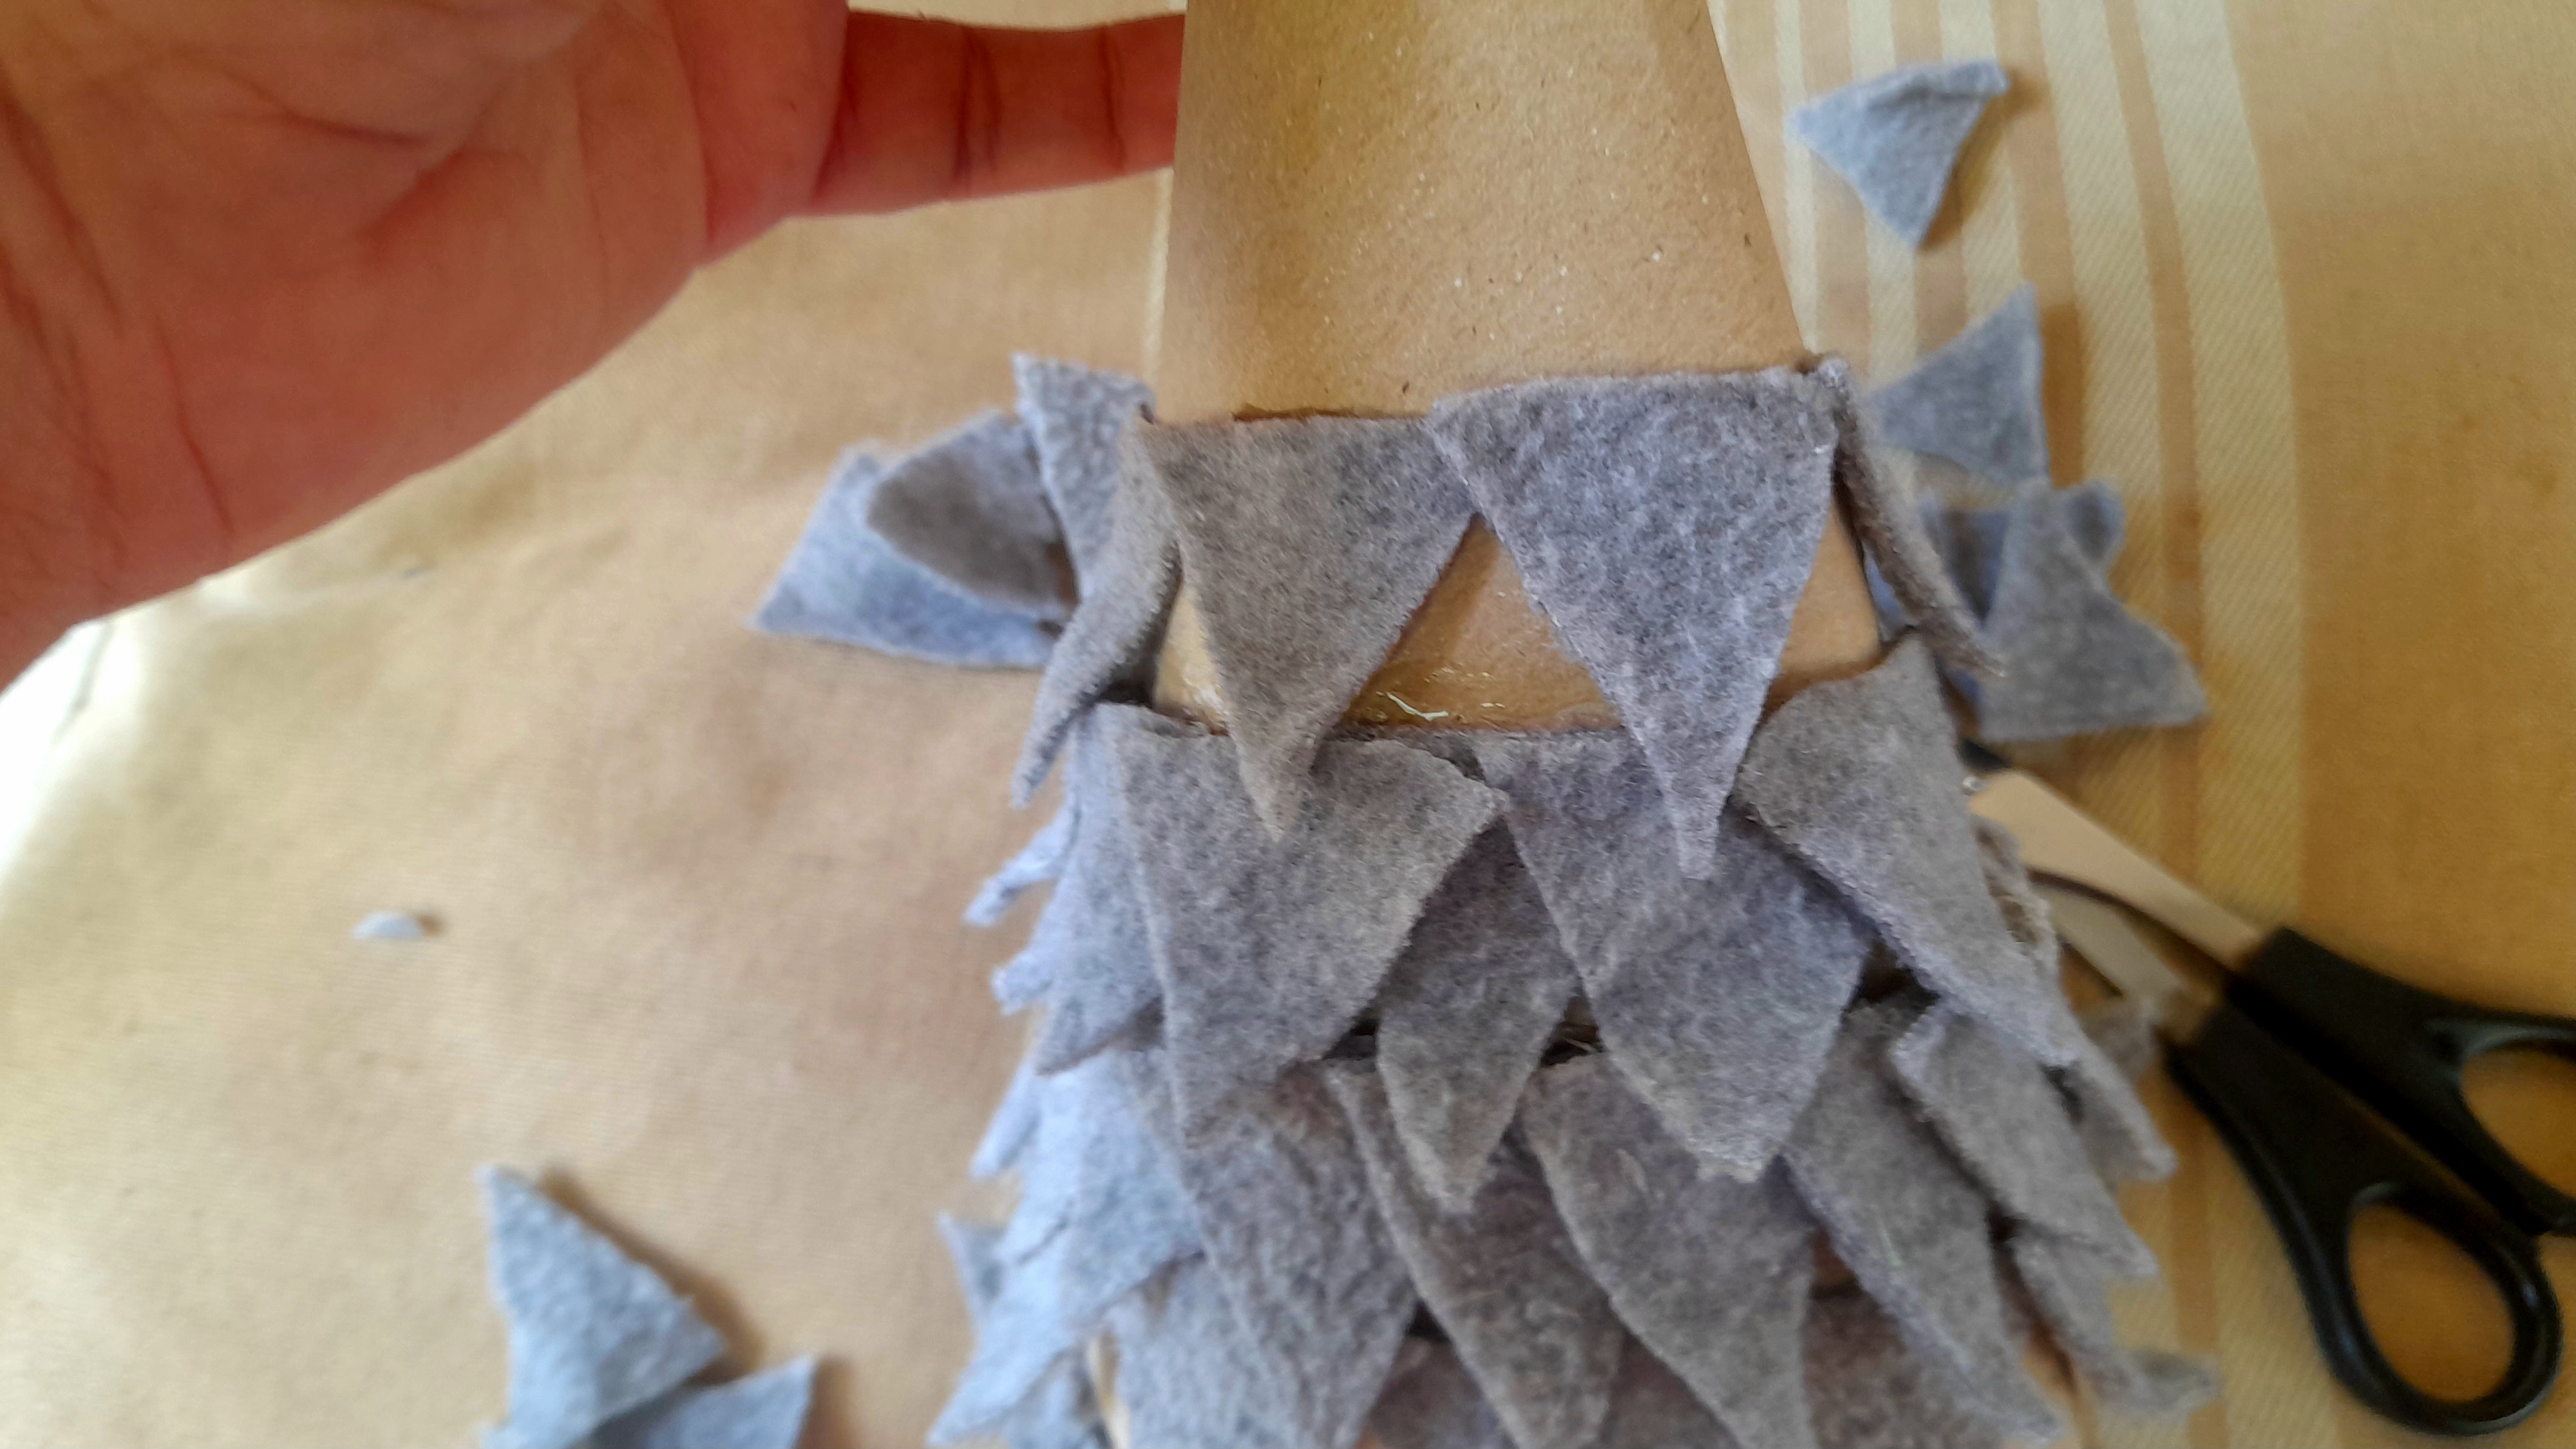
Listos los triángulos, comenzaremos a pegarlos de abajo hacia arriba, colocando uno al lado del otro, y en los espacios en que va quedando expuesto el cono, por la parte de abajo,, pegamos otro triángulo, y así vamos armando nuestro arbolito sin dejar espacios expuestos.
En la punta lo que hice fue hacer un mini cono con fieltro, dar unos pequeños cortes a los lados y lo pegué arriba, y ya estaba listo. Una decoración preciosa y bastante sencilla para nuestro hogar, y lo mejor de todo, es que pueden utilizar cualquier material para crear este tipo de arbolitos.
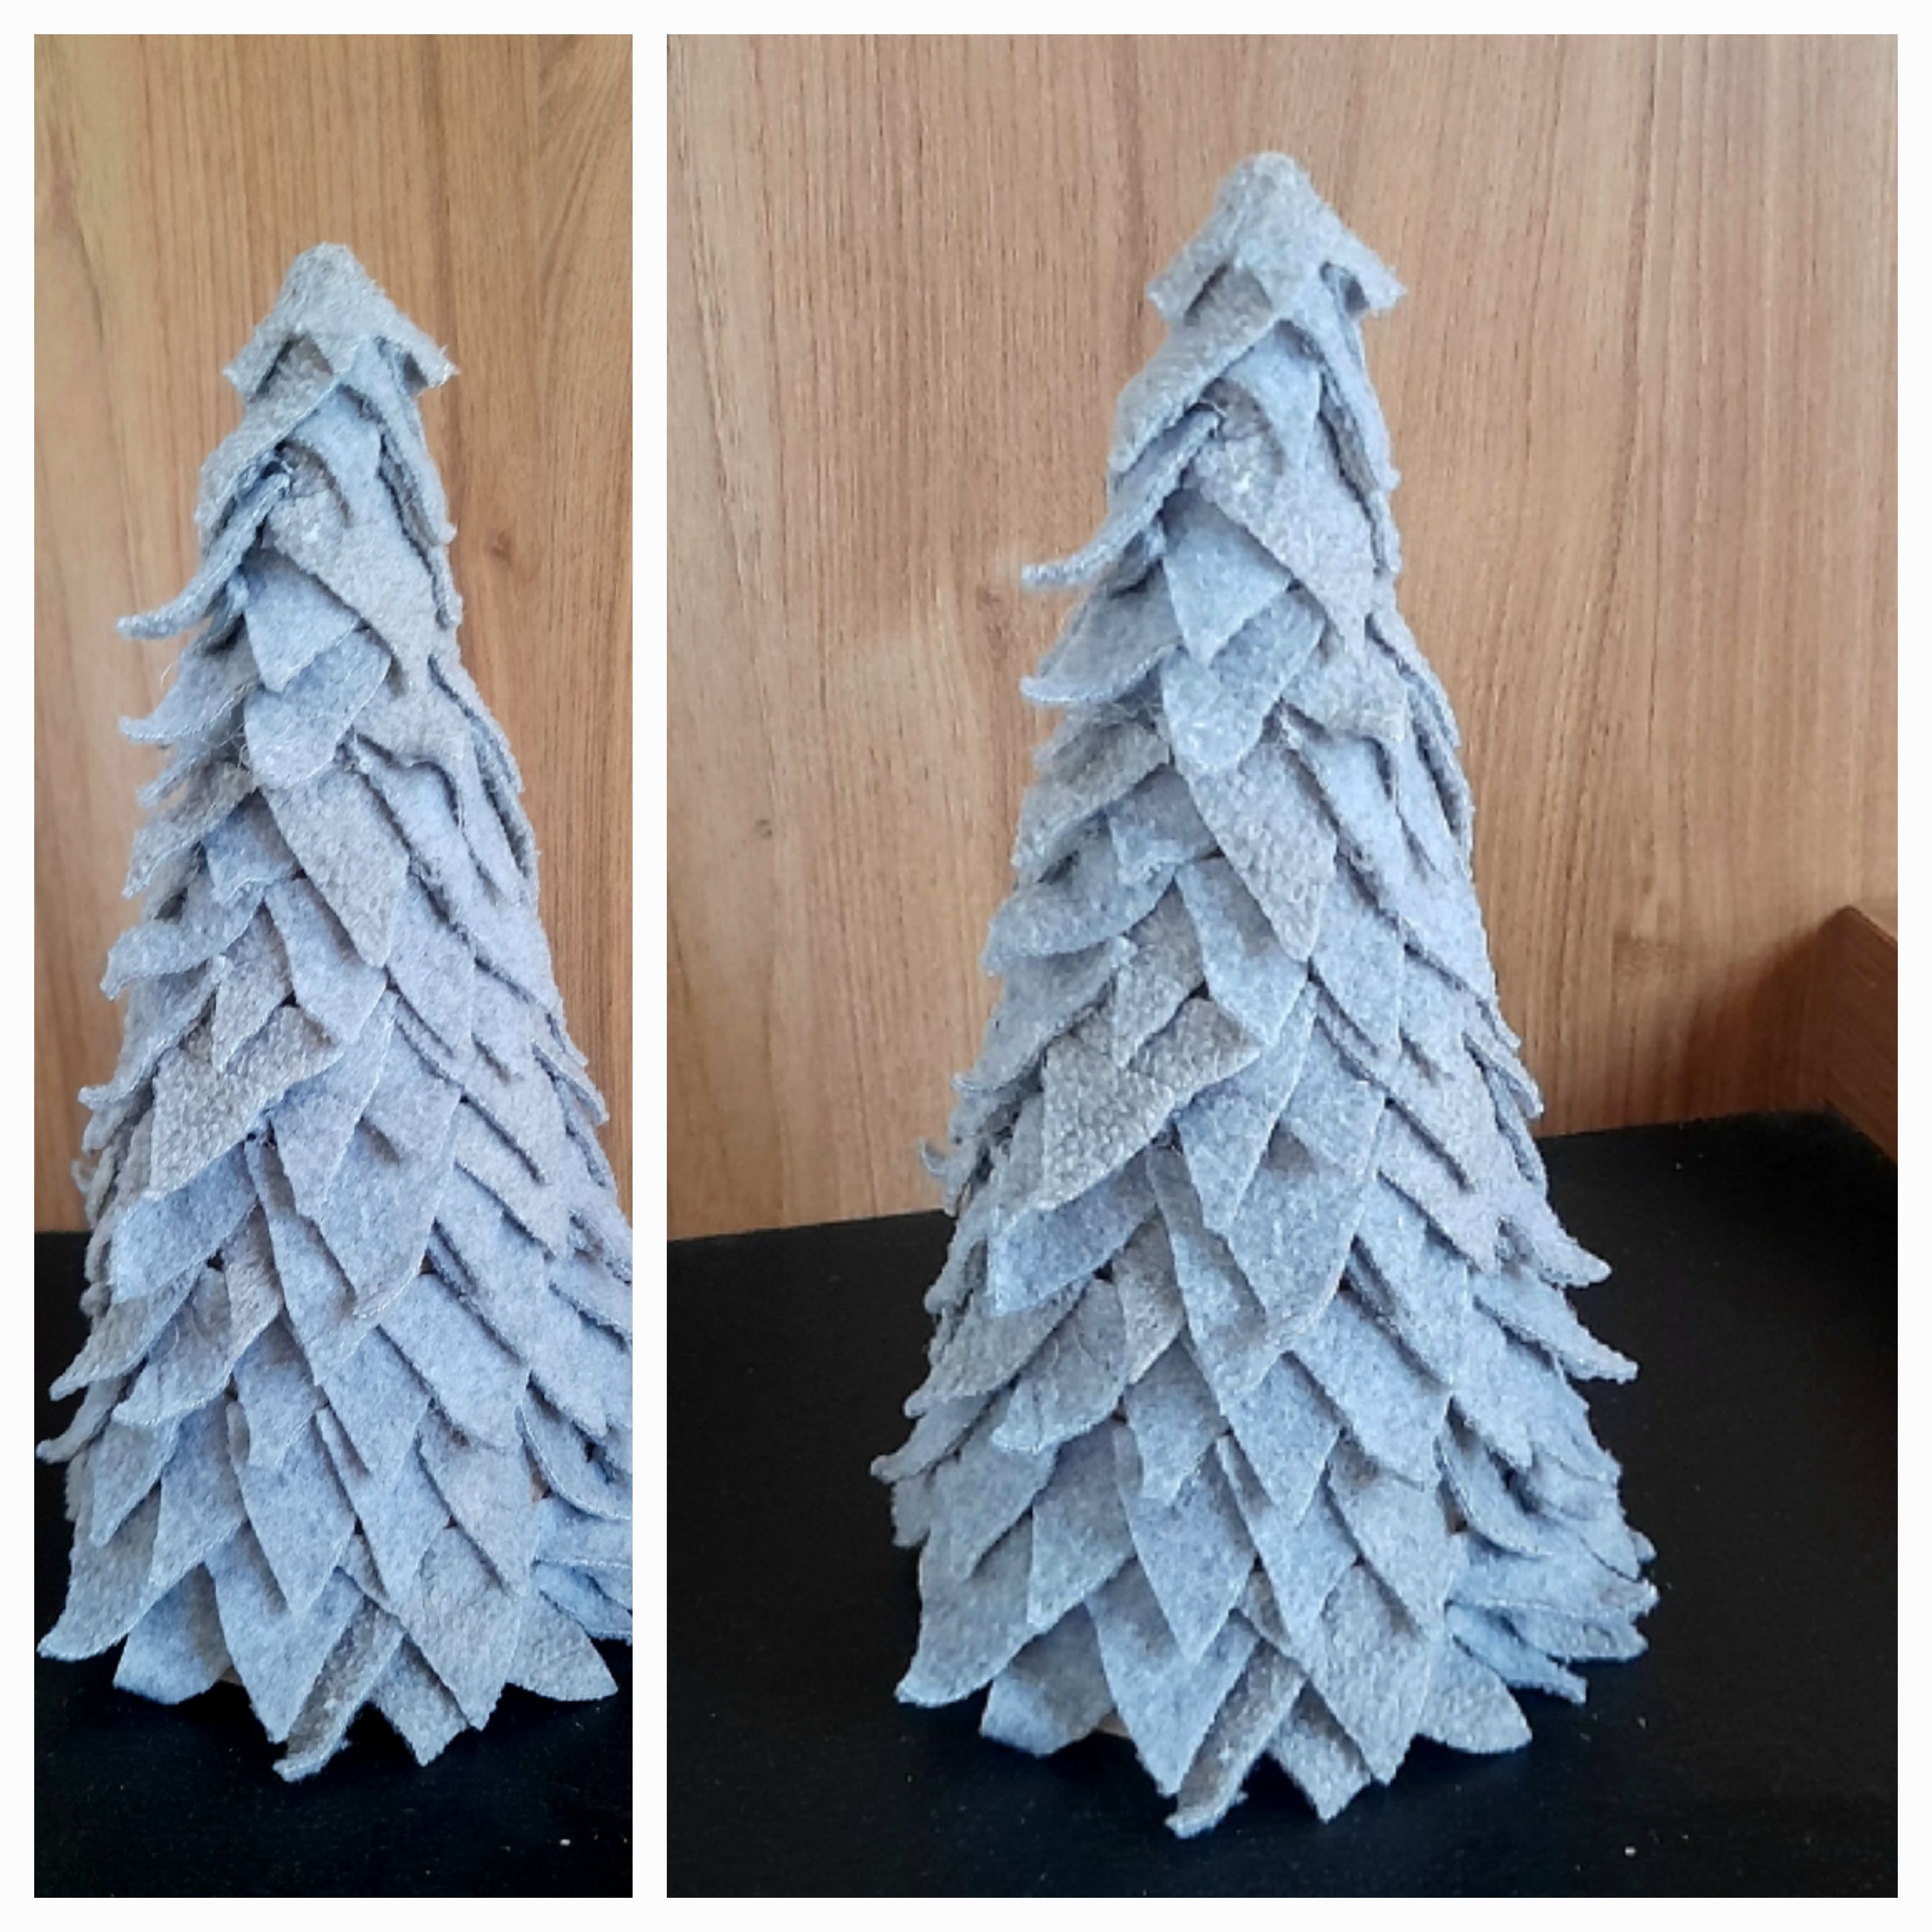
Pueden cubrir el cono con mecatillo, estambre, hacer los triángulos en foami, forrarlos con tela e incluso vi, algunos que fueron realizados con hojas de papel blancas o de colores, dándole la forma que ustedes desean, y la verdad es que todos quedan absolutamente hermosos, así que, ¡manos a la obra!

Although I'm in low battery mode thanks to the lack of rest due to the electrical problem that persists on the island, I have continued working little by little on some pending projects to decorate this Christmas, like this super cute mini tree that I bring you today.

It is a pretty simple tree, but really beautiful, and I had seen many models of this style, but in the end, as always, I ended up making it to my taste, and according to the decor we are using this year at home, so it is a tree in gray tone, with felt, starting from the base of a cardboard cone, but let's stop talking, and move on to the list of materials and step by step.
Materials
Thin cardboard or cardboard
Silicone gun
Gray felt
Pencil
Scissors
Step by step
The first thing we will do will be the cone on which we will paste the felt, for which we will cut a piece of cardboard like the one you see in the picture below, roll it to give the shape of a cone and paste it with the silicone gun, giving shape to the base of the tree, which by the way, you can make the size you want.
In my case, I had no electricity that day, so as you can see, I used cold silicone and adhesive tape to secure it very well.


Once the cone is ready the next step is to cut out felt triangles, these can also be the size you want, so if you don't feel like cutting a lot you can make large triangles, in my case I made them small because I had scraps of felt so I had to cut them like this.
A tip to make these triangles easier, is to cut a long strip of felt of the width you want your triangles to be and with the scissors cut them one by one, just change the direction of the cut, and this way it will be much faster and easier.

Once the triangles are ready, we will begin to glue them from the bottom up, placing one next to the other, and in the spaces where the cone is exposed, on the bottom, we glue another triangle, and so we are assembling our tree without leaving spaces exposed.


At the tip what I did was to make a mini cone with felt, give a few small cuts on the sides and glued it on top, and it was ready. A beautiful and quite simple decoration for our home, and best of all, is that you can use any material to create this type of trees.

You can cover the cone with mecatillo, yarn, make the triangles in foami, cover them with fabric and I even saw some that were made with white or colored paper leaves, giving them the shape you want, and the truth is that they all look absolutely beautiful, so, let's get to work!

Posted Using InLeo Alpha