Hello Hello✨
For over a year now, I have had a pom pom tool and didn't even know it was such a priceless tool. I remember buying a crocheters kit a year ago and in this bag, I found a few strange looking tools. I asked a few crocheters that I knew at the time about the tools and they too didn't know what the tools were used for or what they were even called, so I decided to give it a rest.
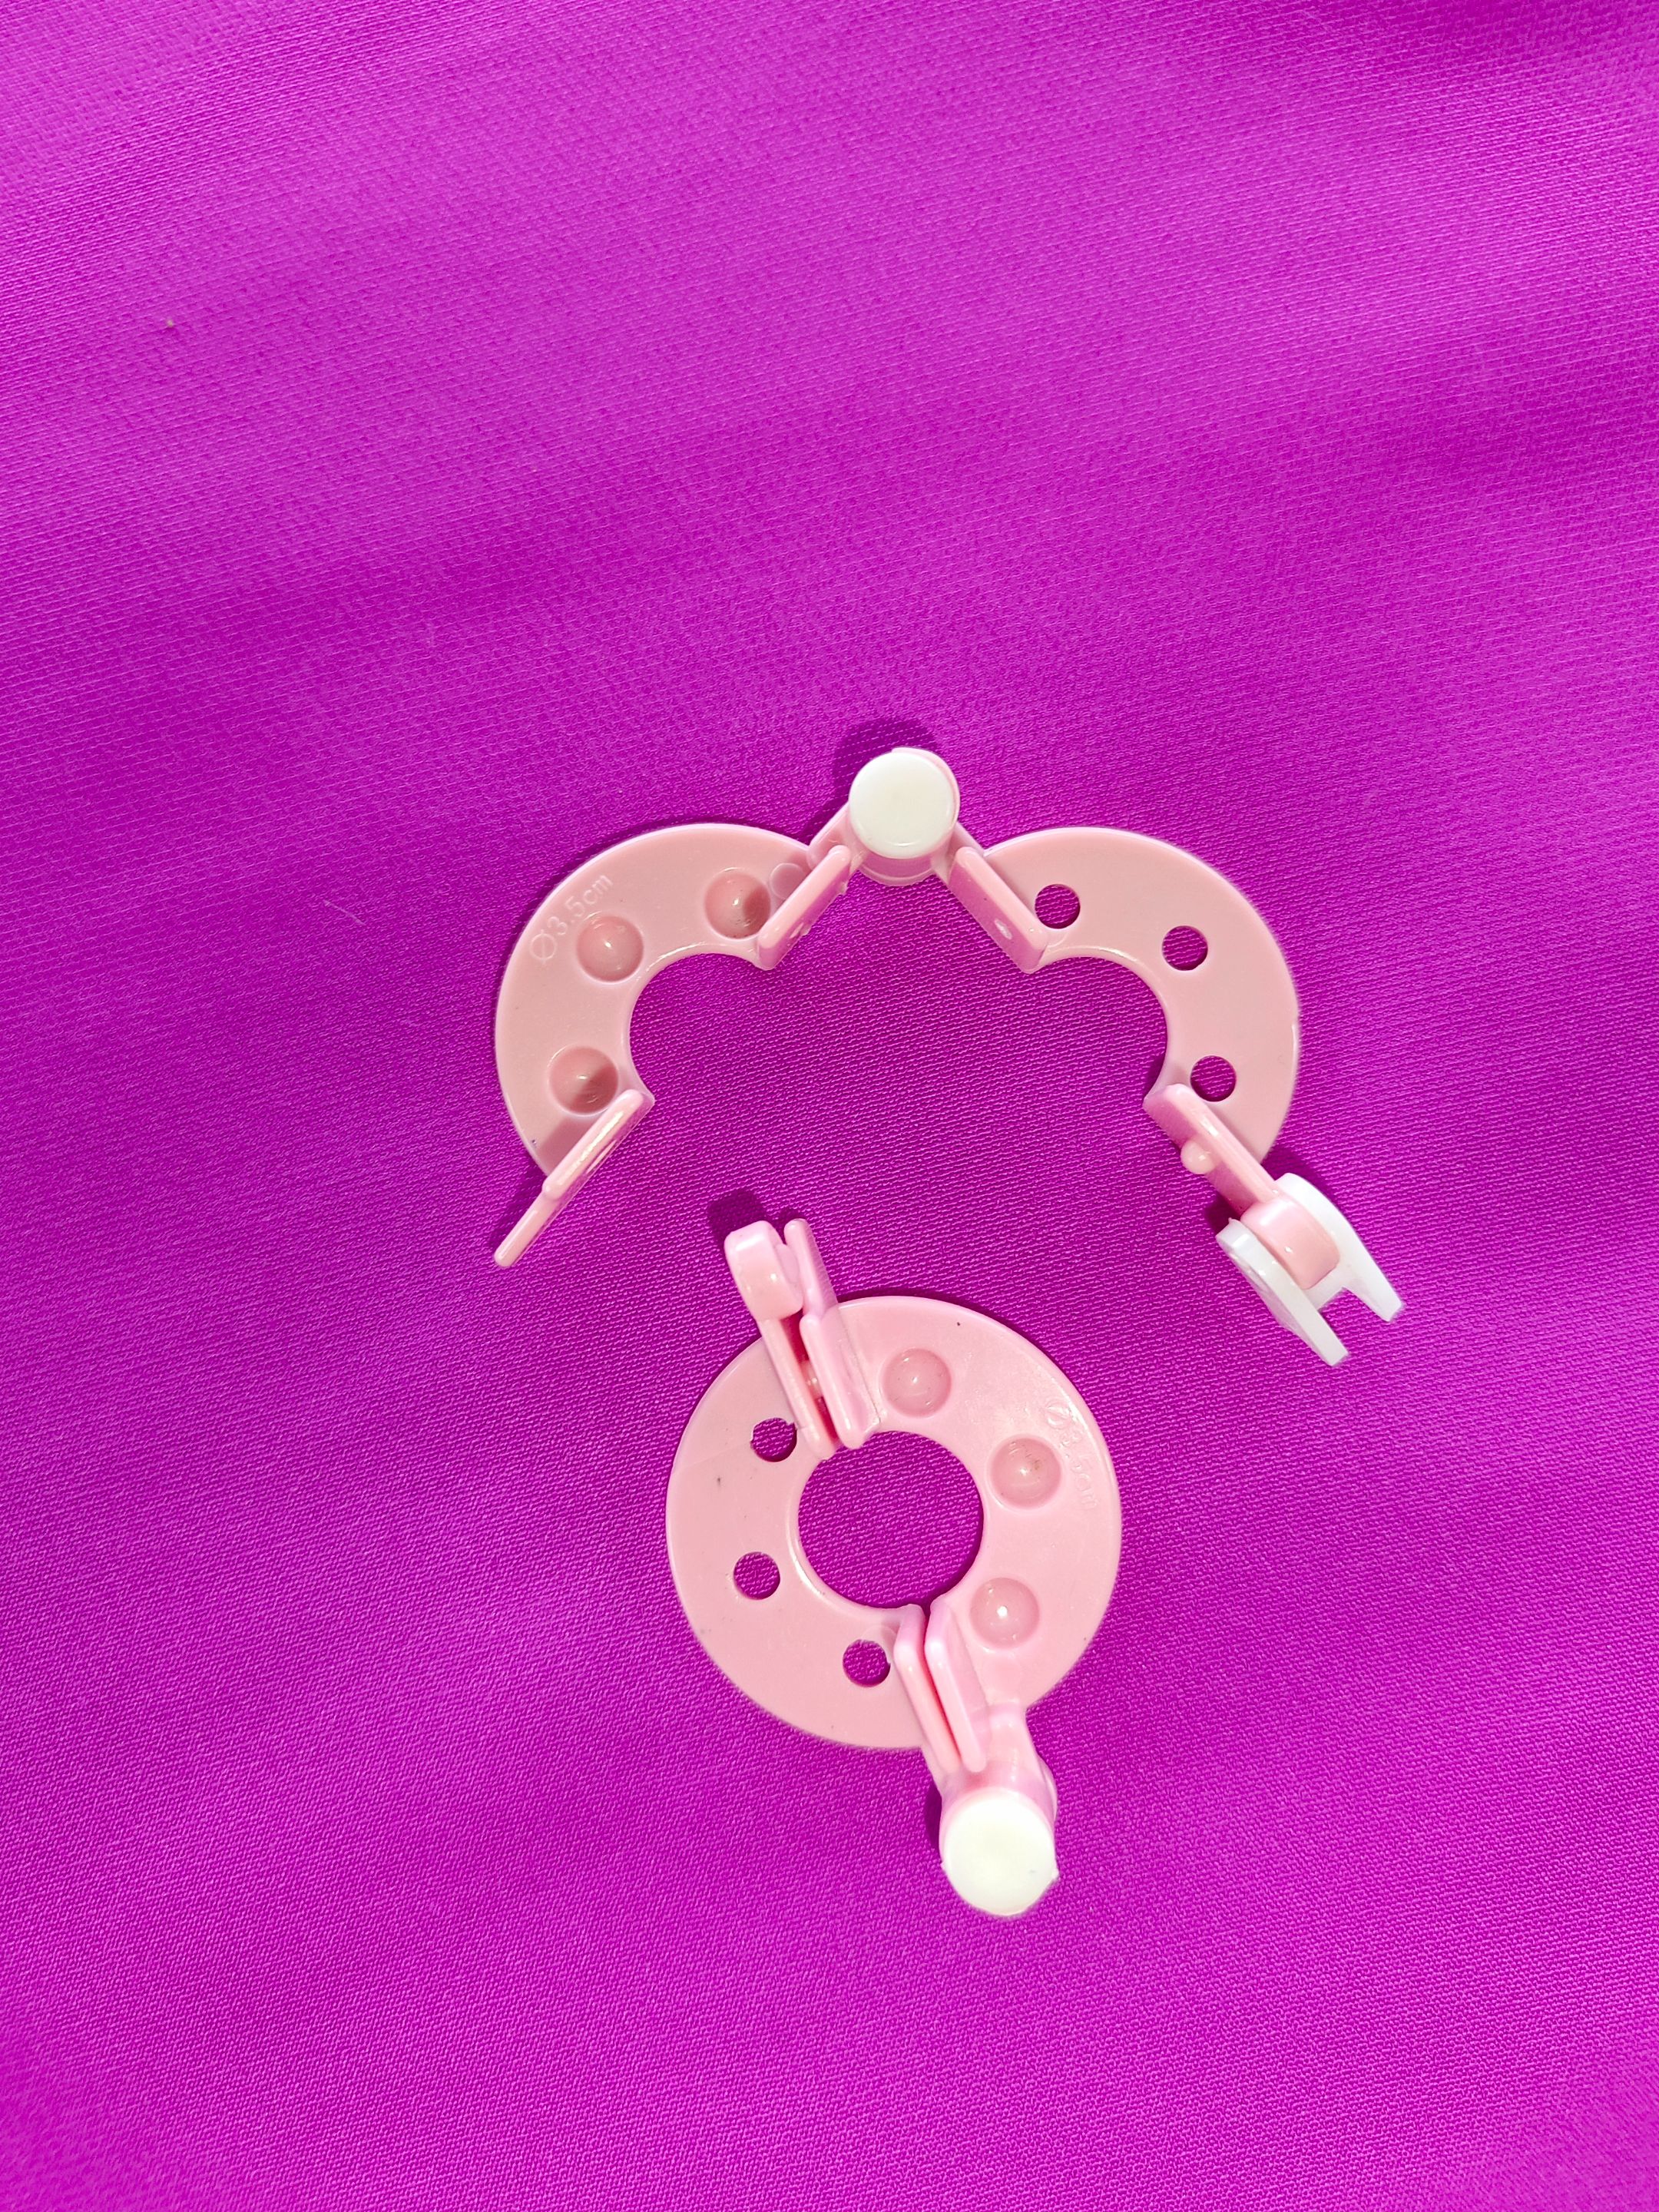
Fast Forward to over a year later, I was surfing the net and came across the phrase “Pom Pom Tool”. I know that I have abstained from making pom poms manually because of how tasking it can be. Out of curiosity, I did further research on the tool and then it clicked; “I have this tool!”. I went rummaging and found it! Thank goodness I didn't do away with it.
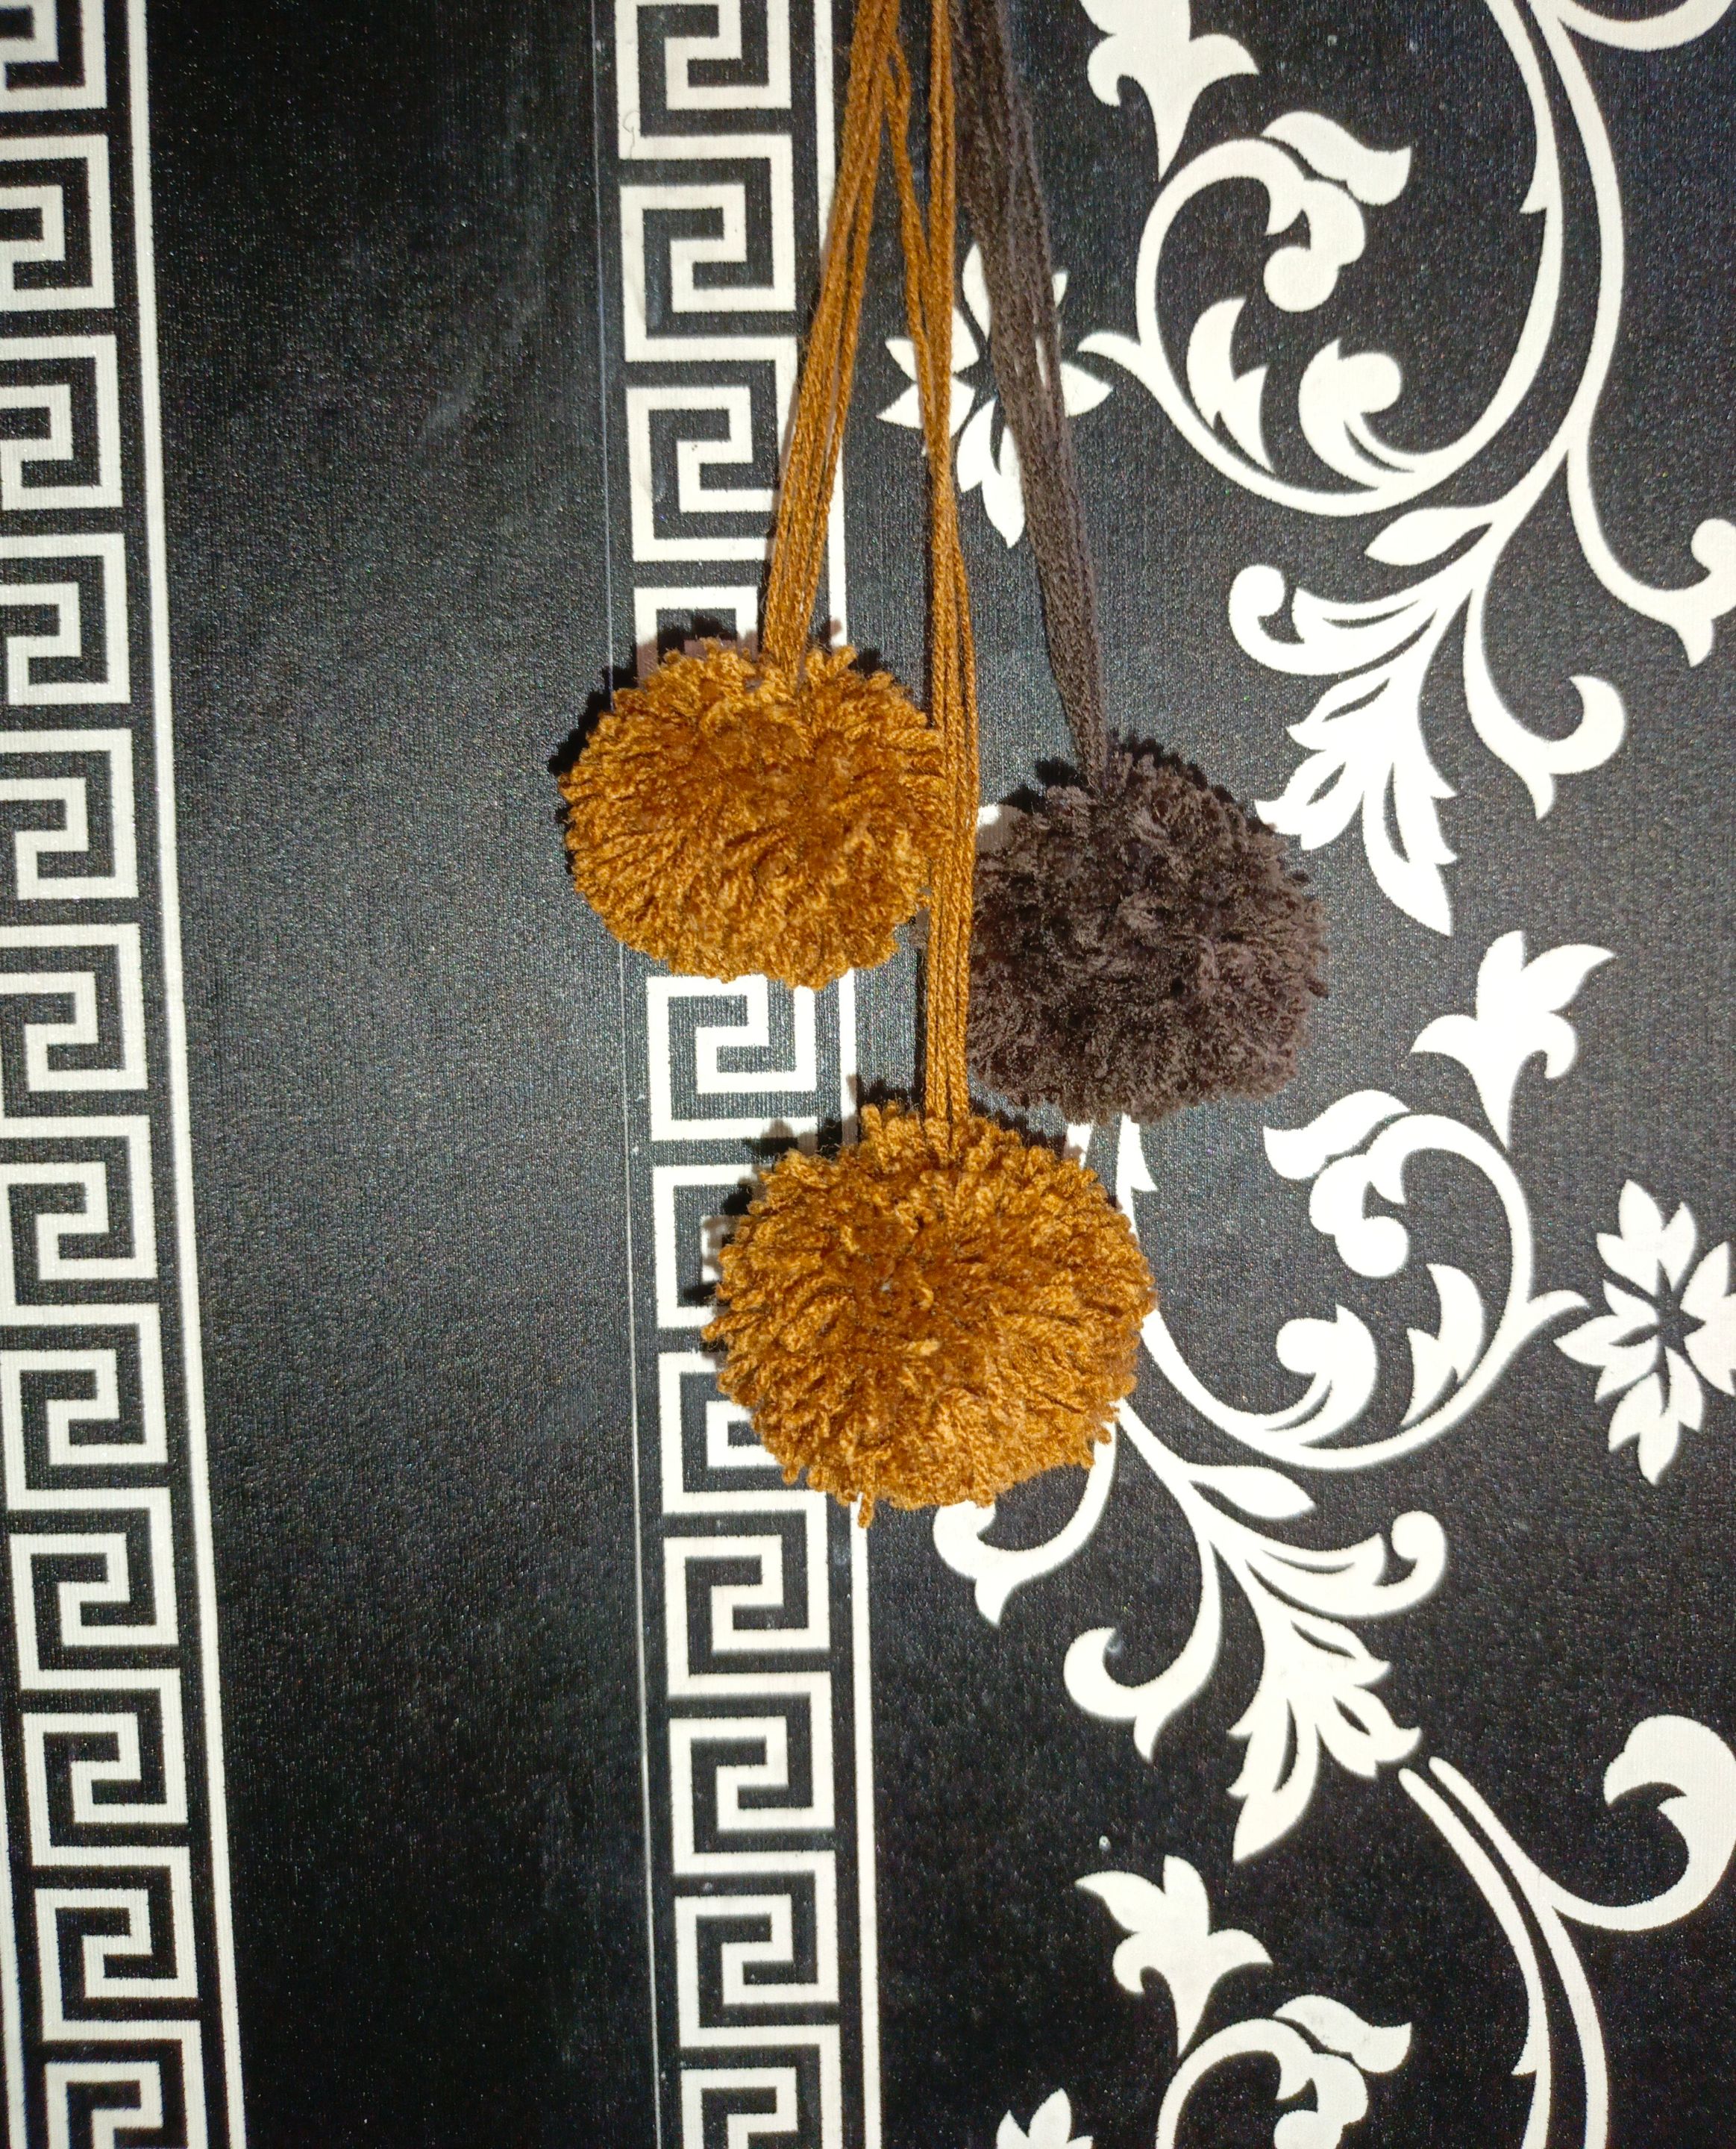
Today, I would be sharing with you the process of making pom poms using just the pom pom maker and two other items. First off, I must say that this pom pom maker is an absolute game changer. It is easy to use, requires little to no form of skill and it also produces amazing results.
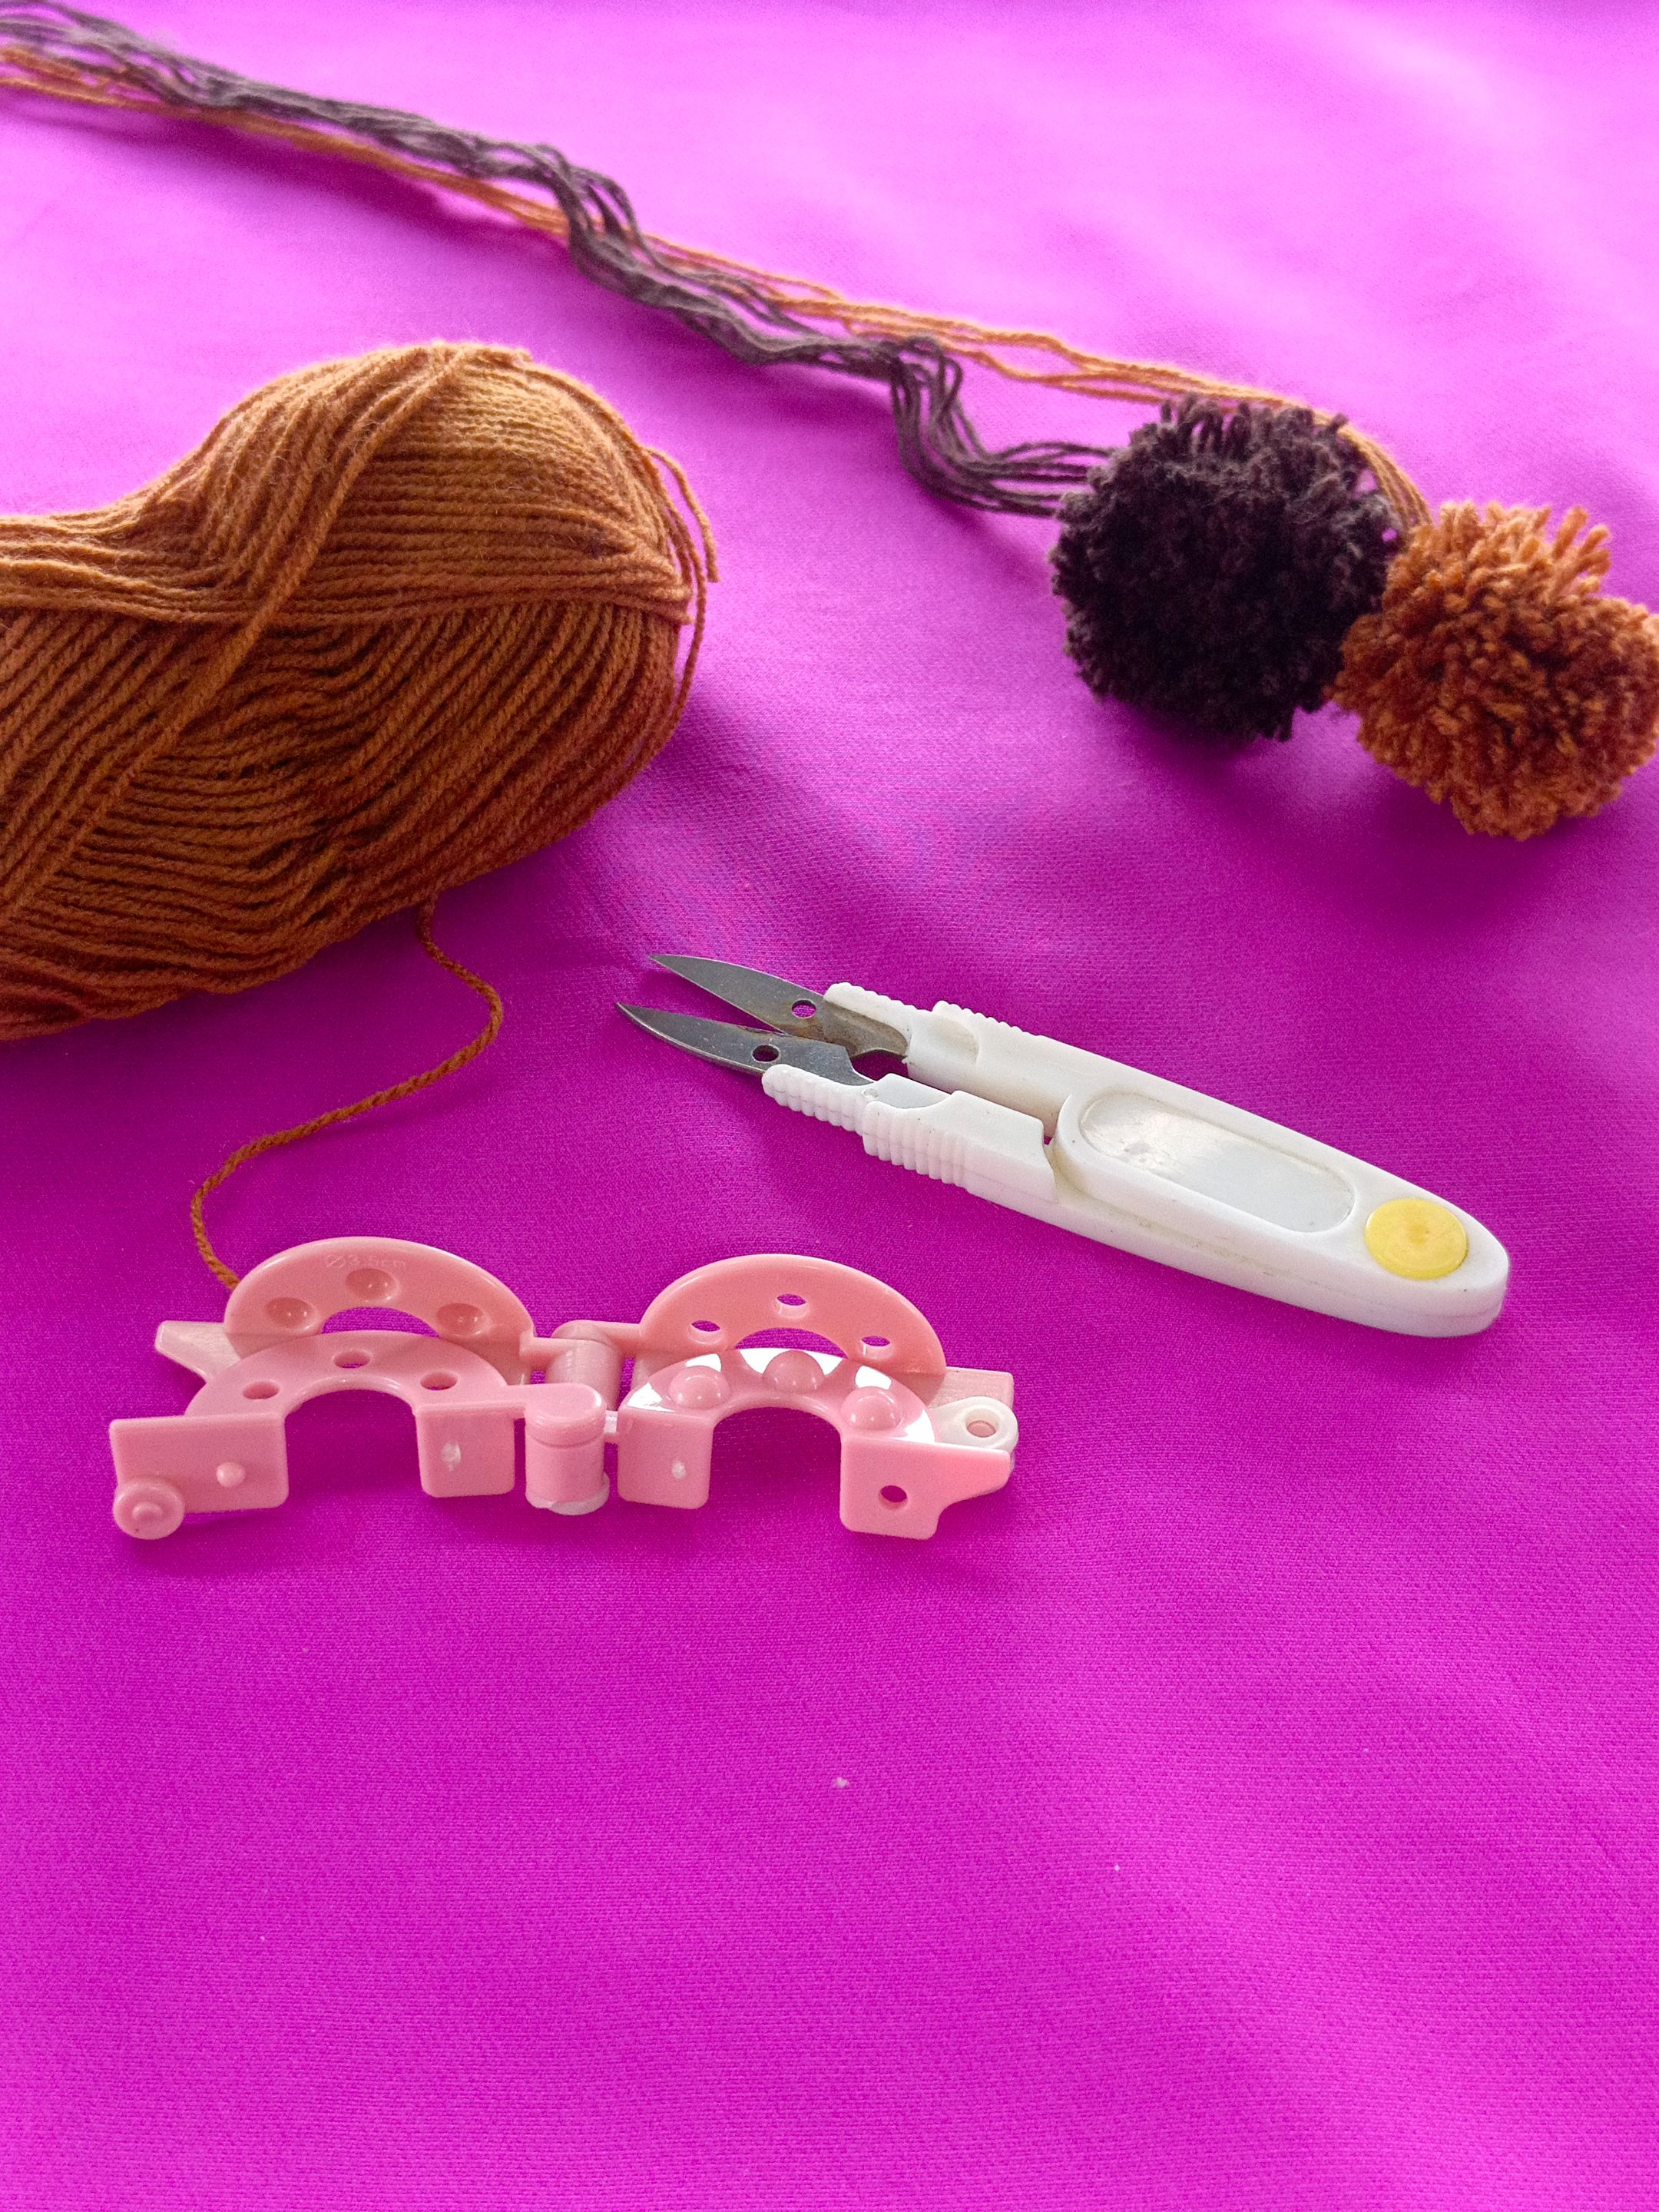
Tools Needed
- Pom Pom tool
- Spare yarn
- A pair of scissors
Procedure.
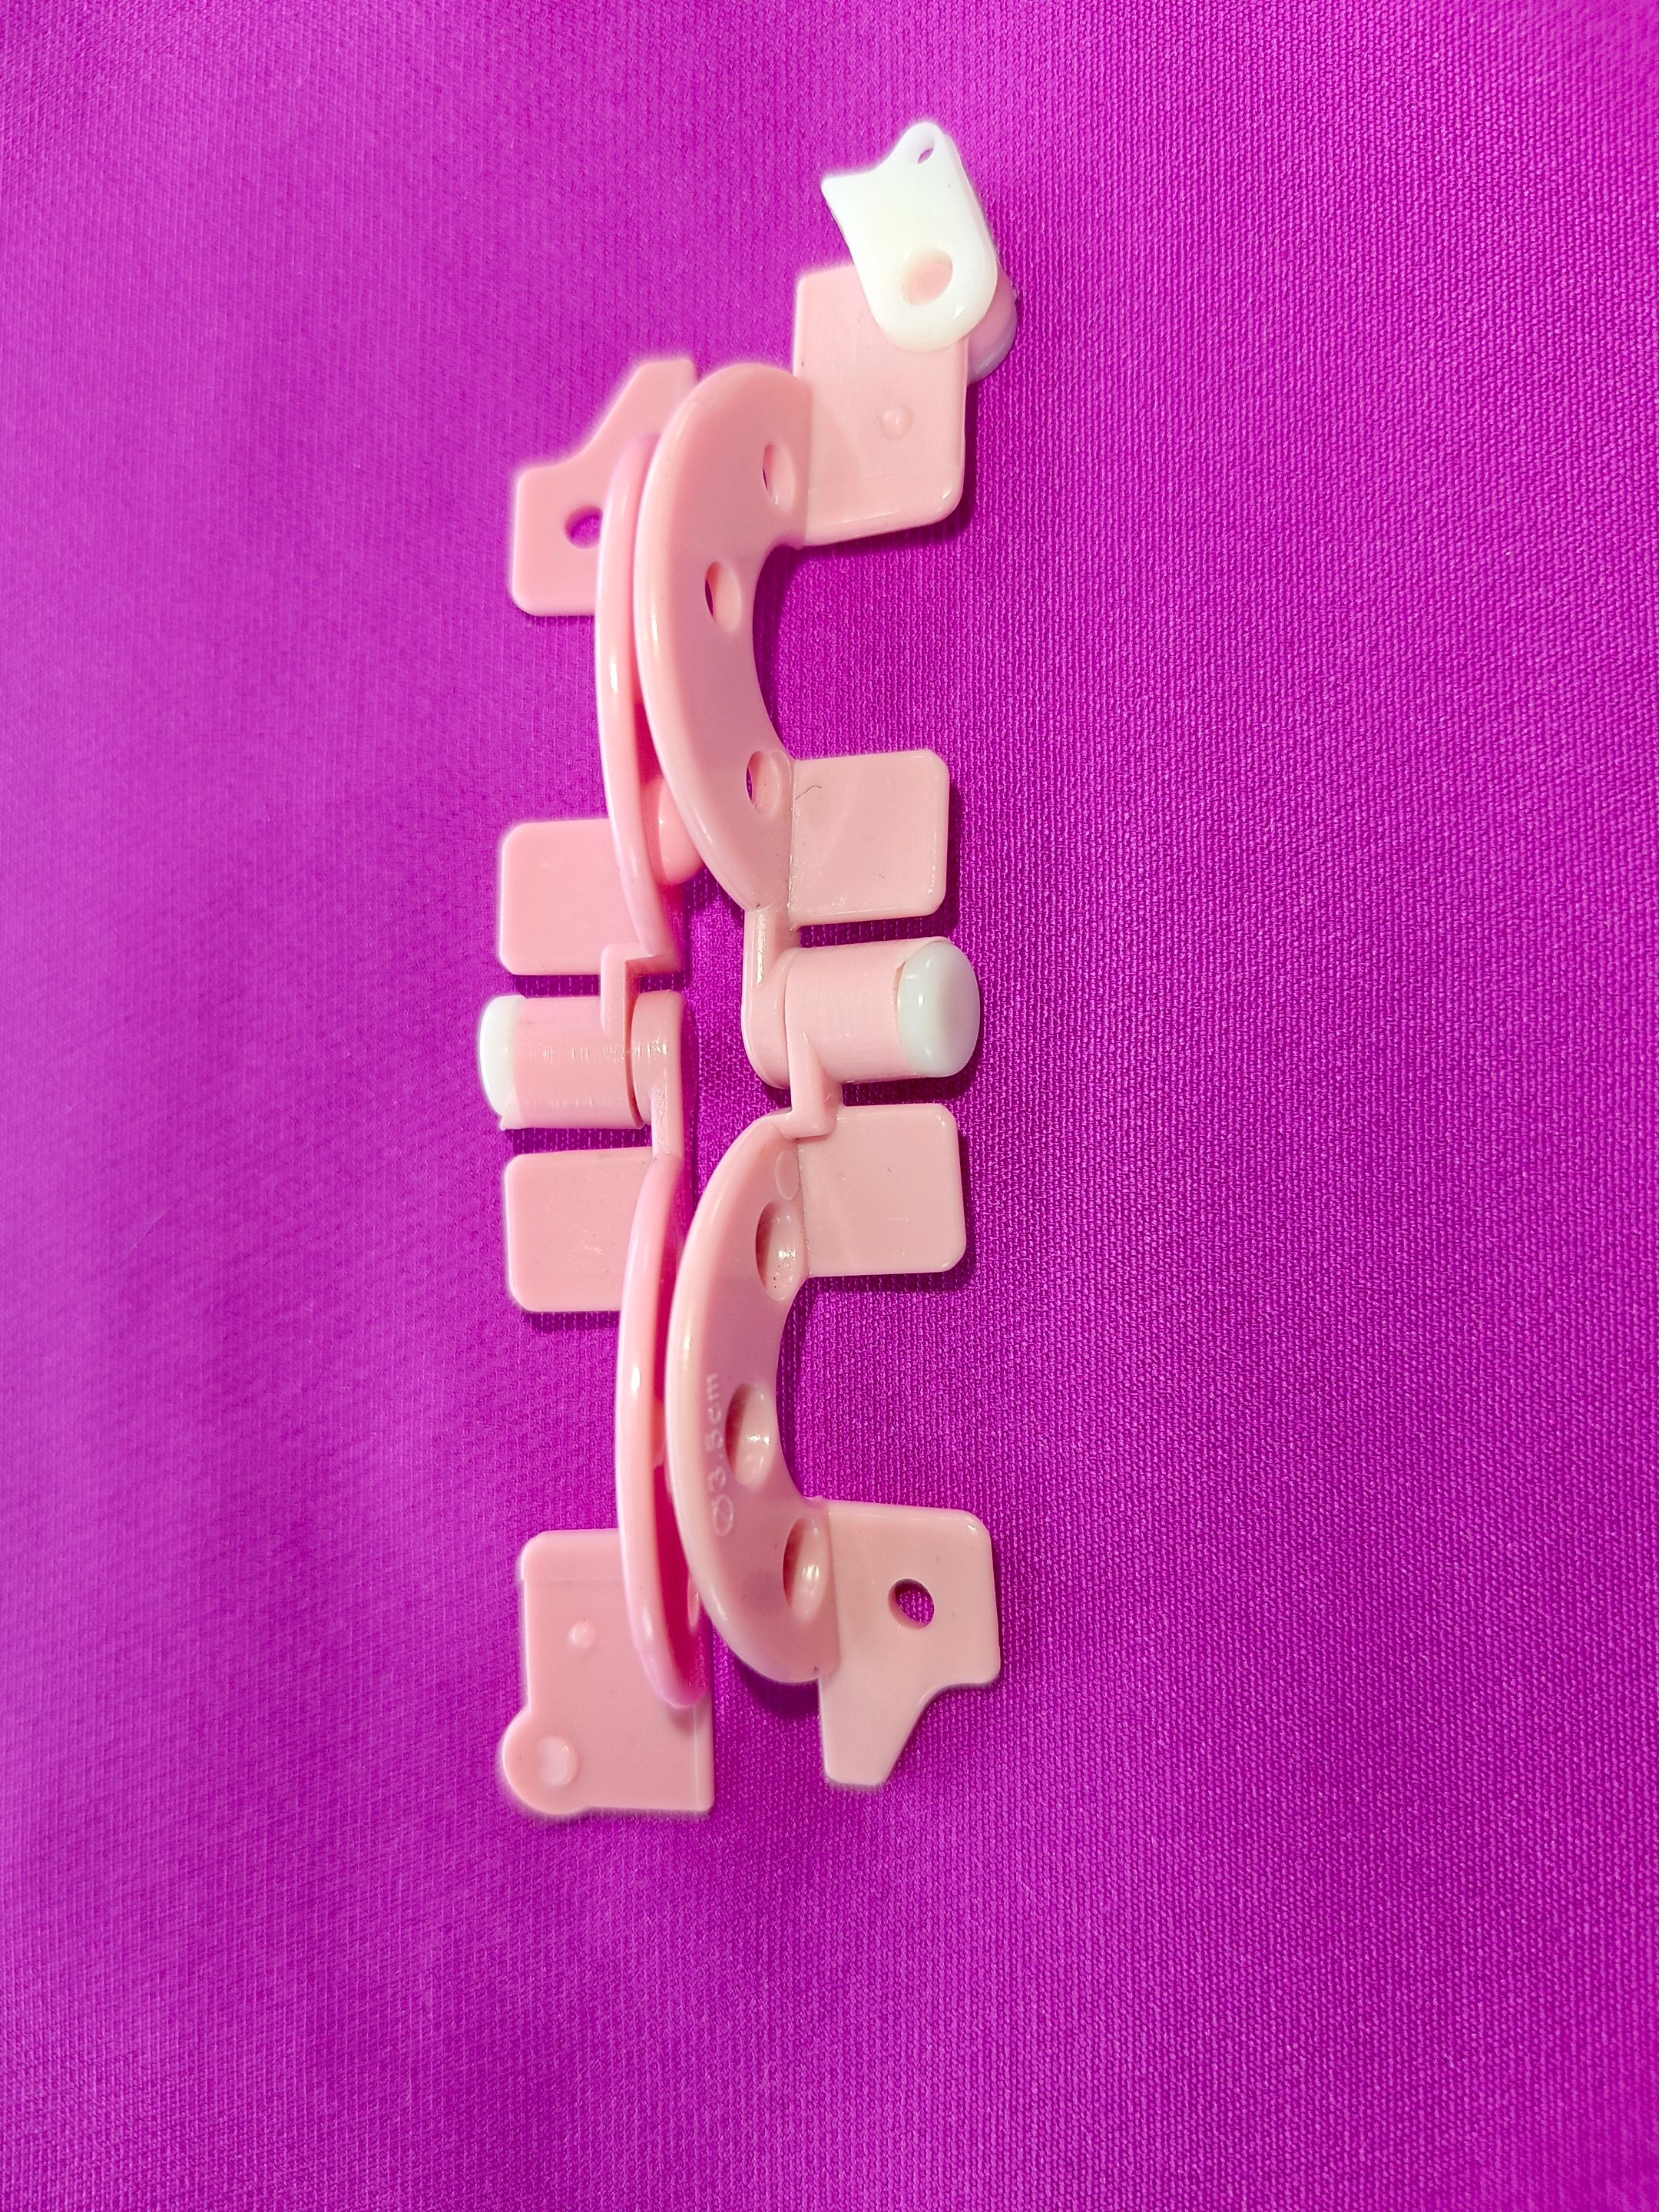
The first thing I did was open two of the tools and place them side by side. Afterwards, I wrapped my yarn on one side of the tool. Here, I ensured that I covered up all the spaces to prevent the pom poms from coming out looking scanty.
After wrapping it on one side, I went ahead to repeat the same procedure on the second half of the pom pom tool, while still paying close attention to the hidden corners.

The next thing I did was to close up the pom pom tool and fasten it up tightly with the fastener attached at the edge of the tool.
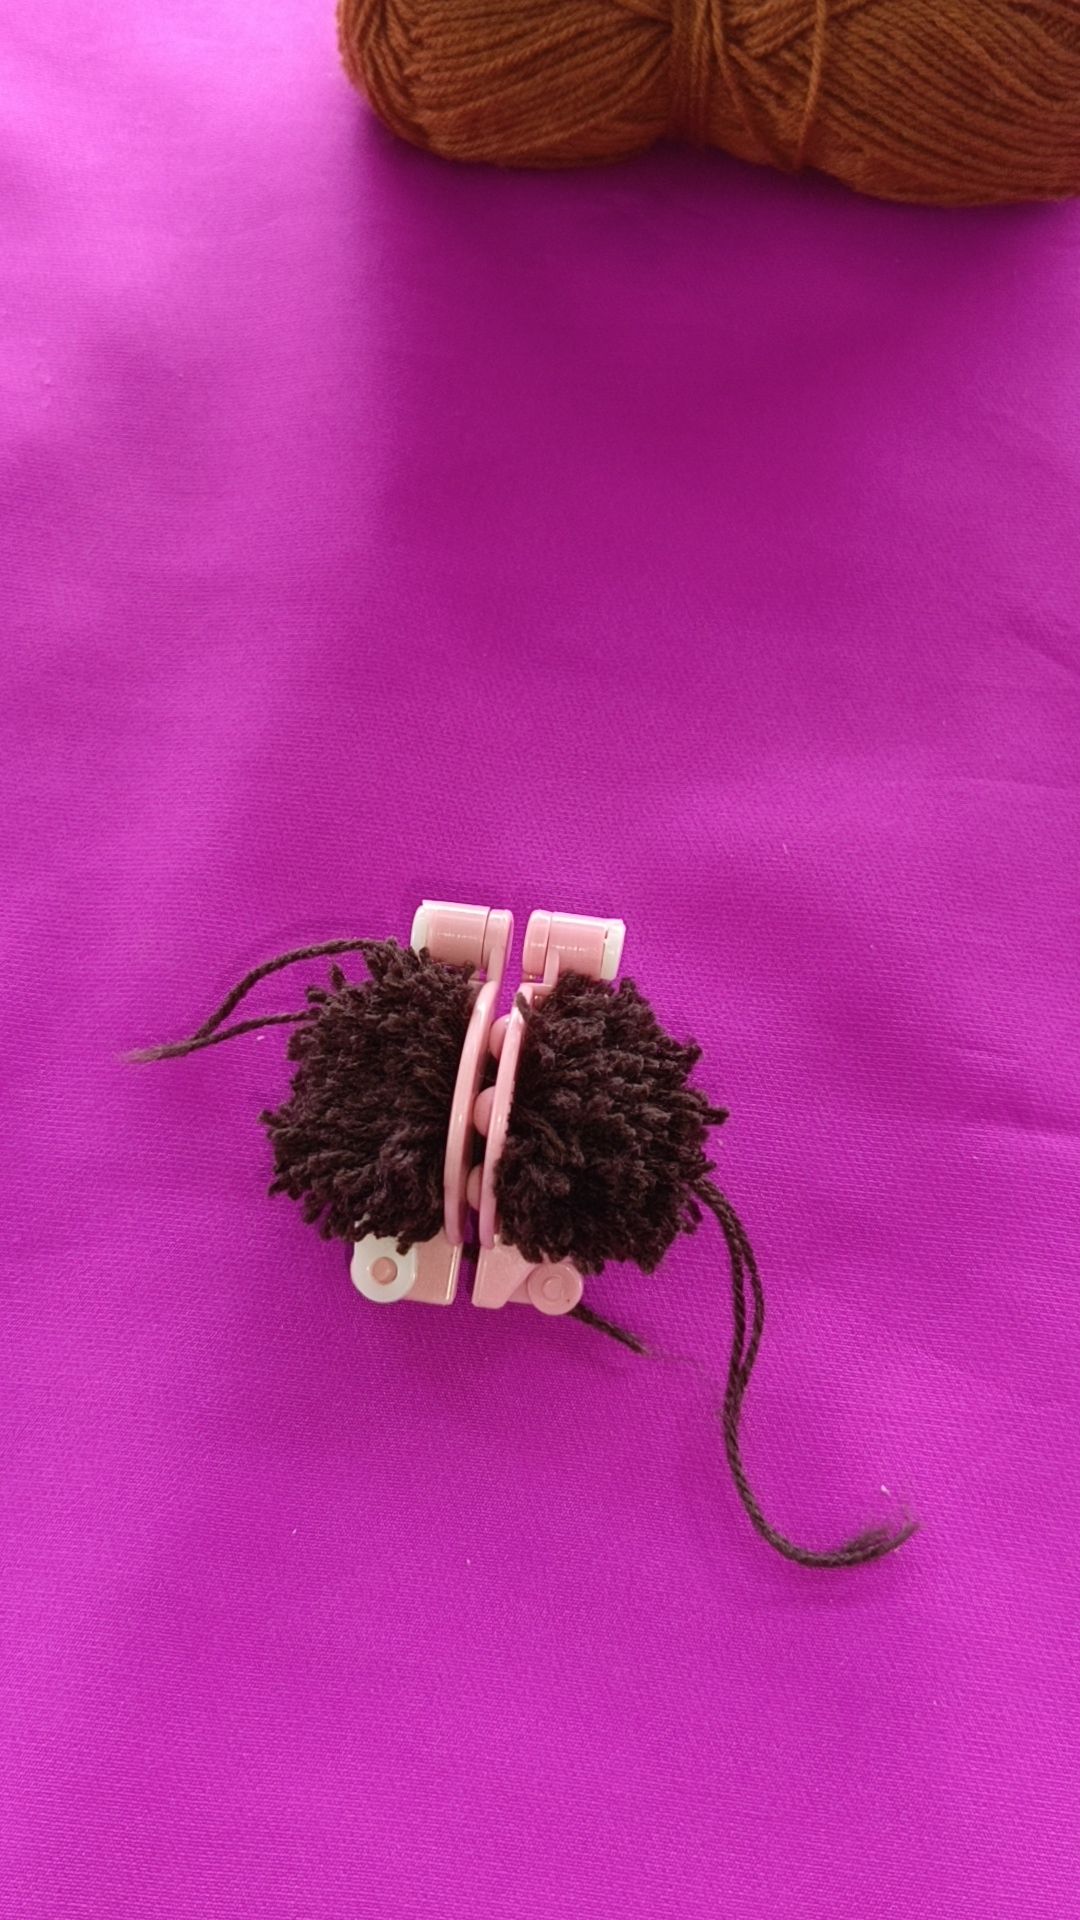
With that, I started cutting off the wrapped yarn by the side in order to expose the center through which I was going to be attaching a long yarn.
Next, I cut out a long piece of yarn. The length of this yarn depends on what the poms poms are to be used for. If they would be attached to keys as a keyholder or used as wall decors, then do well to cut off a long enough piece.
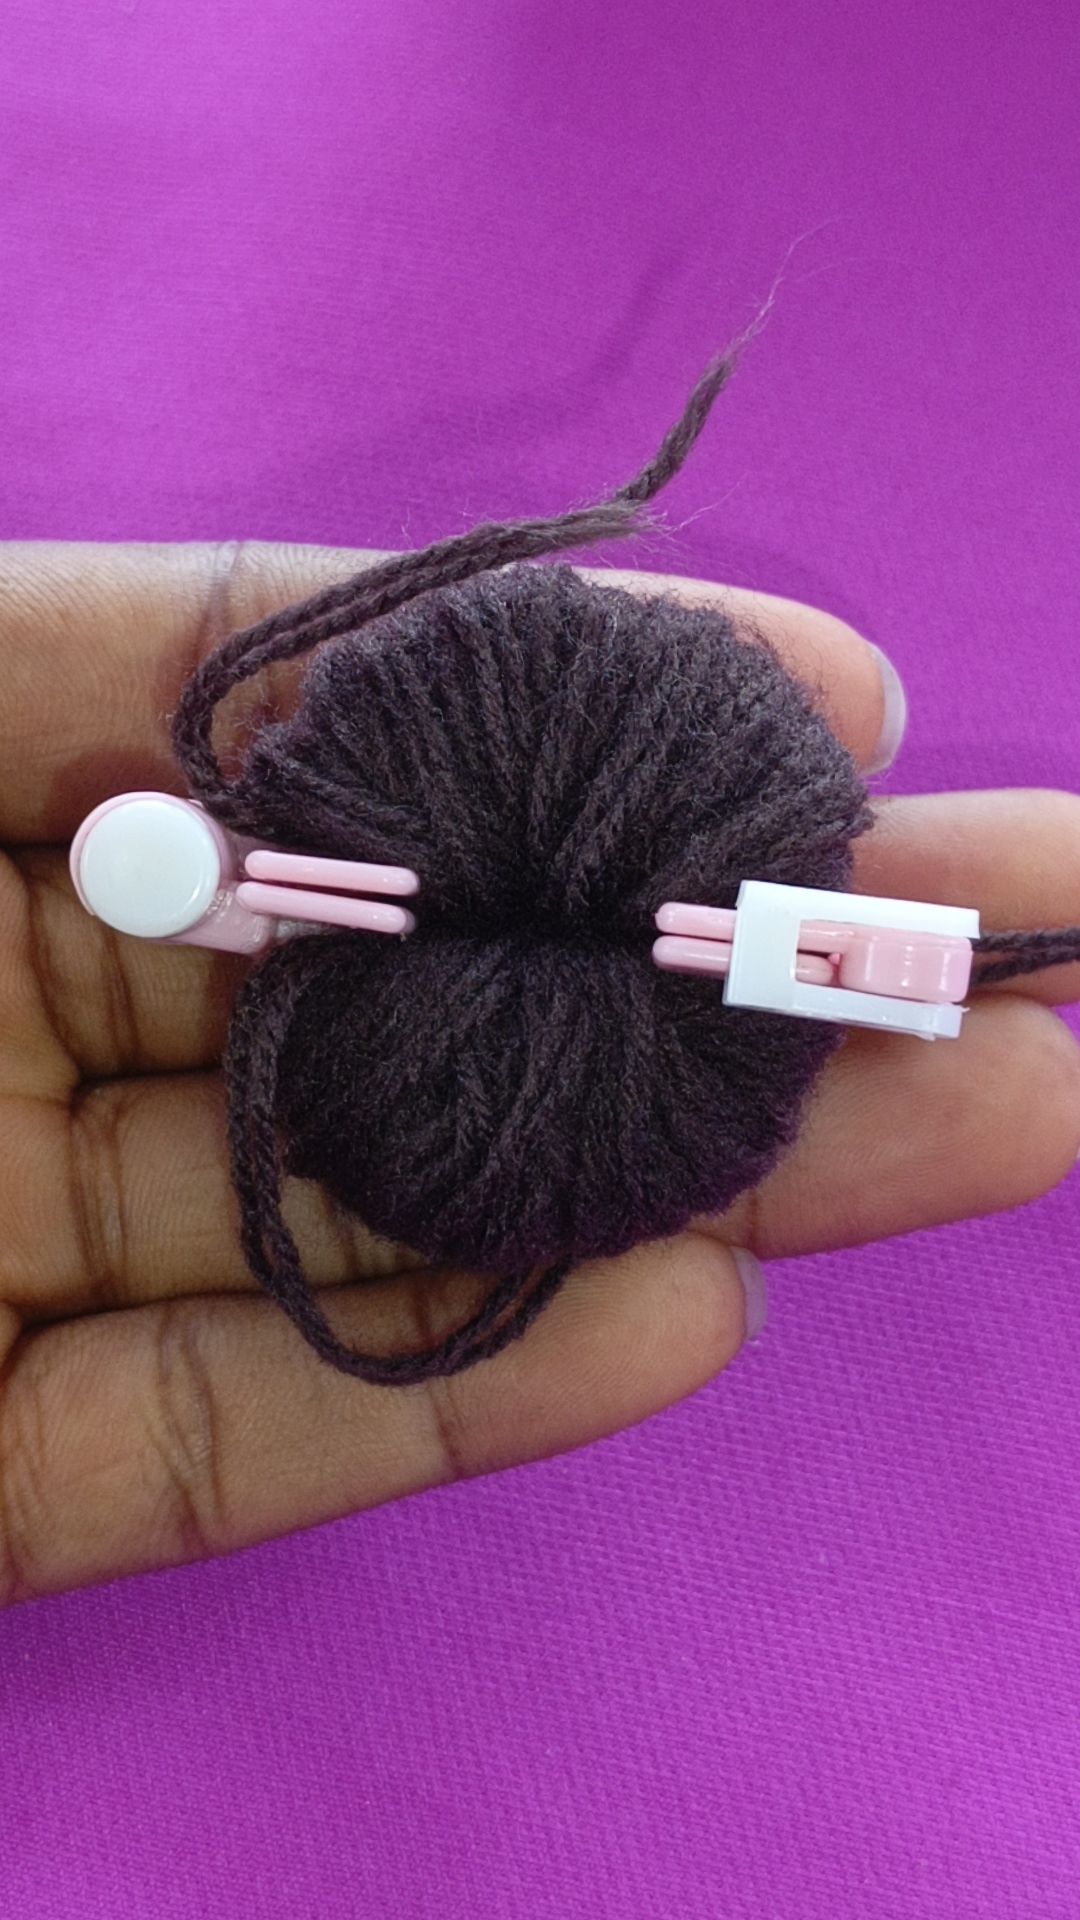
With my long piece in position, I wrapped it round the pom pom tool right through the center, tied both ends together and tightened them. I repeated this process two more times to ensure that the poms were secure. At this point, I was a bit skeptical because tying it too loose could lead to me starting all over again.
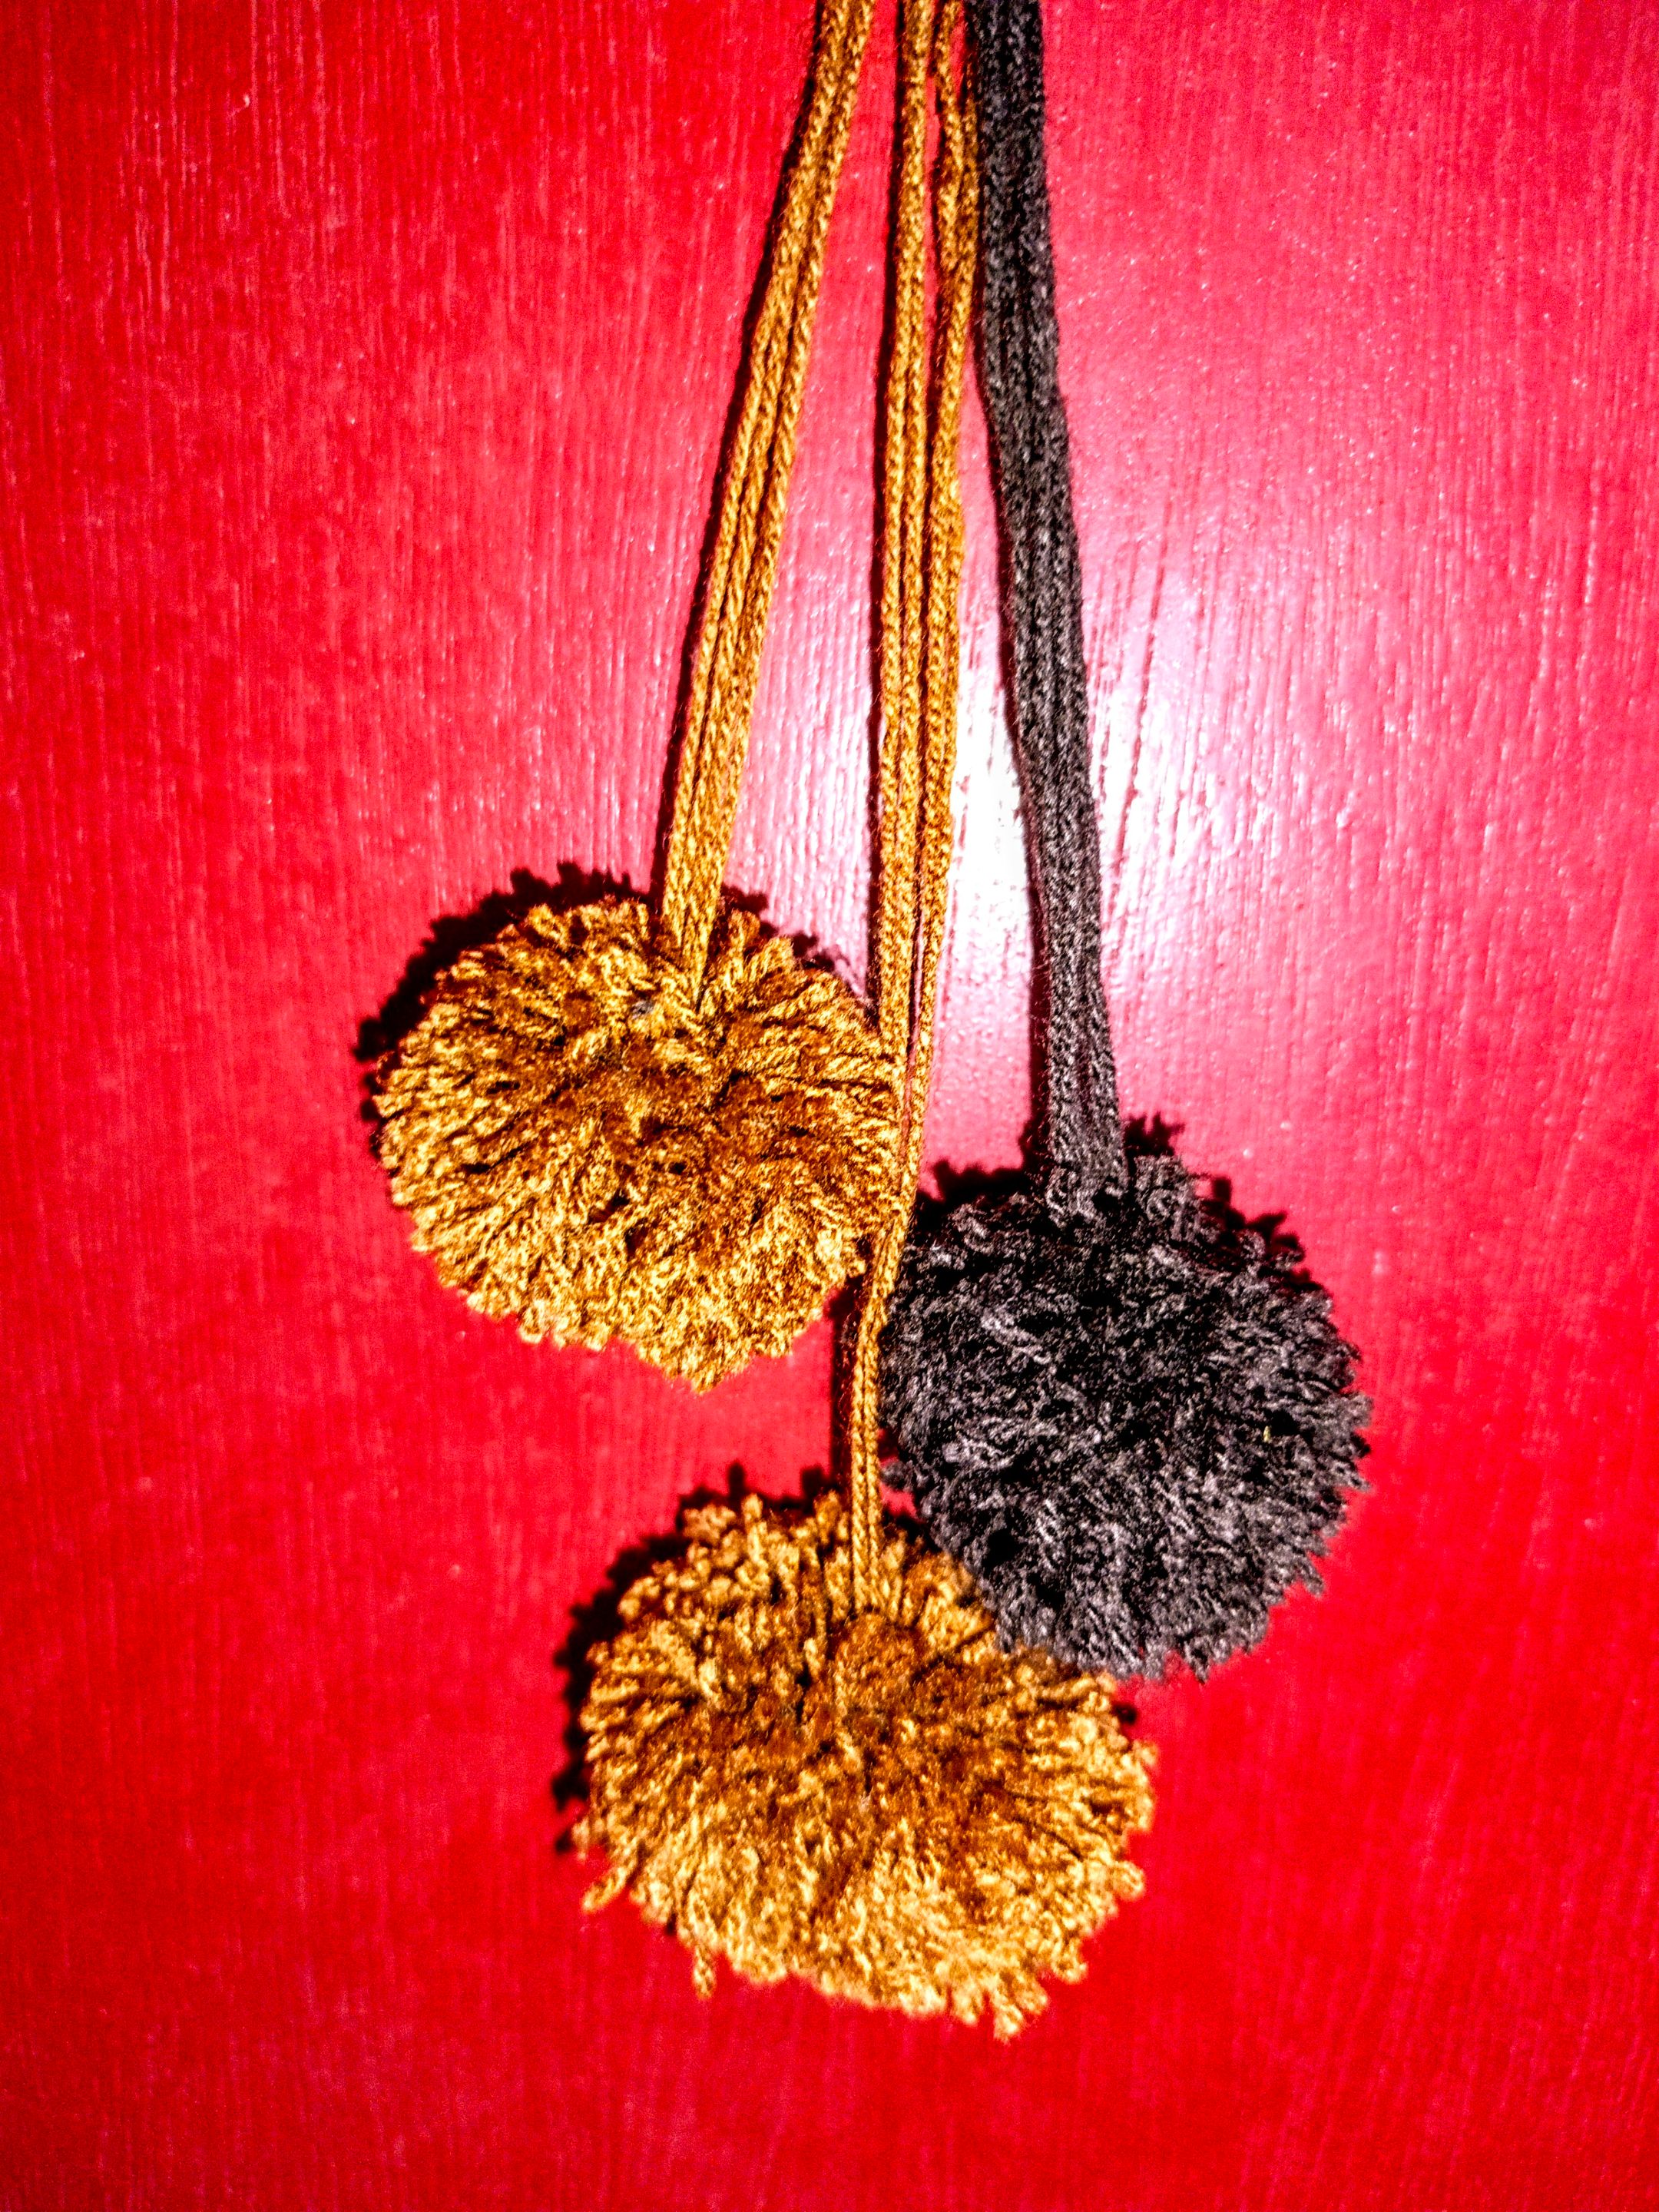
After tying and tightening, I slowly unlocked the stopper and gently pulled off the pom pom tools. This whole process gave birth to a lovely but rough looking pom pom.
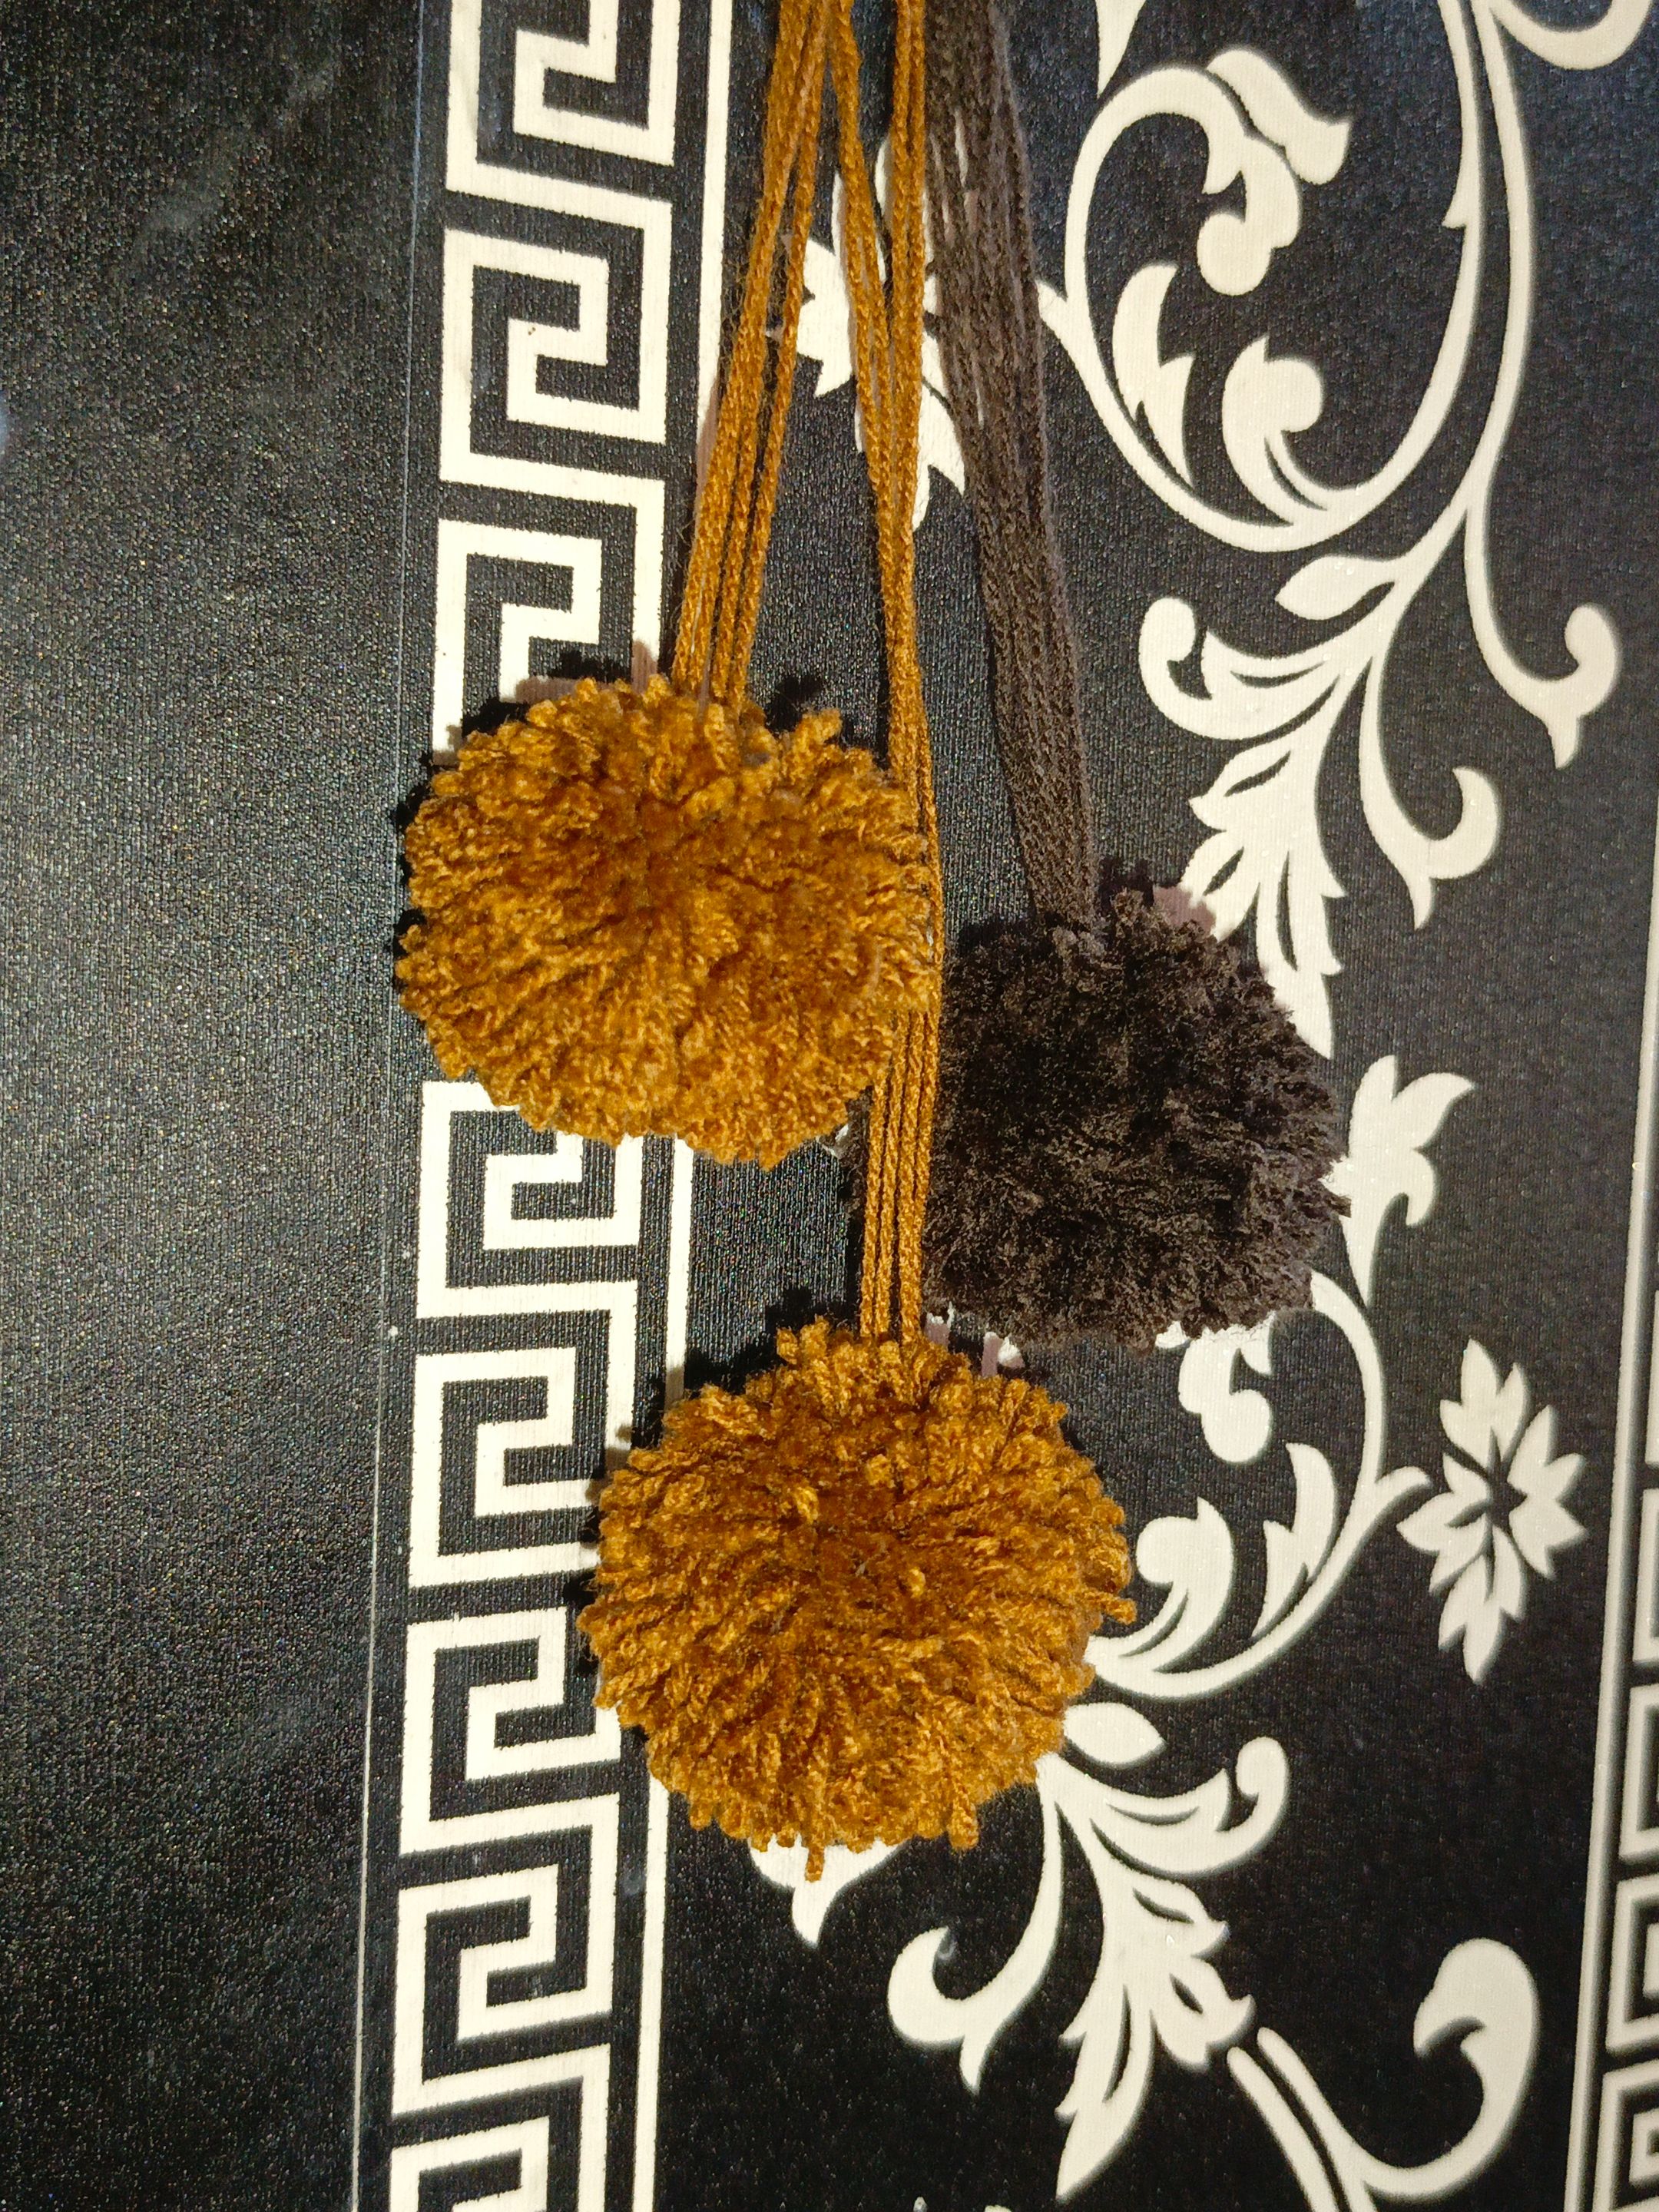
The final thing I did was trim off the rough edges and still go ahead to trim the pom pom in a circular direction to give a round pom pom.
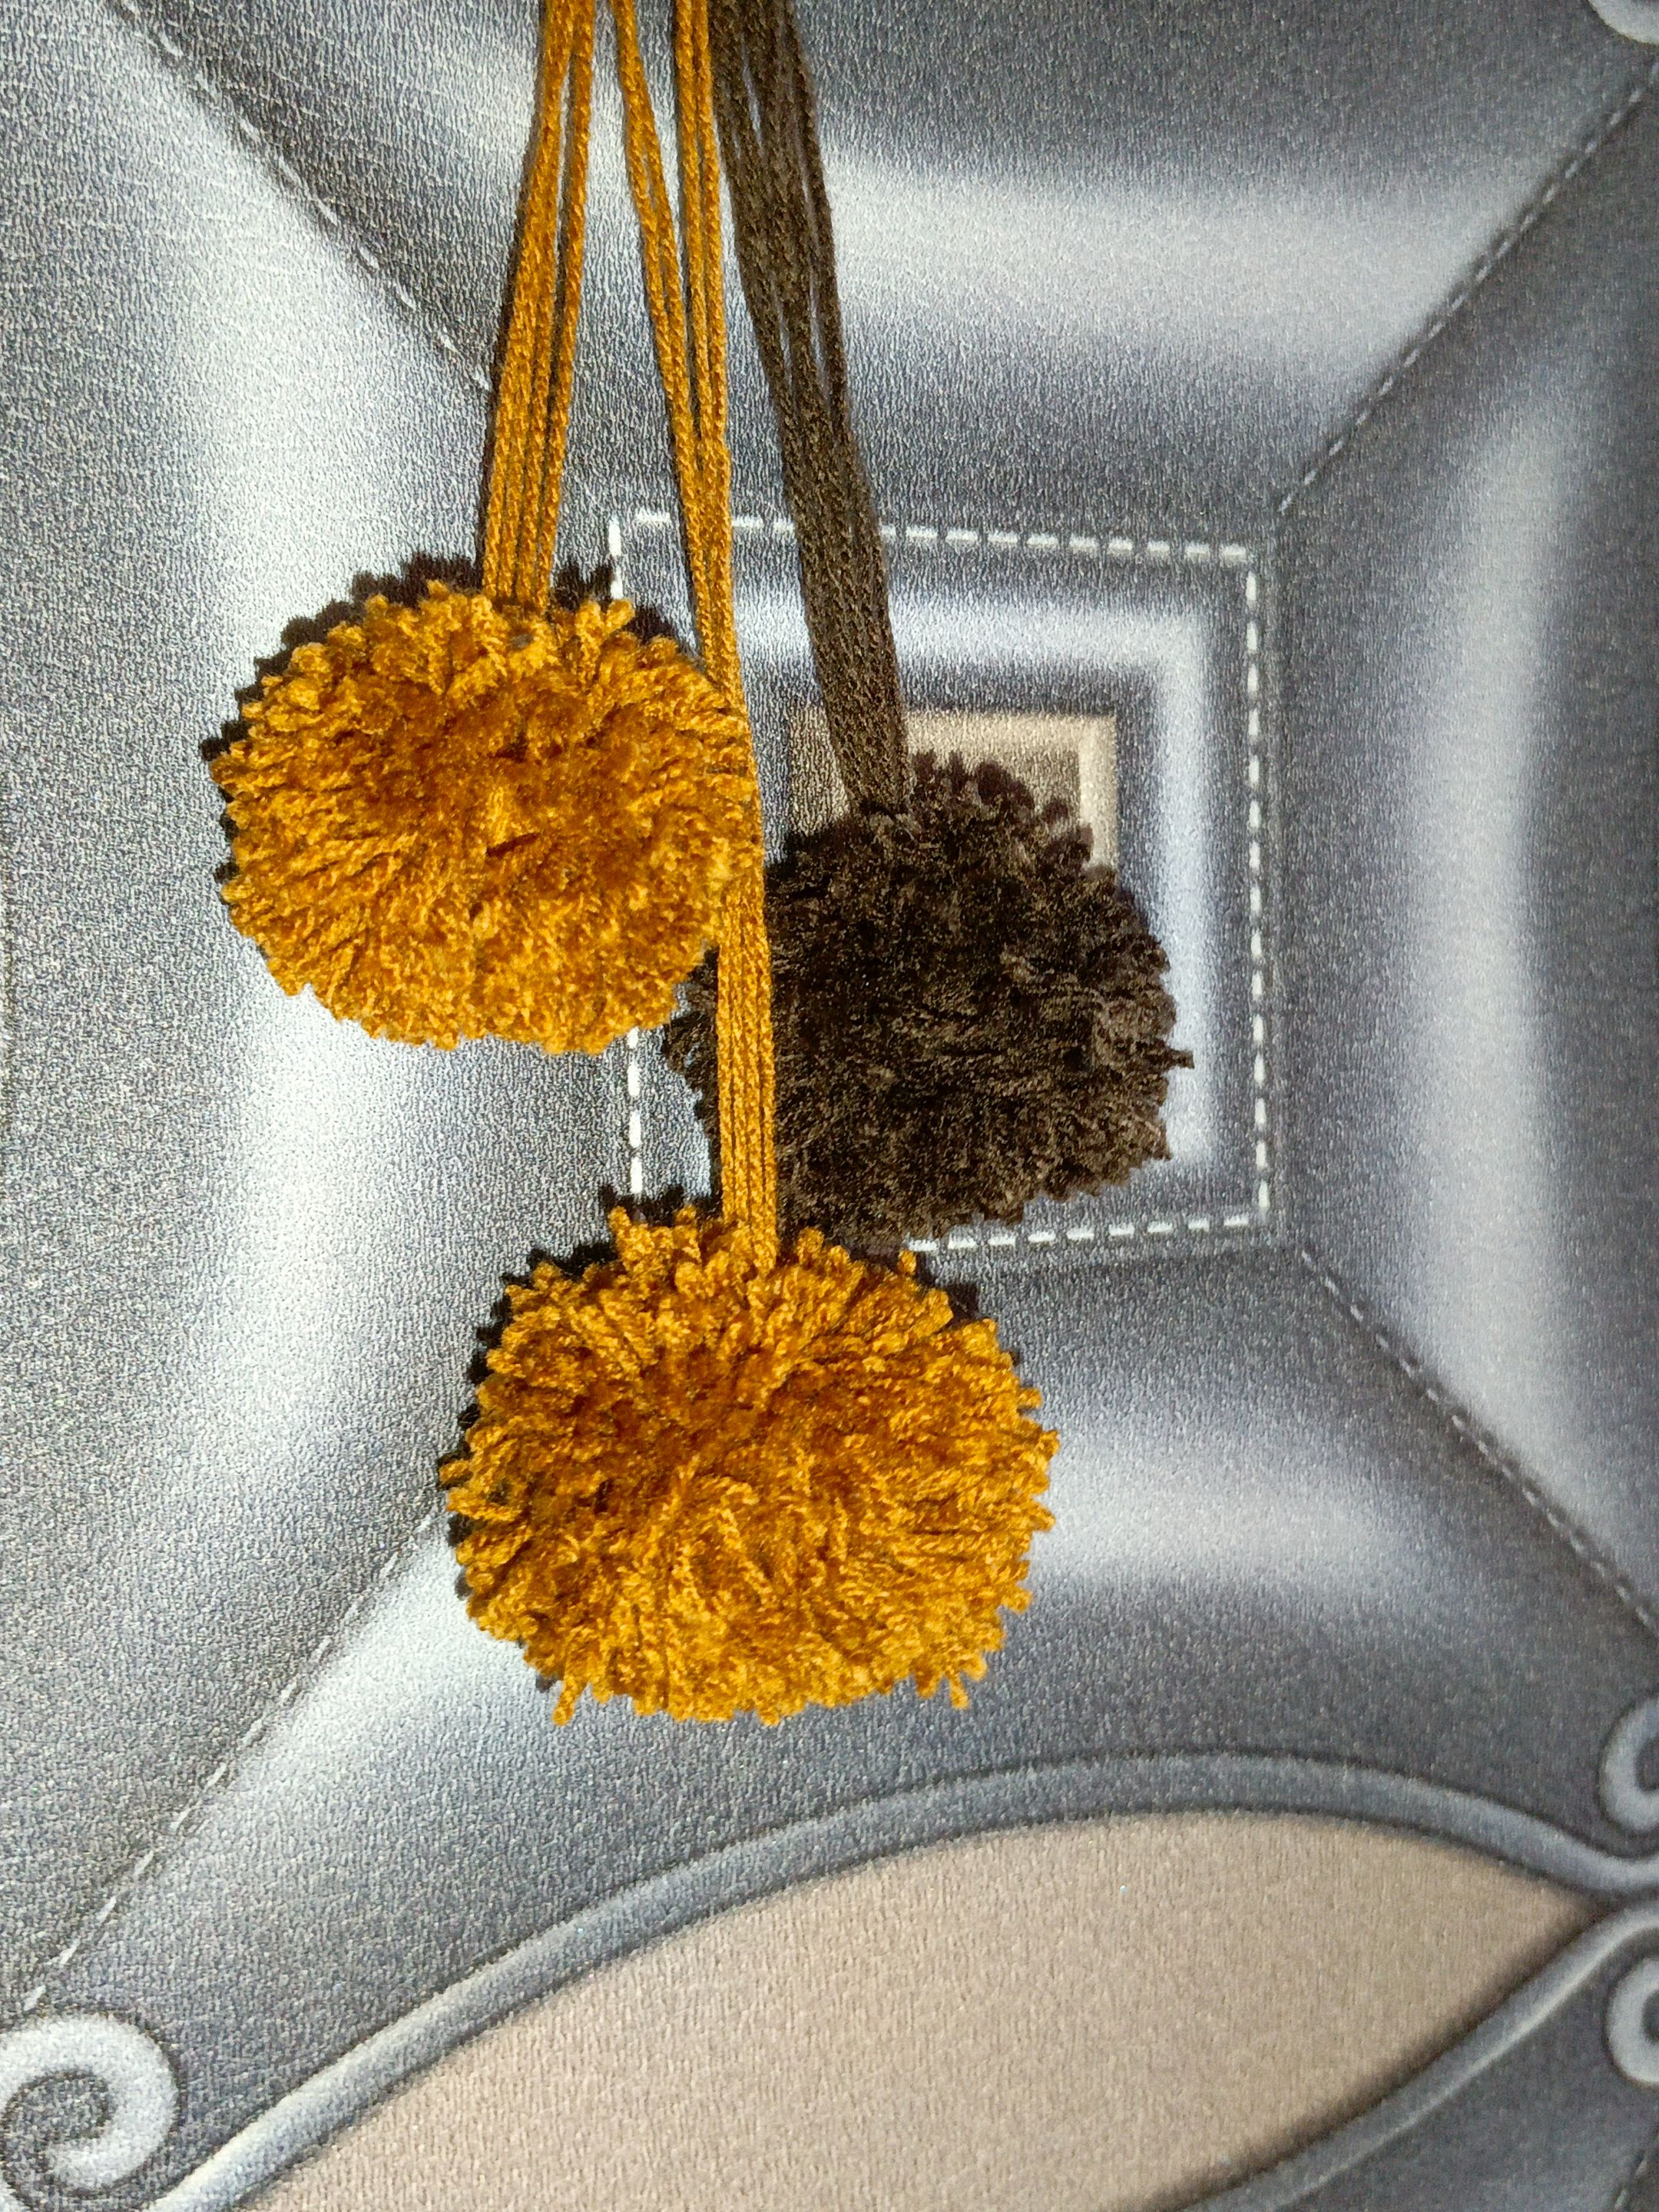
With this, my pom pom was ready to be used. This took less than five minutes to make. Personally, I feel the pom pom maker tool is very efficient and stress free. It would work amazingly for someone who makes pom poms on a large scale or for a large project. Also, this tool has different sizes making it easier for artists to create poms poms of various sizes, shapes, colours and even designs.
What do you think of this pom pom tool? Would you like to own one? Personal manager @humbe, what do you think of the video:) ?
Video Thumbnail edited on canva
All images used belong to me and were taken with my mobile device except stated otherwise
Love🤍
Uploaded using 3Speak Mobile App
▶️ 3Speak