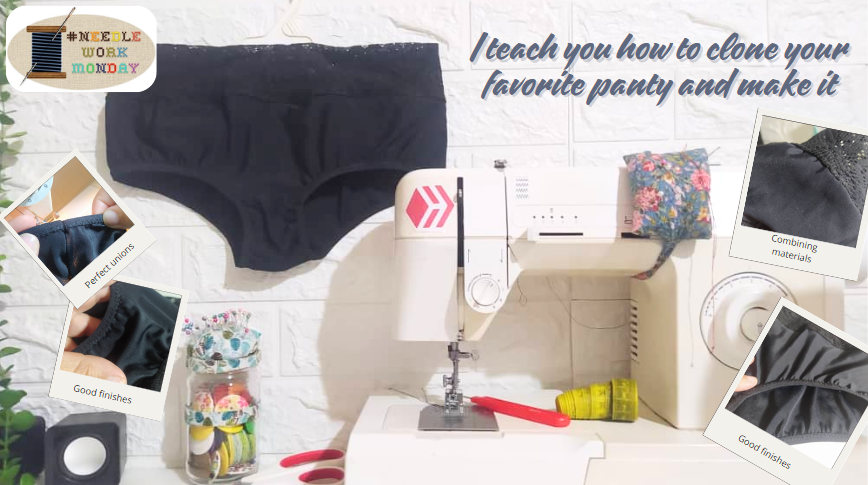
Greetings NeedleWorkMonday Community. I'm very excited to get back to sewing and sharing my creations with this amazing community of sewing lovers on the Blockchain.
Sometimes we have underwear that we feel very comfortable in, and we want to have more pieces like it, this is the case of my daughter who has a panty that she really likes and gave it to me to explain what she wants to have. I wanted to clone the piece and that's what I show you in this post, and I also made another one, although I didn't have any other colors other than that black piece, because I added the difference waistband or top part of lace, thicker. In addition, I used a higher quality elastic fabric, which to be honest I got by recycling a dance leotard.
I'll explain the step by step... Welcome!
Saludos Comunidad NeedleWorkMonday. Estoy muy emocionada de volver a coser y compartir mis creaciones con esta increíble comunidad de amantes de la costura en la Blockchain.

A veces tenemos una ropa interior con la que nos sentimos muy cómodos, y queremos tener más piezas como ella, este es el caso de mi hija que tiene una panty que le gusta mucho y me la dio para explicarme lo que desea tener. Quise clonar la pieza y es lo que les muestro en esta post, y también le realicé otra, aunque no tenía otros colores diferentes a esa pieza de color negro, pues le agregué la diferencia pretina o parte superior de encaje, más gruesa . Además, utilicé una tela elástica de mayor calidad, que para serles sincera la obtuve reciclando una maya de danza.

Les explicaré el paso a paso...¡Bienvenidos!

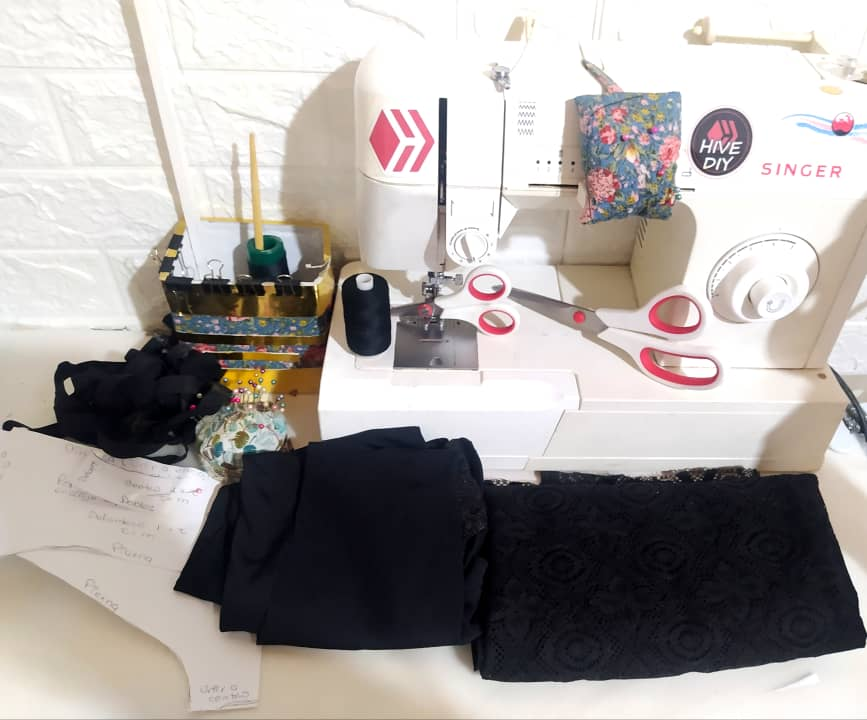
- Sewing machine
- Good quality stretch fabric.
- Lace fabric.
- Small piece of cotton fabric for the center.
- Split elastic.
- Scissors, measuring tape, pins and thread.
- Sheets to make the cloned pattern.
- Máquina de coser
- Tela elástica de buena calidad.
- Tela de encaje.
- Trocito de tela de algodón para el centro.
- Elástico partido.
- Tijera, cinta métrica, alfileres e hilo.
- Hojas para realizar el patrón clonado.

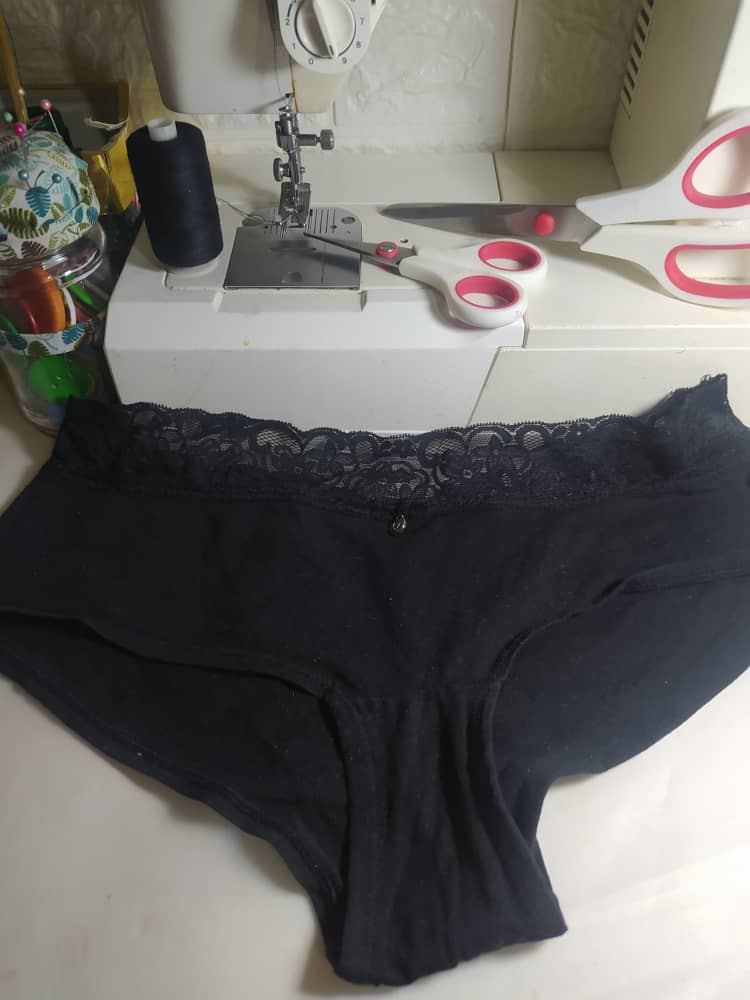
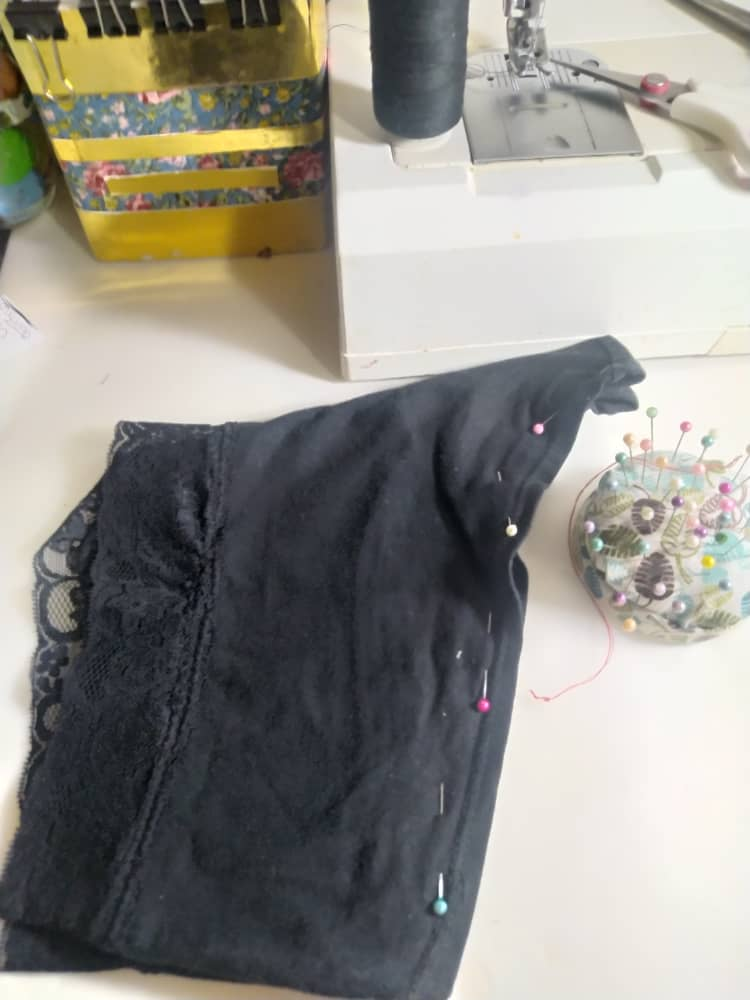
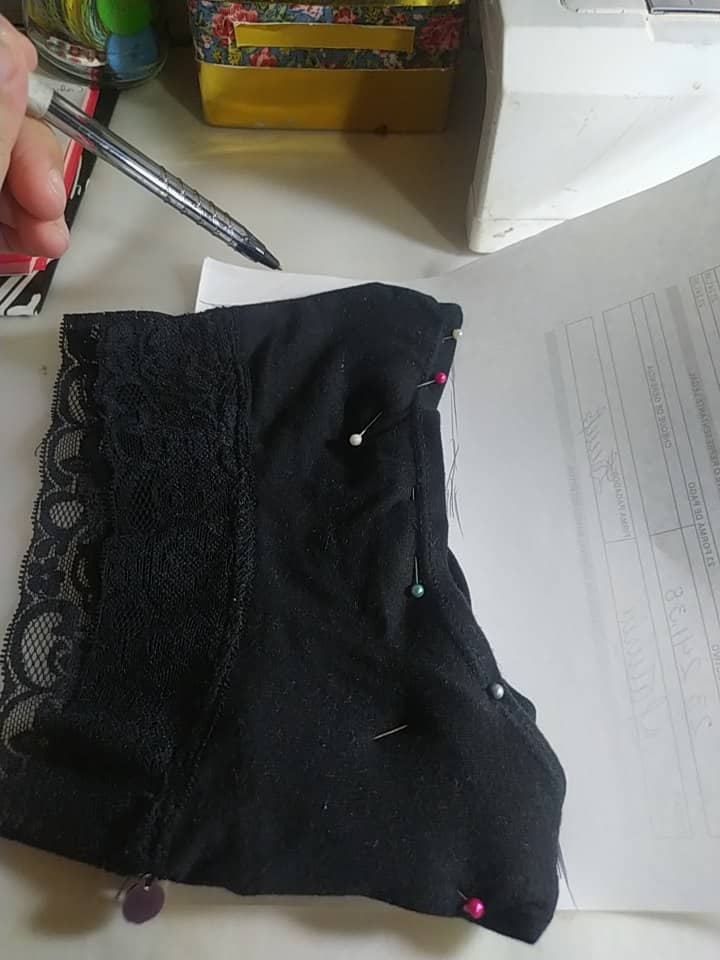
This black panty is the one I'm going to clone. So, I fold it so that only the back part is exposed, for this I use pins, I place it on a sheet of paper and with a pen I draw all its outline, leaving 1 cm for sewing.
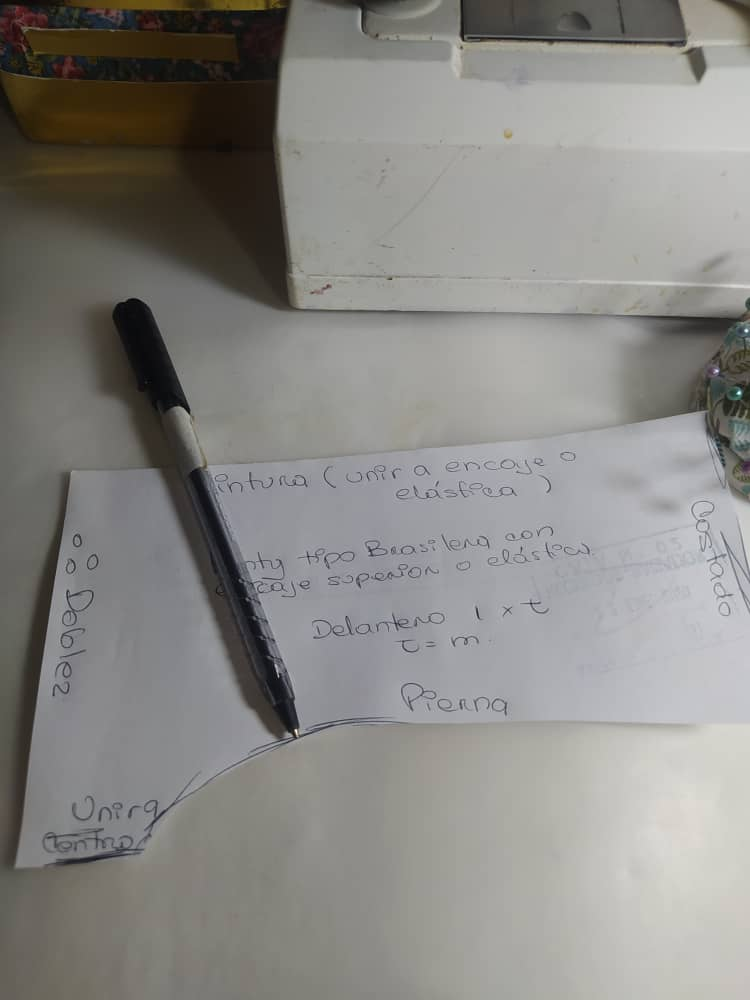
I repeat the same steps on the back and center of the panty. I identify all the parts of the pattern well, on the white sheet, since this will now be our guide for the making.
Esta panty de color negro será la que voy a clonar. De manera que, la doblo para que quede expuesta solo la parte posterior, para ello me ayudo de alfileres, coloco sobre una hoja de papel y con un bolígrafo dibujo todo su contorno, dejando 1 cms para costura.

Repito los mismos paso en el posterior y centro de la panty. Identifico bien todas las partes del patrón, en la hoja blanca, ya que esta será ahora nuestra guía para la Confección.
 |  |  |  |
|---|
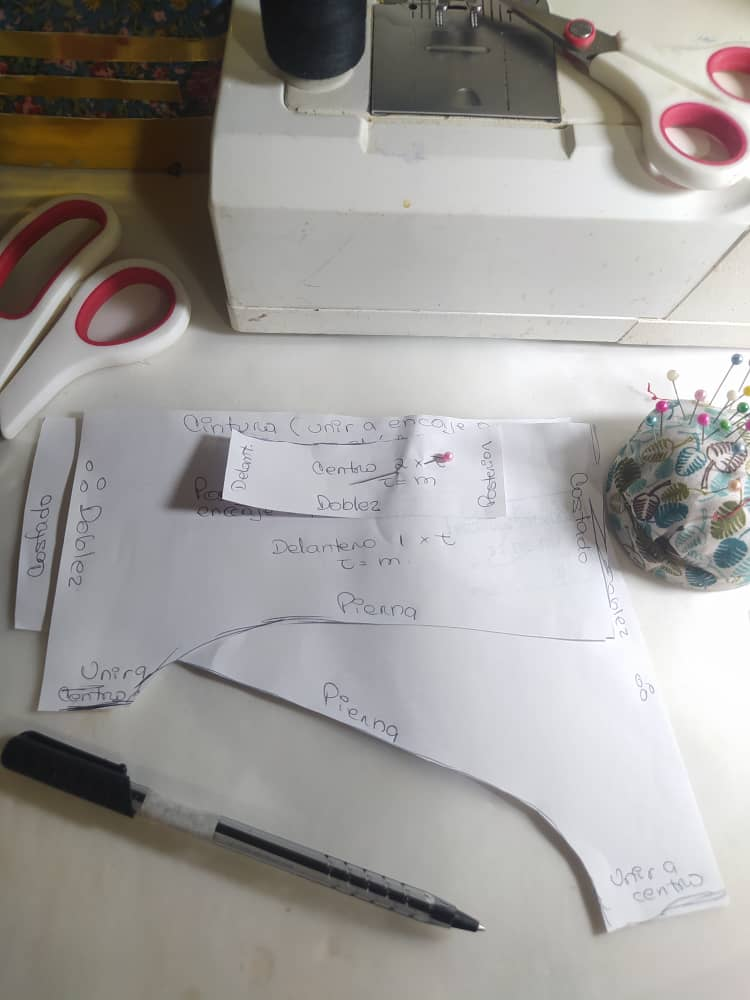
Once we have finished the 3 pieces, front, back and center, we will have the patterns ready. I have already cloned the panty and this can be done with any piece that we want to clone its pattern.
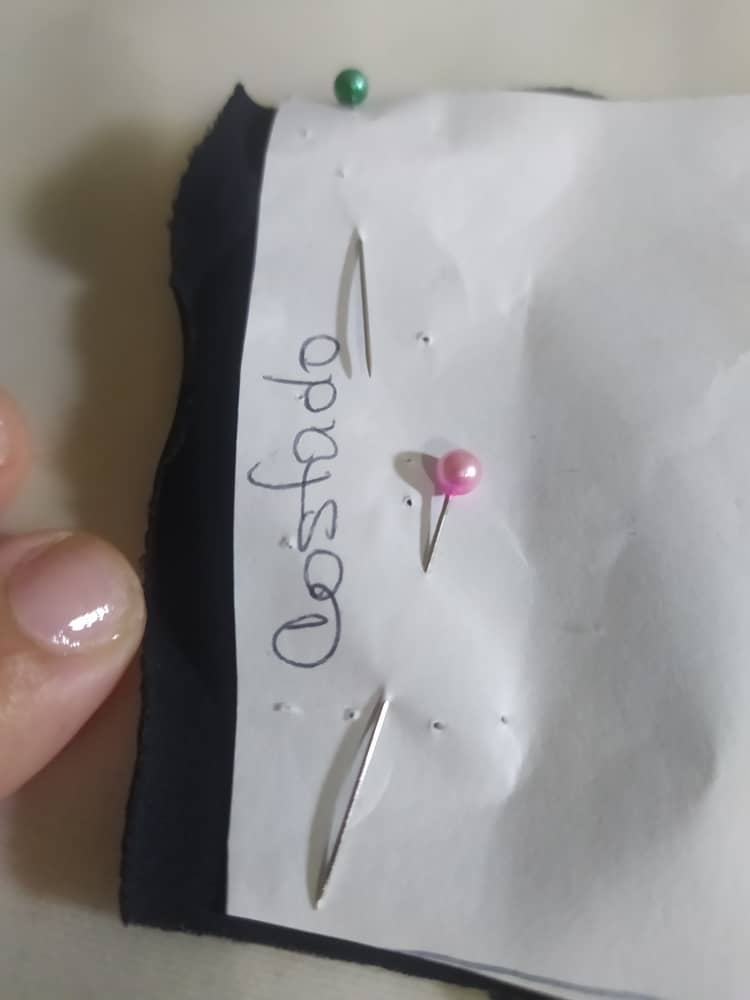
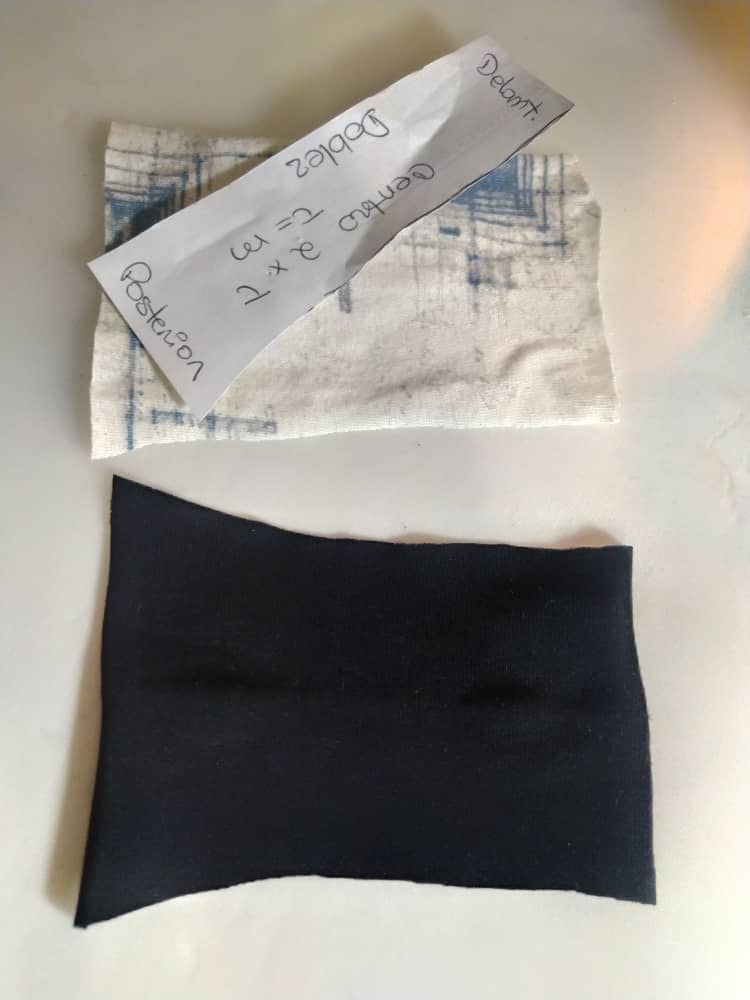
Now, we cut out the pieces we need from the fabrics using these patterns. I started making the back piece and the center pieces.
Al terminar las 3 piezas, delantero, posterior y centro, nos quedarán los patrones listos, ya tengo clonada la panty y esto se puede hacer con cualquier pieza que deseemos clonar su patrón.

Ahora, cortamos con estos patrones, las piezas que necesitamos en las telas. Comencé la confección con la pieza posterior y las piezas centrales.
 |  |  |  |
|---|
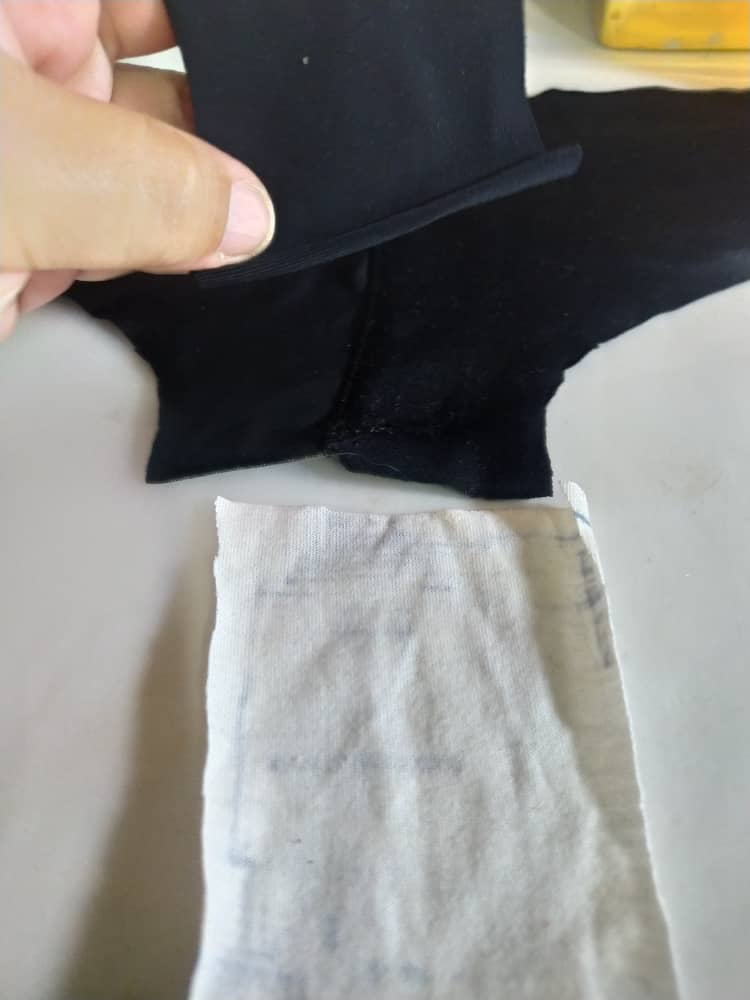
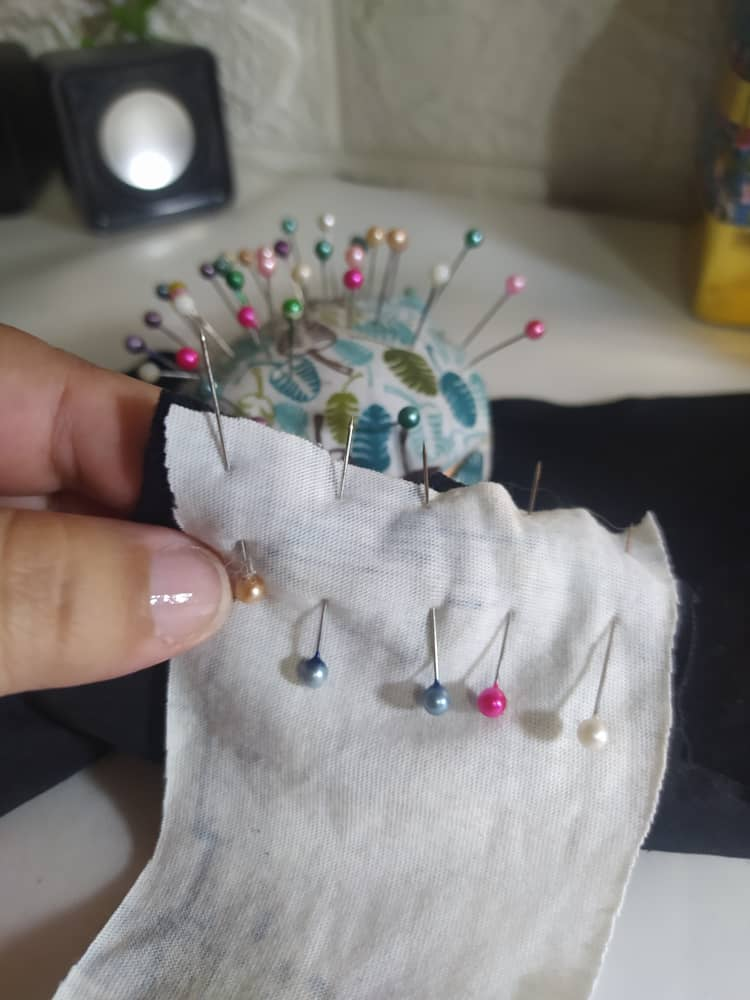
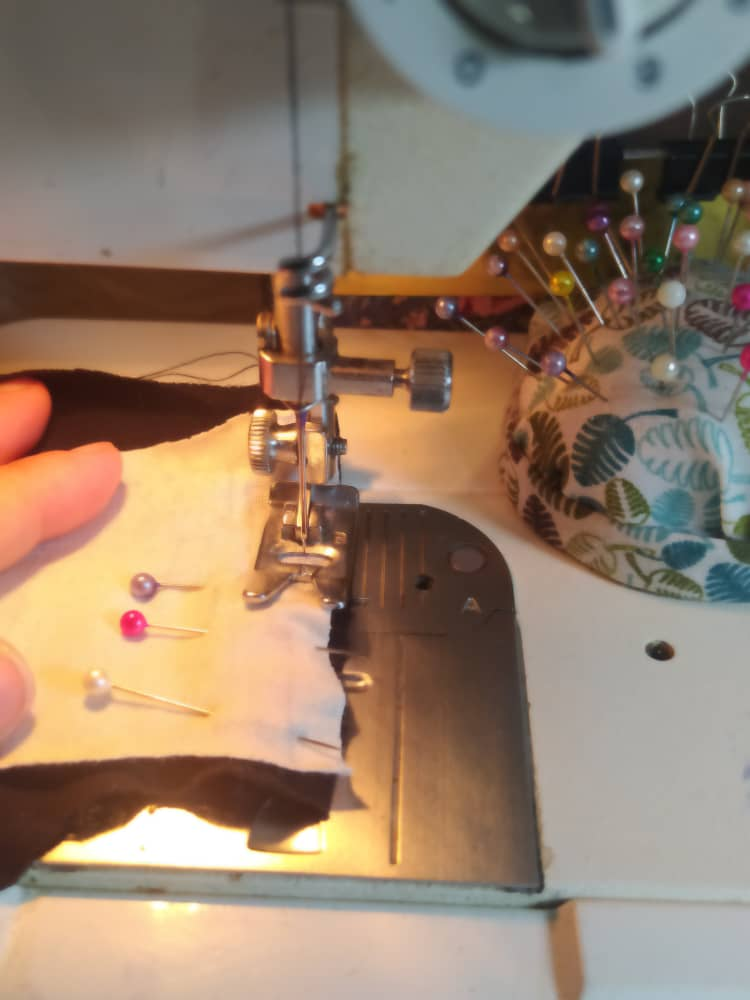
I place the front piece and make a sandwich with the two central pieces, paying close attention to their fronts and backs so that they are well closed when sewing. I use pins and sew a straight stitch. The seams are hidden when opening the two pieces.
Coloco la pieza delantera y hago un sándwich con las dos piezas centrales, fijándome muy bien de sus frentes y revés para que queden bien cerradas al coser. Me ayudo de alfileres y paso costura recta. Quedando las costuras escondidas al abrir las dos piezas.
 |  |  |  |
|---|
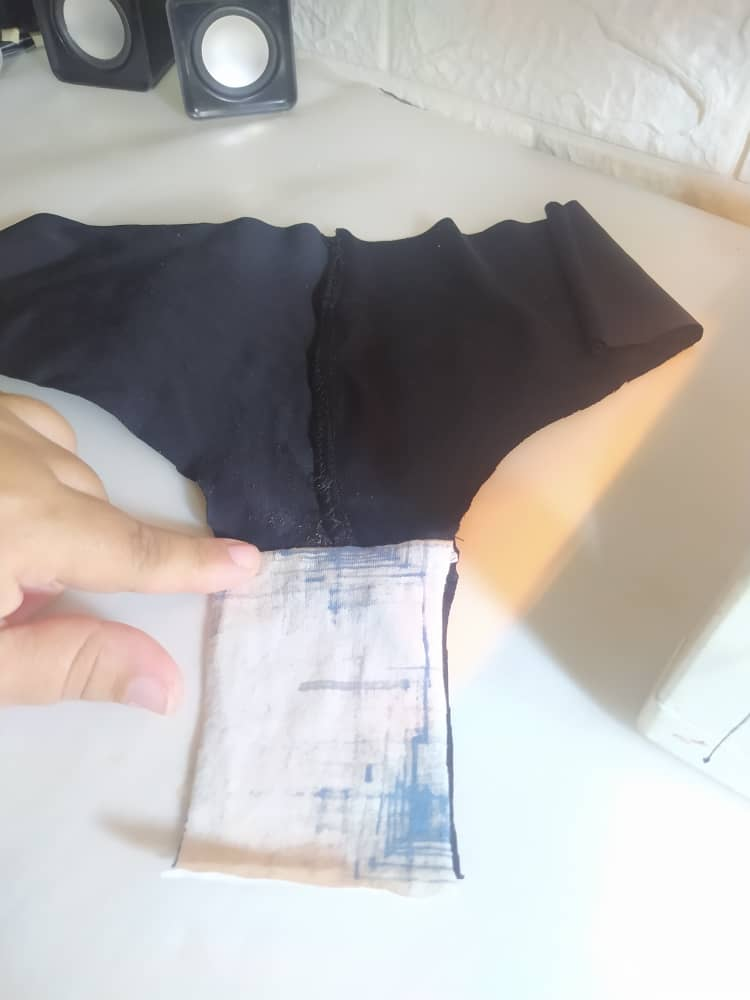
Now to place the back piece, I do the same with the center pieces, being able to roll them up so that I can have the center pieces correctly. I explained this in detail in my post Diy French Cut Panty.
After sewing, I take apart the roll to have the piece right side out. Before moving on to place the elastic, I like to sew a seam on both sides of the center pieces, this in order to ensure that both are together and inside the same one.
Ahora para colocar la pieza del posterior, hago lo mismo con las piezas centrales, pudiendo realizar un enrollado para poder tener las piezas centrales correctamente.  Esto lo expliqué pormenorizadamente en mi post [Diy Panti Corte Francés](https://ecency.com/hive-127911/@yennysferm71/diy-panti-corte-frances-o).

Luego de coser, desarmo el enrollado para tener la pieza al derecho. Antes de pasar a colocar la elástica, me gusta realizar una costura en ambos lados de las piezas centrales, esto con la finalidad de garantizar que ambas queden juntas y dentro del mismo.
 |  |  |  |
|---|
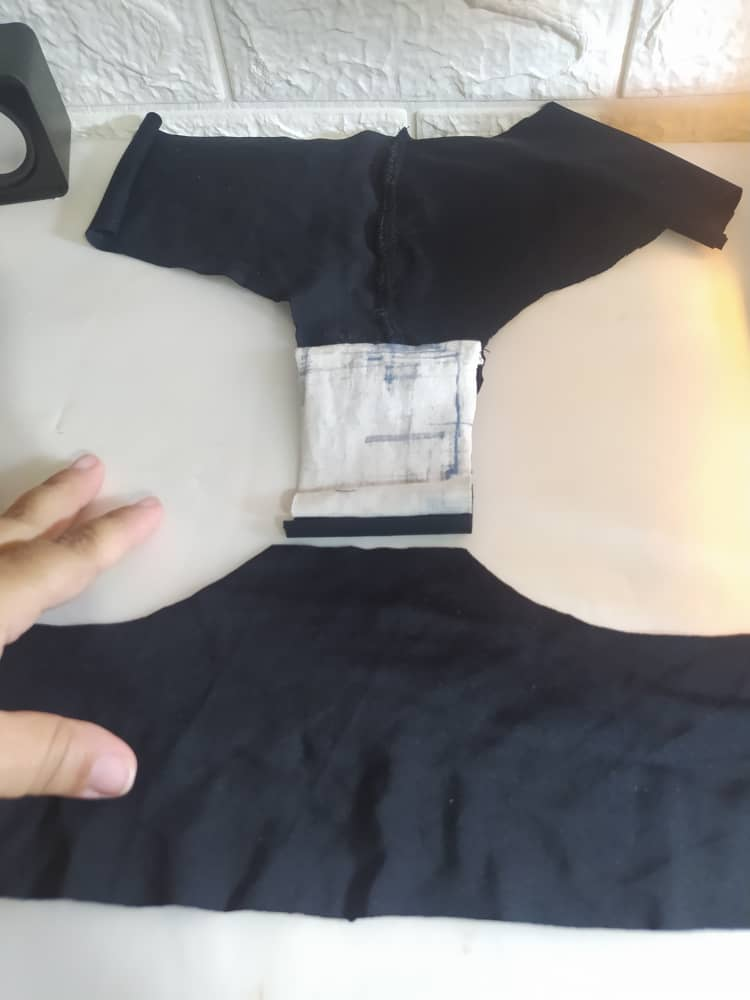
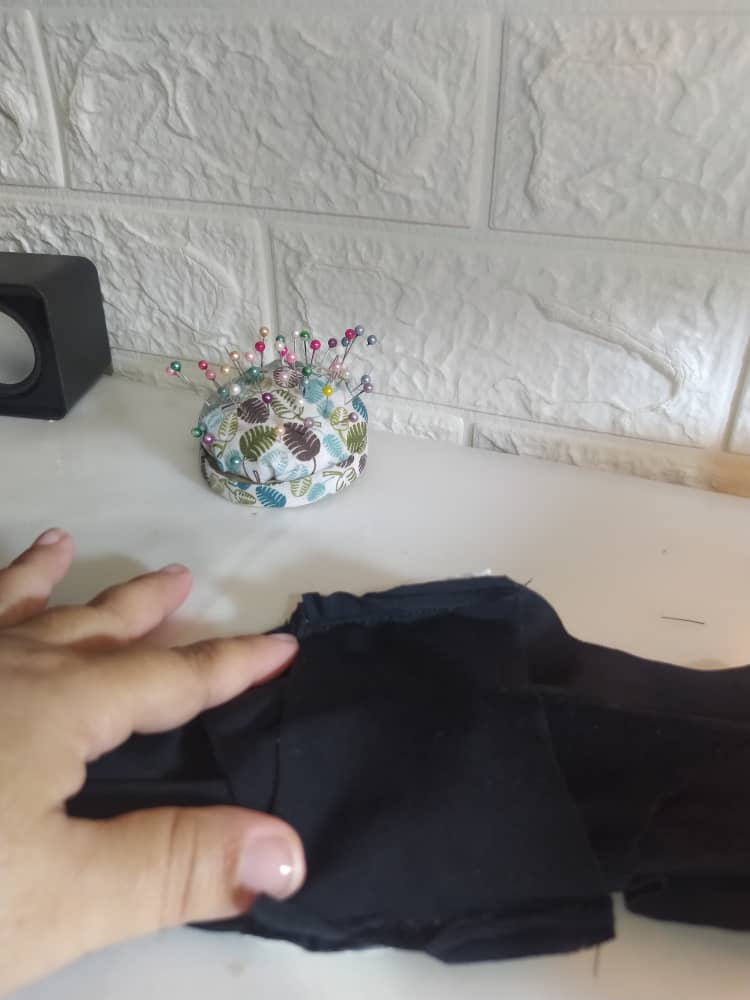
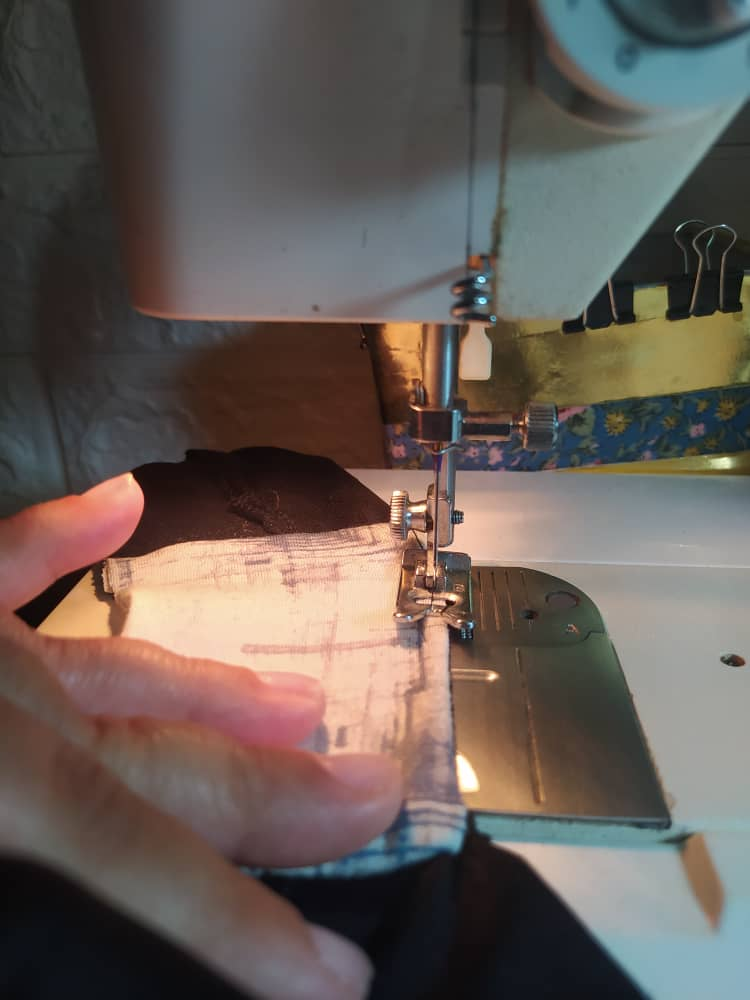
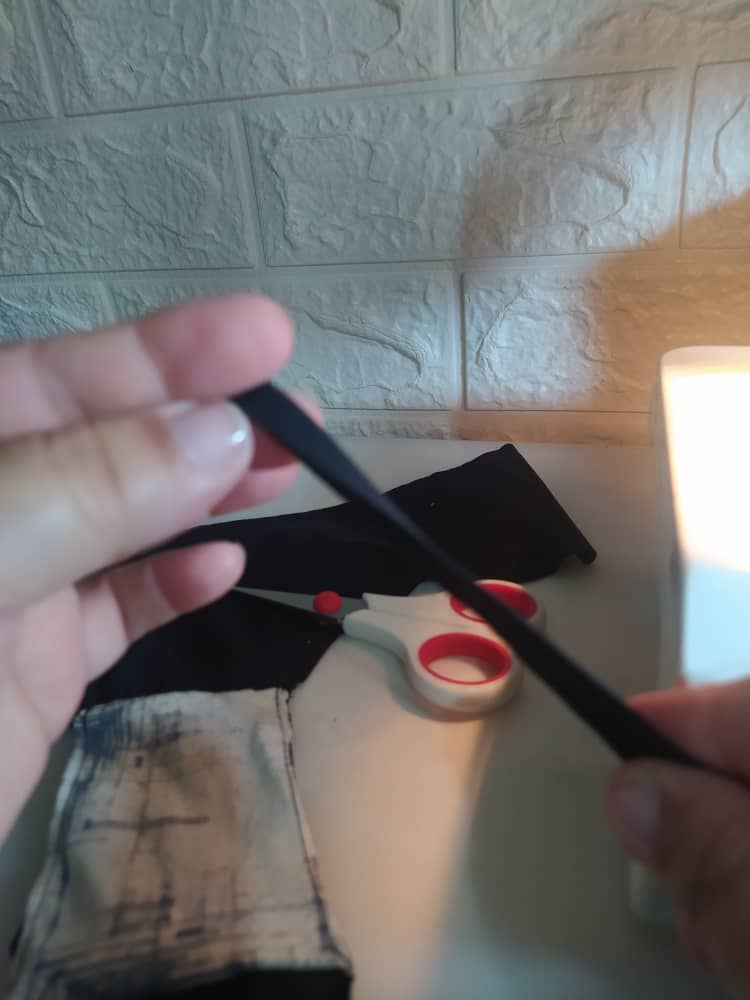
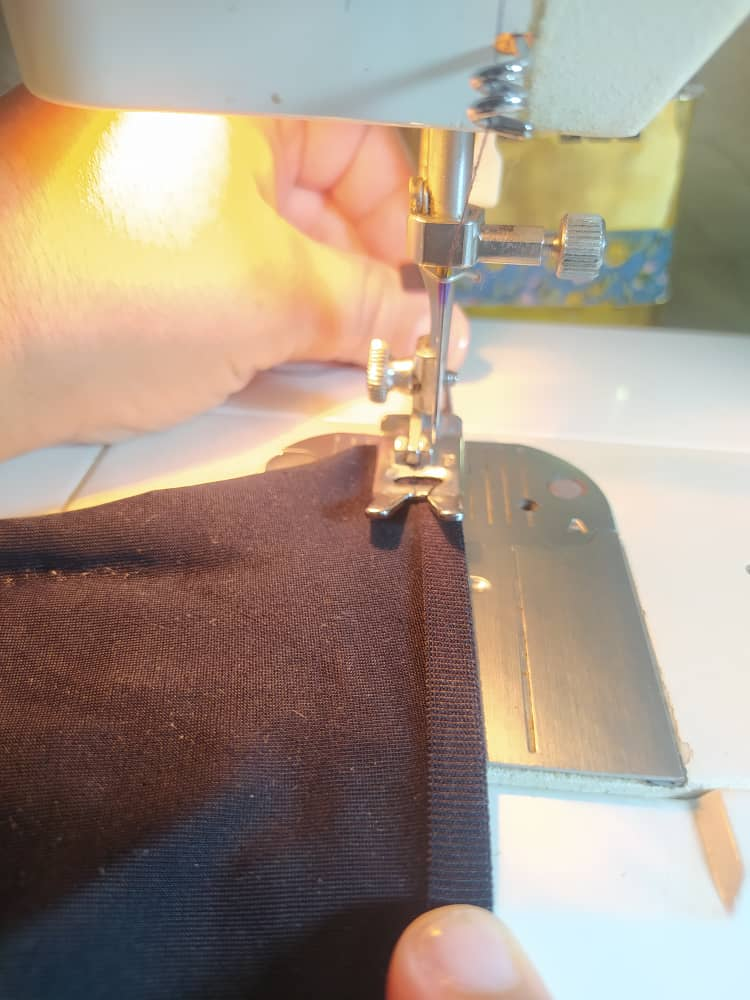
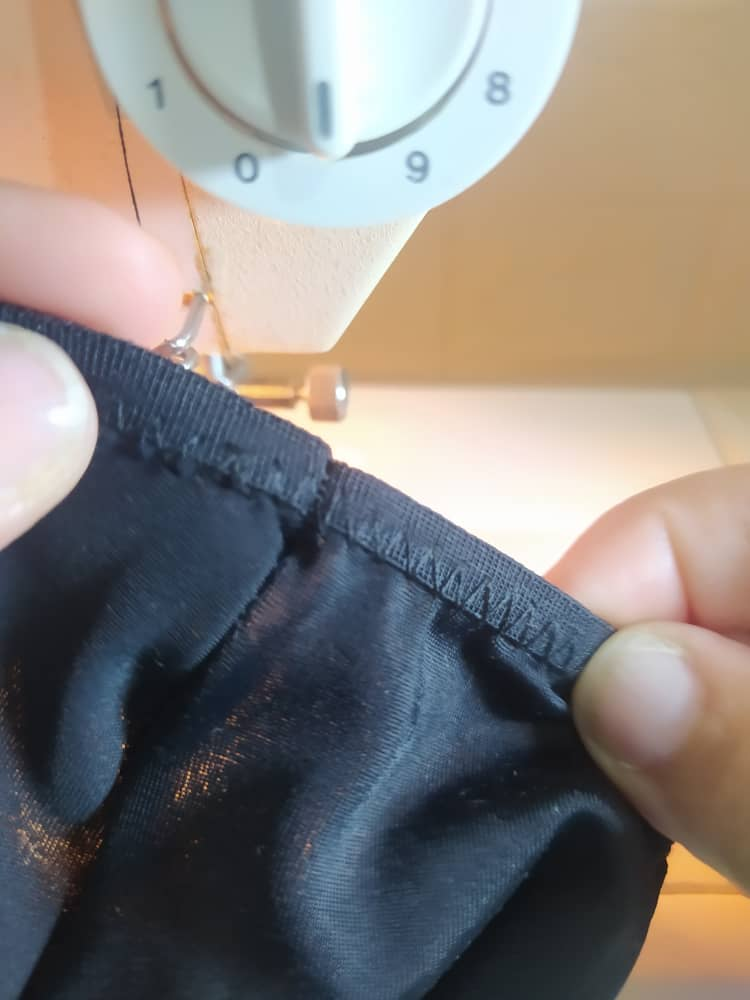
Now, my favorite part is to place the split elastic, I fold it, let the zigzag seam run a little with it, and then both sides that formed the legs, stretching the elastic a little, not too much because the panty should have a "commercial" appearance and not homemade, it should keep its shape perfectly, without wrinkling and folding.
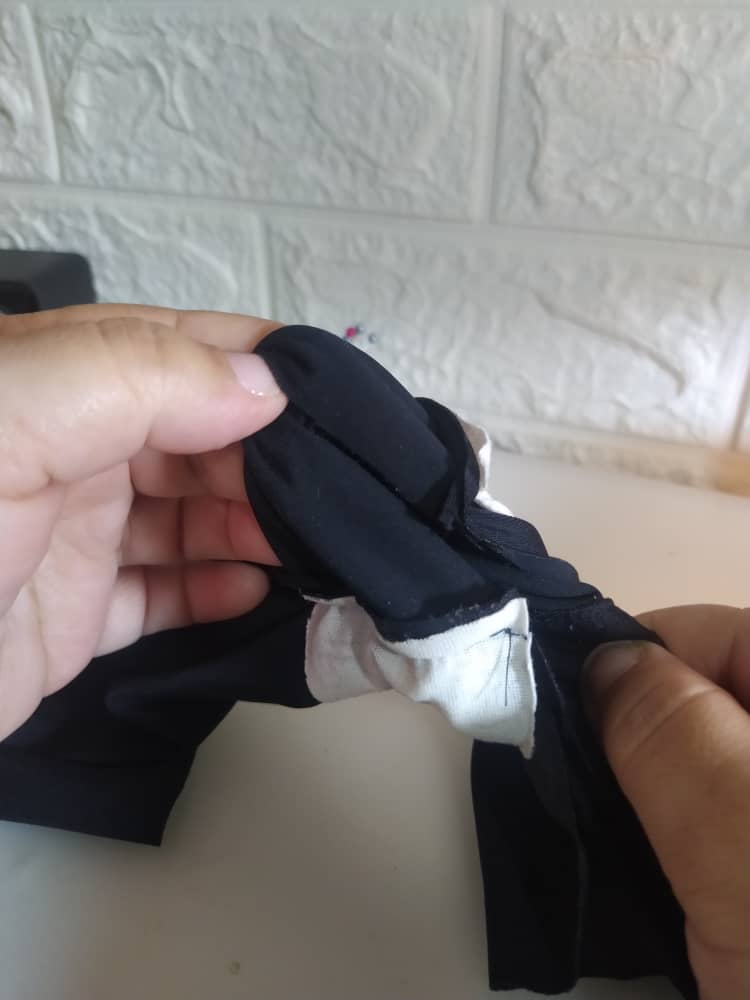
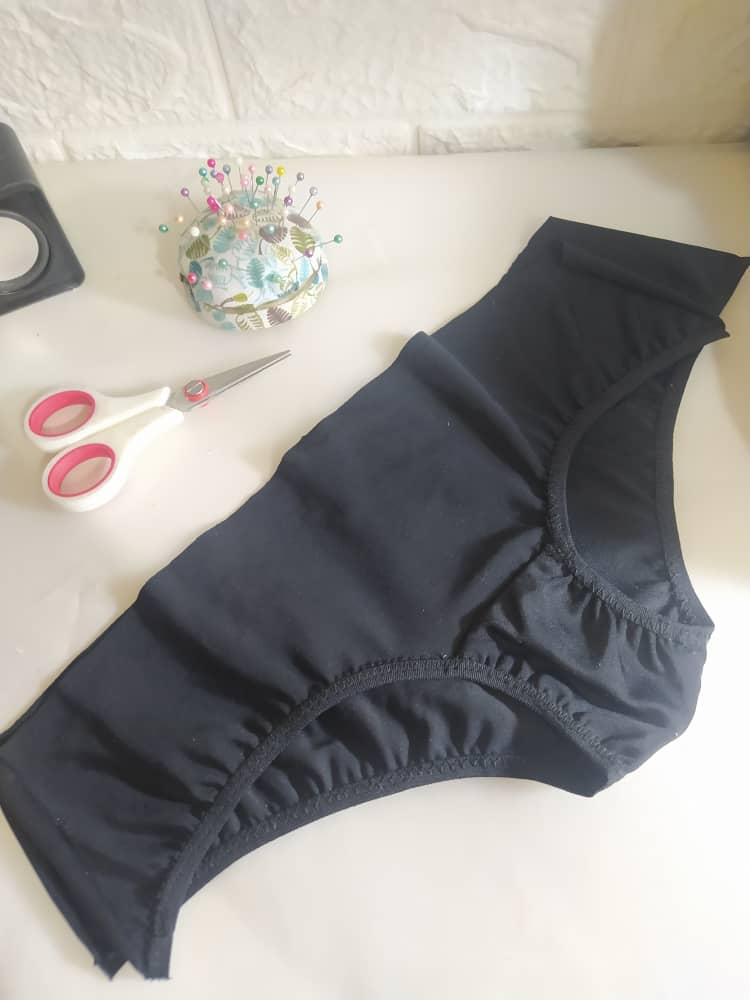
After placing the elastic on the legs, I'm going to close the sides, making sure they match well, look at the fourth shape of the following collage, the sides when joined look perfectly continuous.
Ahora si, mi parte preferida que es colocar el elástico partido, lo doblo, dejo correr un poco la costura zig zag con él, y luego ambos lados que formaron las piernas, estirando un poco la elástica, no mucho porque la panty debe tener apariencia "comercial" y no casera, debe mantener su forma perfectamente, sin arrucharse y doblarse.

Luego de colocar las elásticas en las piernas, voy a cerrar los costados, garantizando que coincidan bien, fíjate en la cuarta forma del siguiente collage, los costados al juntarse se ven perfectamente contínuos.
 |  |  |  |
|---|
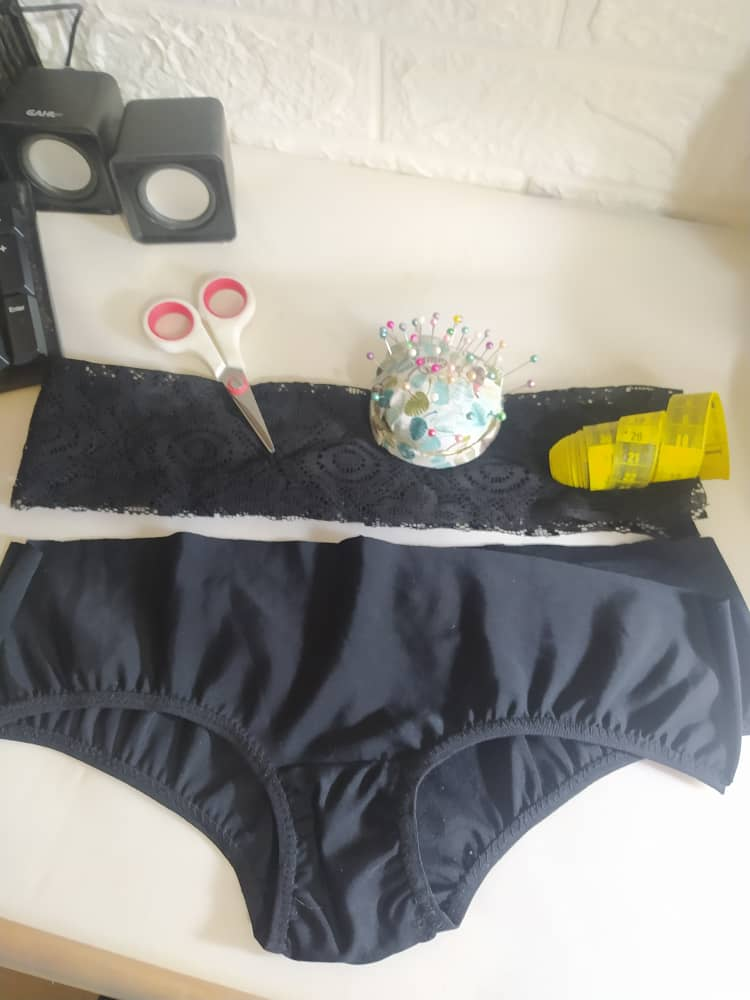
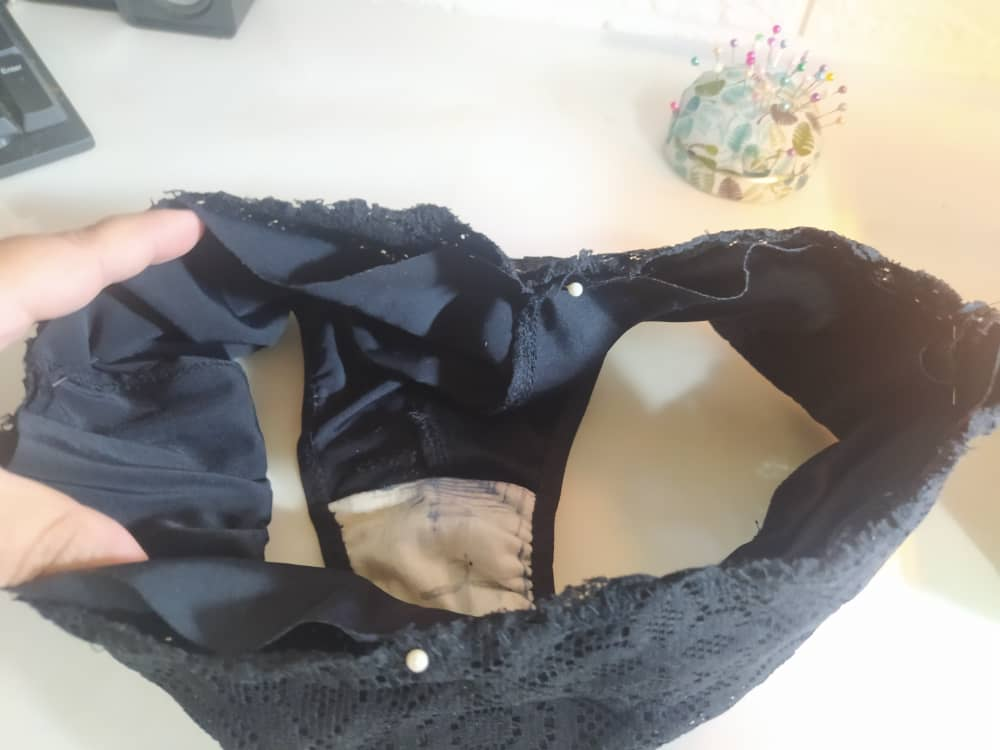
I took a strip of elastic lace fabric, 14 cm wide and long enough to cover the width of the panty. After joining both ends, this will be a little smaller. But, since the panty fabric and the lace on top are very elastic, they will have practically the same measurement.
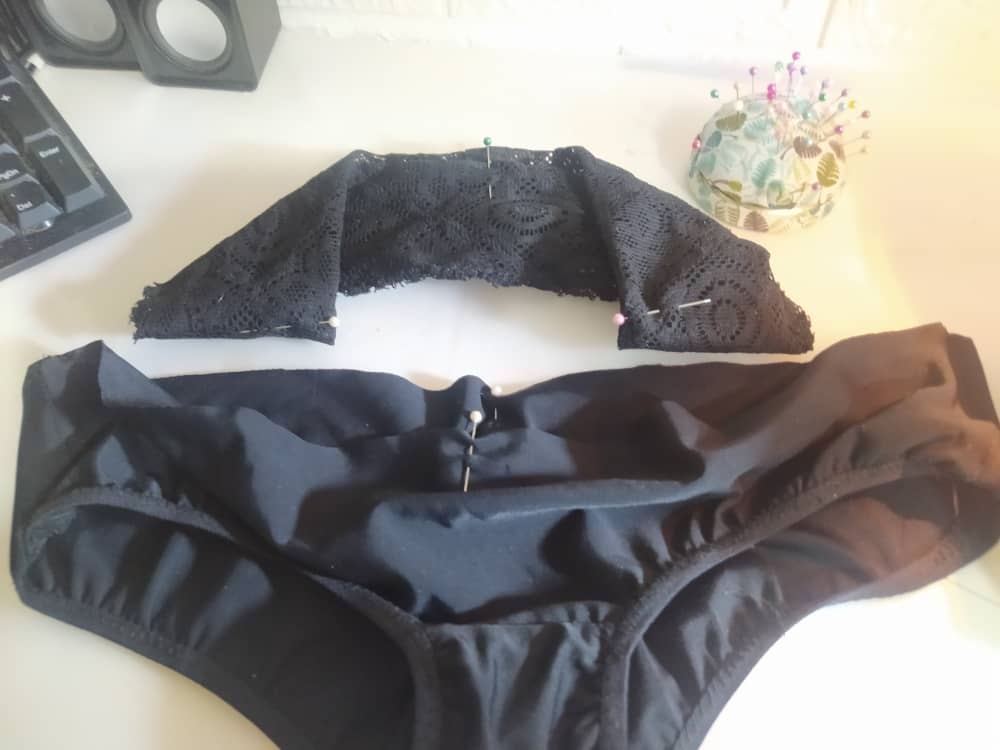
I fold the lace so that it is 7 cm wide now, like the waist of the panty, and sew the ends. I locate the middle of both the panty and the lace, mark them with pins and make them match, and sew a zigzag stitch.
Tomé una tira de la tela de encaje elástica, con 14 cms de ancho y de largo que abarque el ancho de la panty, esto quedará luego de unión de ambos extremos, un poco más pequeño. Pero, dado que la tela de la panty y el encaje de arriba son muy elásticos, llevarán prácticamente la misma medida.

Doblo el encaje para que tenga 7 cms de ancho ahora como la cintura de la panty, coso los extremos. Ubico los medios tanto de la panty como del encaje, los marco con alfileres y hago que coincidan ambos, paso costura zig zag.
 |  |  |  |
|---|
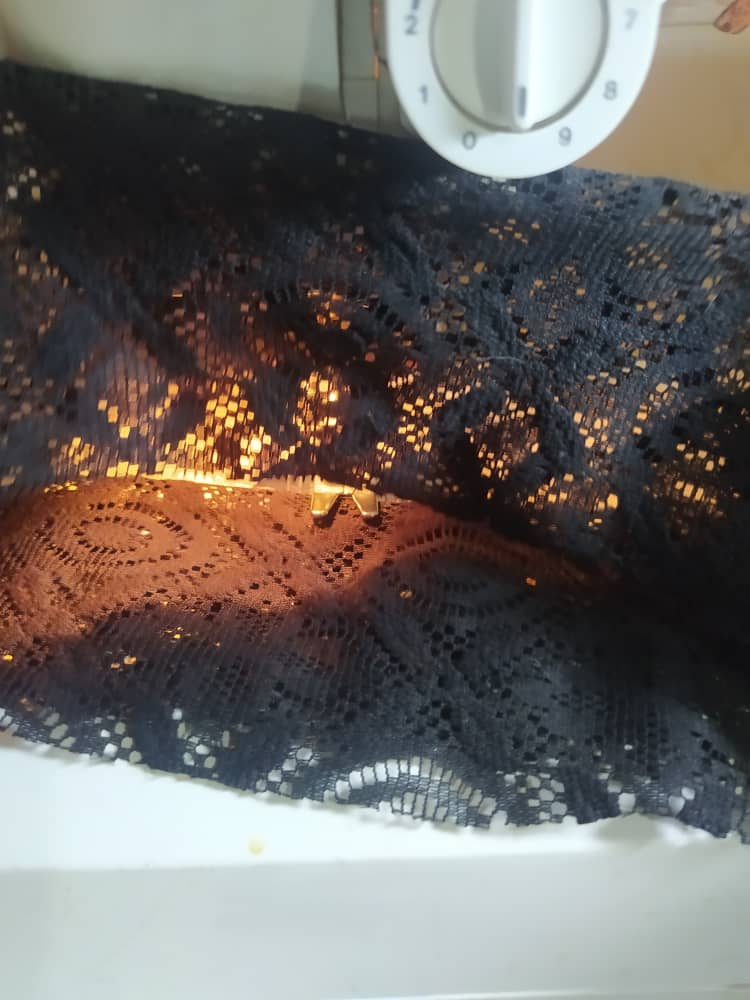
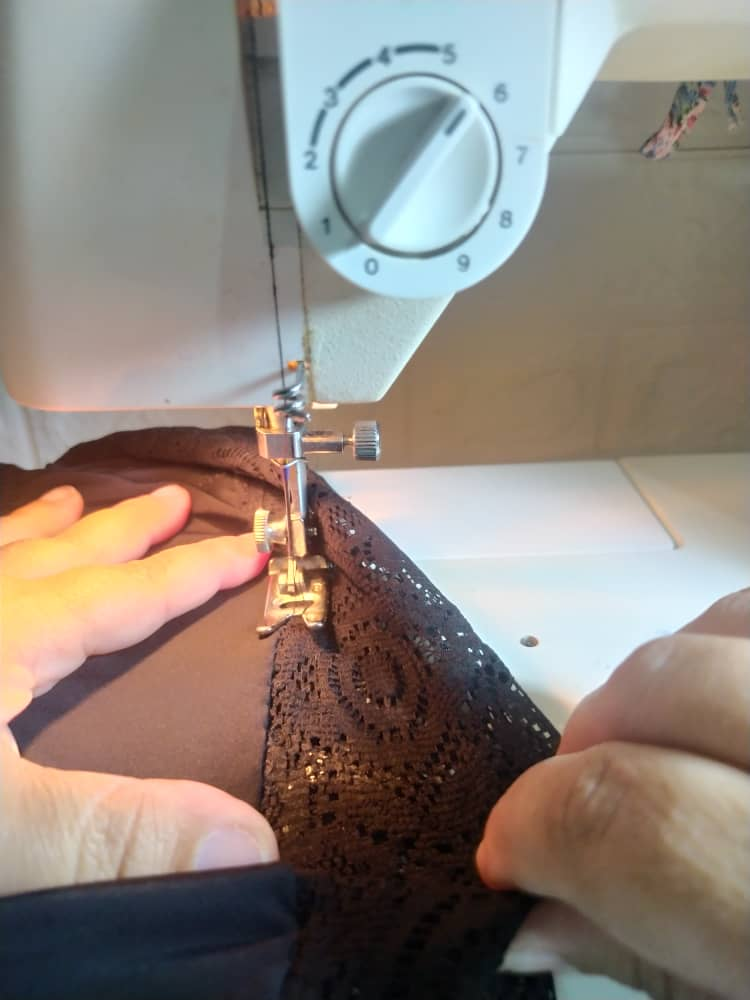
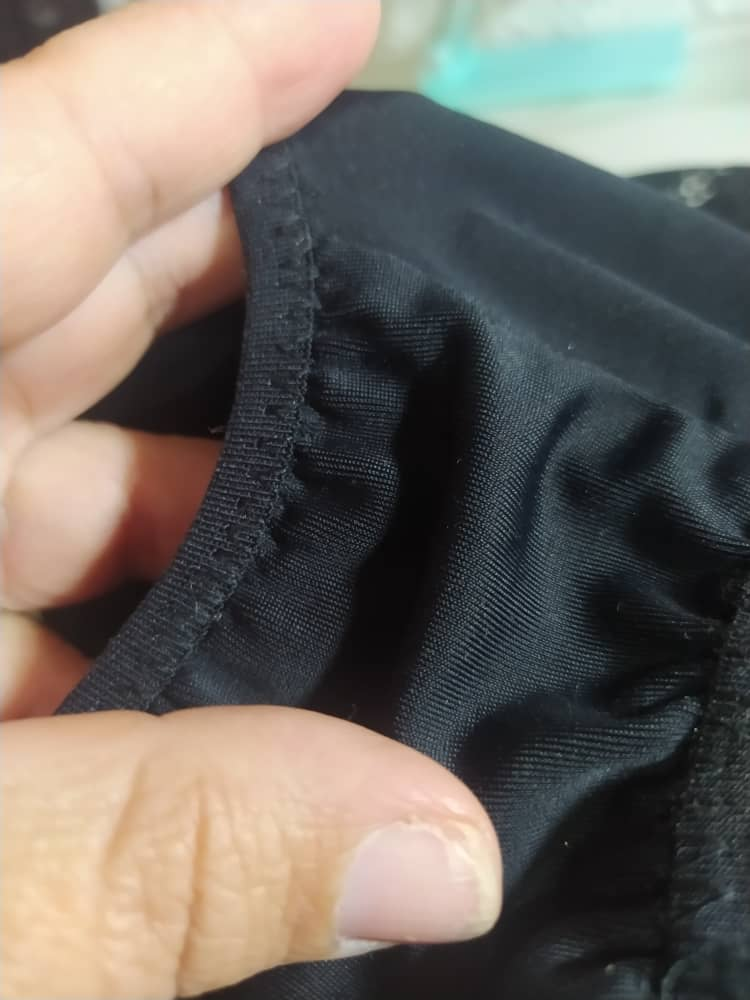
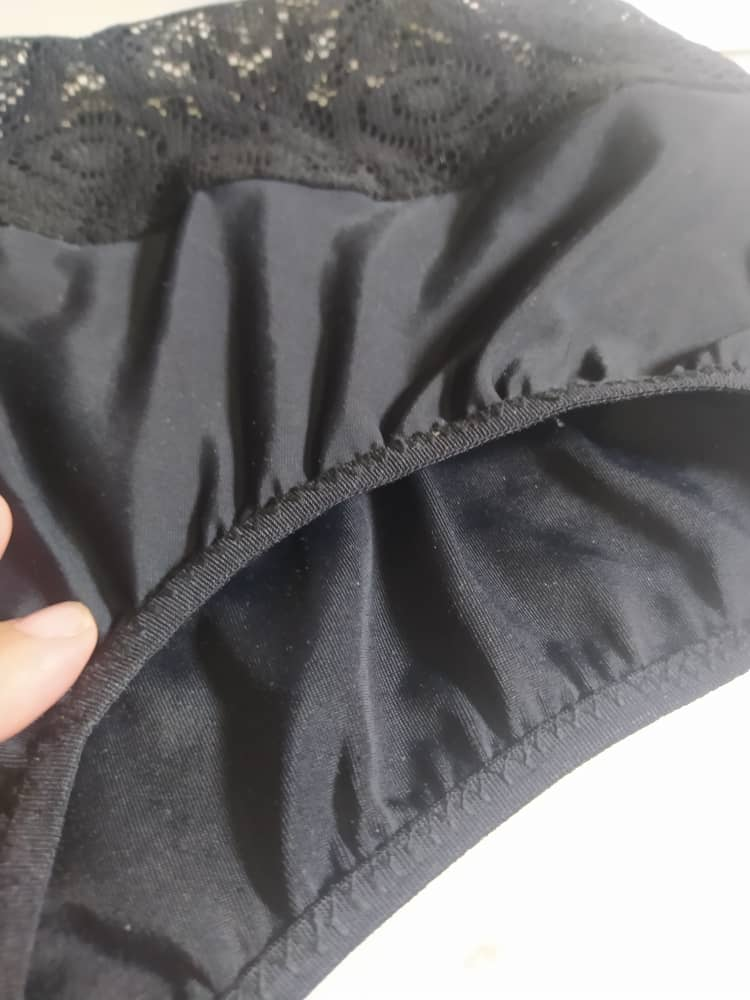
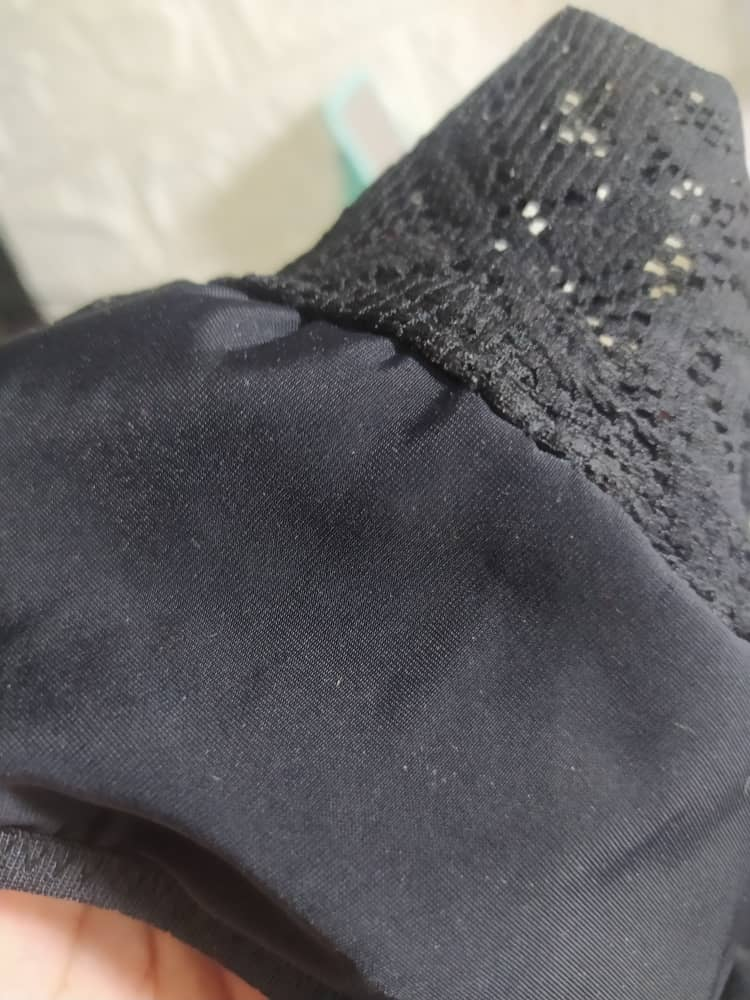
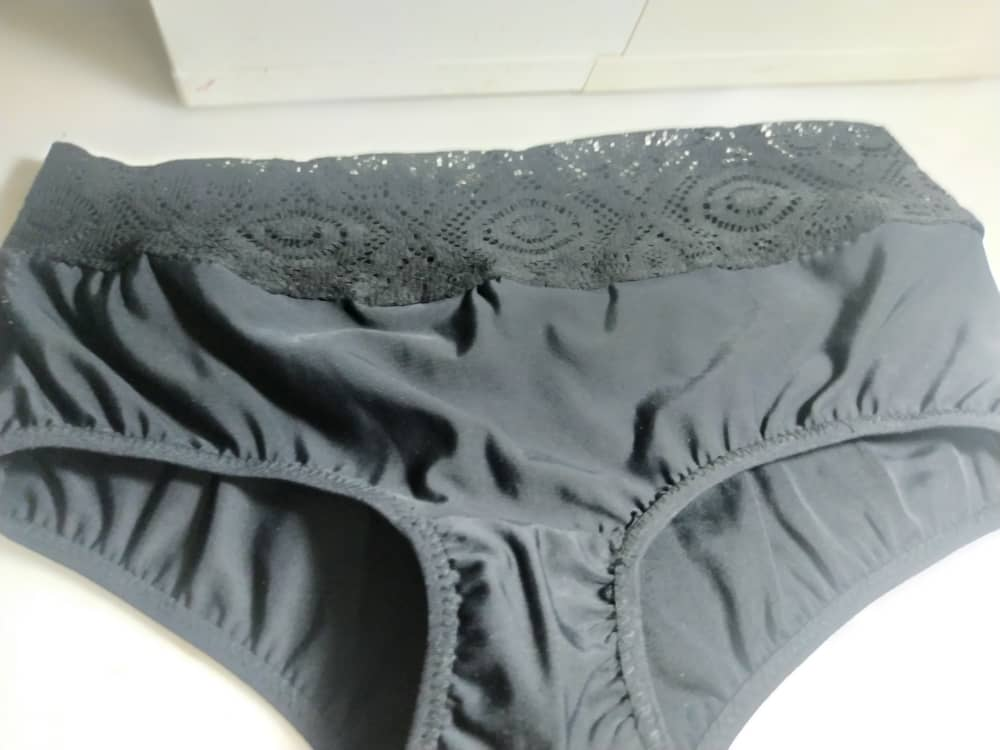
I thought it would be a good idea to sew a seat stitch right on the lace part. And the panty is ready. In the photos you can see the details of the stitching, the seams, and how it maintains its structure.
Me pareció bien pasar una costura de asiento justo en la parte del encaje. Y ya está lista la panty, en las fotos puedes apreciar los detalles de costura, las uniones, y que mantiene su estructura.
 |  |  |  |
|---|
I hope you liked it and that you are encouraged to make your own tights. Remember that you can clone any piece you like.
Deseo que te haya gustado, y que te animes a realizar tus propias pantys, recuerda que puedes clonar cualquier pieza que te guste.
I took the photos with my phone Redmi Note 8
Apps I used:
Canva Pro for Cover, Collage and Banners
Thankful to @coinbelly for allowing us to use their Community logo
I used Deepl Translator
My social networks:
Discord: YennysYaneth#0189
Twitter: @yennysferm
Instagram: @yennysyaneth
Las fotos las tomé con mi teléfono Redmi Note 8
Apps que utilicé:
Canva Pro para la Portada, Collage y Banners
Agradecida con @coinbelly por permitirnos utilizar su logo de la Comunidad
Utilicé el Traductor Deepl
Mi redes sociales:
Discord: YennysYaneth#0189
Twitter: @yennysferm
Instagram: @yennysyaneth