ENGLISH.
Greetings beautiful creative cooking community, it's always a pleasure for me to stop by and share with you part of the recipes that bring joy to my beautiful and cozy home! 🤗
I have always wanted to prepare Brownie but I wanted a simple recipe, balanced in its ingredients but of course delicious.
After so long looking for finally today I decided, the truth is I am lucky in that I had at home all the ingredients to prepare this delicacy.
And I am very happy! 😁 because this Brownie turned out just the way I like it, juicy, soft and with just the right amount of Chocolate for me 😍.

Now I invite you creative friend to join me in preparing this delicious Brownie 😉
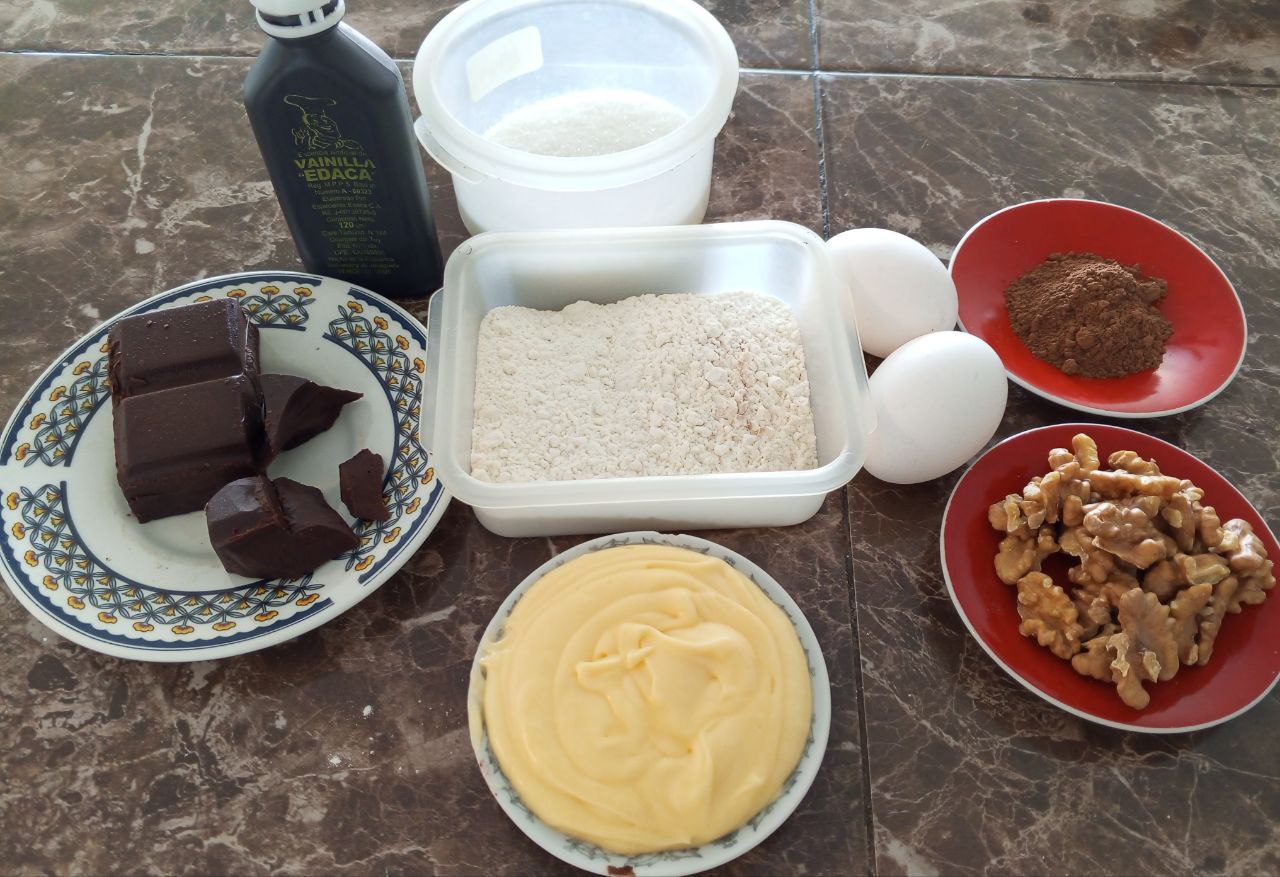
Ingredients:
- 90 Grams of unsalted butter.
- 2 eggs.
- 140 grams of sugar.
- Dark Chocolate, I used one that is 60 percent Cocoa.
- 64 grams of all-purpose wheat flour.
- 6 grams of Cocoa powder with no sugar added.
- 1 teaspoon of Vanilla.
- 1 teaspoon of salt.
- 50 Grams of Walnuts (optional).
- Mold of 18 by 18 cms.
Preparation:
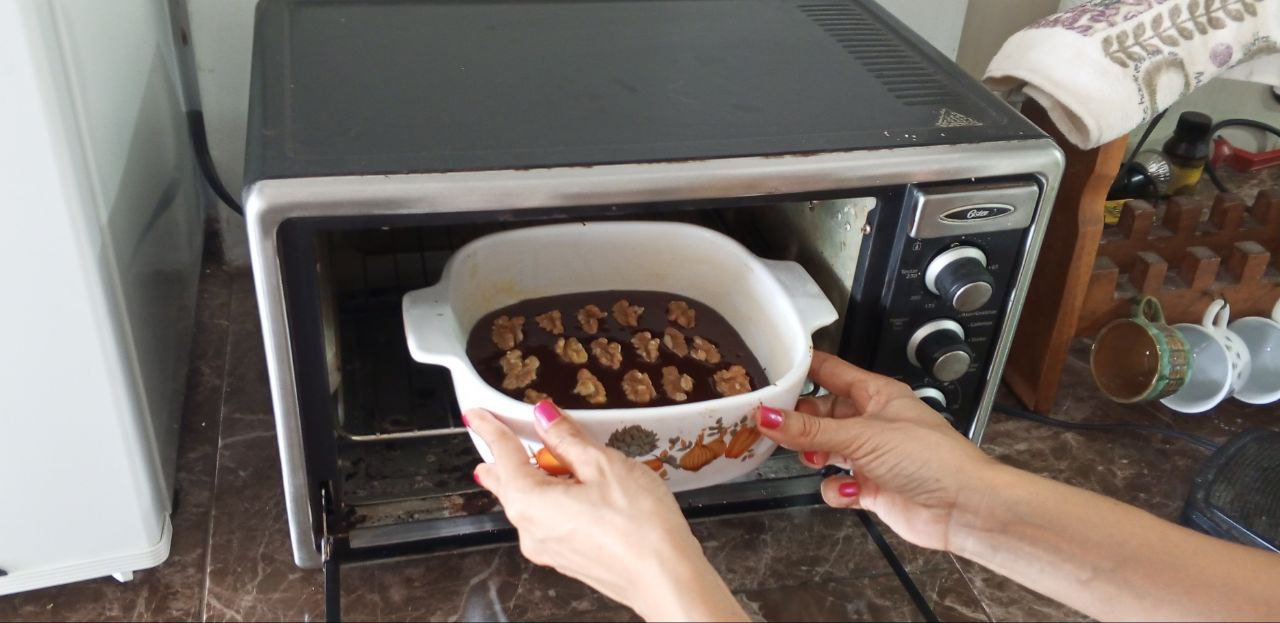
First we are going to preheat our oven to 180 Degrees Celsius.
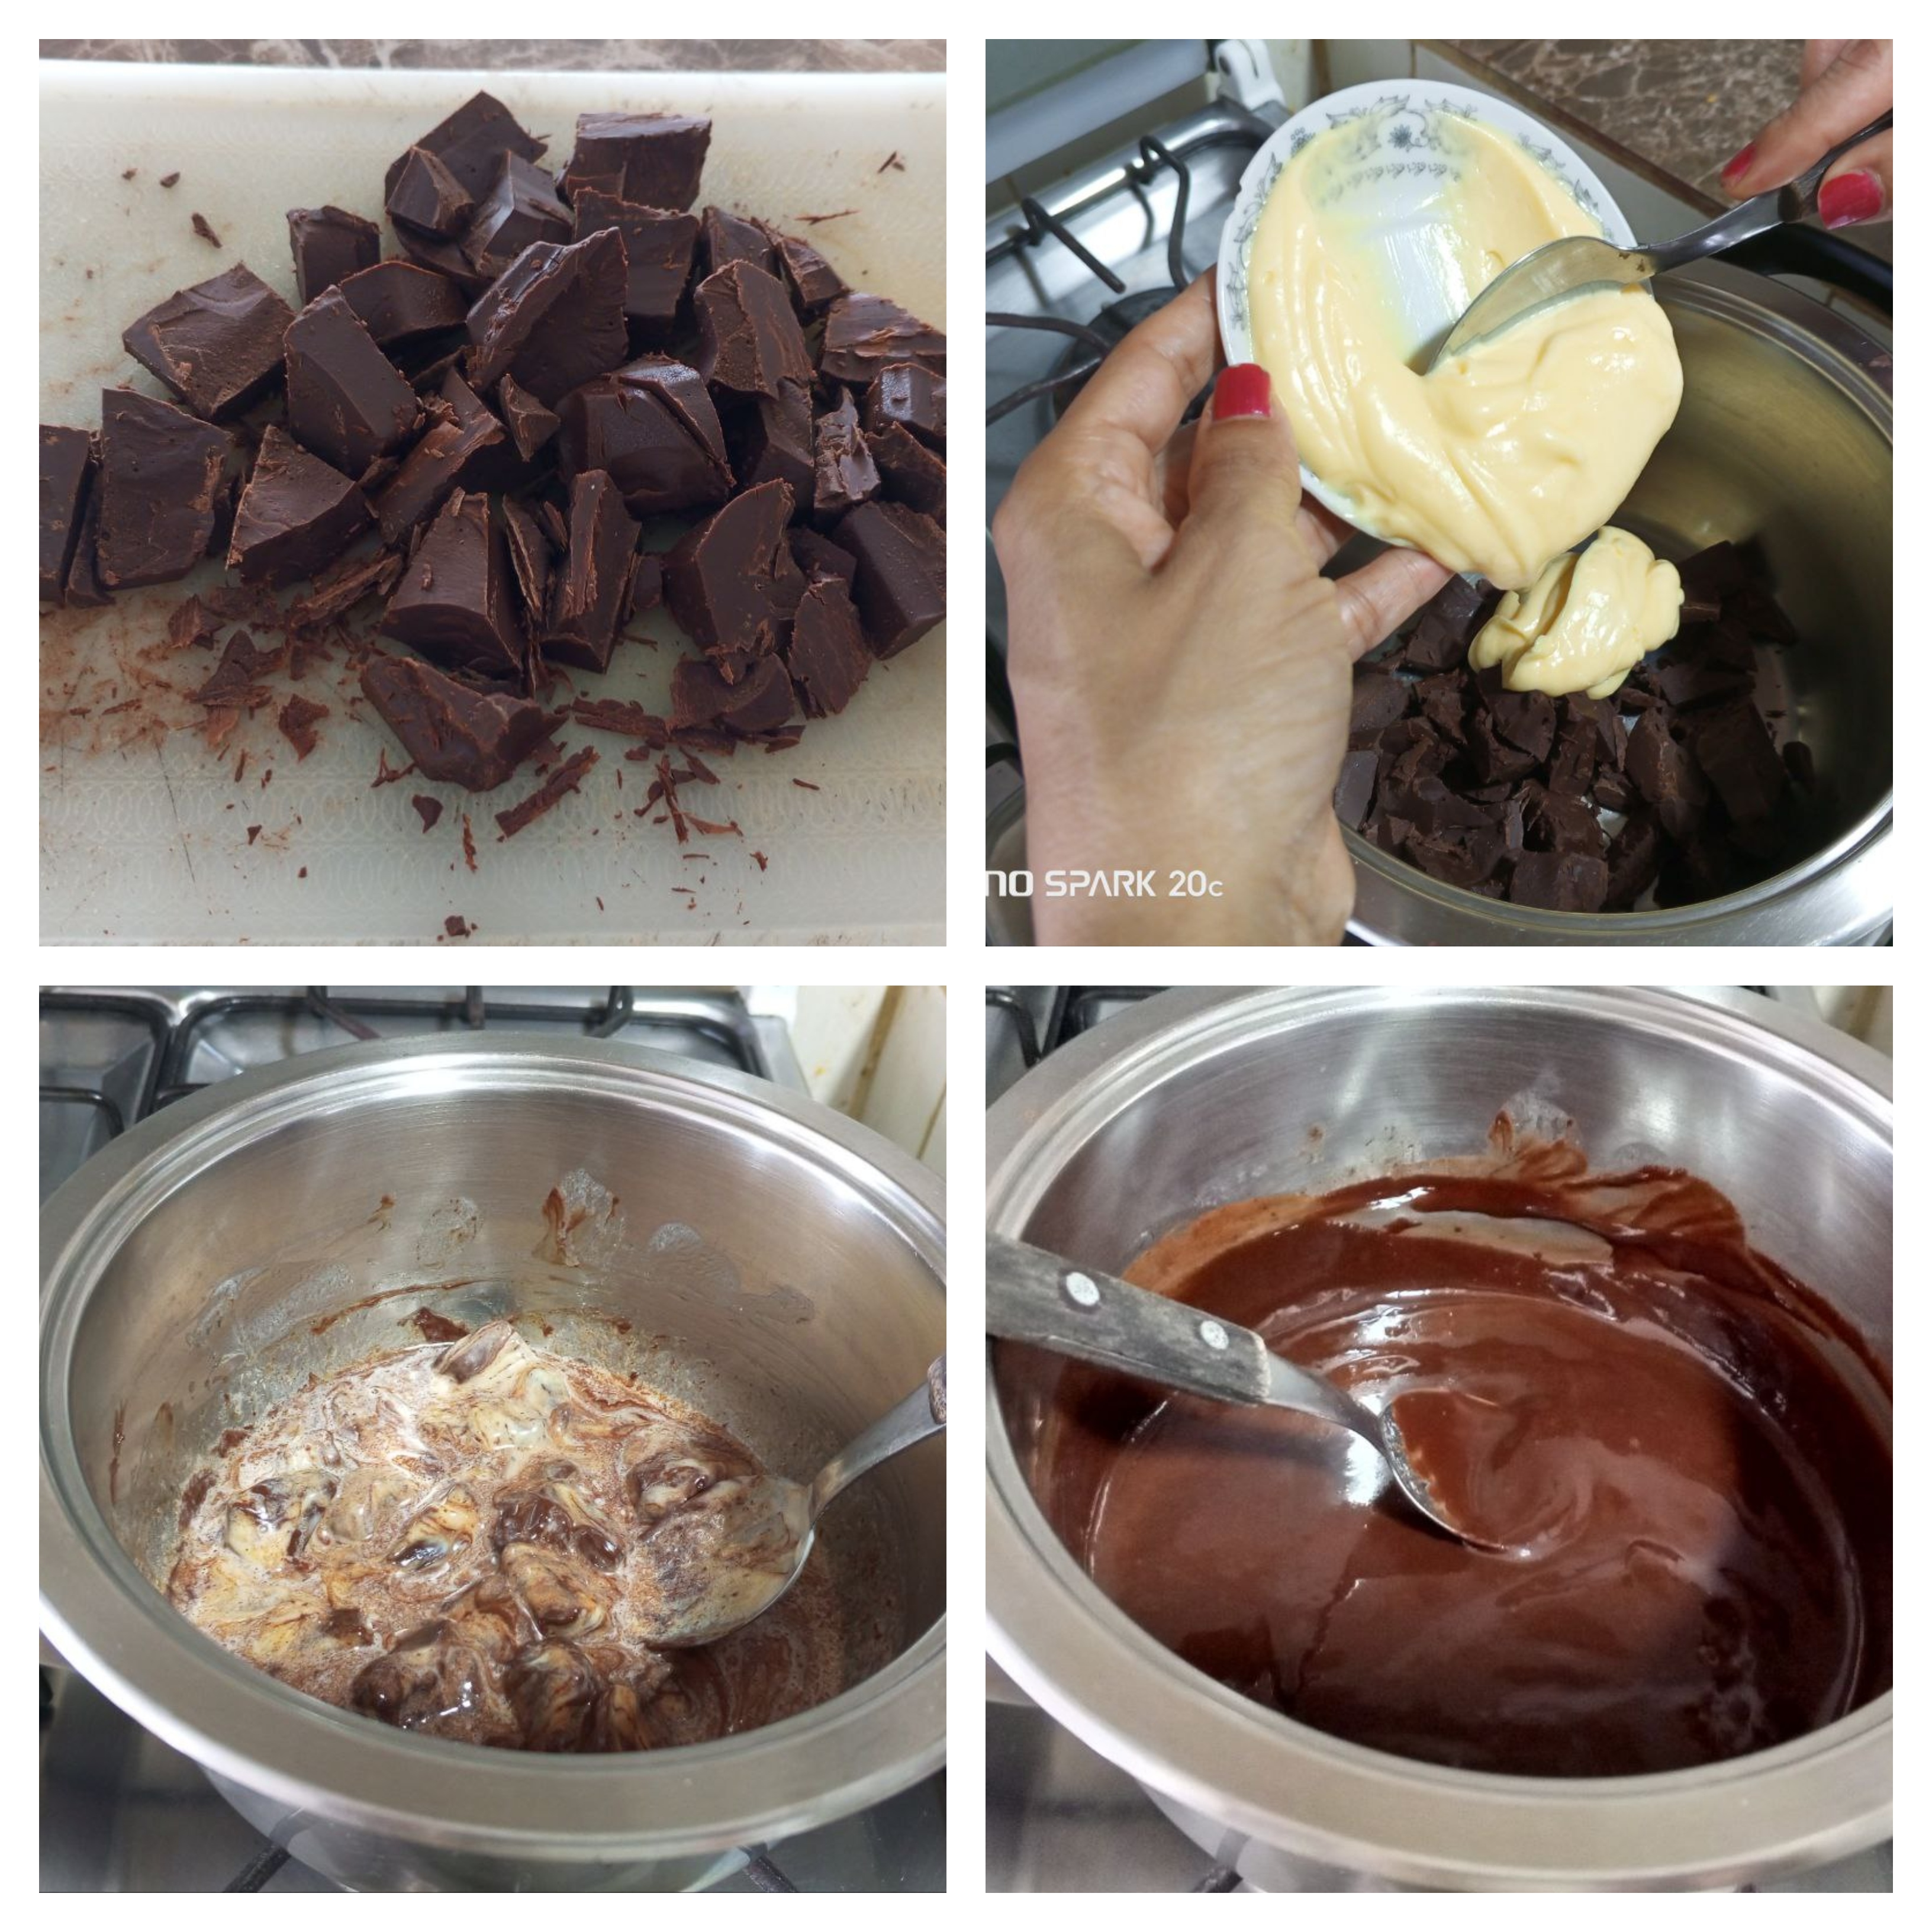
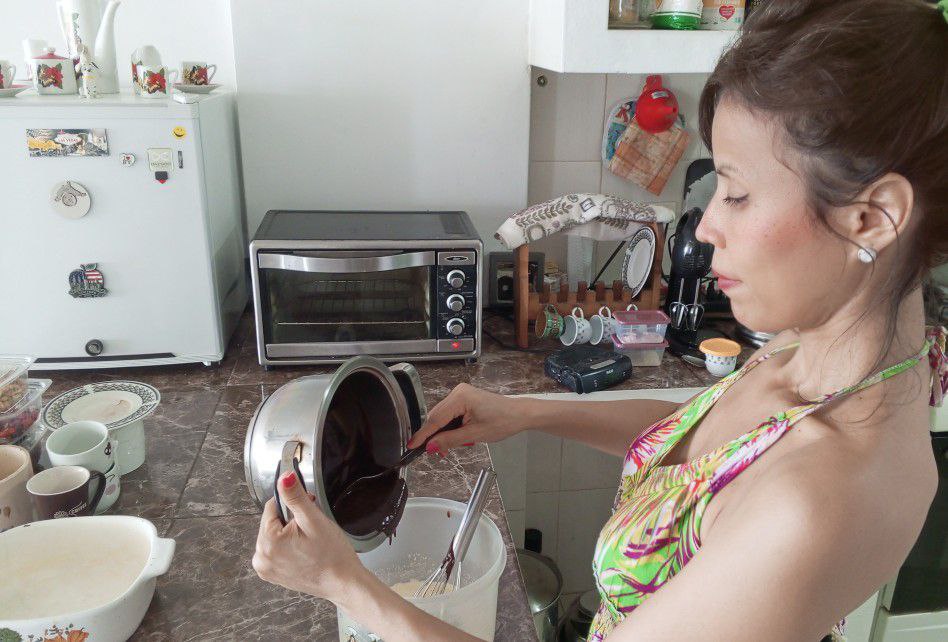
Now we start by putting the Chocolate in small pieces in a pot together with the butter, we whip on the stove at very low heat until the Chocolate is completely melted. Set aside.
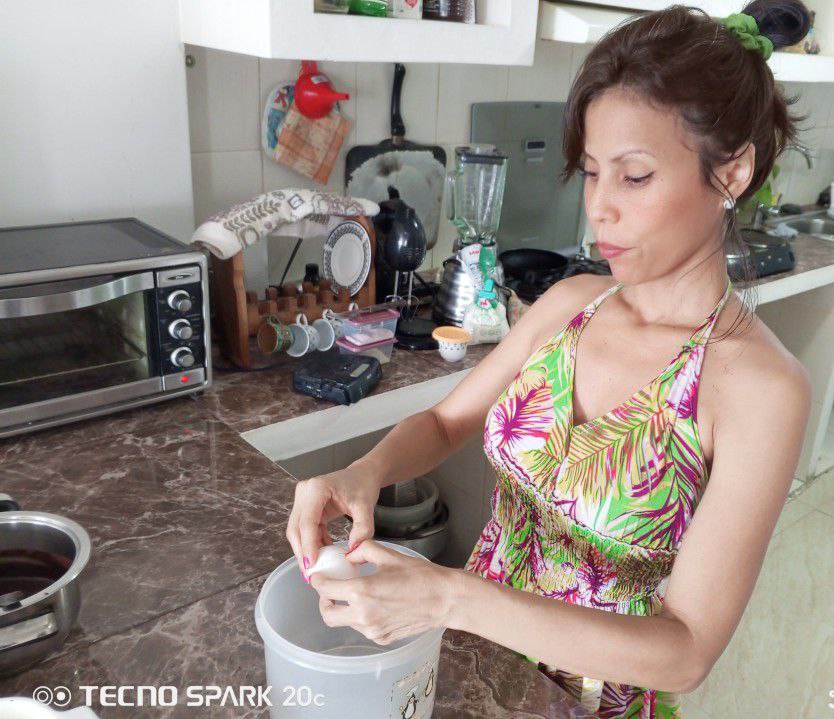
Then in a bowl we are going to put the two Eggs.
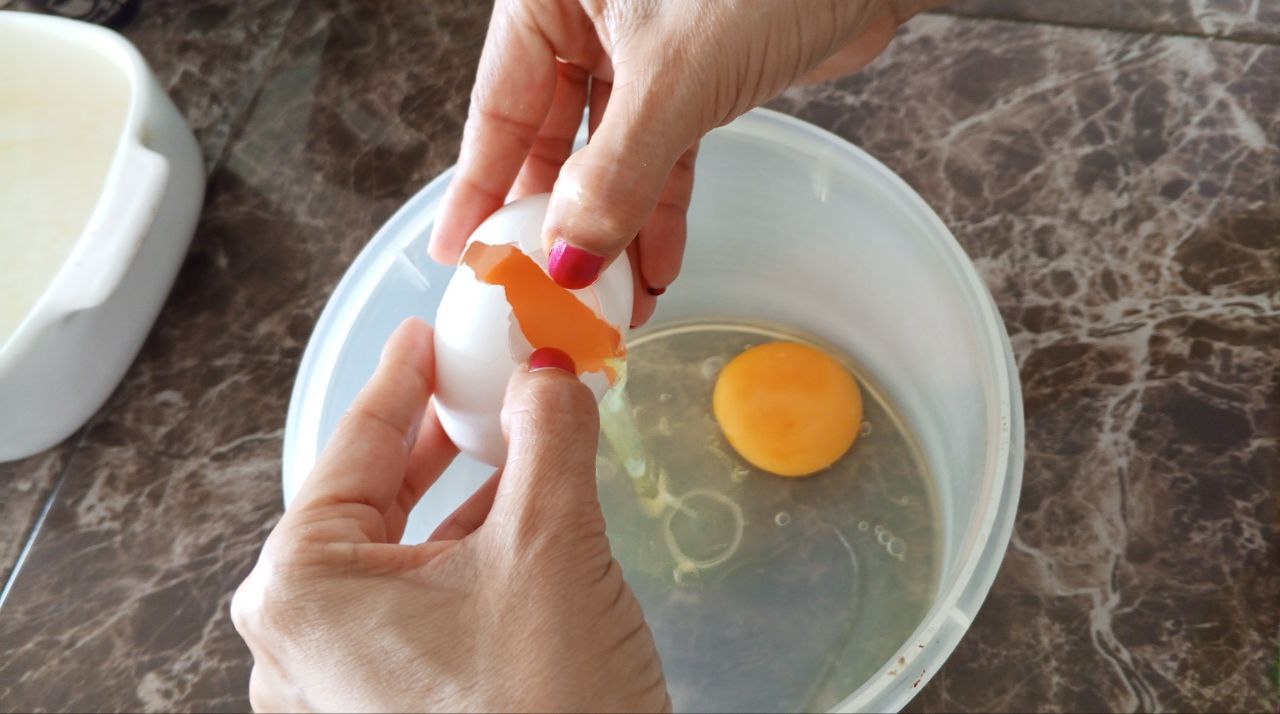
Sugar, salt and vanilla.
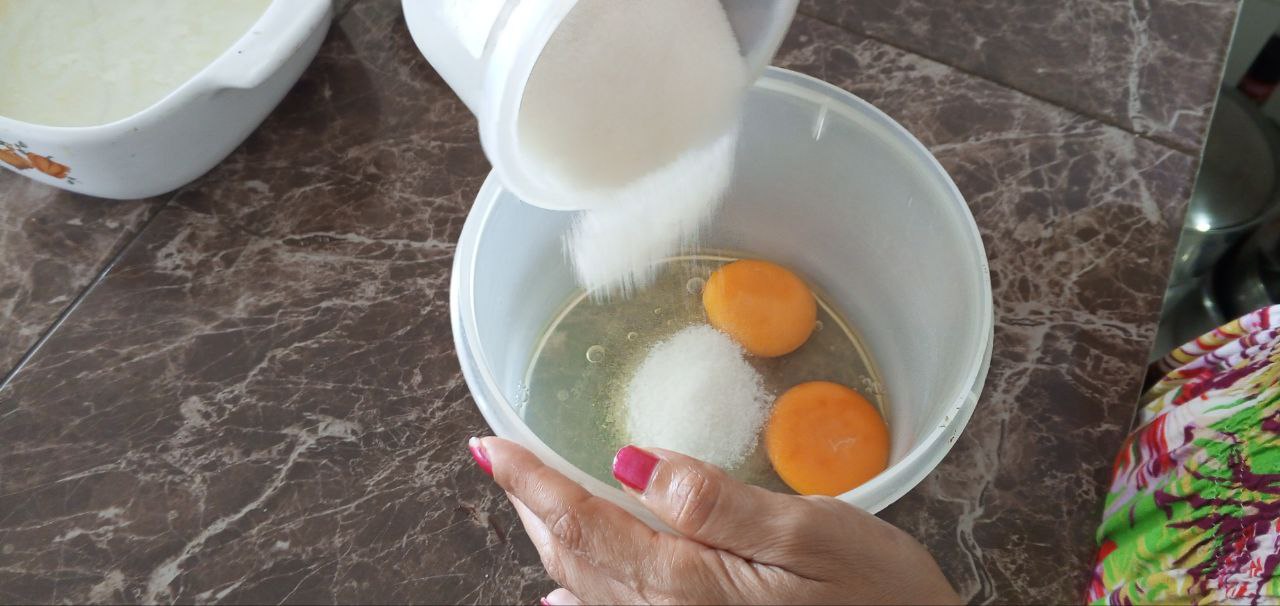
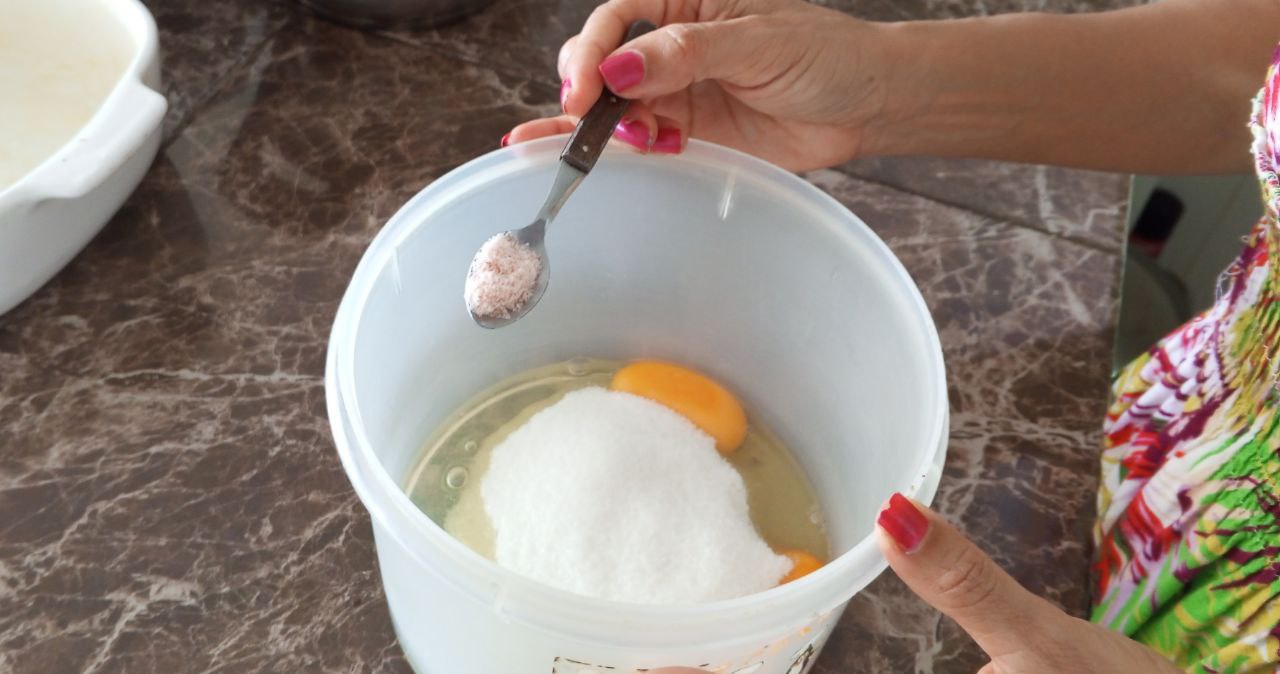
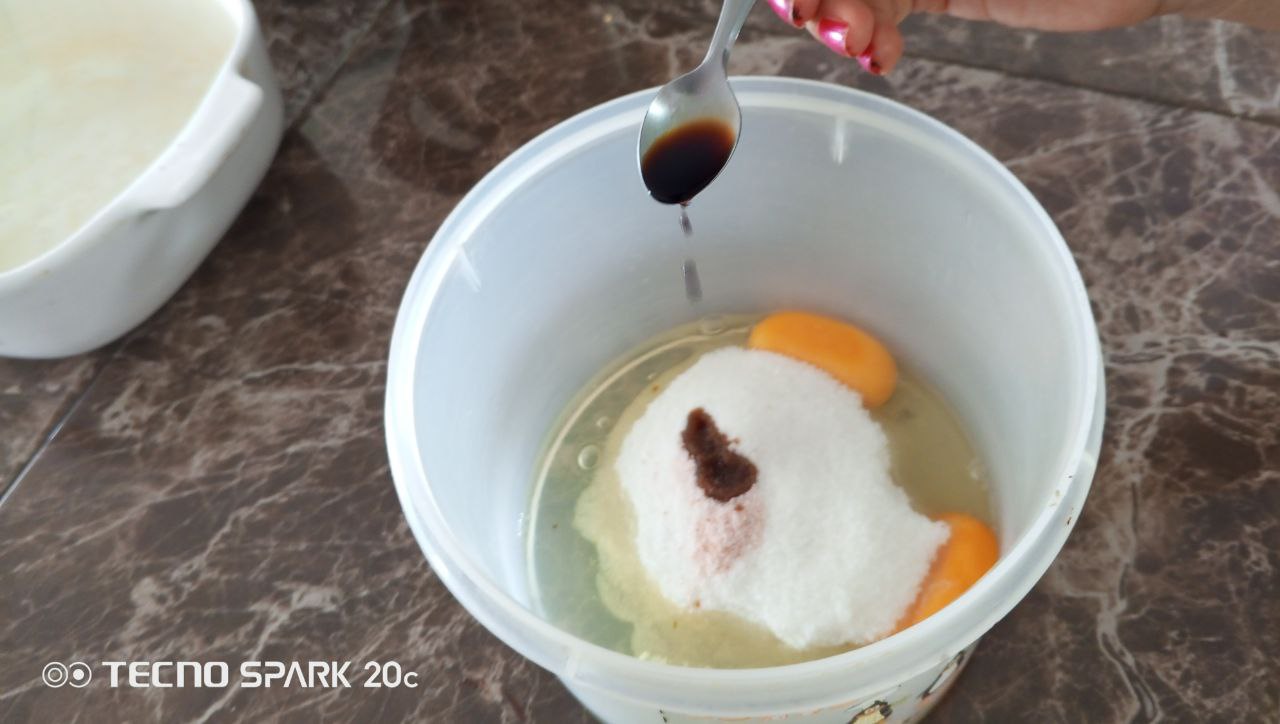
We are going to mix it until the sugar dissolves very well.

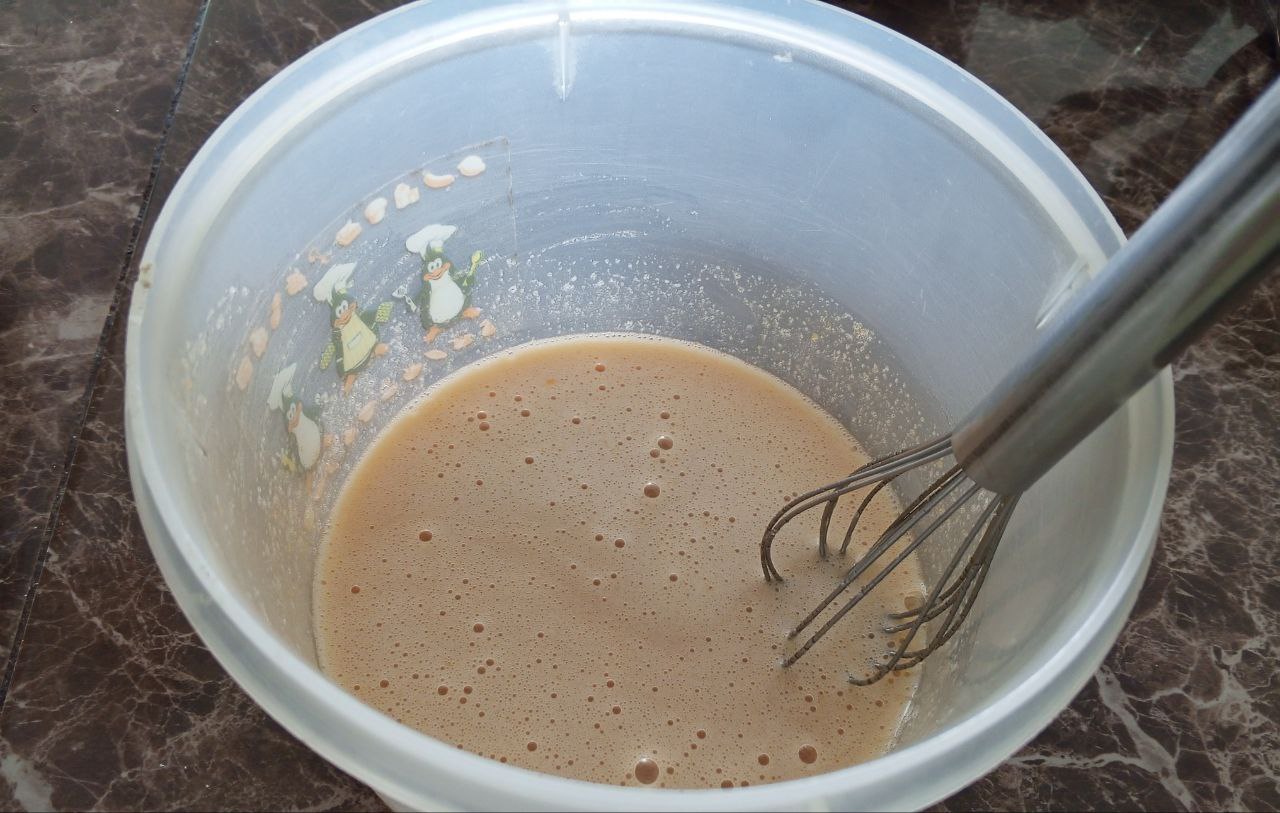
Now add the previously melted Chocolate.
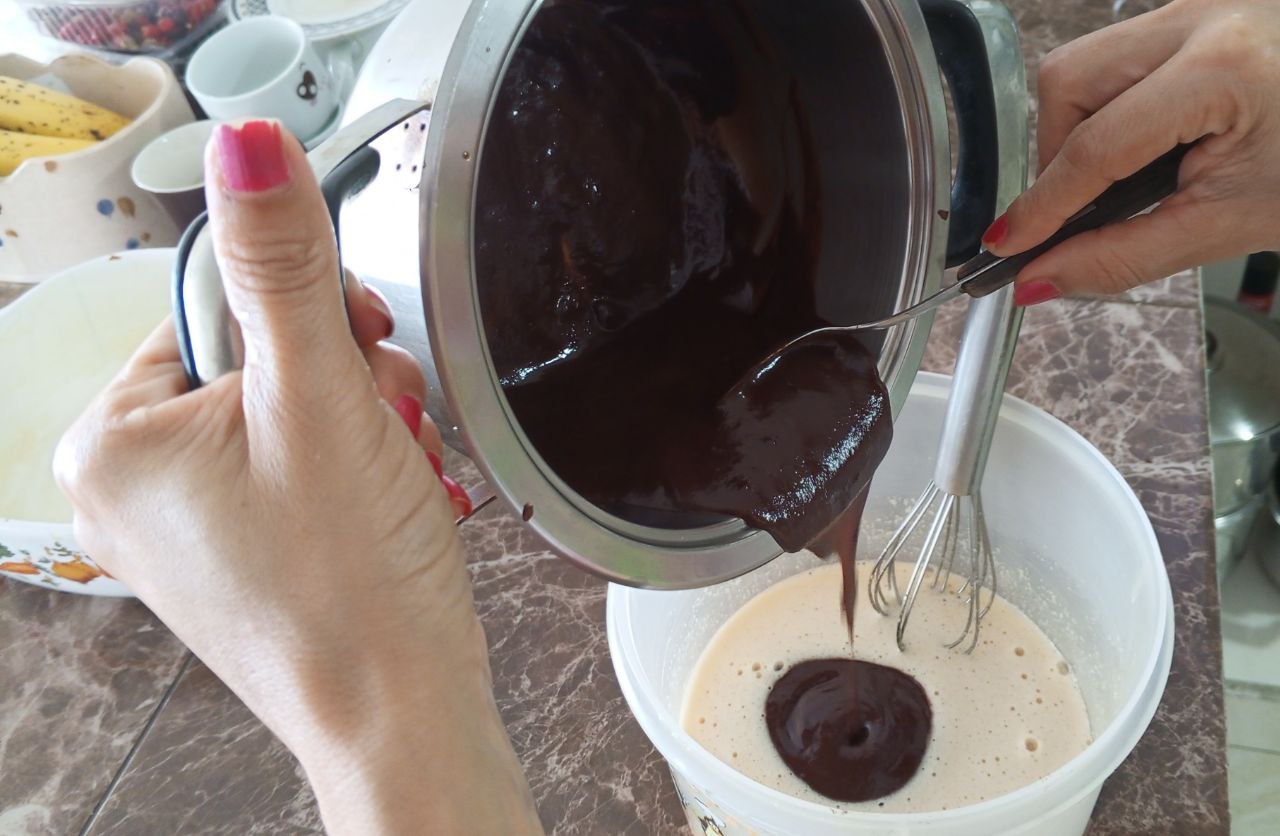
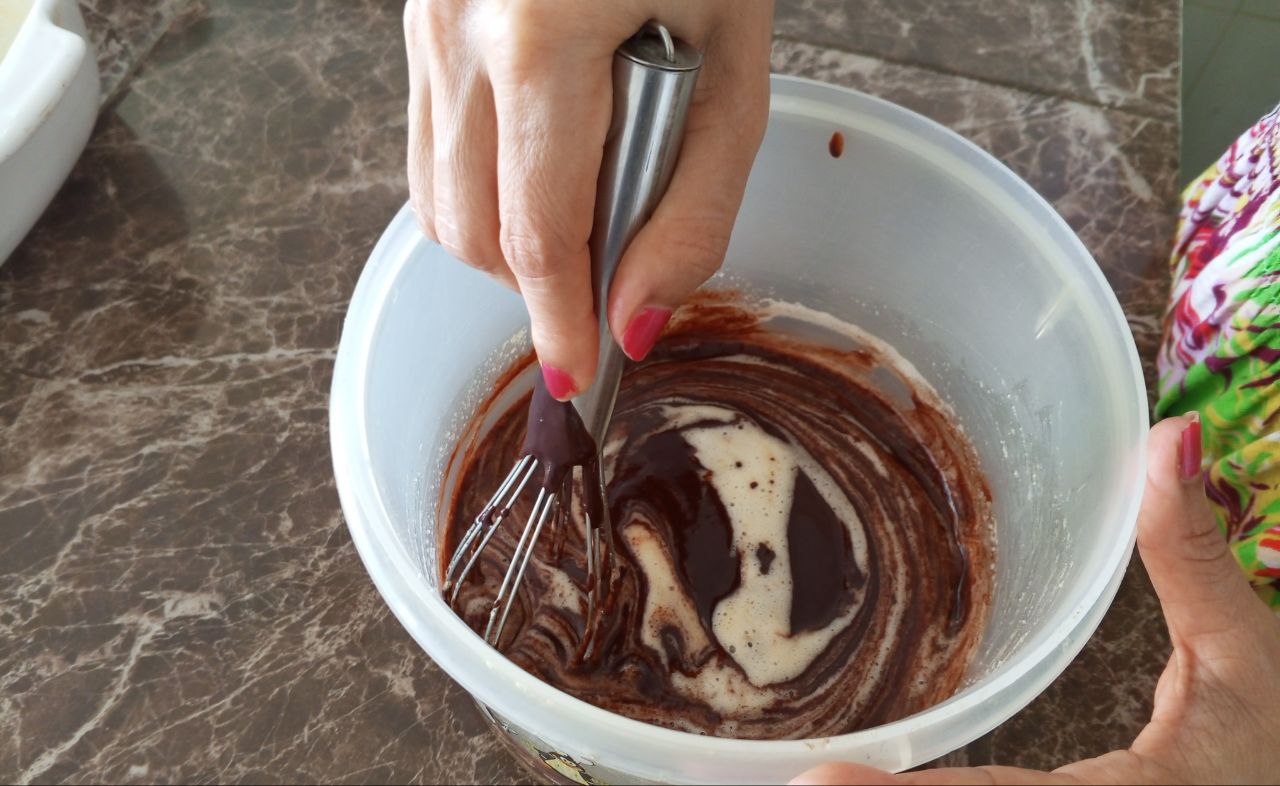
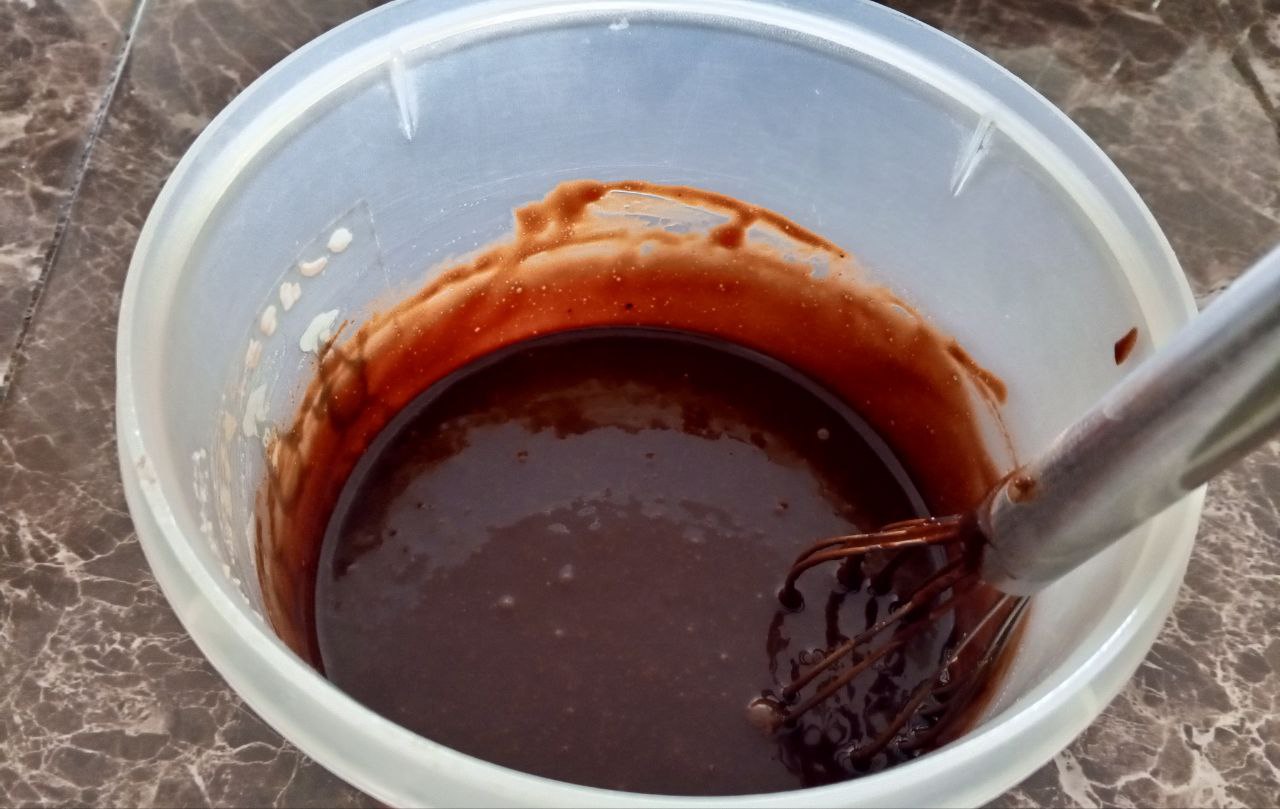
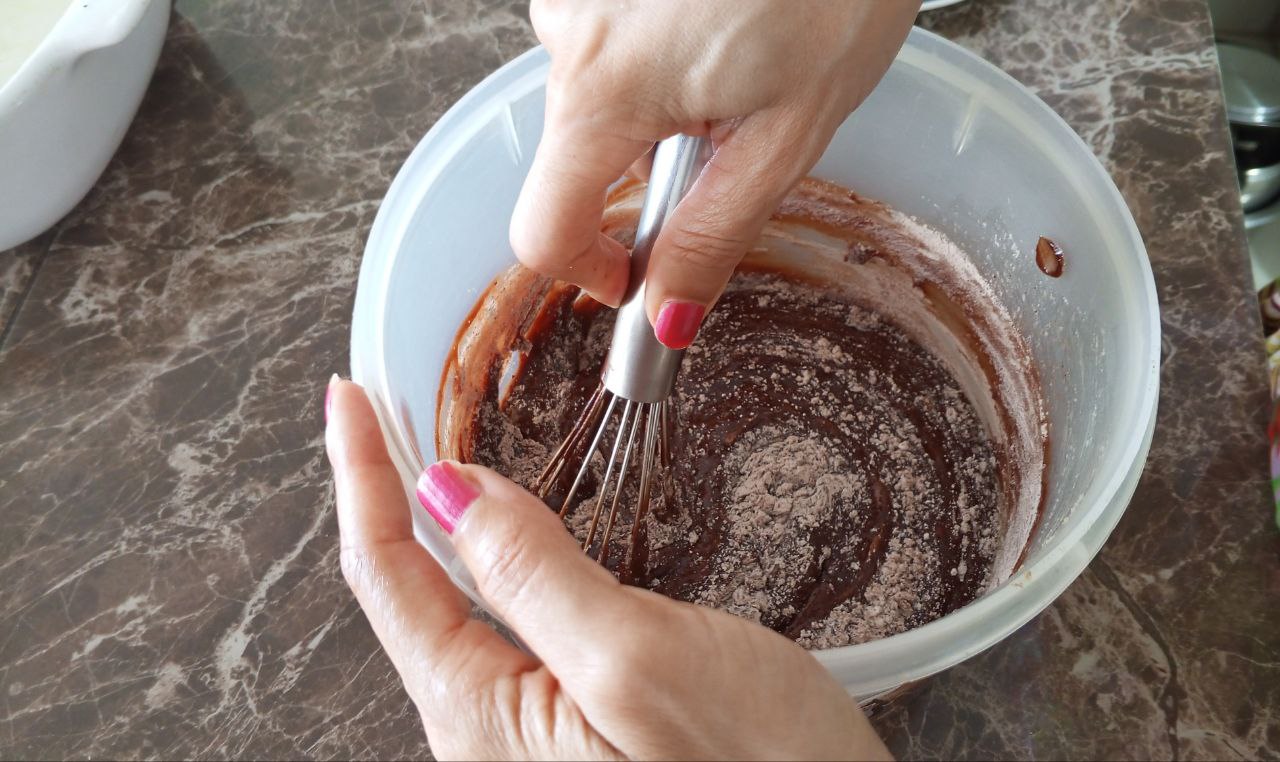
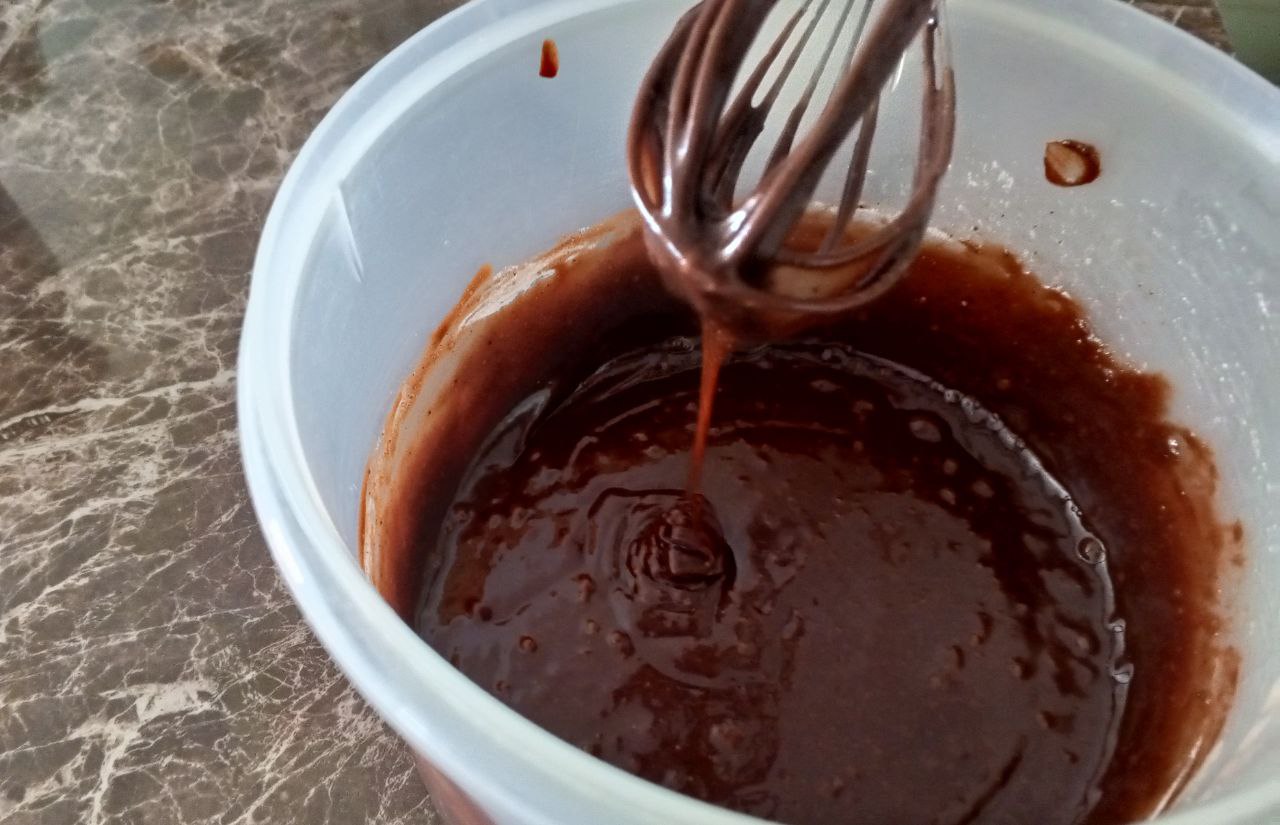
Mix again until you have a homogeneous mixture.
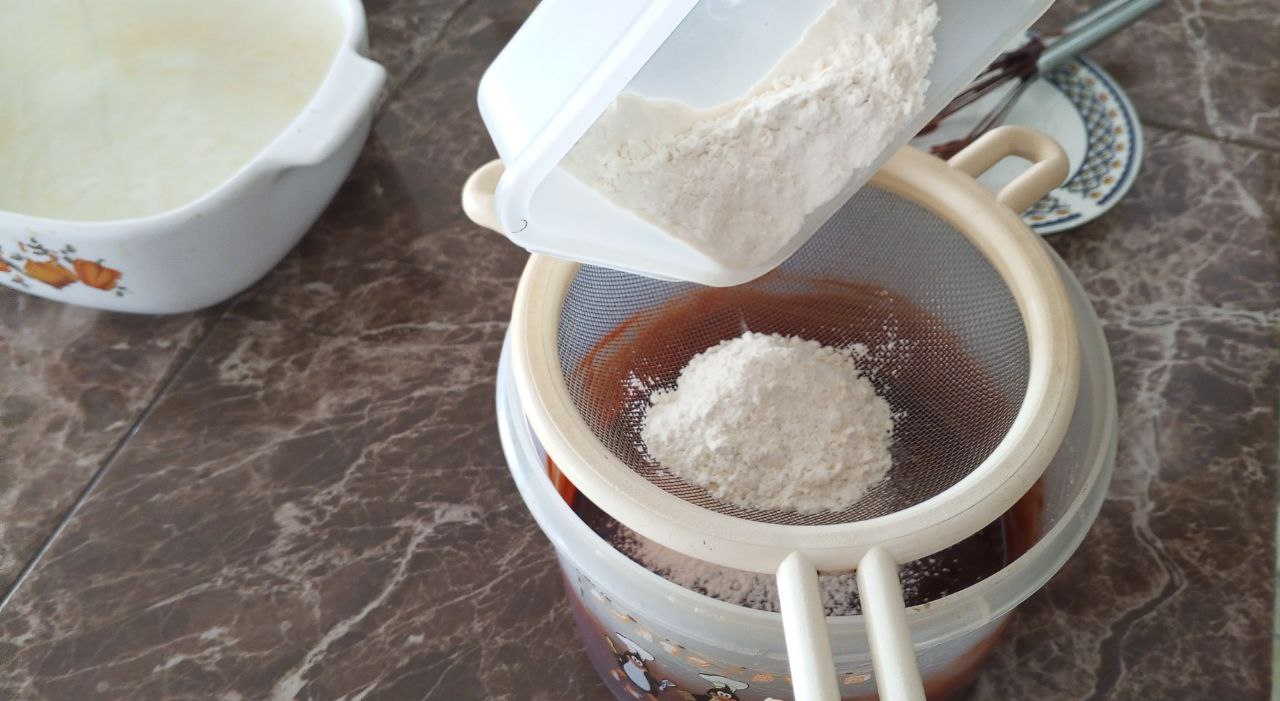
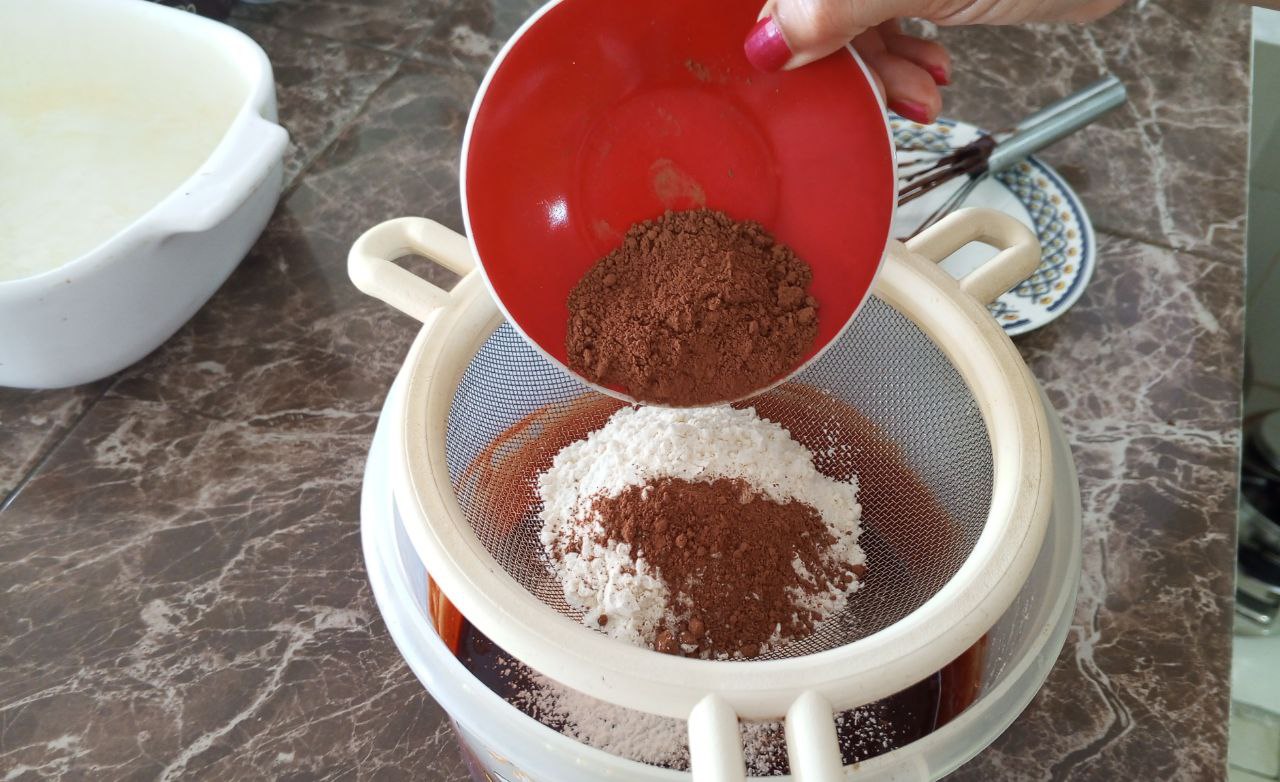
It is the moment to integrate the wheat flour, sift it together with the cocoa powder.
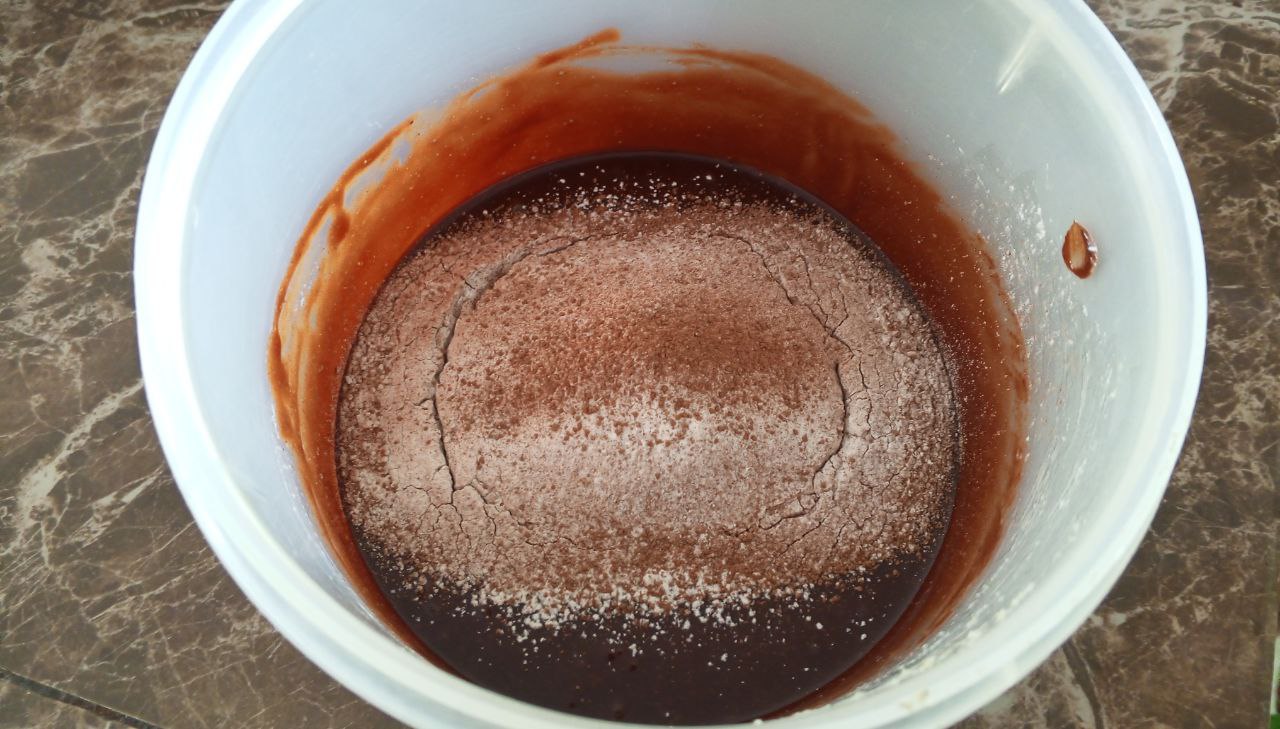
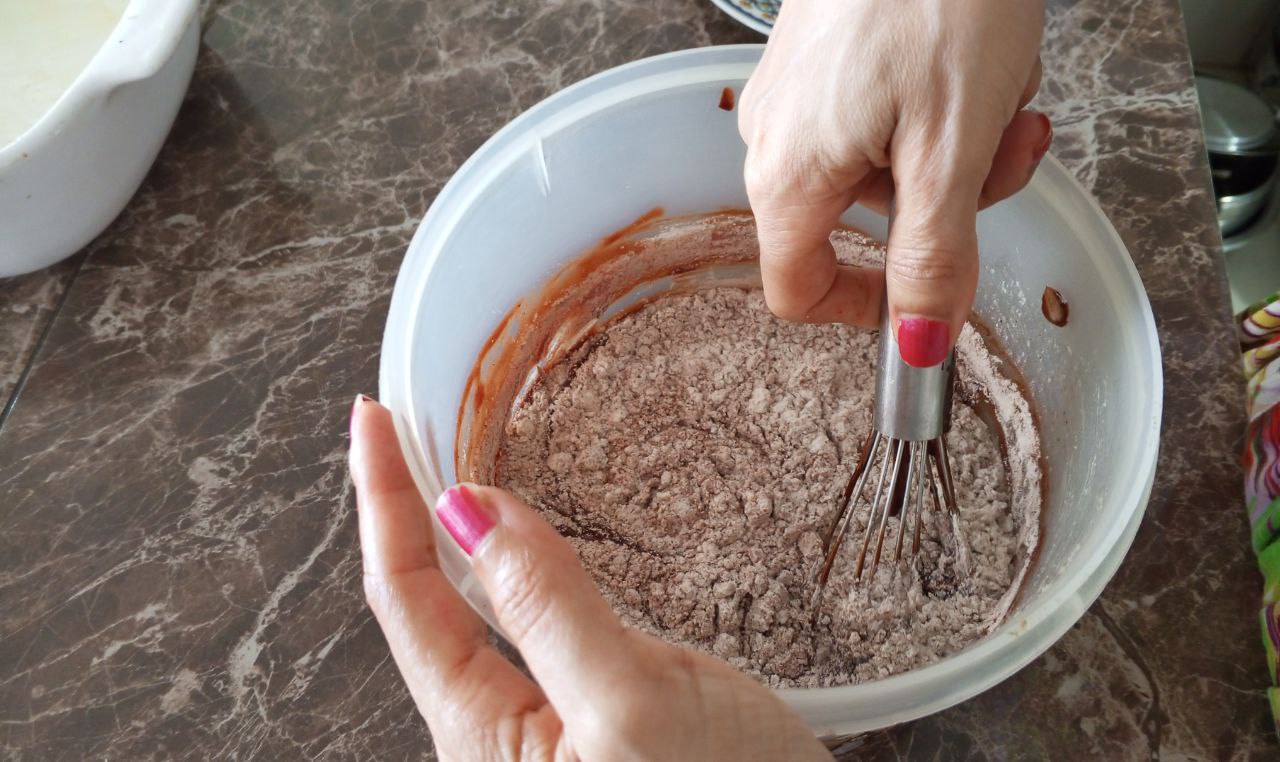
And mix with enveloping movements until everything is well integrated.
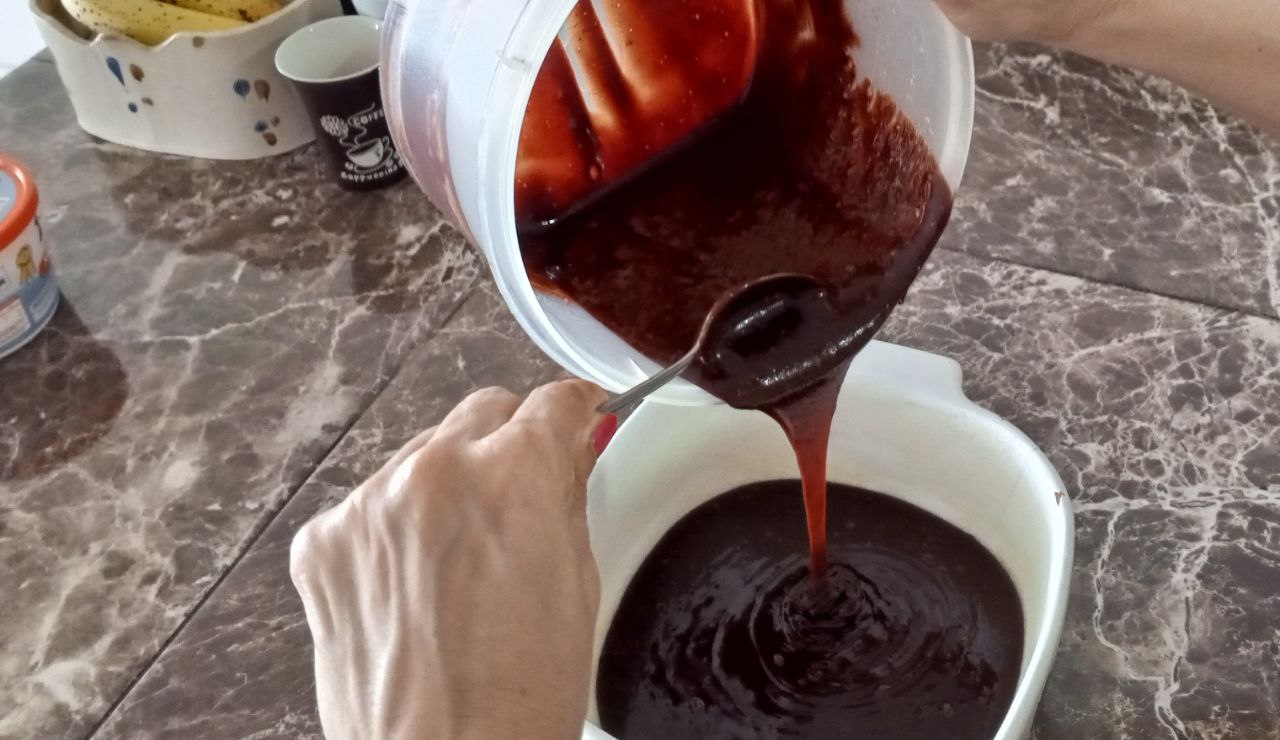
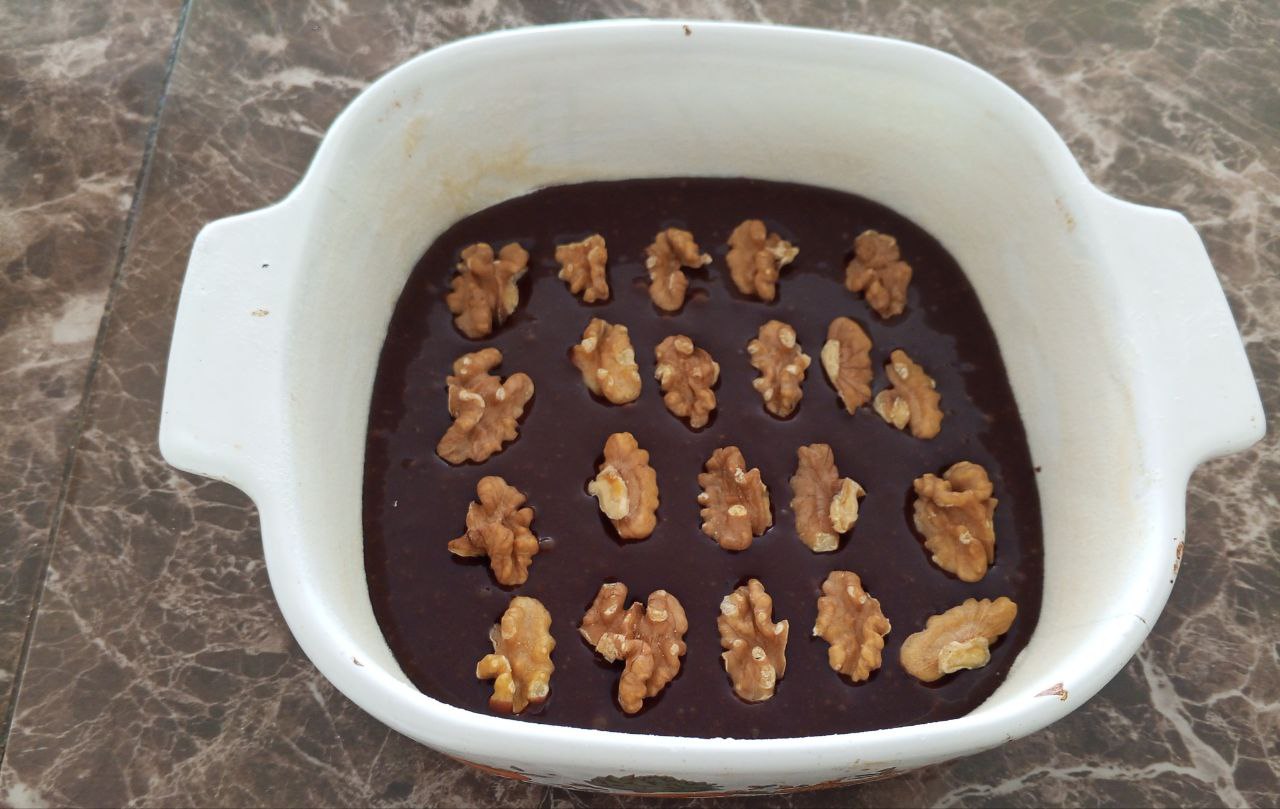
In our floured mold we are going to pour the mixture, so that it is uniform.

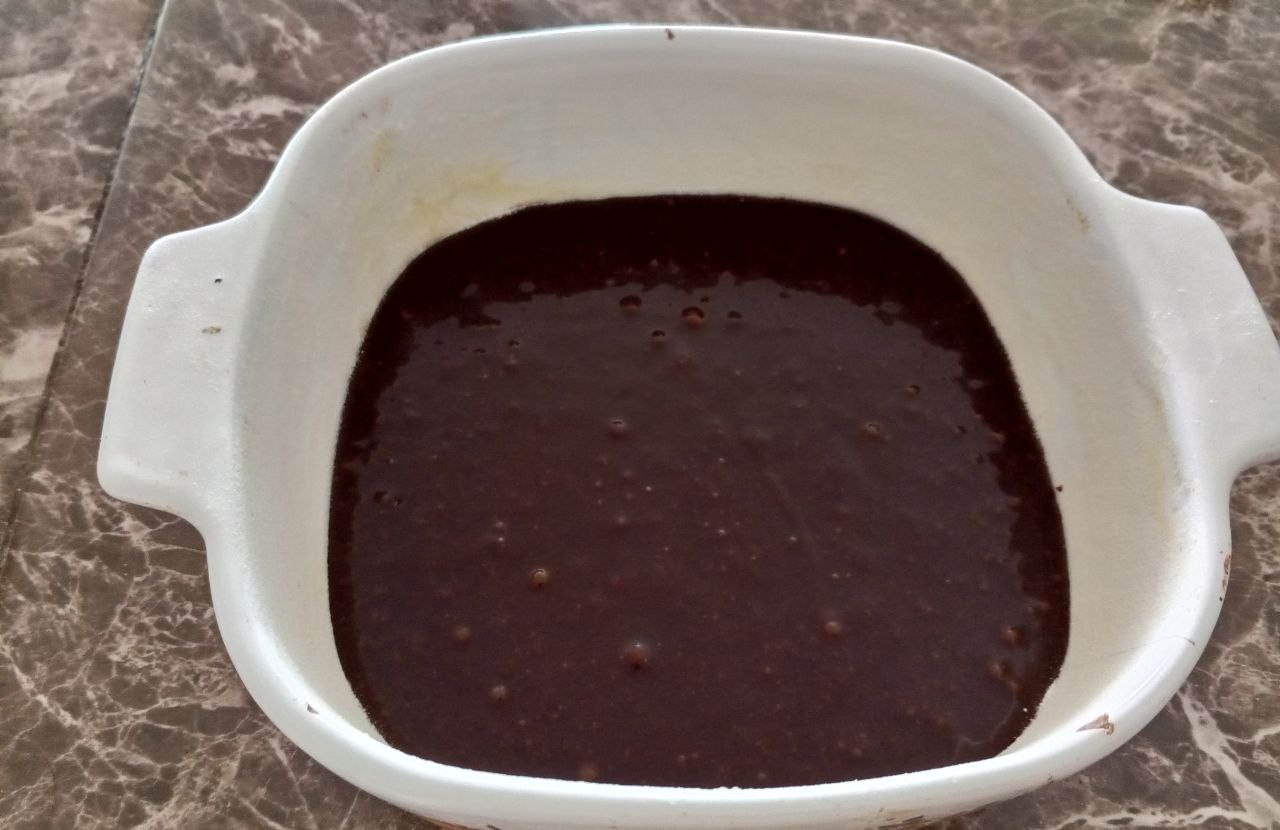
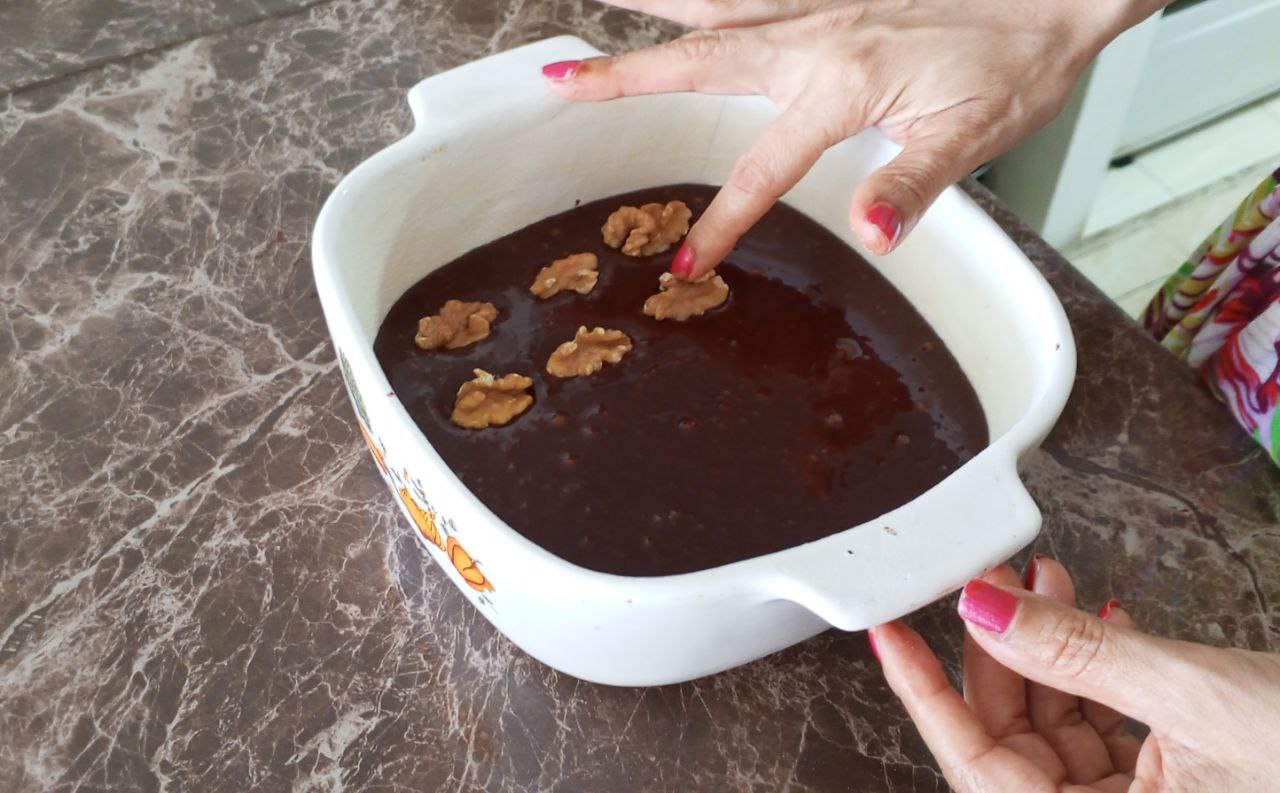
Then if you feel like adding nuts on the surface, pressing lightly with your fingers.
We put it in the preheated oven for approximately 20 minutes, that was the time my Brownie lasted in the oven.

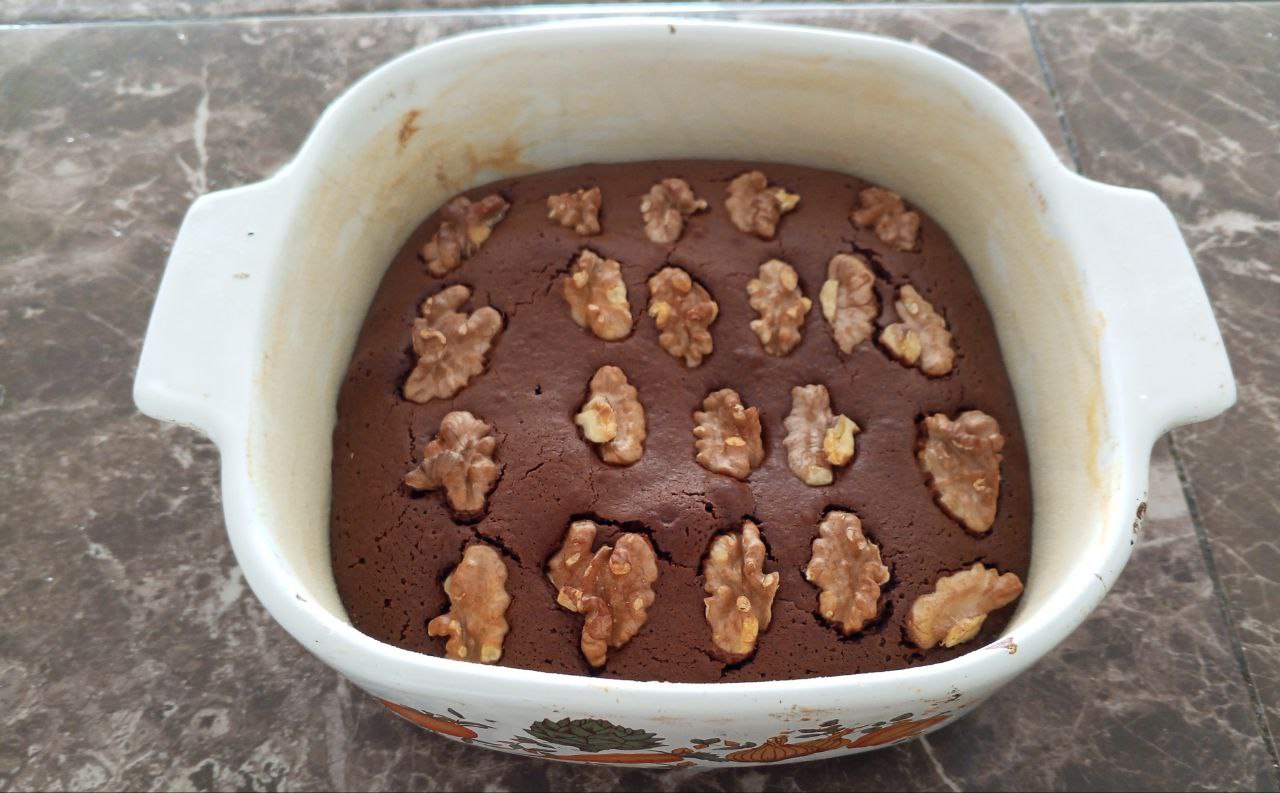
When I put the stick in it, it did not come out completely dry, it was slightly moist, but I left it that way because I want my brownie to be a little juicy, but if you want it drier, you can leave it a few minutes longer, just make sure it doesn't burn.
Once out of the oven I let it cool at room temperature, you can't imagine how much I wanted to take a bite of it as hot as it was, the smell was too delicious, but I restrained myself.
Once it is at room temperature we unmold it, always being careful, and chop it.
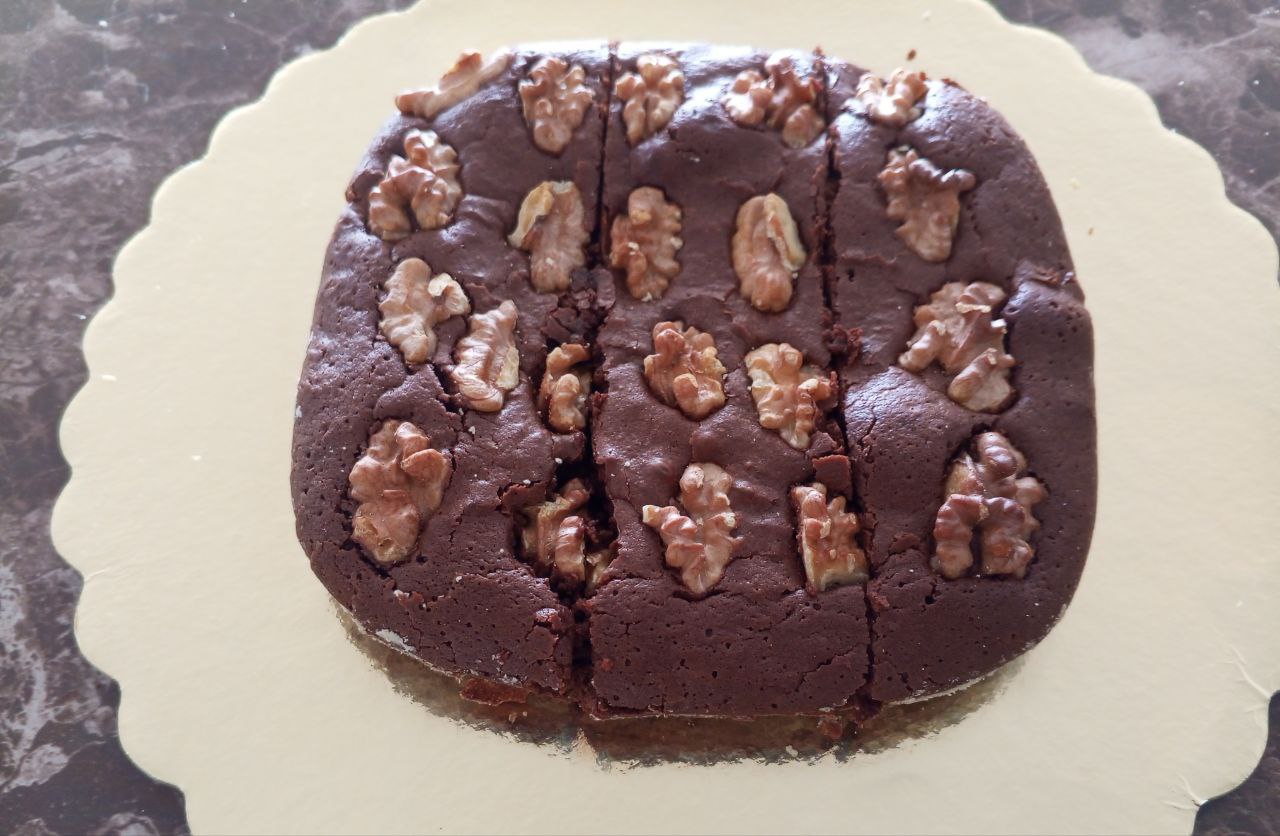
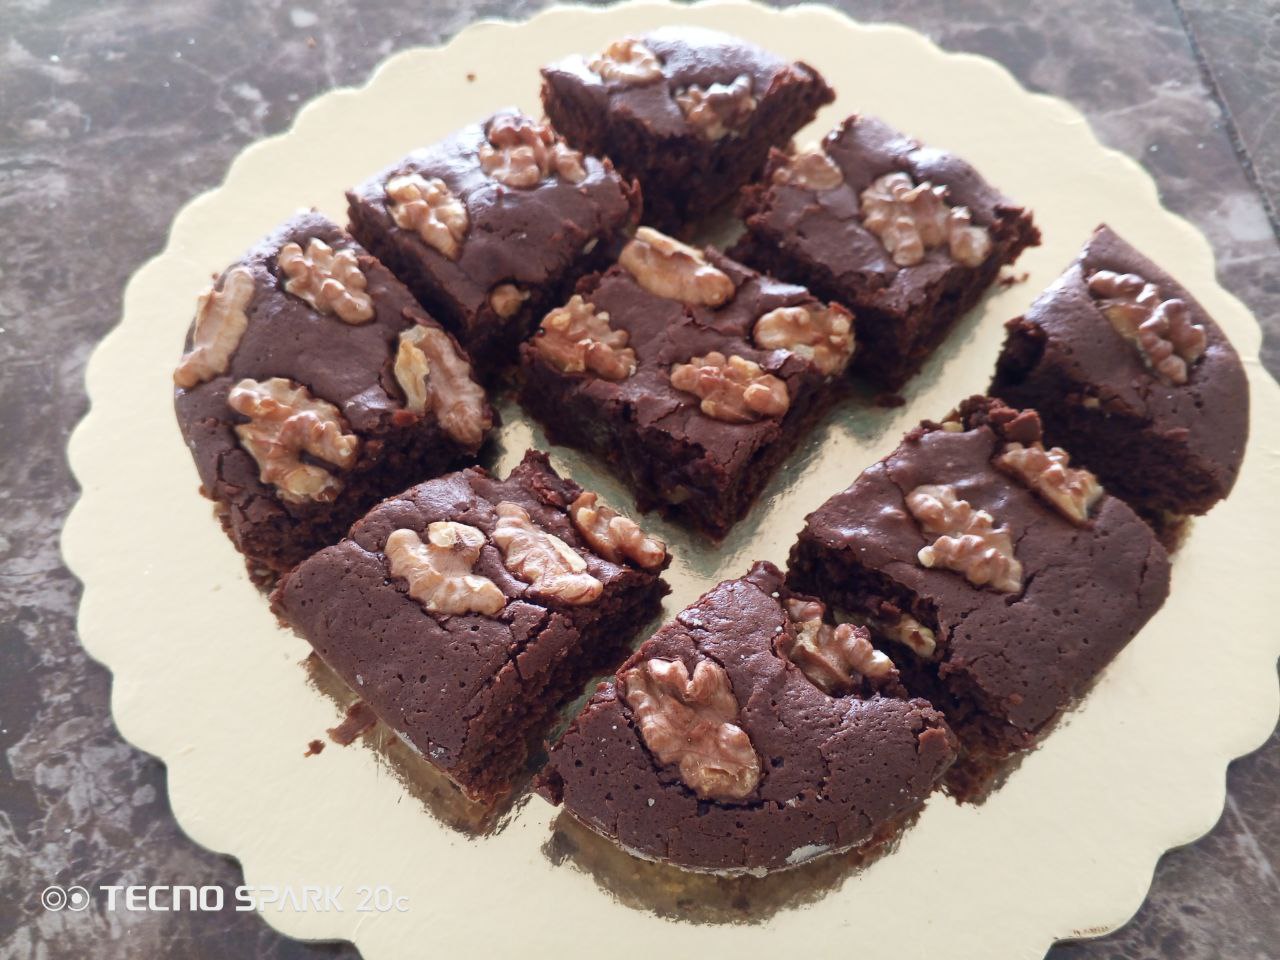
And enjoy it! This is very, very good! 😋
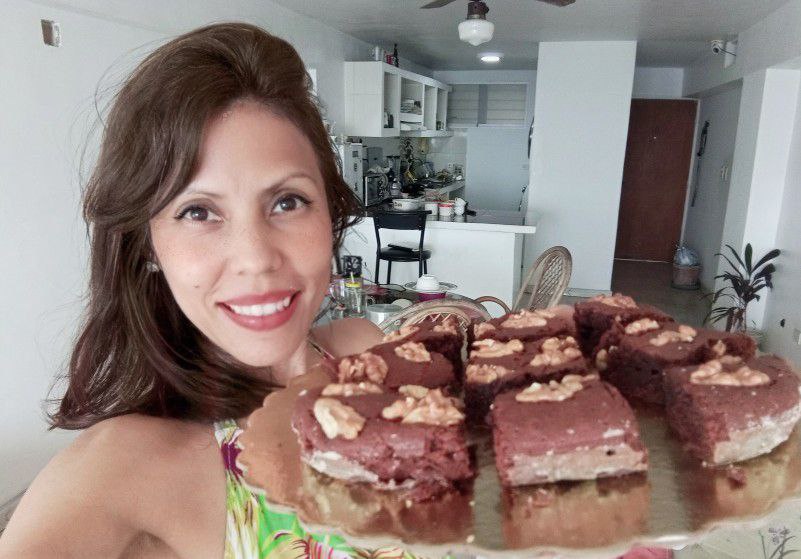
Thank you dear friends for your company and support, Blessings thousands 🙏🤗


Collage Used: CollageMaker and CollageBefunki.
Figures and Separators from Microsoft Word.
ESPAÑOL.
Saludos hermosa comunidad de cocina creativa, siempre me es muy placentero pasarme por aquí y compartir con ustedes parte de las recetas que dan alegría a mi hermoso y acogedor hogar! 🤗
Siempre he querido preparar Brownie pero quería una receta sencilla, equilibrada en sus ingredientes pero por supuesto deliciosa.
Después de tanto tiempo buscando por fin hoy me decidí, la verdad soy afortunada en que tenía en casa todos los ingredientes para preparar esta delicia.
Y estoy muy feliz! 😁 porque este Brownie quedo justo como me gusta, jugoso, suave y con la cantidad justa de Chocolate para mí 😍
Ahora te invito amigo creativo a que me acompañes a preparar este delicioso Brownie 😉
Ingredientes:
- 90 Gramos de Mantequilla sin Sal.
- 2 Huevos.
- 140 Gramos de Azúcar.
- Chocolate Oscuro, usé uno que es 60 por ciento Cacao.
- 64 Gramos de Harina de Trigo todo uso.
- 6 Gramos de Cacao en polvo sin Azúcar añadida.
- 1 Cucharadita de Vainilla.
- 1 Cucharadita de Sal.
- 50 Gramos de Nueces (opcional).
- Molde de 18 por 18 cms.
Preparación:
Primero vamos a precalentar nuestro horno a 180 Grados Centígrados.
Ahora comenzamos por poner el Chocolate en trocitos pequeños en una olla junto con la mantequilla, montamos en la cocina a fuego muy bajo hasta que el Chocolate se derrita por completo. Reservamos.
Luego en un recipiente vamos a echar los dos Huevos.
El Azúcar, la sal y la Vainilla.
Eso lo vamos a mezclar hasta que se disuelva muy bien el Azúcar.
Ahora integramos el Chocolate previamente derretido.
Mezclamos nuevamente hasta que nos quede una mezcla homogénea.
Es el momento de integrar la harina de Trigo, la cernimos junto con el Cacao en polvo.
Y mezclamos con movimientos envolventes hasta que todo se integre muy bien.
En nuestro molde enharinado vamos a echar la mezcla, que quede uniforme.
Luego si te apetece le incorporamos nueces en la superficie, presionando levemente con los dedos.
Metemos al horno previamente precalentado por un tiempo aproximado de 20 minutos, ese fue el tiempo que mi Brownie duró en el horno.
Al meterle la varilla no salió totalmente seca, estaba levemente húmeda, pero lo deje así porque quiero que mi Brownie quede un poco jugoso, pero si lo deseas más seco, puedes dejarlo unos minutos más, eso sí, estando pendiente que no se queme.
Ya sacado del horno lo dejo enfriar a temperatura ambiente, no se imaginan las ganas que tenía de darle un mordisco así caliente como estaba, el olor era demasiado delicioso, pero me contuve.
Una vez que está a temperatura ambiente lo desmoldamos, siempre teniendo cuidado, y lo picamos.
Y a disfrutarlo! esto quedó muy muy bueno! 😋
Gracias queridos amigos por su compañía y apoyo, Bendiciones miles 🙏🤗
Collage Usado: CollageMaker y CollageBefunki.
Figuras y Separadores de Microsoft Word.