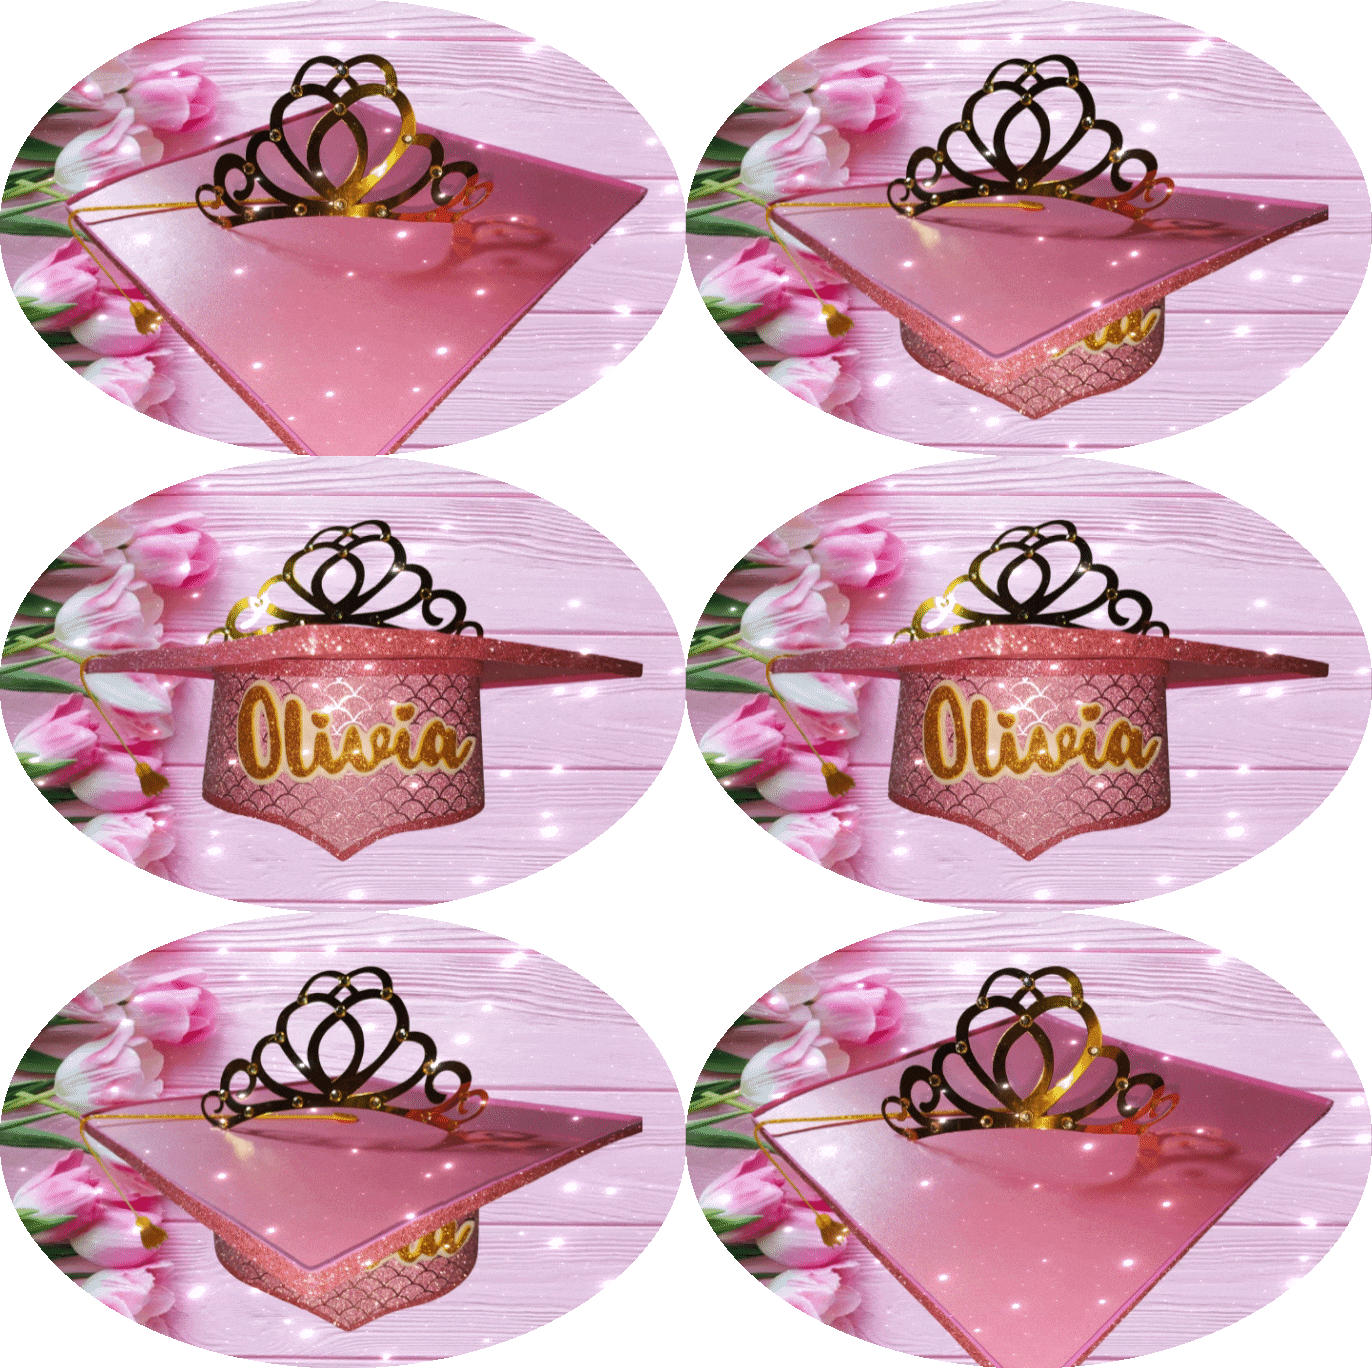
Este es un proyecto que llevo mucho tiempo queriendo desarrollar y hoy encontré la oportunidad de hacerlo, me encuentro un poco enferma así que no he podido salir de la casa por lo que he reunido algunos materiales que quedaron de antiguos trabajos para empezar a hacer este bonito birrete de graduación.
Aquí en mi pueblo es muy común que los recién graduados o durante la promoción de preescolar a la escuela primaria y de la escuela primaria a la escuela secundaria y de la escuela secundaria a la universidad se manden a hacer este tipo de recuerdos.
Después de tomar las fotos de la promoción con toda y birrete unicolor cada estudiante saca su birrete personalizado para una nuevas fotos pero más personales y con la familia.
Se ha puesto muy de moda y también ha movido la creatividad de muchas personas aunque también lamentablemente ha movido el exceso de otras.
Como a mí me gustan las cosas sencillas decidí usar estos colores sin recargar mucho de adornos.
Voy a empezar este año más que preparada para esos pedidos que sé que van a llover en temporada de graduación.
This is a project that I have been wanting to develop for a long time and today I found the opportunity to do it. I am a little sick so I have not been able to leave the house so I have gathered some materials that were left over from old jobs to start making this beautiful graduation cap.
Here in my town it is very common for recent graduates or during the promotion from preschool to elementary school and from elementary school to high school and from high school to university to have these types of souvenirs made.
After taking the graduation photos with the whole single-color cap, each student takes out their personalized cap for new but more personal photos with the family.
It has become very fashionable and has also stirred the creativity of many people although unfortunately it has also stirred the excess of others.
Since I like simple things I decided to use these colors without overloading them with decorations.
I am going to start this year more than prepared for those requests that I know are going to rain down during graduation season.
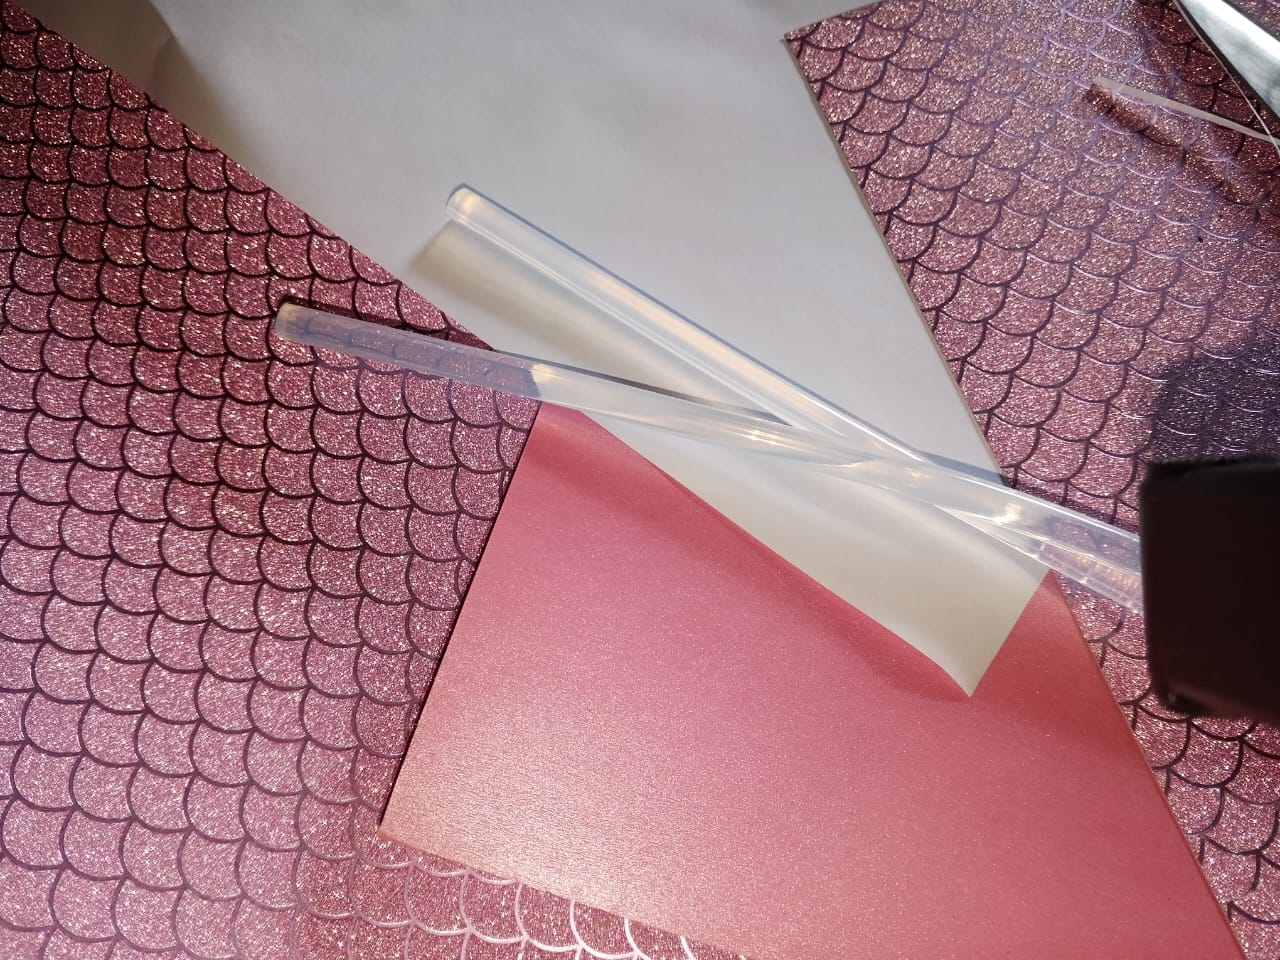
Tengo como materiales dos tipos de cartulina, una estampada y una sencilla perlada; usé dos barras de silicón, tijeras,papel para los moldes, lápiz y borrador.
El patrón lo hice a mano viendo una fotografía que encontré pero te voy a compartir las medidas que yo utilicé para el birrete básico.
La tira para el cilindro de 54cm de circunferencia.
El tope o tencho del birrete lo hice con medidad e 25x25cm
He de recordar que este tipo de adorno siempre se hacen a medida. Y las medidas que yo utilicé fueron las que le tomé a mi hija
I have two types of cardboard as materials, one patterned and one simple pearlescent; I used two silicone bars, scissors, paper for the molds, pencil and eraser.
I made the pattern by hand looking at a photograph I found but I am going to share with you the measurements I used for the basic cap.
The strip for the cylinder is 54cm in circumference.
The top or base of the cap I made with a measurement of 25x25cm
I must remember that this type of decoration is always made to measure. And the measurements I used were the ones I took from my daughter
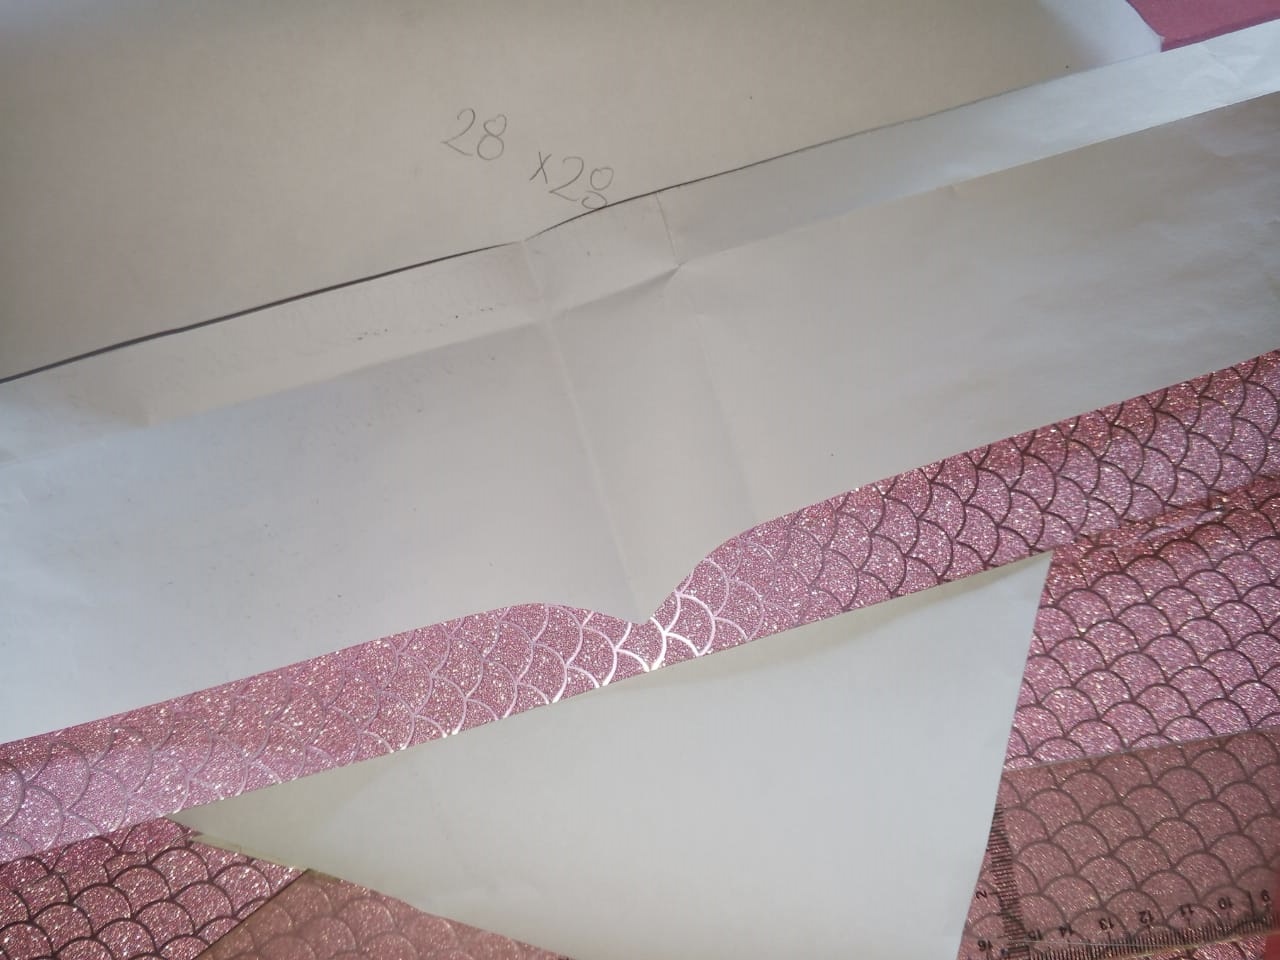
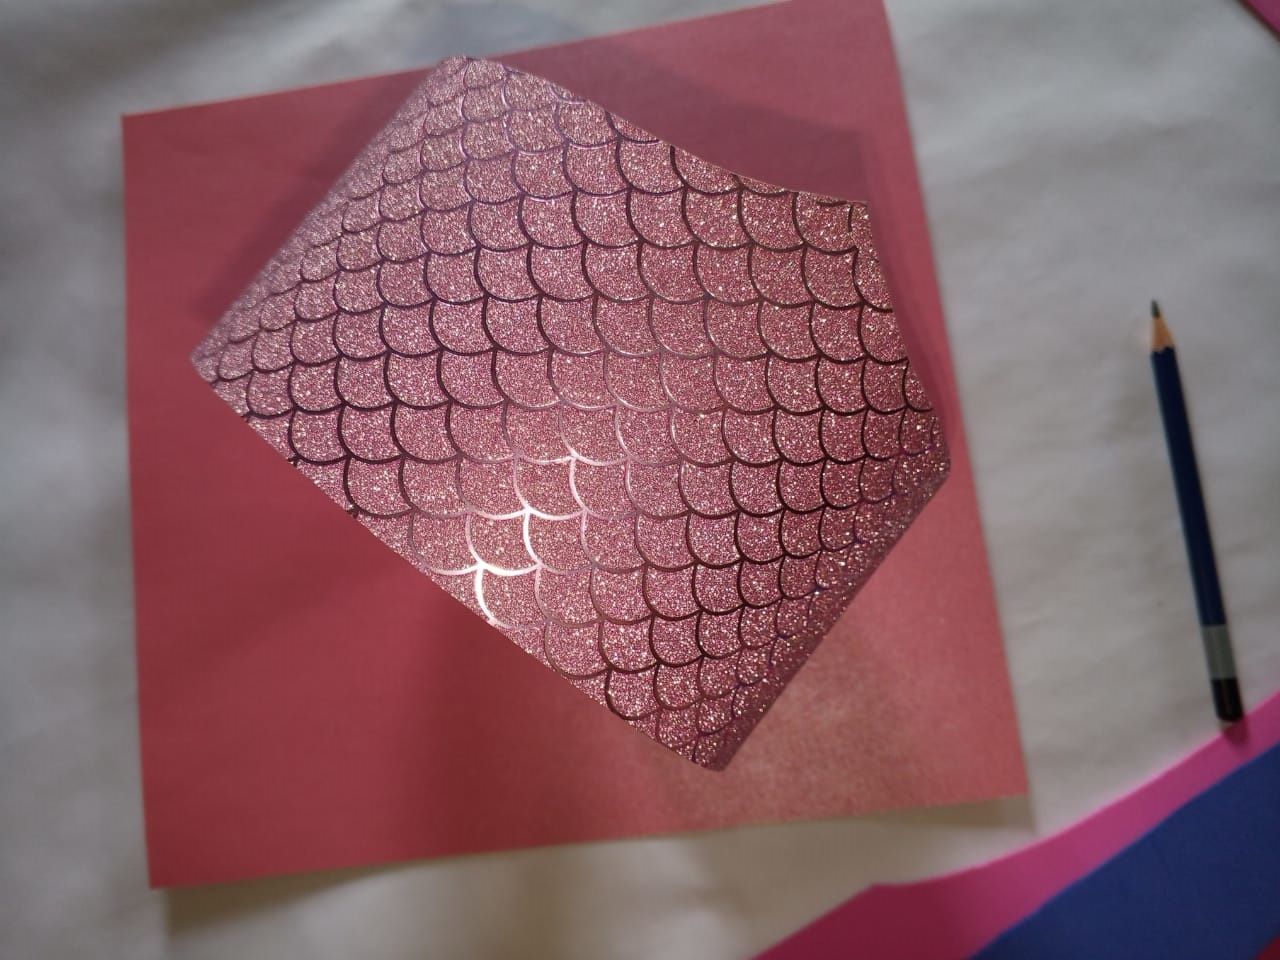
Lo primero que corté fue la tira para hacer el cono en cartulina metalizada estampada con motivos de escamas. Eso debe medirse por precaución en la cabeza de la persona para ajustar perfectamente.
Una cosa que tengo que recordar es que la altura del birrete depende mucho de los gustos individuales ya que a algunas personas les gusta el cono un poco más corto y a otros les gusta bastante largo.
Sumado a esto siempre hay que añadir un centímetro más en el extremo que va a ir pegado del cuadrado debido a que todo ese borde se va a utilizar como soporte. Este borde superior debe ir delimitado con una linea que nos va a ayudar mas adelante.
The first thing I cut was the strip to make the cone out of metallic cardboard with a print of scales. This should be measured just to be on the person's head to make it fit perfectly.
One thing I have to remember is that the height of the cap depends a lot on individual tastes, as some people like the cone a little shorter and others like it quite long.
In addition to this, you should always add an extra centimeter to the end that will be glued to the square because the whole edge will be used as a support. This upper edge should be delimited with a line that will help us later.
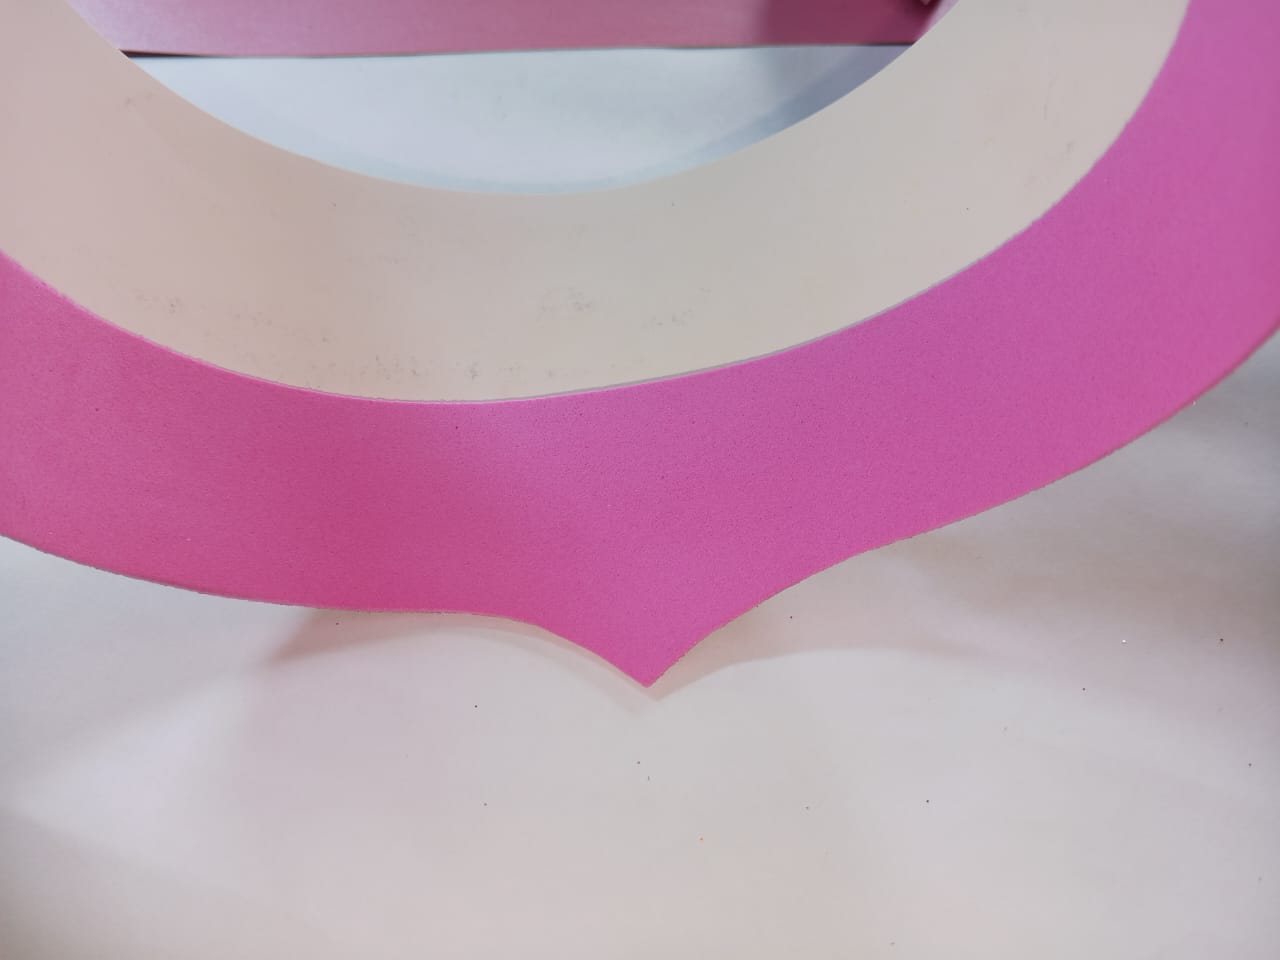
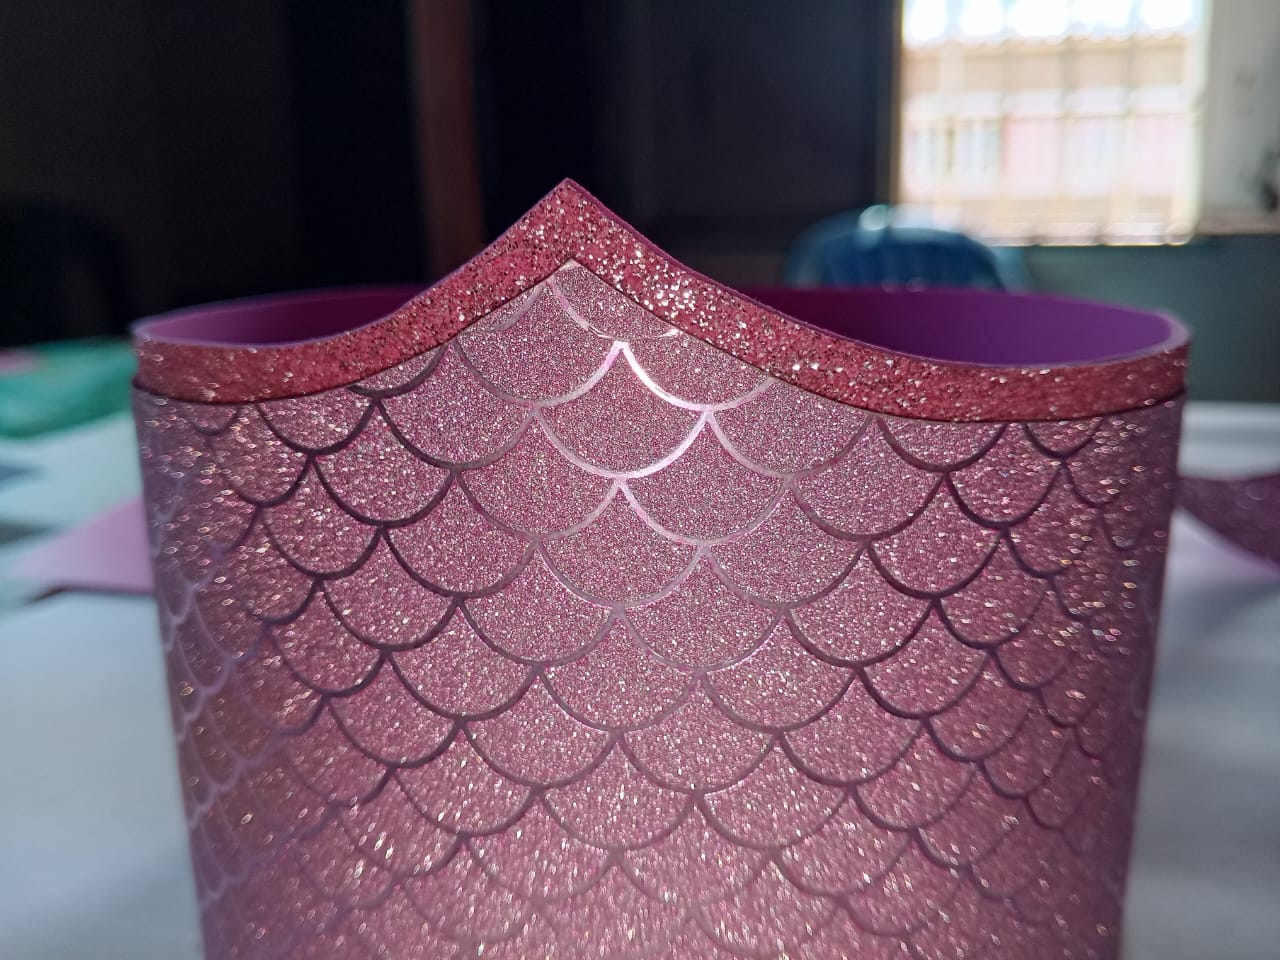
Como medida extra añadí un borde de foami escarchado rosado al cono en el extremo que va a ir en contacto con la cabeza.
Debido a que esto es un adorno más allá de poder usarlo durante tiempo prolongado añadí este foami no solo como adorno sino como protección contra el sudor para el cartón que se utiliza como base.
Puedes ver en la imagen que lo hago sobresalir de el cilindro base para que tenga en el borde una apariencia más estética.
As an extra measure I added a pink frosted foam border to the cone at the end that will be in contact with the head.
Because this is an ornament beyond being able to be used for a long time I added this foam not only as an ornament but as protection against sweat for the cardboard that is used as a base.
You can see in the image that I make it stick out from the base cylinder so that it has a more aesthetic appearance at the edge.

Recuerdas el borde superior que va a ir en contacto con el techo del birrete? Aquí vamos a cortar cuidando de no sobrepasar la línea que hemos marcado previamente. Estos cortes que vamos a dar tienes que hacerlo como lo ves en la imagen quitando un extremo de cada sección que vamos dejando de modo que a la hora de entamborar este birrete no nos quede deforme.
Este paso también lo puedes hacer antes de pegar la tira del cilindro
Este cilindro lo vamos a pegar justo en el centro del techo del birrete. Recordando que ese pico que viste en la punta del cilindro debe ir orientado hacia una de las esquinas del techo del birrete.
Do you remember the top edge that will be in contact with the cap's roof? Here we are going to cut it, taking care not to go over the line we previously marked. These cuts that we are going to make have to be done as you see in the image, removing one end of each section that we are leaving so that when we roll this cap it does not become deformed.
You can also do this step before gluing the cylinder strip.
We are going to glue this cylinder right in the center of the cap's roof. Remember that the peak that you saw at the tip of the cylinder must be oriented towards one of the corners of the cap's roof.
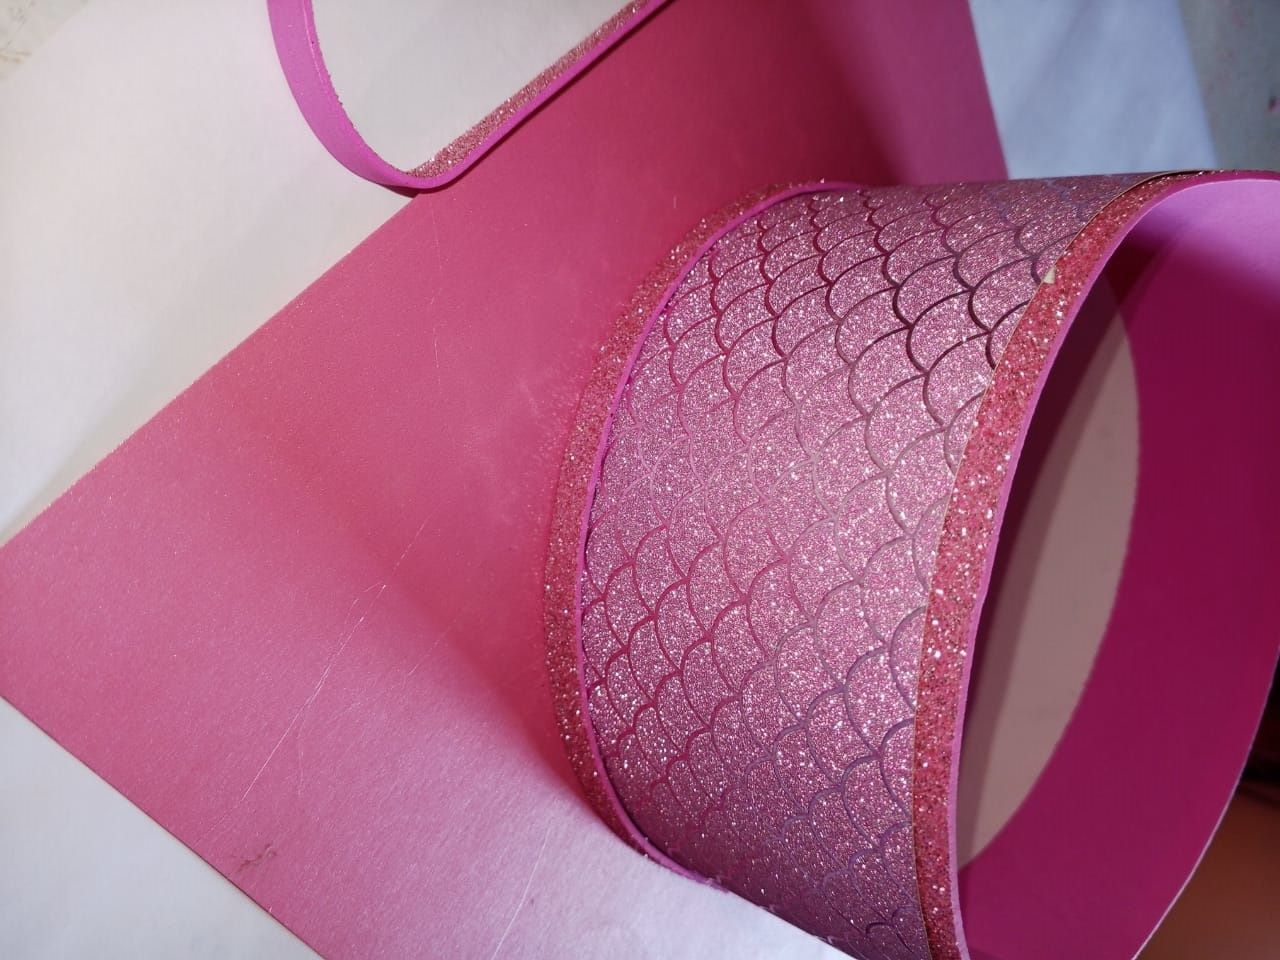
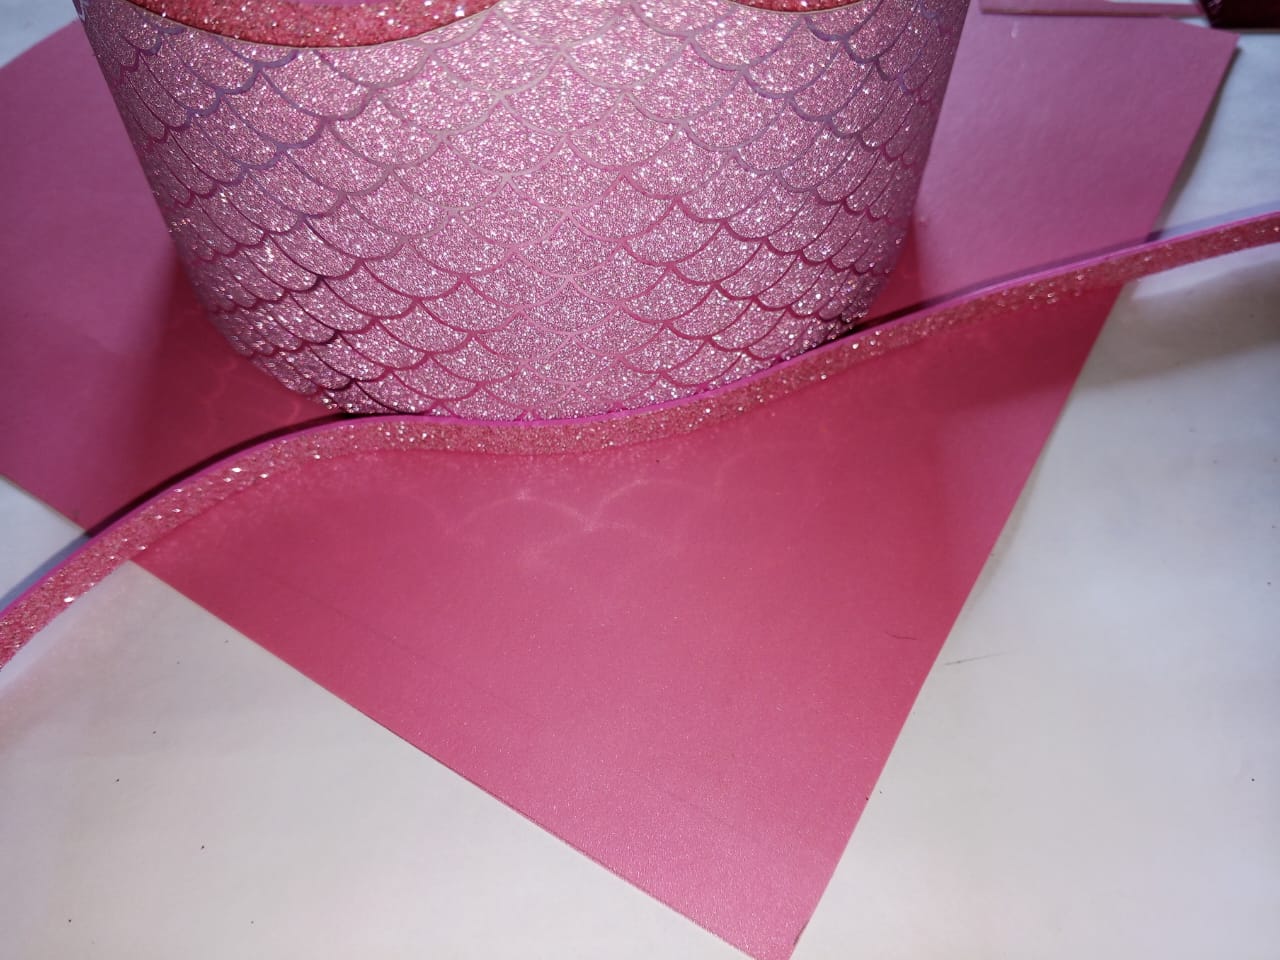
Para tapar cualquier desprolijidad que haya quedado al pegar el cilindro vamos a cortar una tira larga de foami escarchado para decorar justo en esa área.
Por otro lado seguimos recordando tiras un poquito más estrechas de foami escarchado para decorar el borde del techo del birrete.
Aquí debemos tener mucho cuidado a la hora de aplicar silicona caliente para que no quede en excesos y se vean antiestéticos. Debemos aplicar lo suficiente pero no demasiado.
To cover up any mess left by gluing the cylinder, we are going to cut a long strip of frosted foam to decorate that area.
On the other hand, we continue to remember to use slightly narrower strips of frosted foam to decorate the edge of the cap's roof.
Here we must be very careful when applying hot silicone so that there is no excess and it does not look unsightly. We must apply enough but not too much.
Es en este momento cuando tenemos lista toda la estructura base del birrete. Lo que tenemos que hacer ahora es decorar al gusto.
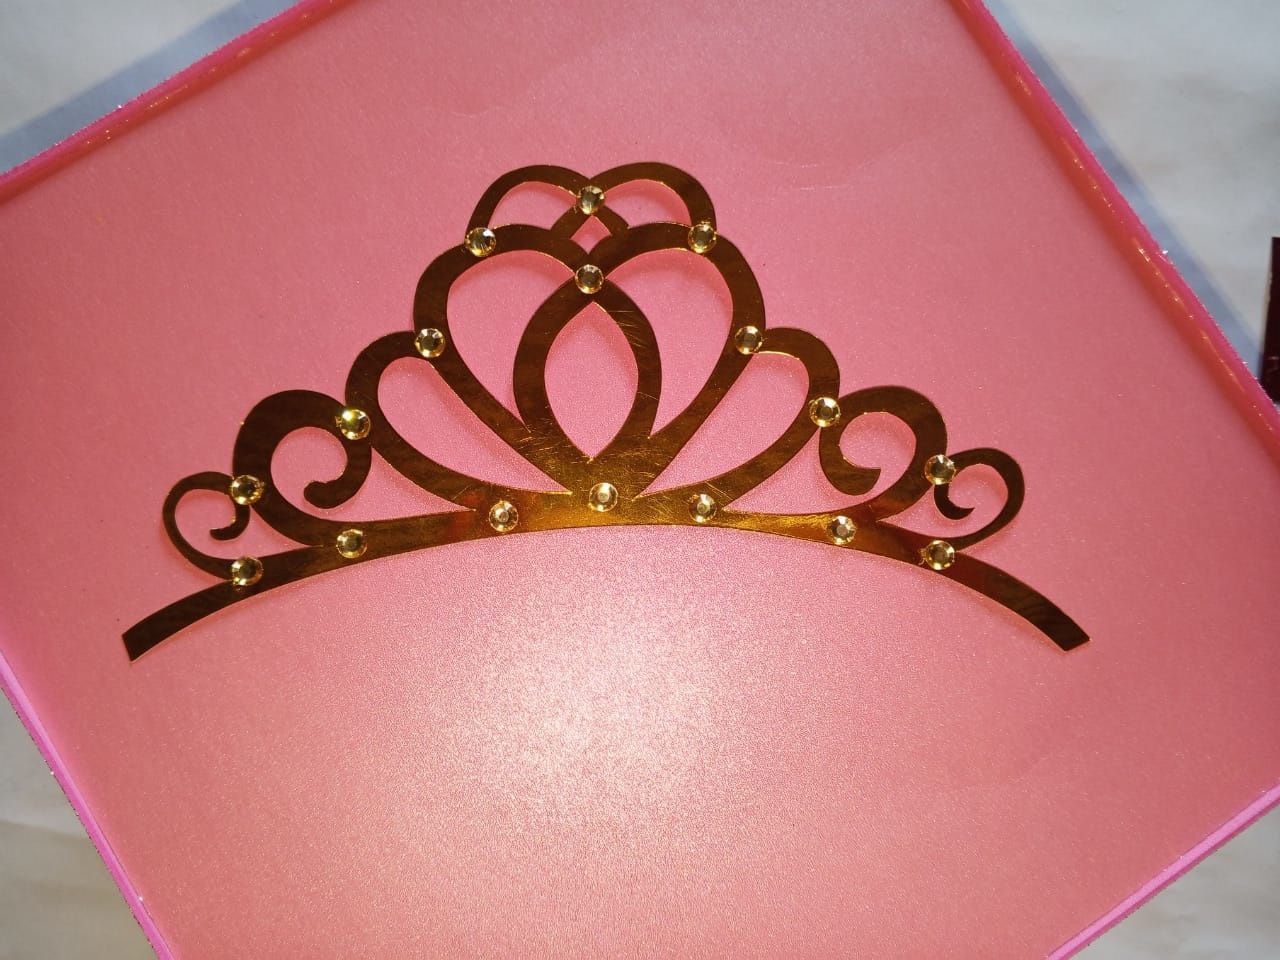
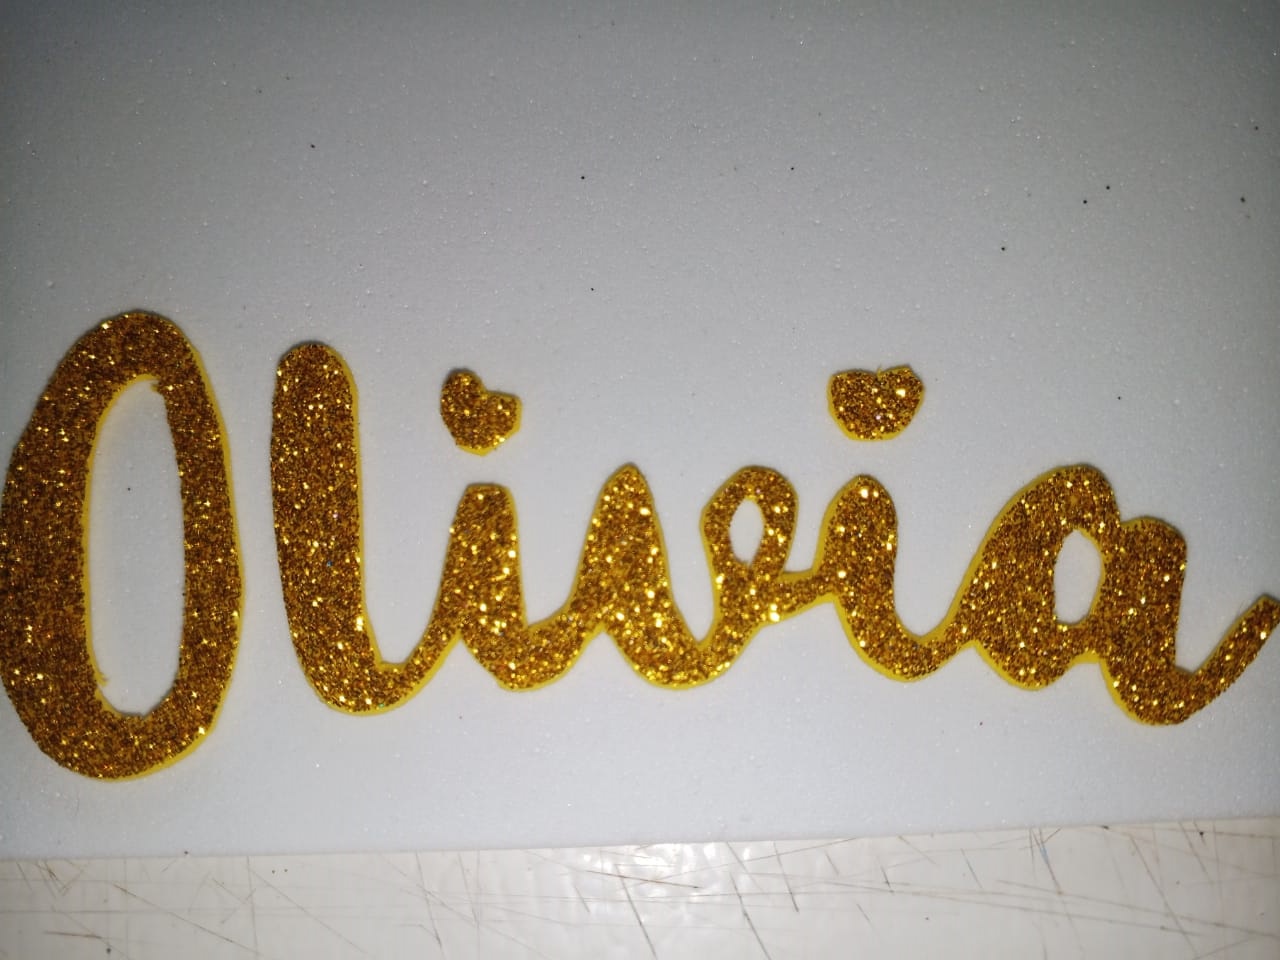
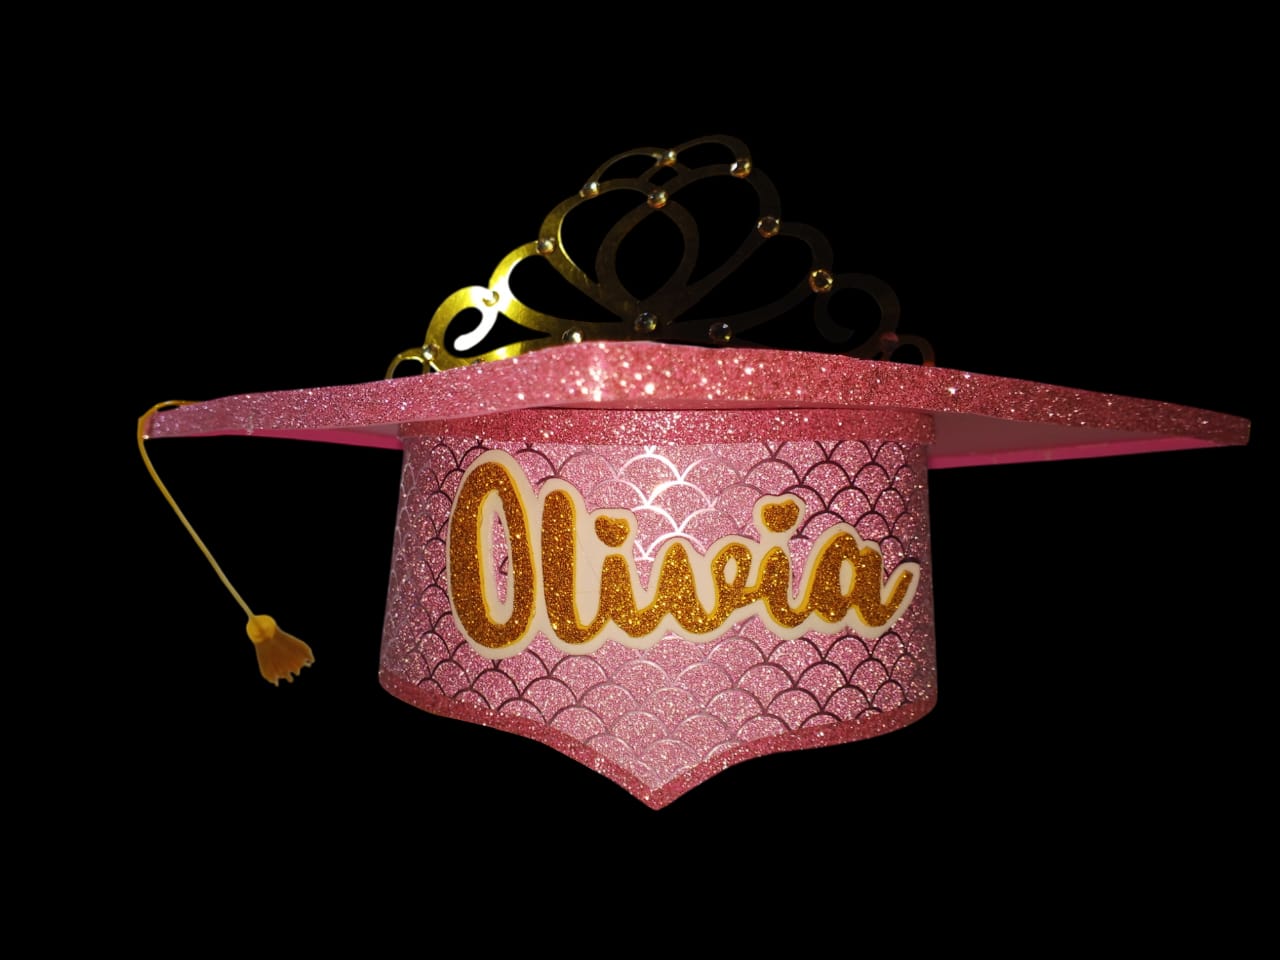
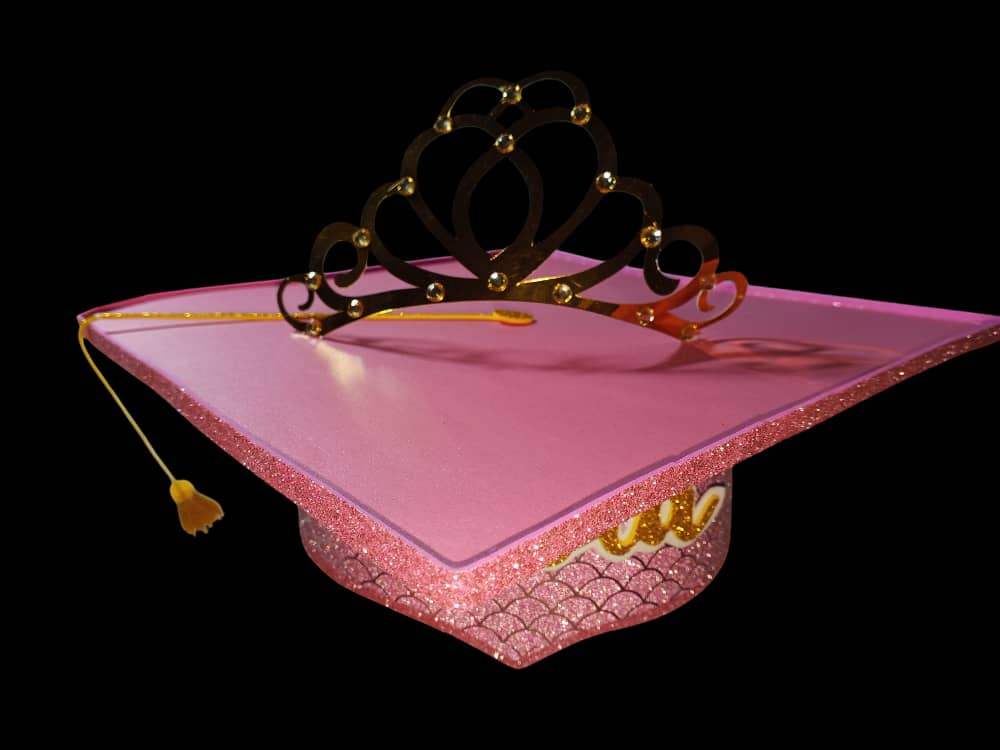
Tenía una corona de cartulina metalizada dorada así que la tomé para la decoración. También recorté el nombre de mi hija en foami escarchado dorado para ponerlo sobre una base blanca de modo que resaltara y fuera suficientemente legible.
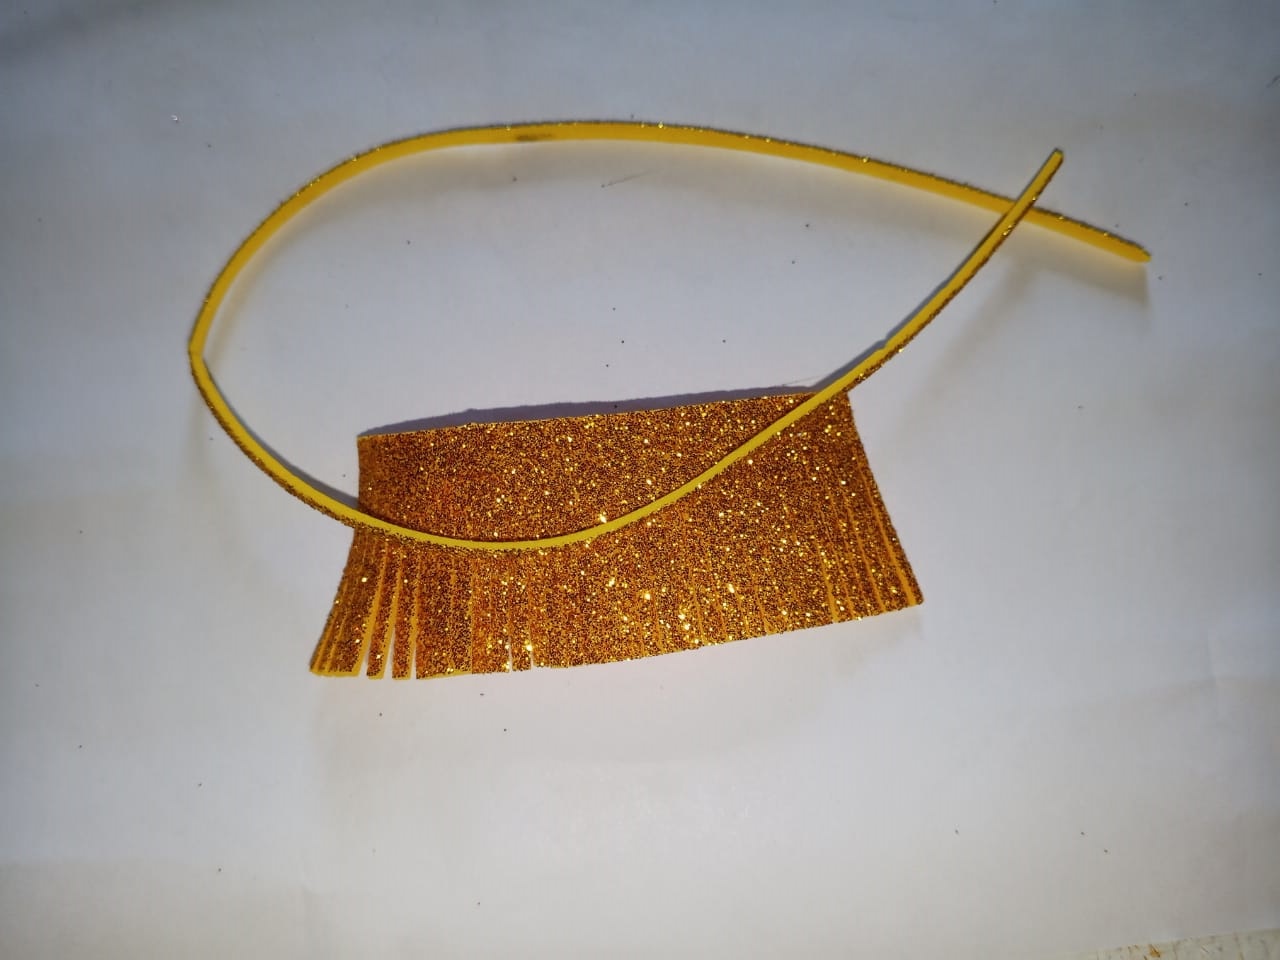
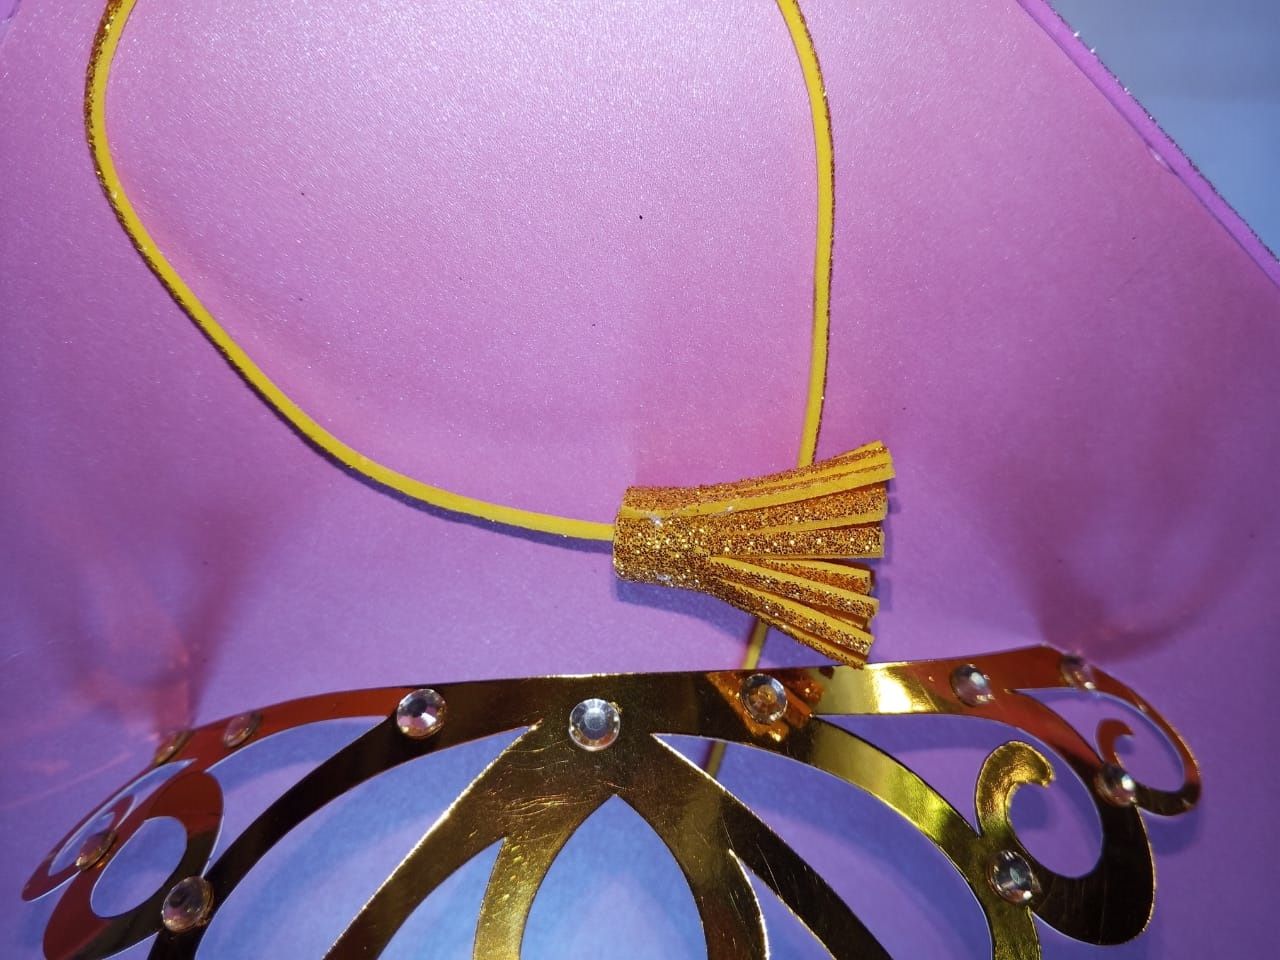
Para la borla del birrete recorte un rectángulo no demasiado largo de foami escarchado dorado y lo recorte como puedes verlo en la imagen con tiras muy delgadas, recortando también una tira larga y bastante delgada para sostener la borla. El rectángulo picado lo enrollé sobre sí mismo y sobre la tira de foami pegando con silicón caliente para formar la borla.
Todos estos adornos los pegué sobre el birrete para así terminar este trabajo.
This is when we have the entire base structure of the cap ready. What we have to do now is decorate it to taste.
I had a crown made of gold metallic cardboard so I used that for the decoration. I also cut out my daughter's name in gold frosted foam to put it on a white base so that it would stand out and be sufficiently legible.
For the tassel of the cap, I cut out a rectangle that was not too long from gold frosted foam and cut it out as you can see in the image with very thin strips, also cutting out a long and quite thin strip to hold the tassel. I rolled the cut rectangle over itself and over the foam strip, gluing it with hot silicone to form the tassel.
I glued all these decorations onto the cap to finish this work.


Un especial saludo para ti que te mueves todos los días en Hive, sigue compartiendo, creando, animándote a conocer más